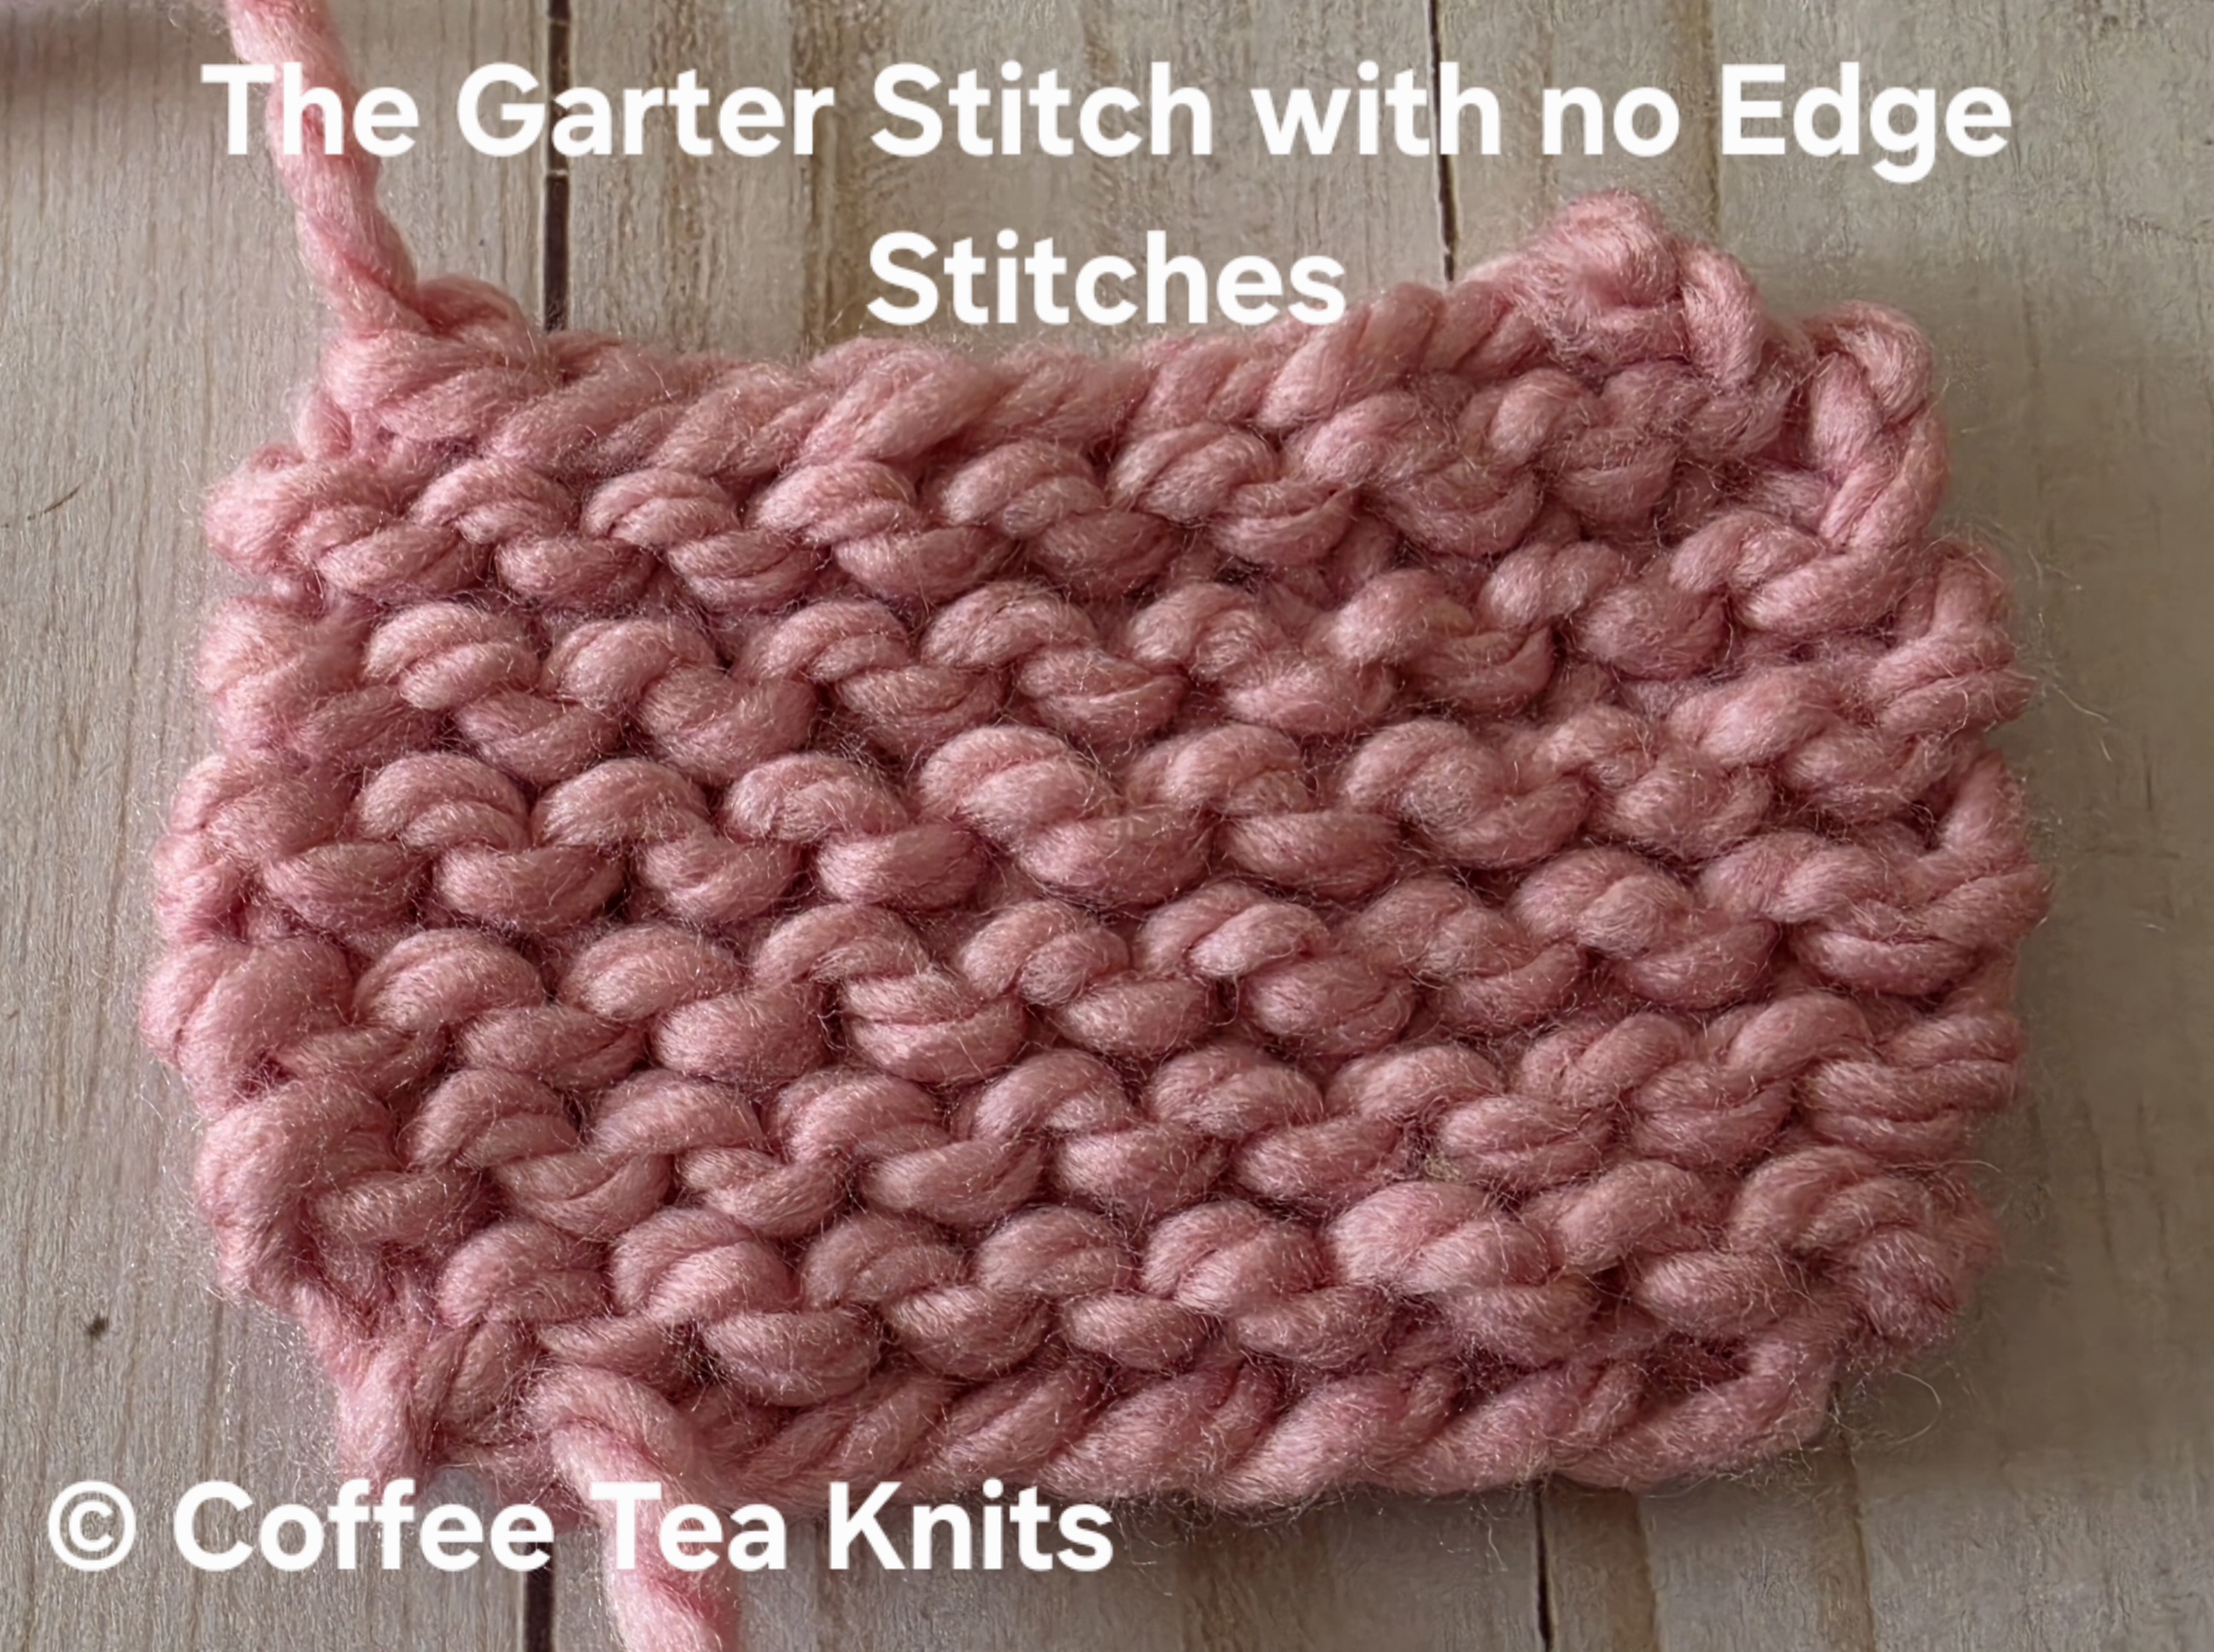
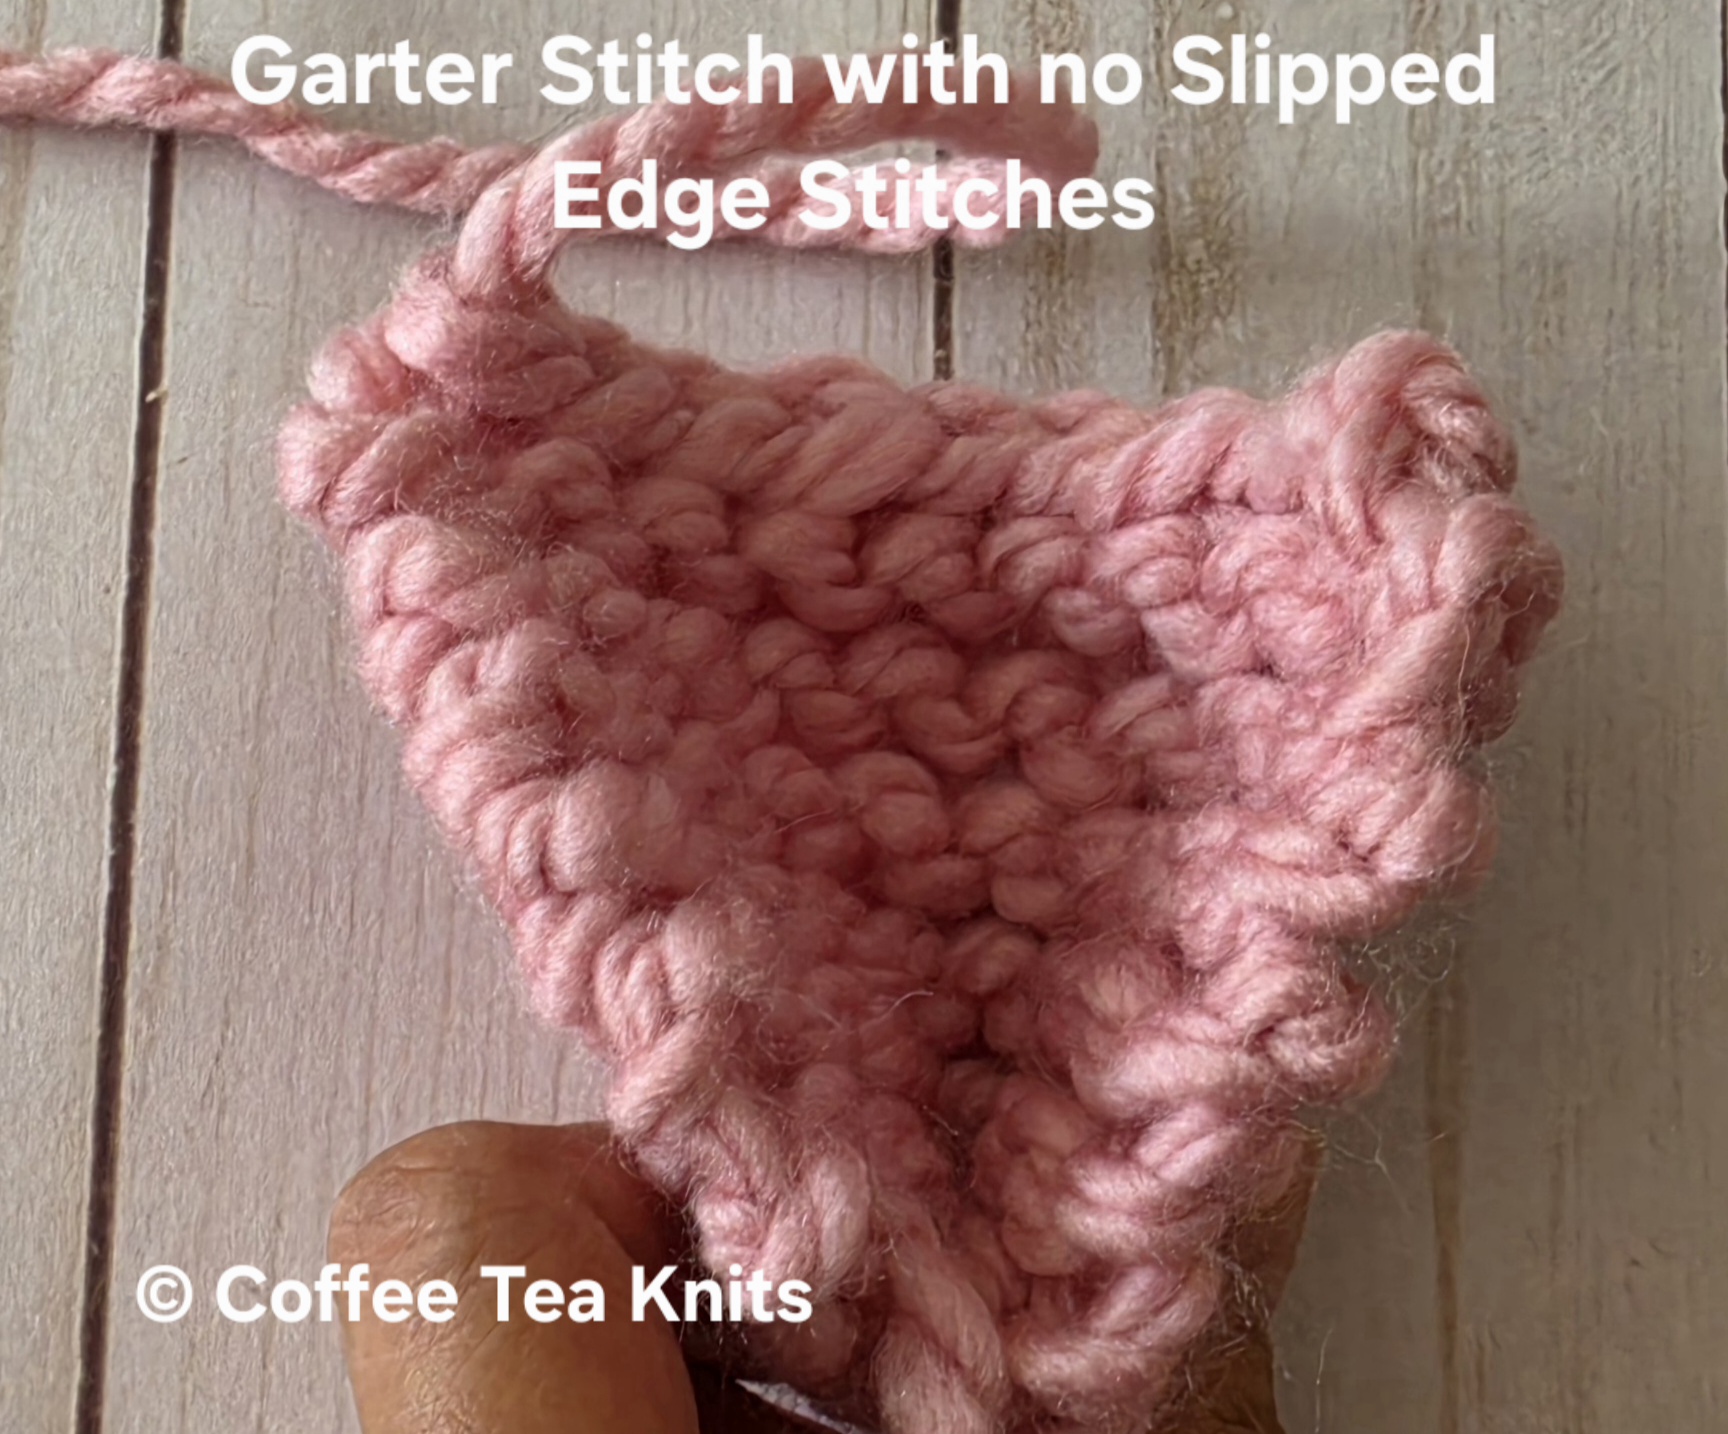
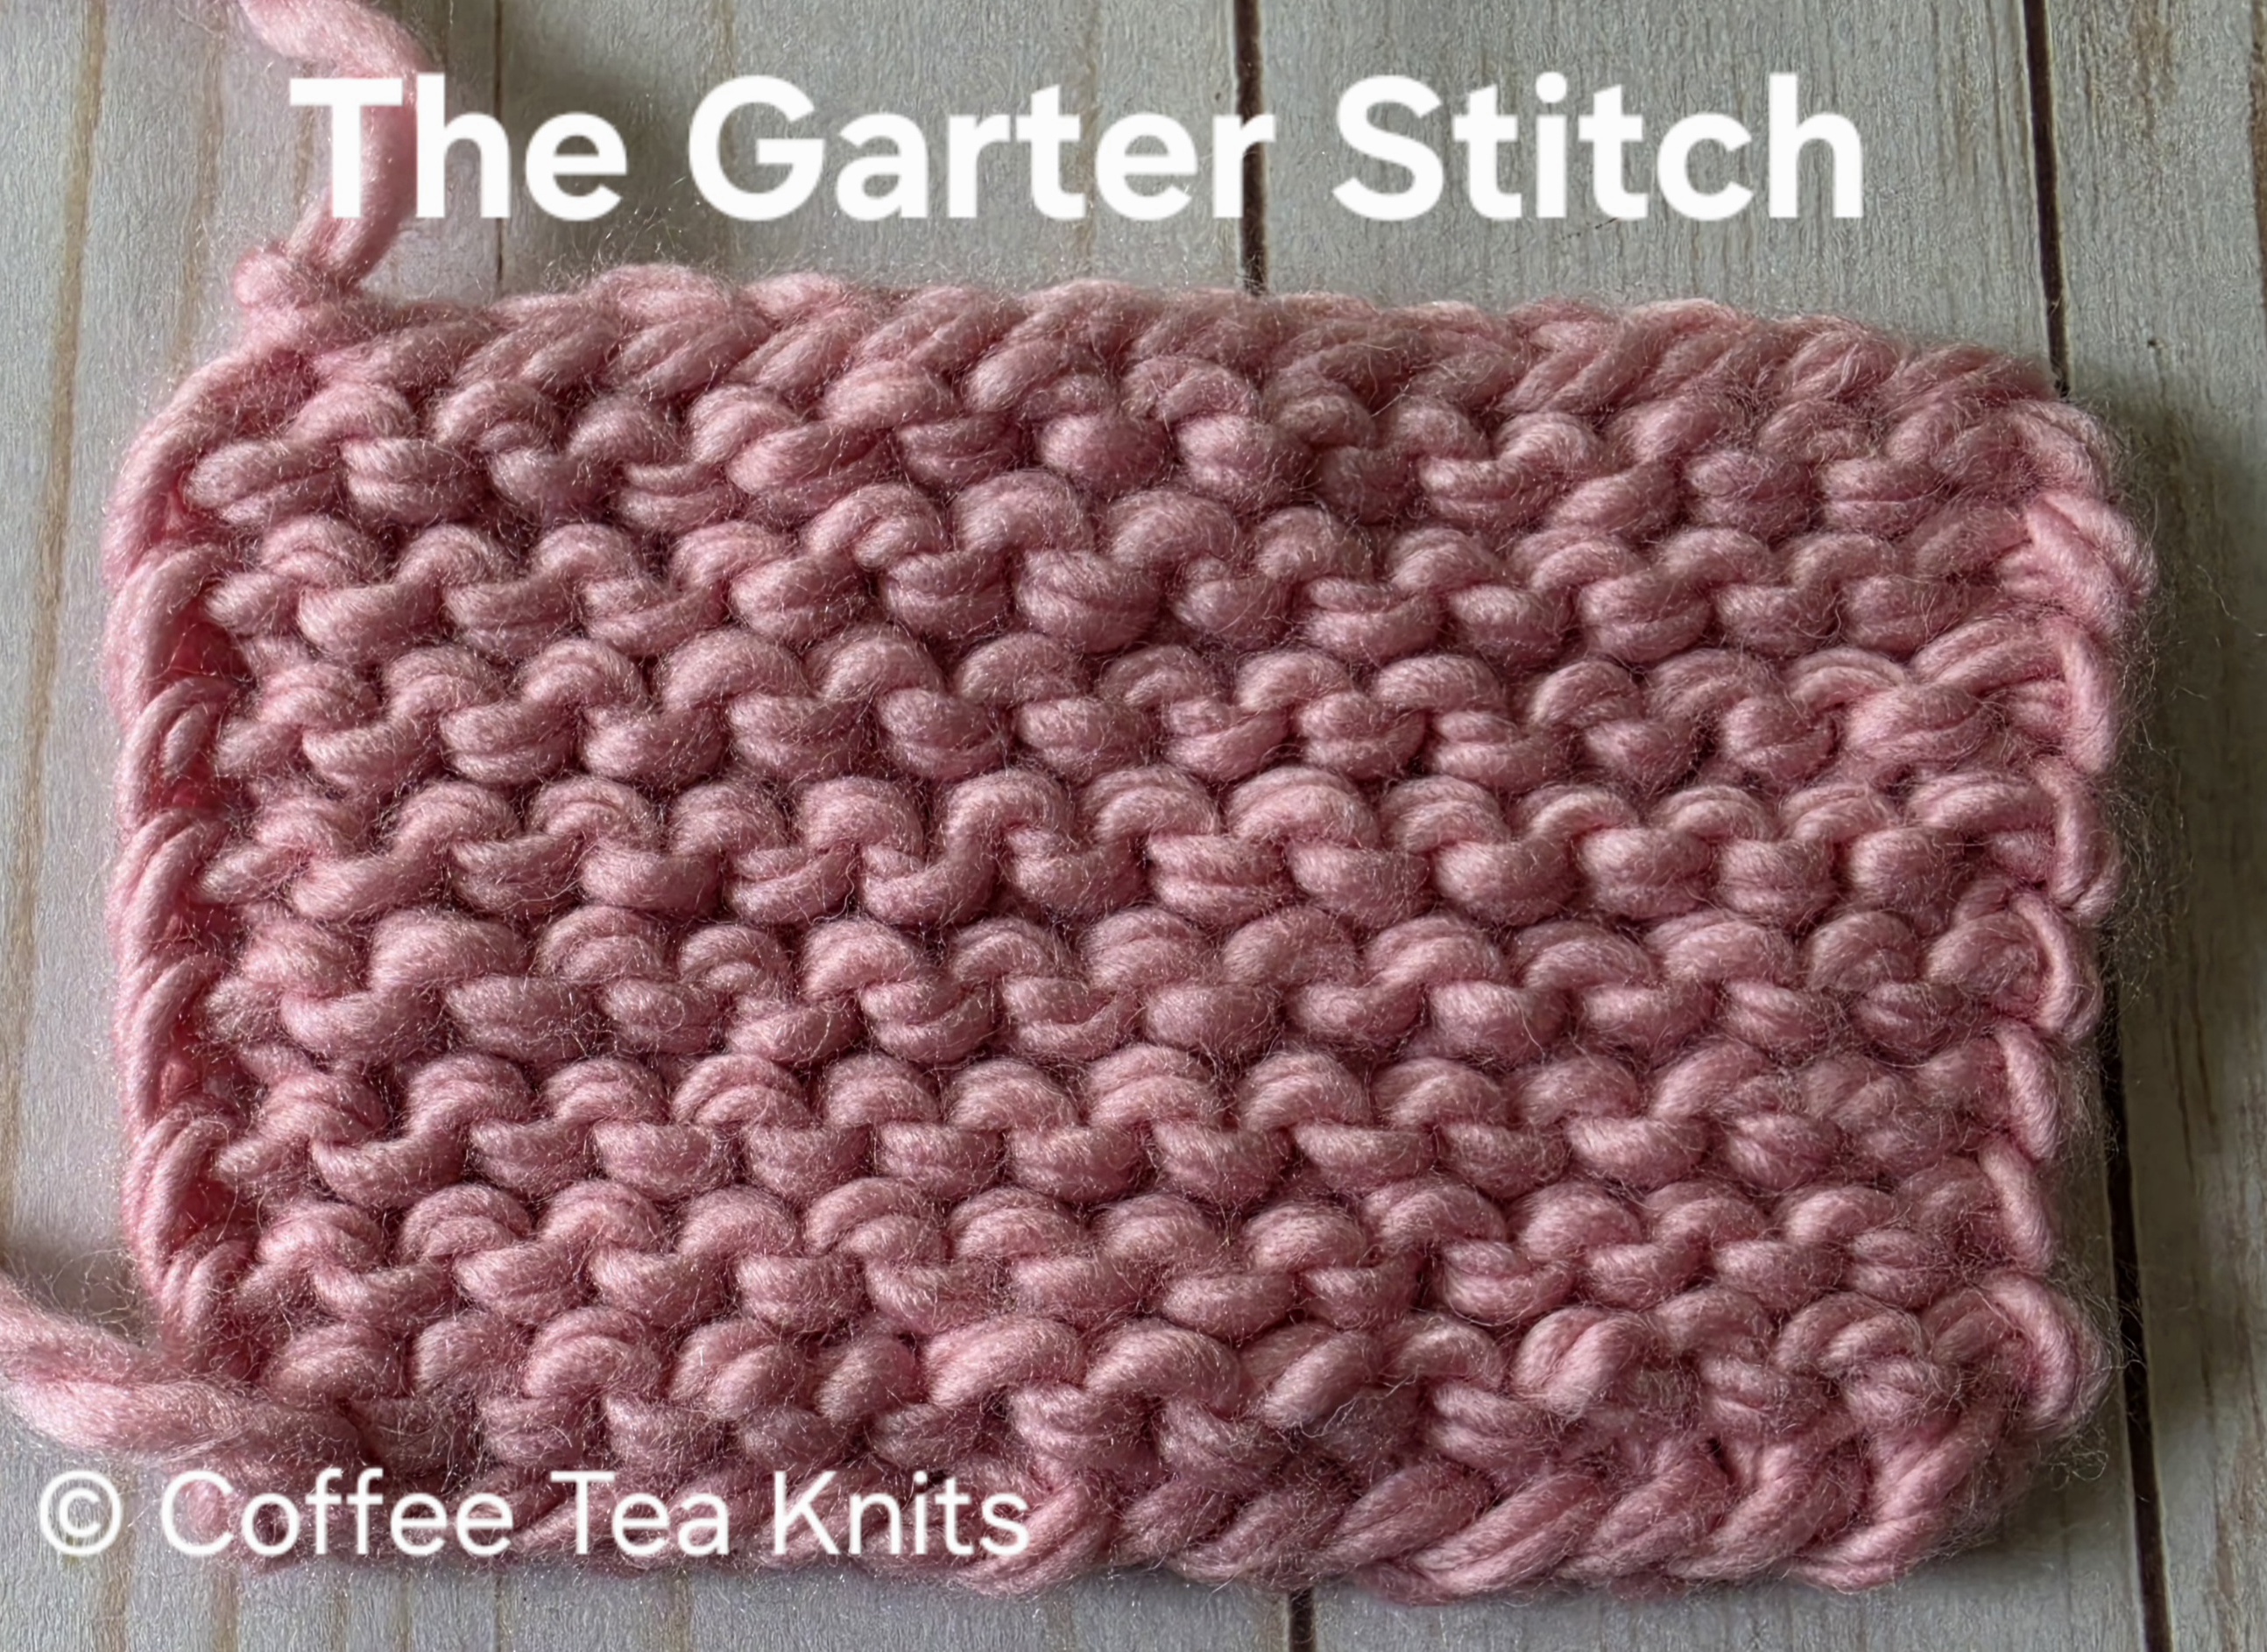
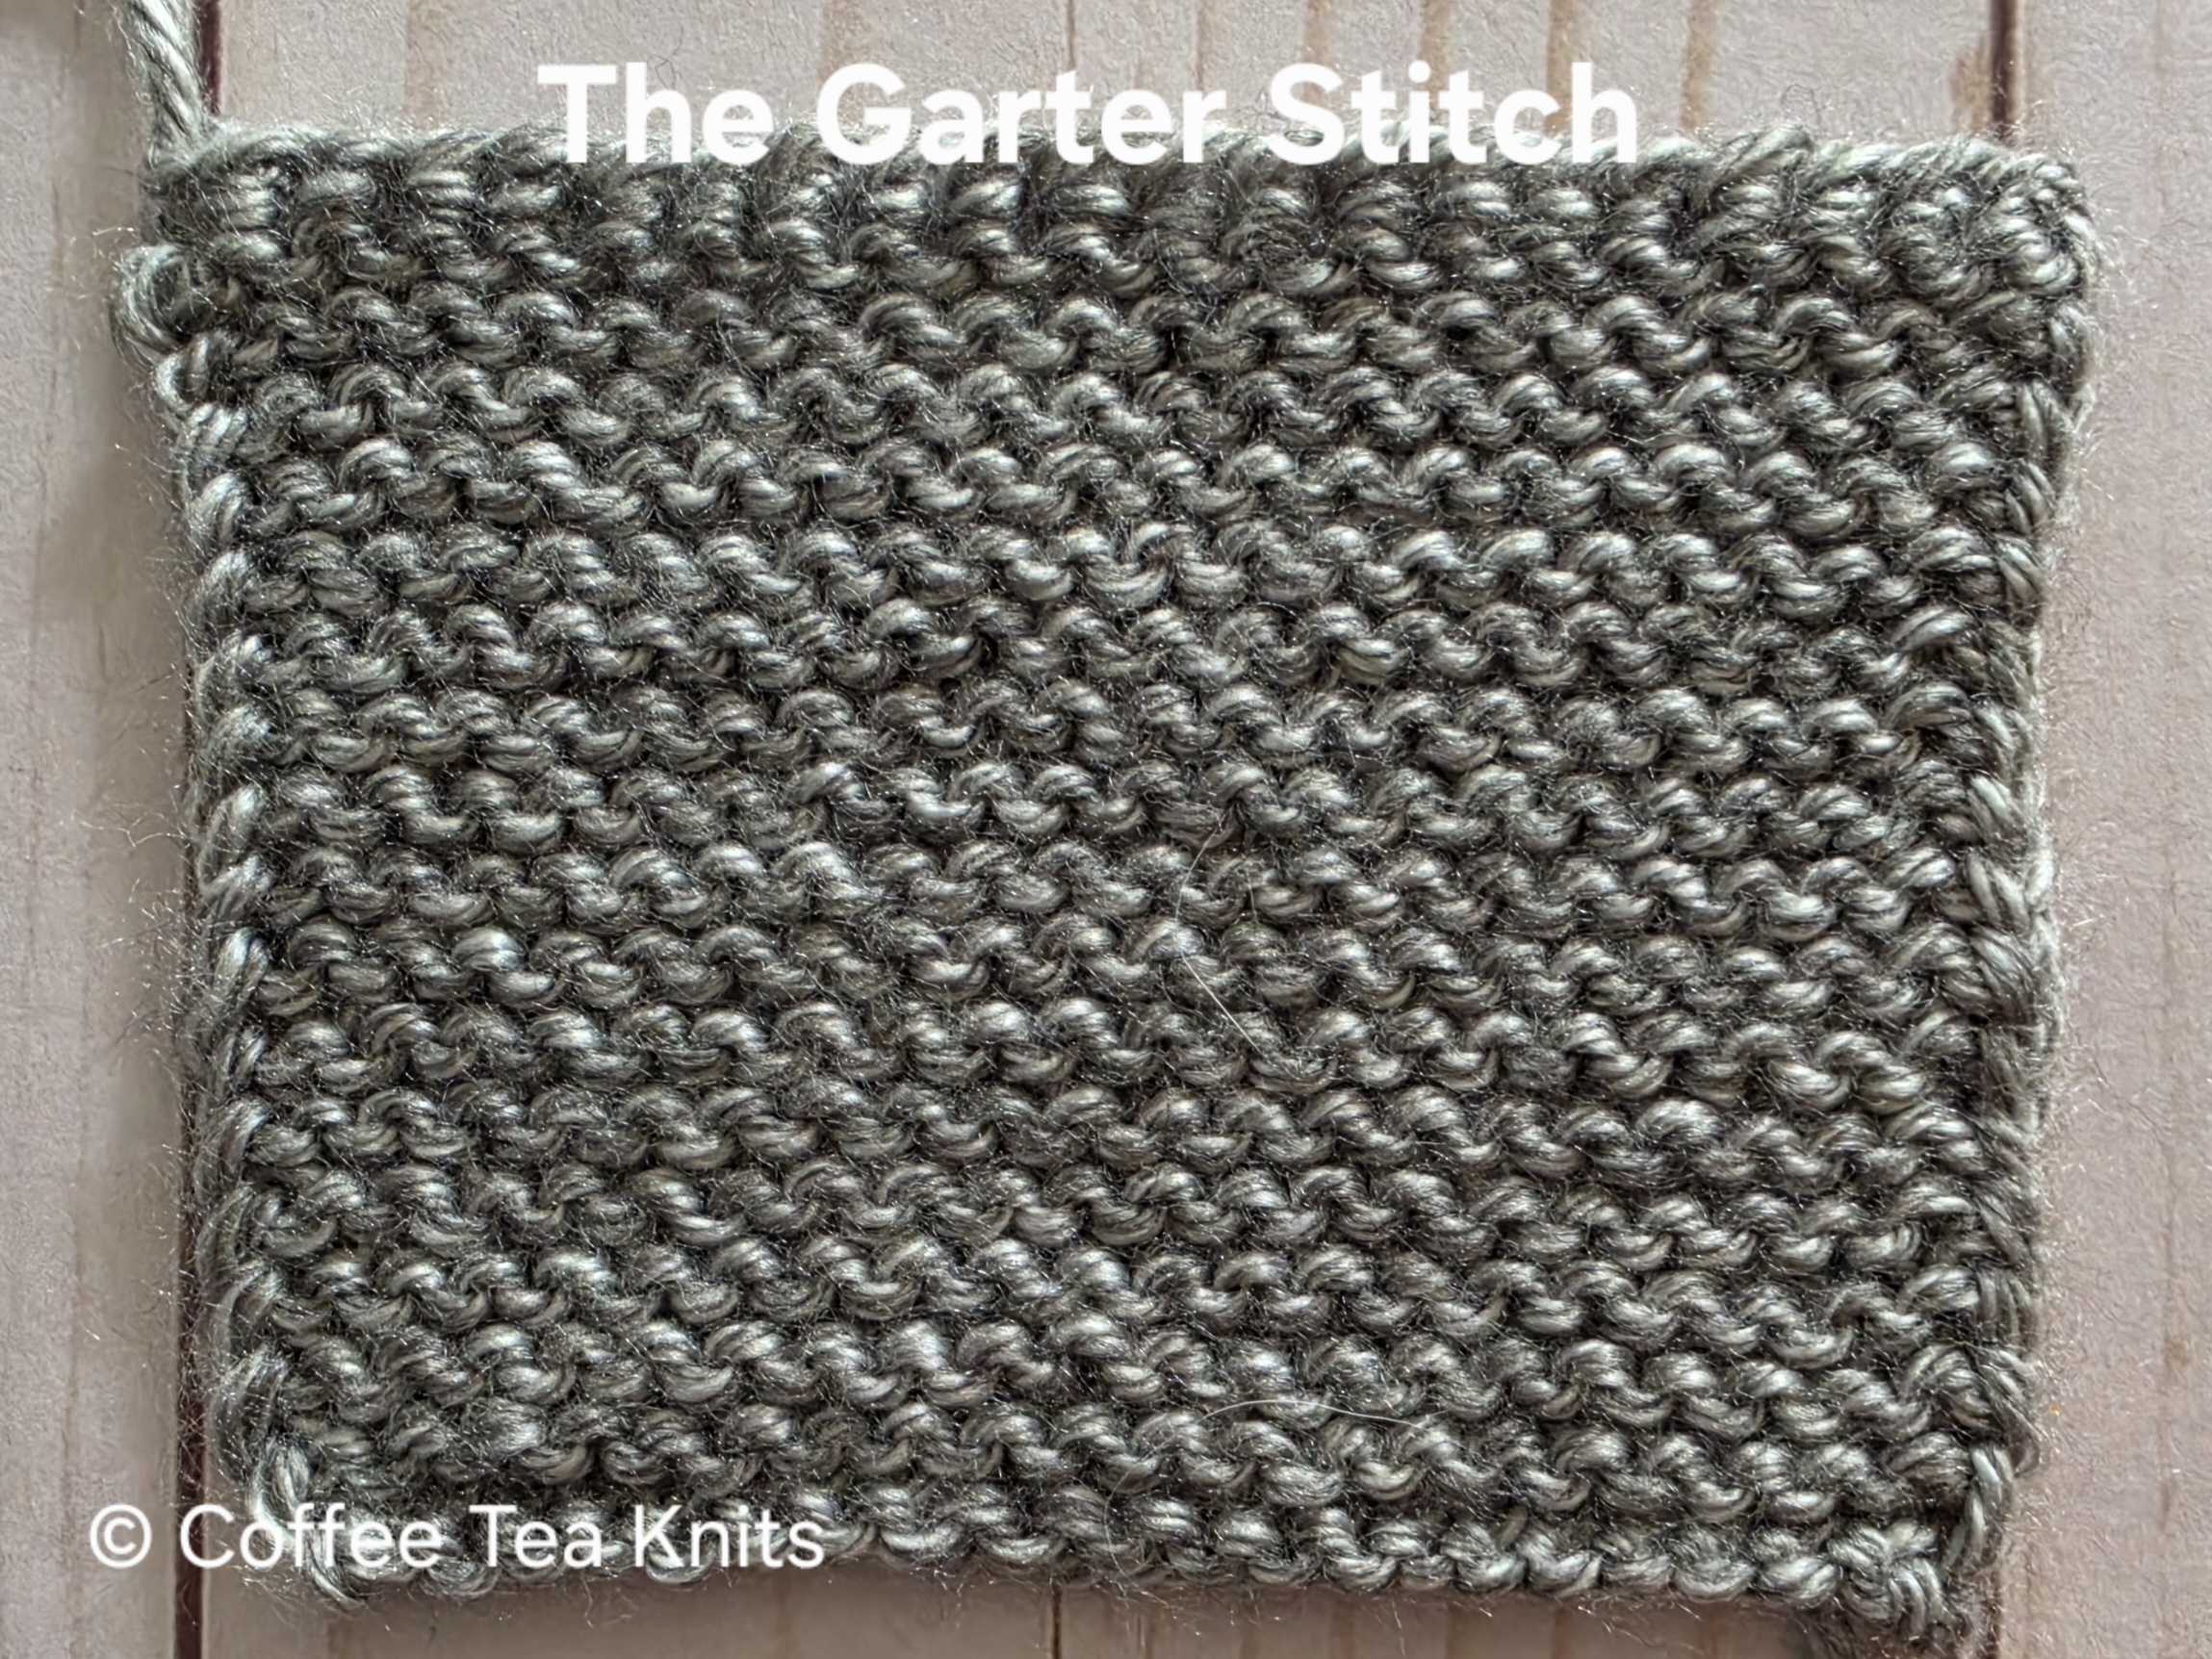
The garter stitch pattern is usually the first pattern that begins a knitter’s knitting journey. It is the first pattern taught to knit a scarf, blanket etc, This stitch pattern is a one-row repeat pattern where all the stitches in a row are knit stitches (Tutorial Series: Knit and Tink). The garter stitch is a reversible, textured and simple stitch pattern that lays flat with no curling. Since it lays flat, the garter stitch is also used for borders and edges of various knit projects, seamlessly integrating with other stitch patterns to create visually appealing contrasts. The garter stitch pattern with a combination of slipped stitches (Tutorial Series: Slipping Stitches – Knitwise versus Purlwise) or yarn over (Tutorial Series: Yarn Over (YO) with Knit Stitches) patterns can create many beautiful and versatile knits.
The video below shows how to knit the garter stitch pattern with slipped edge stitches for right-hand knitting
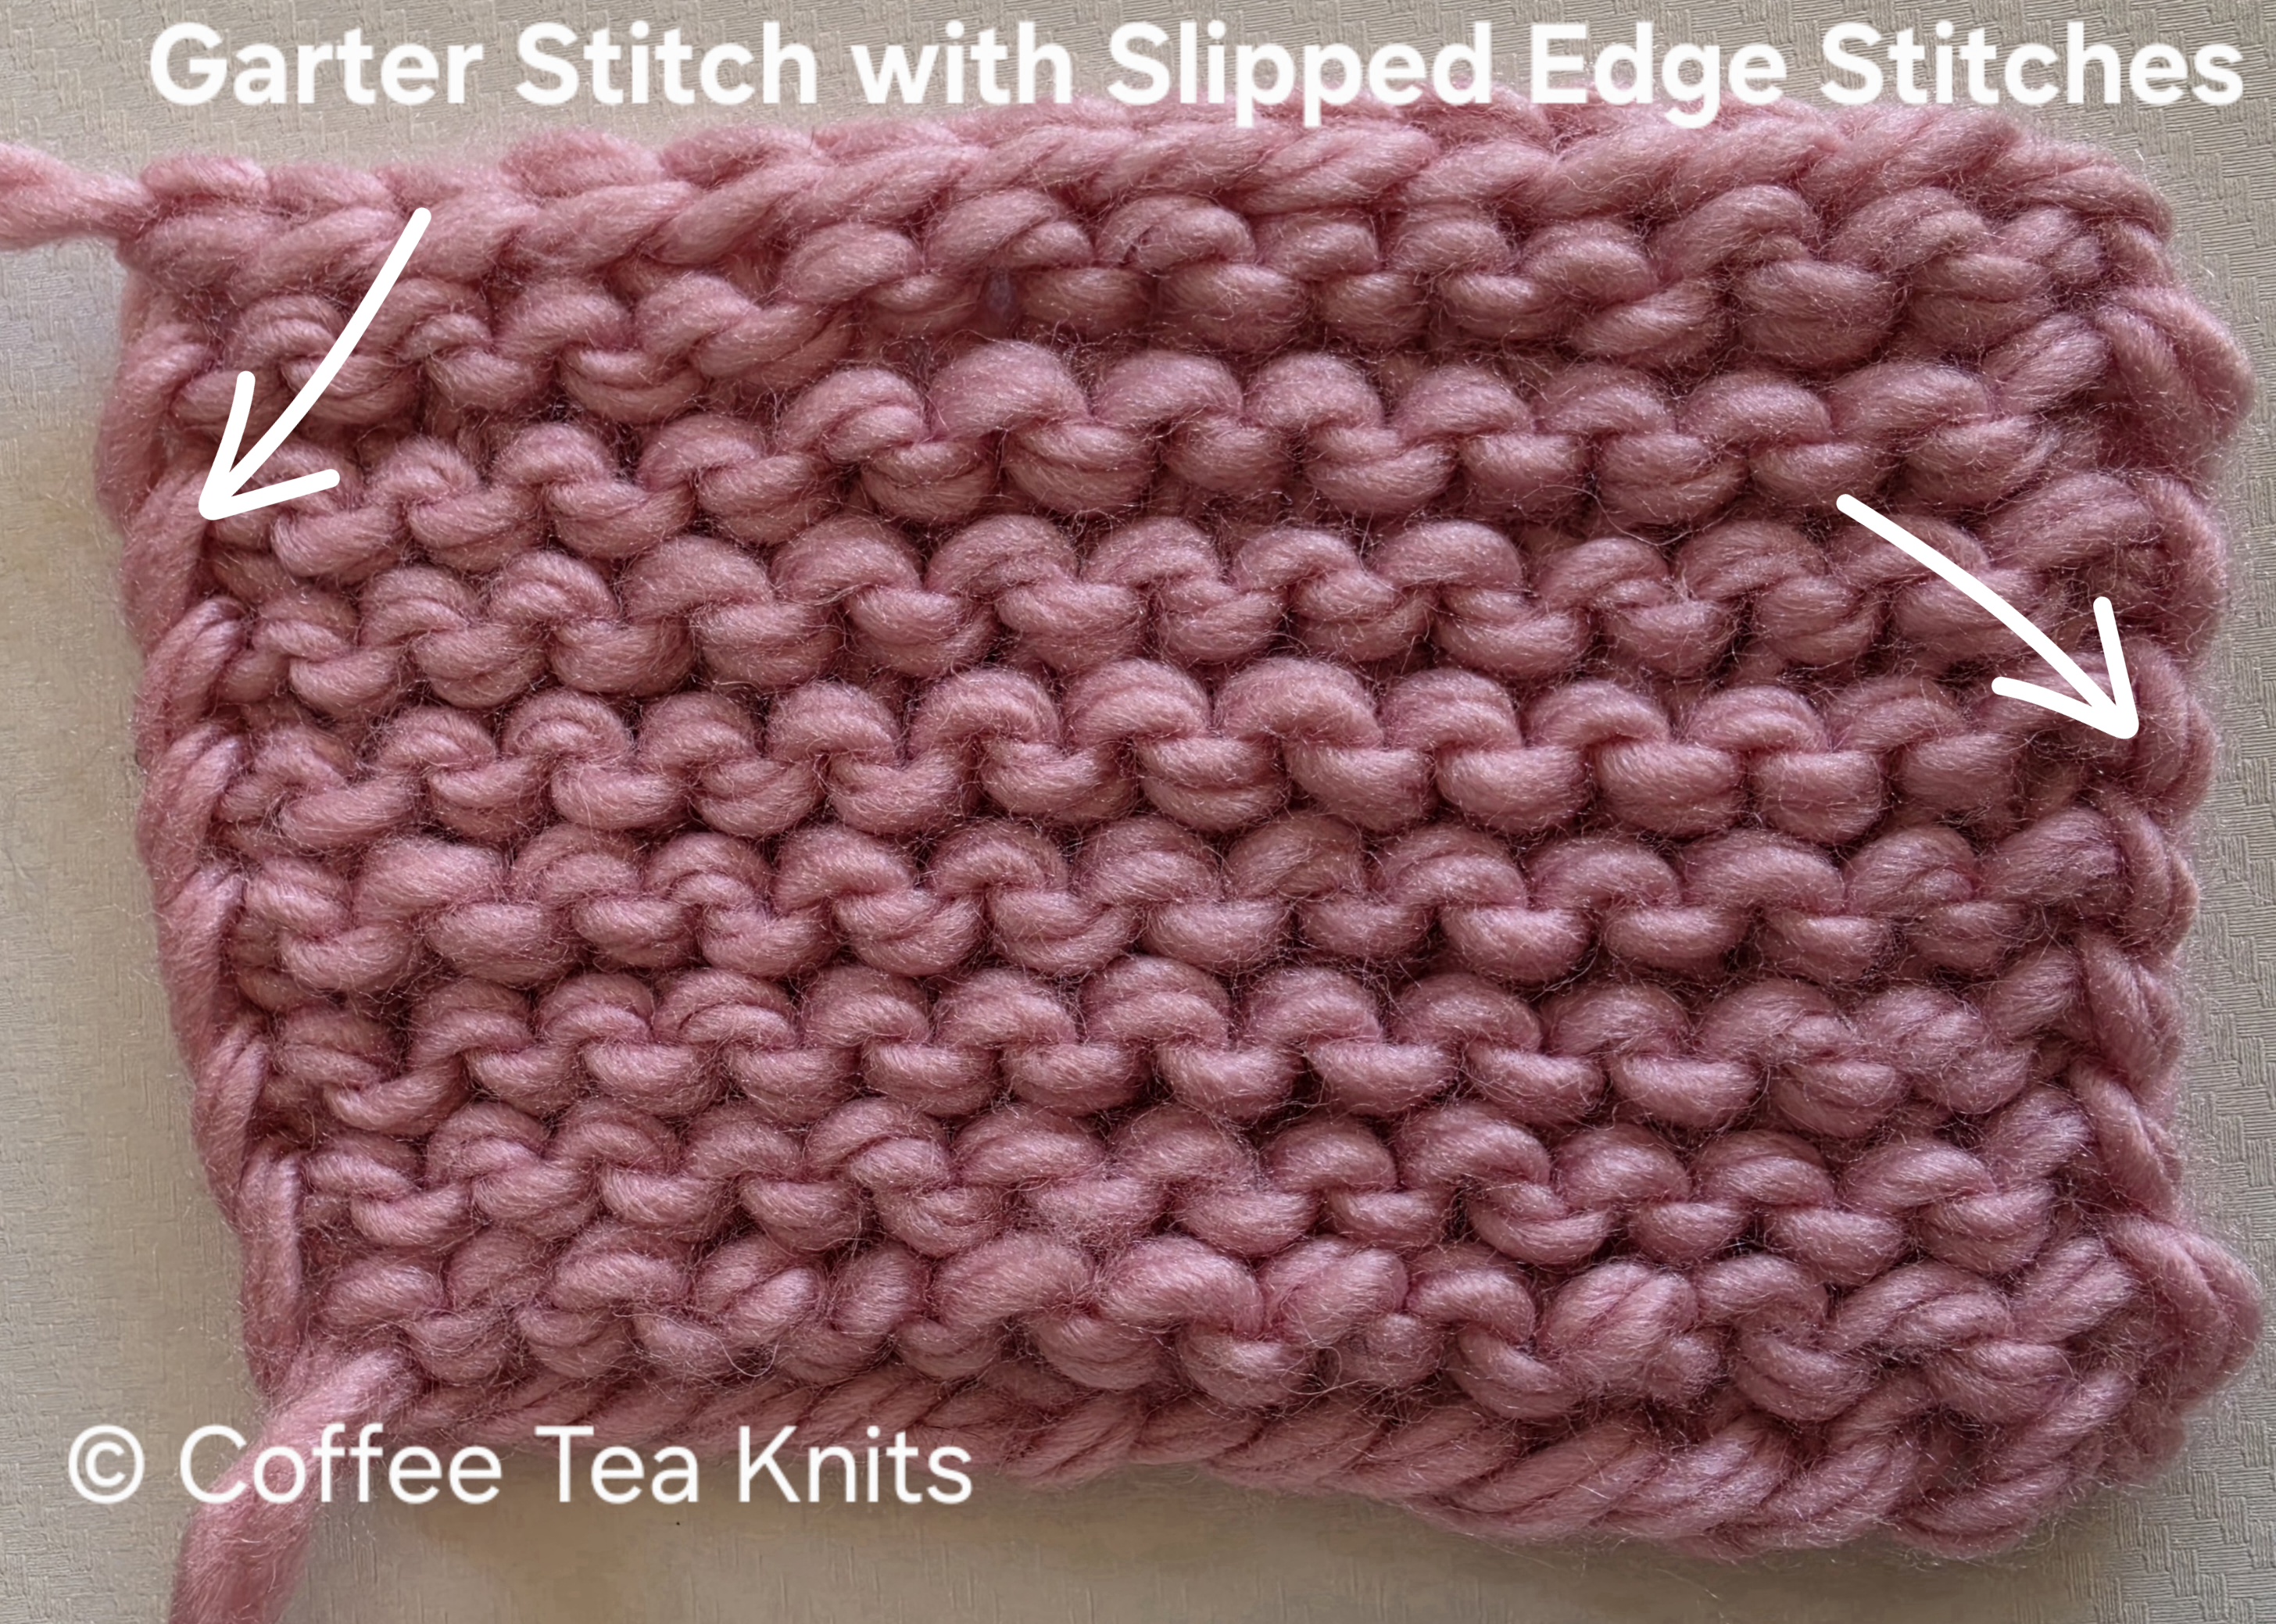
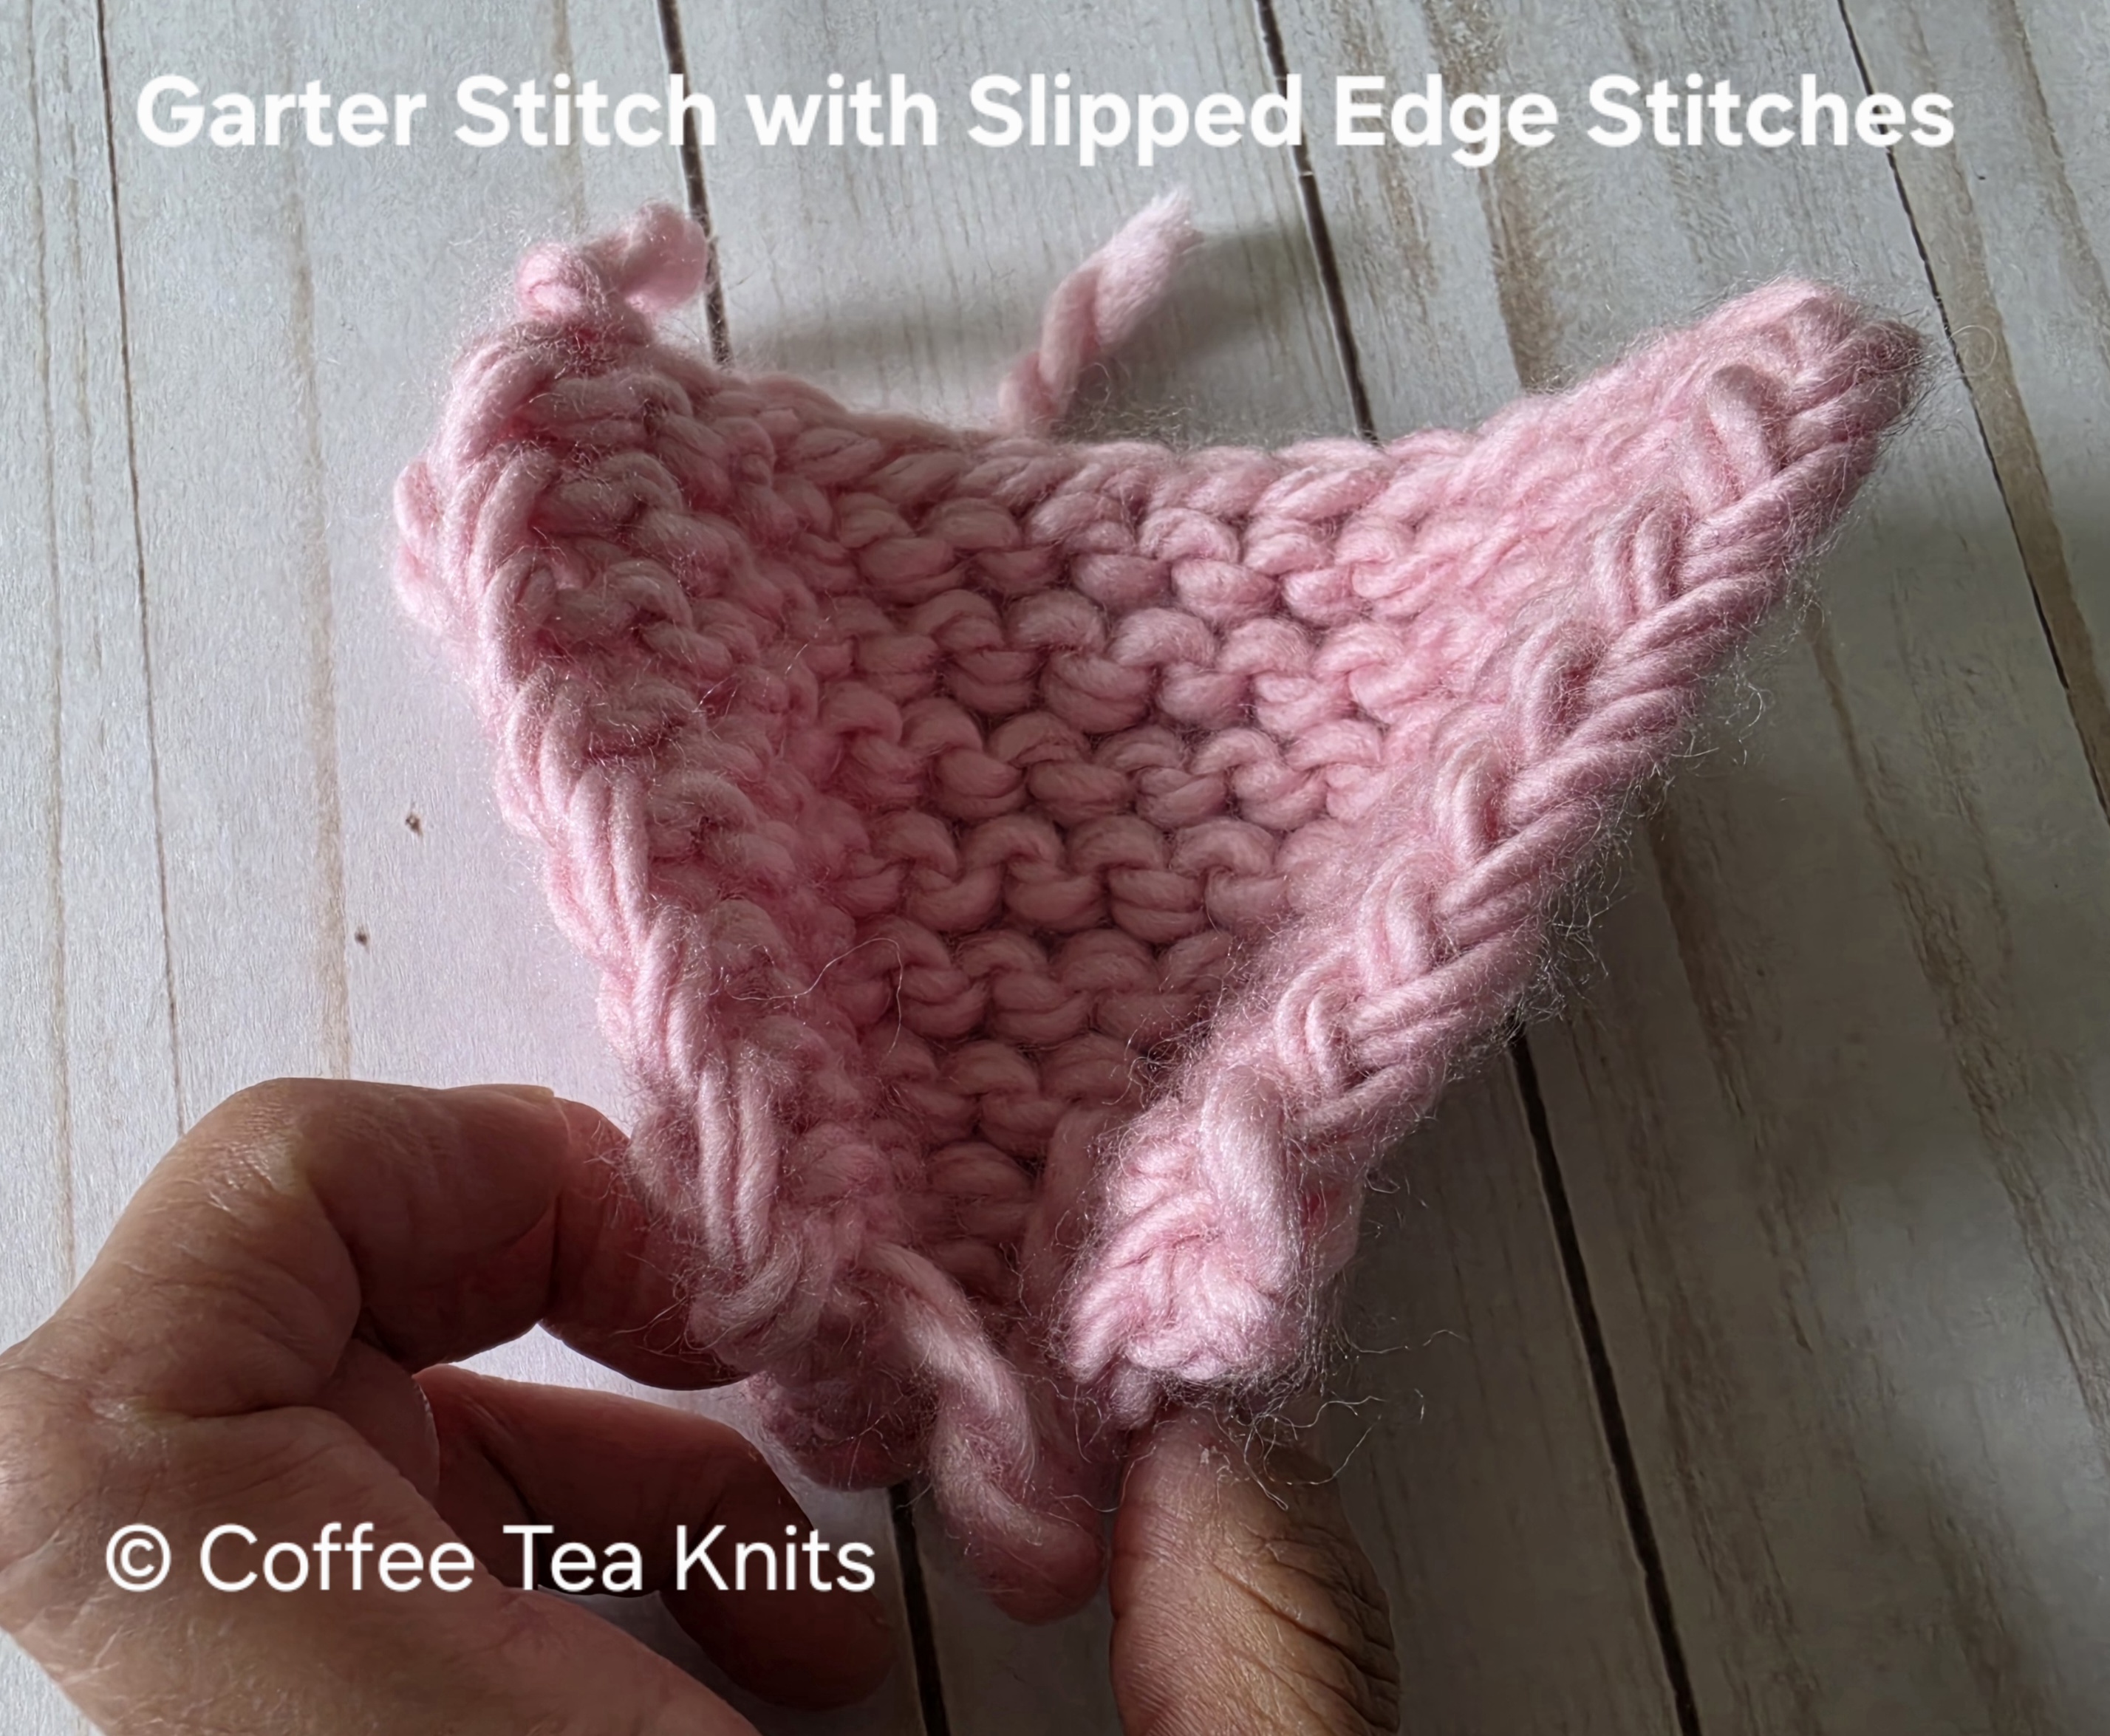
The Garter Stitch Pattern with Slipped Edge Stitches:
Written Steps for the Garter Stitch with Slipped Edge Stitches:
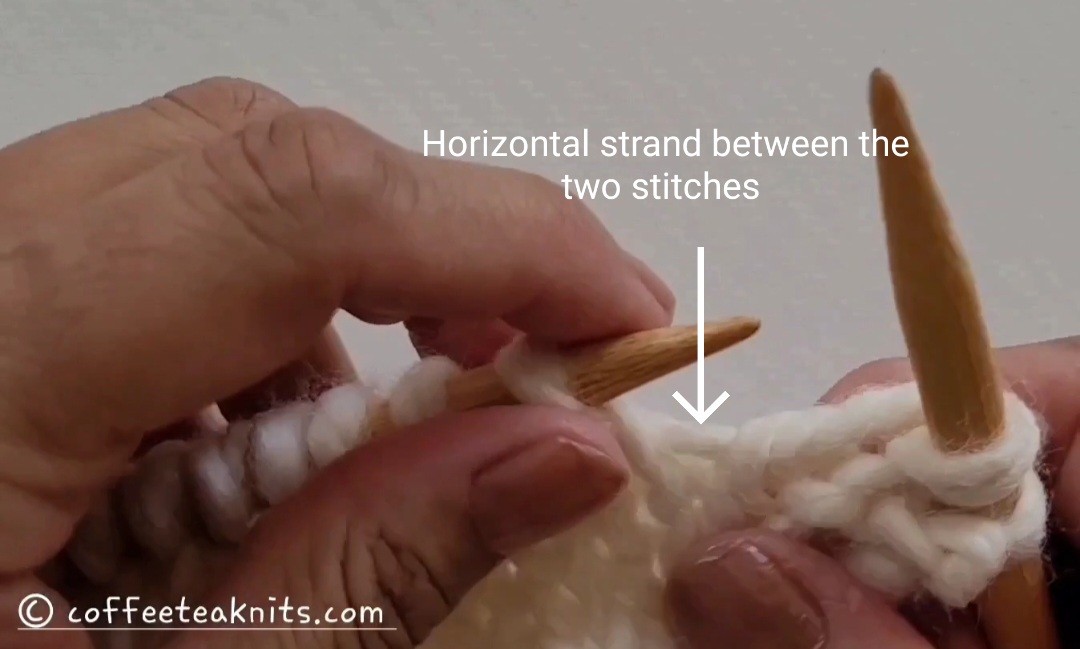
- Insert the right knitting needle from back to front of the first stitch on the left knitting needle.
- Take the working yarn around the top of the right needle and wrap it between the two needles on top of the first stitch
- Catch and pick up the working yarn loop (the new stitch) with the right needle
- Slip the first stitch off the left needle and onto the right needle for the new knit stitch
- Repeat the steps above till one stitch before end of row
- Bring the working yarn to front (Tutorial Series: WYIF and WYIB), slip the last stitch (Tutorial Series: Slipping Stitches – Knitwise versus Purlwise)
- Turn to the next row and repeat all the steps above for the one-row garter stitch pattern with slipped edge stitches
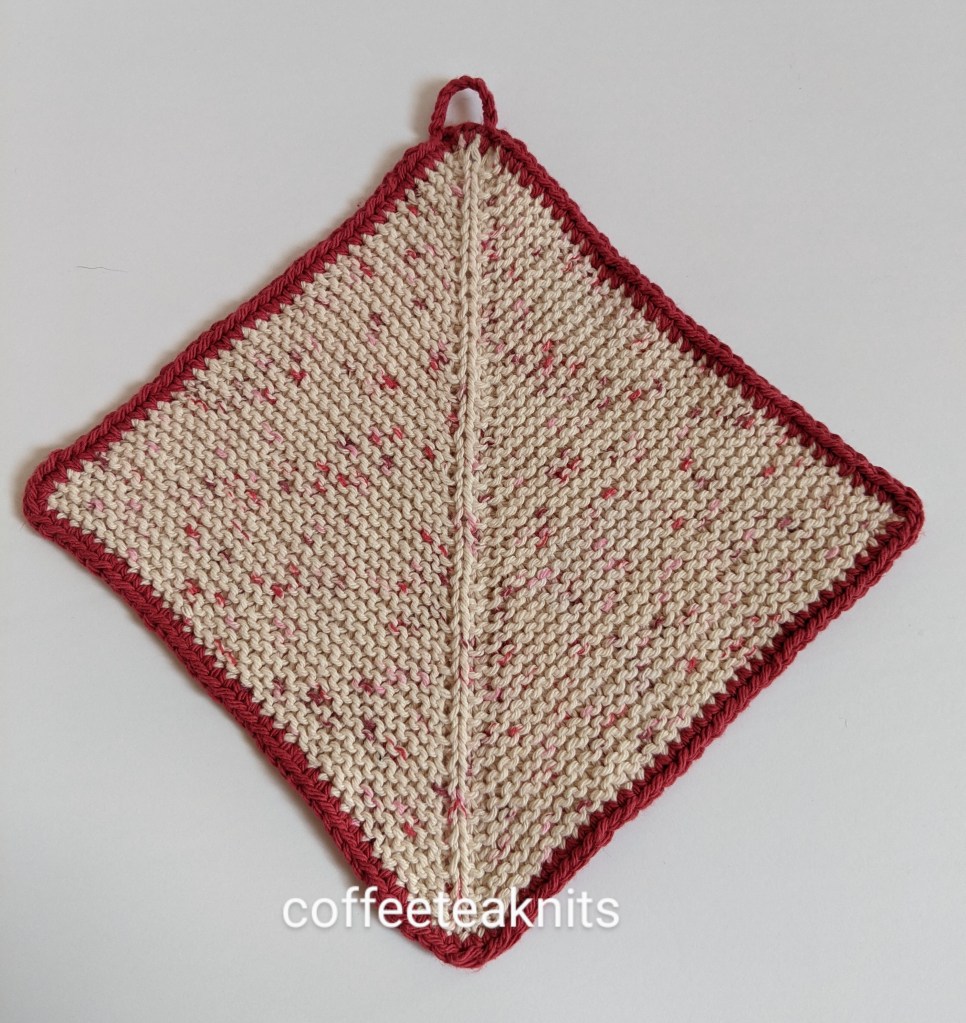
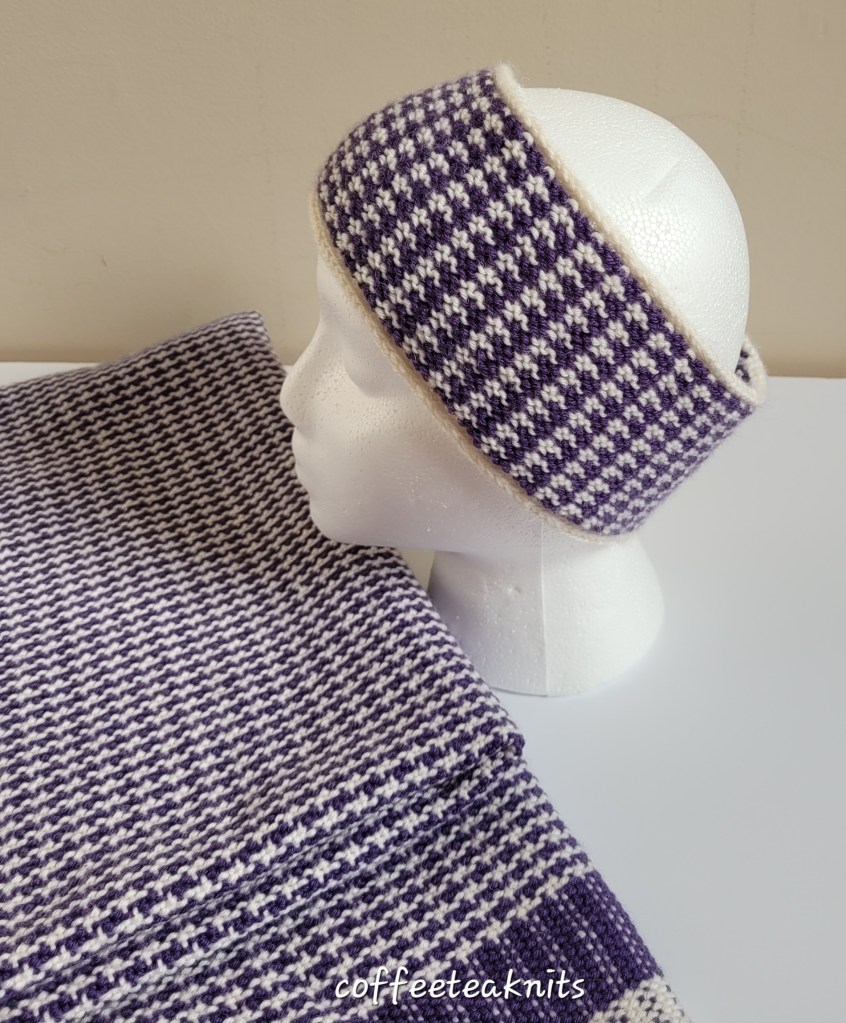
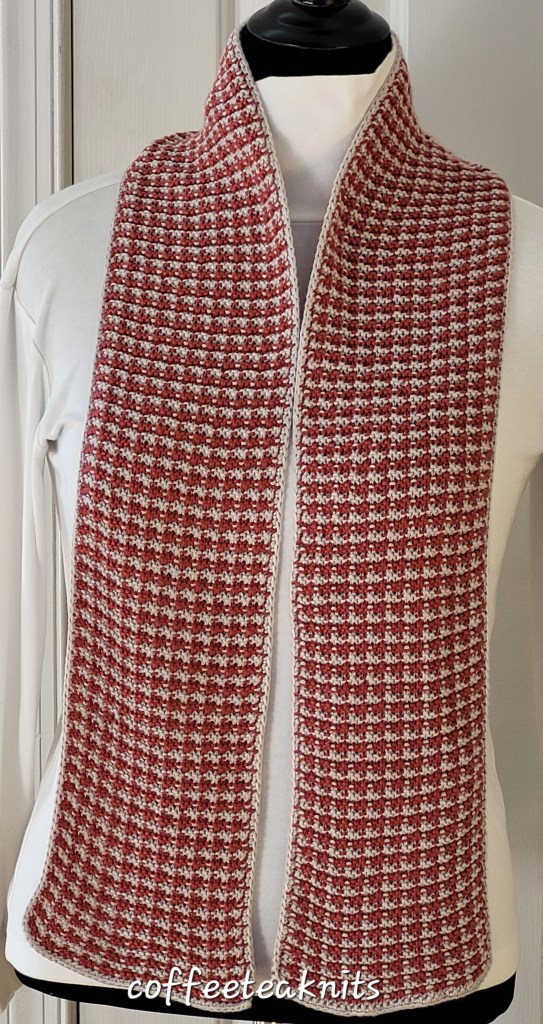
Some of my patterns where I’ve used the garter stitch are shown below:

~coffeeteaknits.com
© Coffee Tea Knits. All text and images for personal use only. All Rights Reserved.