Introduction:
The technique of picking up the edge stitches in knitting is useful for adding borders, for seamless garment construction etc. Picking up the number of stitches from the cast on edge or the bind off edge is more straightforward than picking up stitches from the side (vertical) edges. It is easier to insert the knitting needle and pick up the V shaped stitches (< or >) of the cast on and bind off edges. Whether working on scarves, sweaters, or intricate lace designs, understanding how to effectively pick up edge stitches is an essential skill that can elevate one’s knitting projects and experience.
One way to make picking up vertical (side edge) stitches more straightforward is to slip the last stitch in a row with yarn in front (Tutorial Series: WYIF and WYIB)
Comparison of Side Edge Stitches:
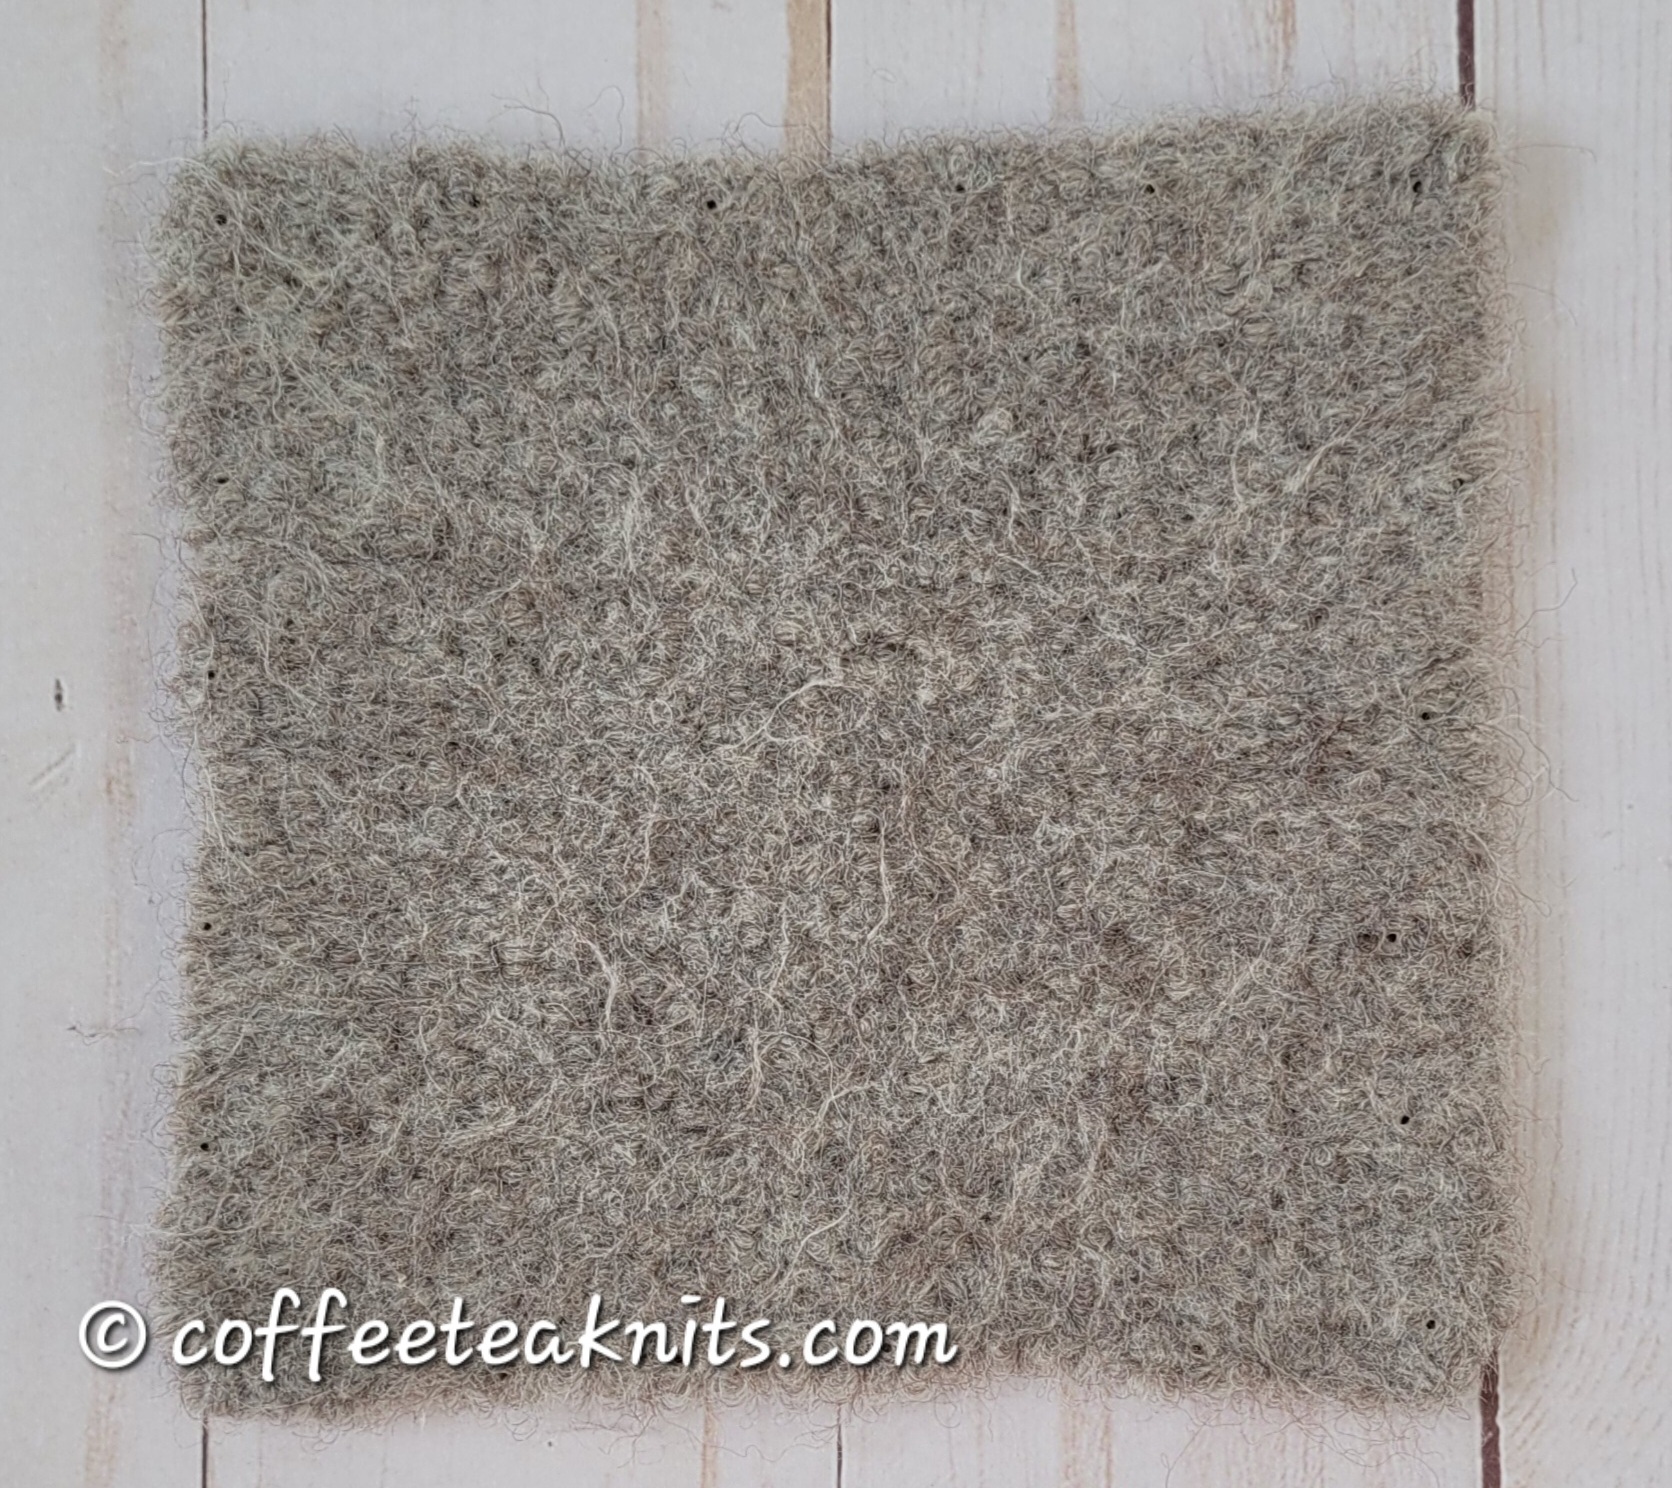
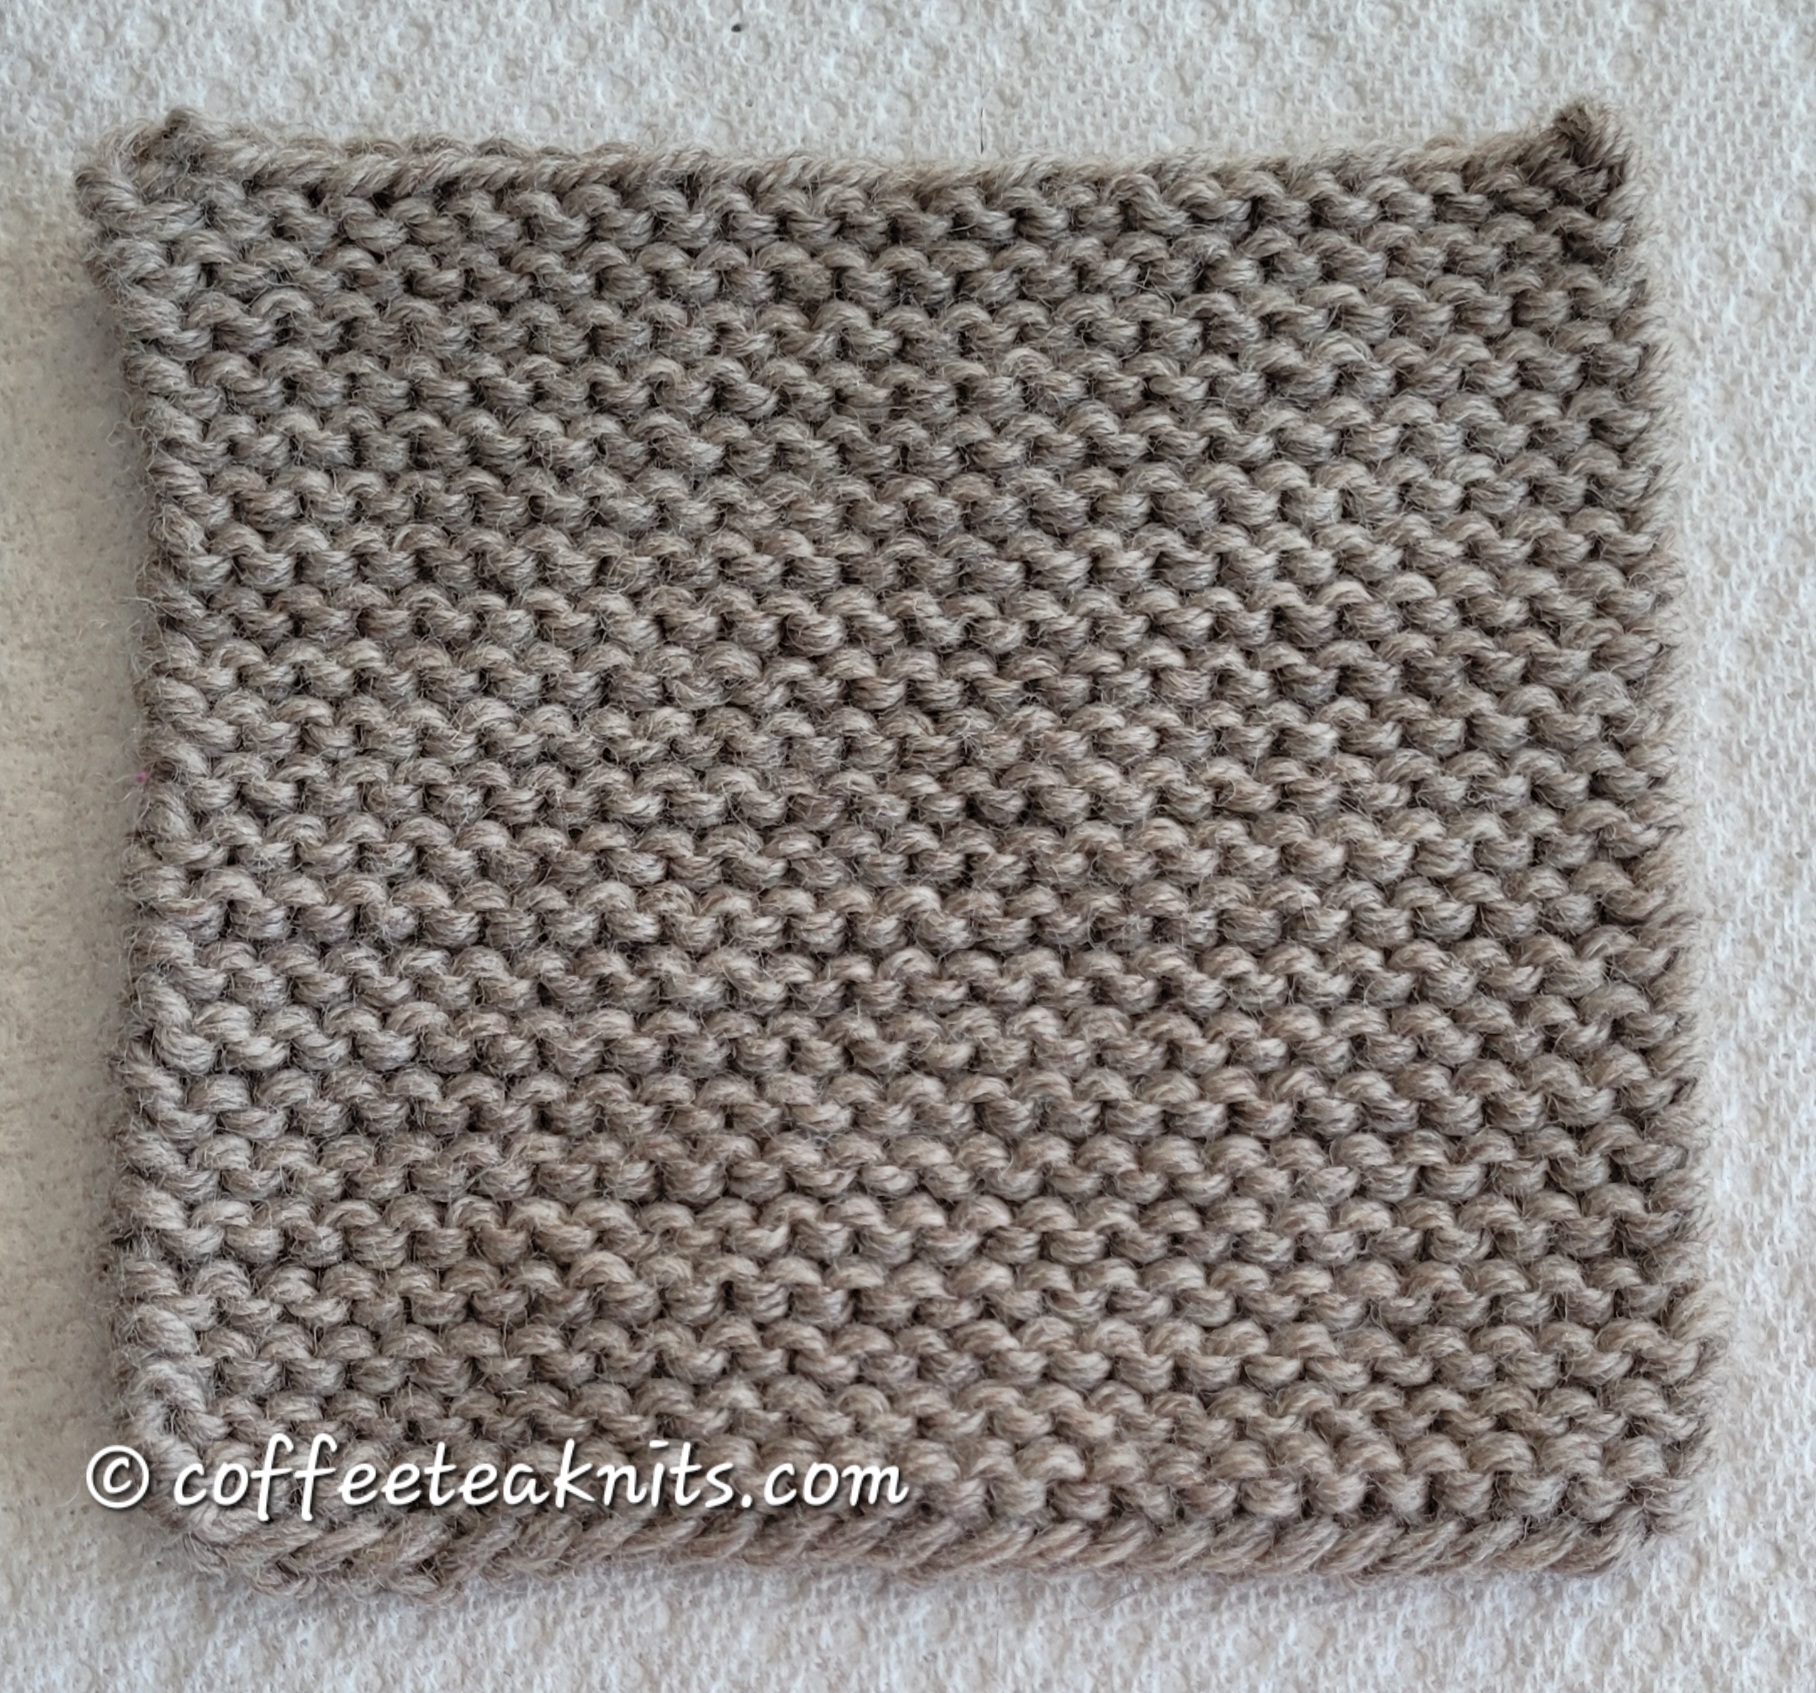
The images below show two garter stitch pattern (knit all rows) swatches. One swatch was knit with no slipped side edge stitches while the other swatch was knit with slipped side edge stitches.
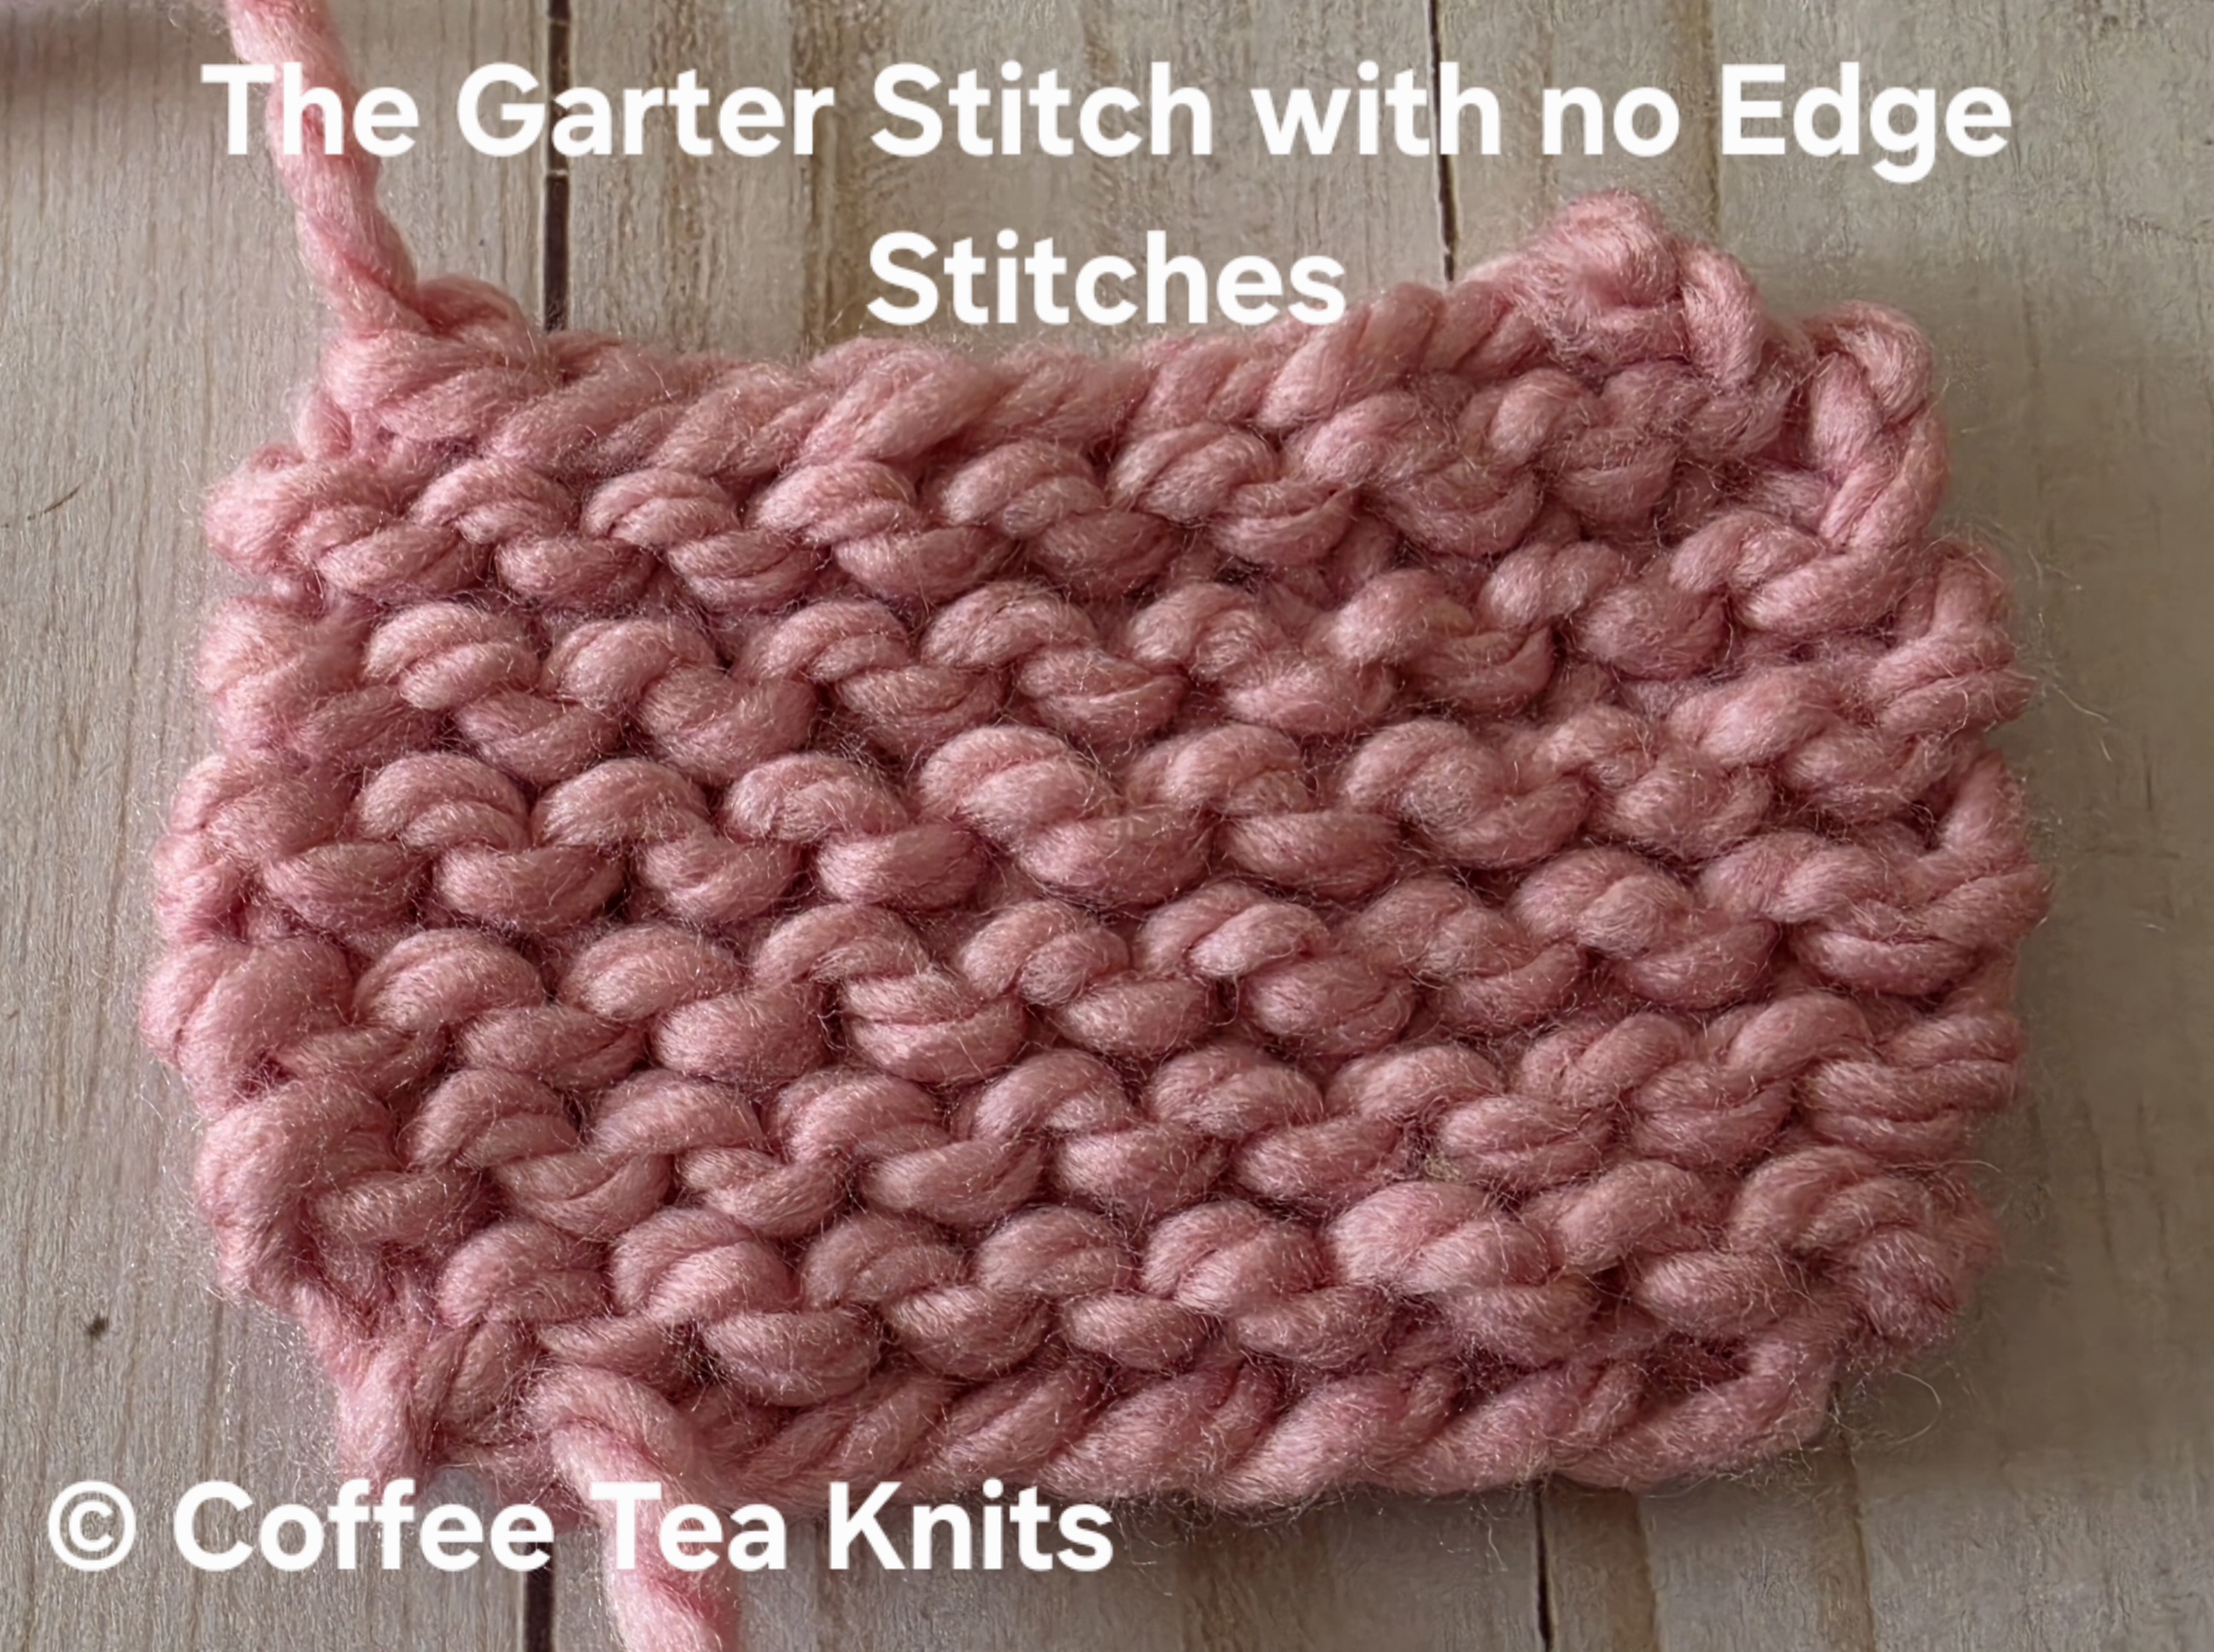
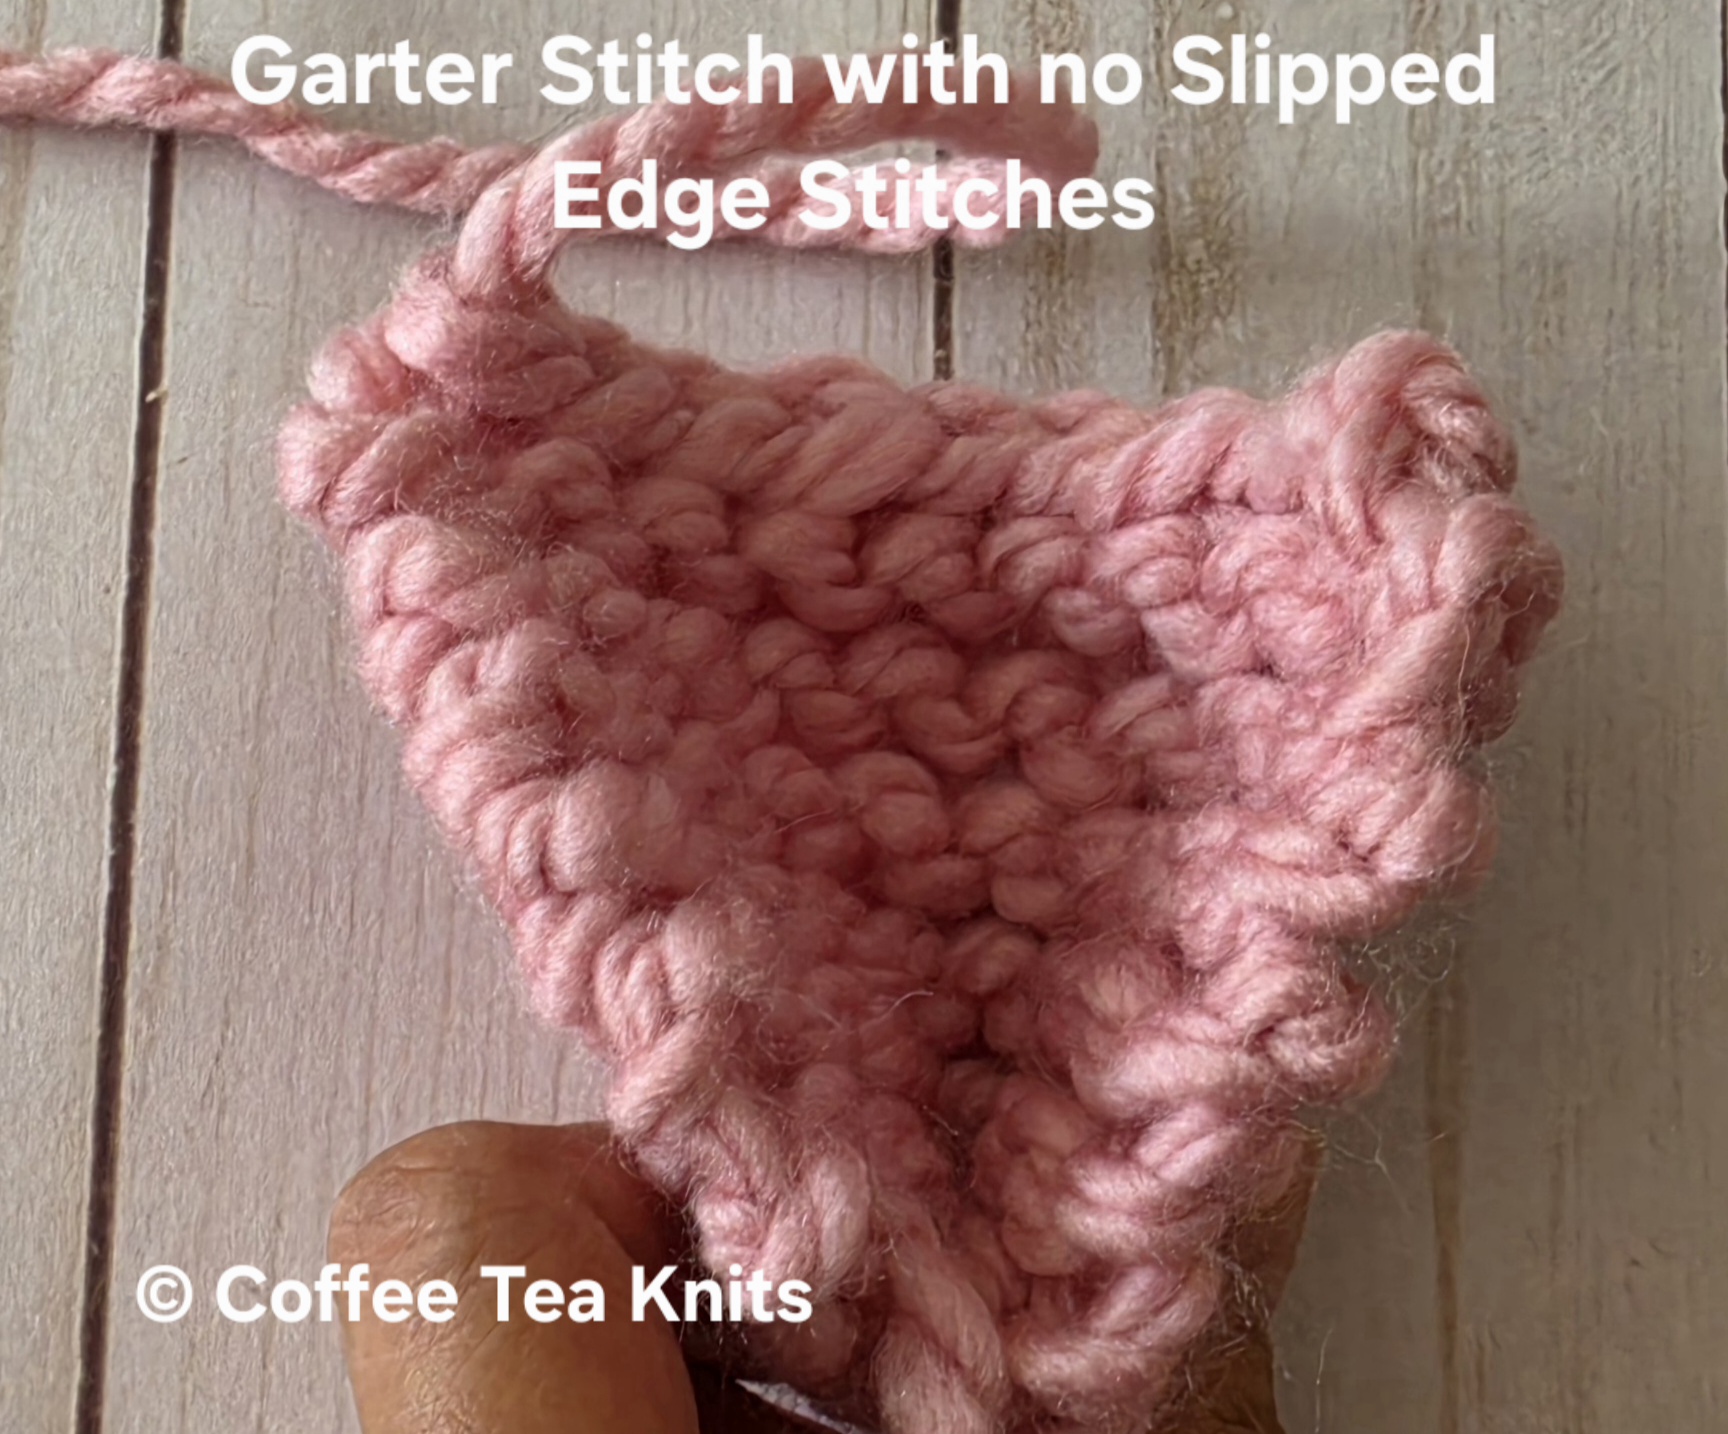
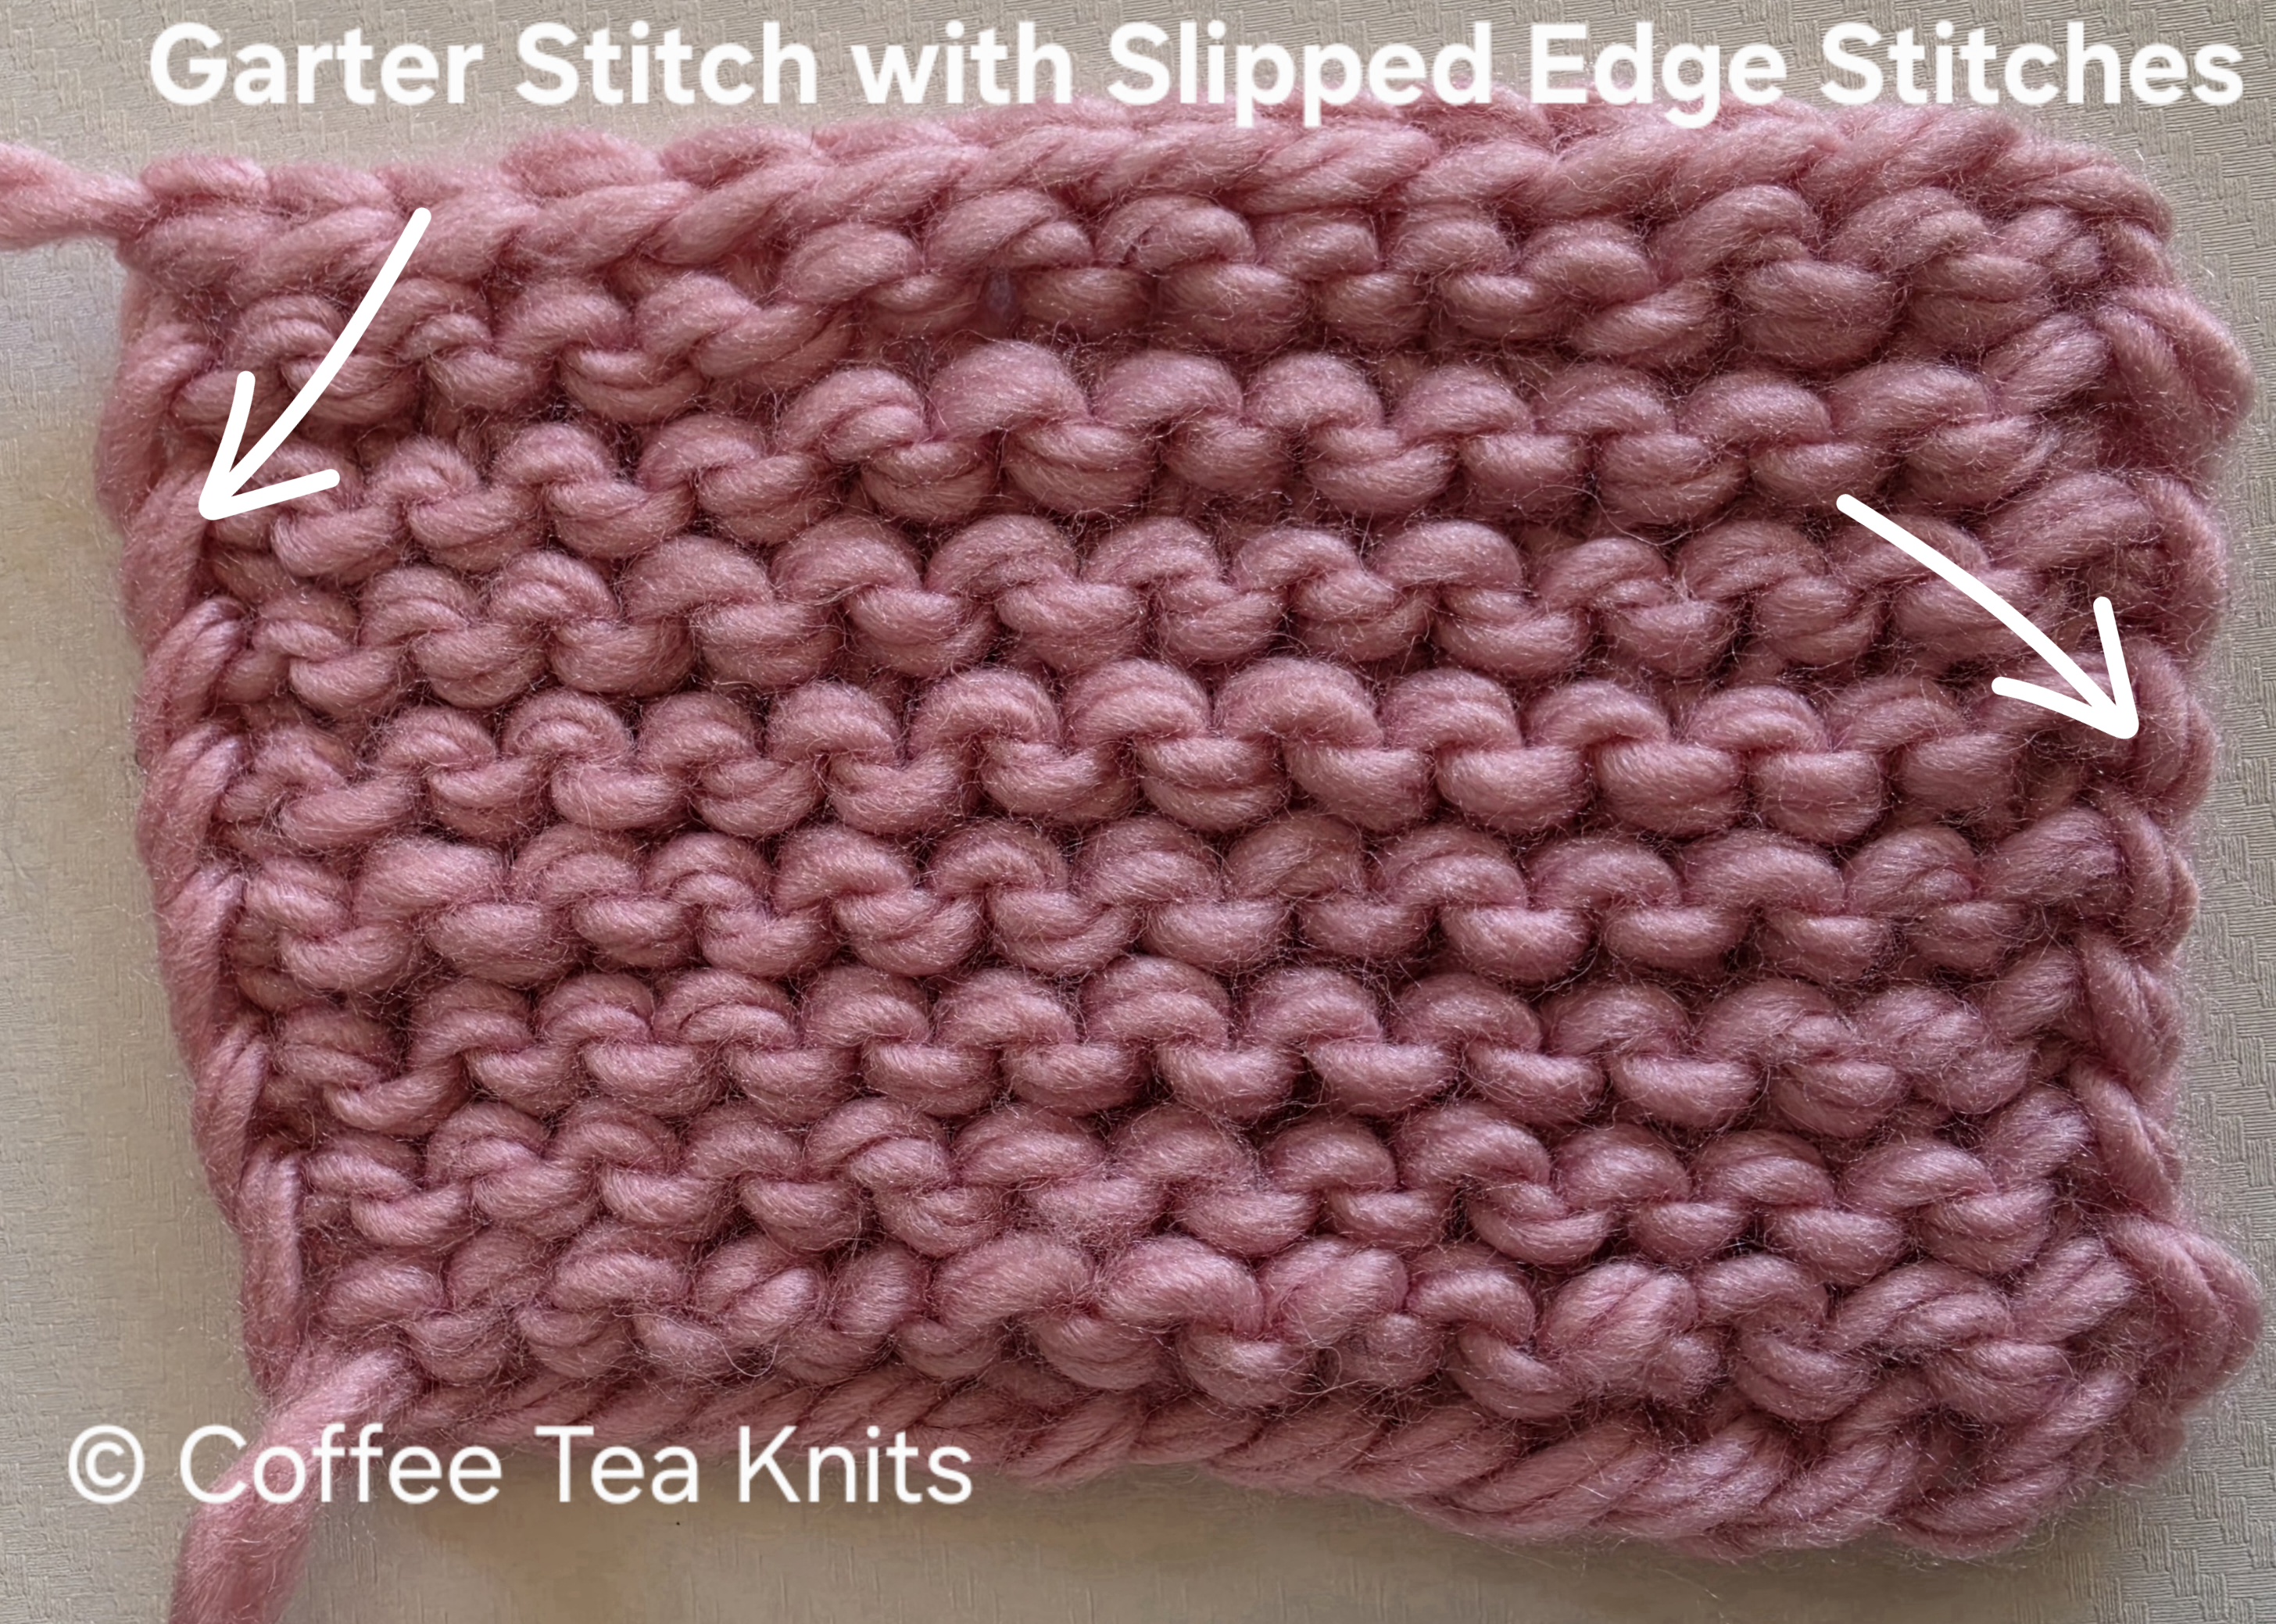
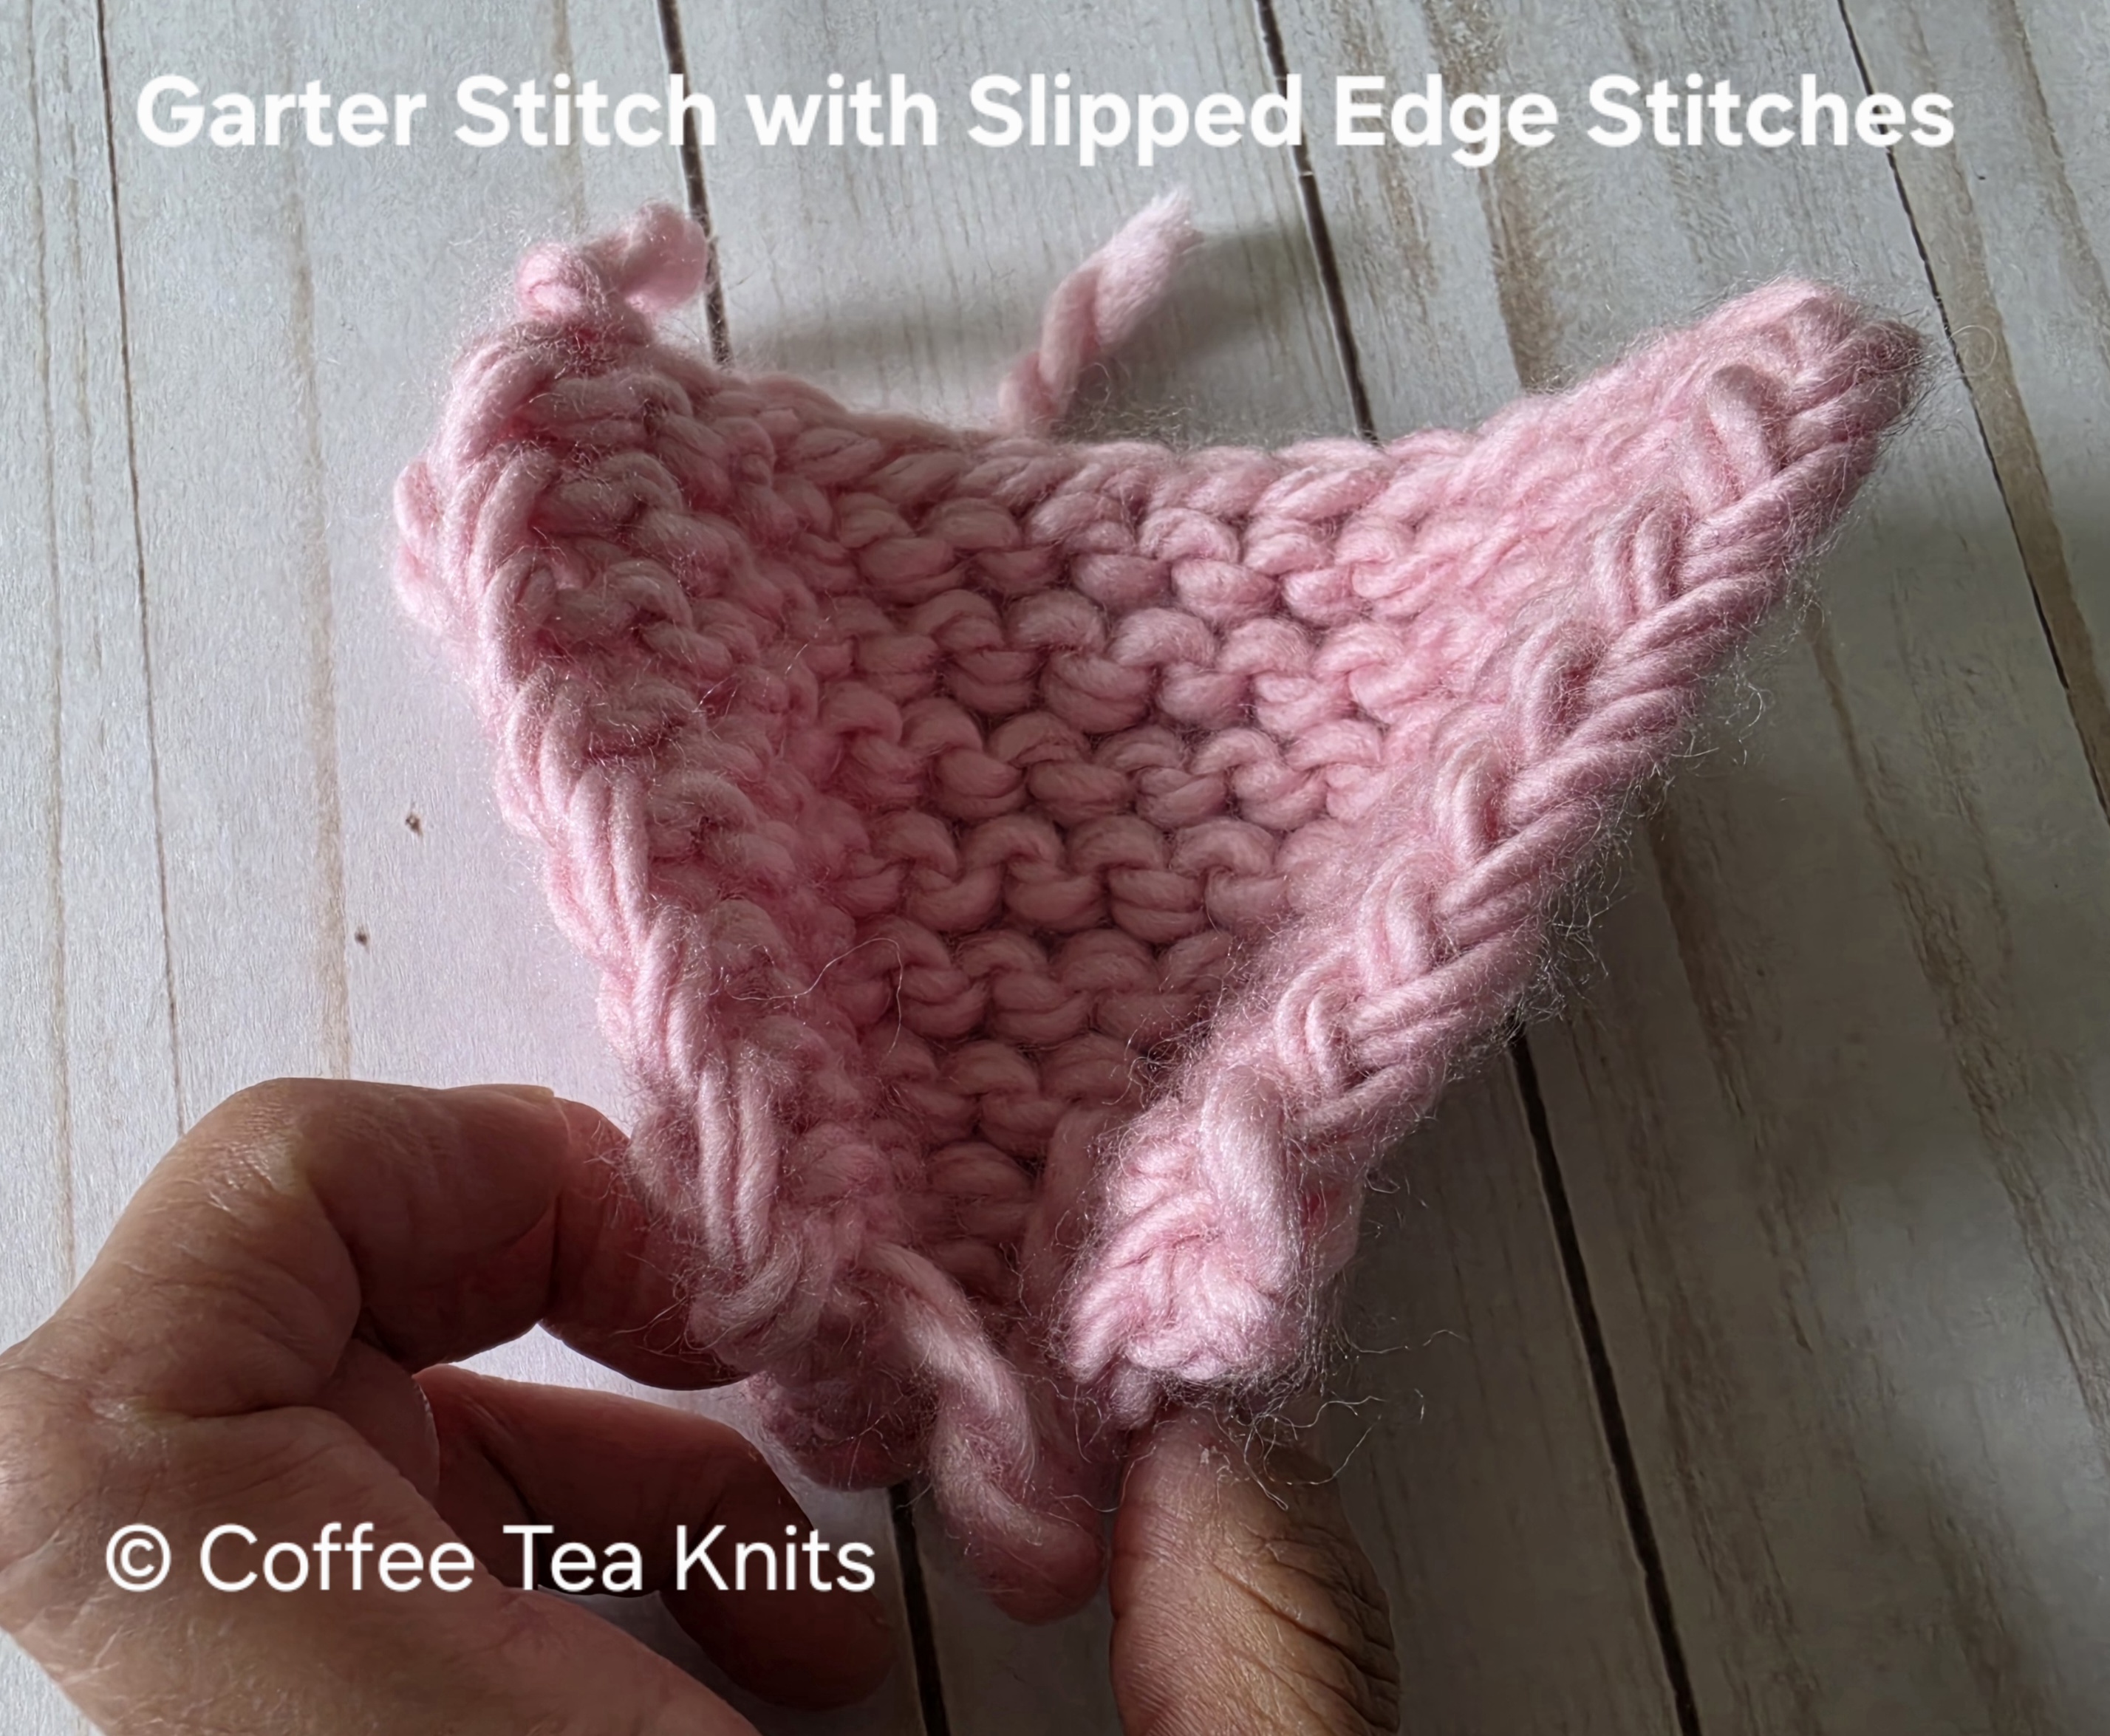
As in the images above, the V shape created by the slipped side edge stitches not only enhances the visual appeal of the knitting project but also makes it significantly easier to know exactly where to insert the knitting needle. In contrast, when there are no slipped edge stitches, determining the appropriate insertion point for the needle becomes a bit of guesswork, leading to potential frustration. Having these stitches as a reference point can greatly improve the overall experience, allowing for a smoother and more enjoyable knitting process.
Most of my knitted dishcloth patterns have slipped side edge stitches that are later picked up for a crochet or knit border. The Knotted Dishcloth, The Upside Down Dishcloth, The Center Out Mitered Dishcloth, The Summertime Dishcloth etc. patterns have the last stitches in all the rows slipped with yarn in front.
How to Pick up Slipped Edge Stitches:
The video and written instructions below on how to pick up slipped side edge stitches are for right handed knitting.
Written Instructions on how to Pick Up Slipped Side Edge Stitches:
- Insert the knitting needle under the slipped side edge V stitch (either < shaped or > shaped depending on the direction of the knitting)
- Yarn over with the working yarn (wrap the working yarn counter clockwise around the top of the knitting needle). This yarn over creates a loop
- Catch and pull the yarn loop under the V shaped slipped edge stitch with the knitting needle (one stitch picked up)
- Repeat the above steps to pick up the slipped edge stitches
~coffeeteaknits.com
© Coffee Tea Knits. All text and images for personal use only. All Rights Reserved.