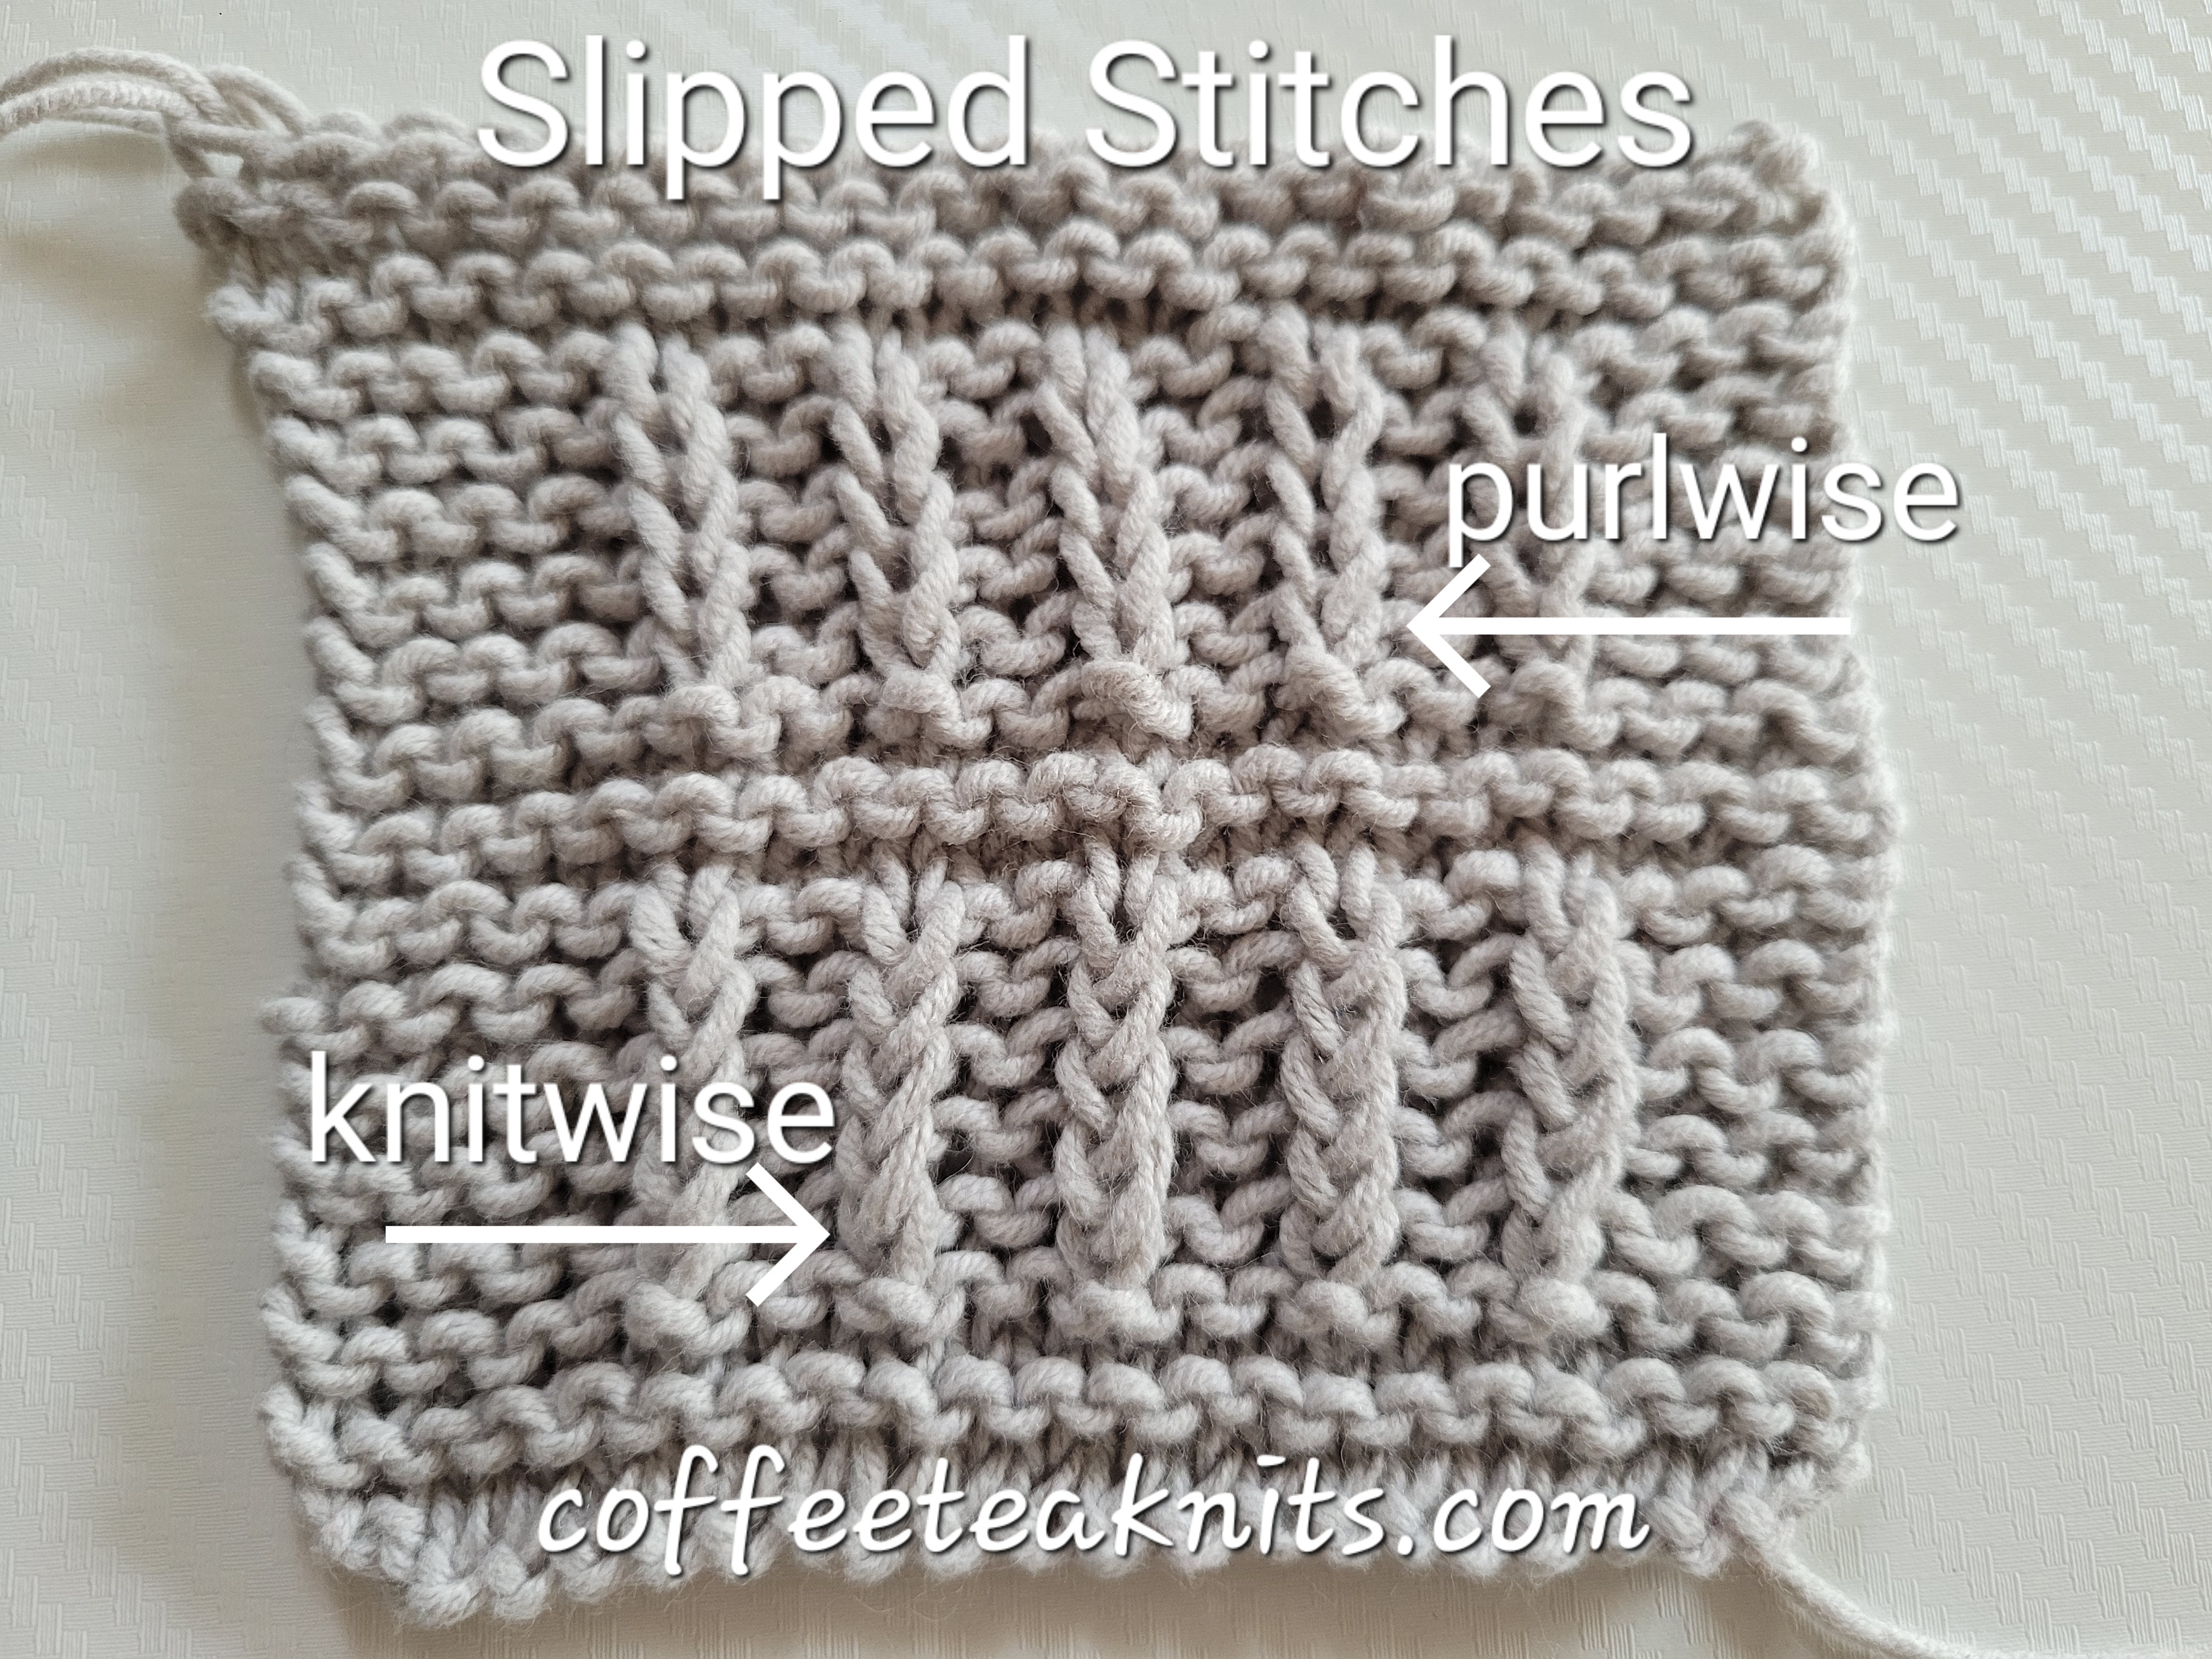
Slipped Stitches are stitches that have not been worked (knitted or purled) with the working yarn. These stitches are just transferred from the left knitting needle to the right knitting needle. The stitches can be slipped to the right knitting needle either knitwise or purlwise. A knit pattern will usually specify how the stitches are to be slipped. Otherwise the default is to slip stitches purlwise. Below is a garter stitch sample with stitches slipped either knitwise or purlwise on the right side. These slipped stitches are then purled on the wrong side of the work. There is some difference in how the stitches look when slipped knitwise versus when they are slipped purlwise.
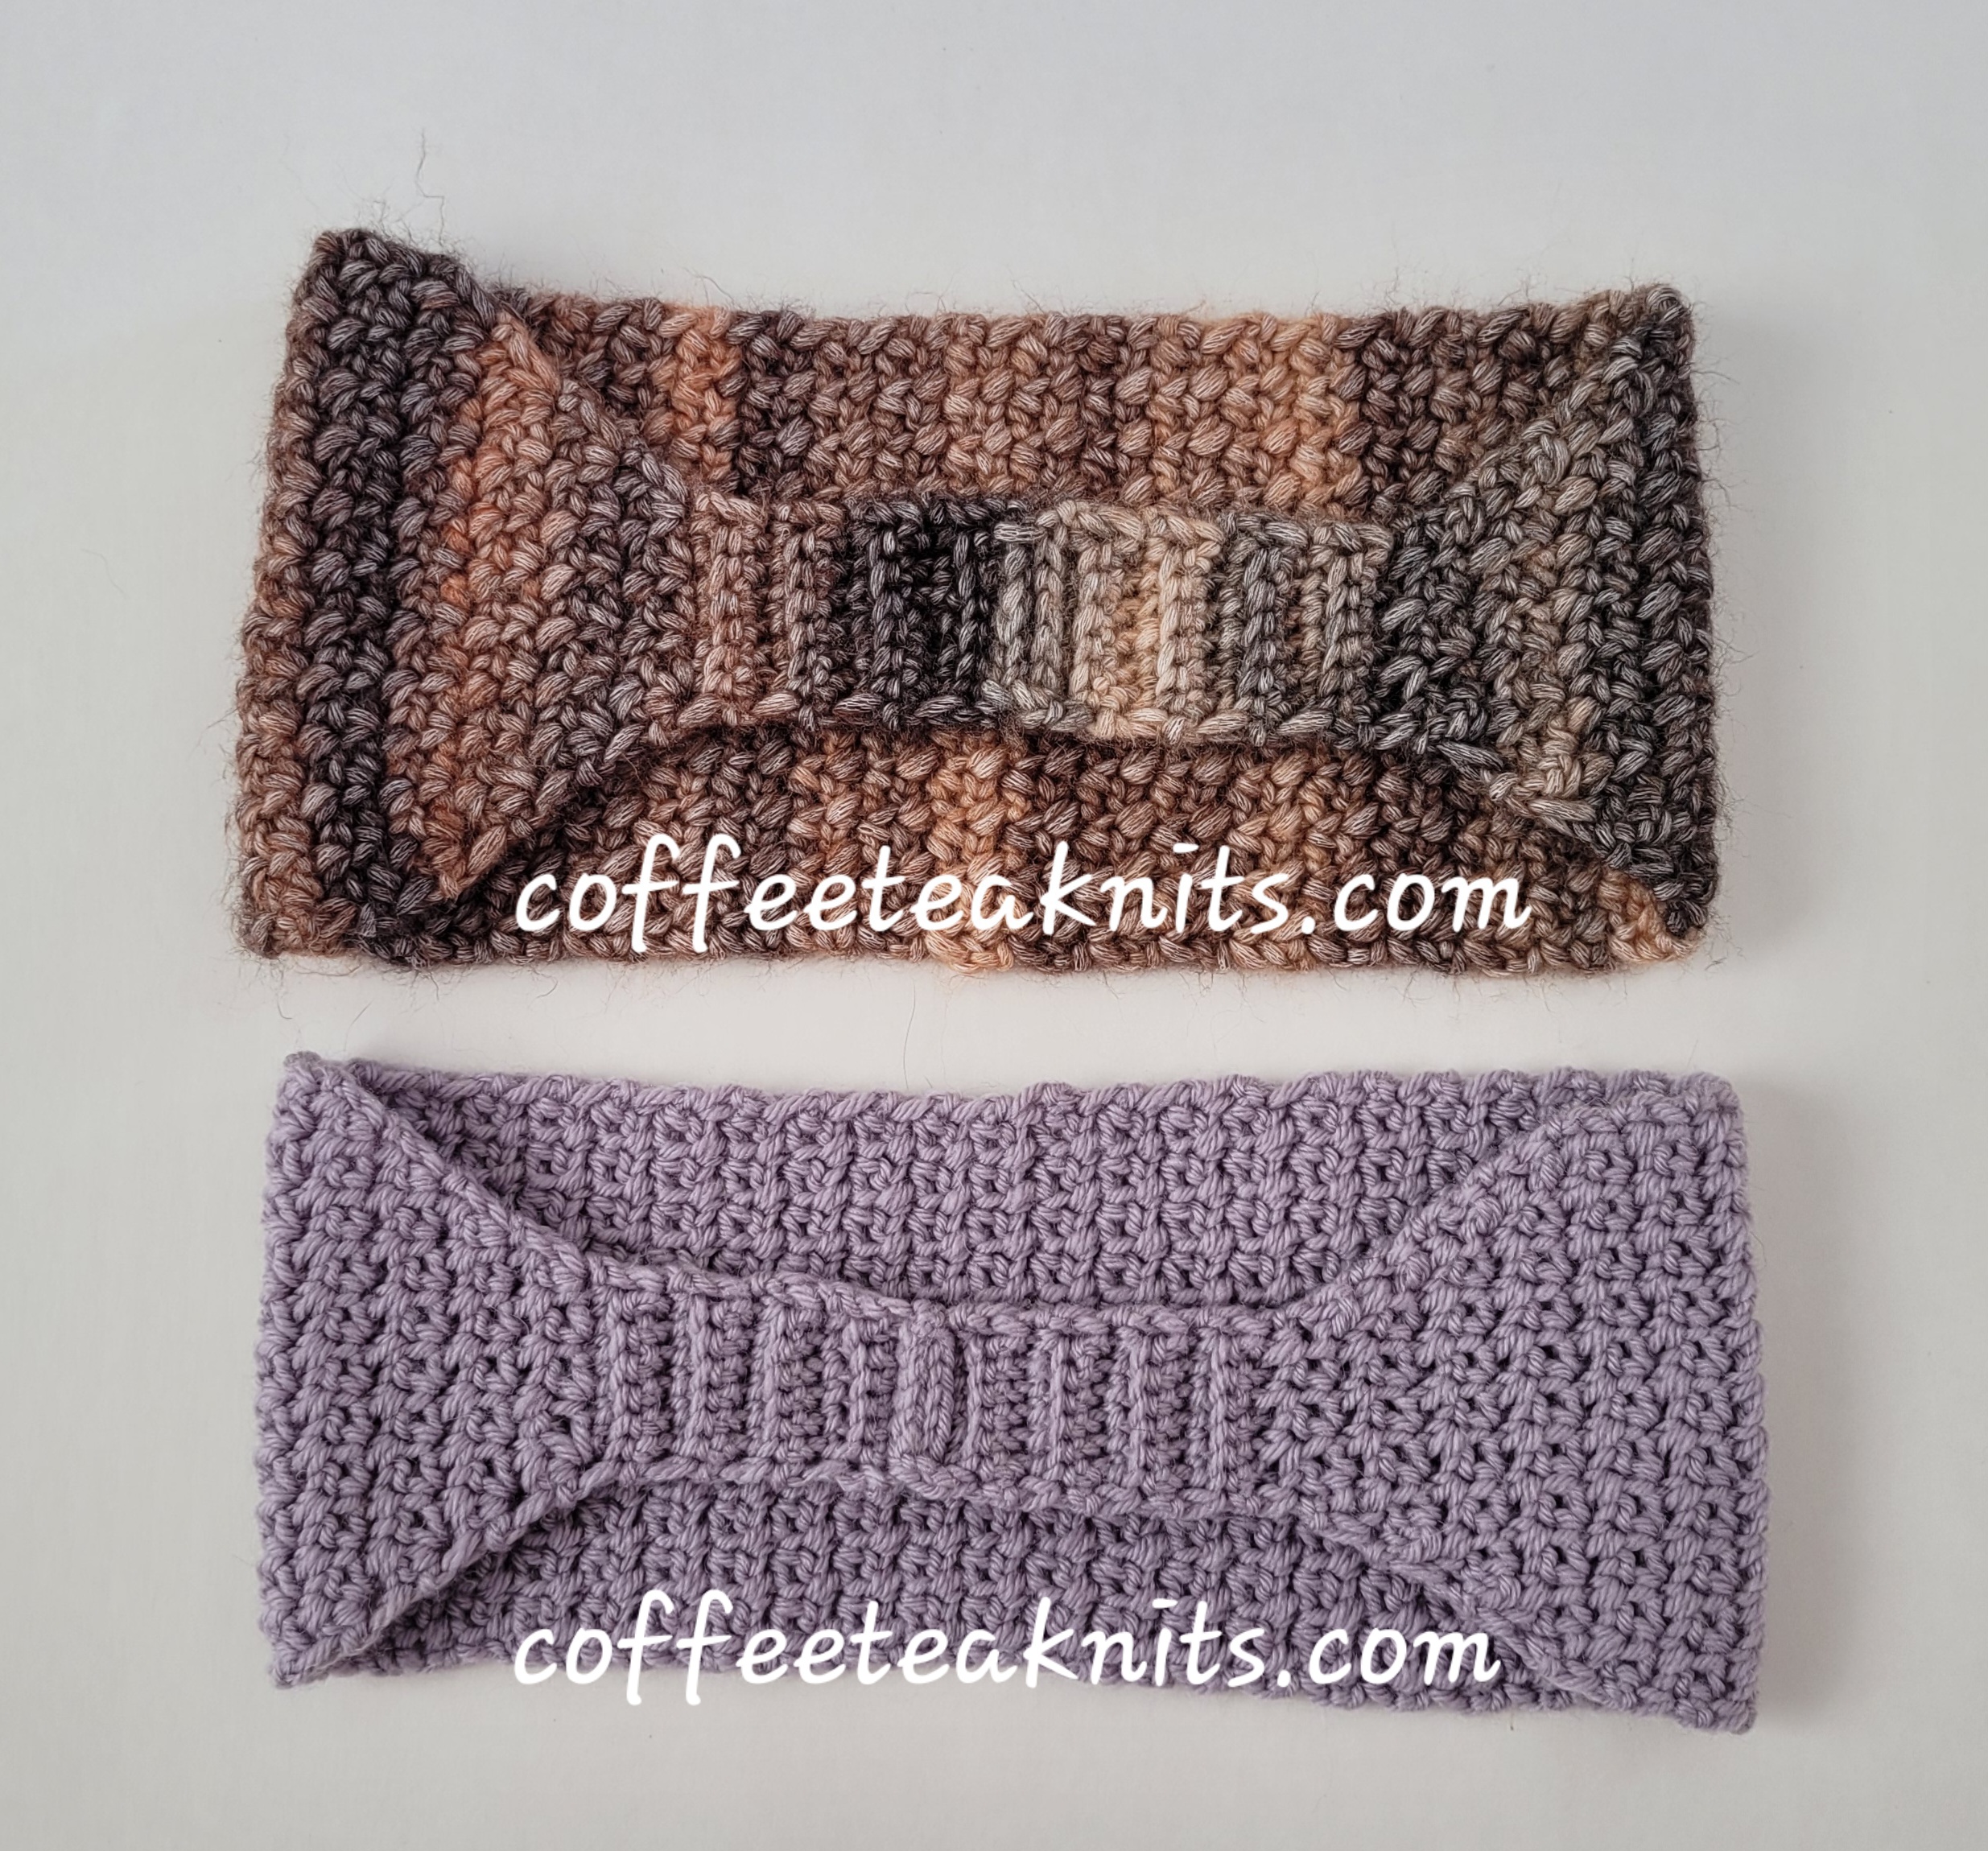
Slipped stitches can be used at the end of the row to create a neat border edge. The Hydrangea Dishcloth is one example where I’ve used slipped stitches at the end of the rows. The Knotted Dishcloth also uses slipped stitches for a neat border edge. Slipped stitches are used to create textured patterns in knitting. The Dotted Dishcloth is an example where slipped stitches create a textured knit stitch pattern. The Light Unexpected Find Wrap as well as The Unexpected Find Wrap also uses the same technique. Slipped stitches are also used in colorwork knitting such as mosaic knitting. An example of slipped stitches in colorwork knitting is The Brick and Mortar Dishcloth.
The video and written instructions below show how to slip stitches knitwise and purlwise for right-hand knitting.
Slipping Stitches (Knitwise):
Slipping Stitches (Knitwise) written instructions:
- Insert the right knitting needle from back to front in the front loop of the first stitch on the left knitting needle
- Holding the stitch with the right needle, slip the first stitch off the left knitting needle and onto the right knitting needle
Slipping Stitches (Purlwise):
Slipping Stitches (Purlwise) written instructions:
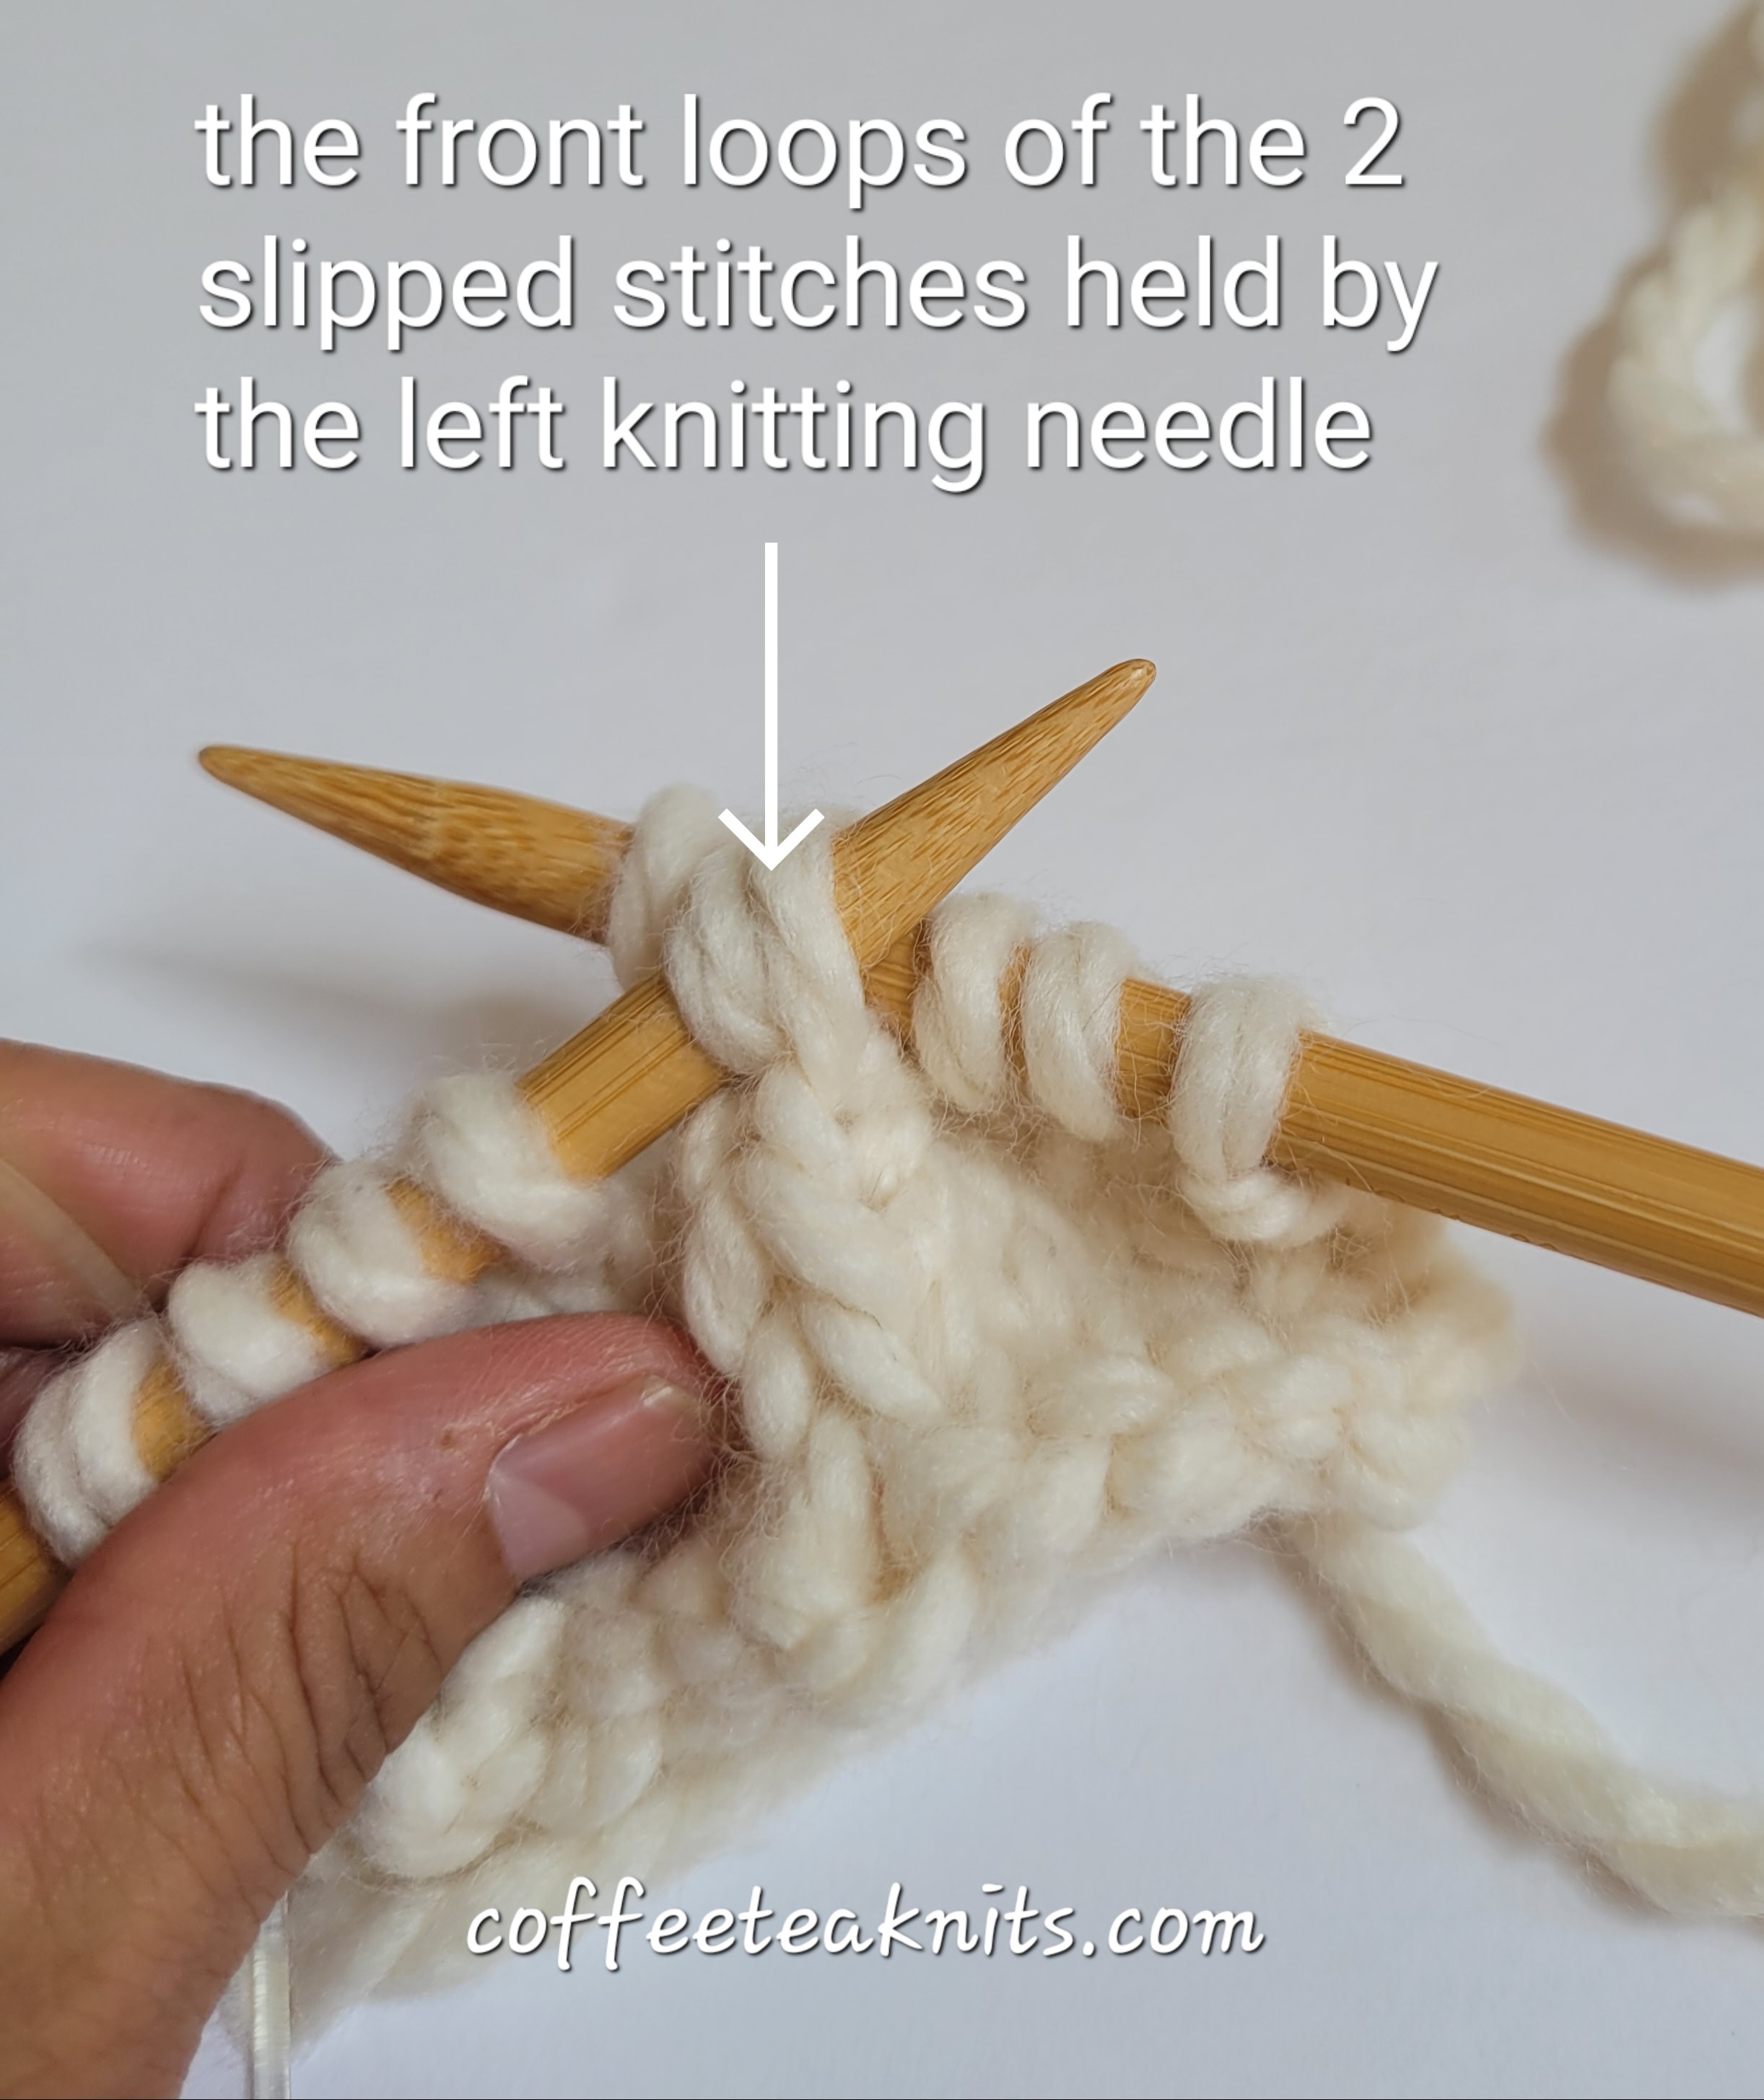
- Insert the right knitting needle from front to back in the front loop of the first stitch on the left knitting needle
- Holding the stitch with the right knitting needle, slip the stitch off the left knitting needle and onto the right knitting needle
Leave a comment below on how you use slipped stitches in your knitting
~coffeeteaknits.com
© Coffee Tea Knits. All text and images for personal use only. All Rights Reserved.