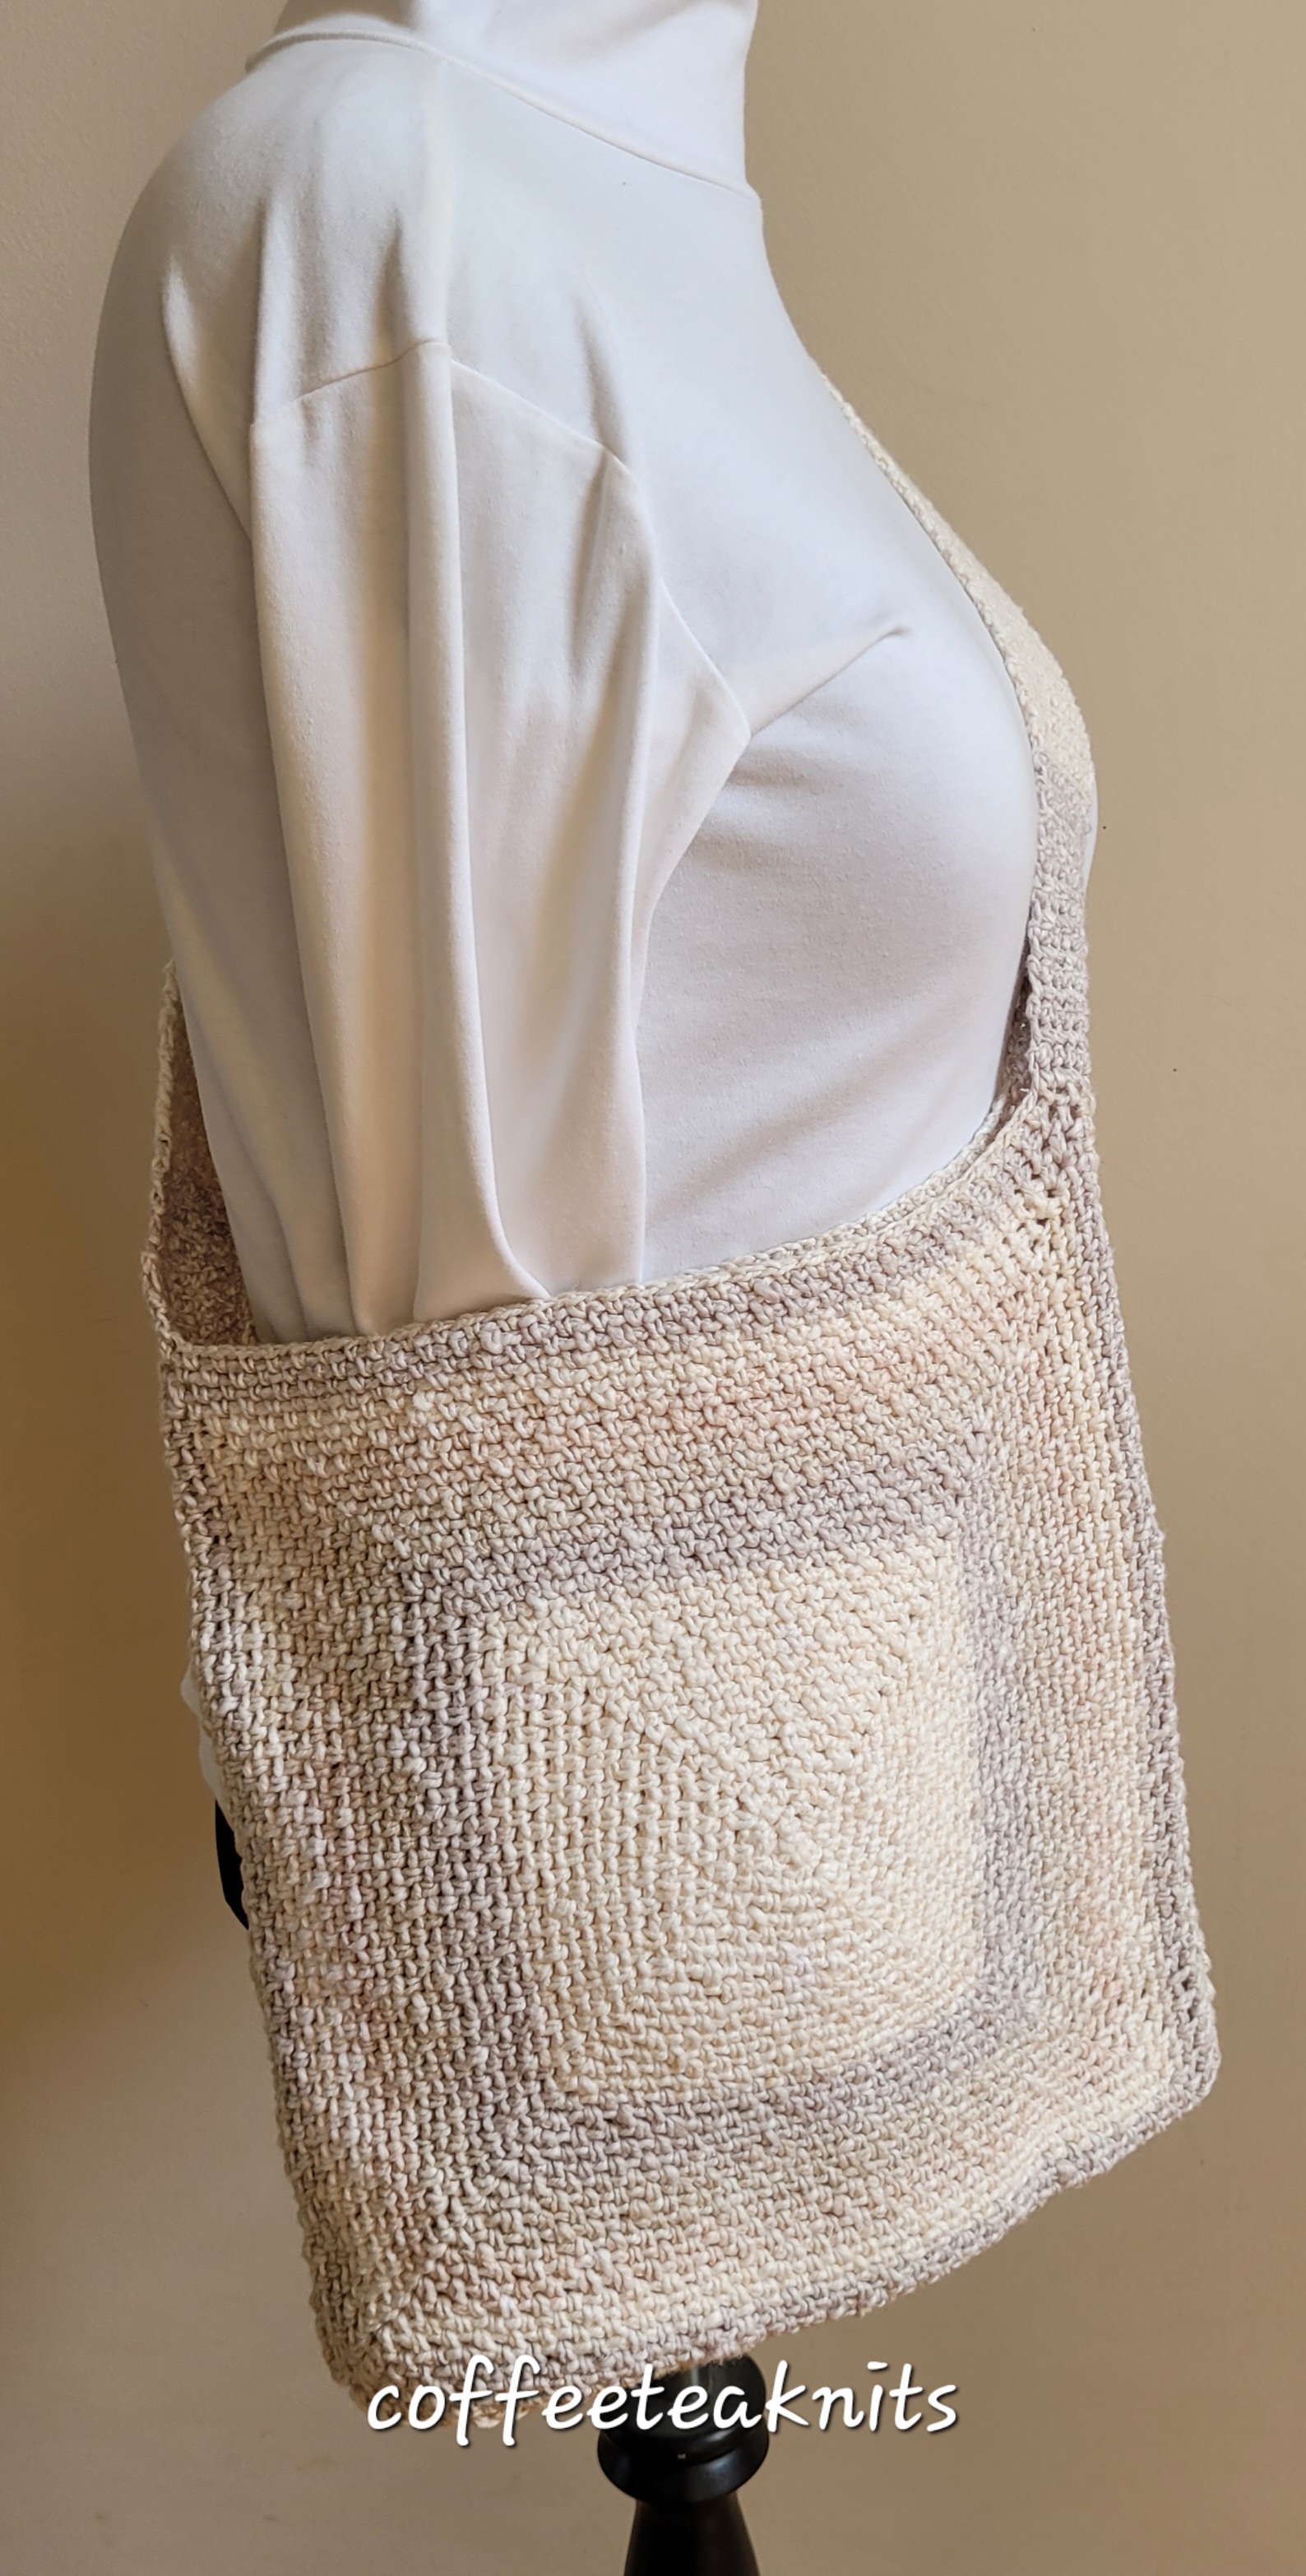
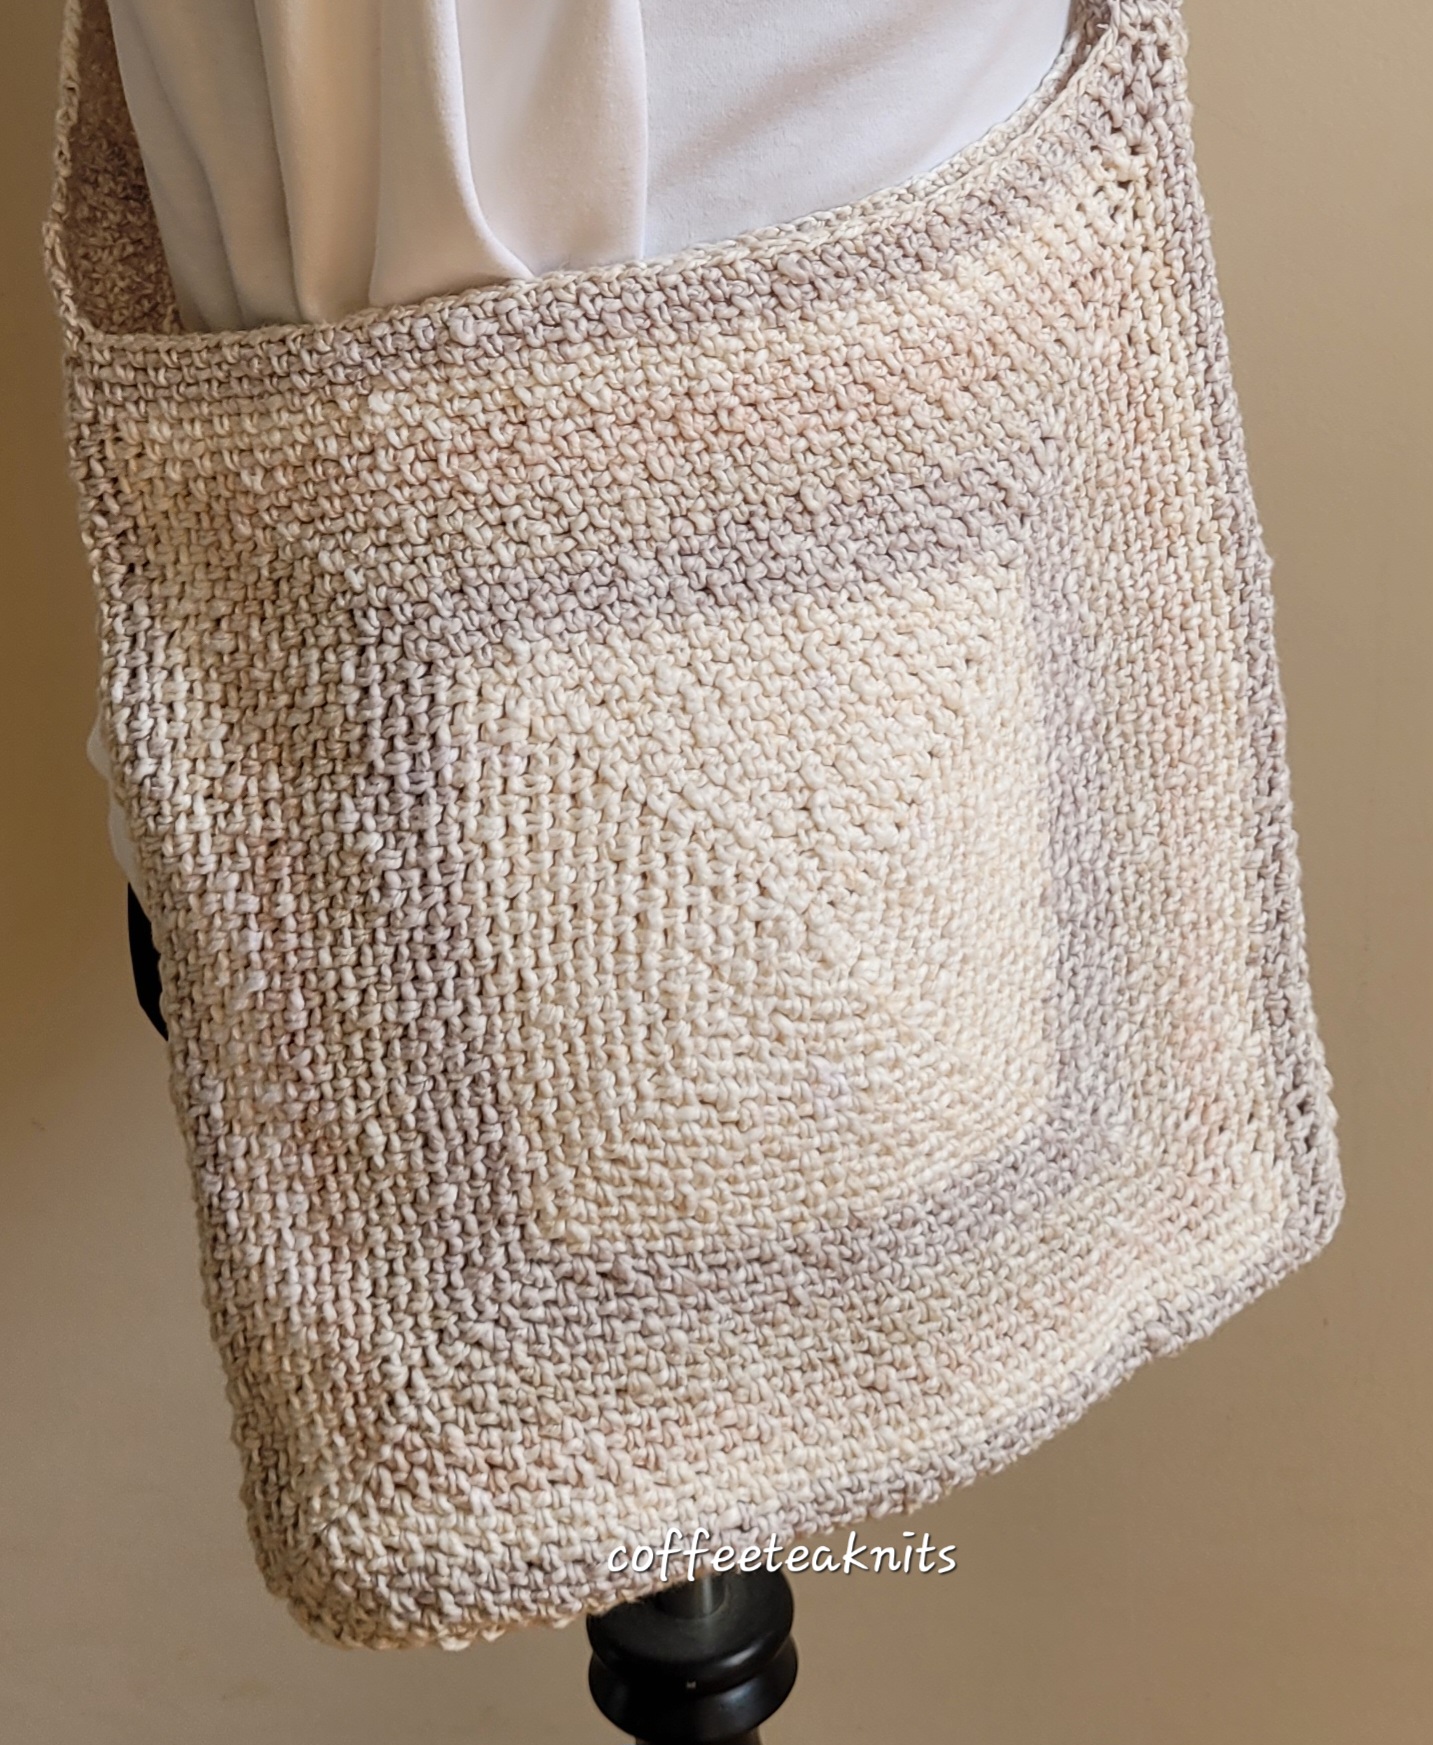
This summer I’ve been obsessed with crochet, especially the crochet moss stitch and the alternate moss stitch patterns. After crocheting the Summertime Market Bag and the Four Section Blanket, I became preoccupied with crocheting a cardigan. More details about the crocheted cardigan in the next post. I am giving in to this crochet obsession since it’s faster than knitting and projects are completed in less time.
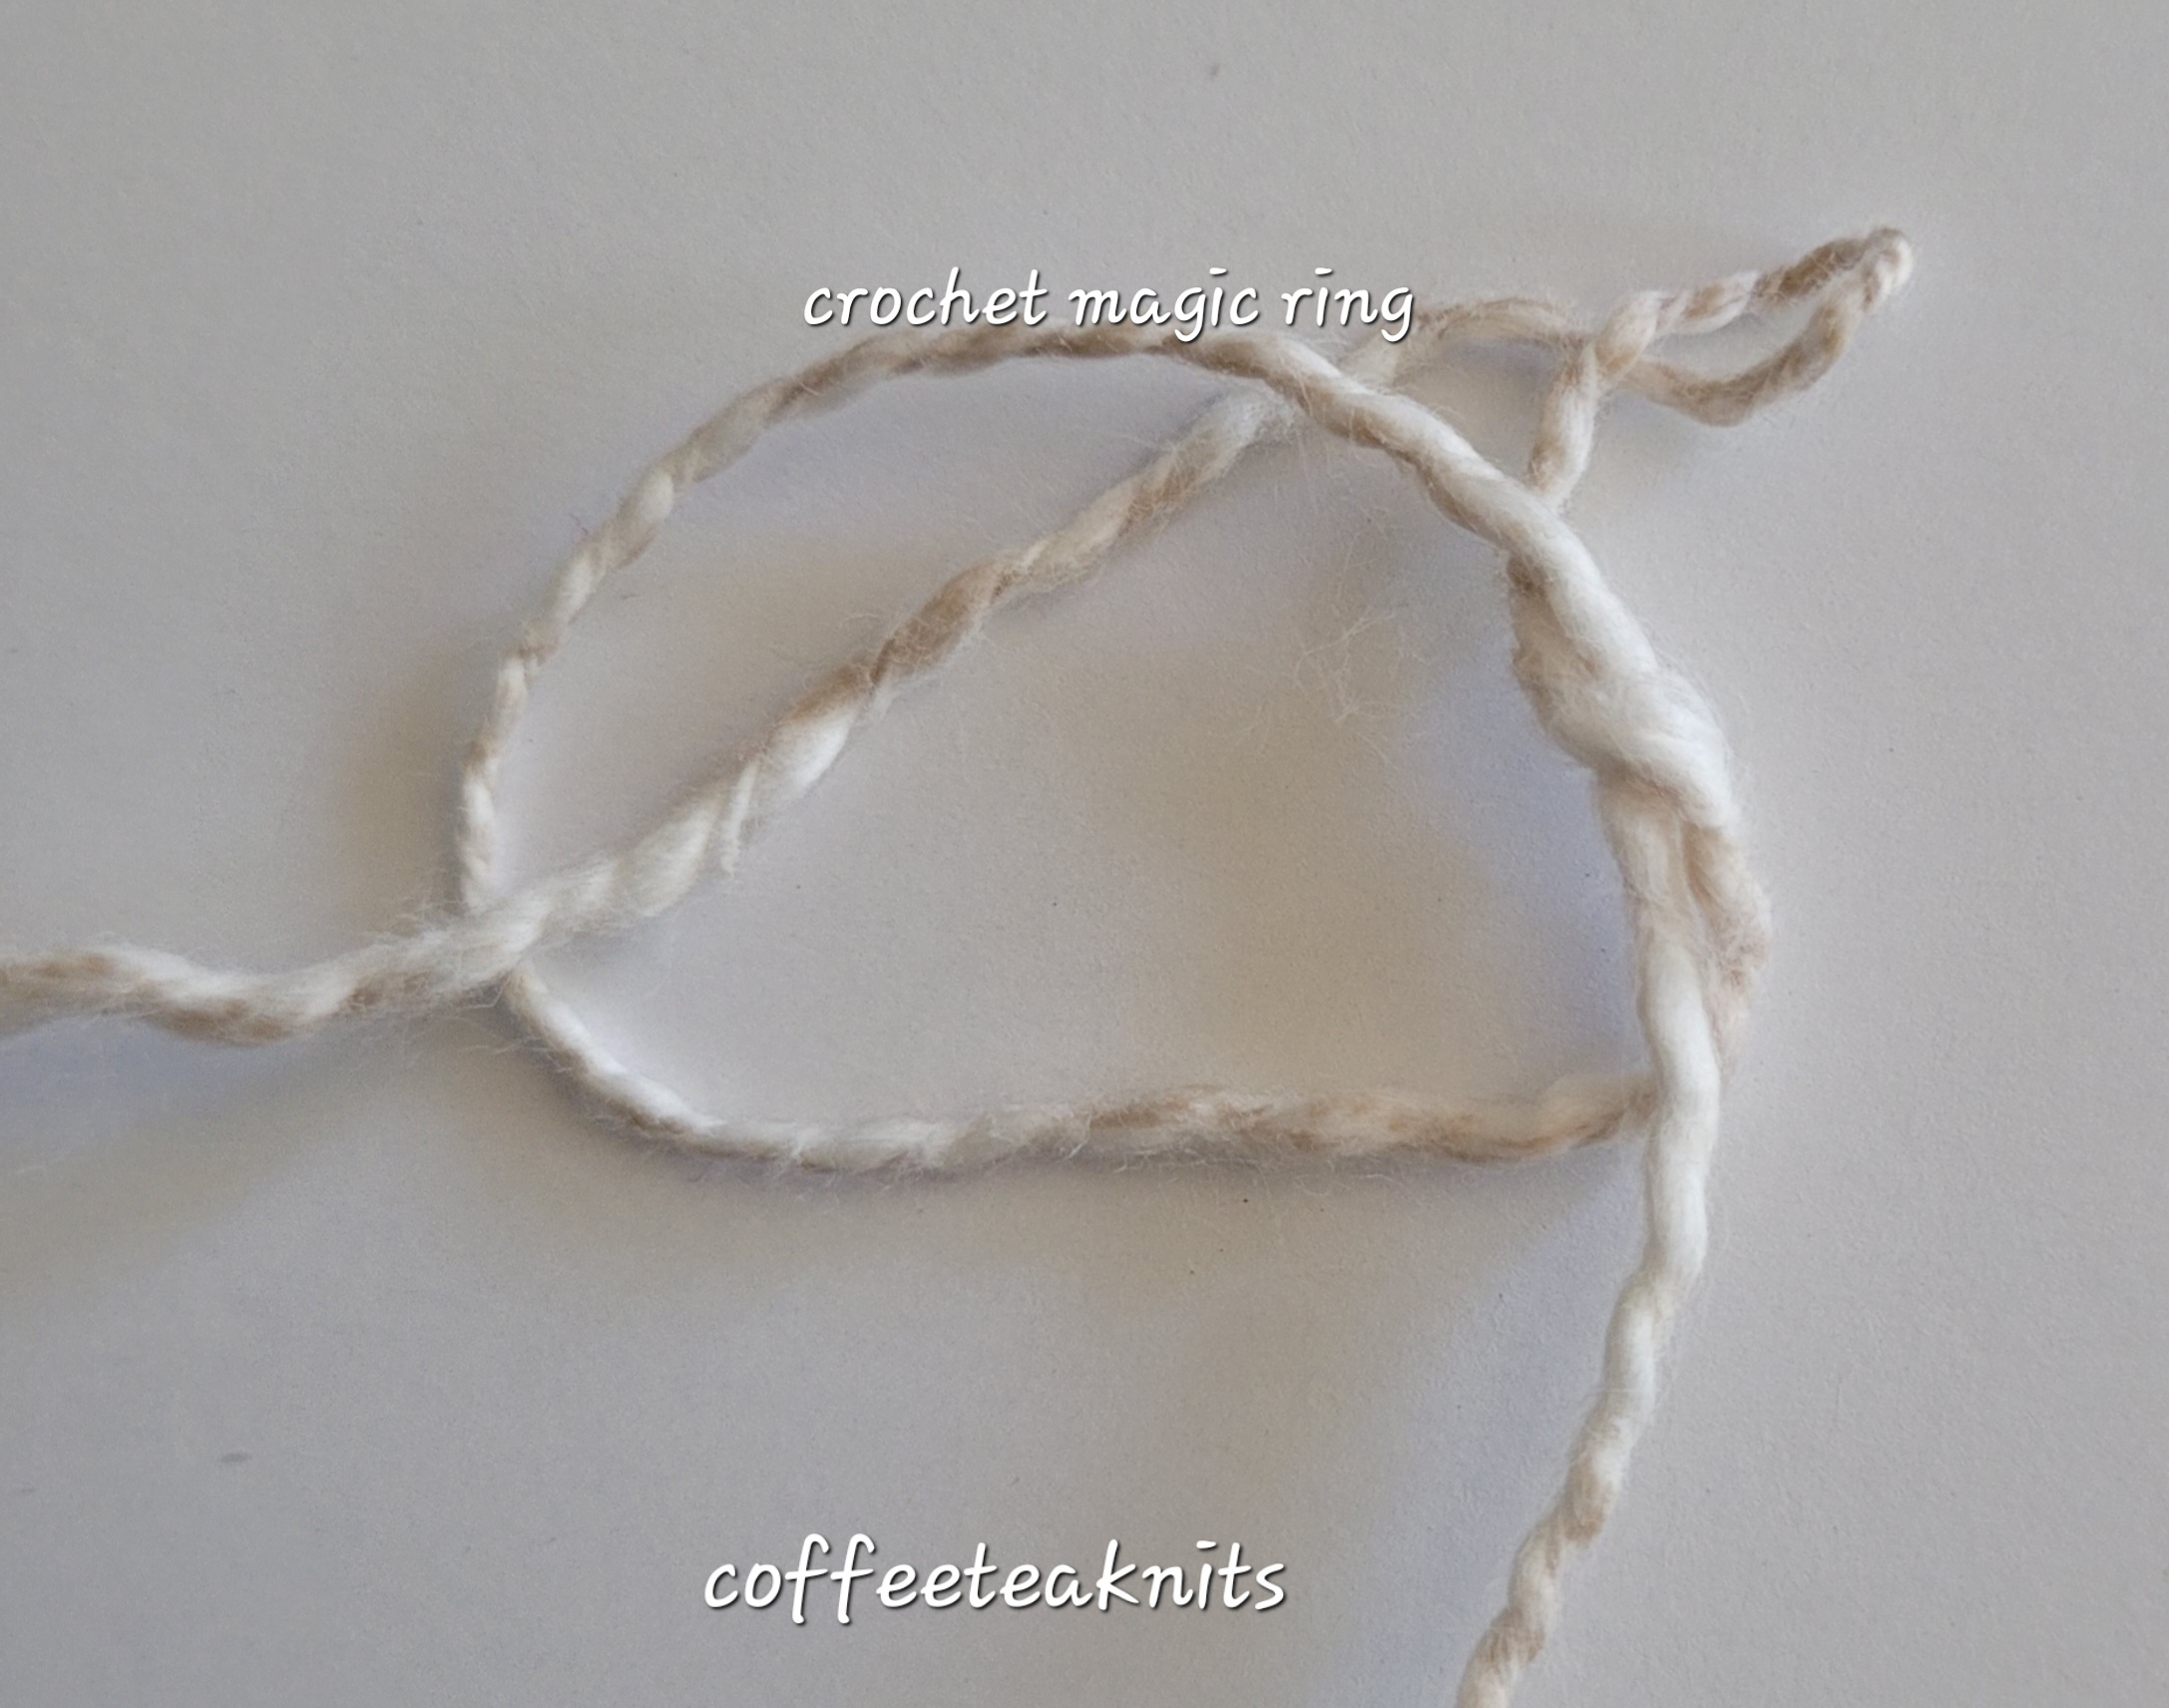
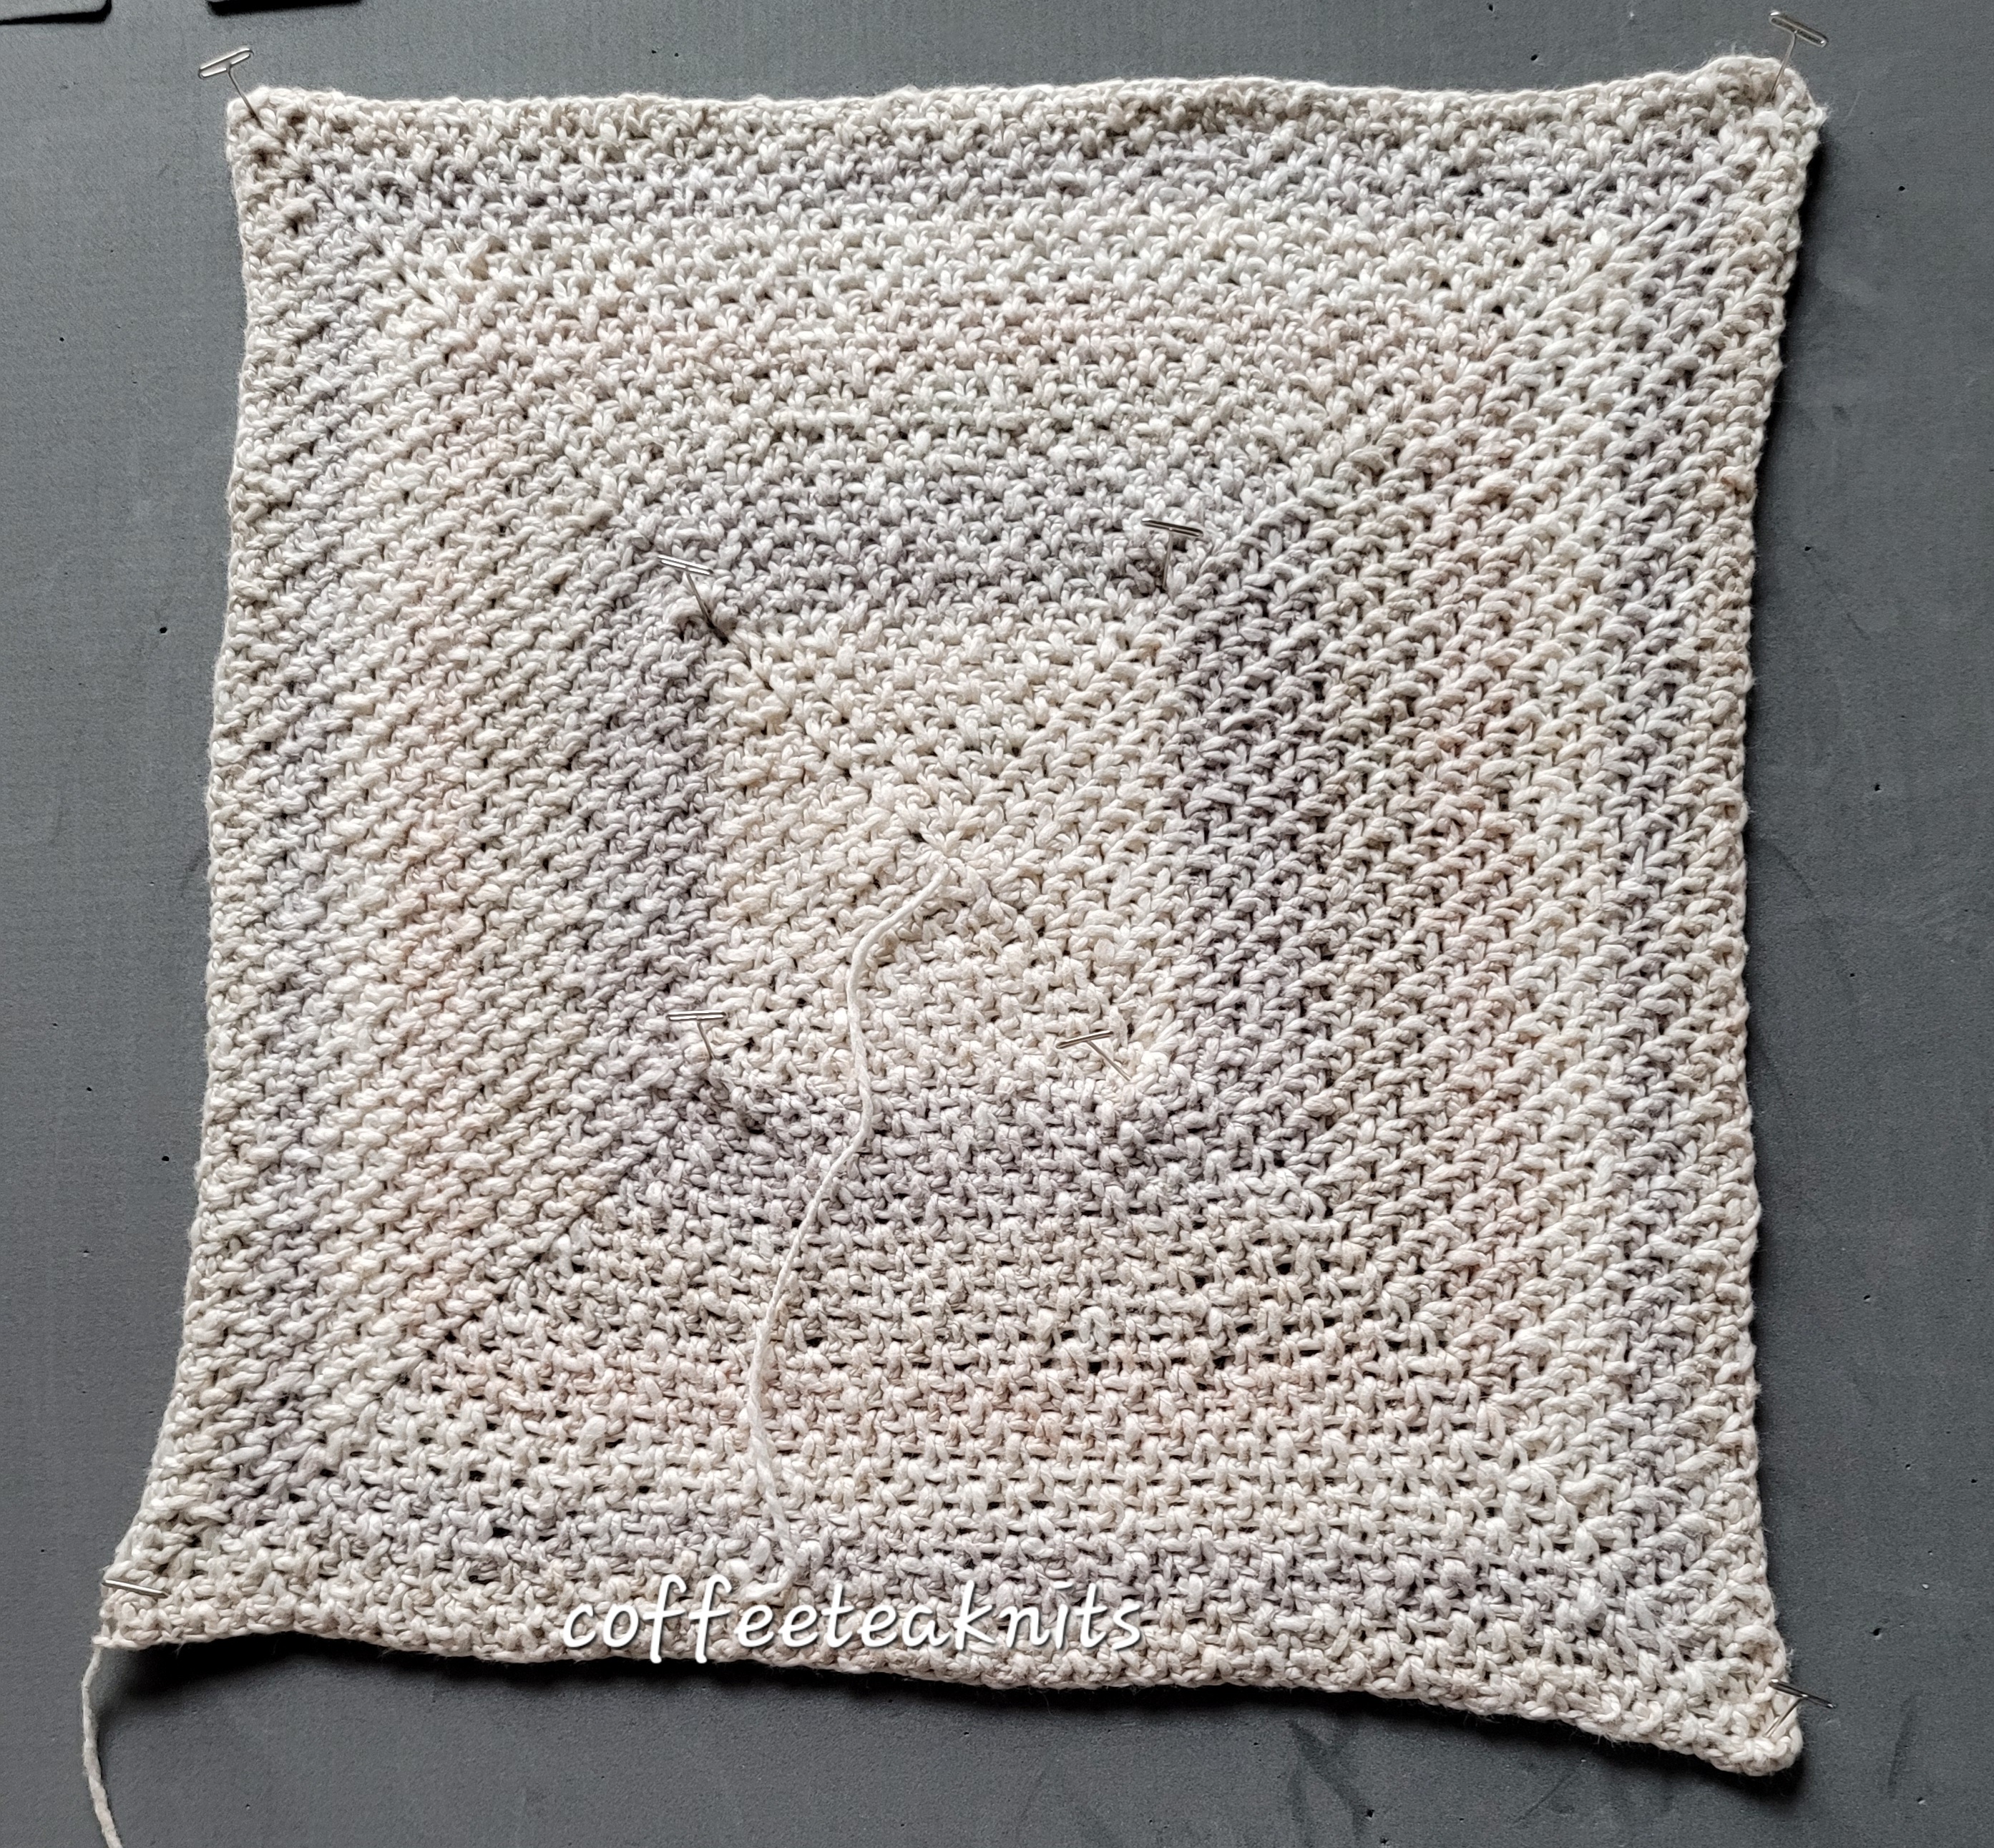
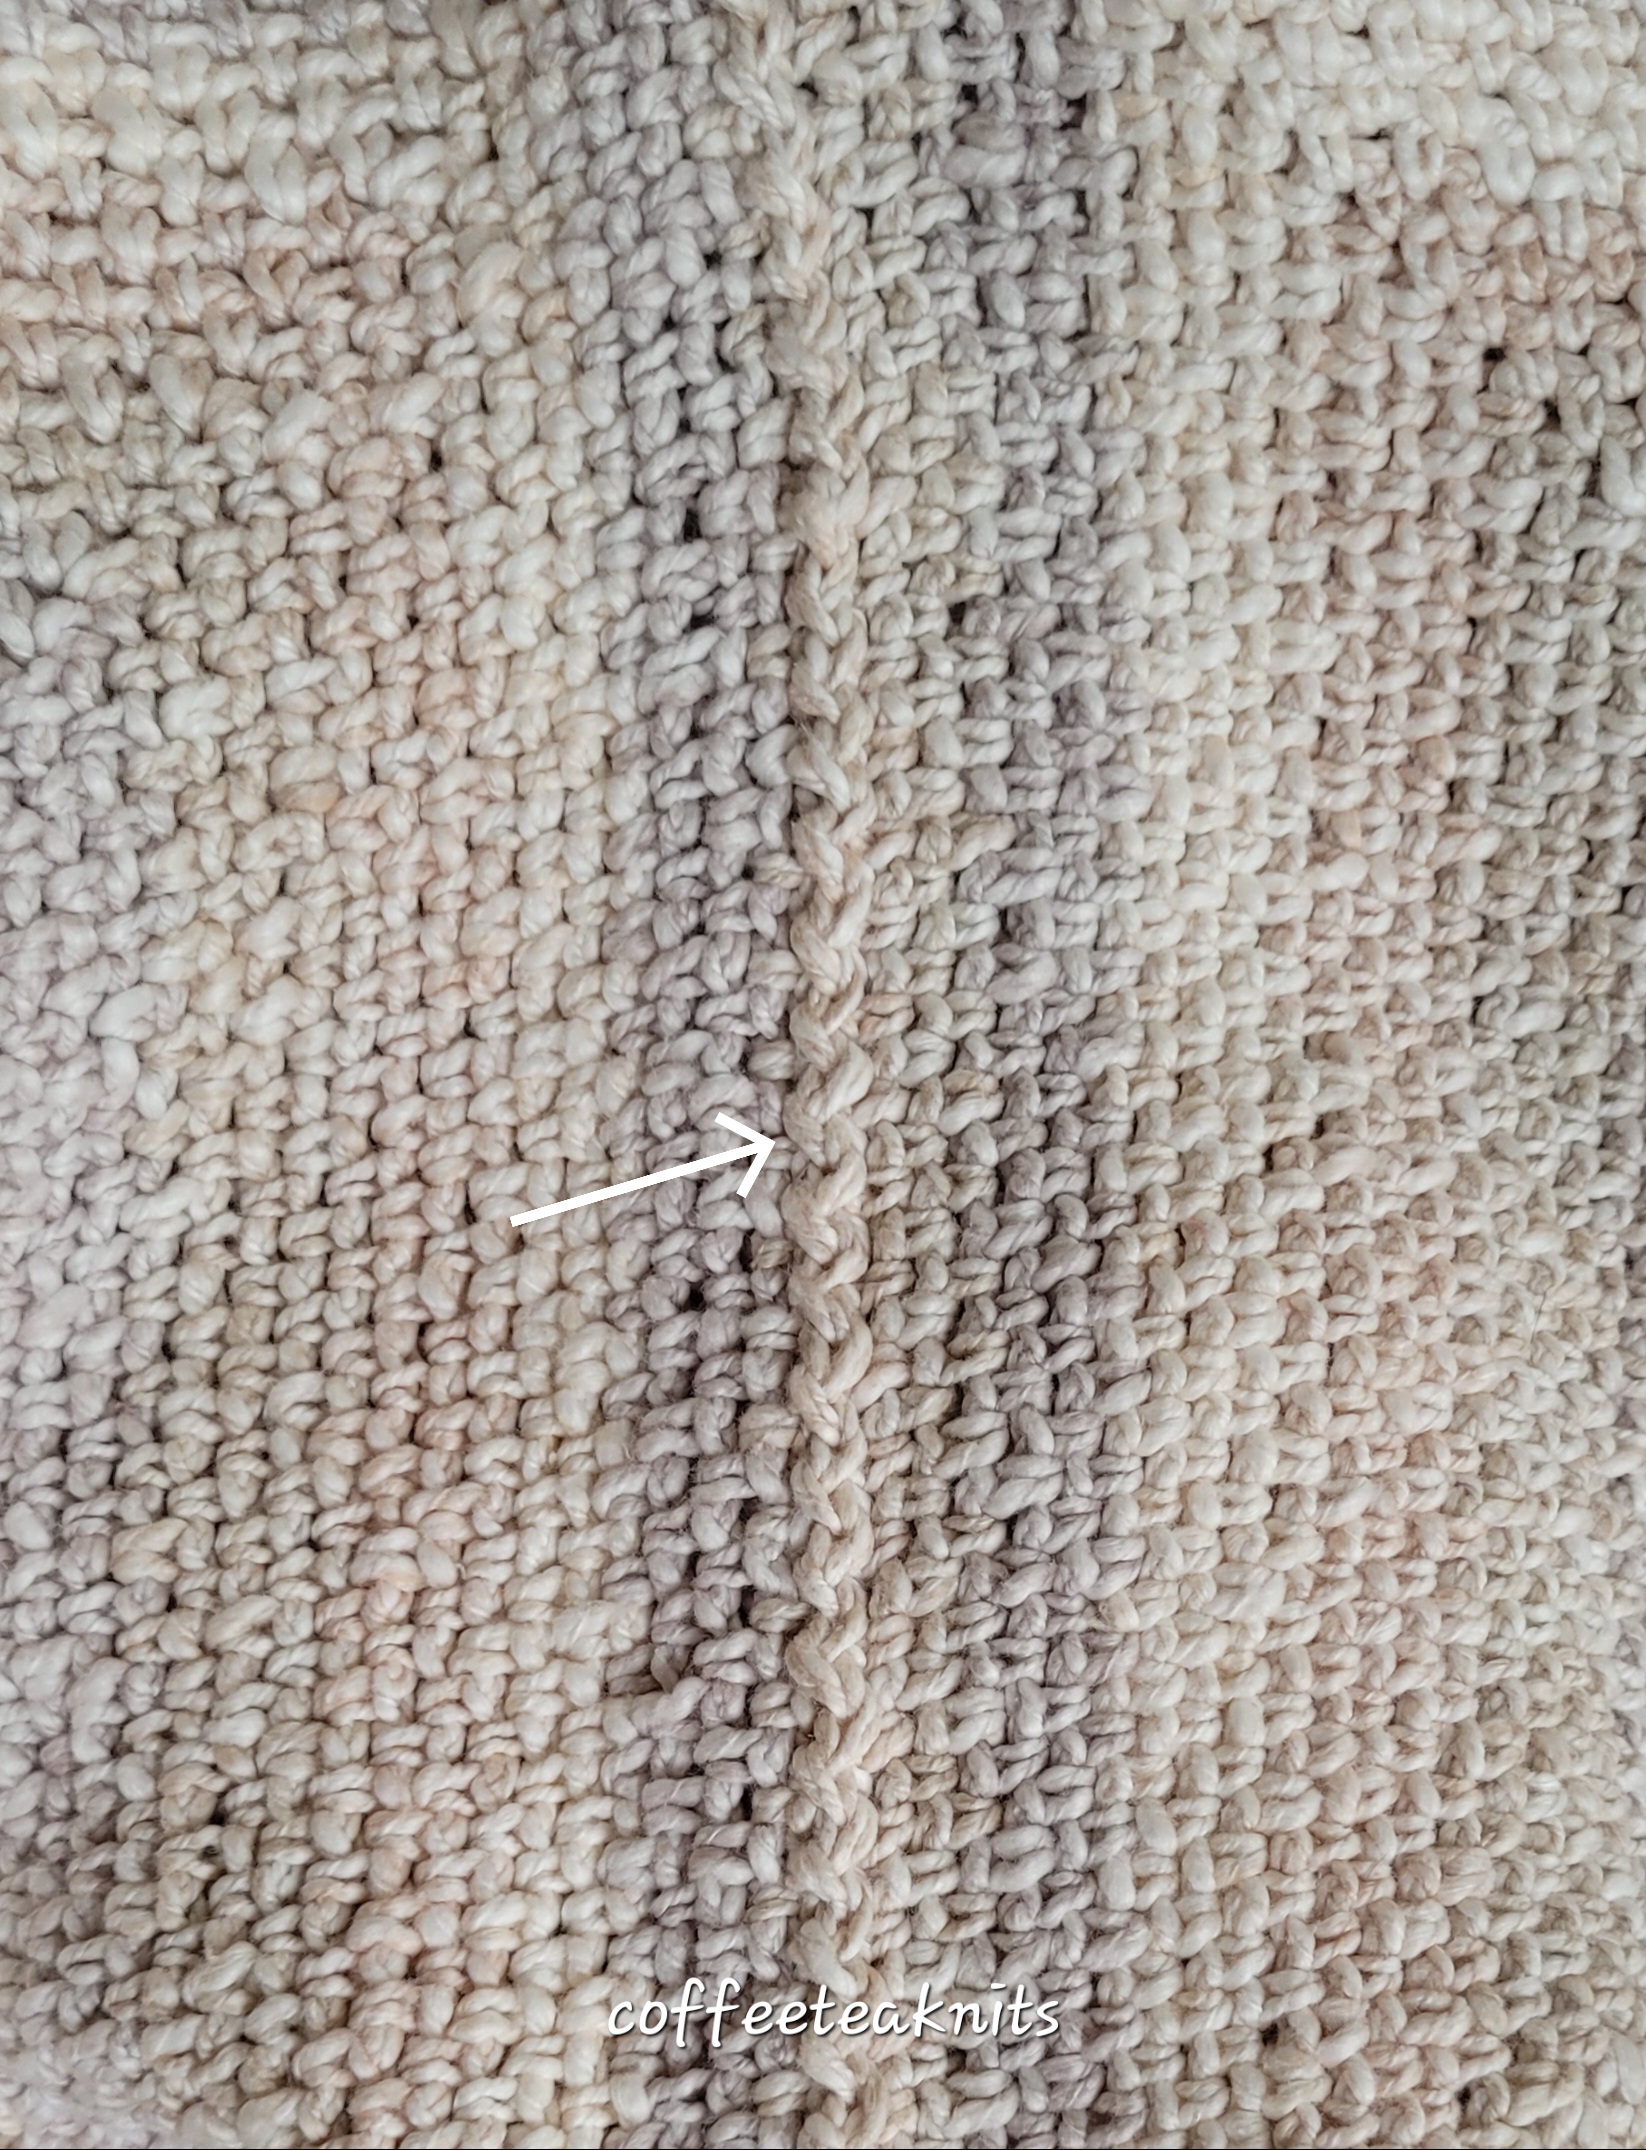
The crochet moss stitch is one of my favorite crochet stitch patterns since it looks quite similar to the linen knit stitch. As with knitting, crocheting dishcloths is also a good way to try out new stitch patterns or techniques. The Speckles Dishcloths are crocheted in two different ways. One Speckles Dishcloth is crocheted flat going back and forth while the other Speckles Dishcloth is crocheted center out and in the round. An alternate to the magic ring technique is used to start the dishcloth in the round. Both dishcloths have the same slip stich, chain 1 border edge.
The Speckles Dishcloths Pattern (text and images for personal use only)
Yarn: Colorway Yarn 1: Capri Eco CottonTM Multicolor Yarn by Loops and Threads® in Fruity Speckles colorway; Colorway Yarn 2: Lily Sugar’n Cream yarn in Country Red colorway. You will need about 100 grams of yarn for both dishcloths.
Tapestry needle to weave in ends
Gauge: Not really needed
Crochet hook: US size 7 (4.5 mm)
Abbreviations:
sc: single crochet
[…]: pattern repeat
RS: right side
WS: wrong side
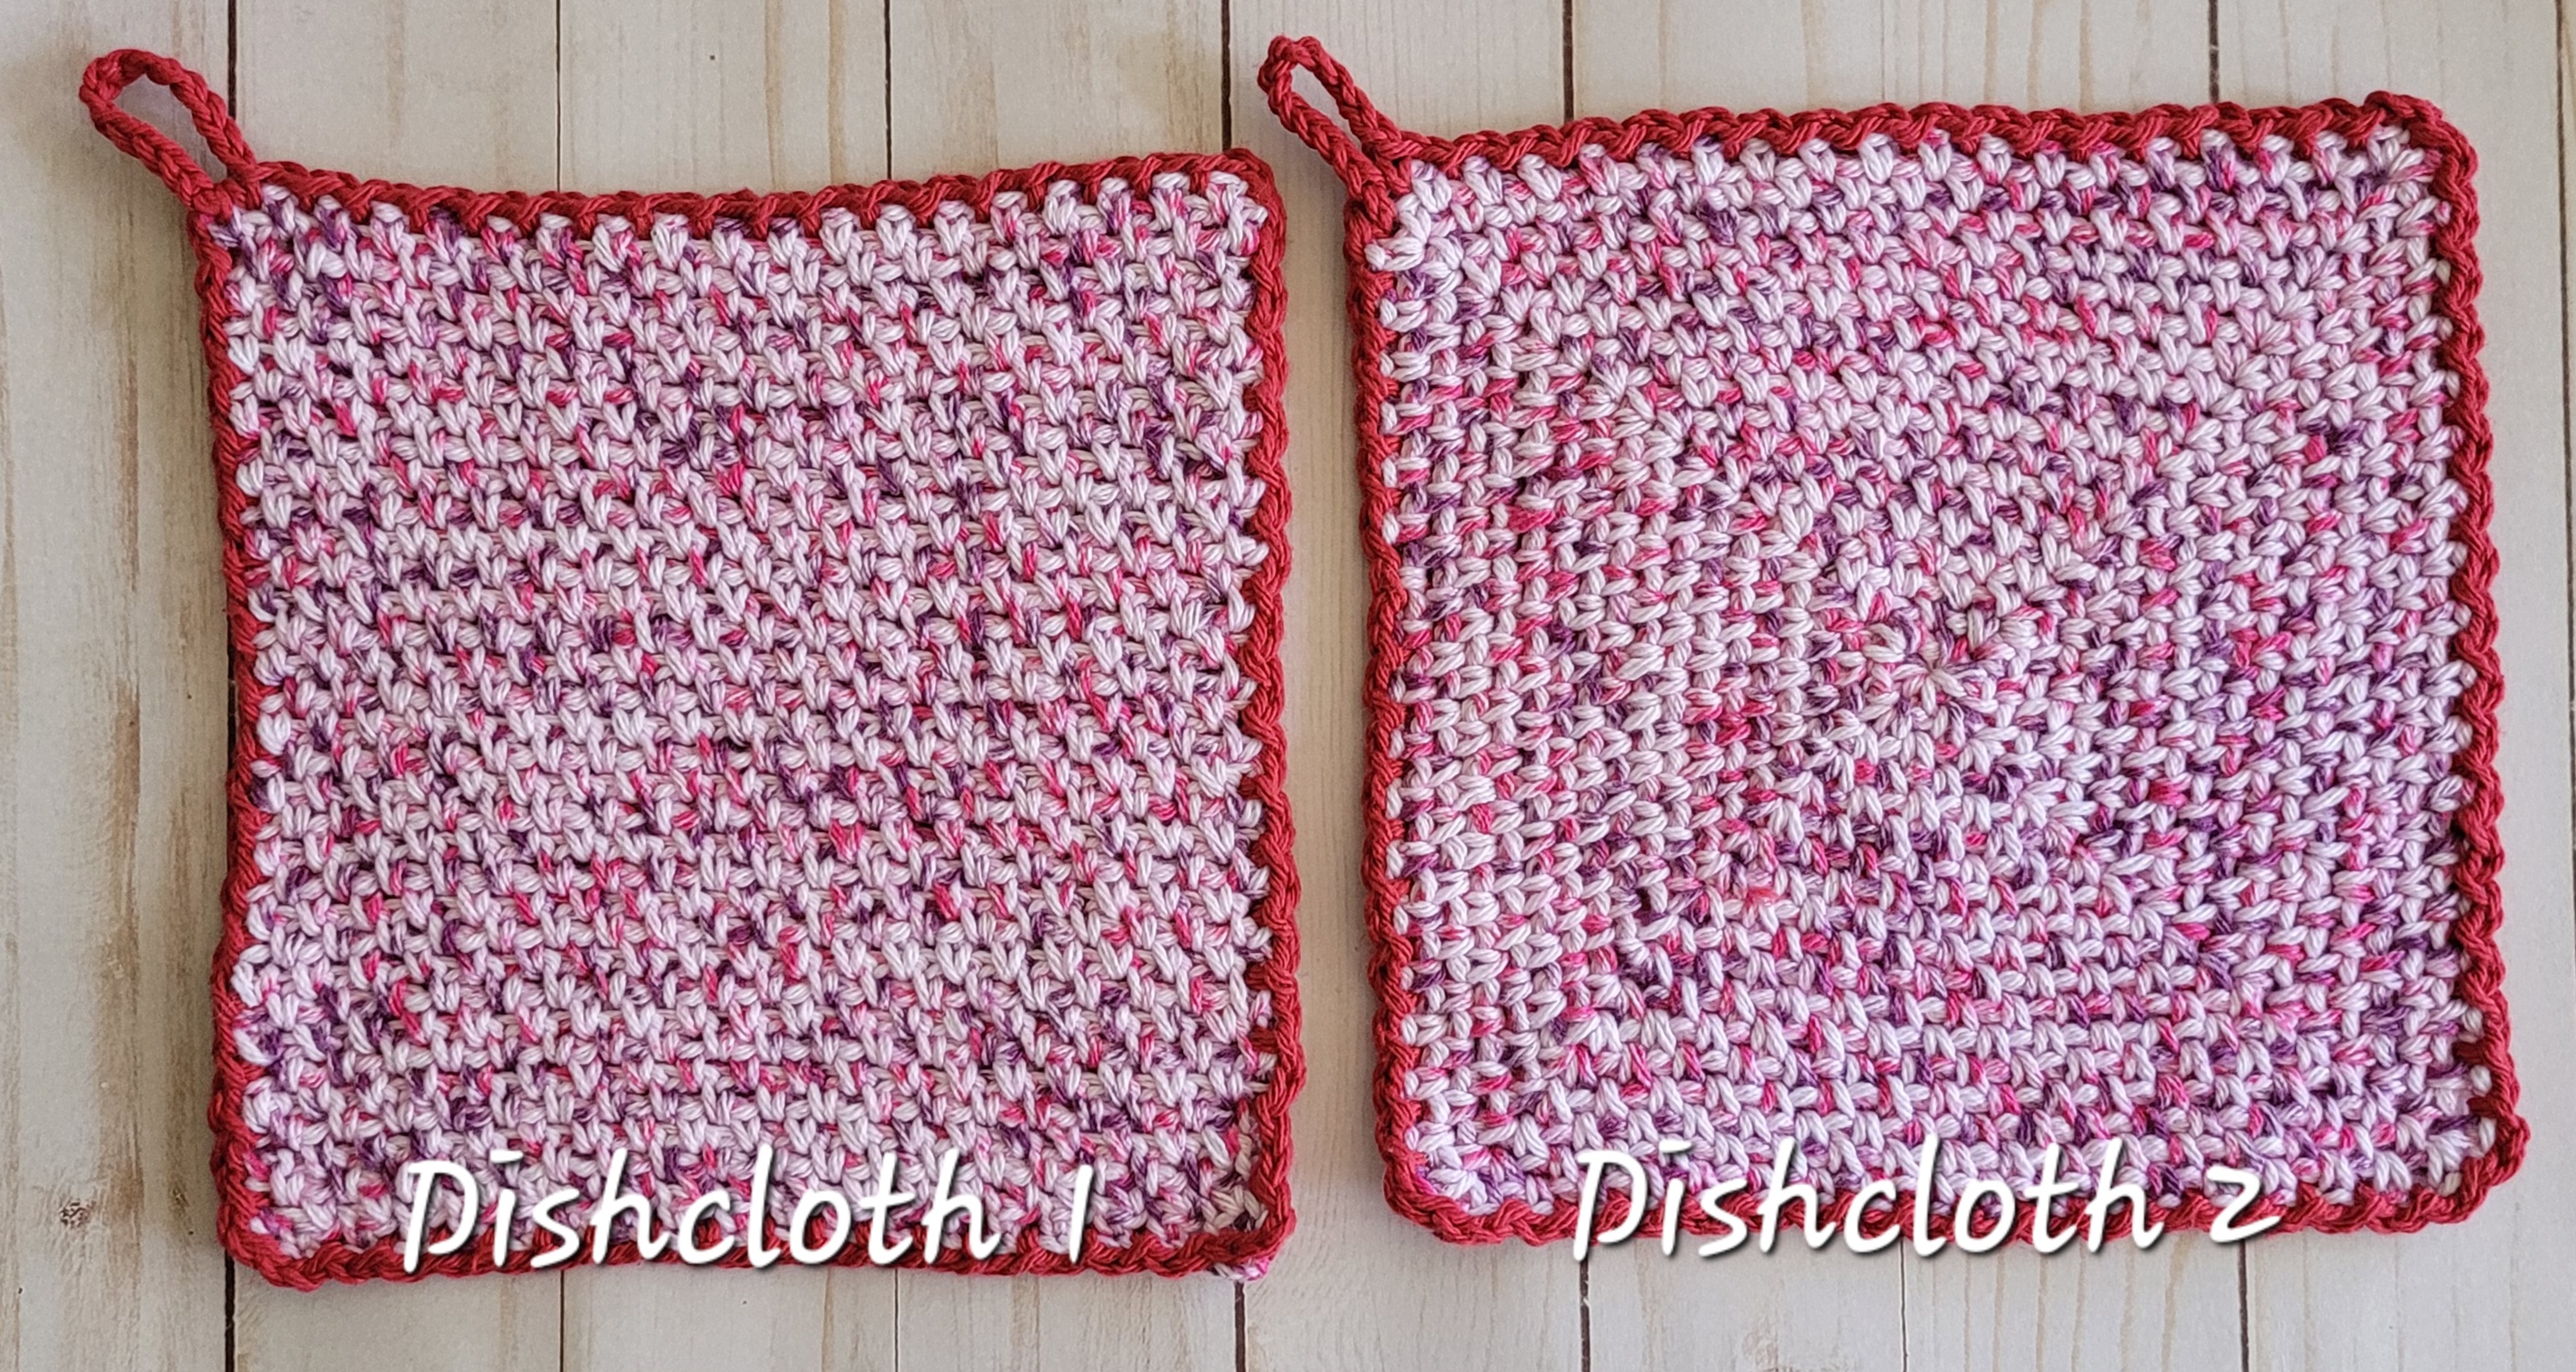
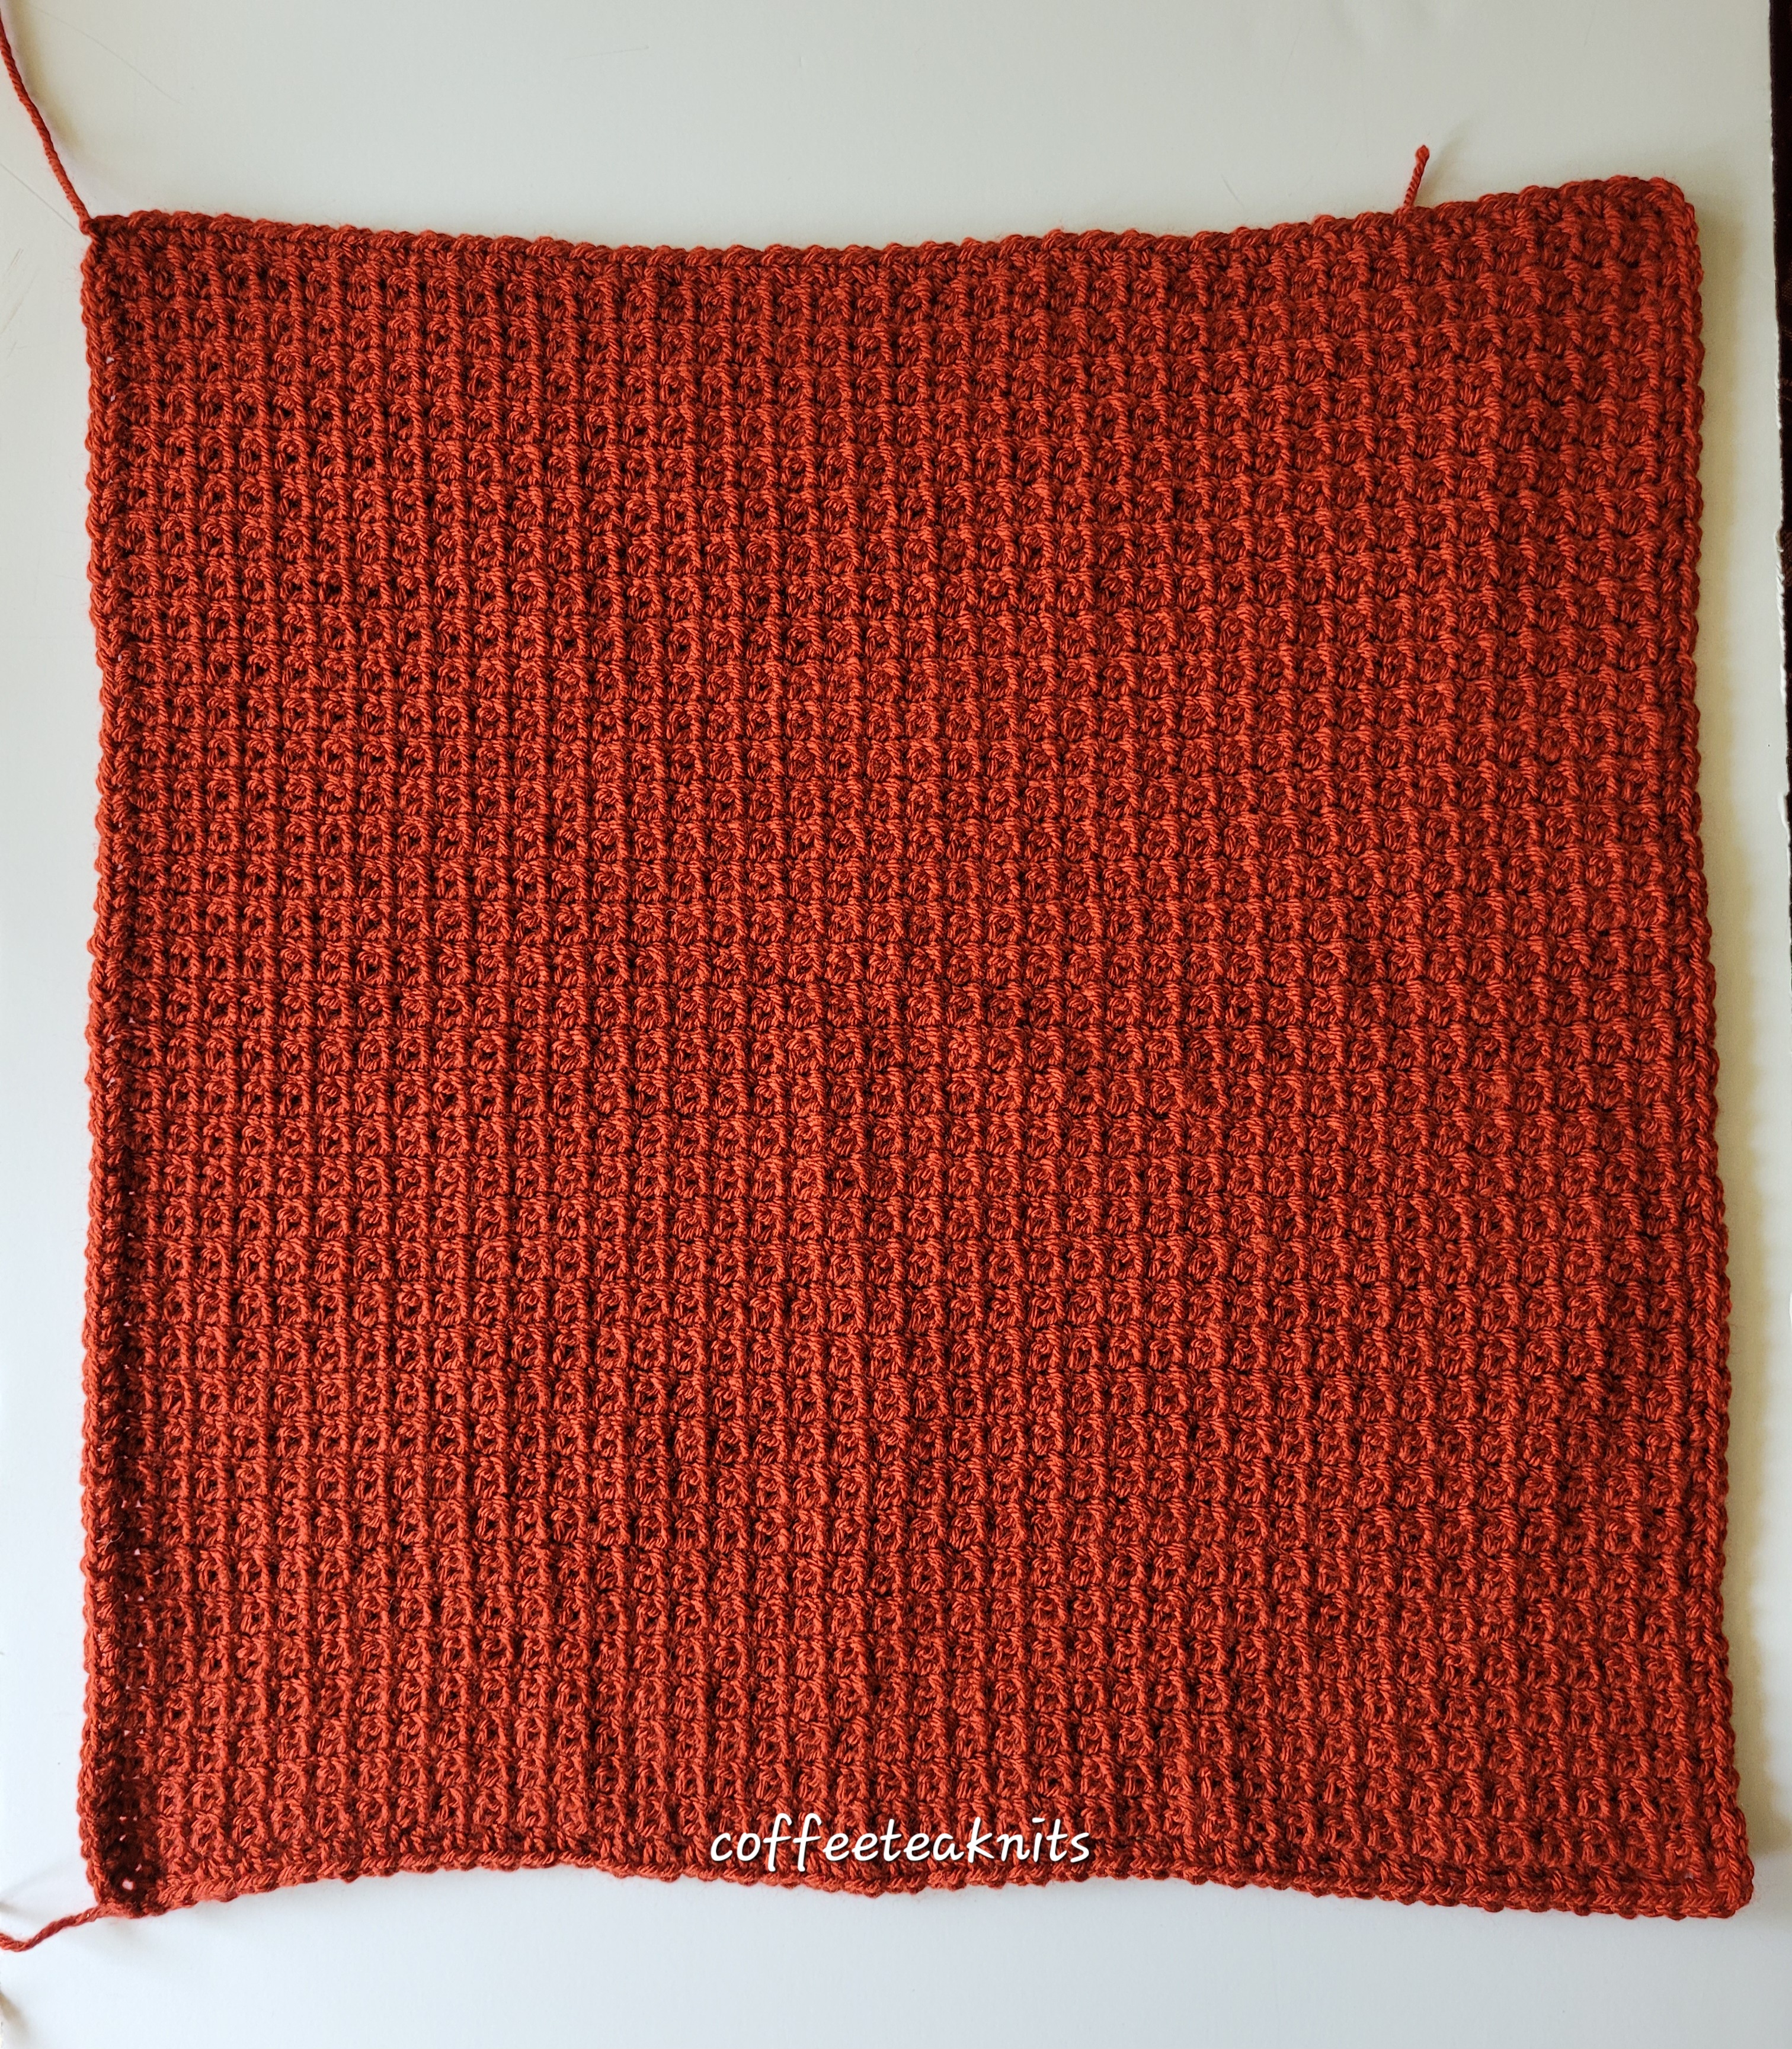
Dishcloth 1: Back and forth
With Size 7 (4.5.mm) crochet hook, chain 40 stitches with Colorway Yarn 1.
- Row 1 (RS): Single crochet into the 4th stitch from the hook, chain 1, [skip 1 stitch and sc, chain 1] repeat […] till the last chain stitch with the slip knot, sc in the last stitch, chain 2 and turn (optional: you can sc in the purl bump in the back of the 4th stitch and the rest of the stitches in this row)
- Row 2 (WS): Sc in the chain 1 space under the 4th chain from the hook, chain 1, [sc in the next chain 1 space, chain 1] repeat […] till the last stitch, sc in the last stitch, chain 2 and turn.
Repeat Row 2, thirty one more times
- Last Row (RS) : Sc in the chain 1 space under the 4th chain from the hook, chain 1, [sc in the next chain 1 space, chain 1] repeat […] till the last stitch. Insert hook into the last stitch and pull up the Colorway 2 yarn and sc, chain 1. Secure and break the working yarn (Colorway Yarn 1) off.
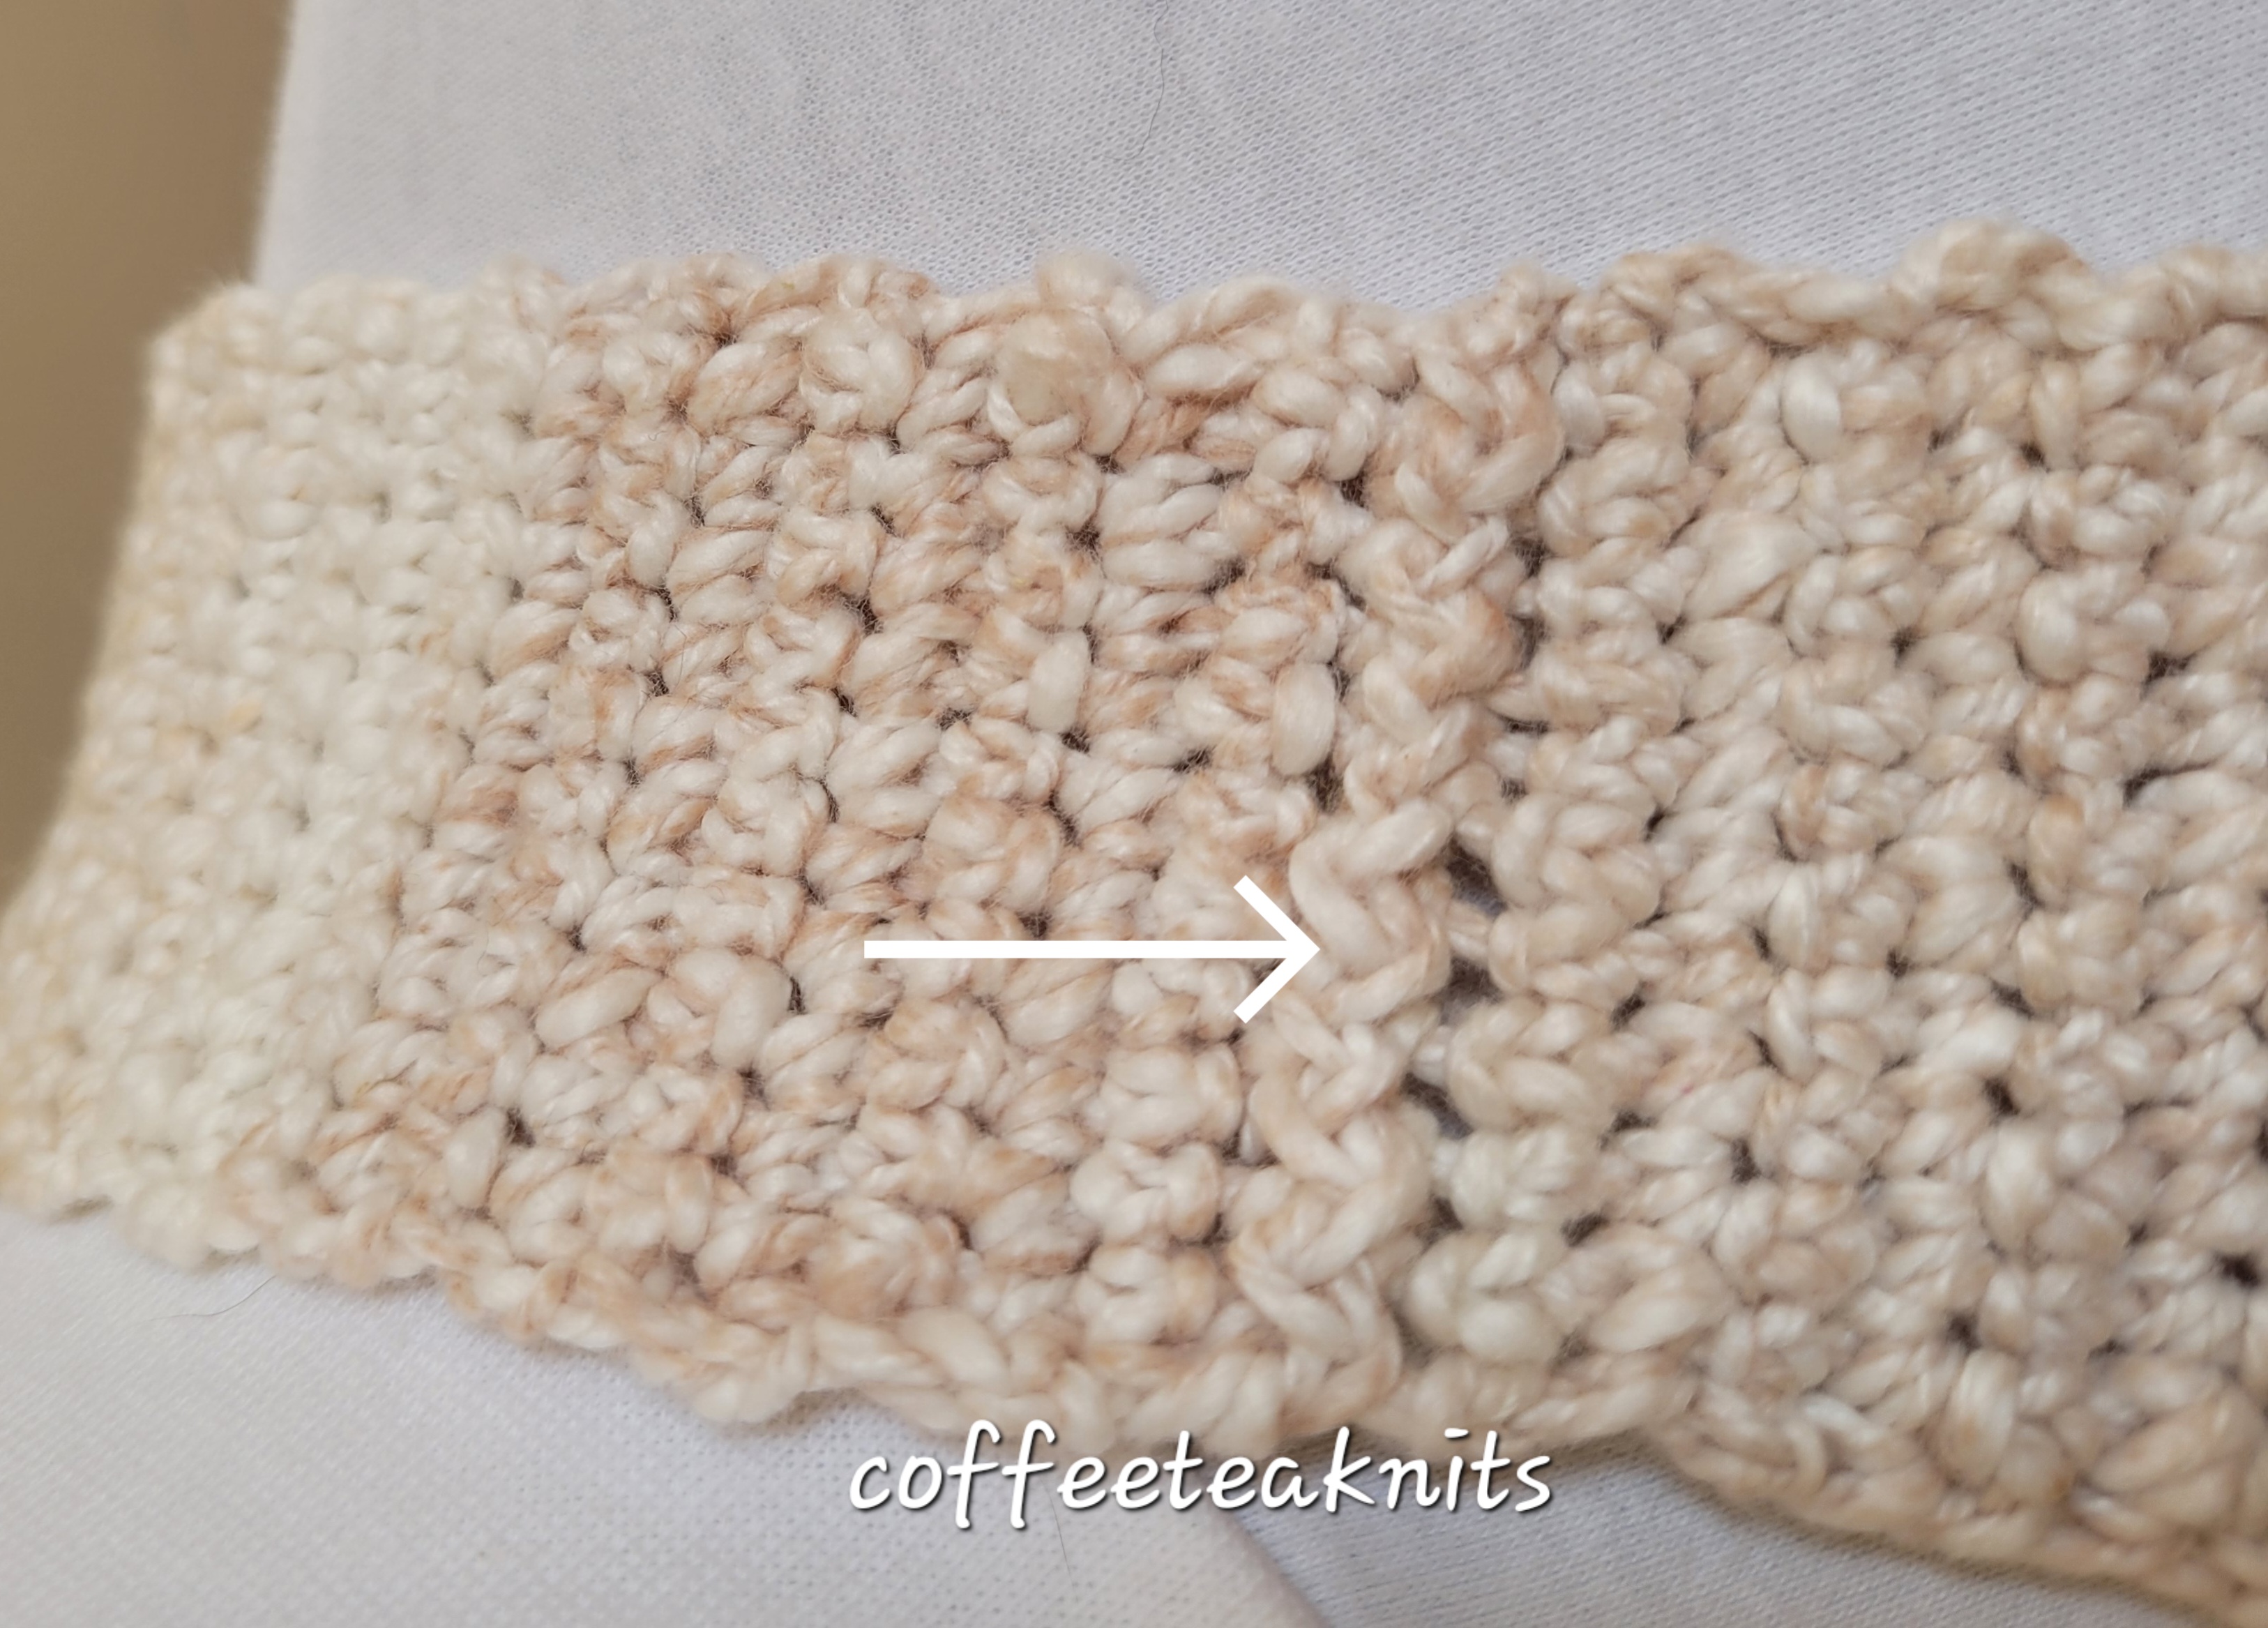
The Slip Stitch, Chain 1 Border Edge:
- With Colorway Yarn 2, go into the same last stitch, yarn over, pull the yarn and slip stitch into the loop on the hook, chain 1 and turn. [Insert hook into the next stitch, yarn over, pull the yarn and slip stitch into the loop on the hook, chain 1], repeat […] all along the left side edge till the next corner.
- In the corner stitch, pull the yarn and slip stitch into the loop on the hook, chain 2 and turn. [Insert hook into the chain 1 space, yarn over, pull the yarn and slip stitch into the loop on the hook, chain 1], repeat […] all along the 40 chain stitch edge till the next corner stitch.
- In the corner stitch, pull the yarn and slip stitch into the loop on the hook, and chain 2 and turn. [Insert hook into the next stitch, yarn over, pull the yarn and slip stitch into the loop on the hook, chain 1], repeat […] till the next corner all along the right side edge.
- In the corner stitch, pull the yarn and slip stitch into the loop on the hook, and chain 2. [Insert hook into the next chain 1 space, yarn over, pull the yarn and slip stitch into the loop on the hook, chain 1], repeat […] till the last stitch all along the last row edge.
Chain 12 and slip stitch into the first stitch of the border edge, break Colorway Yarn 2 off and pull through the stitch.
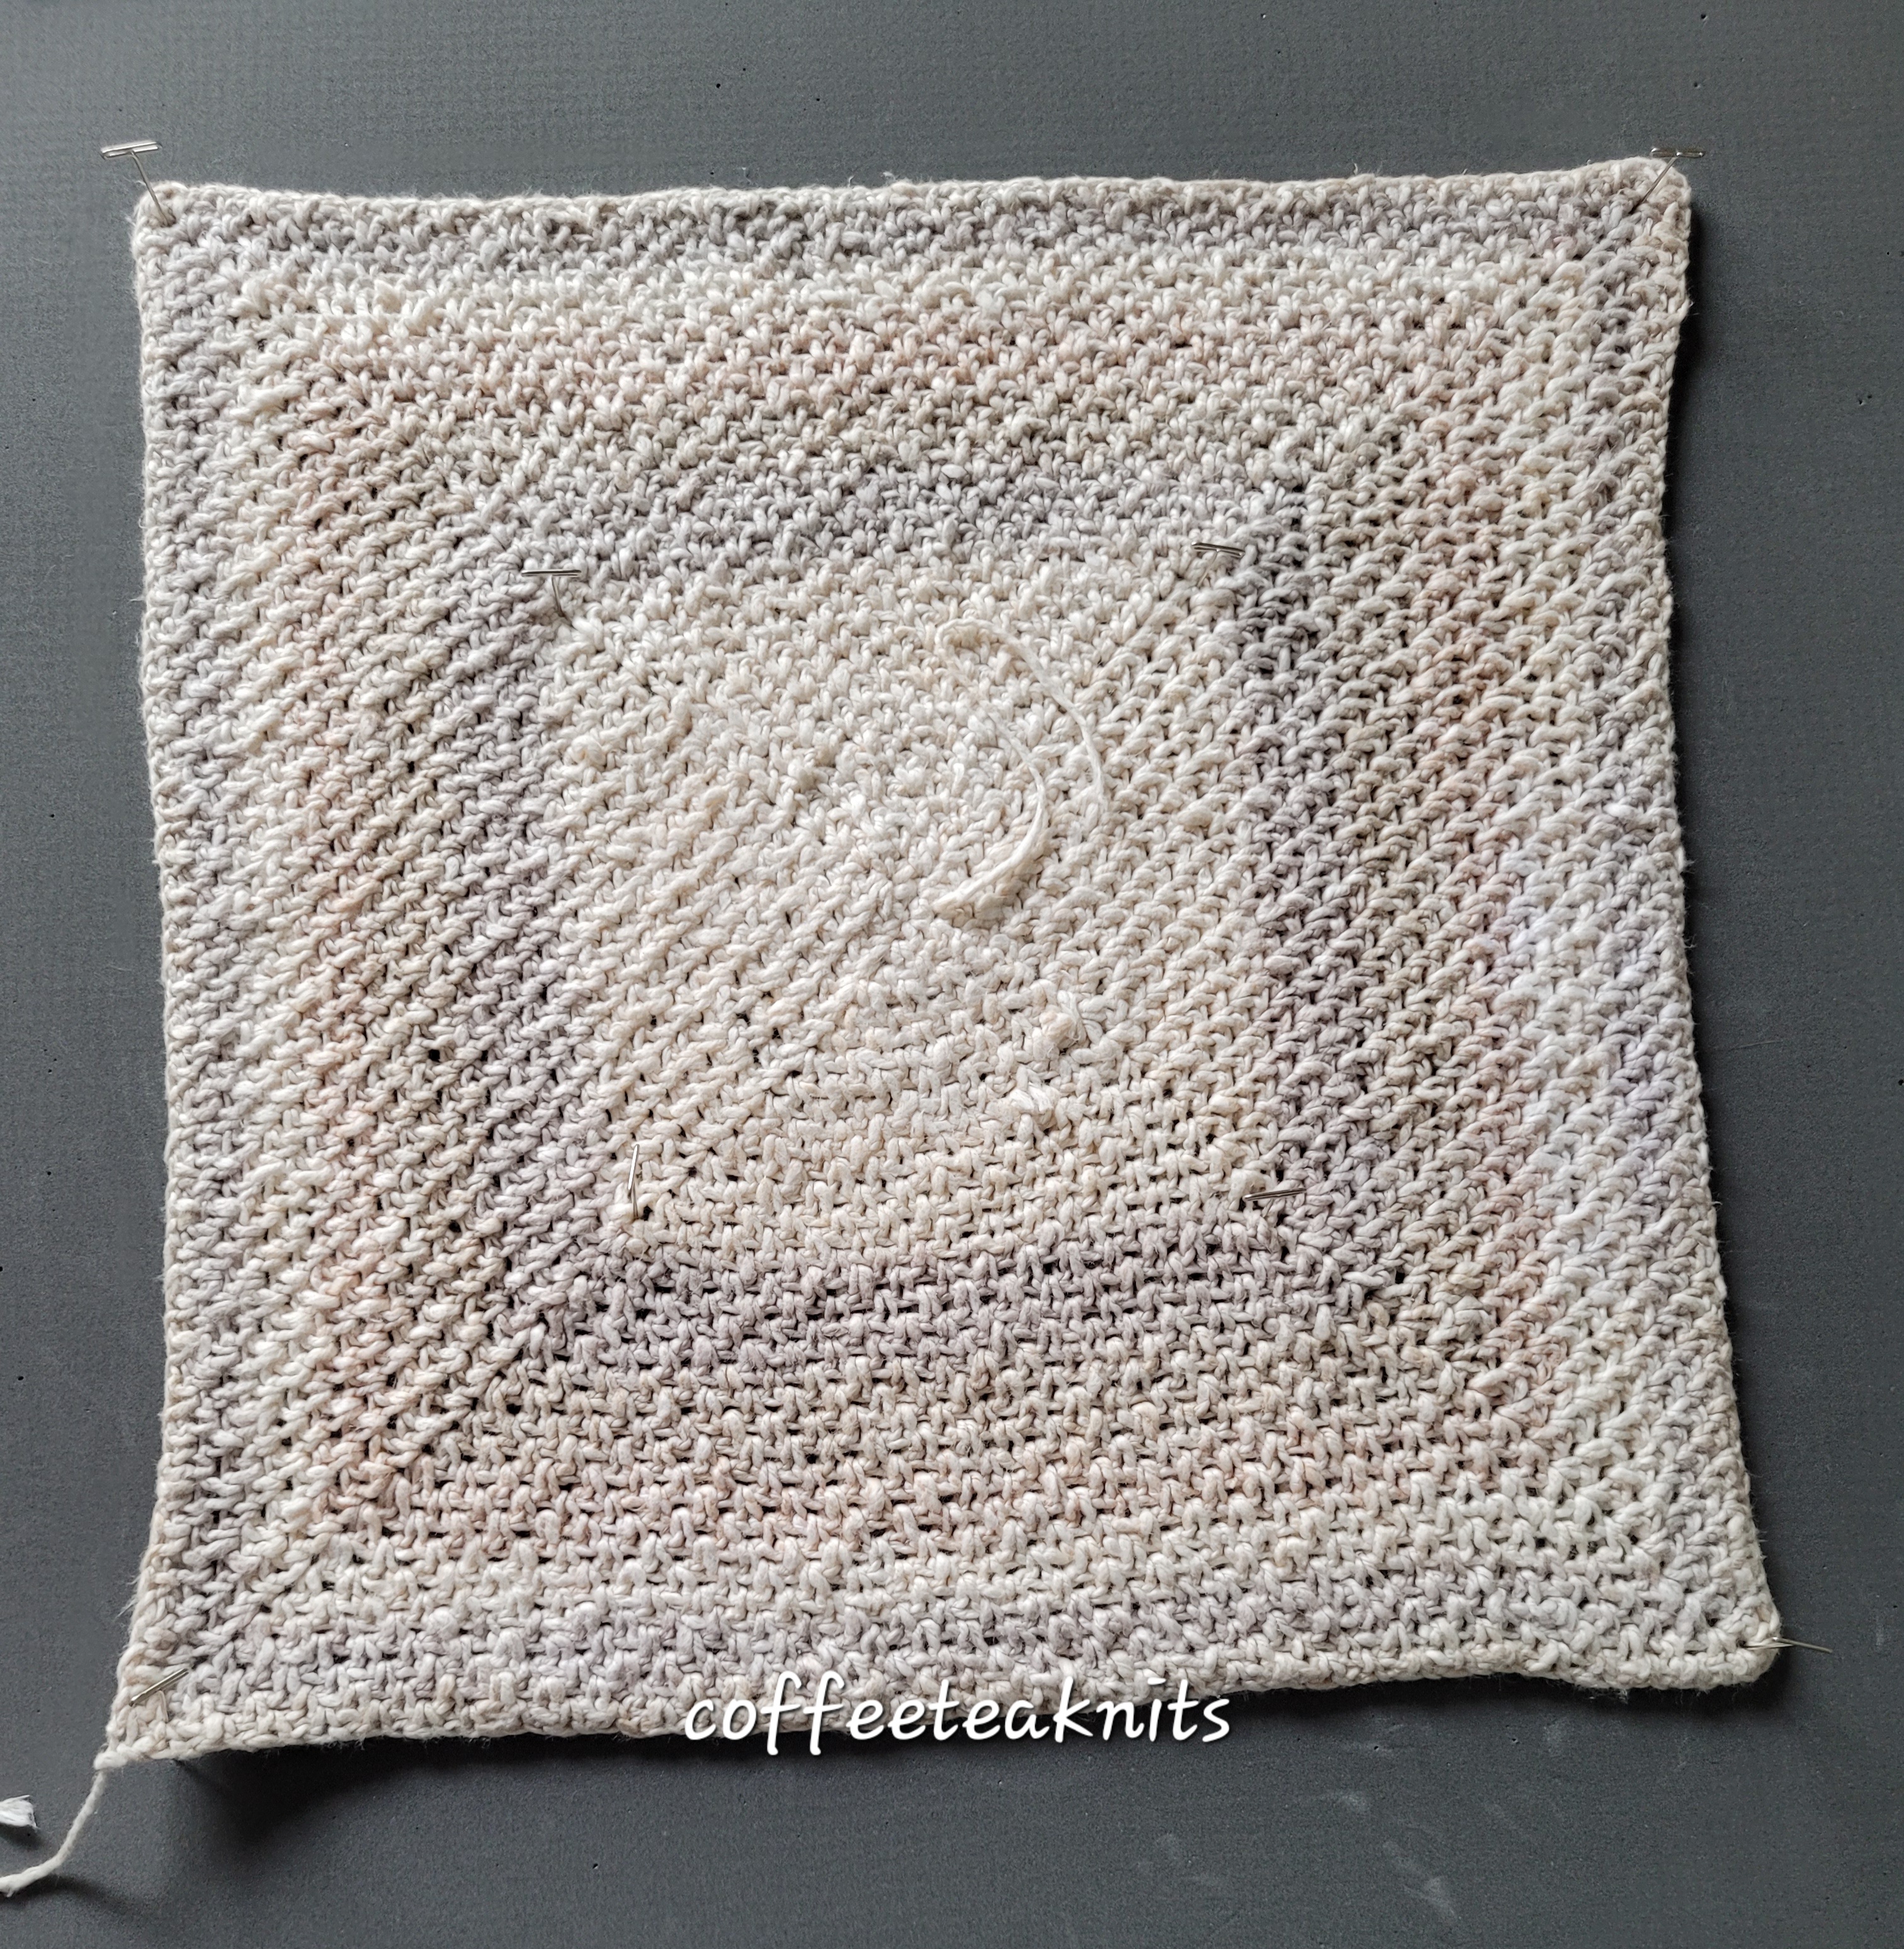
Dishcloth 2: In the Round
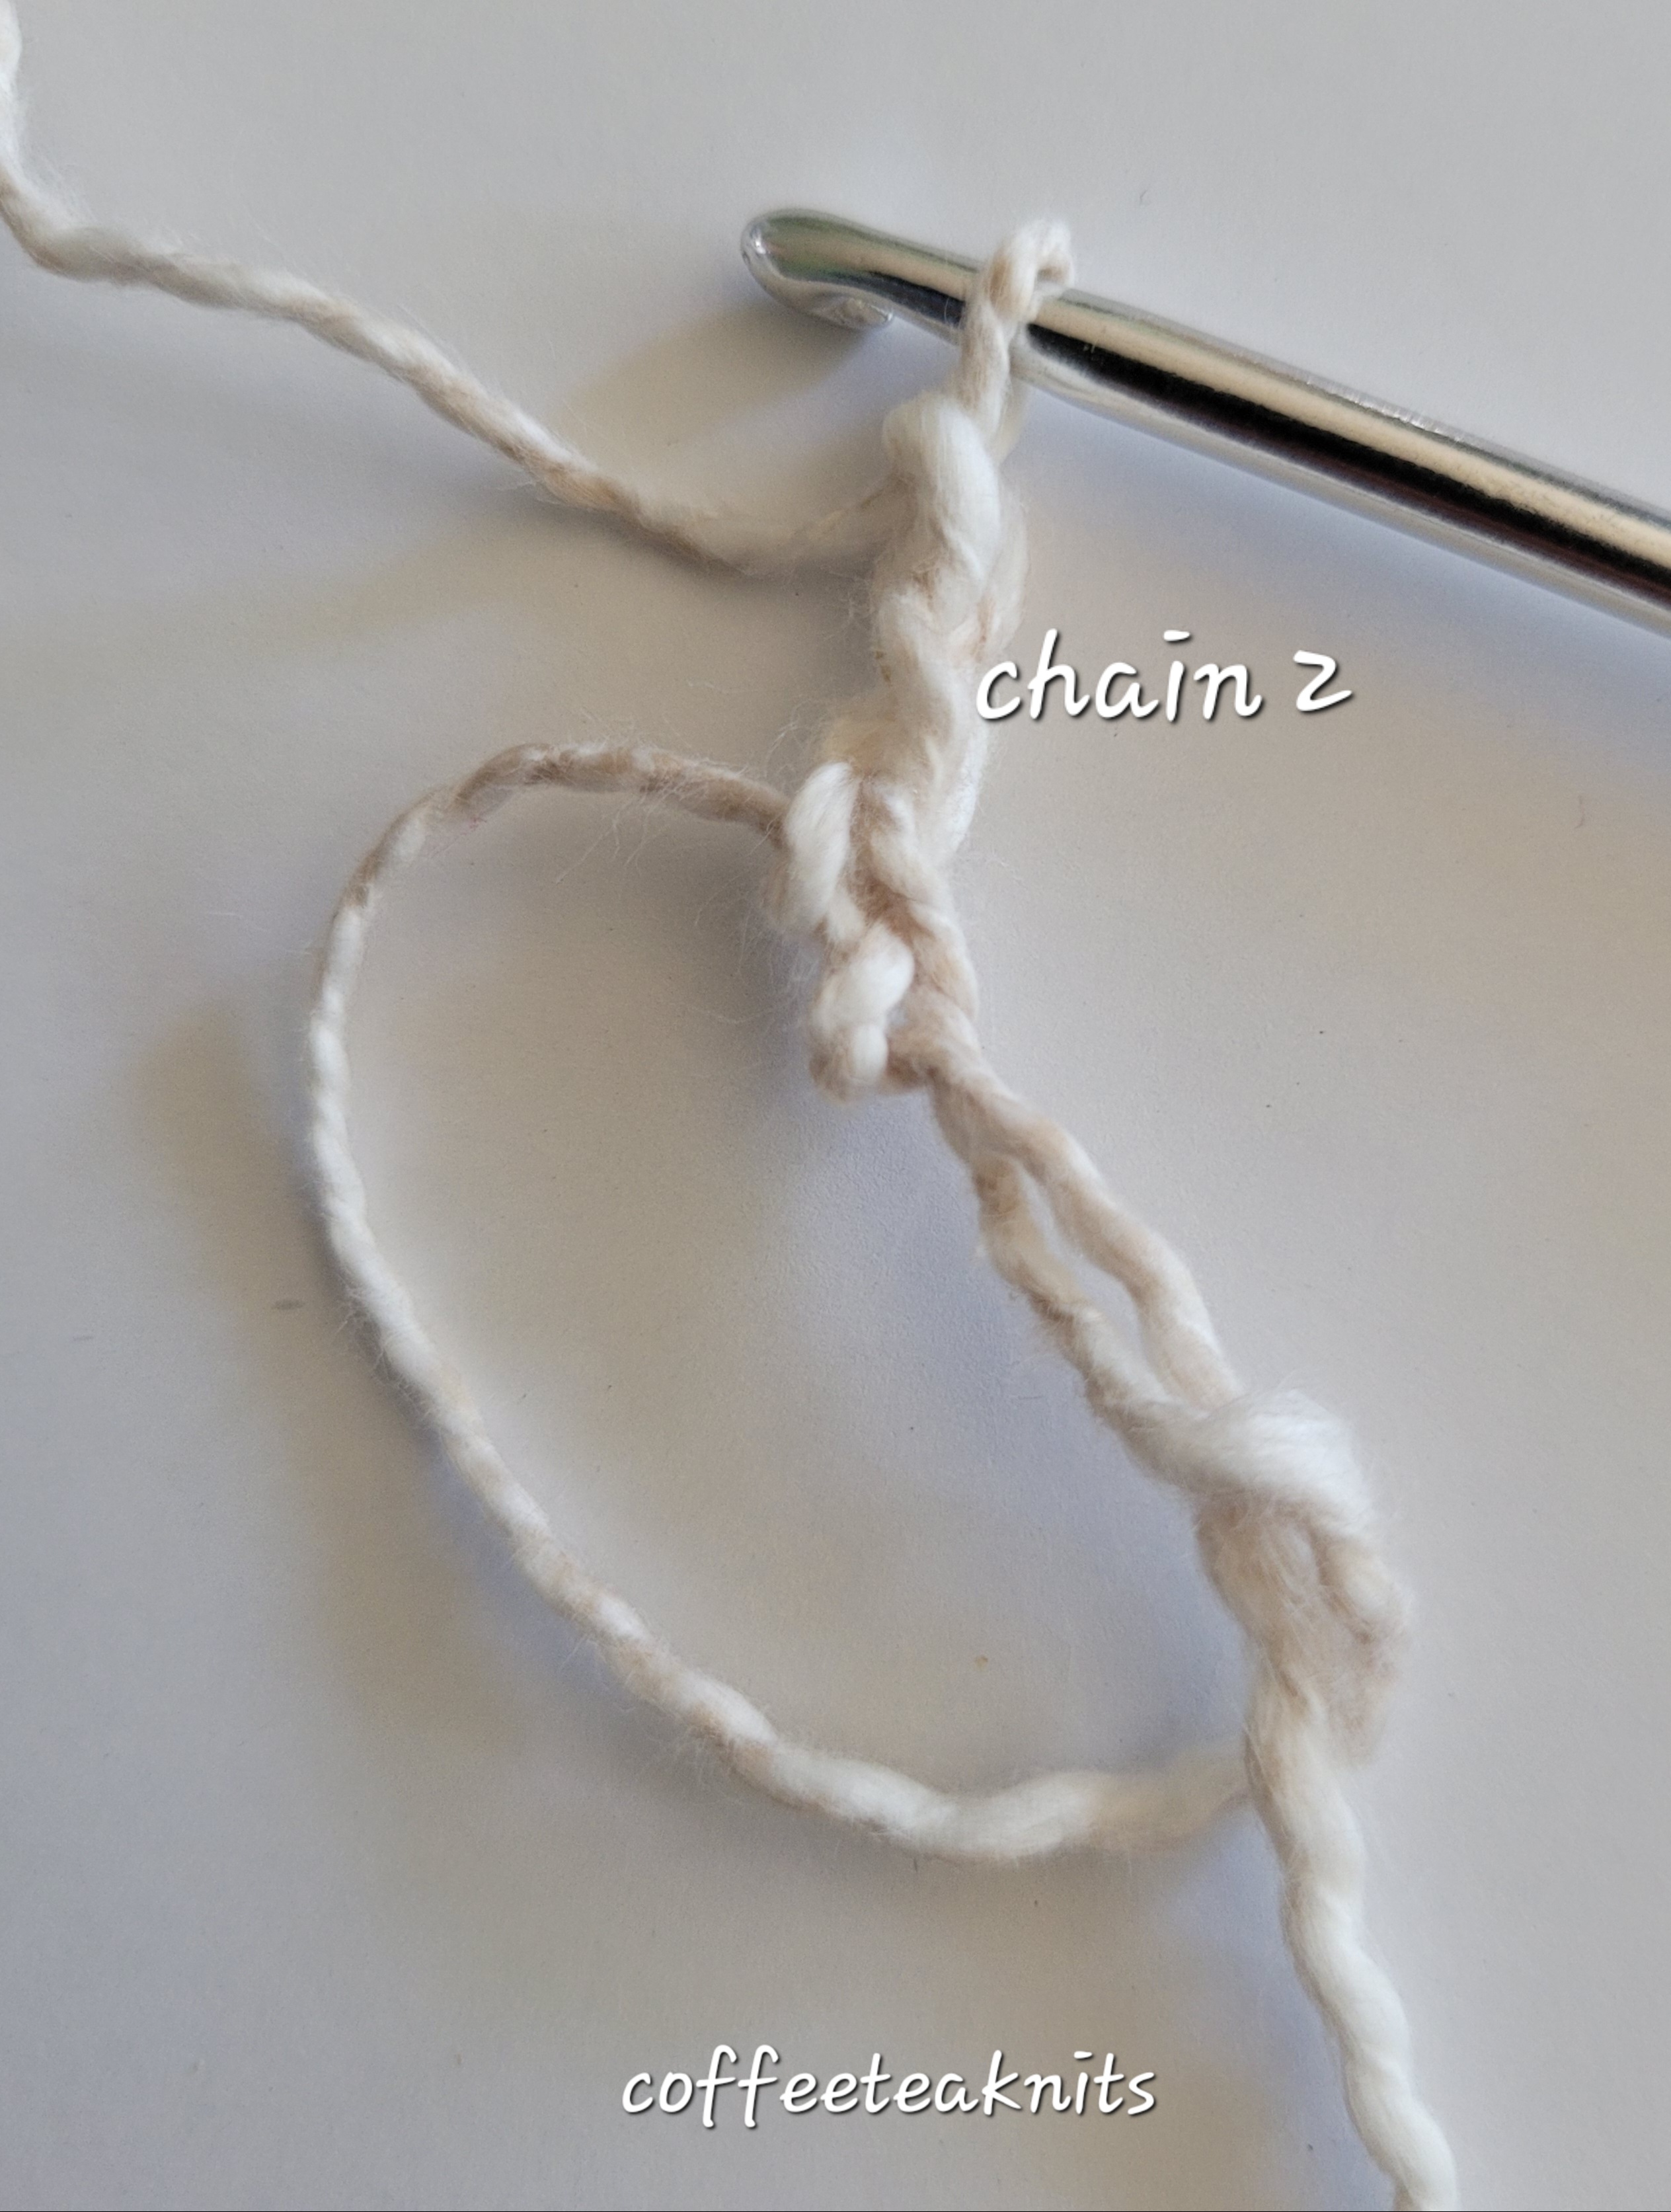
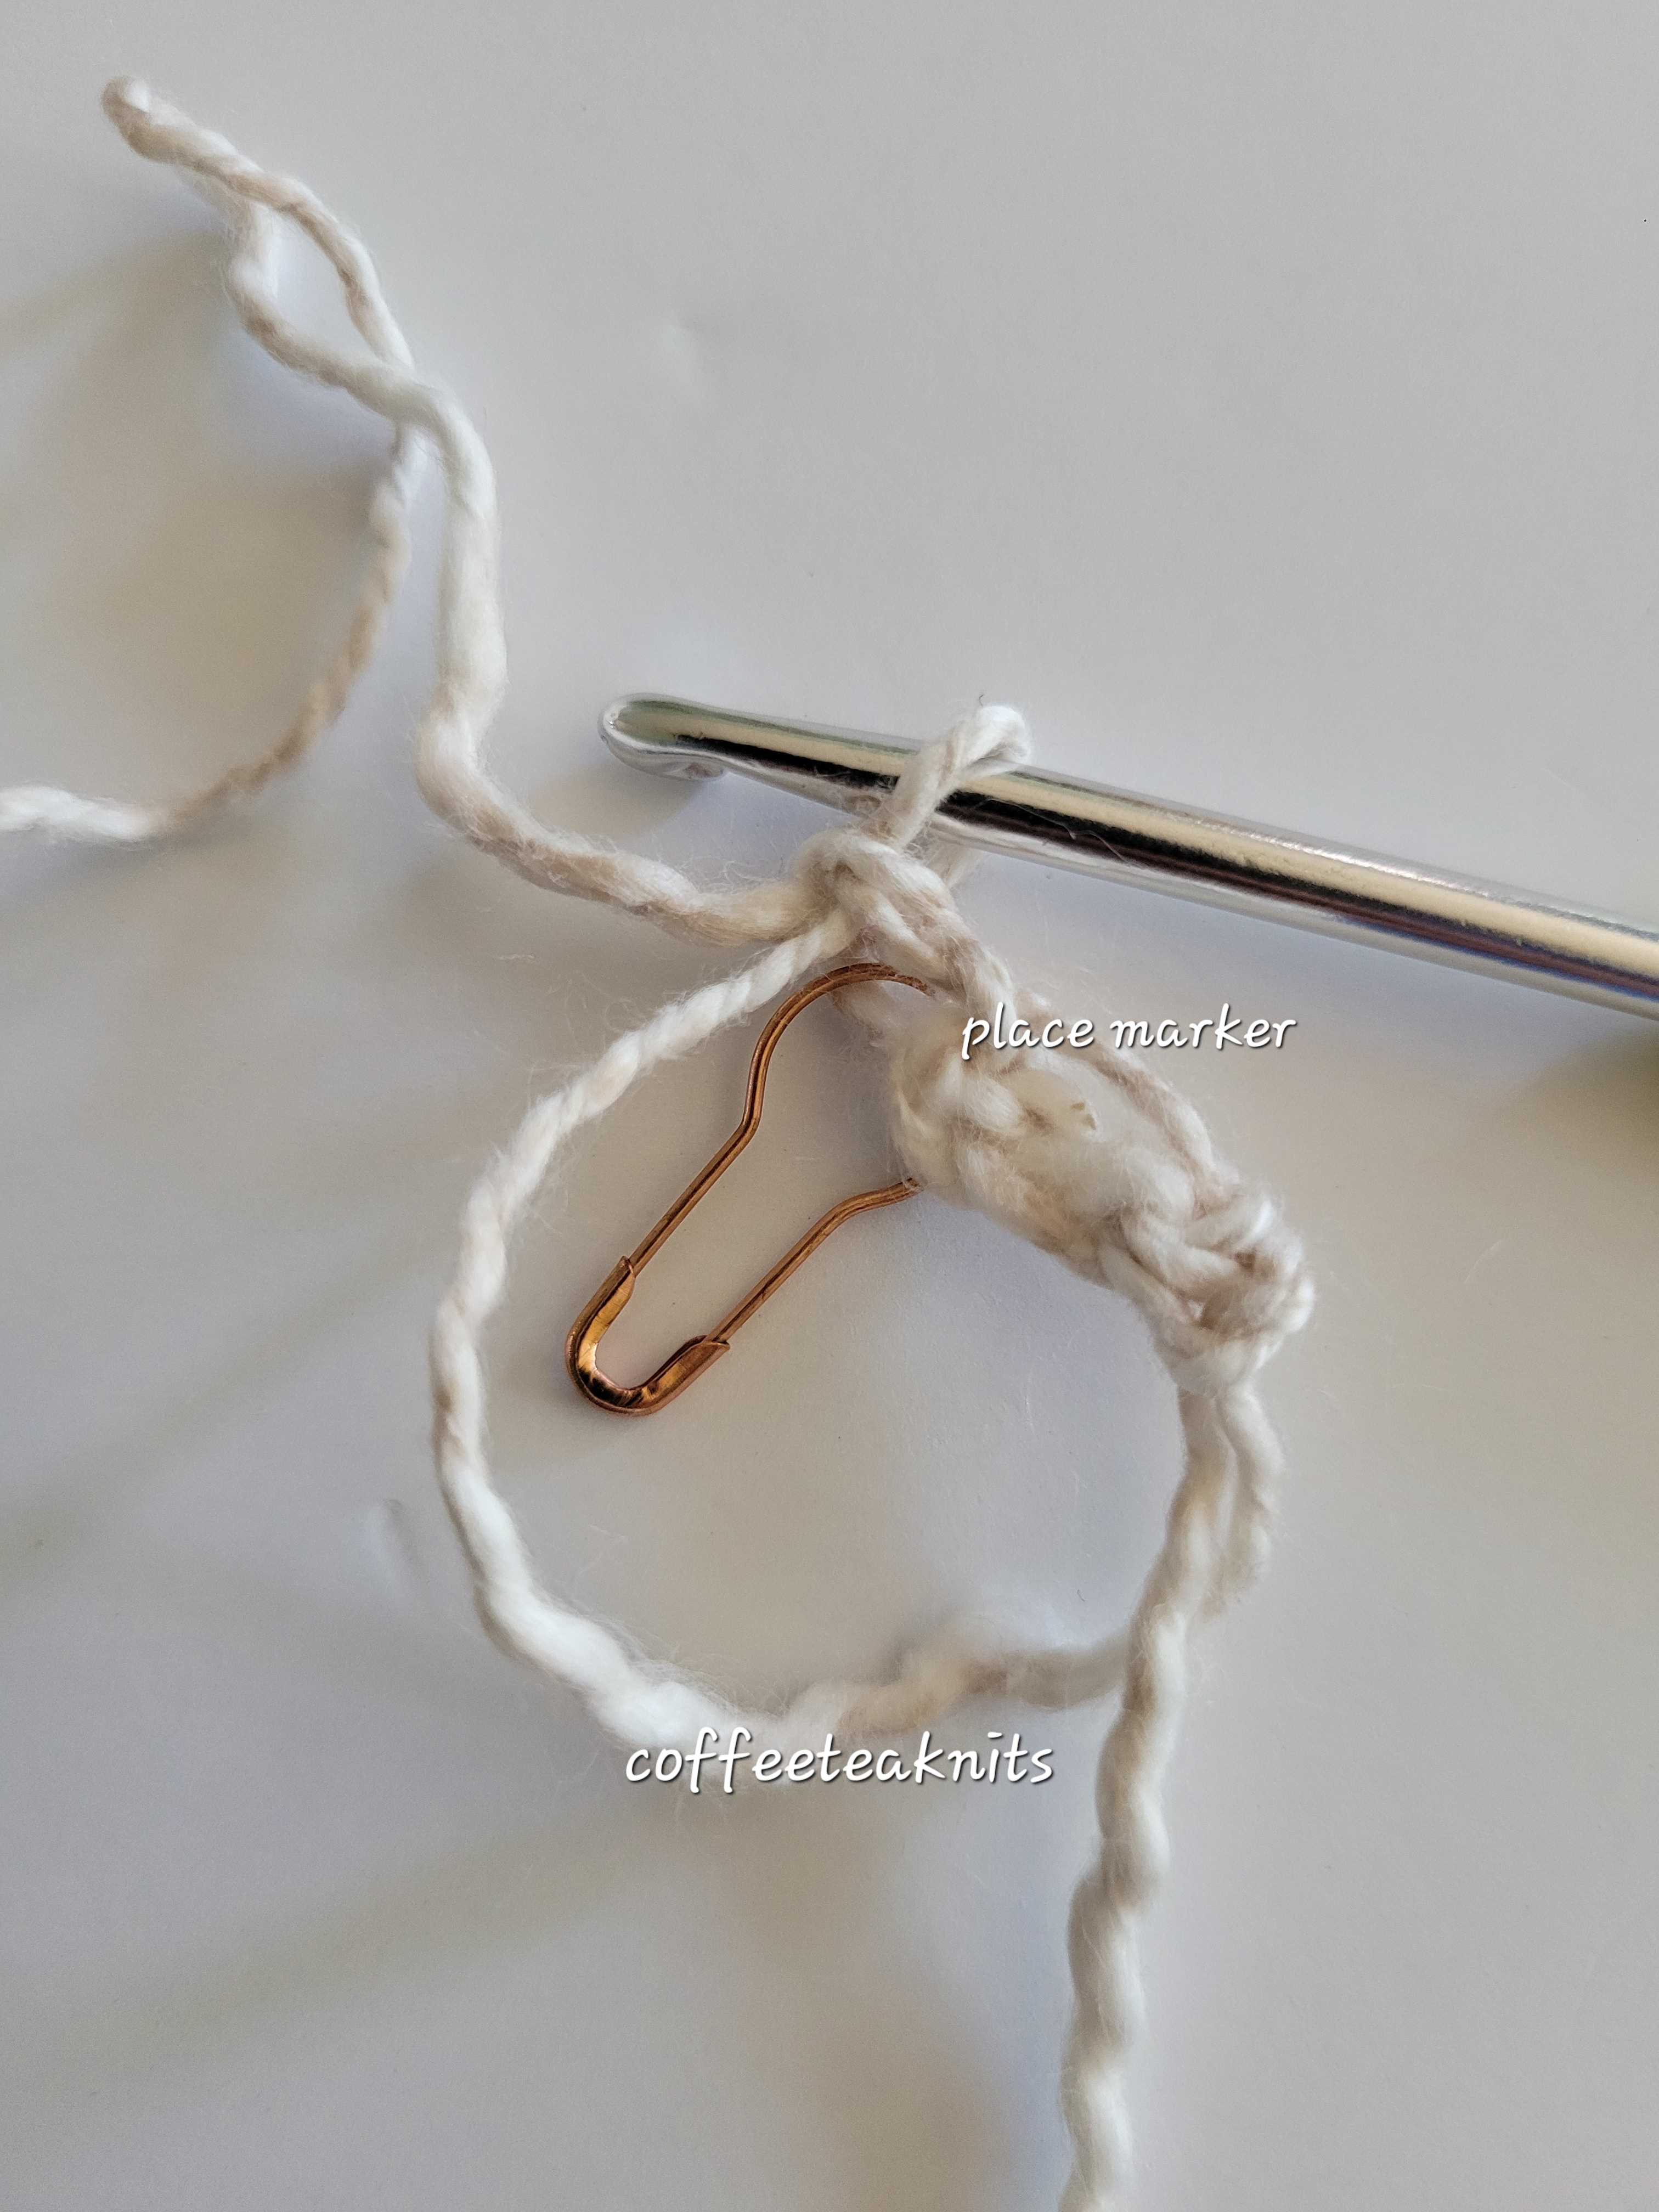
With Size 7 (4.5 mm) crochet hook, chain 2 stitches with Colorway Yarn 1.
- In the second chain from the hook (the stitch with the slip knot), [sc, chain 2] 4 times into the same stitch. Place a marker in the first chain 2 space.
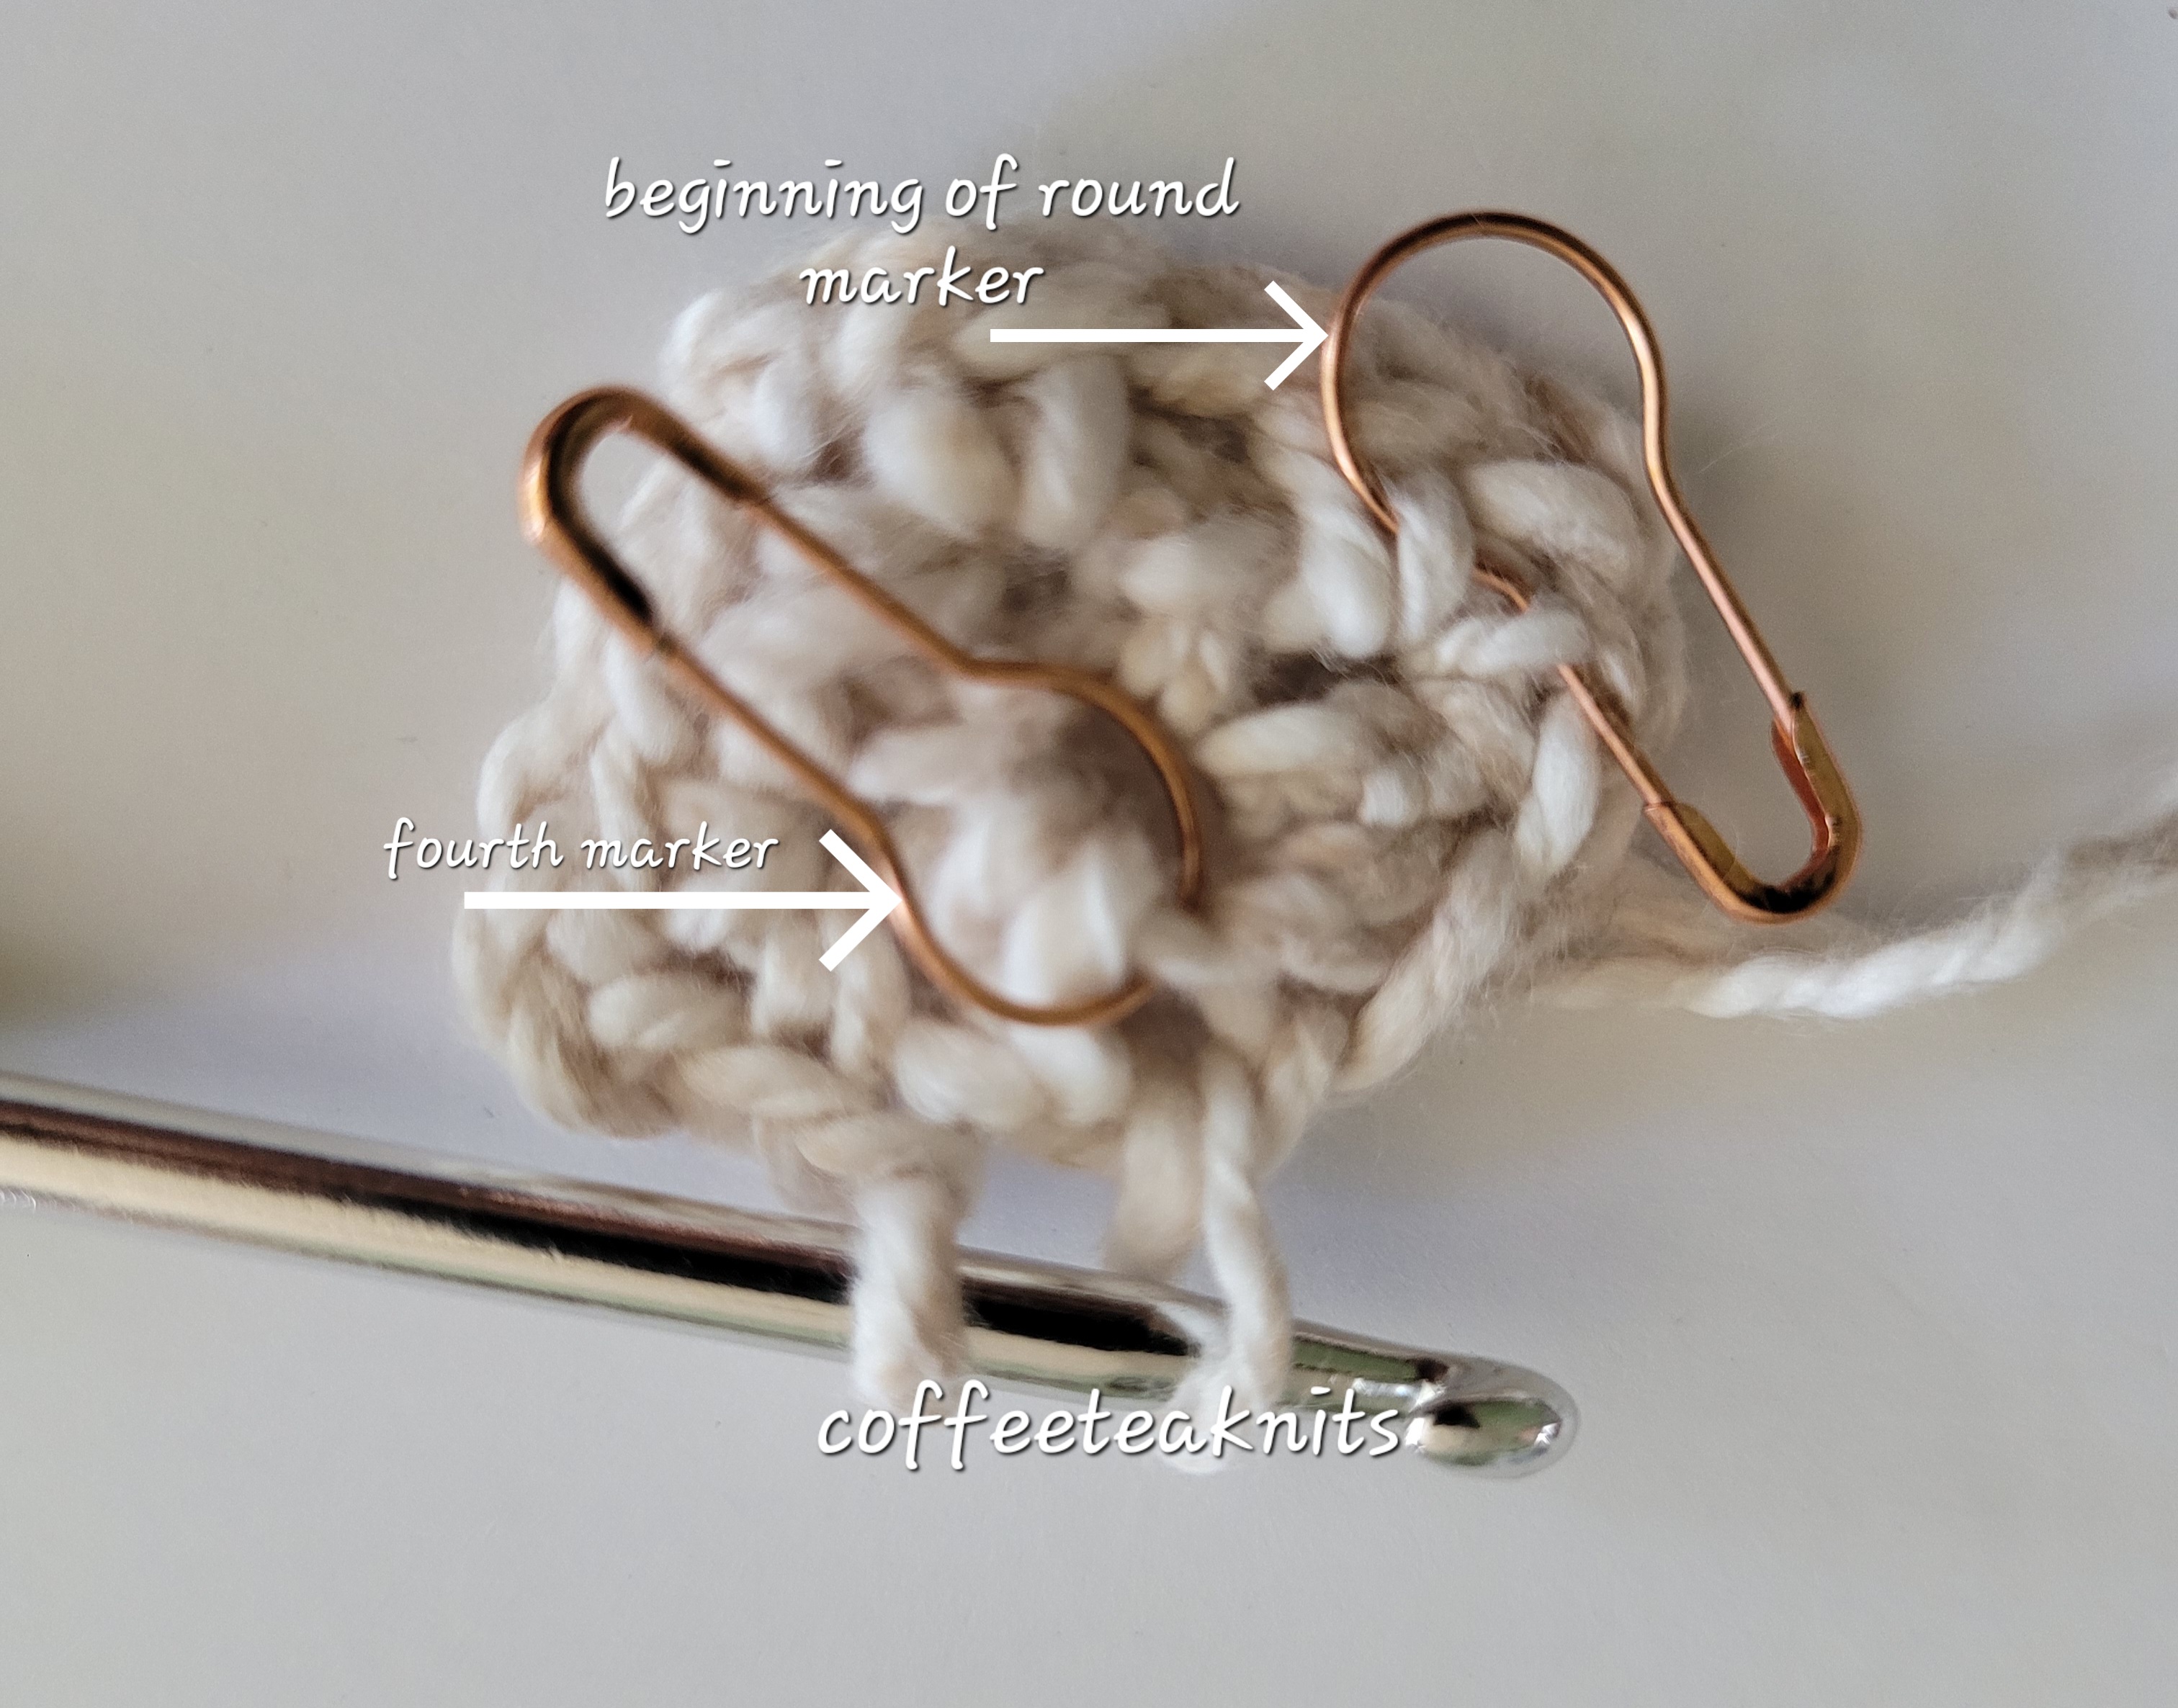
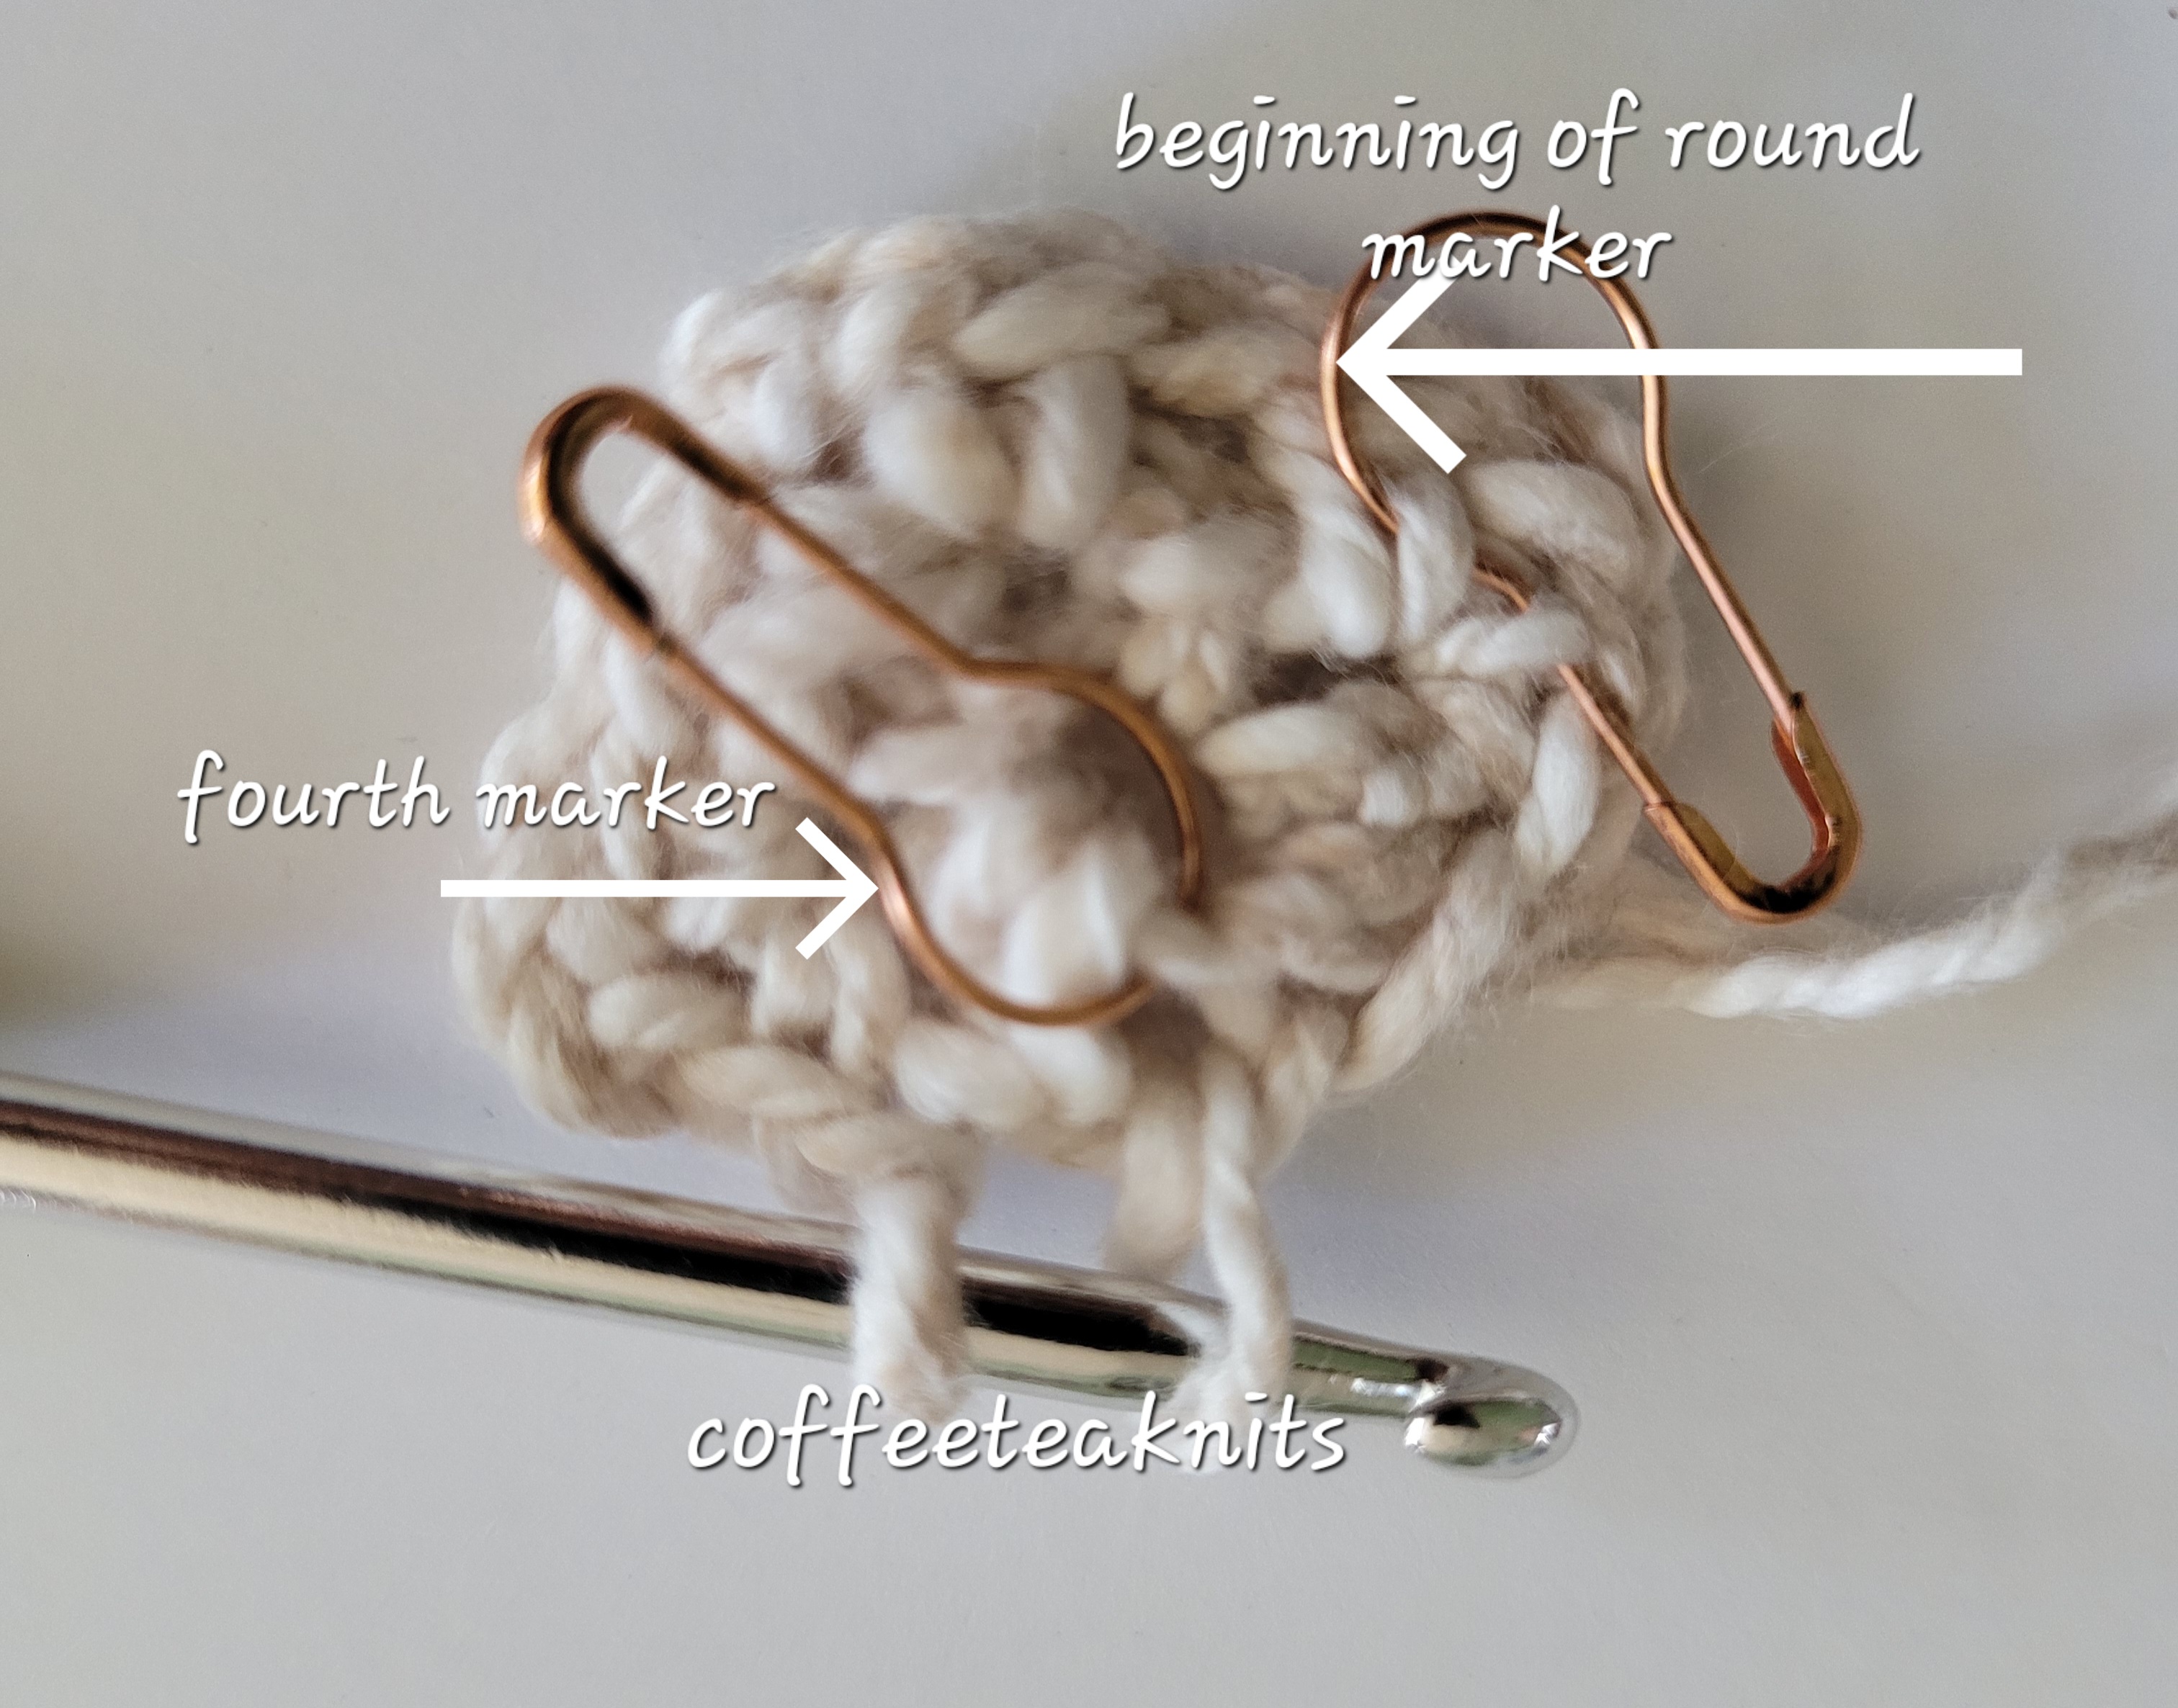
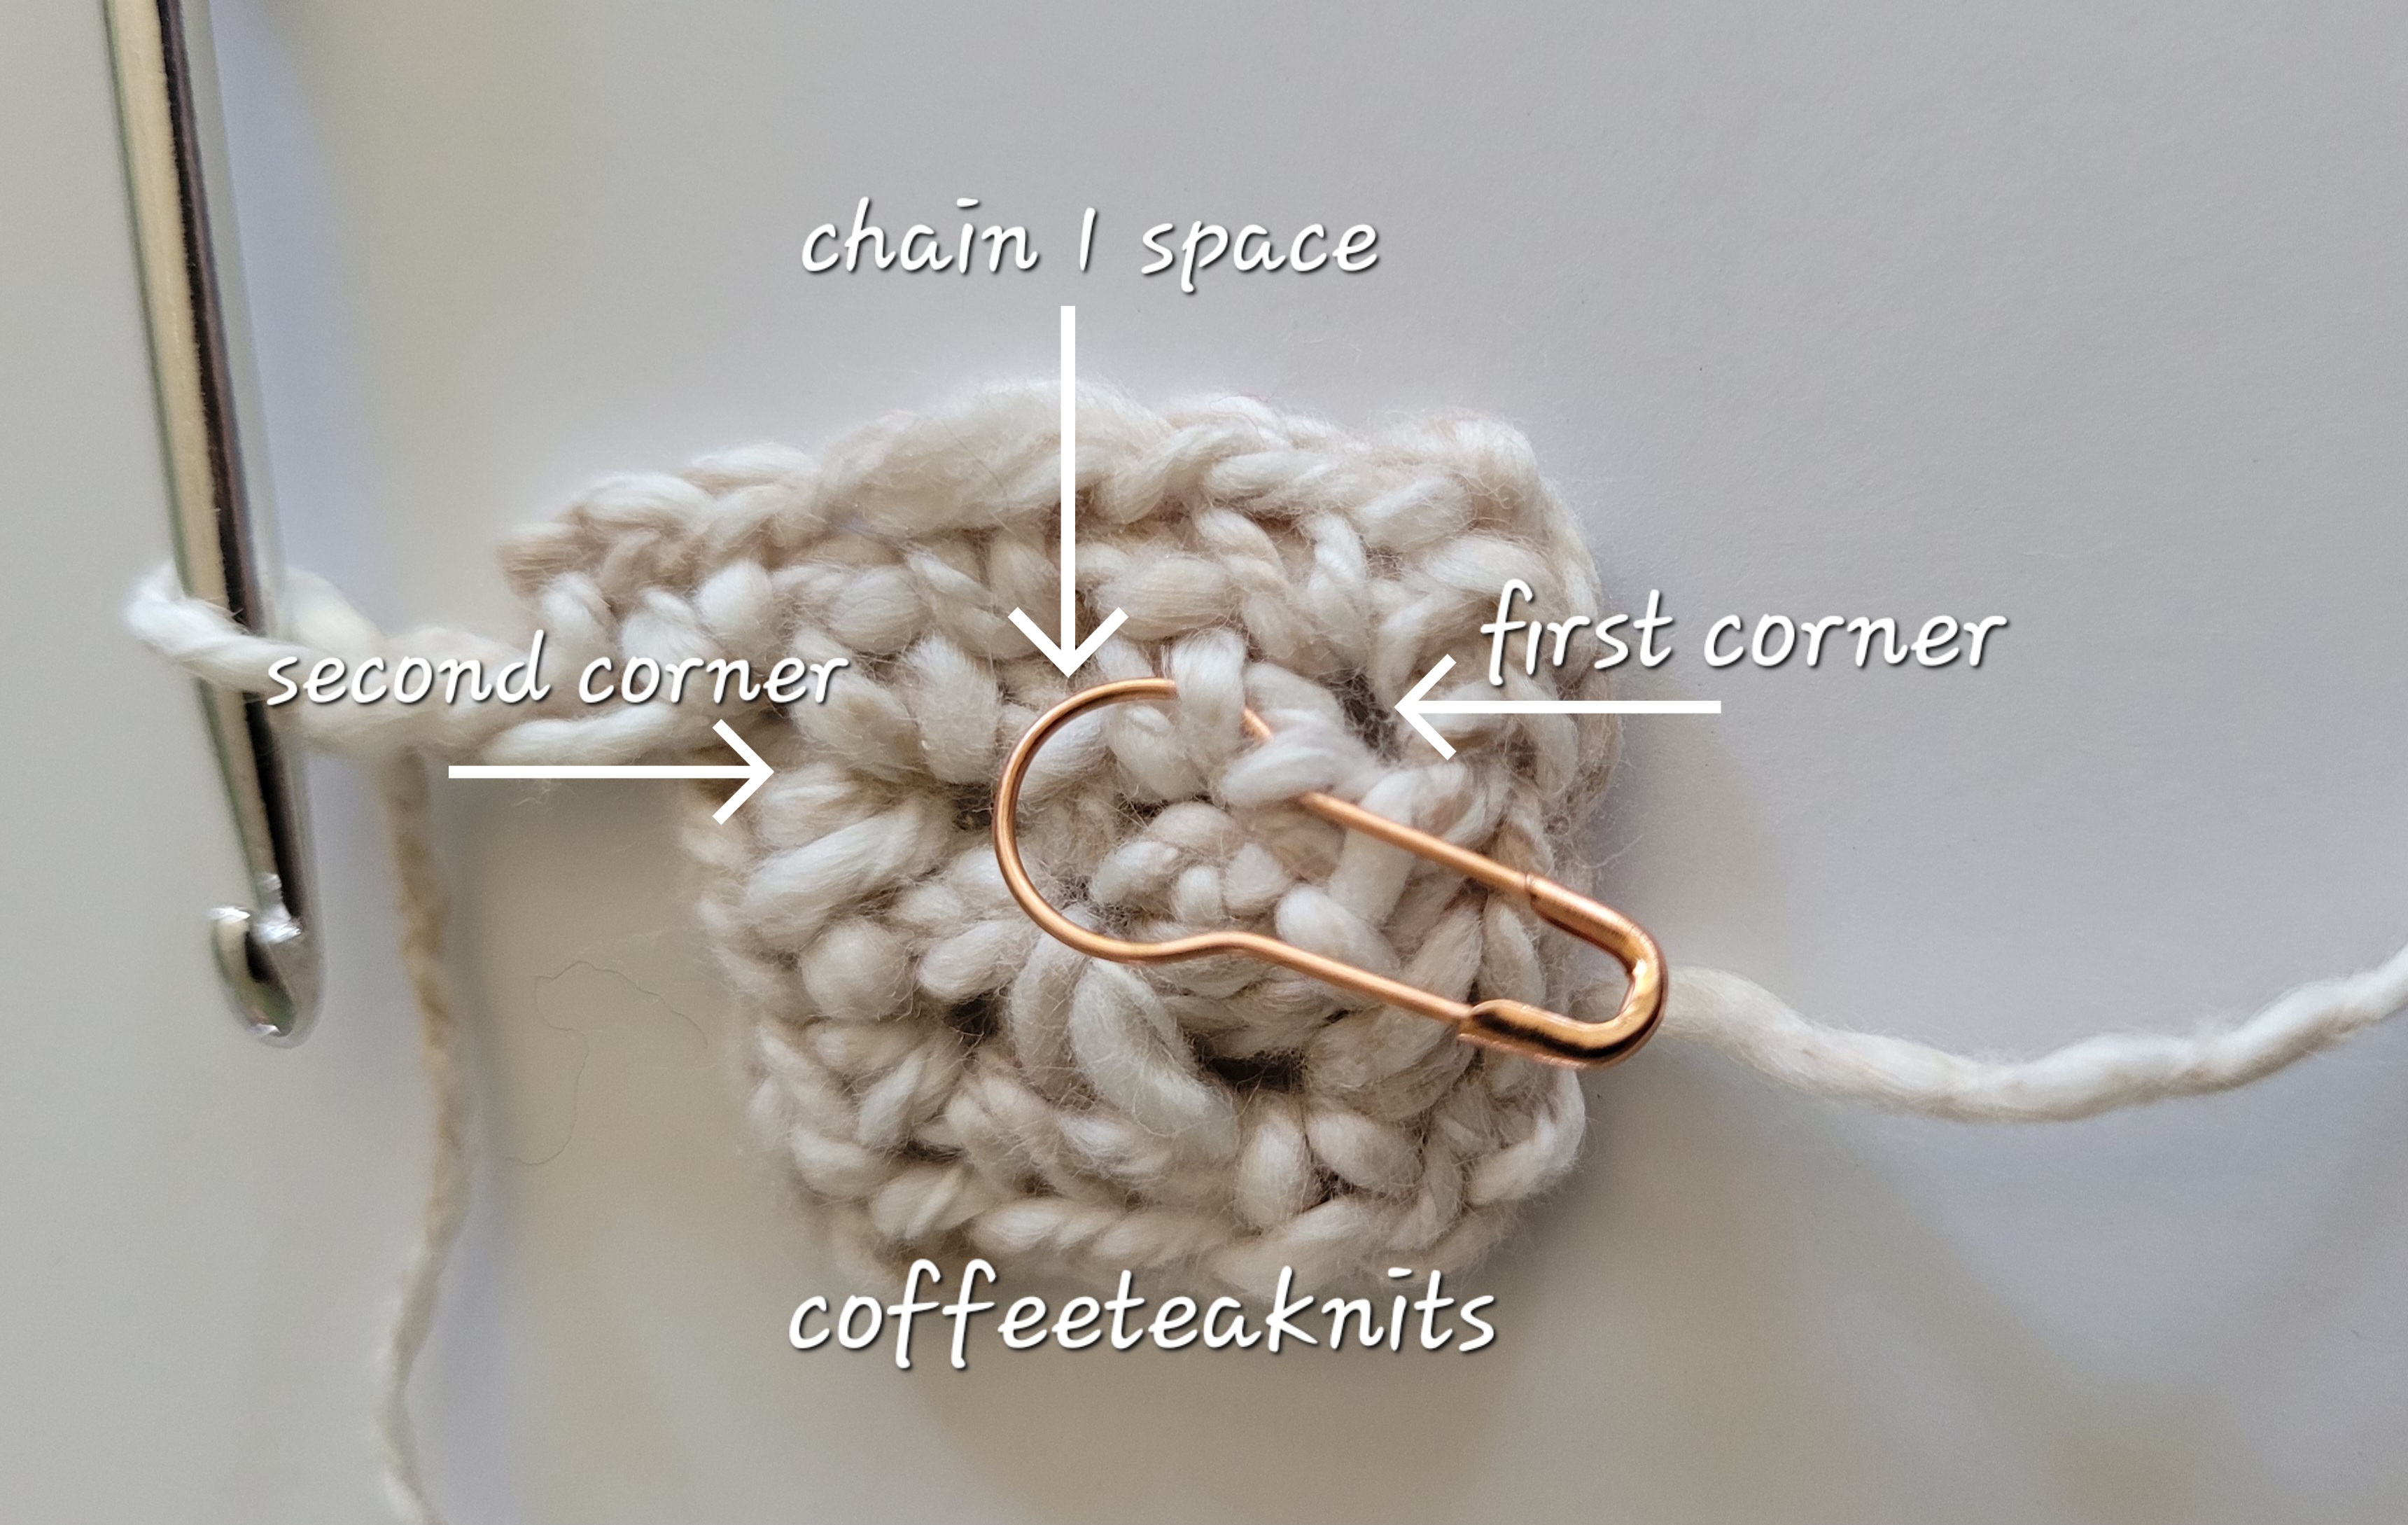
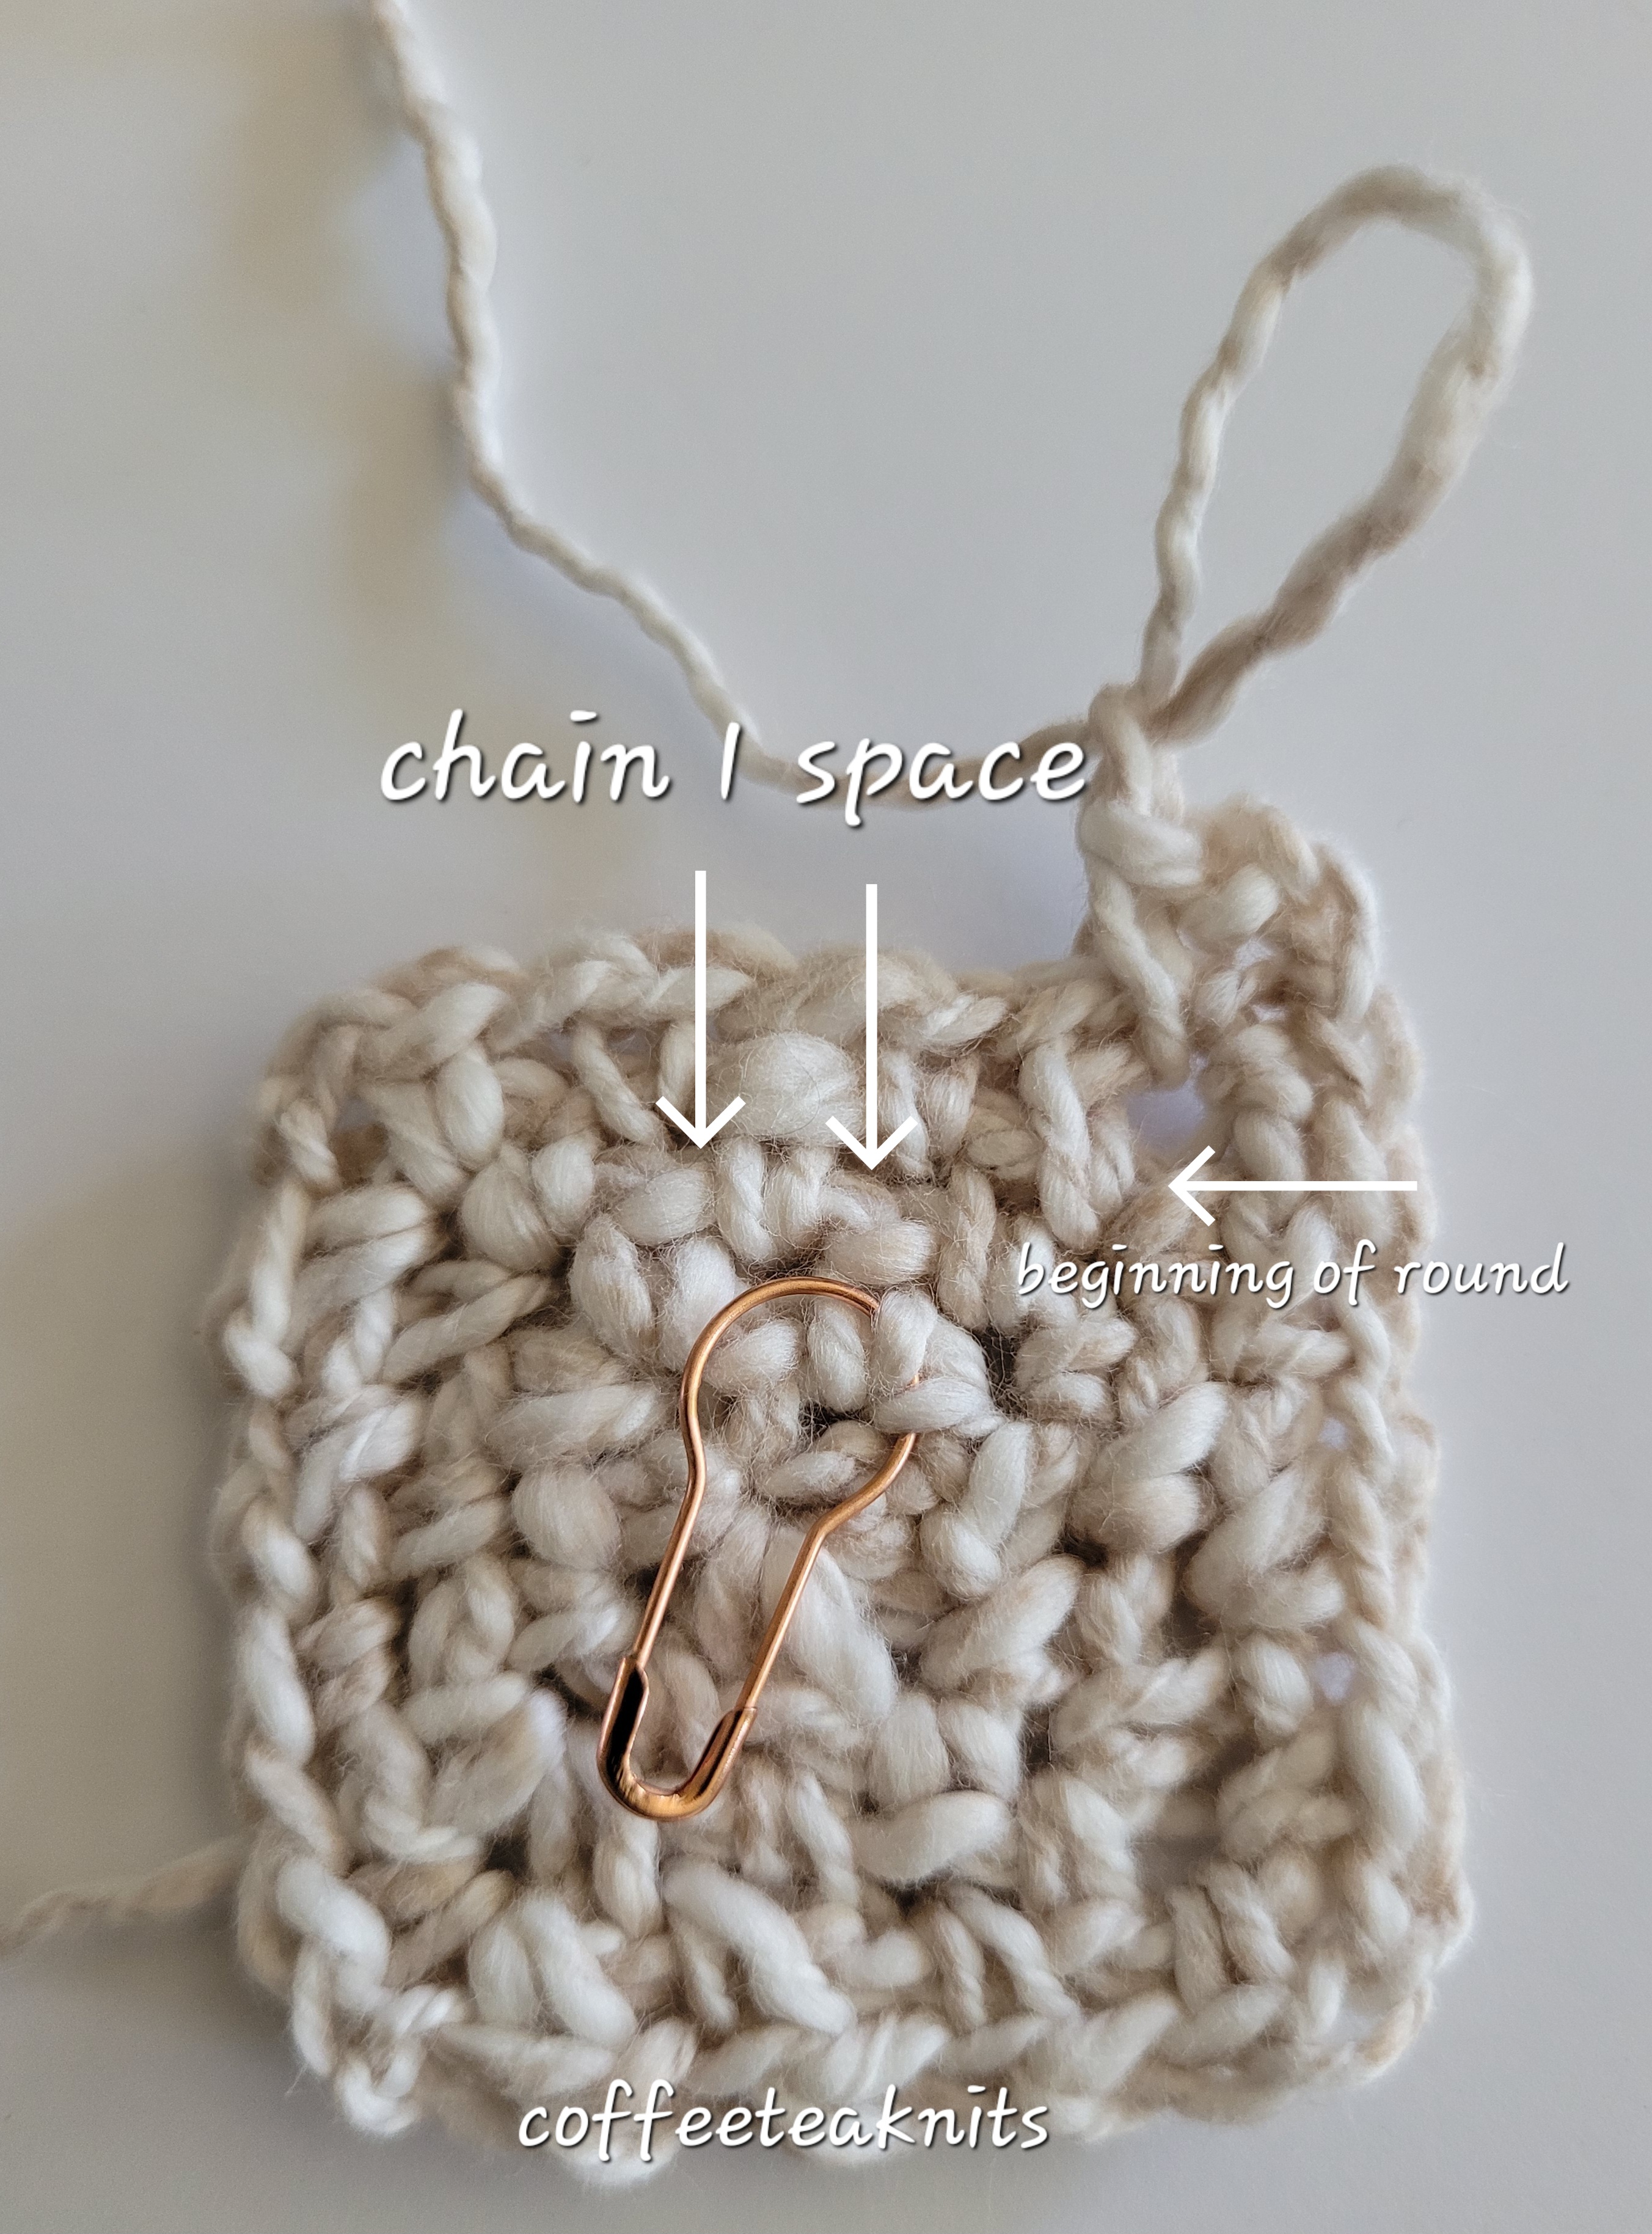
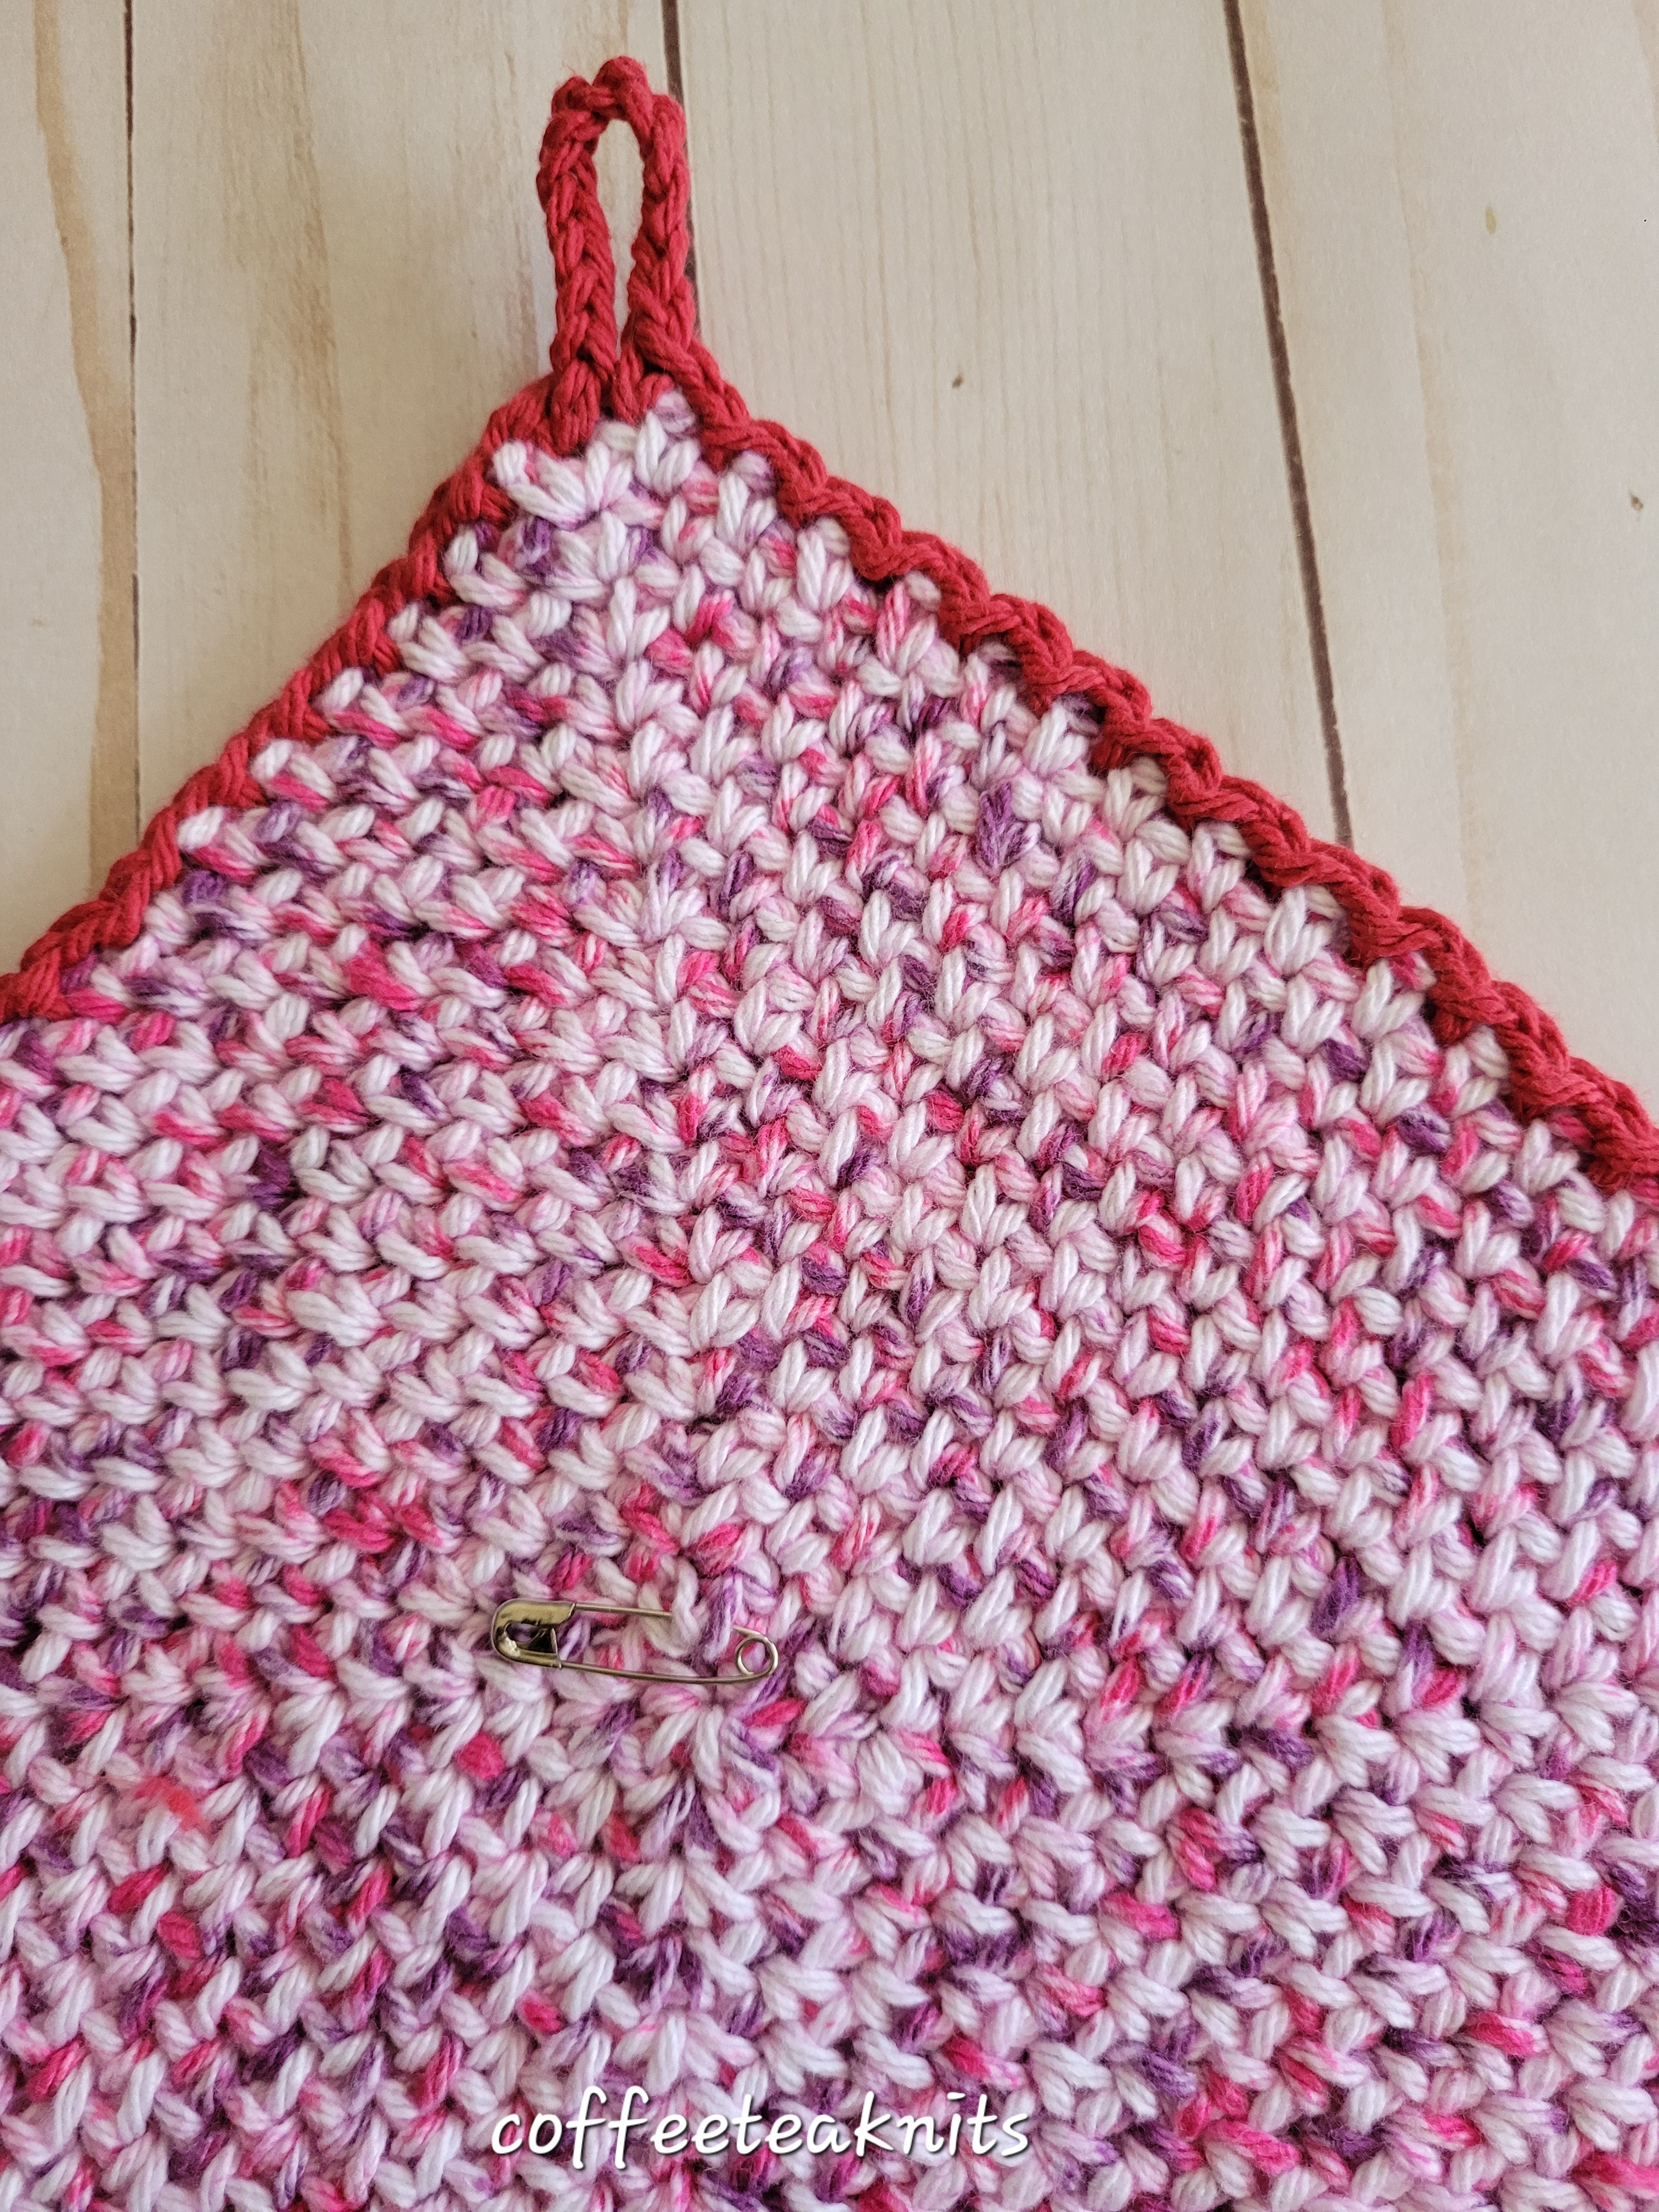
- Round 1: Insert the crochet hook into the first chain 2 space where the marker is and [sc, chain 2, sc into the same chain 2 space and chain 1]. Go in to the next three chain 2 space and repeat […]. Remove the marker (or a safety pin) and place it as a beginning of round marker in the first corner stitches of Round 1 as pictured below
- Round 2: Sc, chain 2, sc, chain 1 all in the same chain 2 space of the first corner with the beginning of round marker. [Sc, chain 1 in the next chain 1 space till the next corner chain 2 space. In the corner chain 2 space, sc, chain 2, sc, chain 1 all in the same corner chain 2 space]. Repeat […] 2 more times till the beginning of round.
Repeat Round 2, sixteen more times. In the last stitch of last round, insert hook into the beginning of round corner chain 2 space and pull up and sc, chain 1 with the Colorway 2 yarn. Secure and break the working yarn (Colorway Yarn 1) off.
The Slip Stitch, Chain 1 Border Edge:
- Step 1: With Colorway Yarn 2, insert hook into the same corner chain 2 space, yarn over, pull the yarn and slip stitch into the loop on the hook, chain 1. Turn dishcloth on the side. [Insert hook into the next chain 1 space, yarn over, pull the yarn and slip stitch into the loop on the hook, chain 1] all along that side. Repeat […] till the next corner chain 2 space.
- Step 2: Insert hook into the corner chain 2 space, yarn over, pull the yarn and slip stitch into the loop on the hook, chain 2. Turn dishcloth on the next side. [Insert hook into the next chain 1 space, yarn over, pull the yarn and slip stitch into the loop on the hook, chain 1] all along that side, repeat […] till the next corner.
- Repeat Step 2, two more times till the beginning of round.
Yarn over, pull yarn through the last chain 1 space and slip stitch into the loop on the hook. Chain 12 for the hanging loop and slip stitch into the first stitch in the corner. Break Colorway Yarn 2 off and pull through the stitch.
Weave in the ends, wash and block the Speckles Dishcloths
Crochet one or both of the Speckles Dishcloths pattern for gift giving or for personal use.
~coffeeteaknits.com
© Coffee Tea Knits. All text and images for personal use only. All Rights Reserved.