Tutorial Series: How to Crochet Zig Zag Join

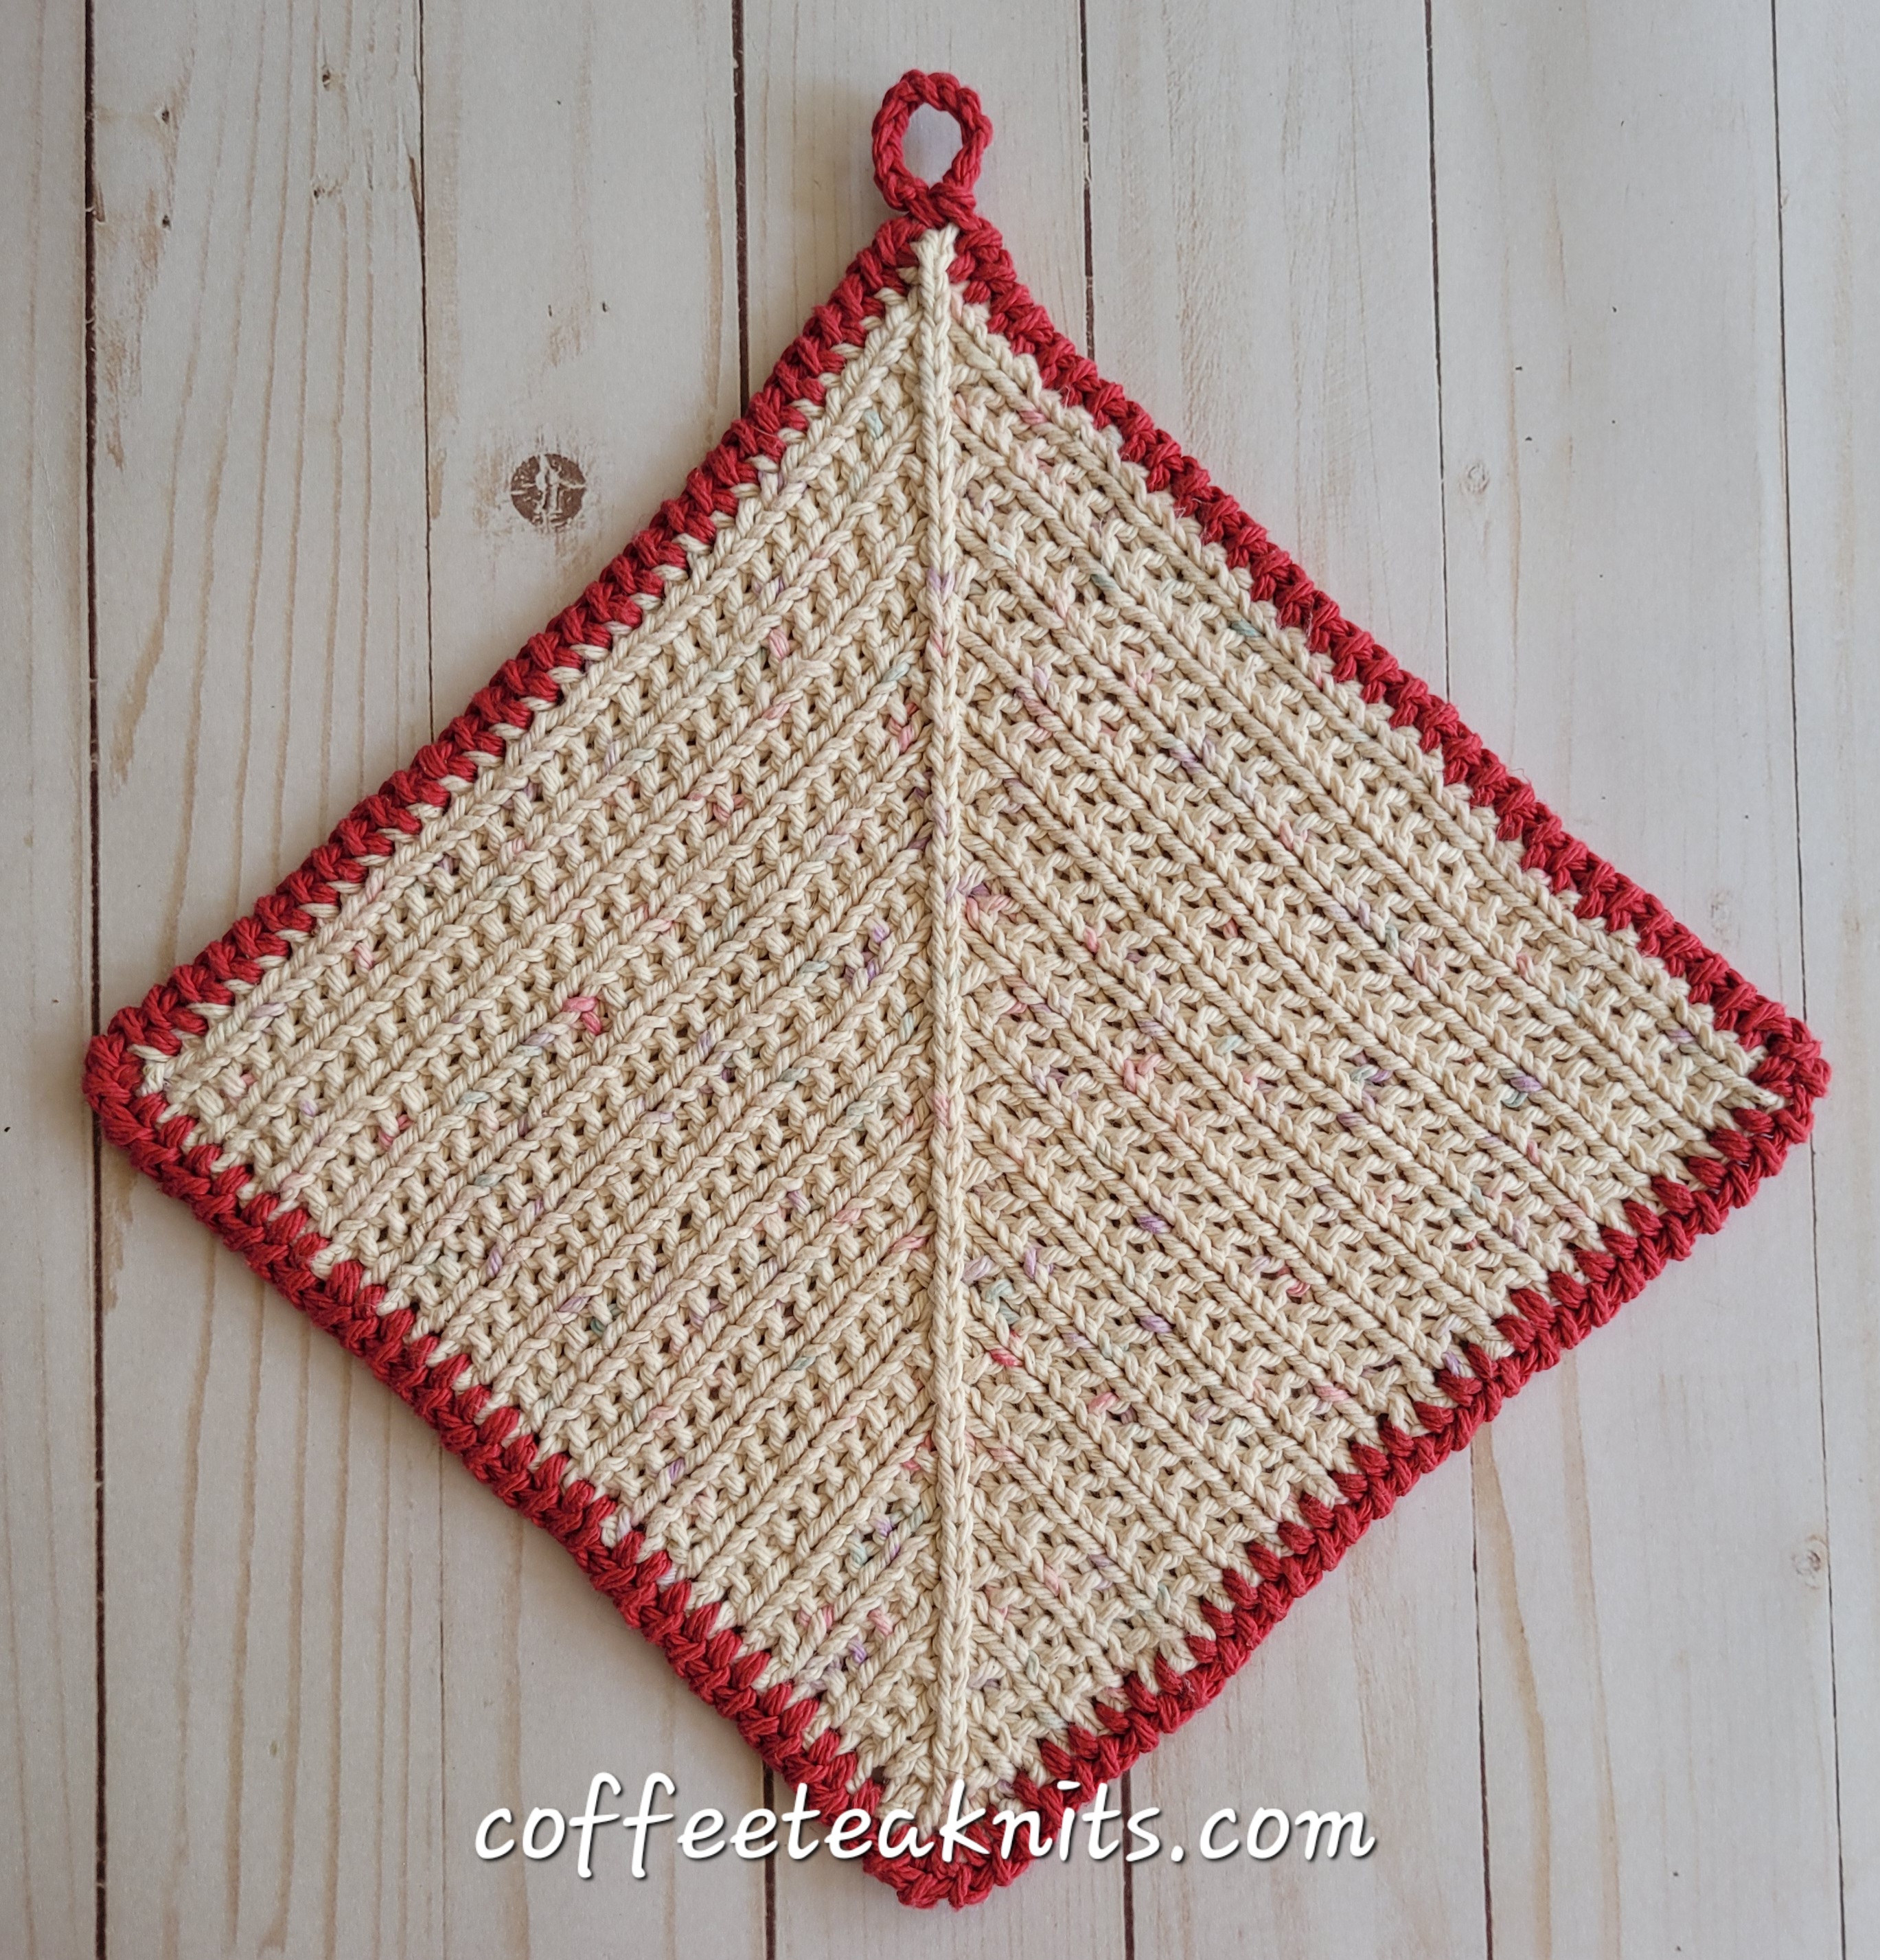
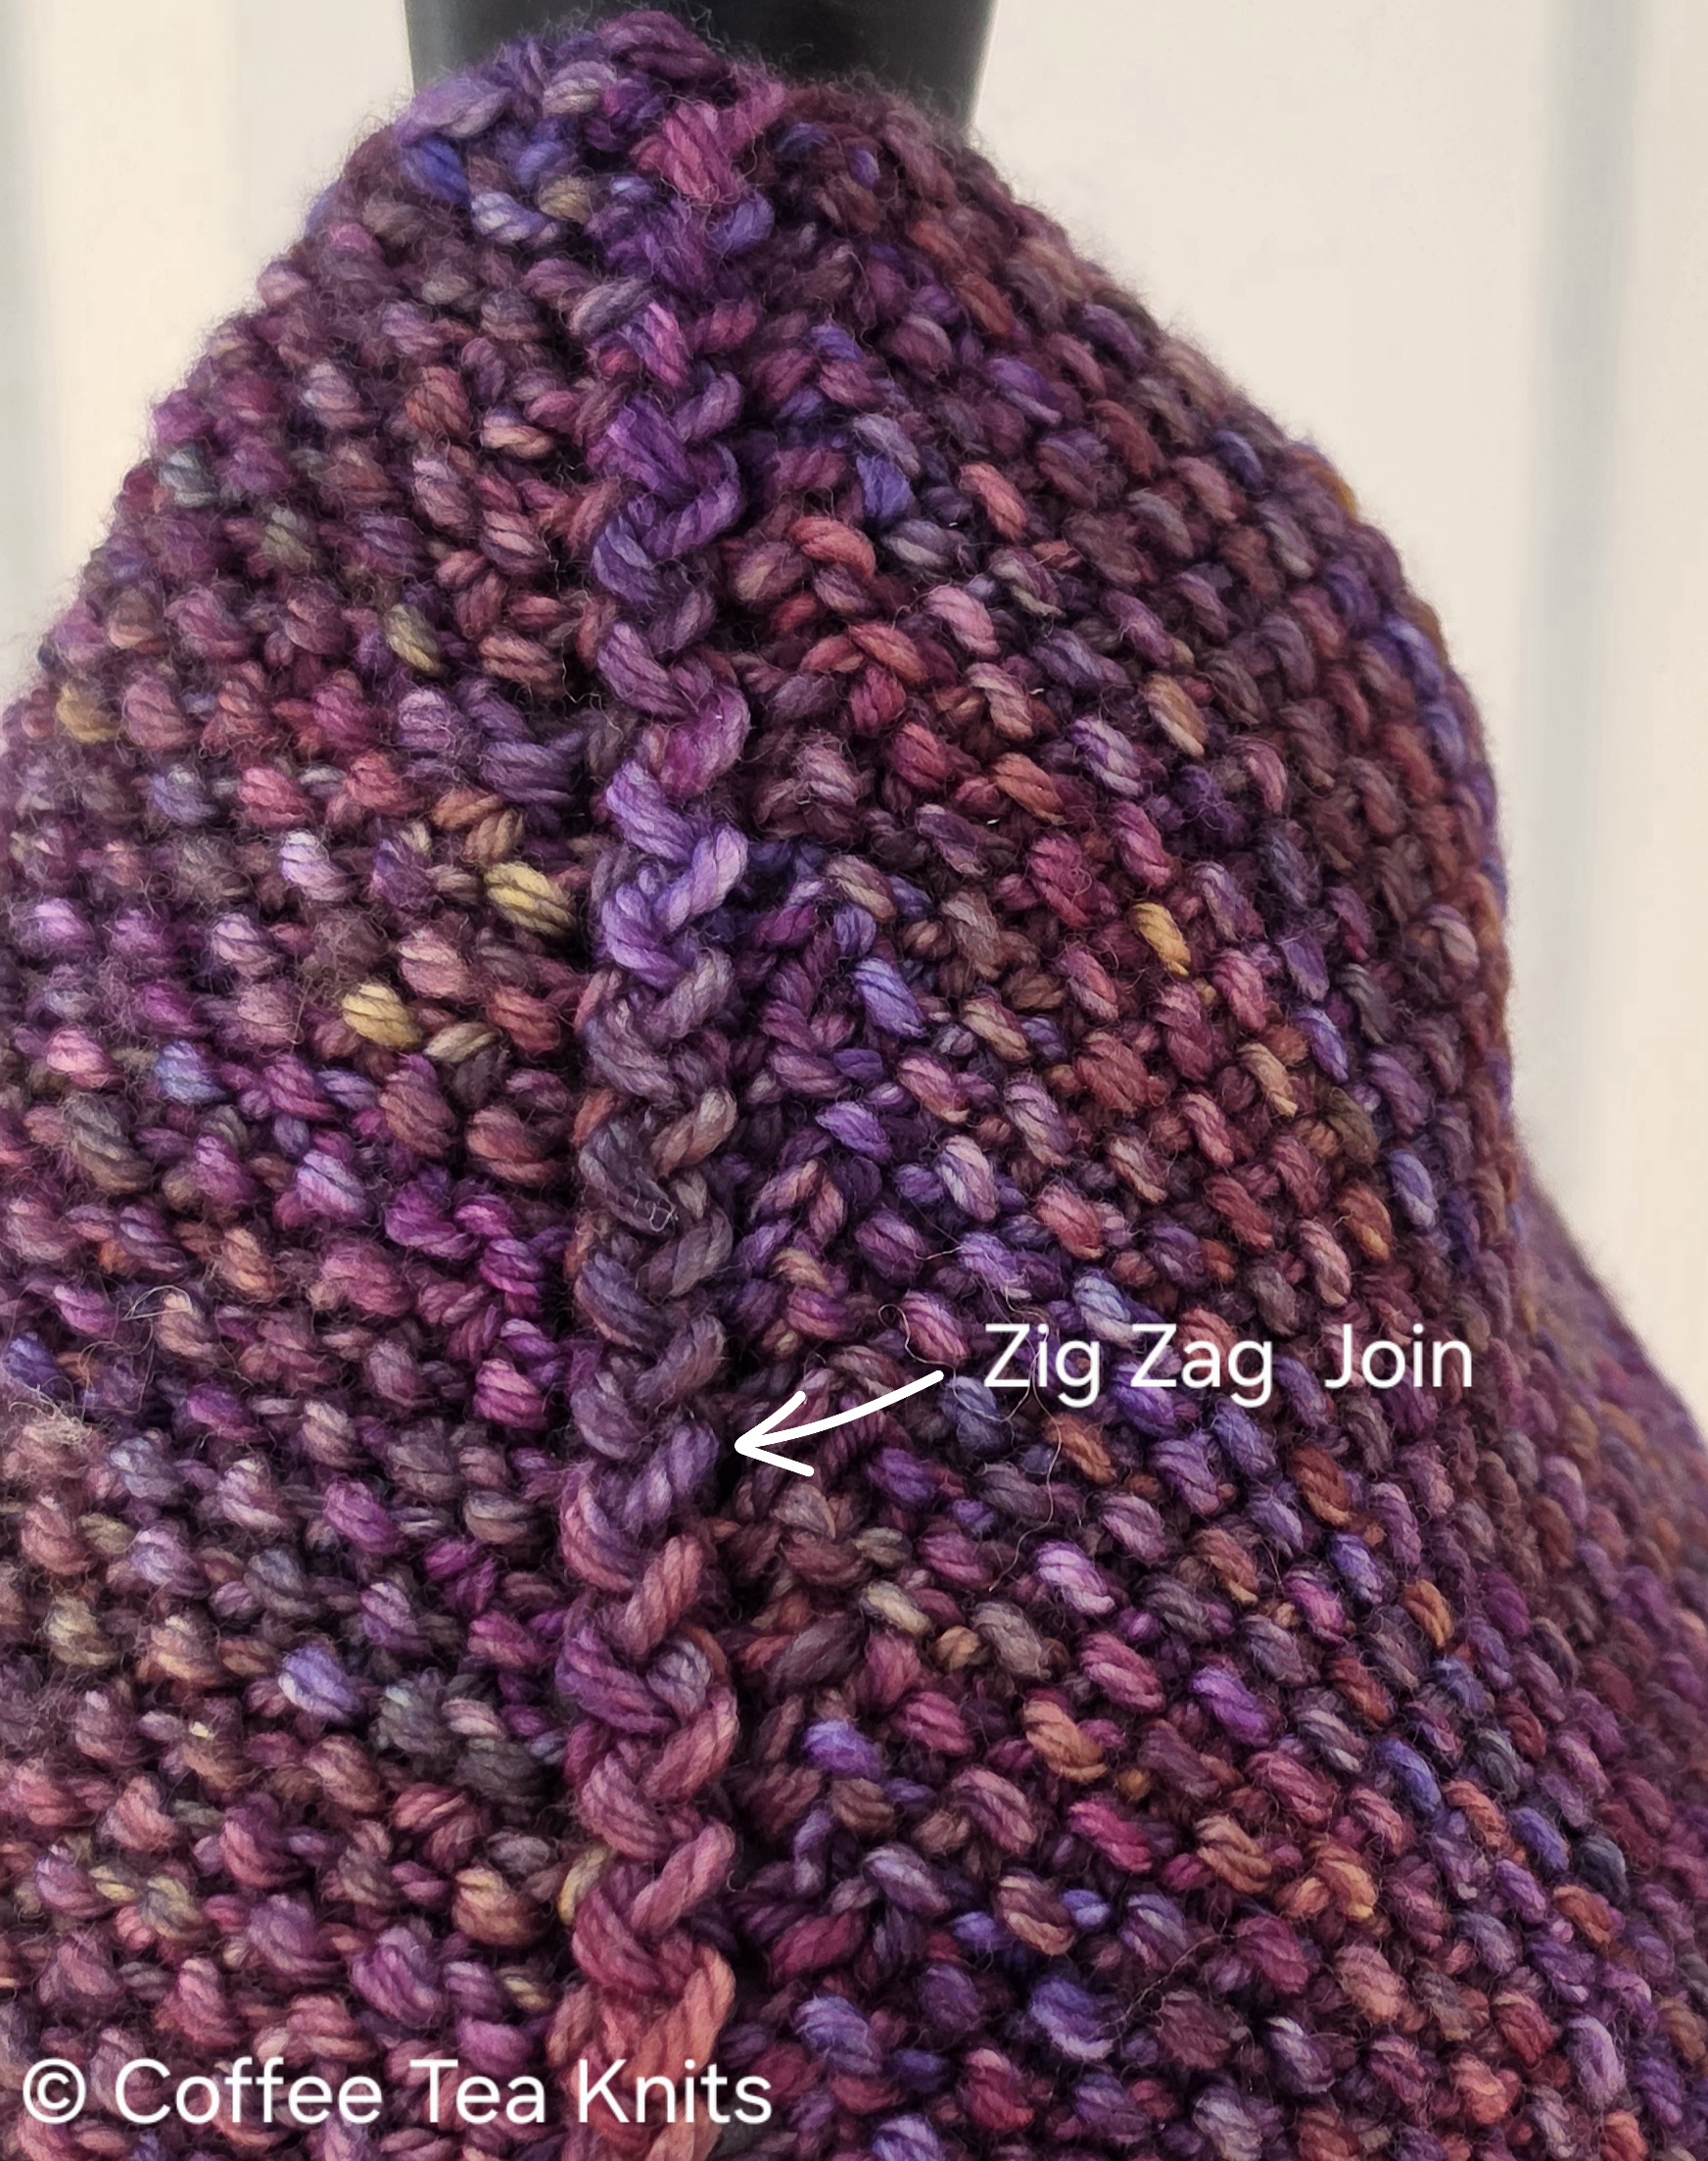
Crocheted or knitted pieces can be joined together in several ways, each offering unique benefits and aesthetic qualities. They can be seamed together with a mattress stitch, which provides a nearly invisible join, or joined with the three-needle bind-off technique used in joining knitted pieces together. Alternatively, certain crochet slip-stitch techniques, such as the crochet zig zag join is used not only to secure the pieces (knitted or crocheted) firmly but to also give the seam a decorative zig zag look. The join in this technique is created by a repetition of alternating crochet slip stitches from one piece to the other, resulting in a visually appealing texture that enhances the overall design.


The crochet zig zag join technique is one of my favorite join methods and I’ve included it in many of my patterns. The Comfy Poncho, Winterland Cowl, The Waiting Season Cowl, The Patchwork Petal Scarf, The Four Section Blanket, and Goes with Everything Cowl are some patterns that use the crochet zig zag method.

The written instructions and video below show how to use the Crochet Zig Zag join for right-handed crochet.


Written Instructions on how to Crochet Zig Zag Join:

  1. Insert the crochet hook from front to back under both the strands of the edge stitch in the first knitted or crocheted piece
  2. Yarn over with working yarn and pull the loop on the crochet hook under and through both the strands of the edge stitch in the first piece
  3. Slip stitch the loop to the loop on the hook (Tutorial Series: How to Crochet Slip Stitch)
  4. Insert the crochet hook from back to front under both the strands of the edge stitch in the second knitted or crocheted piece
  5. Yarn over with working yarn and pull the loop on the crochet hook under and through both the strands of the edge stitch in the second piece
  6. Slip stitch the loop to the loop on the hook (Tutorial Series: How to Crochet Slip Stitch)
  7. Repeat Steps 1 to 6 for the Crochet Zig Zag Join

~coffeeteaknits.com

Tutorial Series: Knit One Below (K1b)

Knit one below (K1b) is a technique where the stitch on the knitting needle is not worked or knit. Instead the knit stitch right below is worked or knit. Examples of stitch patterns where K1b is used include the twisted seed stitch pattern, fisherman’s rib stitch pattern, some half brioche stitch patterns, honeycomb and textured rib patterns. Knit one below forms a fluffy and textured fabric. I have used K1b technique in the twisted seed stitch pattern for the Summertime Dishcloths and The Comfy Hat 1 patterns.

The twisted seed stitch pattern looks similar to the half brioche stitch pattern but differs in the techniques used to create the textured fabric (see image below)


The video and written instructions below show how to use the K1b technique for right-hand knitting

Knit One Below (K1b):

Written instructions for Knit one Below (K1b):

  • Insert the right knitting needle from front to back into the center of the stitch below the first stitch on the left knitting needle
  • Wrap the working yarn around the top of the right knitting needle to form a new loop (Tutorial Series: Knit and Tink)
  • Pull the loop through the center of the stitch below the stitch on the left knitting needle
  • The new knitted stitch is now on the right knitting needle
  • Slip the un-worked first stitch off the left knitting needle

~coffeeteaknits.com

2025 Year in Review and an Announcement

Hello folks, hope 2025 went well for you. For me, 2025 has been an eventful year. I published seven knit or crochet patterns, nine knitting or crochet technique video tutorials, and a few tidbits.

2025 also brought me some endings, loss, grief, celebrations, and not-so-fun health issues.

There’s also been a change in my journey with yarn.

After 55 published patterns, the call of yarn in my life has led me to a new beginning.

Coffee Tea Knits will be returning in January 2026 with new video tutorials and tidbits.

Stay tuned for updates as we explore the world of yarn and needles together.

Thank you to the fiber related crafts community. I am grateful to the subscribers and readers of this blog. Your feedback and encouragement have been invaluable in my journey with yarn.

All the best to you in the New Year!


~coffeeteaknits.com

The Dilemma of Leftover Yarn

Hello folks, I’m in the process of organizing my yarn. I face a dilemma because I do not know what to do with the project leftover yarn. The project leftover yarn has accumulated quite a bit over the years I’ve been knitting or crocheting.

I sometimes have a whole skein or two left over and sometimes just a small amount of yarn left over. With a skein or two of leftover yarn, making a hat, a dishcloth, or other small knitted items is possible. I have made such items in the past. I have also donated leftover skeins of yarn to charity.

The small amount of project leftover yarn puzzles me. I have no idea what to do with these bits of yarn leftover from a knitting or crochet project. Below is a picture of a small sample of the leftover yarn that I have. I probably have about 2 bags full of these bits and pieces of yarn.


Leftover yarn a, b, c, d, and e in the image above are from these knitting and crochet projects:


Is there something I can make out of this that is aesthetically pleasing? It’s hard for me to find the time. I struggle to find the motivation to mix them up to knit or crochet something. I don’t find the prospect of just knitting or crocheting for the sake of making something very appealing.

Your Suggestions/Feedback:

Do you also have an accumulation of project leftover yarn? Comment below on how you deal with these bits and pieces of project leftover yarn?


~coffeeteaknits.com