Tutorial Series: How to Single Crochet

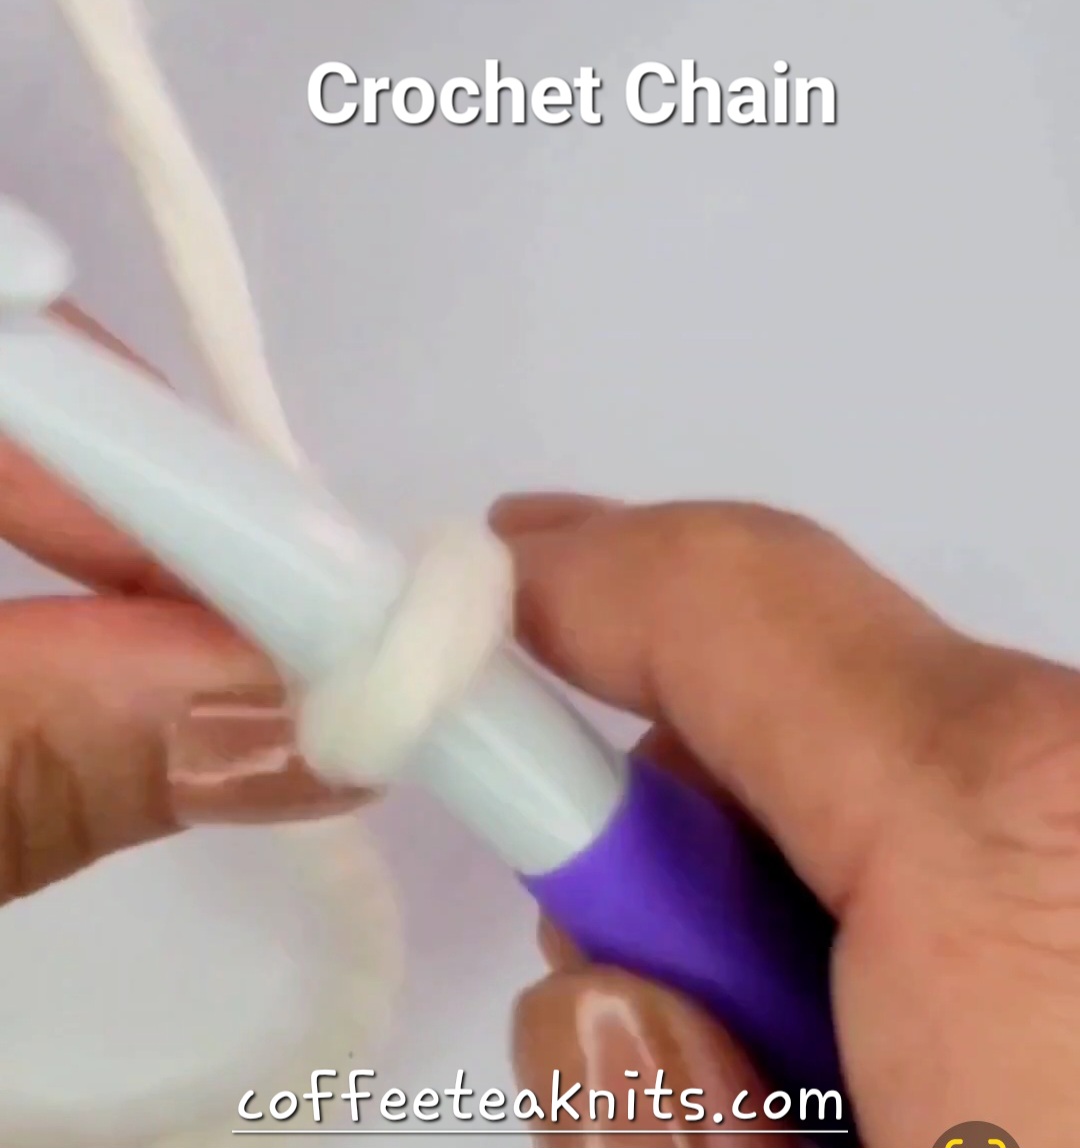
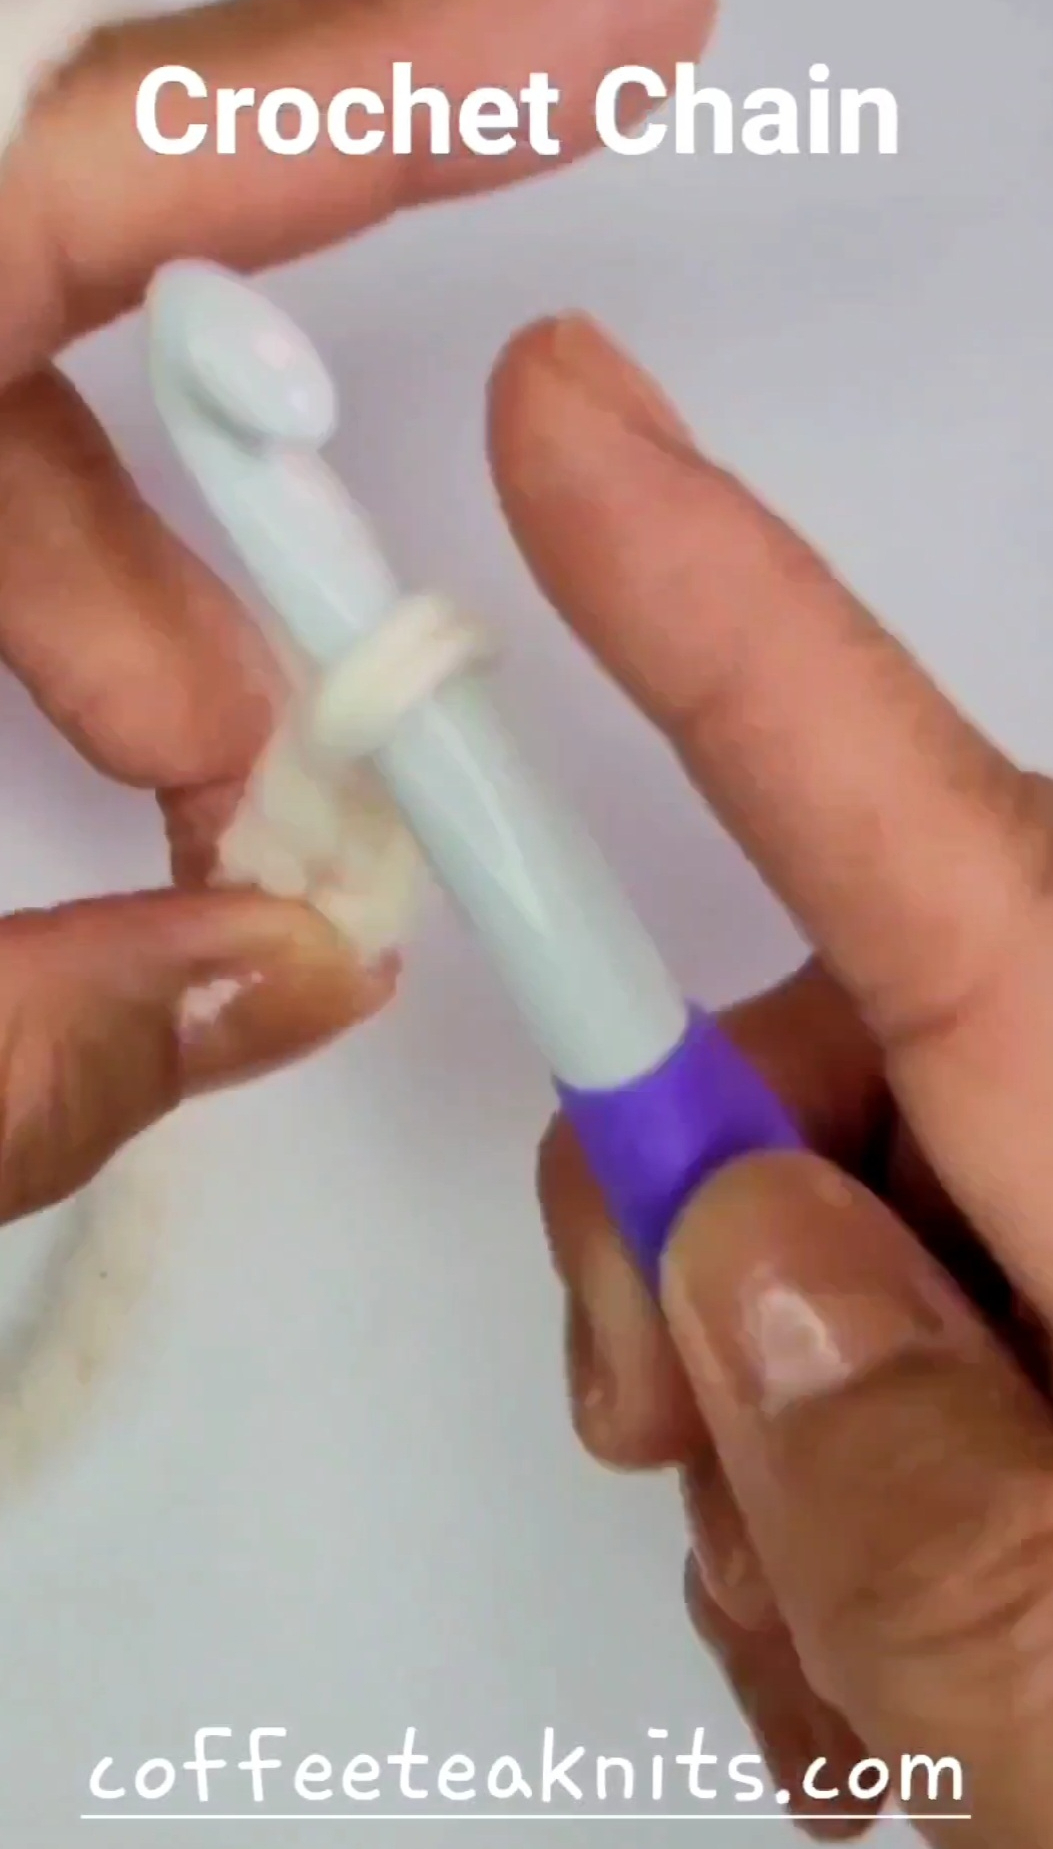
Once a foundation chain (How to Crochet Chain) is made, a new crochet project with any crochet stitch pattern can begin. A single crochet stitch pattern is the shortest in length/height and creates a denser fabric compared to double and triple crochet stitch patterns. The video and written instructions below show how to make a single crochet from a foundation chain and all the rows for right handed crocheting.

Video in slow motion: Single Crochet from a Foundation Chain

Written Instructions for How to Single Crochet from a Foundation Chain:

  1. Skip the first chain stitch from the loop on the crochet hook.
  2. Insert the crochet hook into the top strand of the second chain stitch
  3. Wrap working yarn counterclockwise around hook (yarn over), catch and pull the loop through the top strand of the second chain stitch
  4. There are two loops on the crochet hook
  5. Wrap working yarn counterclockwise around hook (yarn over), catch and pull loop through the two loops on the crochet hook
  6. Repeat Steps 2 to 5 for the rest of the foundation chain stitches till the slip knot end
  7. Chain one and turn to single crochet the next row

How to Single Crochet:

Written Instructions for a Single Crochet:

  1. Skip the first stitch from the loop on the crochet hook
  2. Insert the crochet hook under both the strands of the next stitch
  3. Wrap working yarn counterclockwise around hook (yarn over), catch and pull the loop through both the strands of the next stitch
  4. There are two loops on the crochet hook
  5. Wrap working yarn counterclockwise around hook (yarn over), catch and pull loop through the two loops on the crochet hook
  6. Repeat Steps 2 to 5 till the last stitch in the row
  7. For the last stitch of the row, repeat Steps 2 to 5, chain one and turn
  8. Repeat Steps 1 to 7 with single crochet stitch pattern for all the subsequent rows

~coffeeteaknits.com

Tutorial Series: How to Crochet Chain

The slip knot (How to Slip Knot) in crochet is the fist loop of a foundation chain. After the slip knot loop, the first foundation chain stitch can be made. A foundation chain is the basis for the beginning a crochet project. The video and written instructions below show how to make a crochet foundation chain for right handed crocheting.

How to Crochet Chain: Slip knot and Chain 10


Written Instructions for How to Crochet Chain:

  1. Make a slip knot (How to Slip Knot) and insert the crochet hook into the loop
  2. Take the crochet hook under and around the working yarn counter clockwise (see image below)

    May2024_image1

  3. Wrap the working yarn around the hook

    May2024_image2

  4. Catch and pull the wrapped working yarn through the loop on the crochet hook (chain 1)

    May2024_image3
    May2024_image4

  5. Repeat Steps 2 to 4 of pulling the working yarn through the loop on the crochet hook maintaining even tension till the required number for the foundation chain of a crochet project has been reached

    May2024_image5

~coffeeteaknits.com

Tutorial Series: How To Slip Knot

Cast on for knitting or a foundation chain for crochet all start with a slip knot. The first stitch in knitting is the slip knot. The slip knot in crochet is the loop for the first foundation chain. Therefore, how to make a slip knot is the first step in learning how to knit or crochet. There are many ways to make a slip knot. How to slip knot differs for knitters and crocheters. The video below shows how I make a slip knot to start a crochet foundation chain.

How to Slip Knot (slow motion):


Written Instructions for How to Slip Knot:

  • Wrap the yarn around index and middle finger of the left hand going from top to bottom (clockwise)
  • Bring the yarn across and between the two fingers
  • With the right hand, bring the strand of yarn in and through the ring formed by the wrapped yarn
  • Pull and tighten the ring holding the strand of yarn to form the slip knot
  • Insert a crochet hook into the slip knot and tighten it around the hook

~coffeeteaknits.com

Tutorial Series: The Knotted K2tog Bind Off

A decorative bind – off method that I used in The Cozy Season Shrug is the Knotted K2tog bind – off. It gives a nicer looking finished edge for shawls, shrugs etc. that can be added to a garter stitch pattern border.

The written instructions and video below on how to do the knotted K2tog bind – off is shown for right handed knitting.

Abbreviations:

  • K: Knit
  • K2tog: Knit the two stitches on the left knitting needle together
  • wyif: with the working yarn in front

The Knotted K2tog Bind Off:

Knotted K2tog Bind Off: (written intructions)

  1. To begin the bind off row/round: K2, wyif slip the 2 knitted stitches on the right knitting needle back onto the left knitting needle
  2. Wrap the working yarn in front of the 2 stitches on the left knitting needle
  3. Insert the right knitting needle into the wrapped stitches on the left knitting needle and knit those 2 stitches together.
  4. Knit the next stitch on the left knitting needle. There are two stitches on the right knitting needle
  5. Pass the second stitch on the right knitting needle over the first stitch on that needle
  6. K1, wyif slip the 2 knitted stitches on the right knitting needle back onto the left knitting needle
  7. Repeat steps 2 to 5
  8. Repeat steps 6 and 7 till one stitch left in the bind off row/round
  9. Cut and pull working yarn through the last remaining stitch and weave in the end

~coffeeteaknits.com

Tutorial Series: Yarn Over (YO) with Knit Stitches

Yarn over (YO) is another method to increase stitches in rows or rounds. Yarn overs create holes or eyelets in knitted items and are most commonly used in lace stitch patterns. A stitch increase with a yarn over is most often followed by a stitch decrease in the same or the next row or round for most lace stitch patterns in knitting. The written instructions and videos below show how to increase a stitch with a yarn over (YO) on a knit row for right-handed knitting.

Abbreviations:

  • K: Knit
  • YO: yarn over

Yarn Over (YO) in slow motion:

Yarn Over (YO) written instructions:

  • Wrap the working yarn from back to front on the right knitting needle
  • Bring the working yarn to the back of the right hand knitting needle
  • Insert right knitting needle into the first stitch on the left knitting needle
  • Knit the first stitch on the left knitting needle to complete the yarn over

Yarn Over with Knit Stitches:
   The video below shows K1, YO, K2, YO, K2, YO, K2, YO, K2


~coffeeteaknits.com