Four years ago my May 2016 blog post was about “The Simple Elegance of the Garter Stitch” and how with this stitch pattern we can create several beautiful and elegant knits. This year amidst the stay-at-home order due to the coronavirus pandemic, I would like to add that I’ve also found knitting with the garter stitch pattern both meditative and comforting.


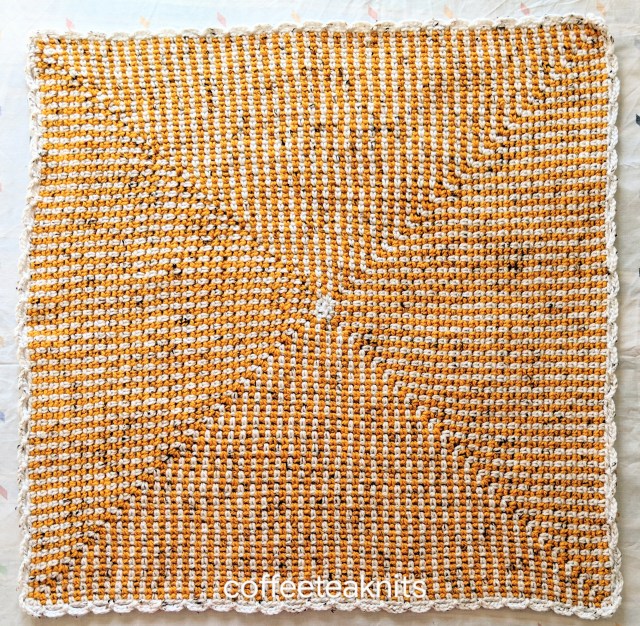
I used the Zaden Spring Shawl pattern by Staci Perry of Very Pink Knits as inspiration and also to learn the bias knitting technique for a wrap. I modified the pattern by using a different stitch count, sock yarn, and knit the wrap using just the garter stitch pattern.
May knitting bring you comfort!
~coffeeteaknits.com
© Coffee Tea Knits. All text and images for personal use only. All Rights Reserved.