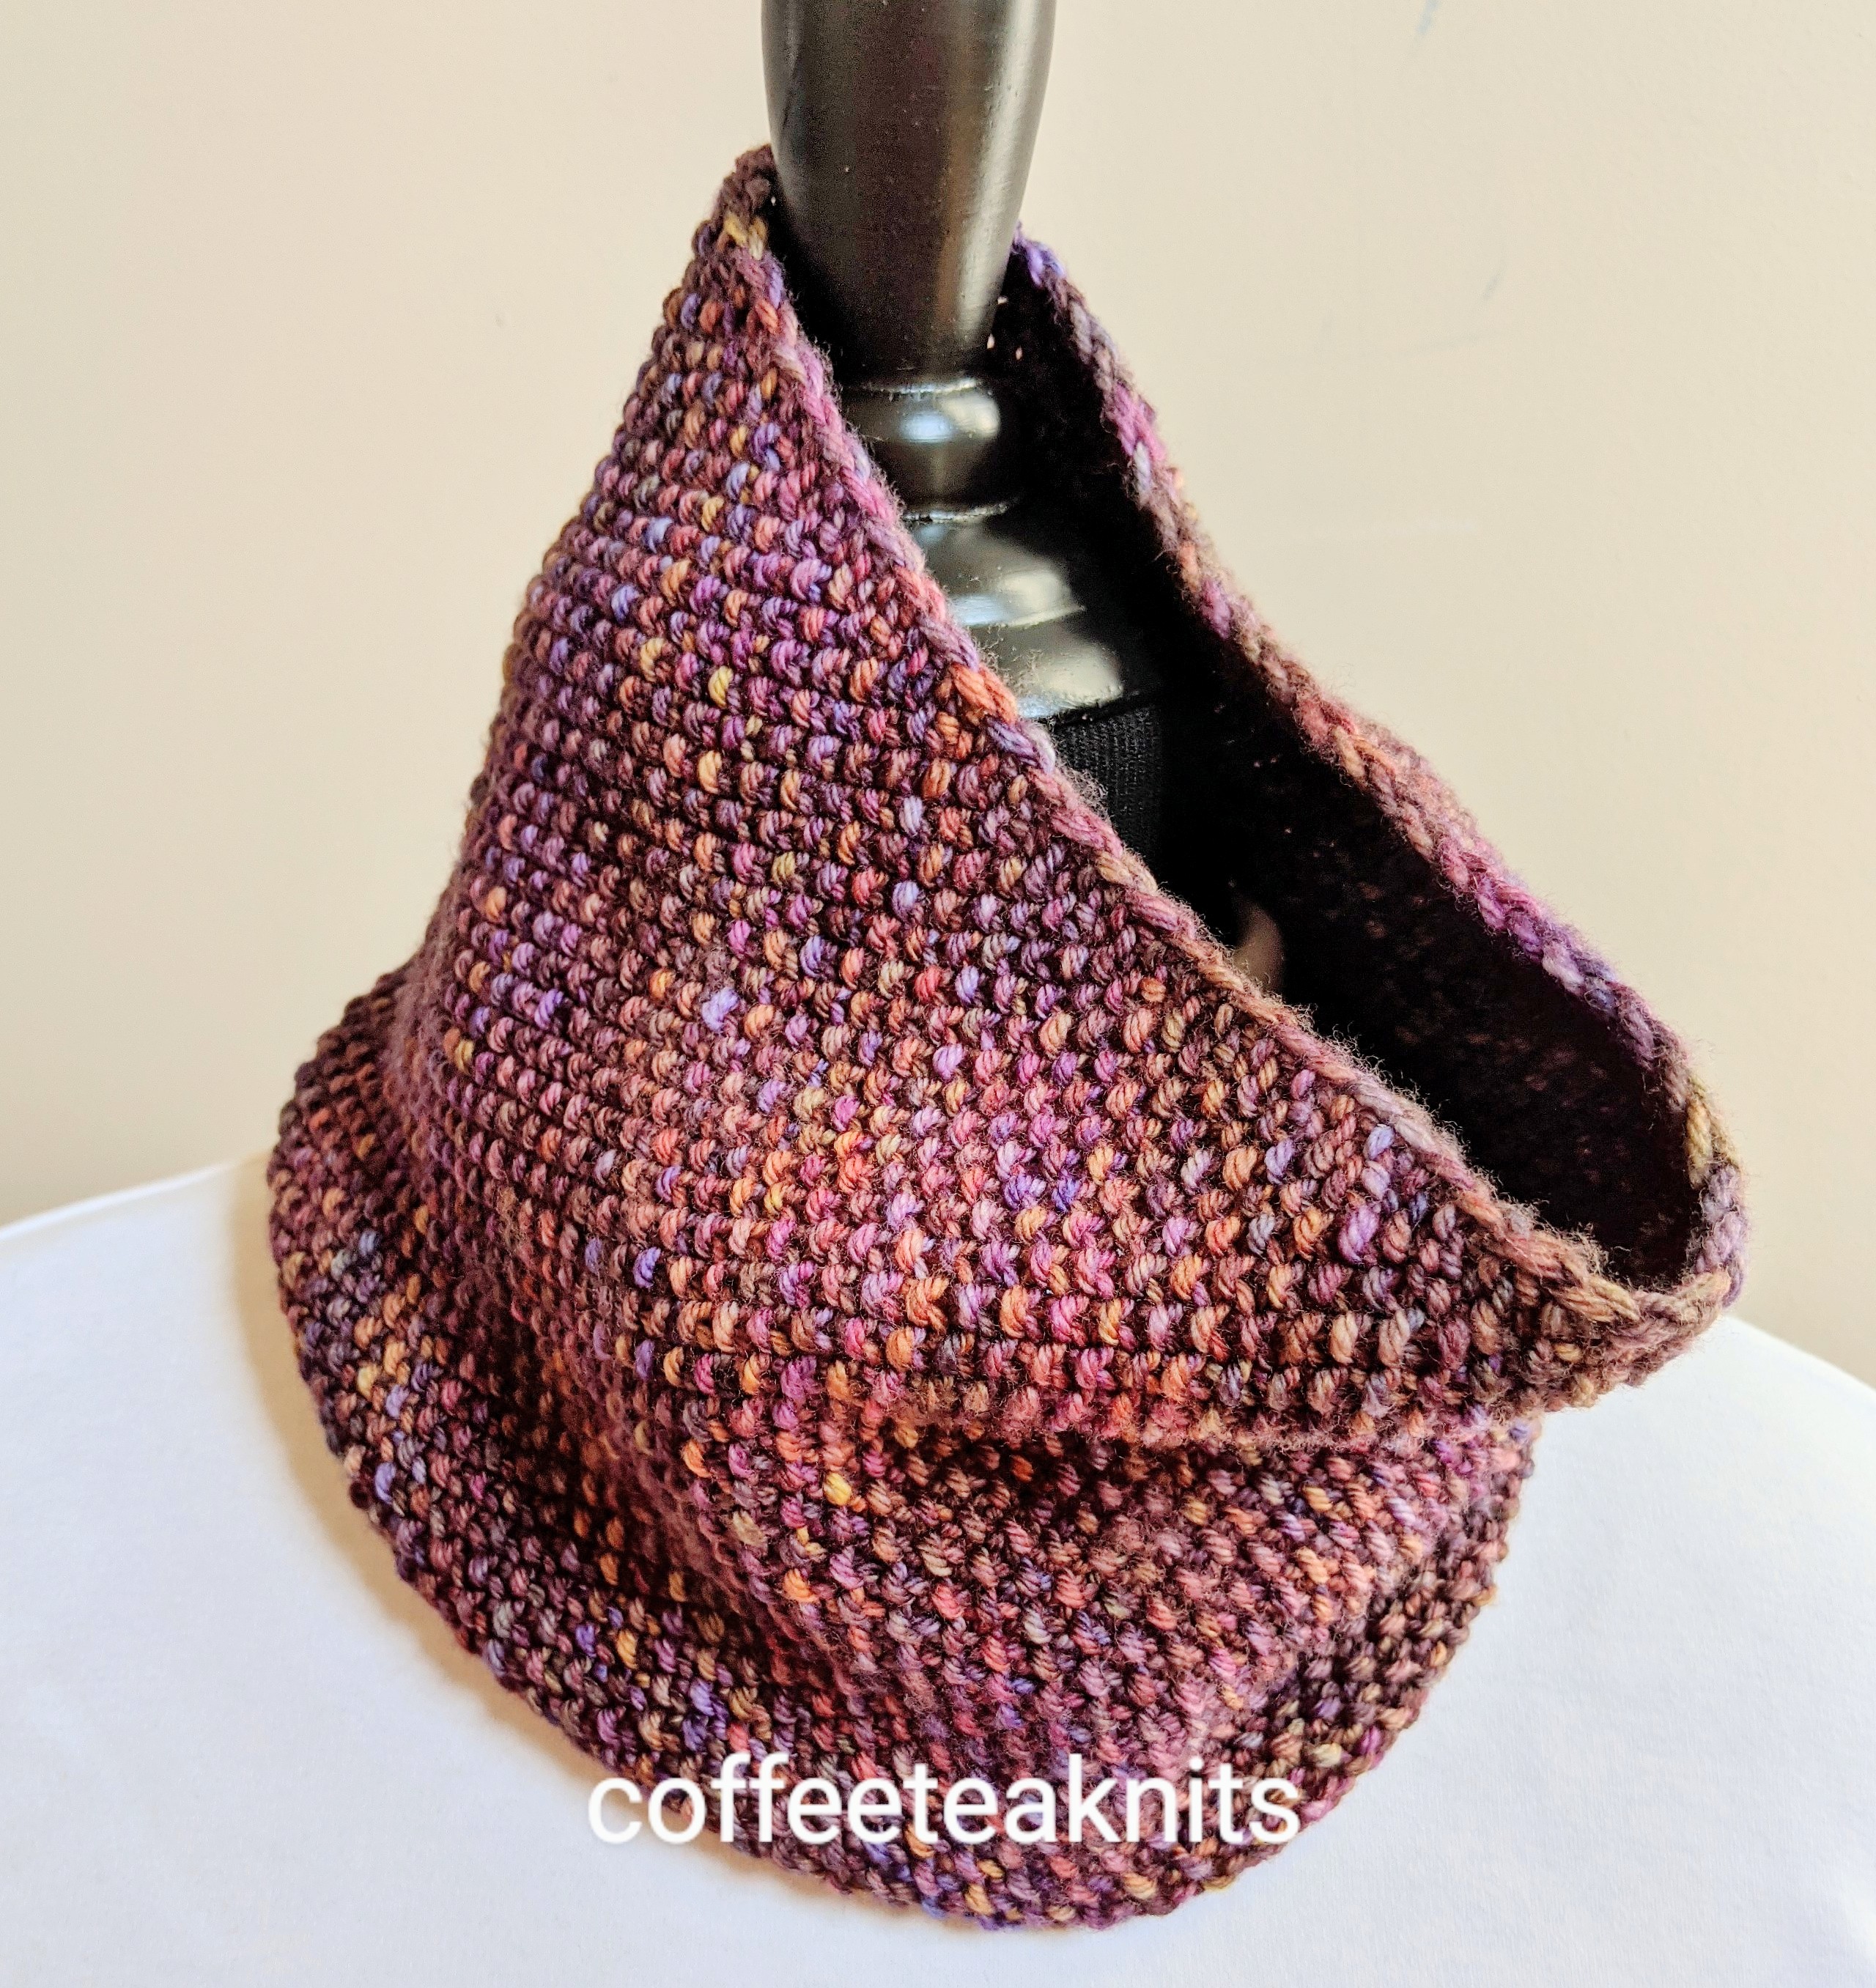
Tutorial Series: The Knotted K2tog Bind Off

A decorative bind – off method that I used in The Cozy Season Shrug is the Knotted K2tog bind – off. It gives a nicer looking finished edge for shawls, shrugs etc. that can be added to a garter stitch pattern border.

The written instructions and video below on how to do the knotted K2tog bind – off is shown for right handed knitting.

Abbreviations:

  • K: Knit
  • K2tog: Knit the two stitches on the left knitting needle together
  • wyif: with the working yarn in front

The Knotted K2tog Bind Off:

Knotted K2tog Bind Off: (written intructions)

  1. To begin the bind off row/round: K2, wyif slip the 2 knitted stitches on the right knitting needle back onto the left knitting needle
  2. Wrap the working yarn in front of the 2 stitches on the left knitting needle
  3. Insert the right knitting needle into the wrapped stitches on the left knitting needle and knit those 2 stitches together.
  4. Knit the next stitch on the left knitting needle. There are two stitches on the right knitting needle
  5. Pass the second stitch on the right knitting needle over the first stitch on that needle
  6. K1, wyif slip the 2 knitted stitches on the right knitting needle back onto the left knitting needle
  7. Repeat steps 2 to 5
  8. Repeat steps 6 and 7 till one stitch left in the bind off row/round
  9. Cut and pull working yarn through the last remaining stitch and weave in the end

~coffeeteaknits.com

The Drapes Well Scarf Pattern

The Drapes Well Scarf is a rectangular infinity scarf that is knit flat and then joined at the cast on and the bind off edges. The scarf is knit with 2 strands of yarn held together in a combination of the garter stitch and the brioche honeycomb stitch patterns. The brioche honeycomb stitch pattern is a combination of slipped stitches and yarnovers in one row and knit 2 togethers in the next row. The yarn (Lion Brand® Yarn TruBoo) is smooth and silky that drapes well making it ideal to knit this infinity scarf. The 2 strands of yarn held together in the Drapes Well Scarf adds extra warmth around the neck making it an accessory suitable for cold weather.  

Materials Needed for The Drapes Well Scarf:
Yarn: Lion Brand® Yarn TruBoo in Silver – 2 strands of yarn held together
Knitting Needles: US #8 and US#10 for cast on
Crochet Hook: G-6 (4.0 mm)
Tapestry needle to weave in ends
Knitting skill level: Beginner to advanced beginner – slipped stitches, yarnovers (see tutorial here) and three needle bind off
Gauge: 5 stitches per inch in the brioche honeycomb stitch pattern with US #8 knitting needles after blocking and without stretching
Size: Fits most adults. Length can be increased or reduced to preferred size 

Abbreviations:
K: Knit
P: Purl
sm: slip marker
pm: place marker
RS: right side
WS: wrong side
YO: yarnover
K2tog: Knit the two stitches on the left needle together
wyif S1: with working yarn in front slip 1 stitch purlwise
S1 wyib: slip 1 stitch purlwise with working yarn in the back
[…]: stitch pattern repeats

The Drapes Well Scarf Pattern (text and images for personal use only):

With 2 strands of yarn held together, cast on 32 stitches with US # 10 knitting needles

With US #8 knitting needles and 2 strands of yarn held together knit the following:

BLOCK 1 (The Drapes Well Scarf is divided into 8 blocks or sections of pattern repeats):

  • Row 1 (RS): K1, pm, K2, pm, K26, pm, K2, pm, wyif S1
  • Row 2 (WS): K1, sm, K2, sm, knit till marker, sm, K2, sm, wyif S1
  • Row 3 (RS): Repeat Row 2
  • Row 4 (WS): K1, sm, K2, sm, [YO, S1 wyib, K1] repeat […] till marker, sm, K2, sm, wyif S1 
  • Row 5 (RS): K1, sm, K2, sm, [K1, K2tog] repeat […] till marker, sm, K2, sm, wyif S1 
  • Row 6 (WS): K1, sm, K2, sm, K1, [YO, S1 wyib, K1] repeat […] till 1 stitch before marker, K1, sm, K2, sm, wyif S1
  • Row 7 (RS): K1, sm, K2, sm, K2, [K2tog, K1] repeat […] till marker, sm, K2, sm, wyif S1 

Repeat Rows 4 to 7, nine more times
Repeat Row 2, 4 more times ending in RS row

BLOCK 2:

  • Repeat Rows 4 to 7, ten times
  • Repeat Row 2, 4 more times ending in RS row

BLOCK 3 to BLOCK 7:

  • Repeat BLOCK 2, five more times (Block repeats can be reduced or increased if preferred)

BLOCK 8:

  • Repeat Rows 4 to 7, ten more times
  • Repeat Row 2, 2 times ending in RS row

Three Needle Bind off Joining the Cast on edge:

  1. Bring the Cast on edge with the WS (wrong side) facing out. With another US #8 needle pick up one leg of the V right below the cast on edge stitches. Pick up 32 stitches. 
  2. Insert right needle into the first stitch on the first left knitting needle and then insert it into the first stitch on the second needle.
  3. Knit the two stitches together on the needle
  4. Insert right needle into the second stitch on the first left knitting needle and then insert it into the second stitch on the second needle.
  5. Knit the two stitches together
  6. Pass the first stitch on the right needle over the second stitch to bind off.
  7. Repeat steps 4 to 6 for the three needle bind off. 

Crochet Border:

  1. Starting on the RS (right side) of the three needle bind off edge, make a slip knot with G-6 (4.0 mm) crochet hook and pull it under the V of the the edge stitch and chain 2.
  2. Insert hook under the V of the next edge stitch and pull the loop through the edge stitch and slip stitch it to loop on the hook, chain  1
  3. Repeat Step 2 around one side edge of the scarf
  4. Slip stitch the last stitch on the hook into the beginning chain 1 stitch 
  5. Repeat Steps 1 and 2 for other side of the scarf

Weave in ends, wash and block the Drapes Well Scarf


~coffeeteaknits.com

Tutorial Series: Yarn Over (YO) with Knit Stitches

Yarn over (YO) is another method to increase stitches in rows or rounds. Yarn overs create holes or eyelets in knitted items and are most commonly used in lace stitch patterns. A stitch increase with a yarn over is most often followed by a stitch decrease in the same or the next row or round for most lace stitch patterns in knitting. The written instructions and videos below show how to increase a stitch with a yarn over (YO) on a knit row for right-handed knitting.

Abbreviations:

  • K: Knit
  • YO: yarn over

Yarn Over (YO) in slow motion:

Yarn Over (YO) written instructions:

  • Wrap the working yarn from back to front on the right knitting needle
  • Bring the working yarn to the back of the right hand knitting needle
  • Insert right knitting needle into the first stitch on the left knitting needle
  • Knit the first stitch on the left knitting needle to complete the yarn over

Yarn Over with Knit Stitches:
   The video below shows K1, YO, K2, YO, K2, YO, K2, YO, K2


~coffeeteaknits.com

The Wintry Weather Hat Pattern

Stay warm this winter with the Wintry Weather Hats. These hats are knit using a super bulky yarn and can be knit in a day or two. The Wintry Weather hat is knit in the round in a K1, P1 rib stitch pattern with purl rounds with little or no crown shaping. The two hats differ in their stitch count and in the last round. These hats will keep you and those who receive these hats quite warm and cozy this winter season.  

Materials Needed for The Wintry Weather Hat:
Yarn: Lion Brand® Wool Ease® Thick and Quick yarn in Harvest Colorway for Wintry Weather Hat 1 and Seaglass Colorway for Wintry Weather Hat 2
Knitting Needles: US #11 16-inch circular needles and US #13 for the cable cast on (Tutorial Series: The Cable Cast-on Method)
Tapestry needle to weave in ends
Knitting skill level: Beginner to advanced beginner (pattern is knit in the round and has cable cast on)
Gauge: 2.5 stitches / 4 rows per inch in 1 x 1 rib stitch pattern with US #11 knitting needles without blocking
Size: Hat 1 may fit an adult L and Hat 2 may fit an adult M (the stitch count and length can be increased or decreased to preferred size) 

Abbreviations:
K: Knit
P: Purl
BOR: beginning of round
K2tog: Knit the two stitches on the left needle together
[…]: stitch pattern repeats

The Wintry Weather Hat Pattern (images and text for personal use only)

With US #13 knitting needles and using the Cable Cast-on method (Tutorial Series: The Cable Cast-on Method), cast on 54 stitches for Wintry Weather Hat 1 (Harvest colorway) and 50 stitches for Wintry Weather Hat 2 (Seaglass colorway)

Transfer all the stitches to US #11 16-inch circular knitting needles, place a BOR marker, join round by knitting the following:

  • Round 1: [K1, P1] repeat […] till BOR marker, slip BOR marker
  • Rounds 2-18: Repeat Round 1
  • Round 19: Purl all stitches till BOR marker, slip BOR marker
  • Round 20: [P1, K1] repeat […] till BOR marker, slip BOR marker
  • Rounds 21 – 24: Repeat Round 20
  • Round 25: Purl all stitches till BOR marker, slip BOR marker
  • Round 26: [K1, P1] repeat […] till BOR marker, slip BOR marker
  • Rounds 27 – 30: Repeat Round 26
  • Round 31: Purl all stitches till BOR marker, slip BOR marker
  • Round 32: [P1, K1] repeat […] till BOR marker, slip BOR marker
  • Rounds 33 – 36: Repeat Round 32
  • Round 37: Purl all stitches till BOR marker, slip BOR marker*
  • Round 38: Knit all stitches till BOR marker, slip BOR marker

Round 39 for Wintry Weather Hat 1: Knit all stitches till BOR marker, slip BOR marker
Round 39 for Wintry Weather Hat 2: K2tog till BOR marker, slip BOR marker

Cut a 10 to 15 inch working yarn tail and insert into a tapestry needle and weave the tapestry needle through all the remaining stitches and pull tight to close the gap at the top of the hat.

Optional: Attach and secure any faux fur pom pom of choice on top of the hat

Weave in the ends, wash and block the Wintry Weather Hat

*To increase length of Wintry Weather Hat (if preferred) add the following rounds after Round 37:
Repeat Rounds 26 – 30 
Repeat Round 37, 38 and 39


~coffeeteaknits.com

Tutorial Series: The Cable Cast-on Method

One of the decorative cast-on methods I like to use is the Cable Cast-on method. I’ve used this cast-on method on several of my knits including The Cozy Season Shrug and The Cozy Mood Winter Hat. It gives a nice finished edge for any top down or bottom up knitted items. An advantage to this method is that you don’t need a long yarn tail to begin casting on the stitches. The cable cast-on begins with a slip knot and each additional stitch is added using an alternative to the knitted cast-on method. The written instructions and video below on how to do the cable cast-on is shown for right handed knitting.

The Cable Cast-on Method

The Cable Cast-on Steps:

  1. Make a slip knot
  2. Transfer the slip knot onto the left knitting needle
  3. Insert the right knitting needle into the slip knot and bring working yarn around and in between the two needles as if to knit
  4. Catch and pull the working yarn loop onto the right knitting needle
  5. Transfer the new stitch loop from the right knitting needle onto the left knitting needle
  6. Insert the right knitting needle into the space in between the bottom of first 2 stitches on the left knitting needle
  7. Catch and pull the working yarn loop with the right knitting needle
  8. Transfer the new stitch loop from the right knitting needle onto the left knitting needle
  9. Repeat steps 6 – 8 till the desired number of stitch count is reached for a knitting project

~coffeeteaknits.com