A Seed Stitch Mitered Dishcloth

In between large and lingering knitting projects (blankets, sweaters etc.), I find knitting dishcloths both appealing and interesting. I can explore and learn different stitch patterns using a particular knitting technique without spending too much time to finish the project. Dishcloths, of course, are useful to have around the kitchen and they also make great gifts. During one such in between period I knit this seed stitch mitered dishcloth (see a previous blog post “To knit a mitered square” for more information about this knitting technique). Below with photos and text (for personal use only), is the knitting progression of this mitered dishcloth in a seed stitch pattern.
The seed stitch pattern:
Row 1 (RS): *K1, P1*; repeat from *…* to end of the row
Row 2 (WS): *P1, K1*; repeat from *…* to end of the row
Knit in seed stitch pattern: Knit the purl stitches and purl the knit stitches
Yarn: PREMIER HOME® COTTON CONE YARN Colorway: Jelly Dots
Knitting Needles: US #10 and US #7
Crochet hook: US size 7 or 4.5 mm crochet hook
Gauge: Not needed for this project
Abbreviations:
- K: Knit
- P: Purl
- K2tog: Knit two stitches together
- ssk: slip slip knit (slip 2 stitches to right hand needle then insert the left needle in front of the two slipped stitches and knit them together.
- rm: remove marker
- sm: slip marker
- wyif: with yarn in front
- RS: right side
- WS: wrong side
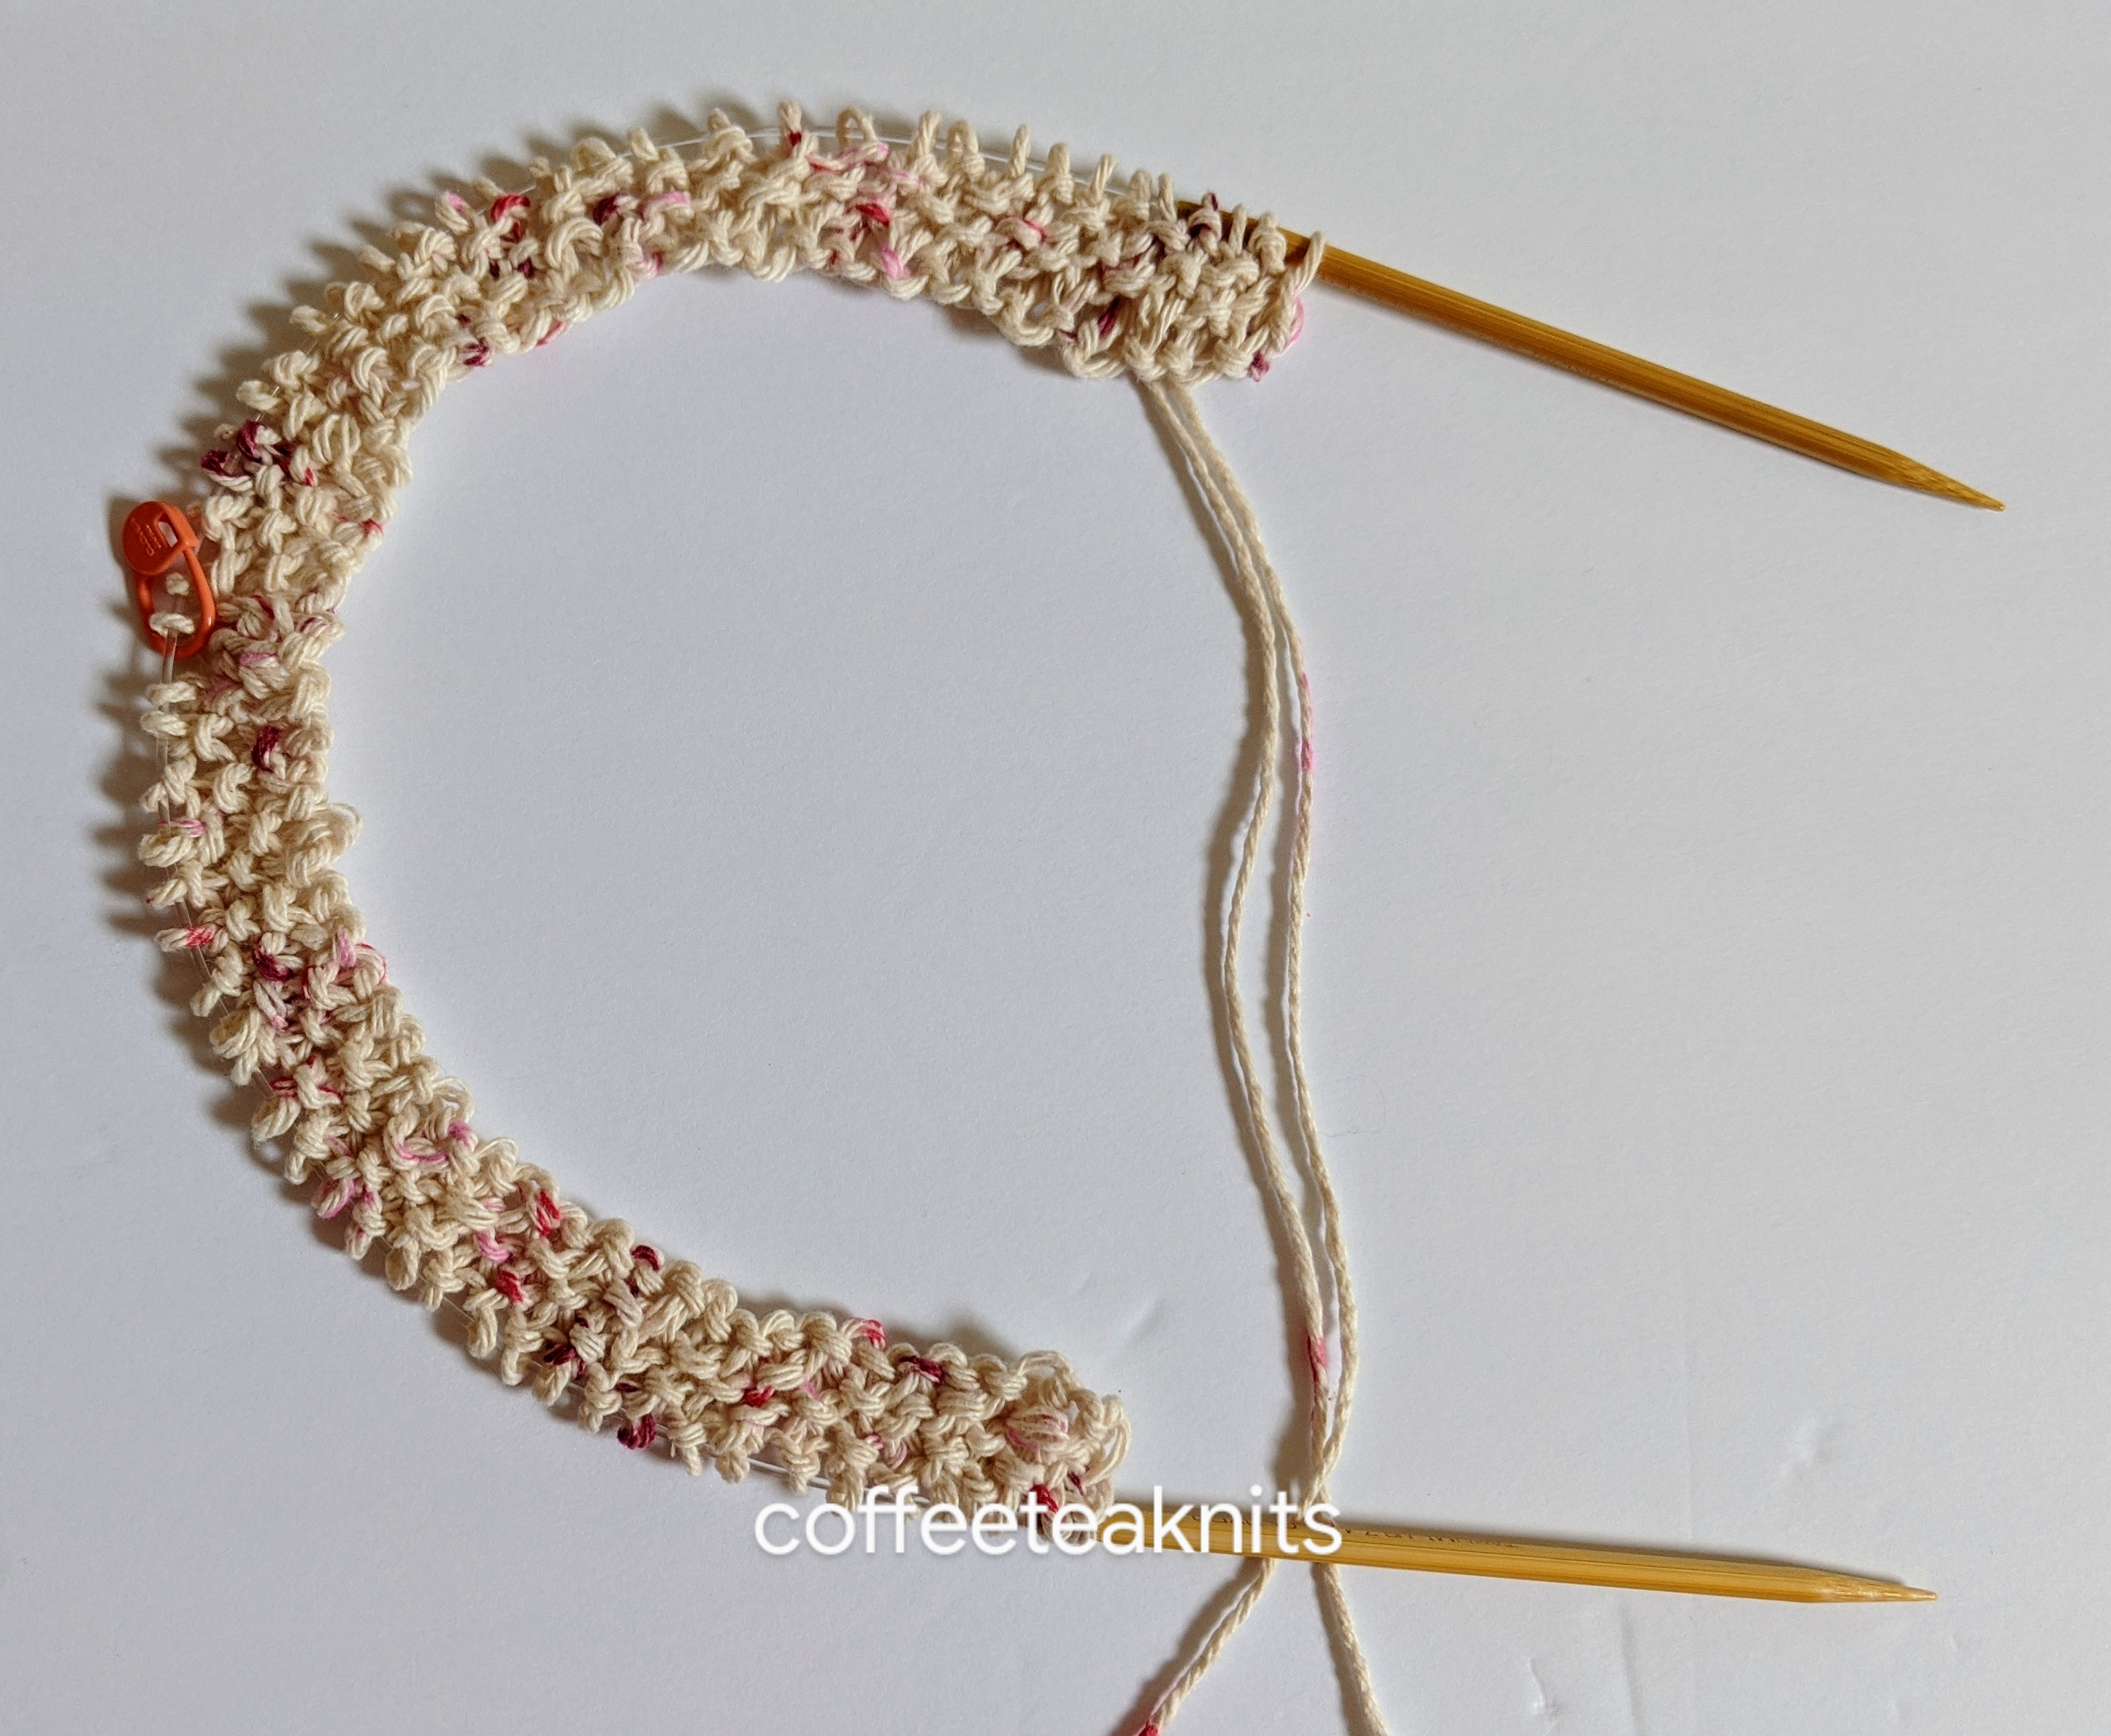
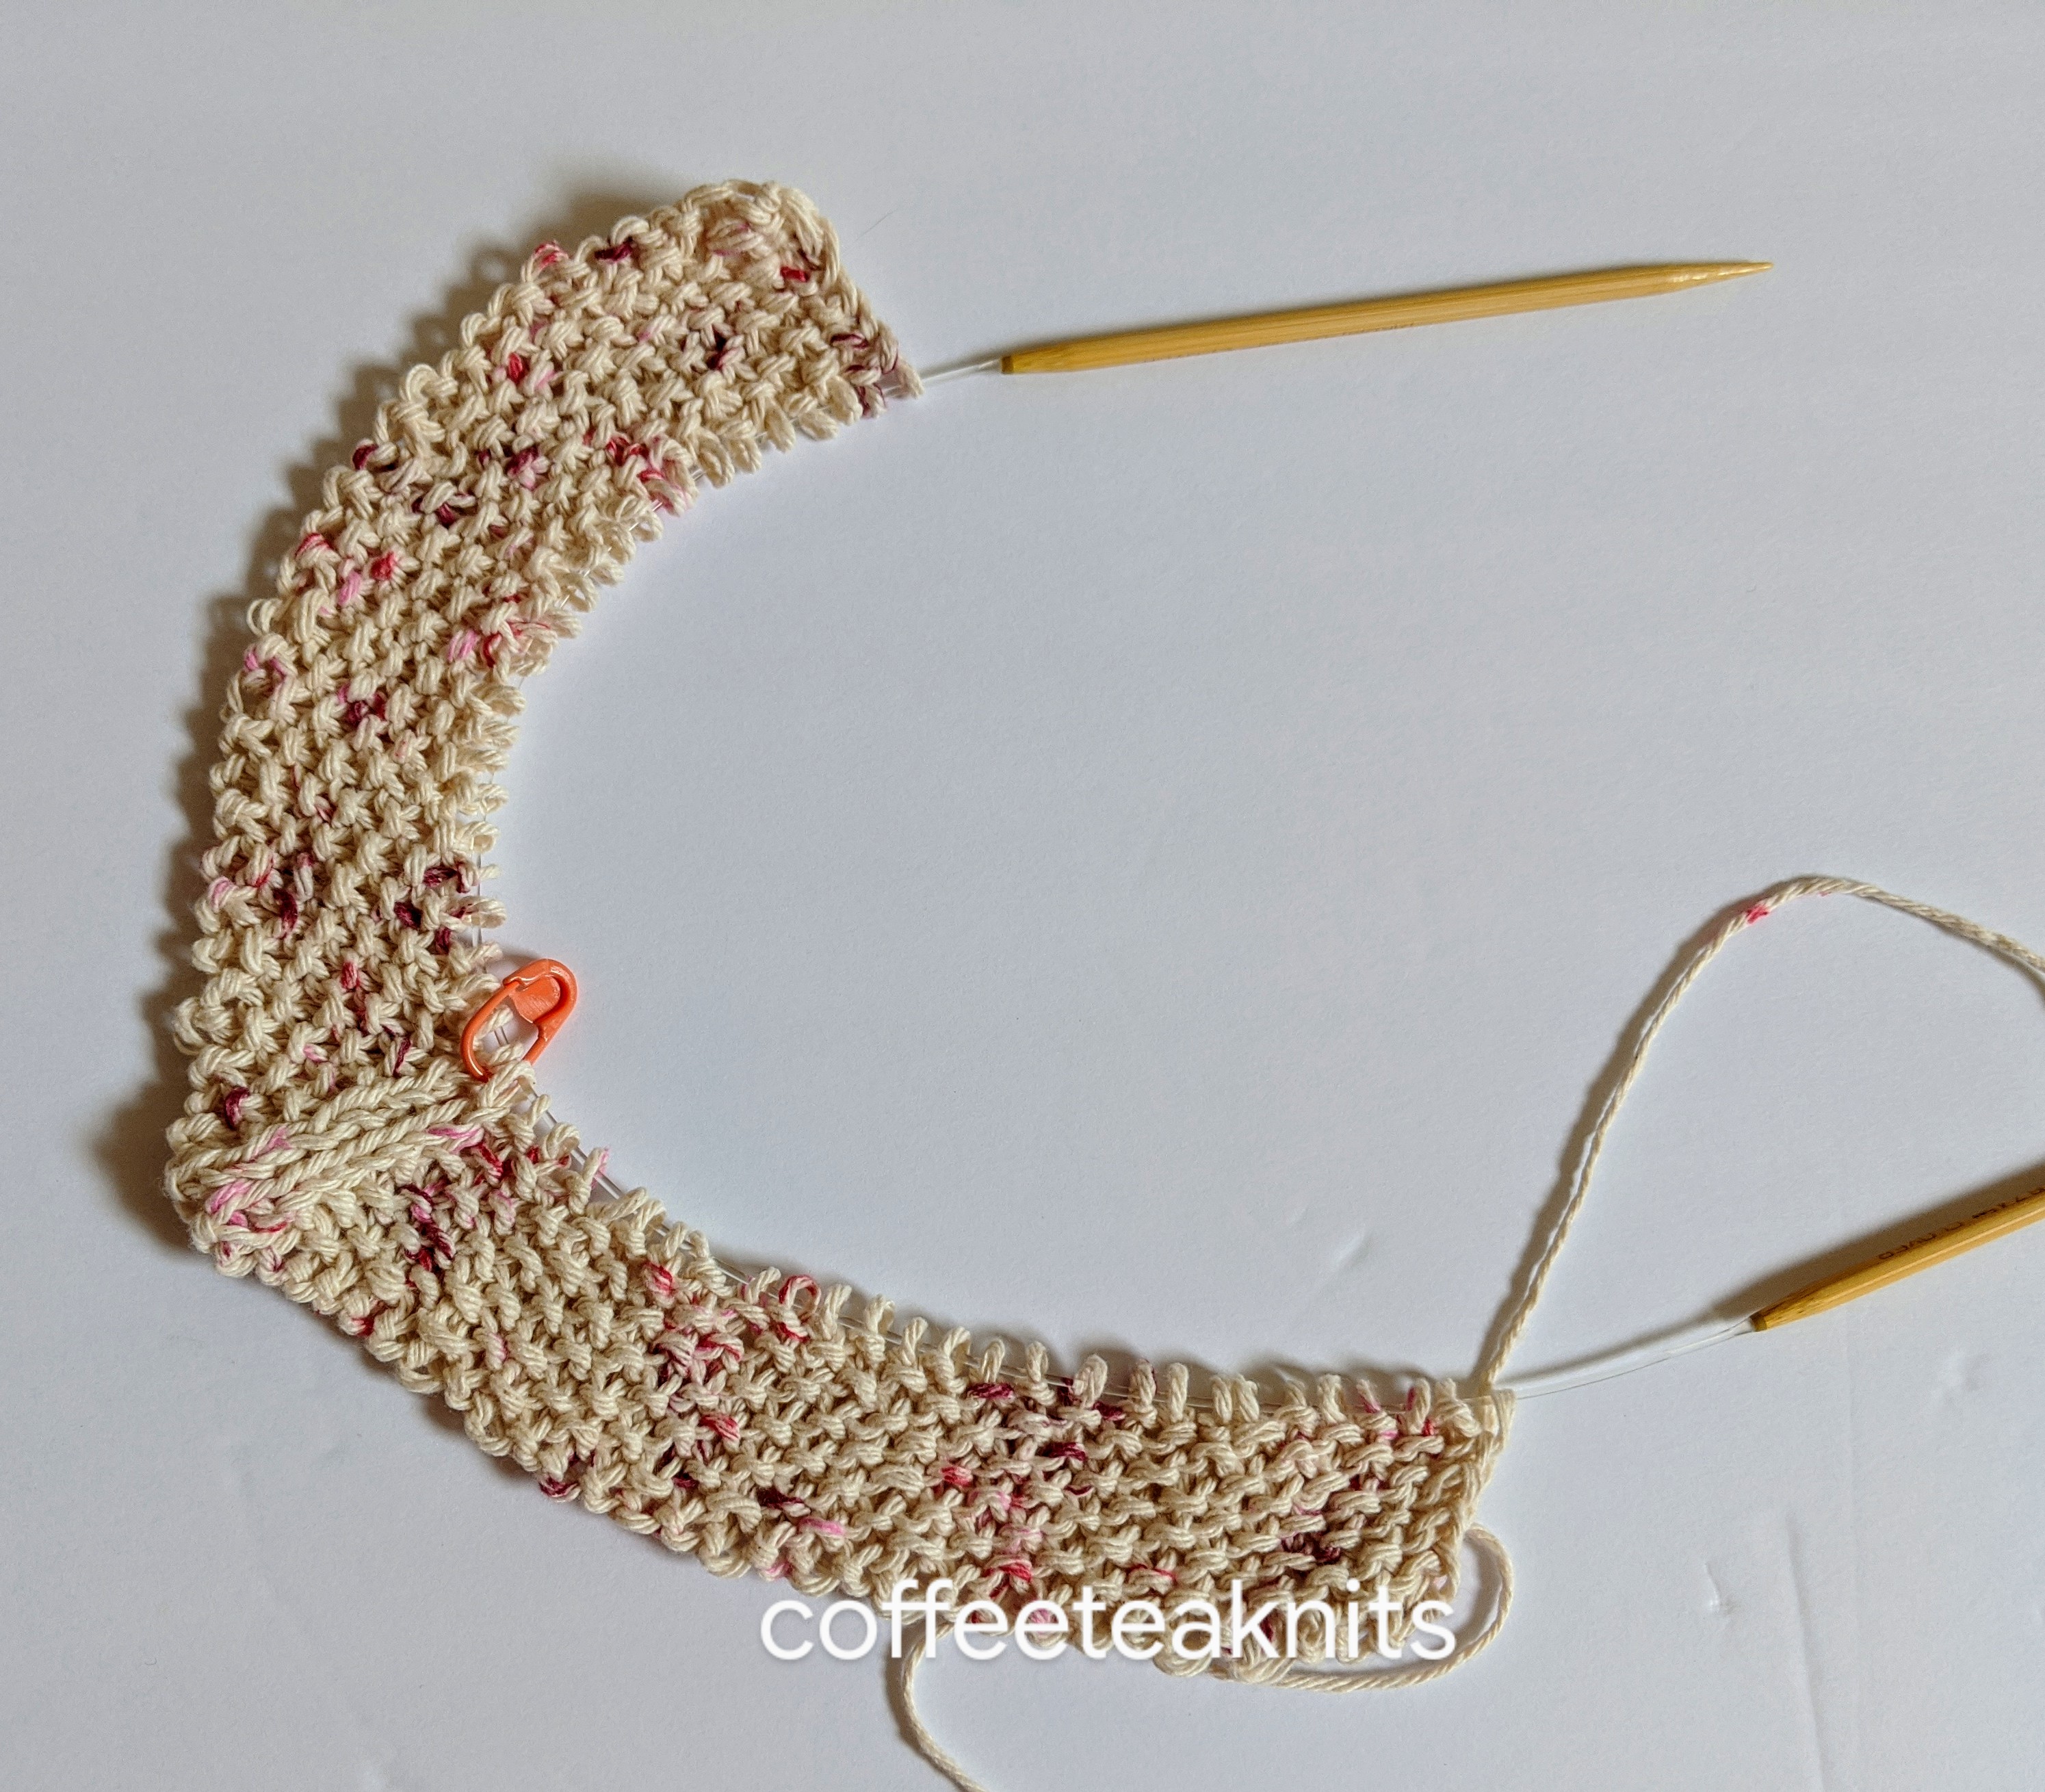
1. Cast on 64 stitches with US #10 size knitting needles and place a removable stitch marker after 32 stitches.

2. Switch to a US #7 needle and start knitting the dishcloth as follows:
- Setup Row 1 (RS): K1, *K1, P1* (repeat from*…* 14 times), K1, K2tog, sm, ssk, *K1, P1* (repeat from *…*14 times), K1, wyif slip the last stitch purlwise.

- Setup Row 2 (WS): K1, knit in seed stitch pattern till 1 stitch before marker, P1, sm, P1, knit in seed stitch pattern till 1 stitch before last, wyif slip the last stitch purlwise.

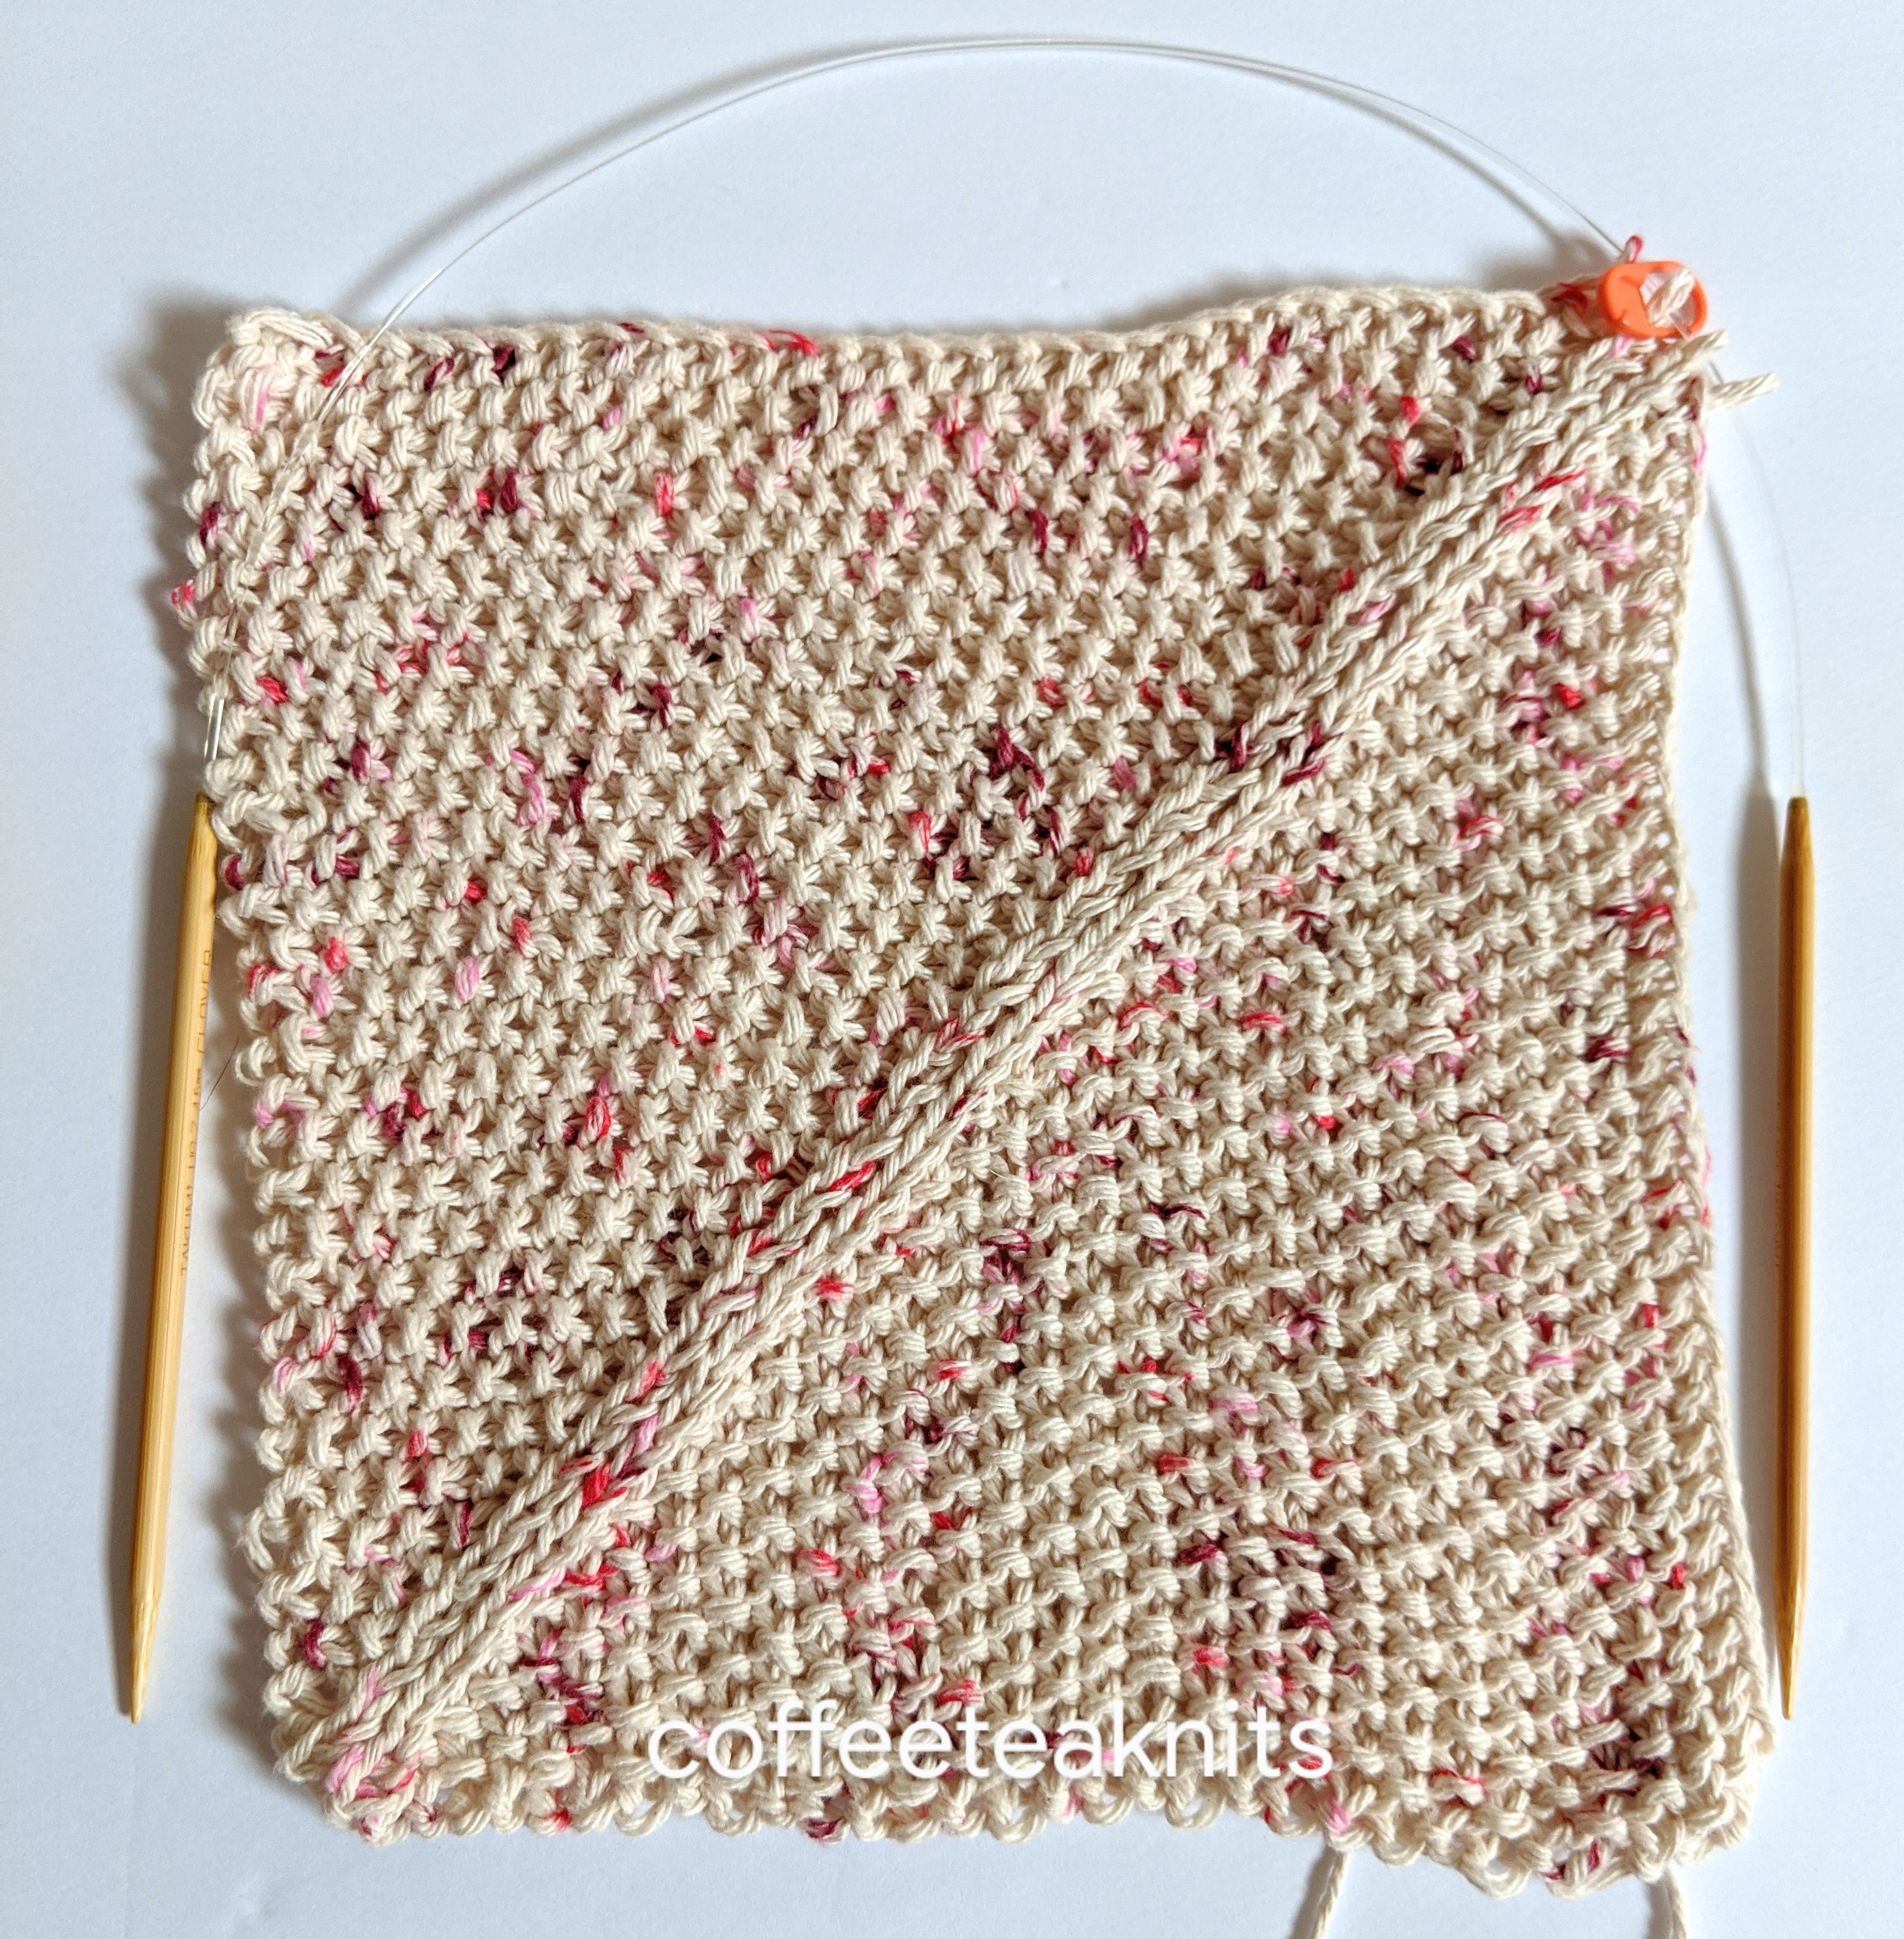
- Row 3 (RS): K1, knit in seed stitch pattern till 2 stitches before maker, K2tog, sm, ssk, knit in seed stitch pattern till 1 stitch before last, wyif slip the last stitch purlwise.
- Row 4 (WS): K1, knit in seed stitch pattern till 1 stitch before marker, P1, sm, P1, knit in seed stitch pattern till 1 stitch before last, wyif slip the last stitch purlwise.
- Repeat the last 2 rows till 4 stitches are left on the needle.


- Bind off row (RS): K2, pass the first stitch over the second stitch on the right hand needle, rm, *K1, pass the first stitch on the right hand needle over the second stitch*; repeat from *…* once more and one stitch is left on the needle.

- Insert a 4.5 mm ( US 7) crochet hook into the remaining stitch and single crochet along the edge of the dishcloth.

- To get a more curved corner edge on the two non mitered corners, single crochet twice into the same corner edge stitch.

- Single crochet all around ending at the first bind off stitch. Crochet 15 chain stitches.

- Slip stitch into the first single crochet stitch.
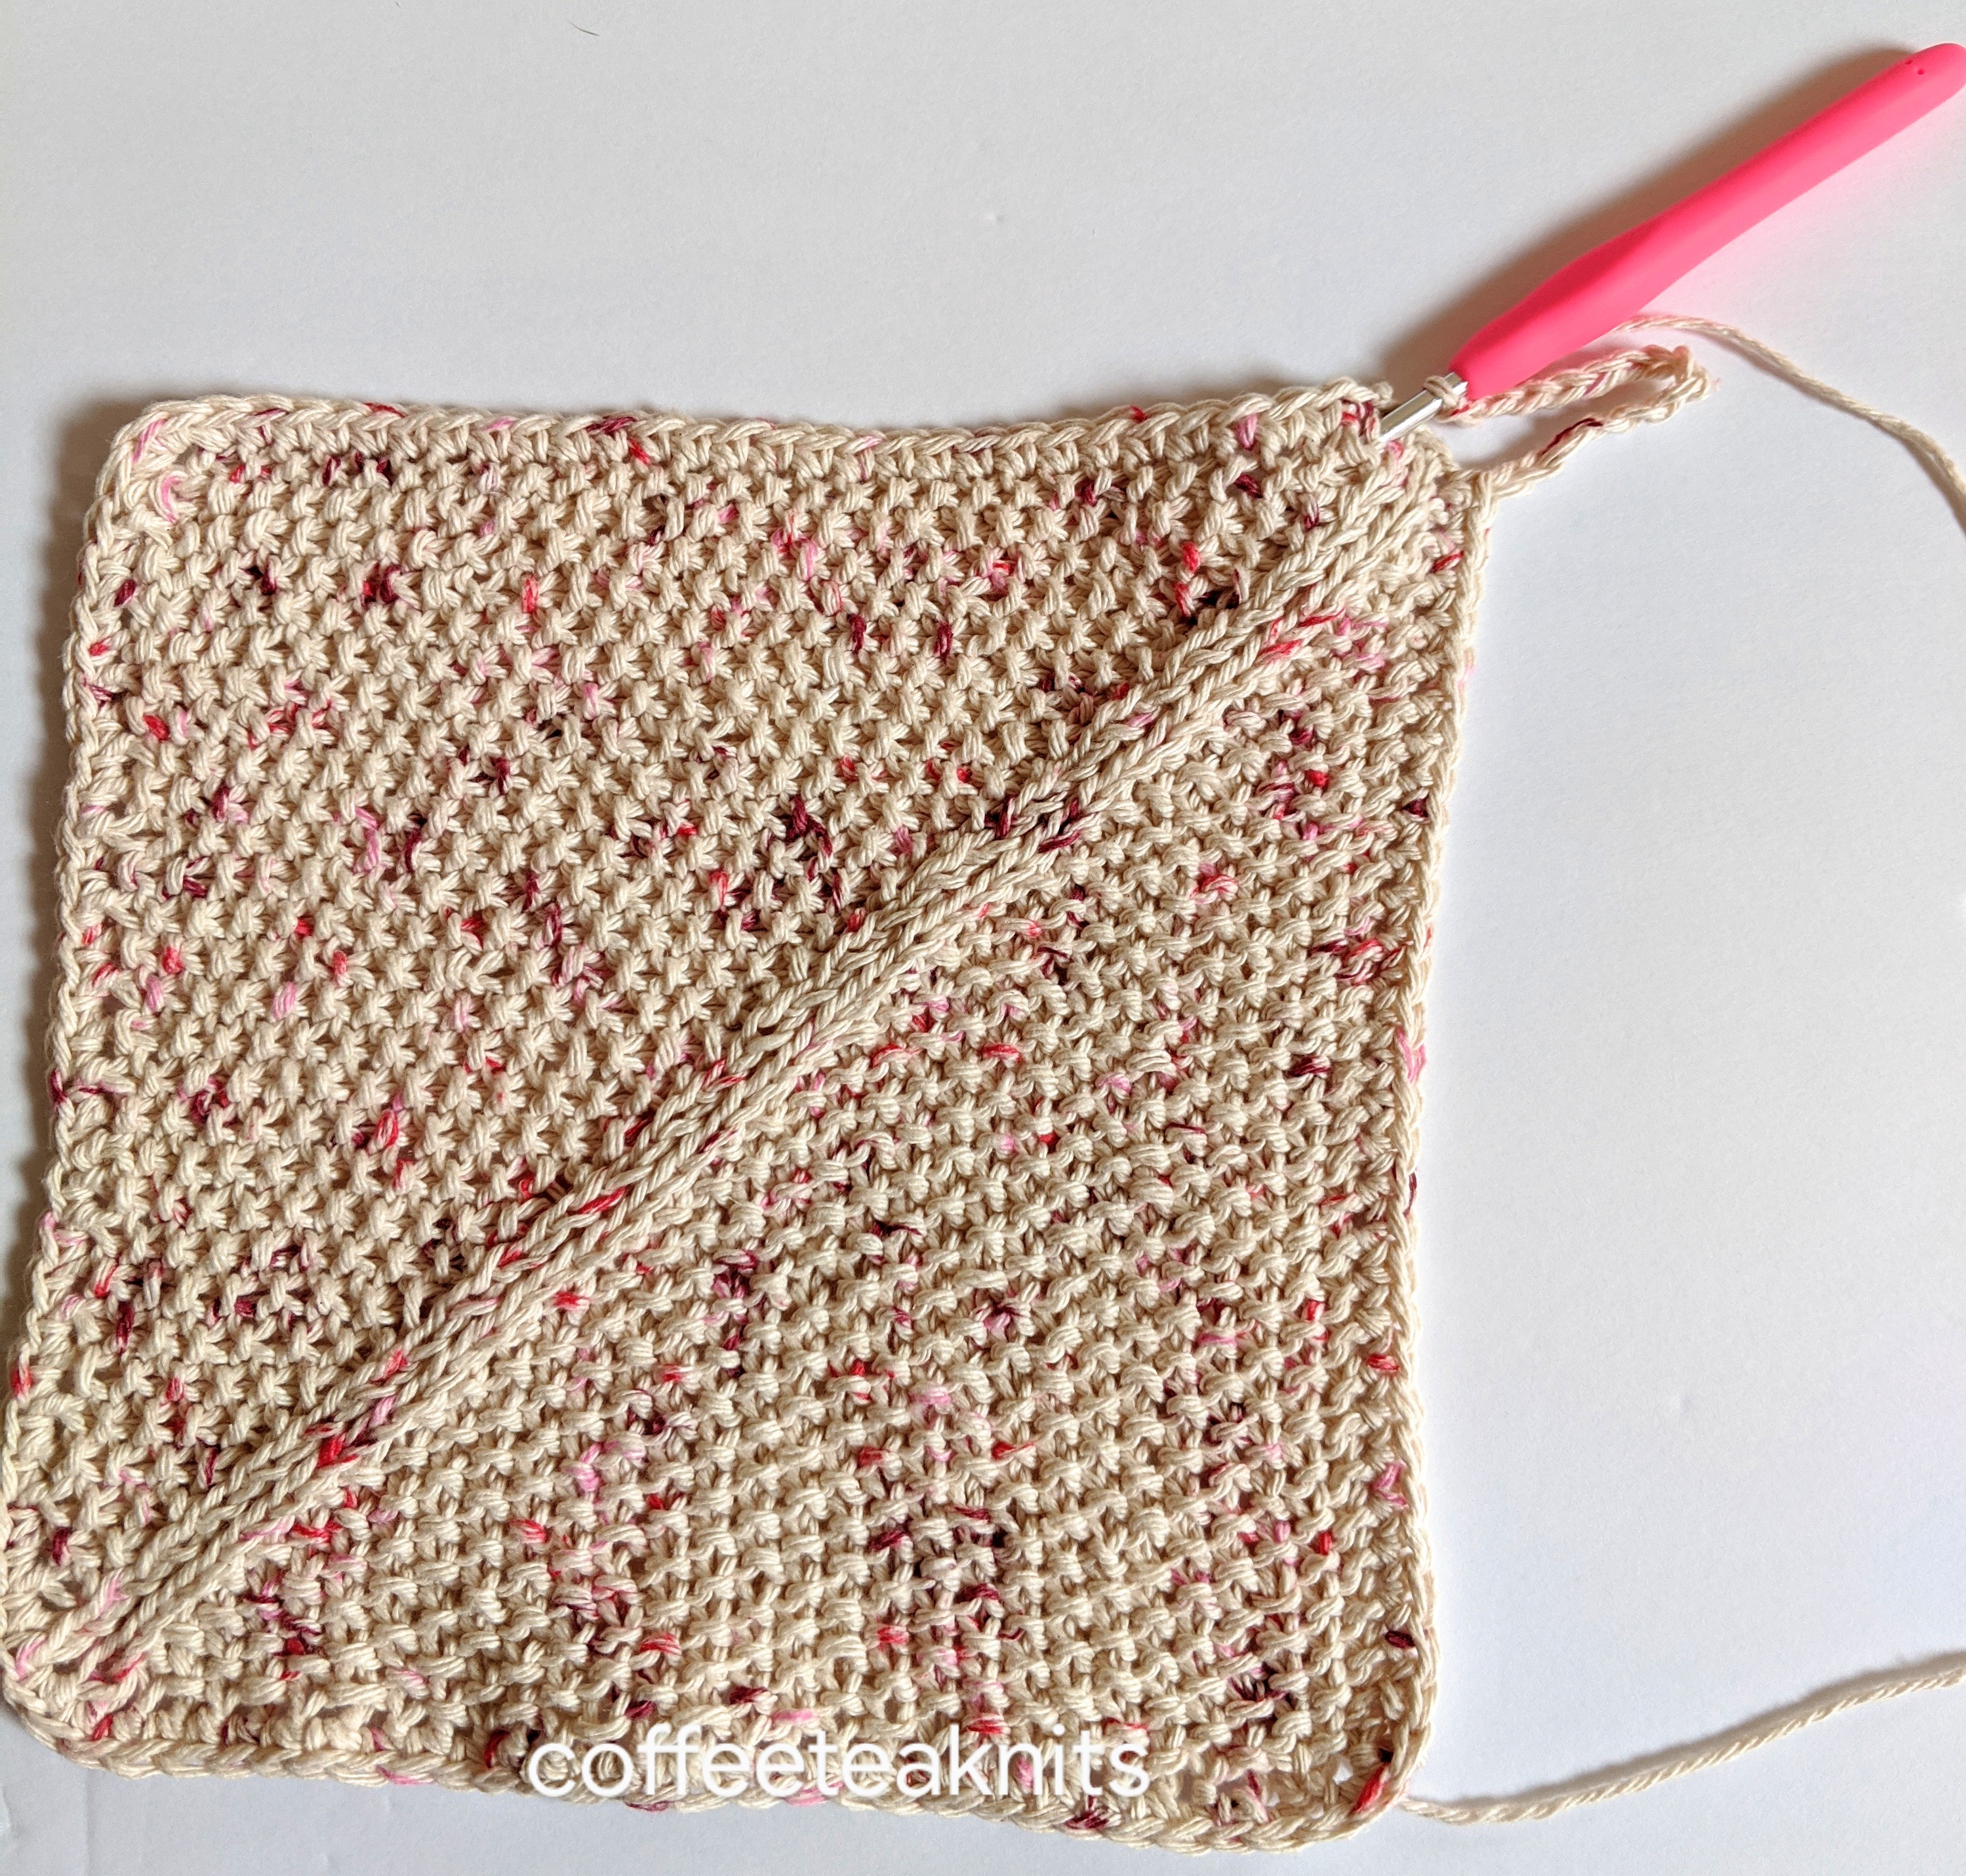
- Weave in the ends, wash and block the dishcloth.

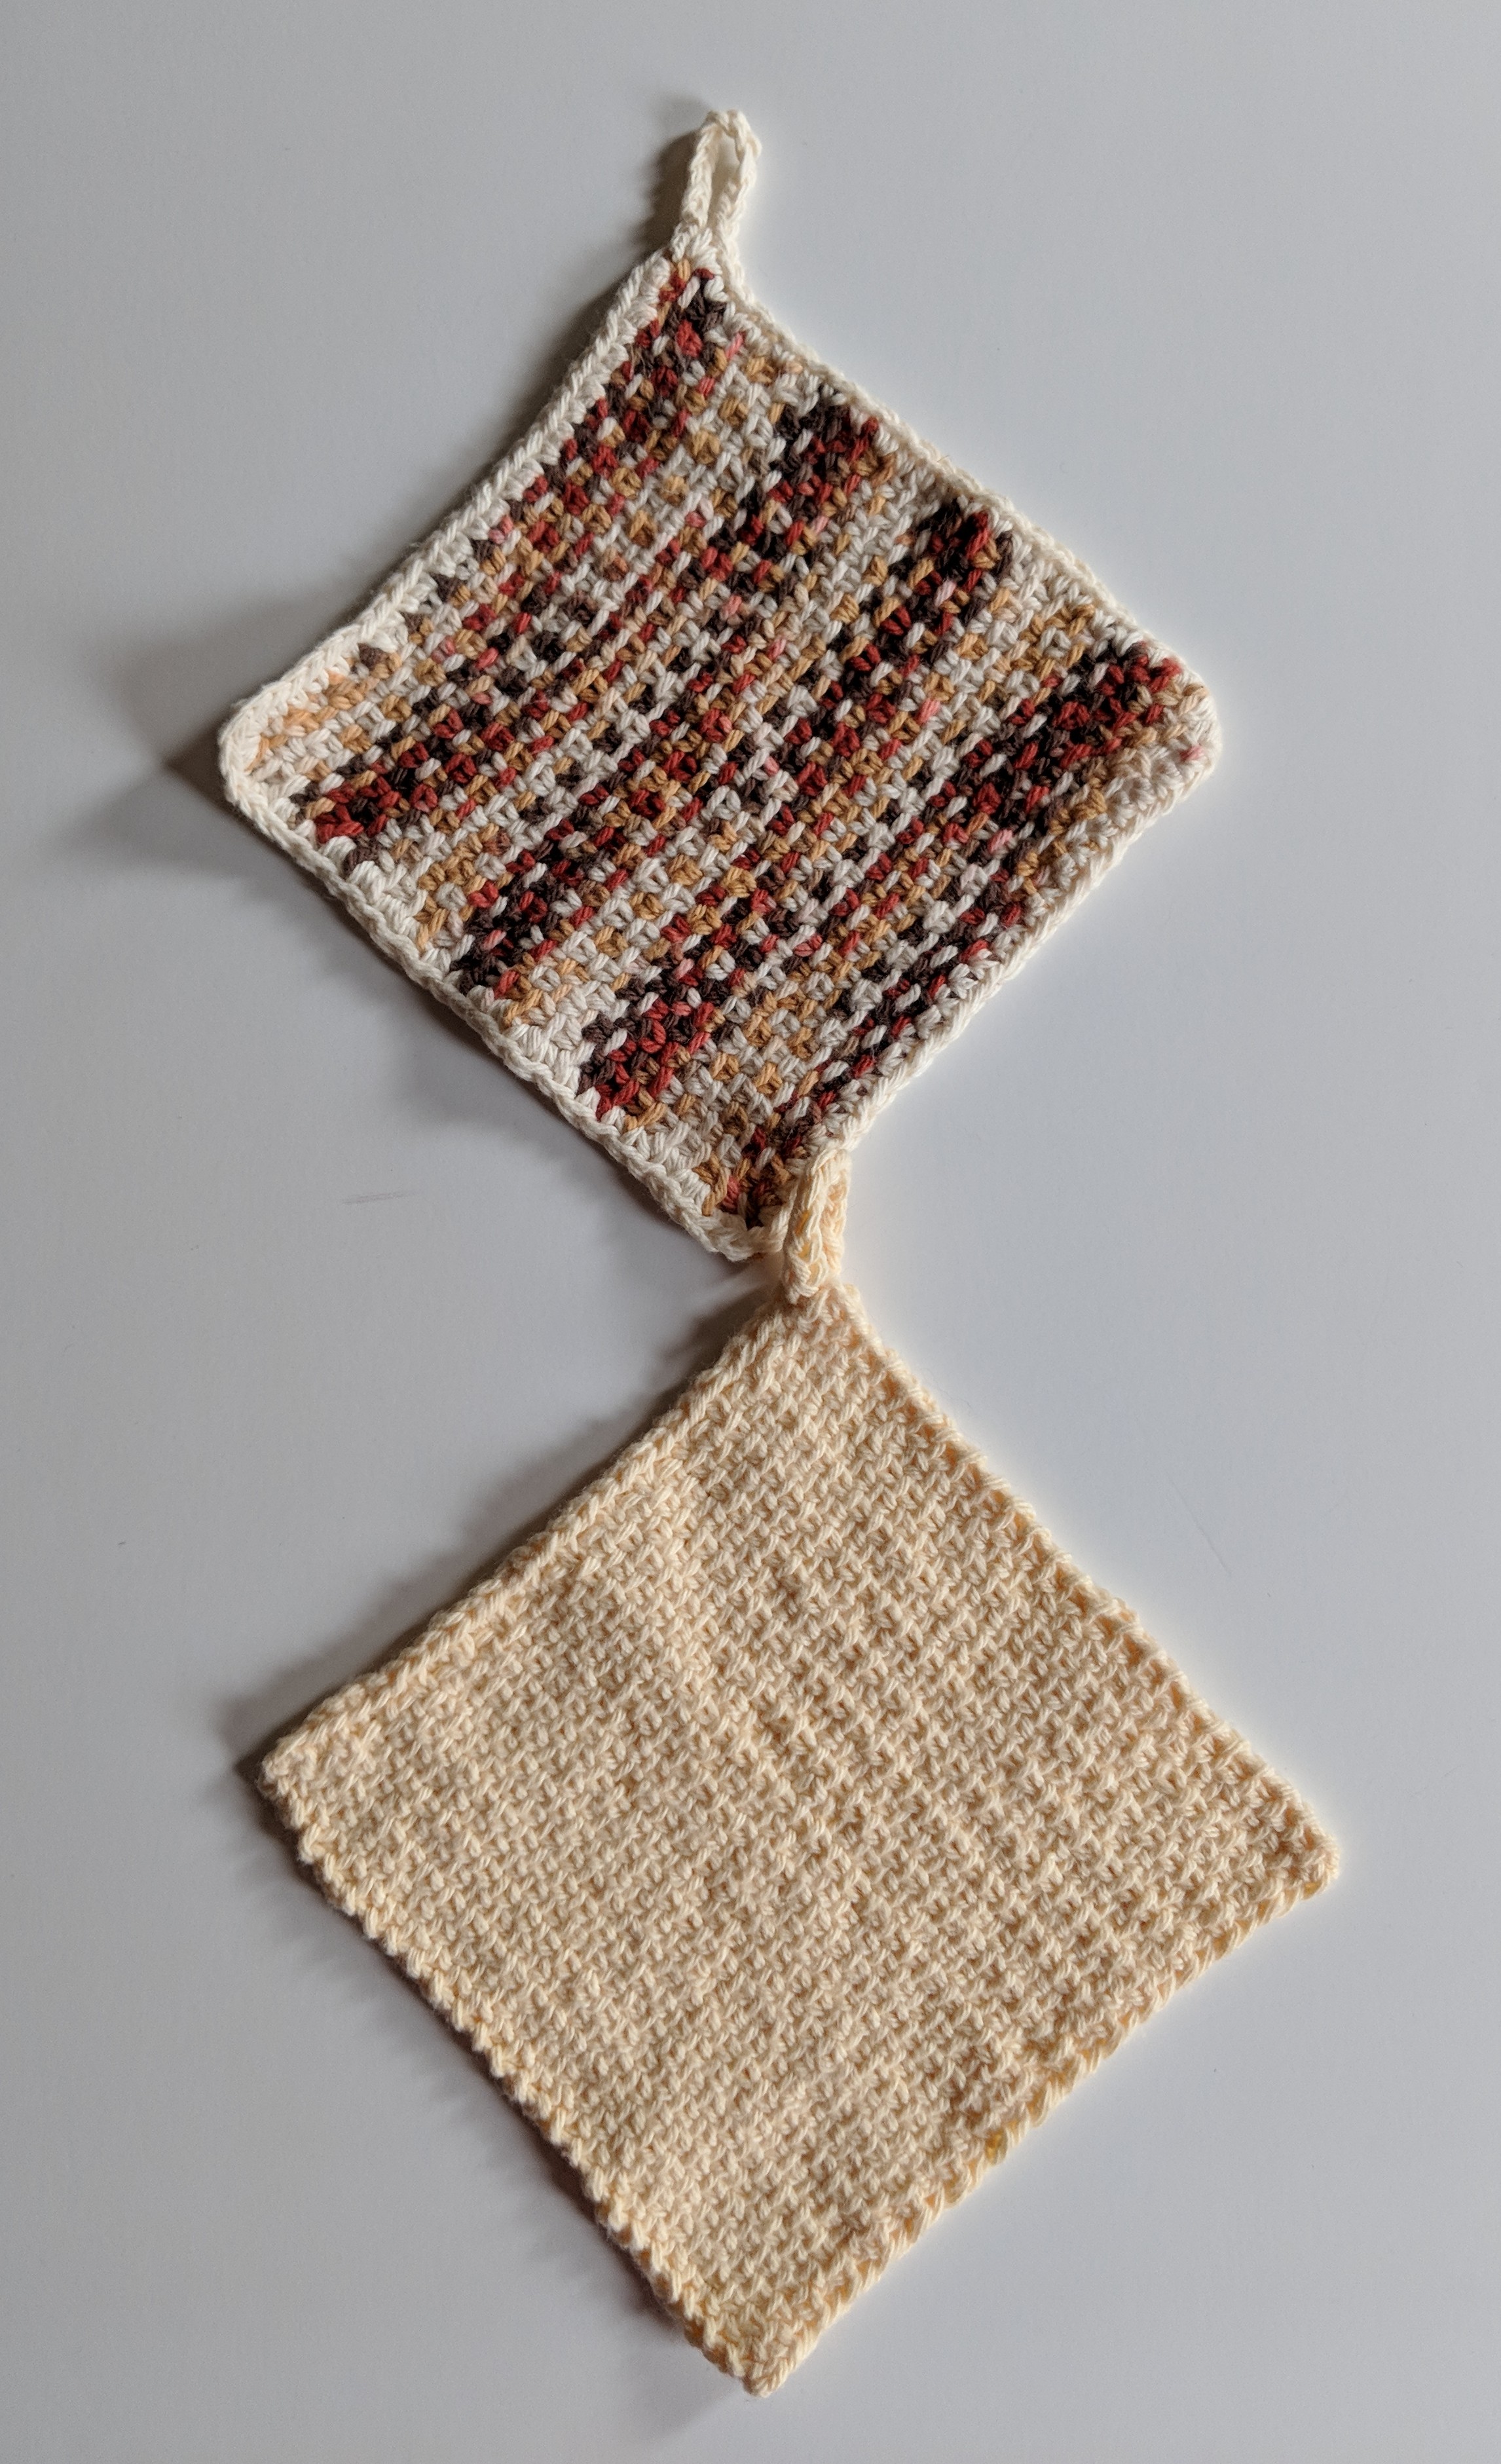
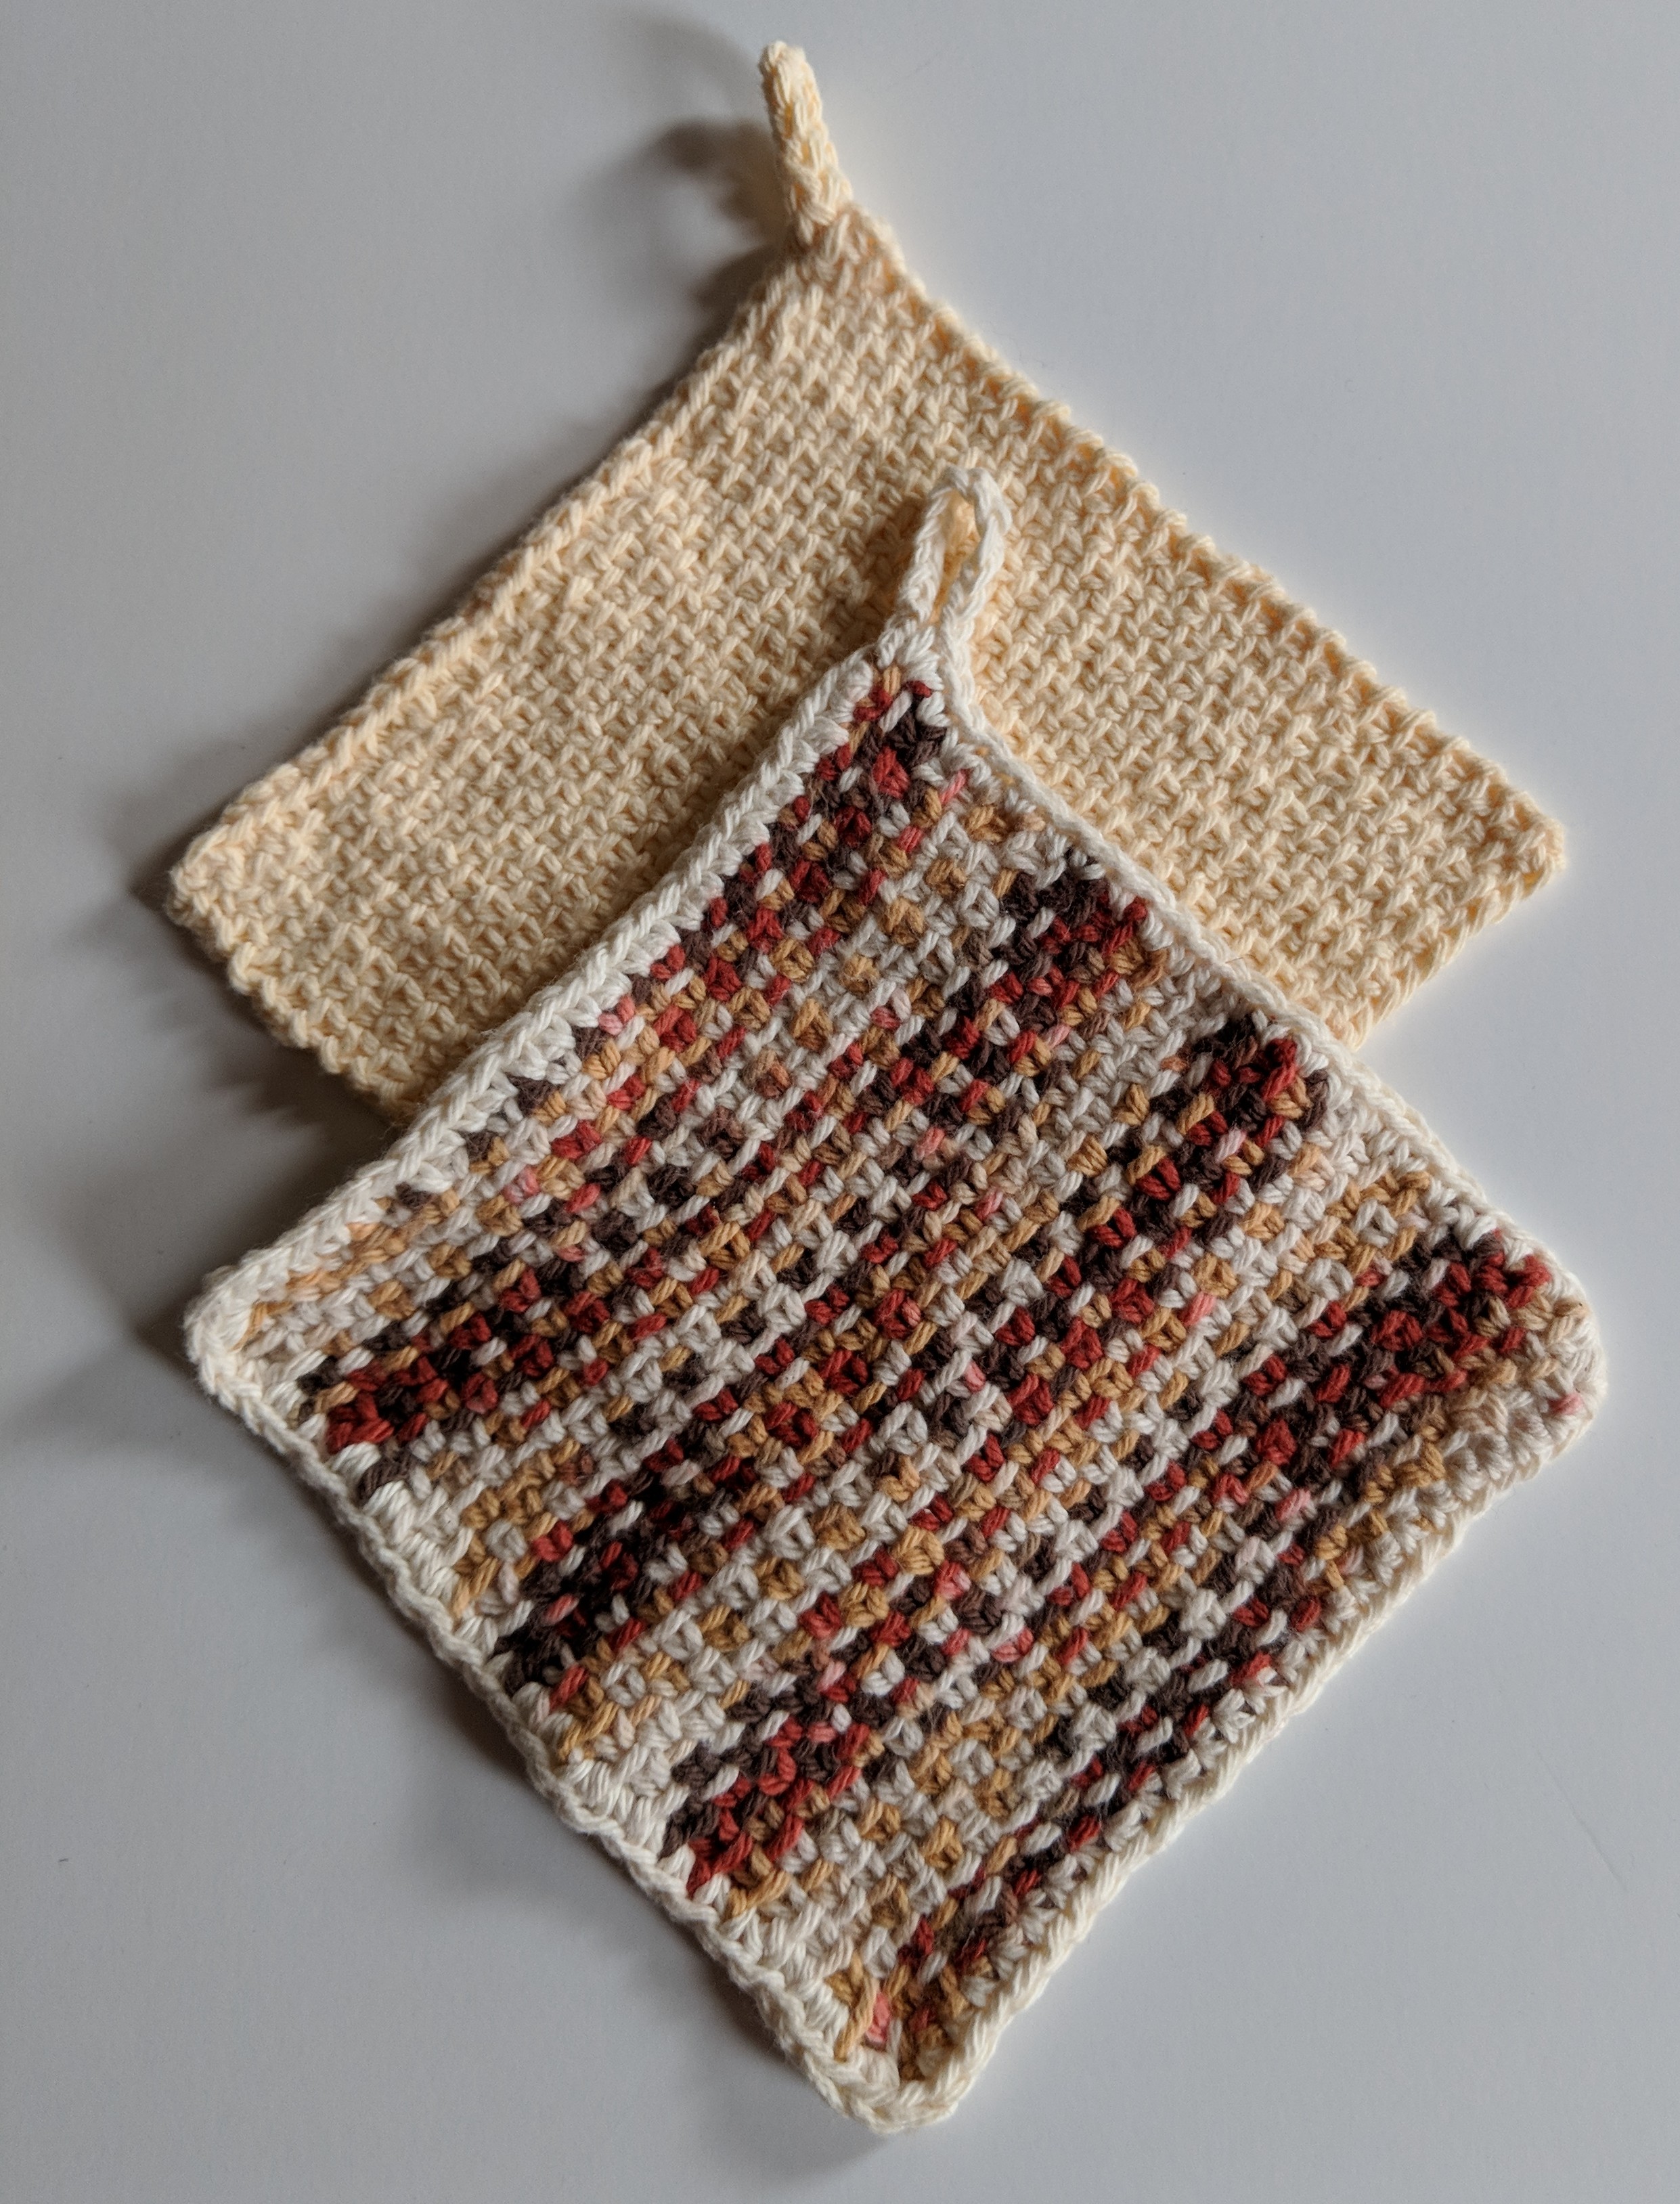
- The finished dishcloth.

Enjoy!
~coffeeteaknits.com
© Coffee Tea Knits. All text and images for personal use only. All Rights Reserved.