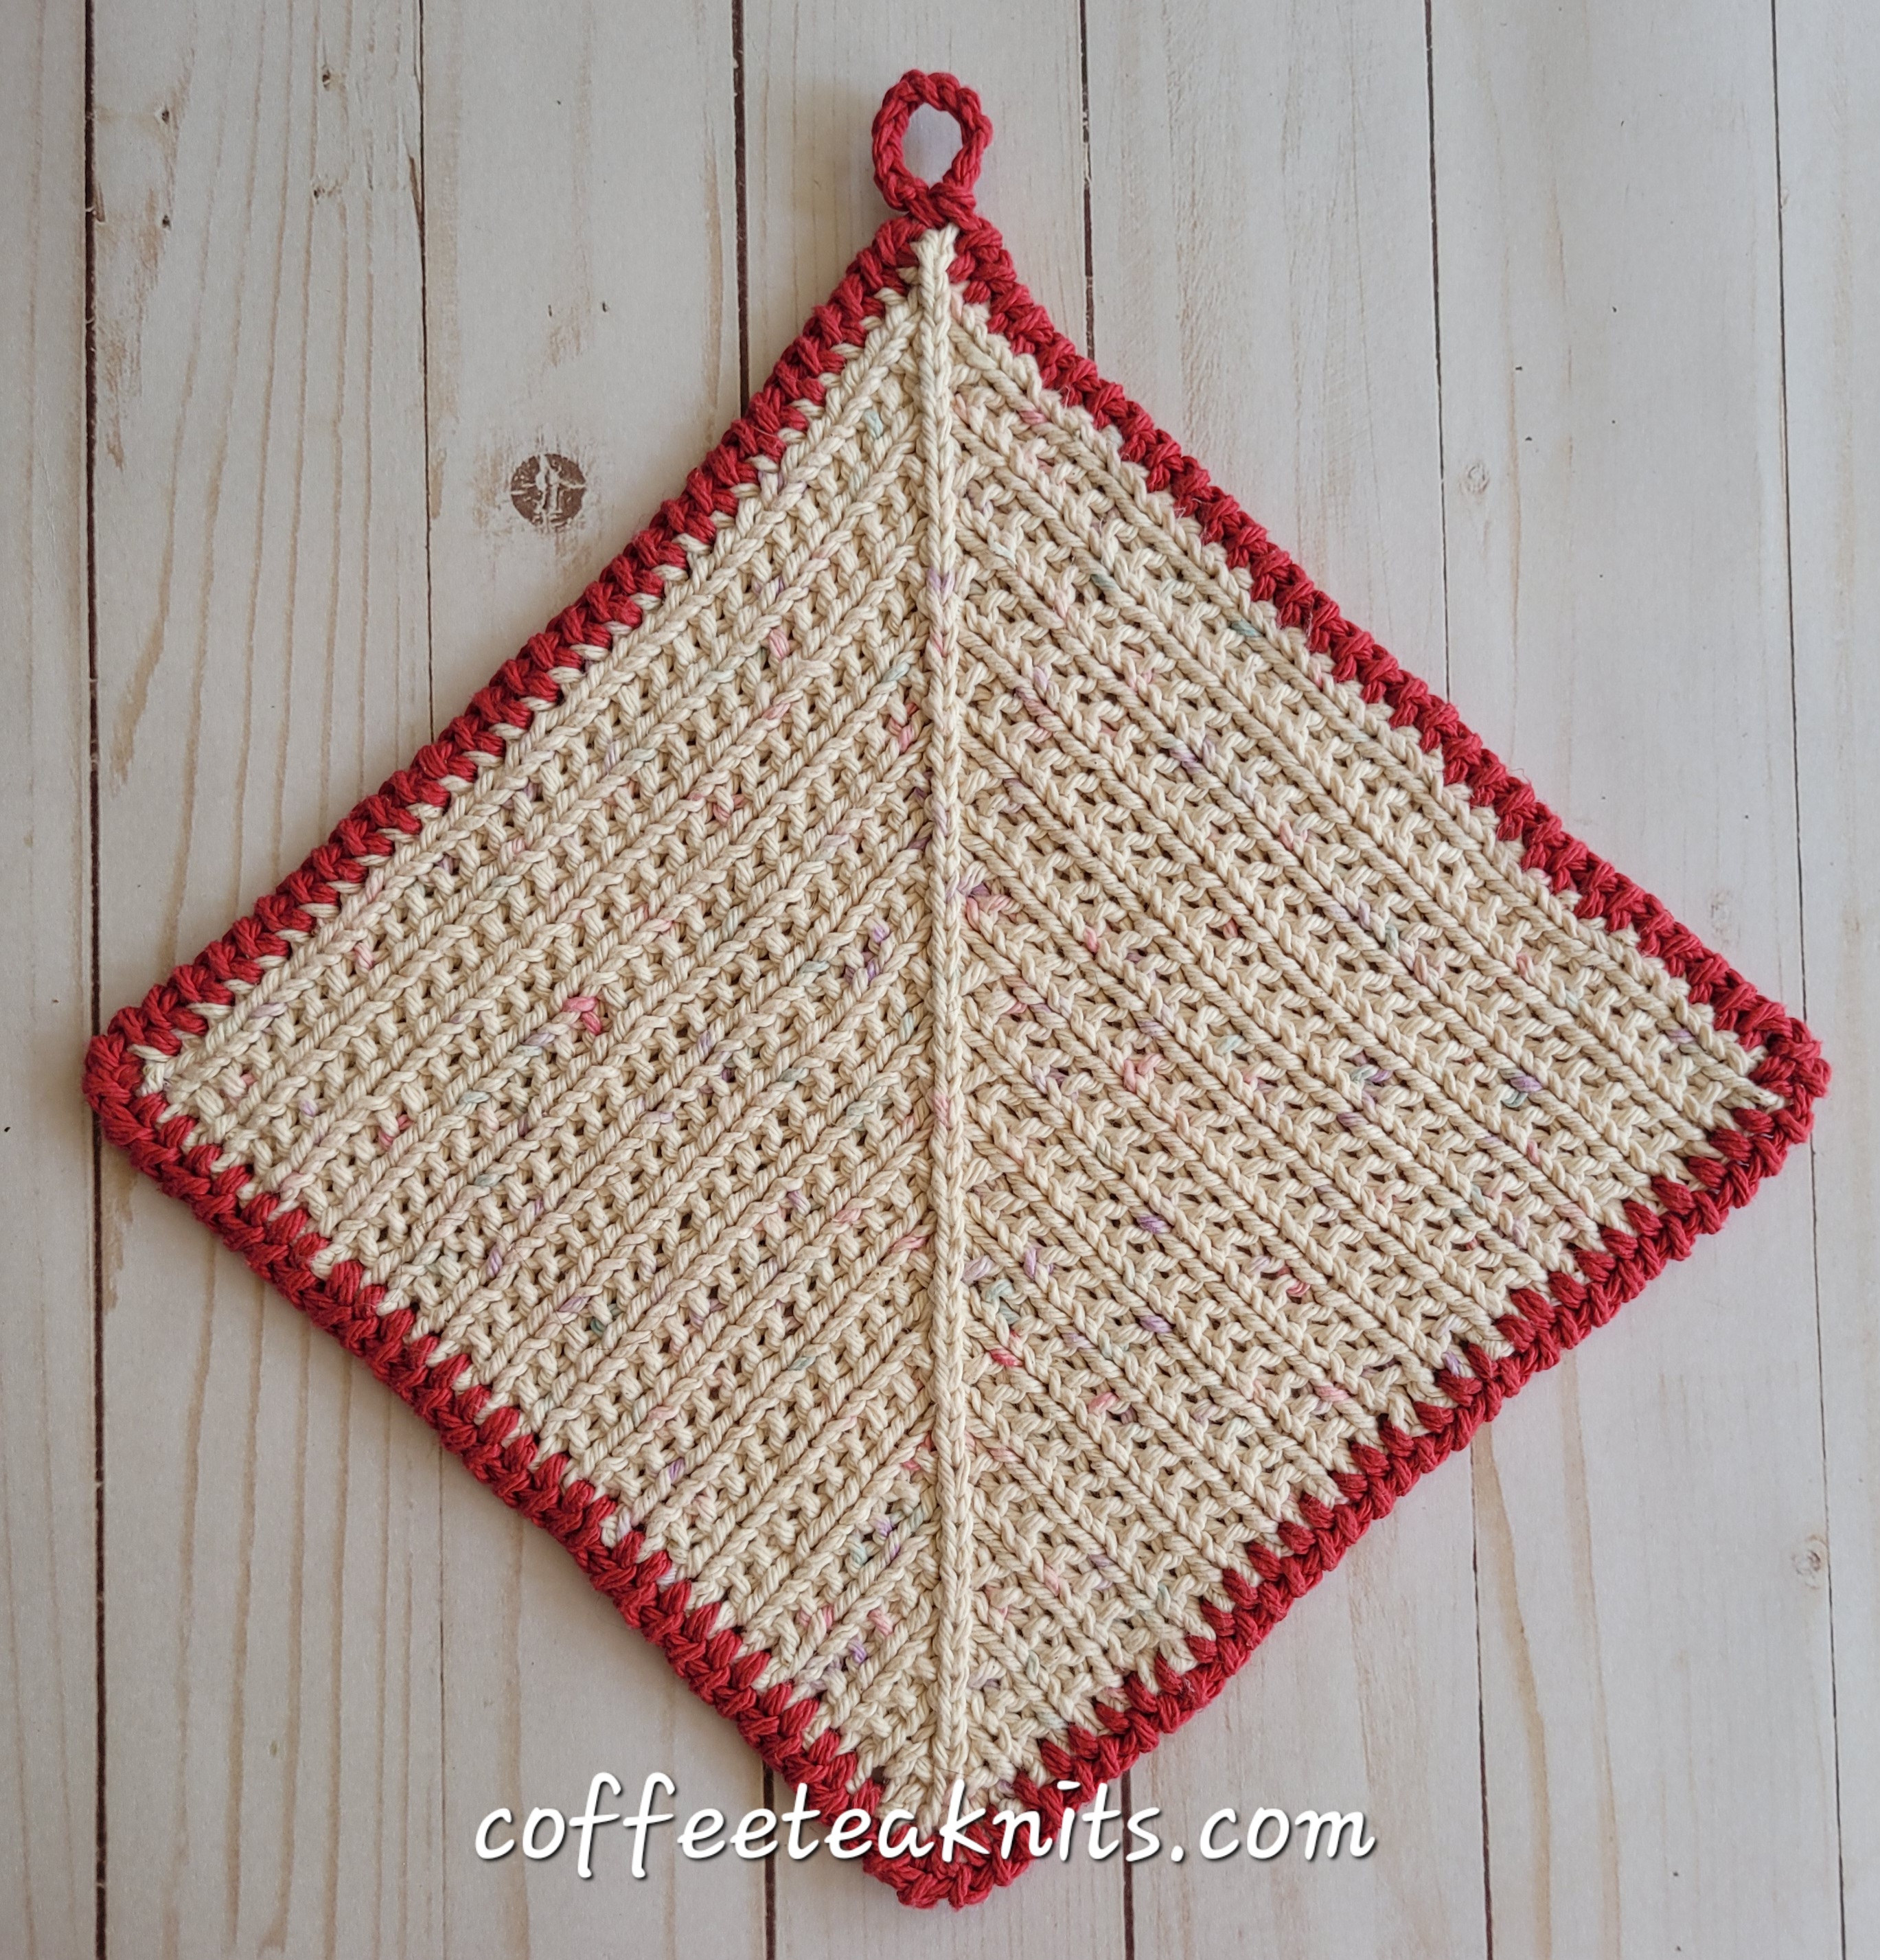
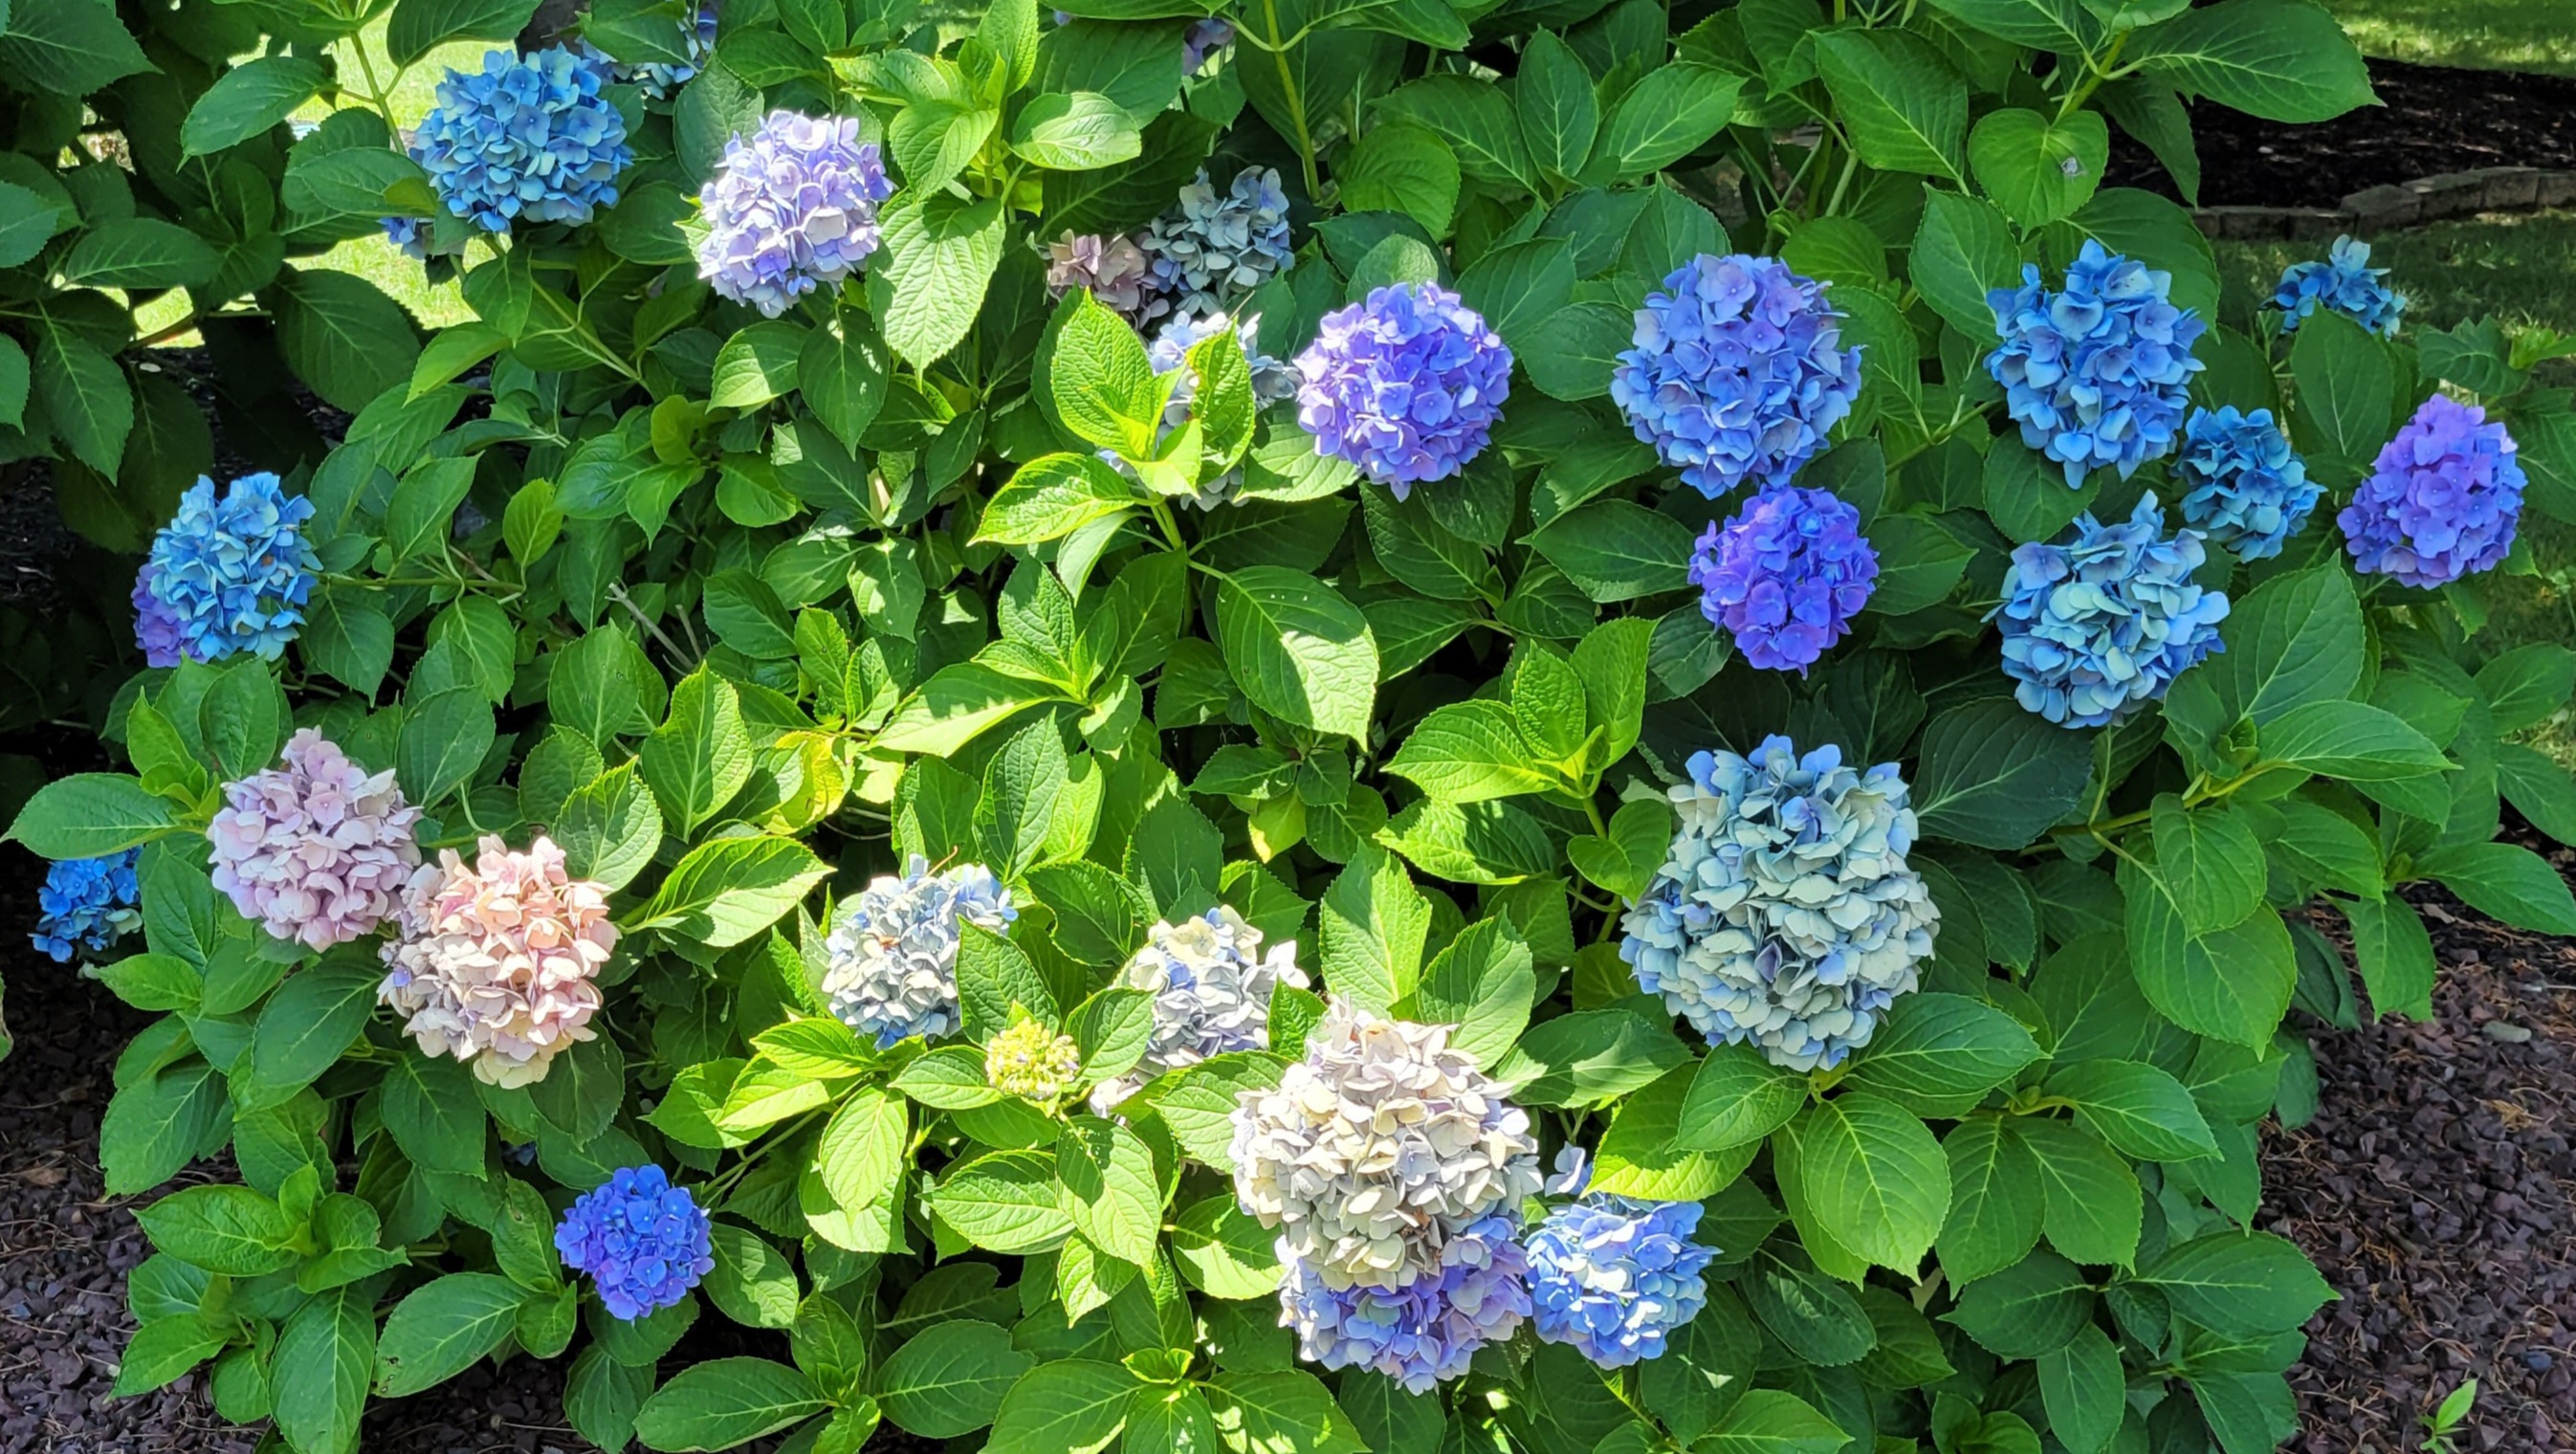
Five years ago I posted my first pattern “A Seed Stitch Mitered Dishcloth“. It was a time of social distancing and staying at home due to the coronavirus pandemic. Since we couldn’t go out much the yard and the flowers became our outdoor retreat. At that time the Hydrangeas were in full bloom (June-July) and I took a picture of these flowers with the “Seed Stitch Mitered Dishcloth”
A Seed Stitch Mitered Dishcloth
Advertisements
It’s five years later, and the hydrangeas are in bloom again.
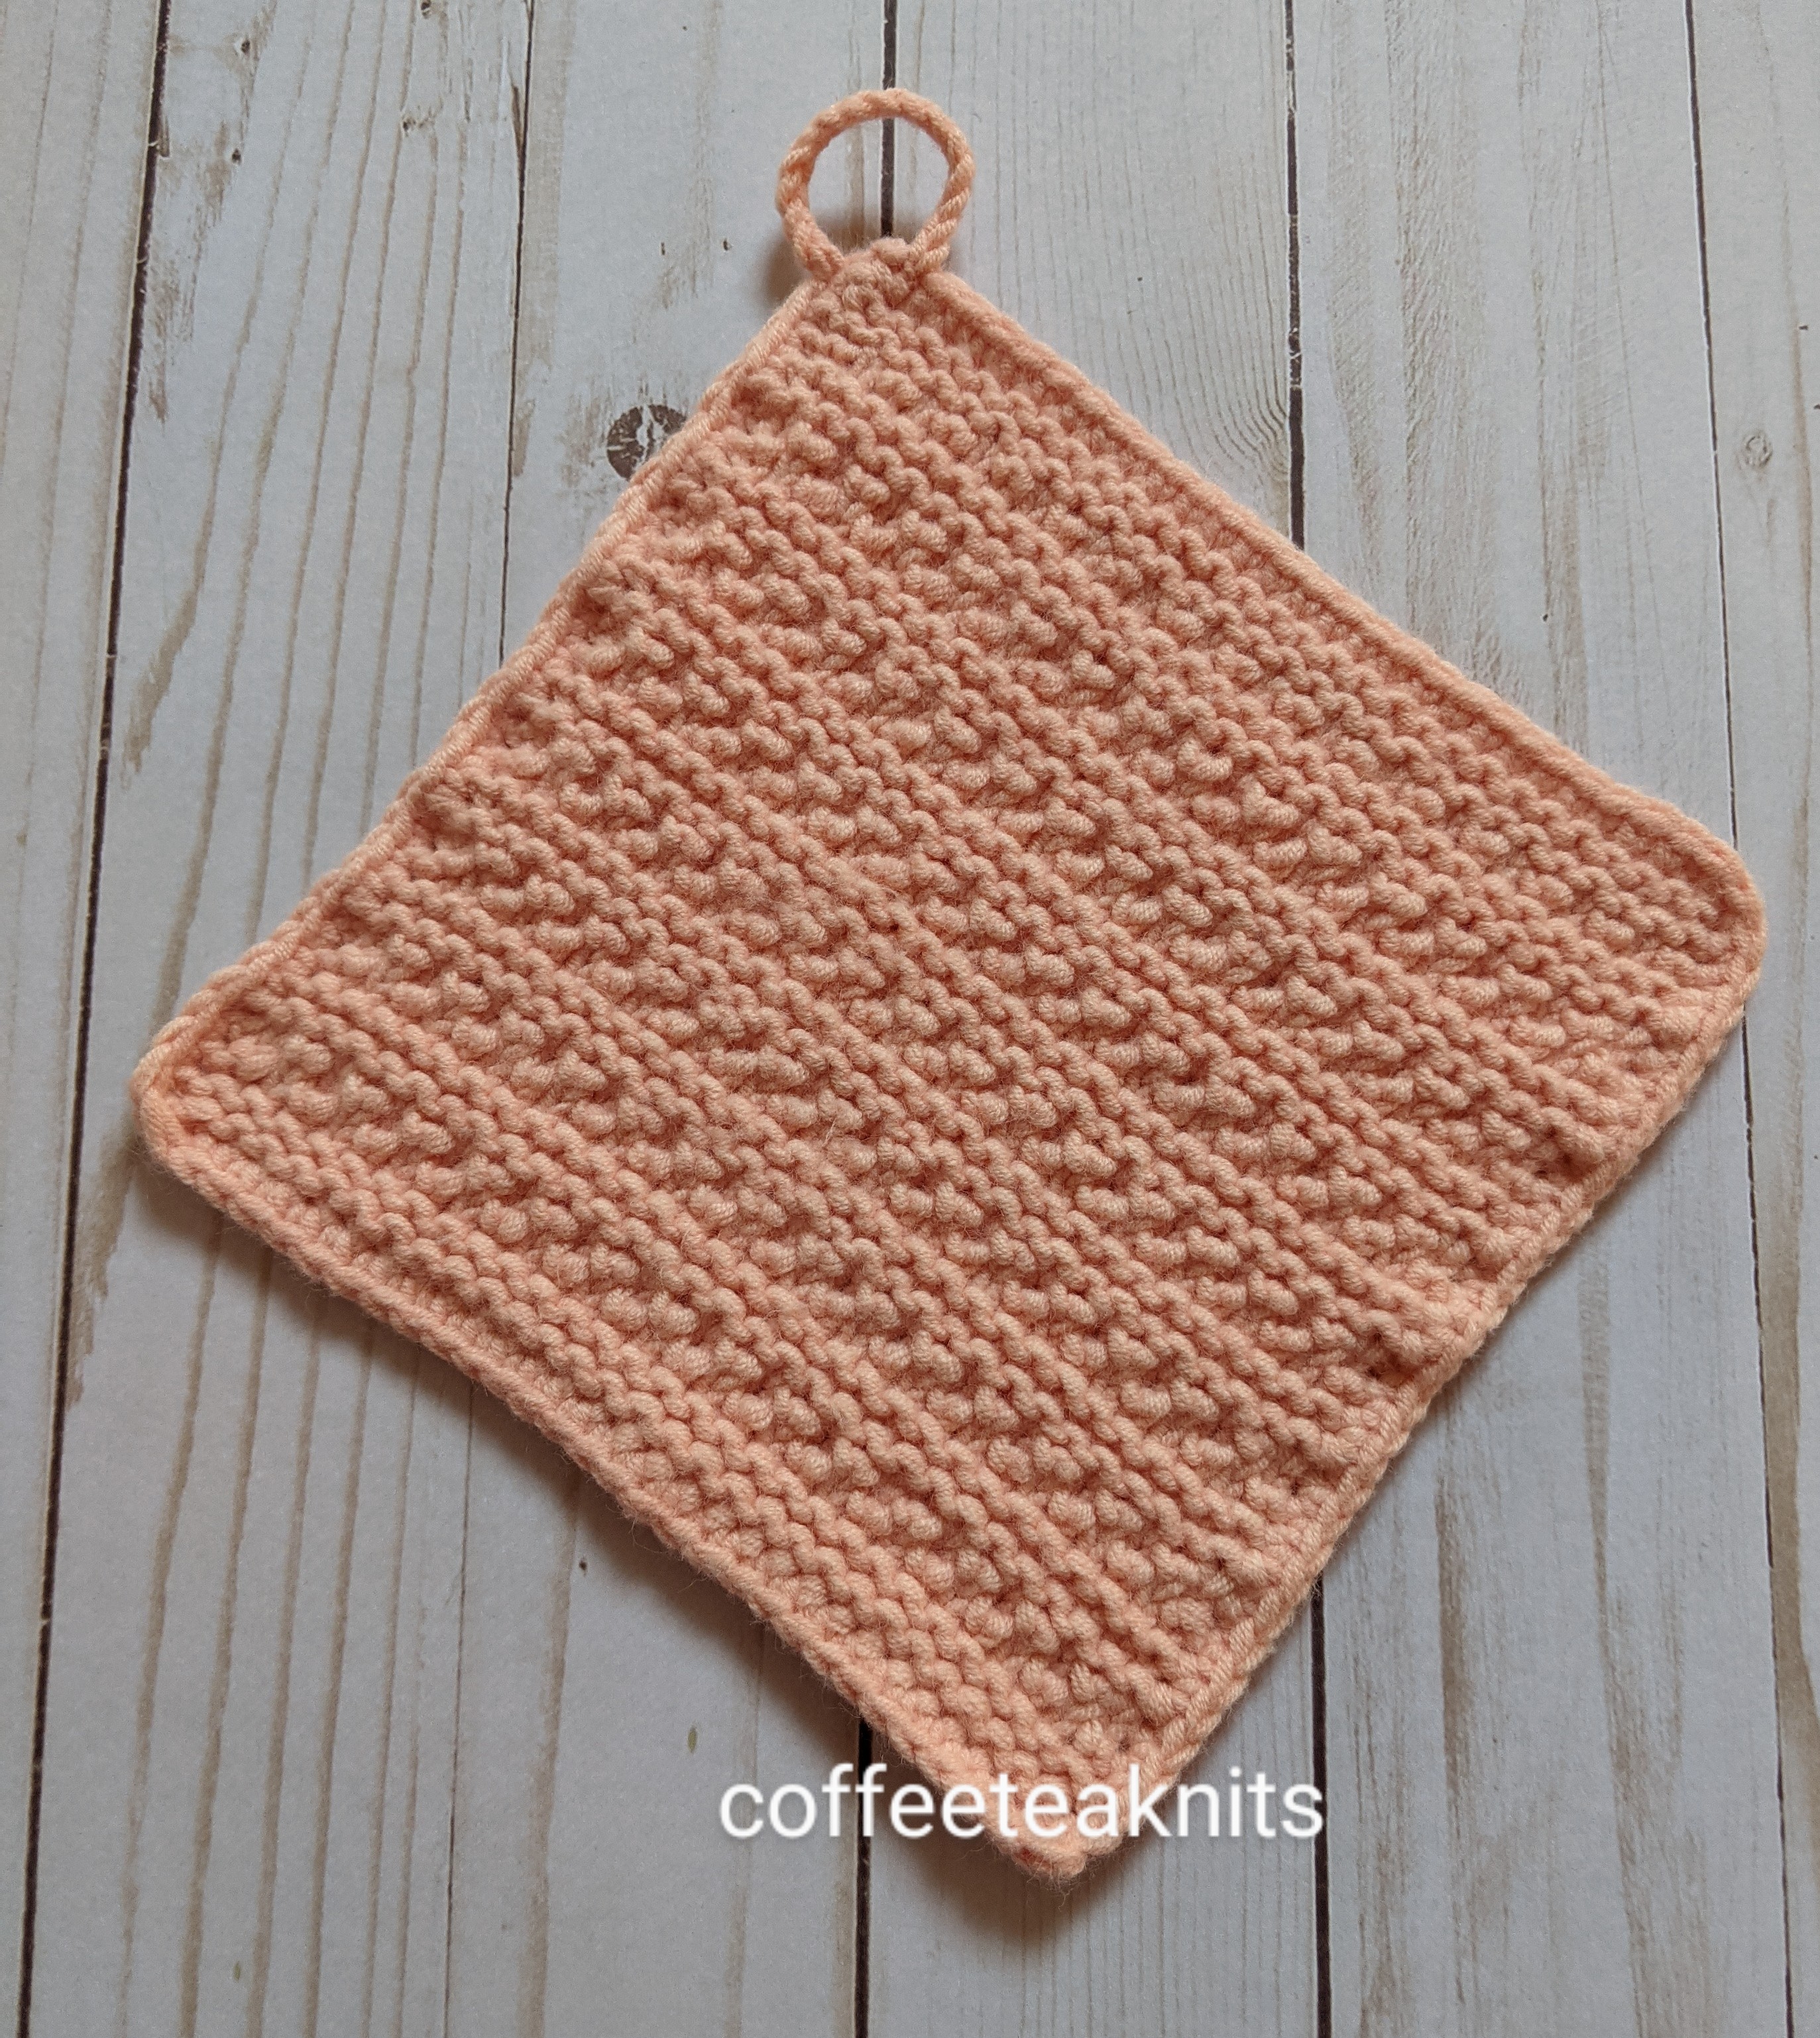
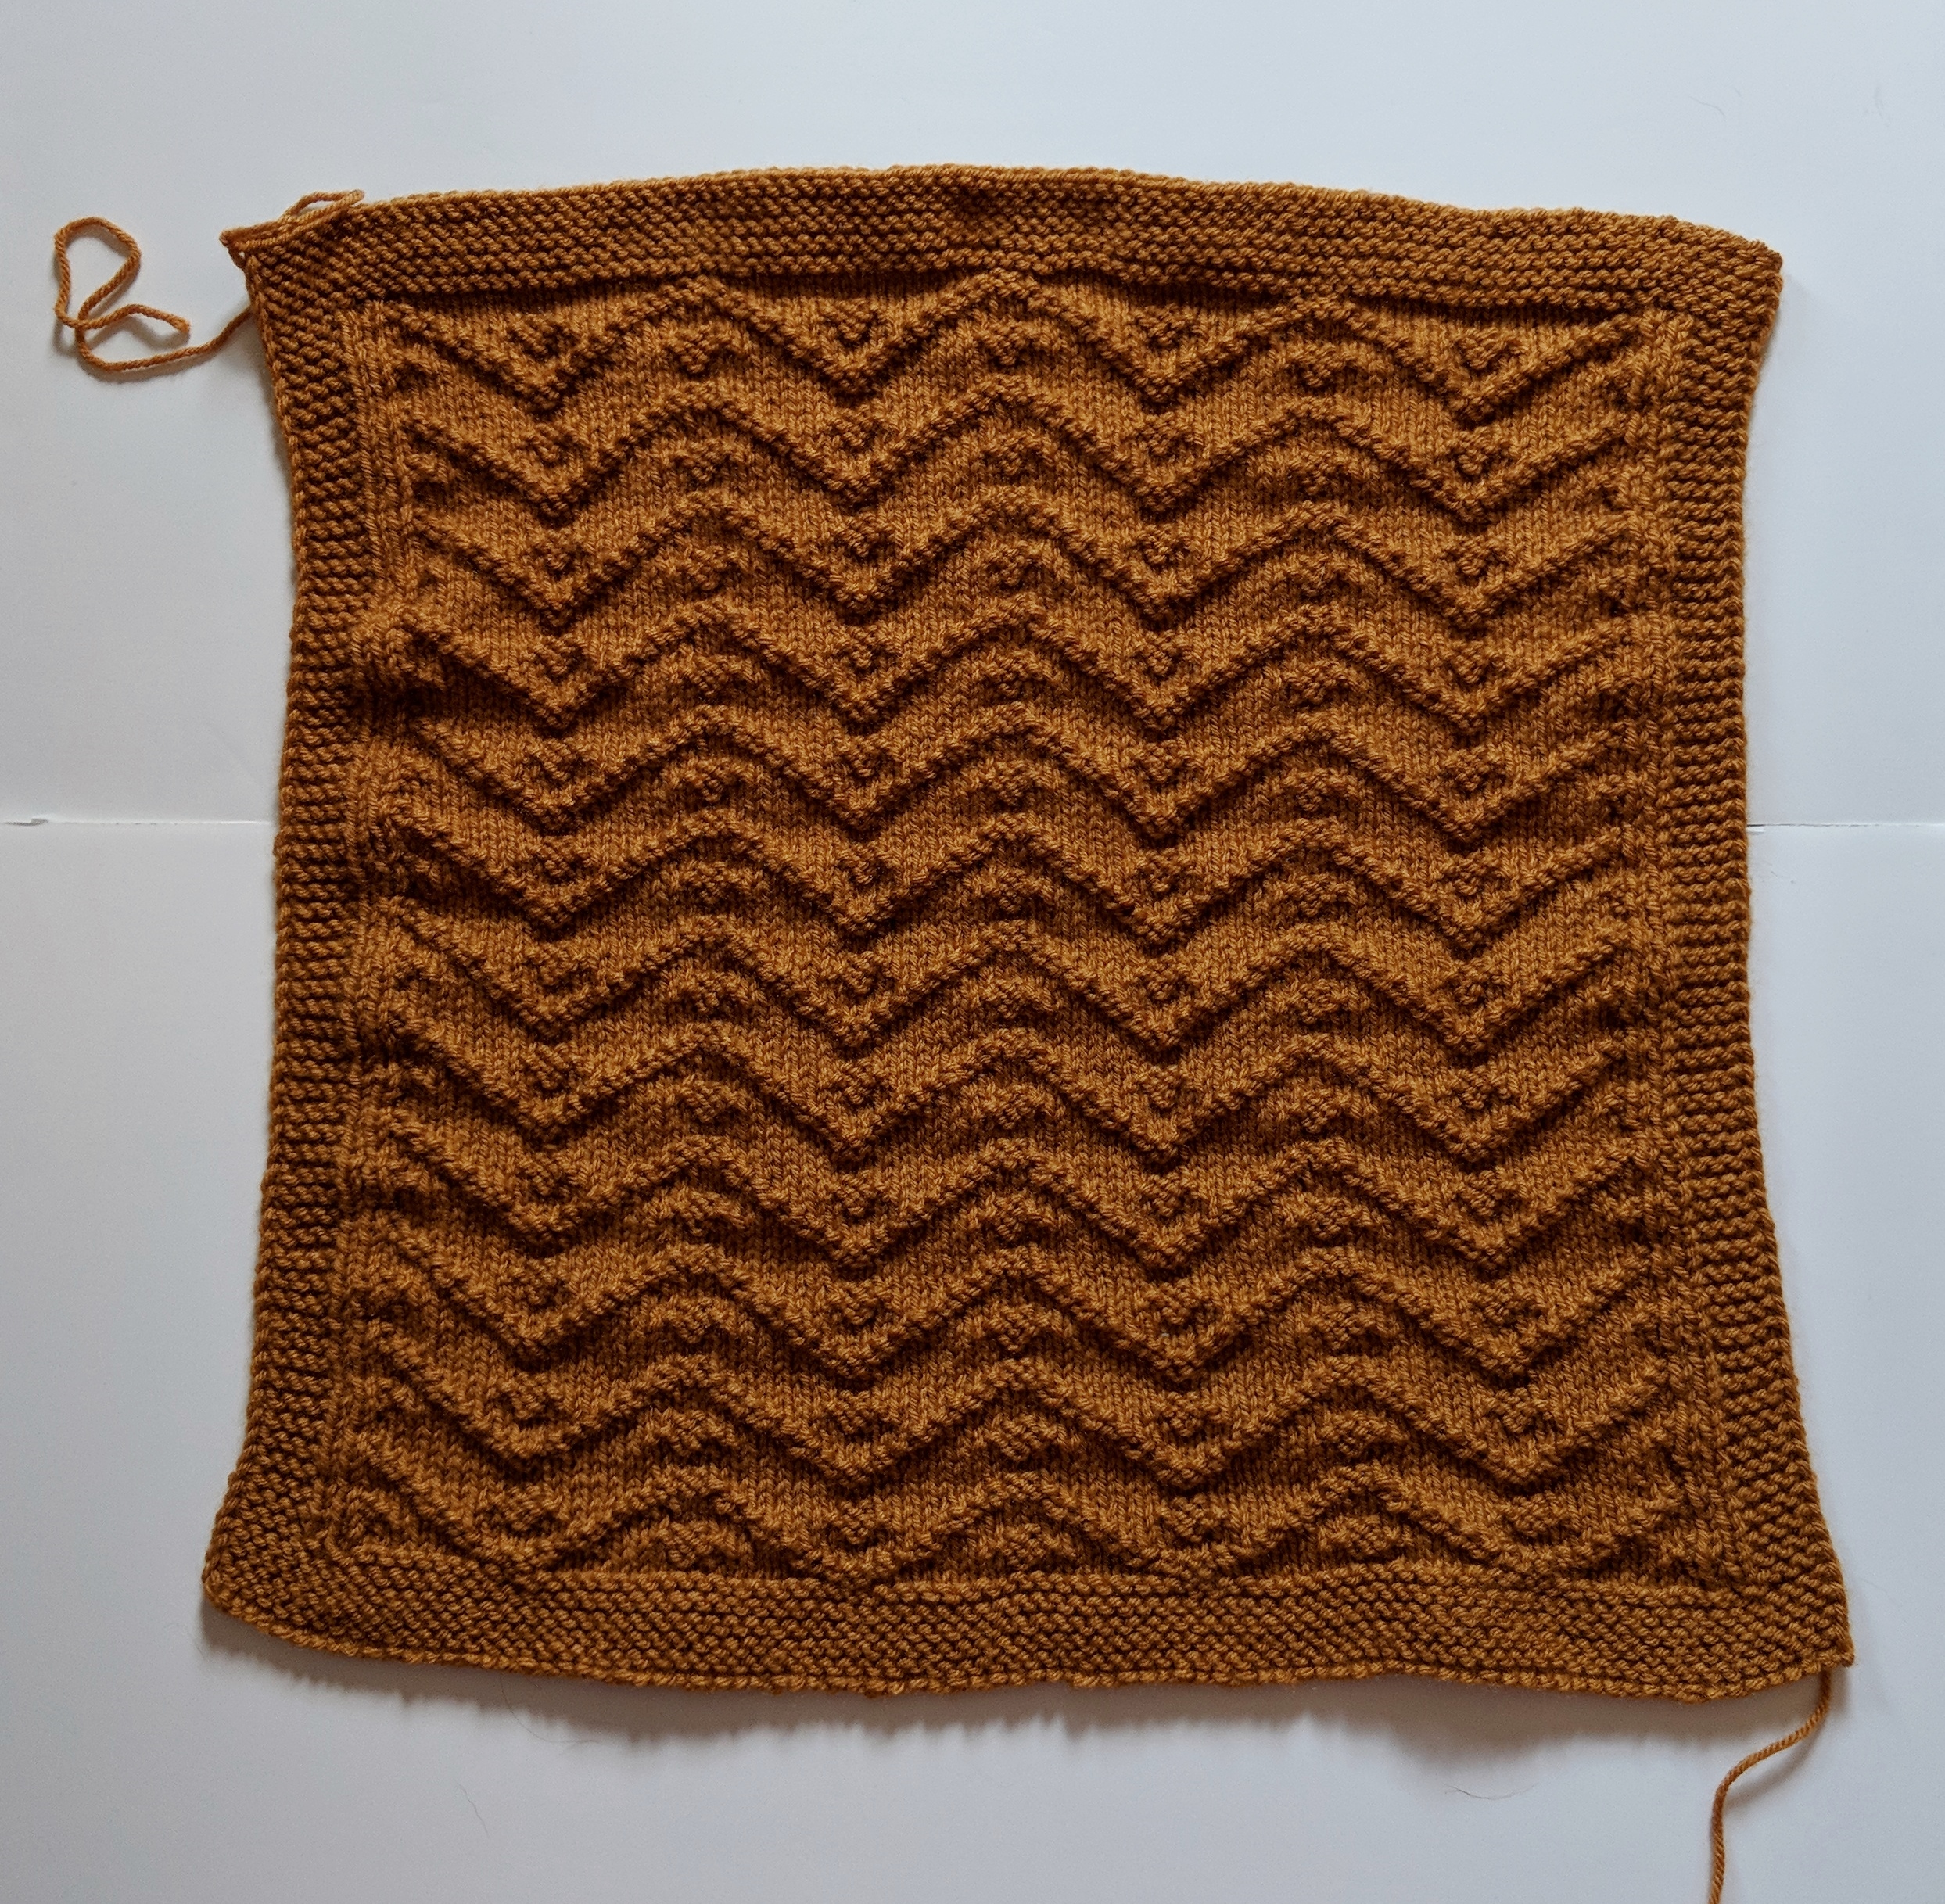
Hence, the name of the dishcloth pattern for the month is the Hydrangea Dishcloth pattern. The Hydrangea Dishcloth is a mitered square dishcloth with a double vertical decrease and a 1×1 mistake rib stitch pattern. Two stitches are decreased using the double vertical decrease technique. I prefer this technique to the K2tog and SSK techniques I used in the Seed Stitch Mitered Dishcloth. The SSK does not form a straight line like the K2tog or the double vertical decrease.
Advertisements
The Hydrangea Dishcloth is then finished with a round of the wrapped single crochet stitch. Crochet chain stitches are added end of the round for the hanging loop.
The Hydrangea Dishcloth Pattern (text and images for personal use only)
PLEASE SUBSCRIBE FOR THE FREE PATTERN. THANK YOU
Subscribe to continue reading
Subscribe to get access to the rest of this post and other subscriber-only content.
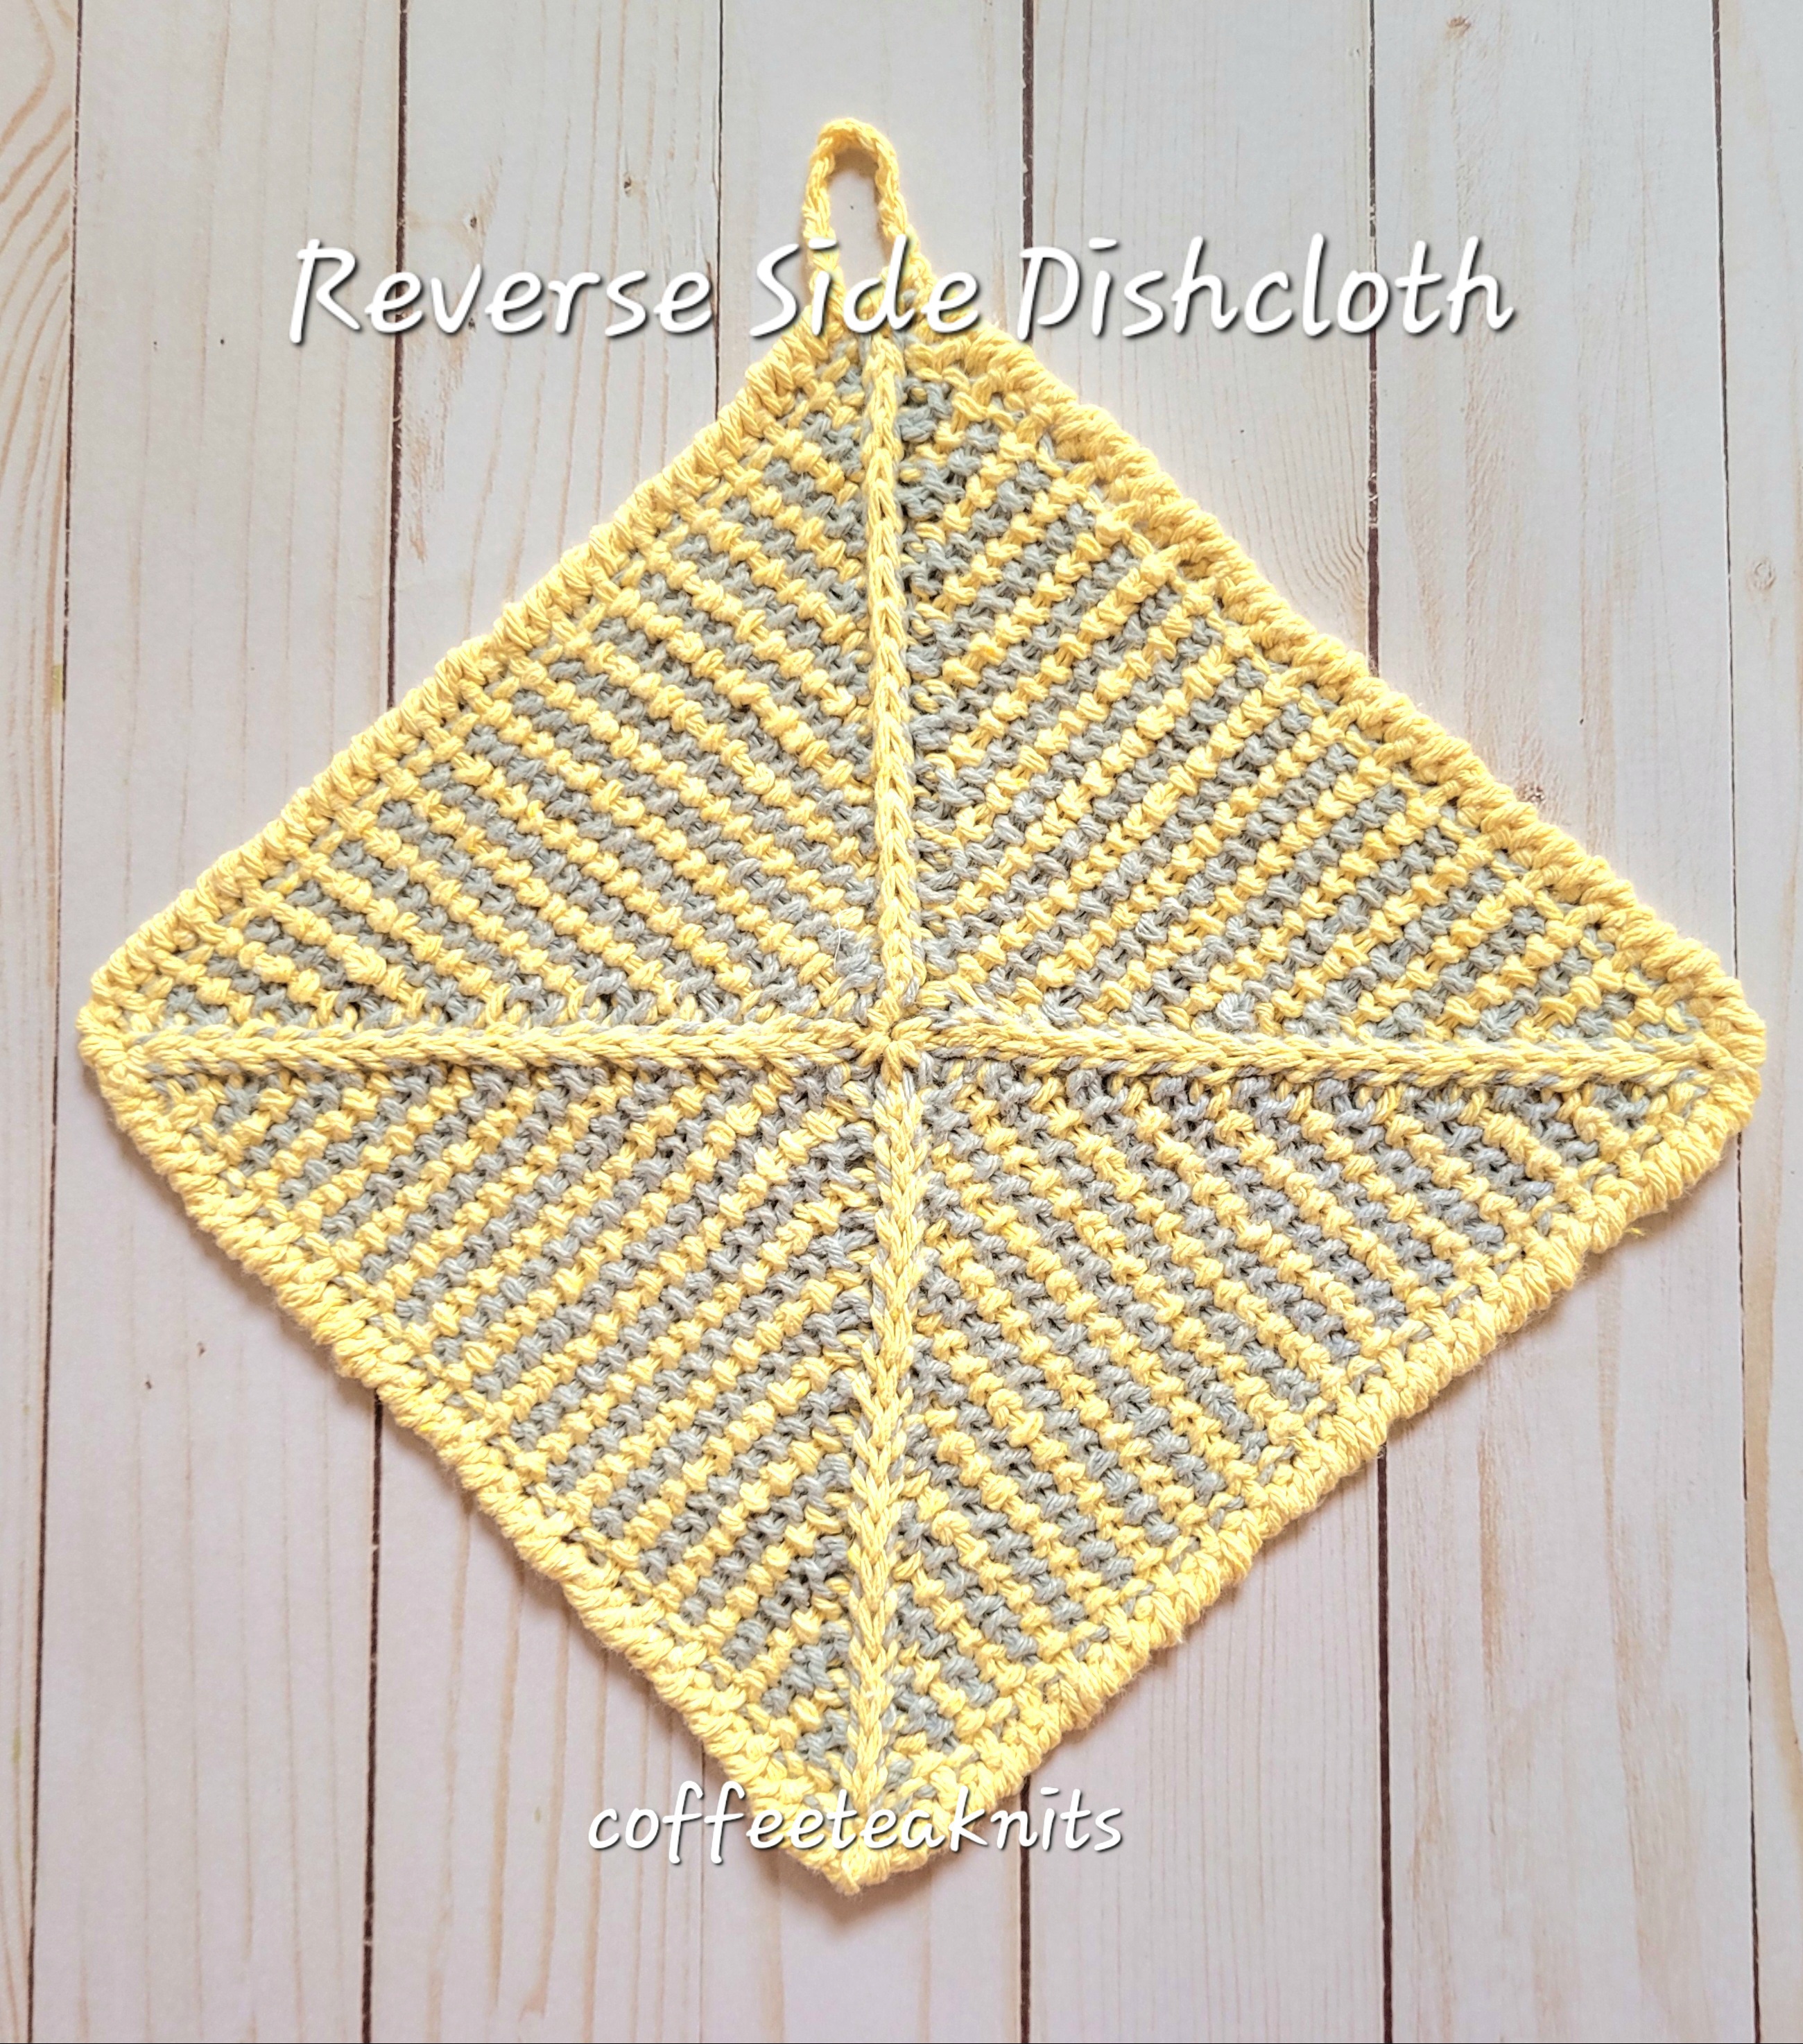
In knitting patterns there is a right side and a wrong side for a row or a round. It does not mean that the wrong side (the inner side) pattern can’t be reversed and be on the right side (the outer side). I sometimes like the reverse side of the pattern just as much as the right or outer side. The Comfy Hat Patterns are an example of patterns with both the right side and wrong side as the outer side of the hats. When I completed knitting the Spring is in the Air Dishcloth last month, I liked how the two different colors of yarn gave a striped textured pattern on the reverse (wrong) side of the dishcloth (pictured below). The striped textured pattern on the wrong side led to the Reverse Side Dishcloth pattern.
Advertisements
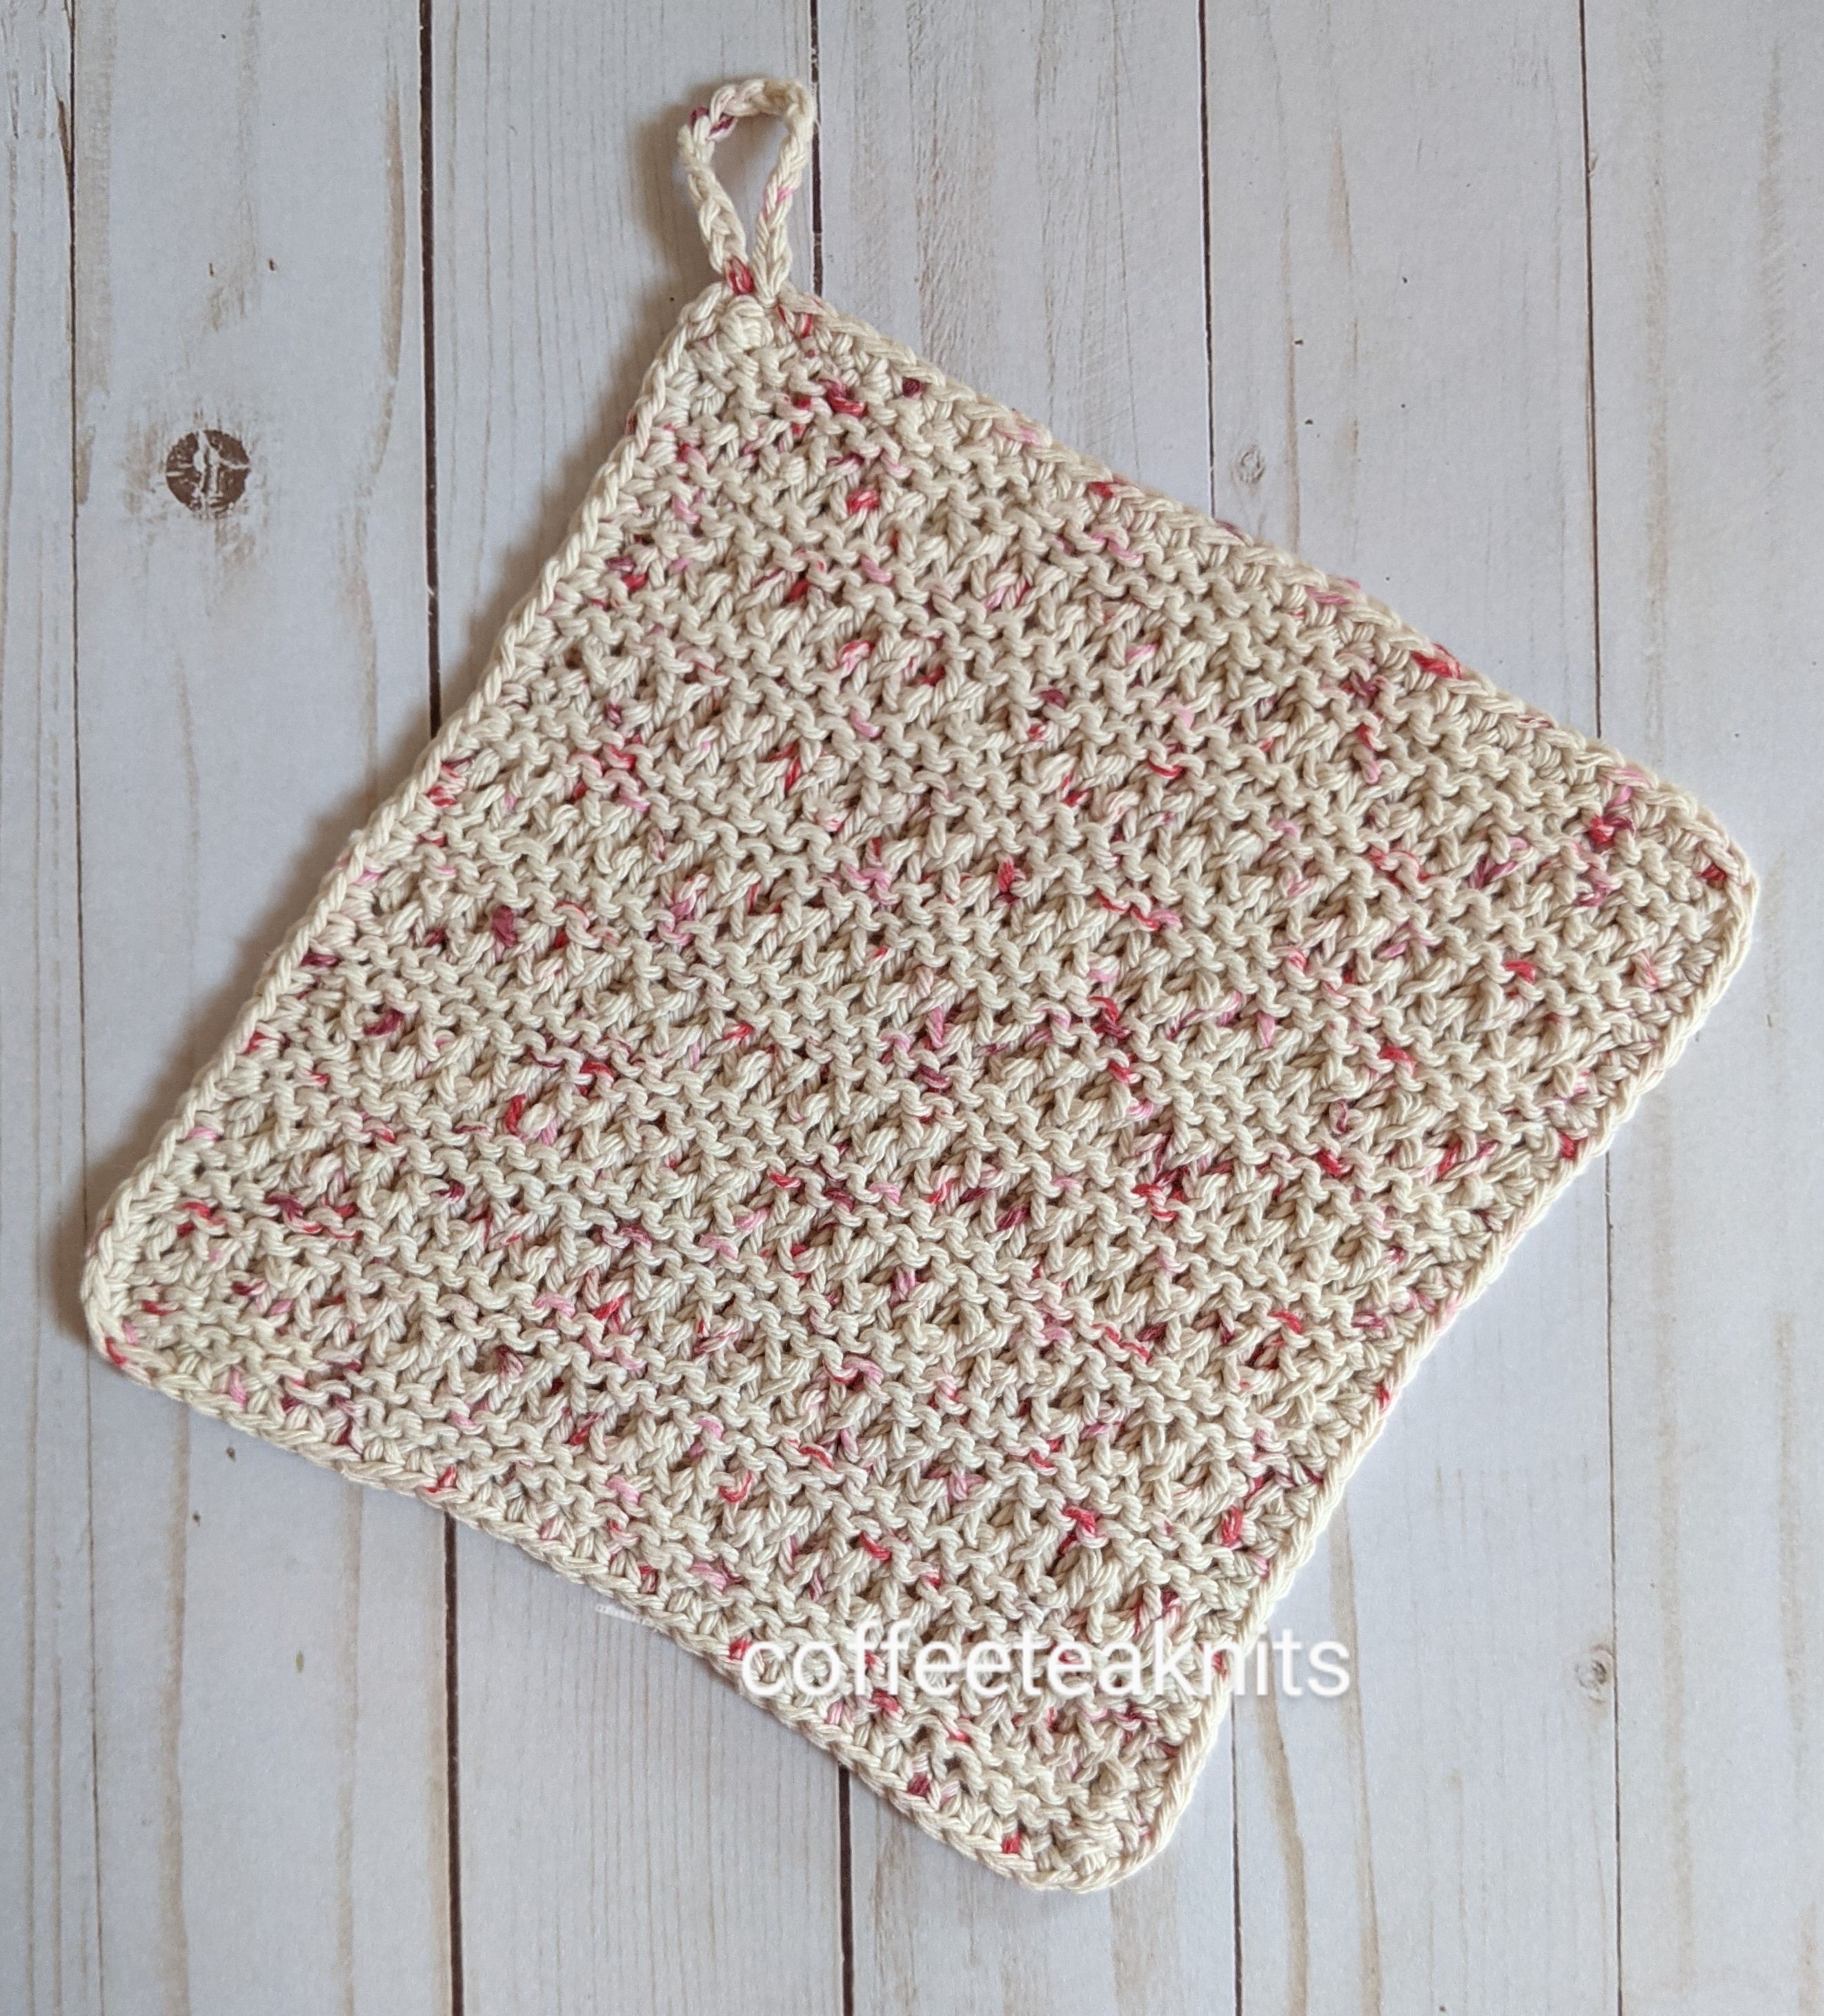
The Reverse Side Dishcloth pattern is the reverse side of the linen stitch pattern in two different yarn colorways. In this pattern I used Capri Eco Cotton™ by Loops and Threads® yarn made from recycled cotton in two different colorways. Stitches are cast on, the round joined and the dishcloth is worked by knitting towards the center with decreases every other round till 8 stitches remain. It is then finished with the duplicate crochet stitch running diagonally beginning at each corner and moving towards the center. Reverse single crochet stitch pattern is used as an edging for the border.
Advertisements
The Reverse Side Dishcloth Pattern (text and images for personal use only)
Yarn: Capri Eco Cotton™ by Loops and Threads® yarn in Yellow (Colorway 1) and Pewter (Colorway 2) Knitting Needles: US #10 for cast on and US #8 circular needles to knit the dishcloth Crochet hook: US size 7 or 4.5 mm crochet hook Tapestry Needle to weave in ends Gauge: 5 stitches/inch Abbreviations:
Advertisements
PLEASE SUBSCRIBE FOR THE FREE PATTERN. THANK YOU
Subscribe to continue reading
Subscribe to get access to the rest of this post and other subscriber-only content.
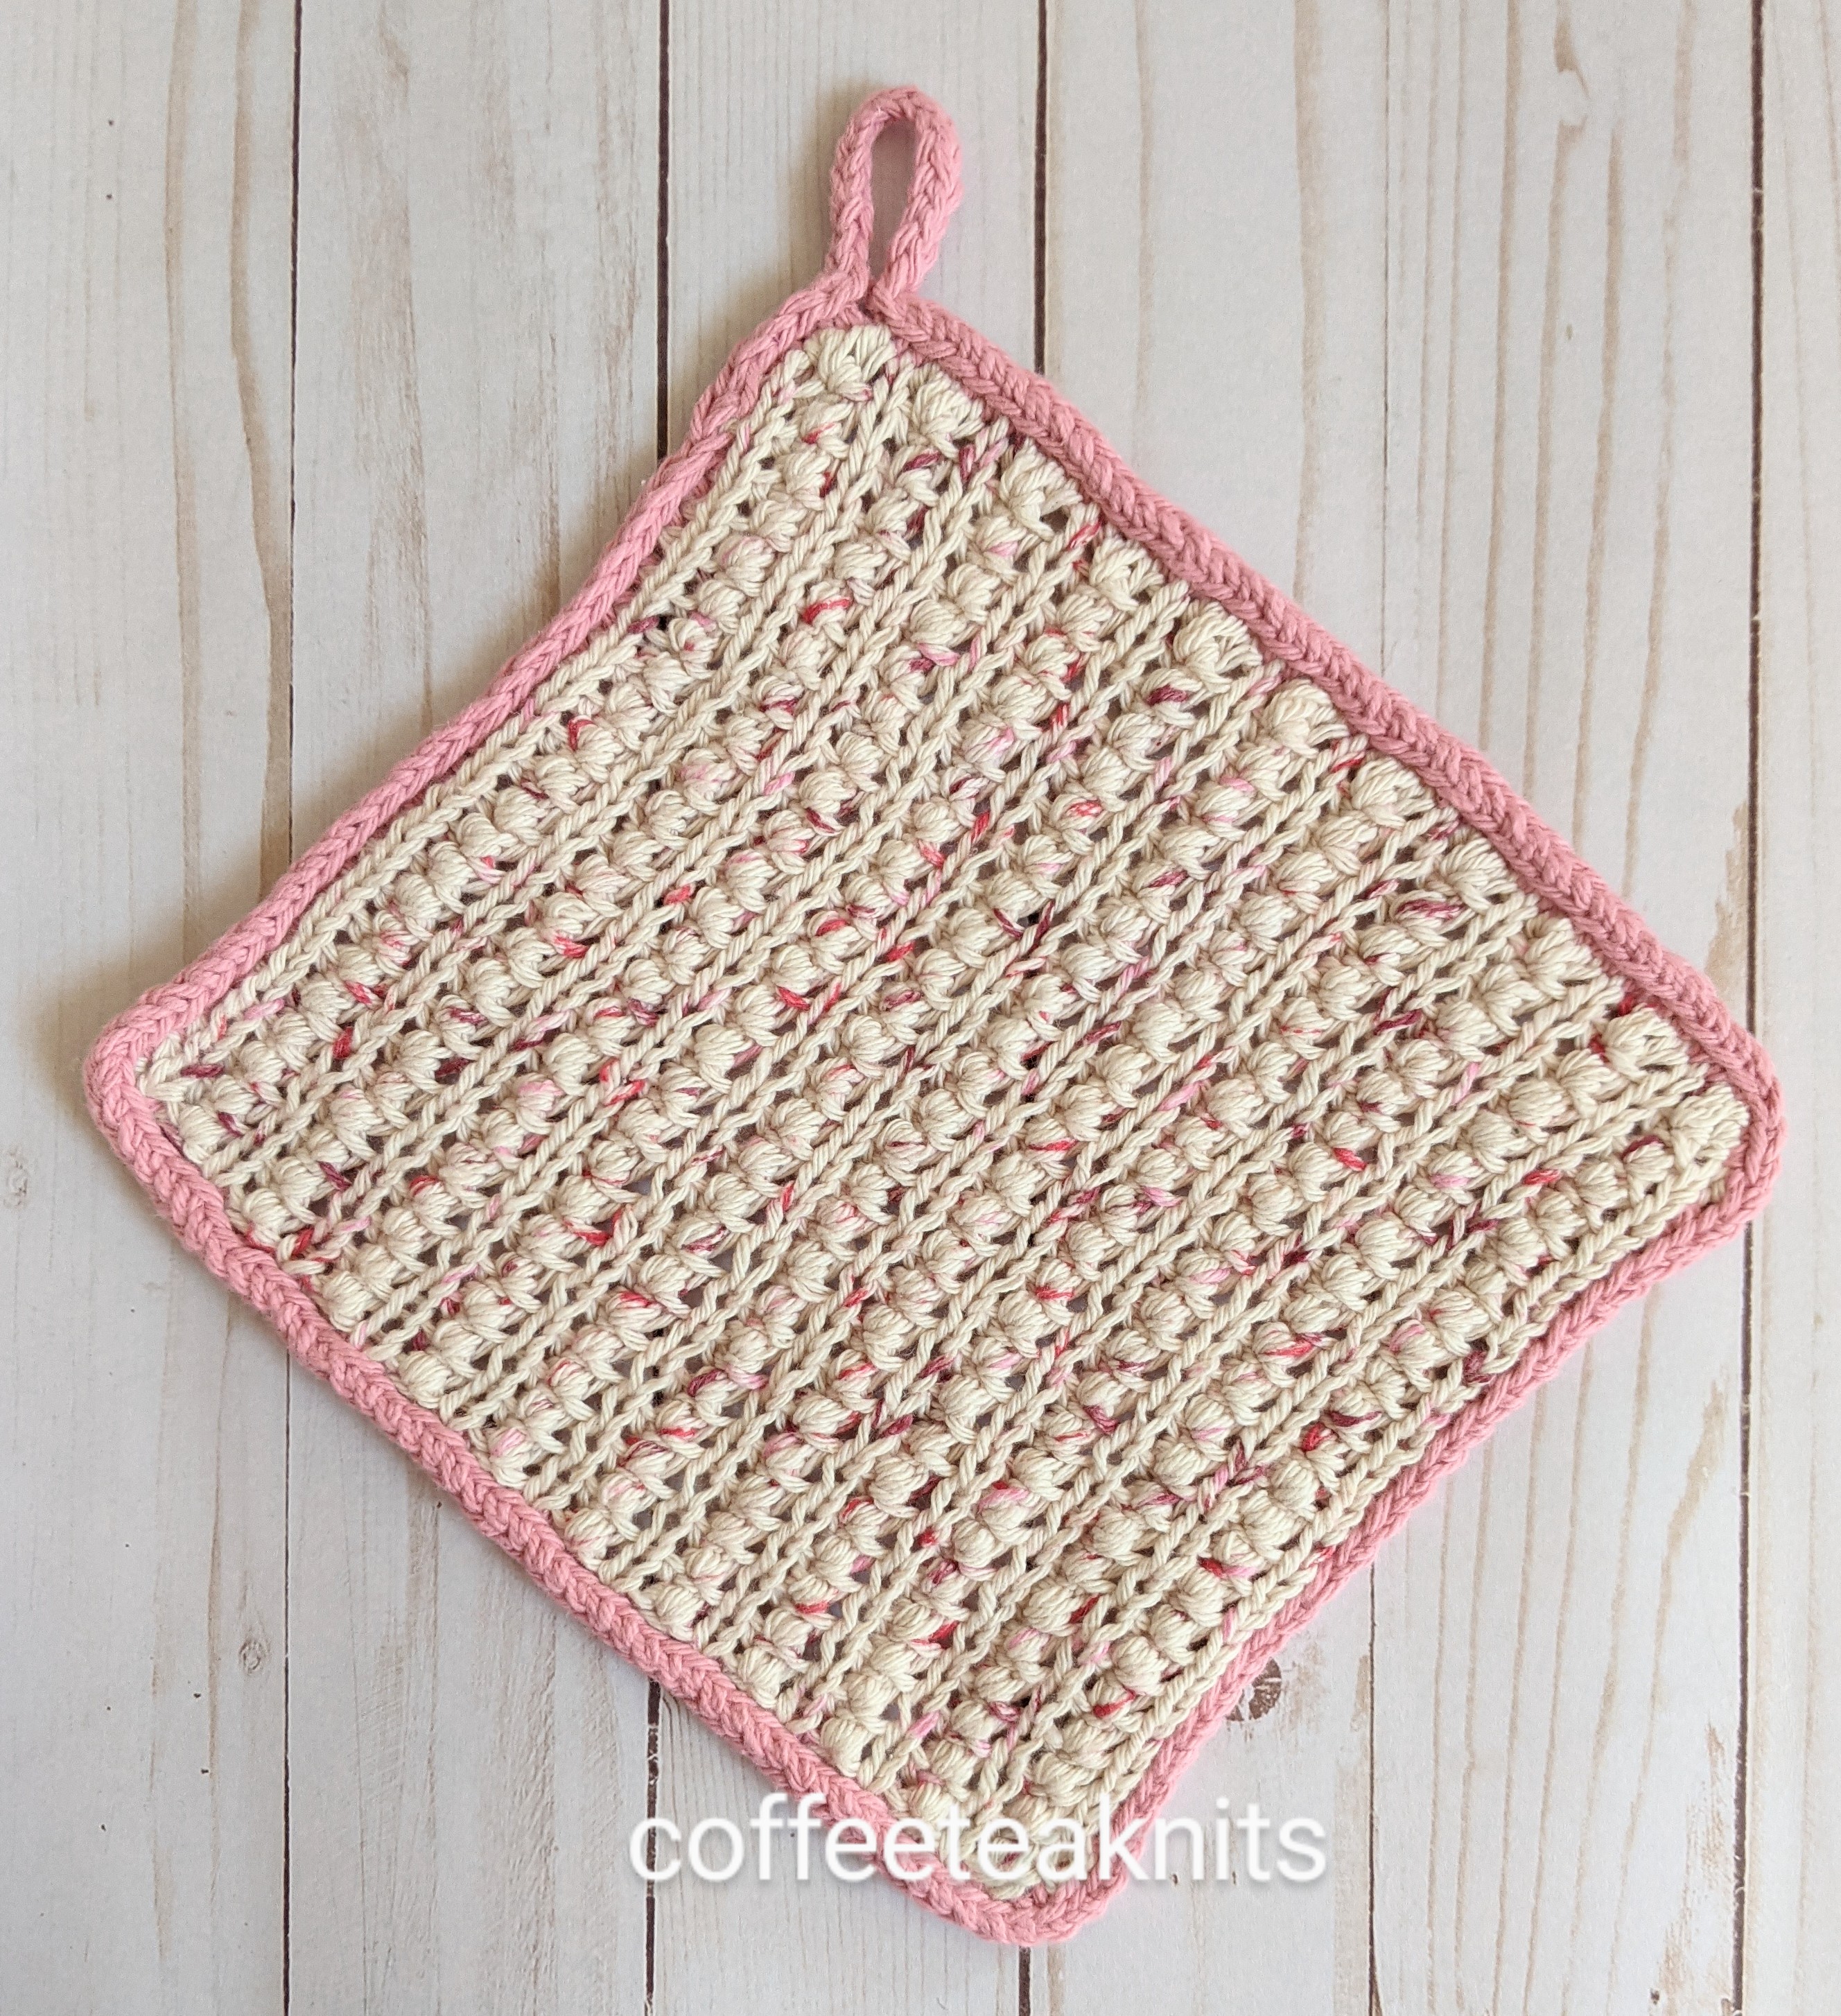
Somehow the birds chirping, the bright blue sky, the showers, warmer days, new leaves on trees and the vibrant Spring flowers refresh and lighten my mood. I get motivated to declutter, clean and of course start new knitting projects appropriate for Spring and Summer. As the weather gets warmer, I start knitting more with cotton yarn. Spring is in the Air Dishcloth reflects this cheerfulness that comes with warm weather. The dishcloth was knit in the linen stitch pattern with two different colors of cotton worsted yarn. It was knit in the round moving towards the center through a series of decreases every other round. The knitting technique for this dishcloth is similar to The Toward Center Mitered Dishcloth but was knit alternating two different colors of the cotton worsted yarn in each round.
Advertisements
Spring Is In The Air Dishcloth Pattern (text and images for personal use only)
PLEASE SUBSCRIBE FOR THE FREE PATTERN. THANK YOU
Subscribe to continue reading
Subscribe to get access to the rest of this post and other subscriber-only content.
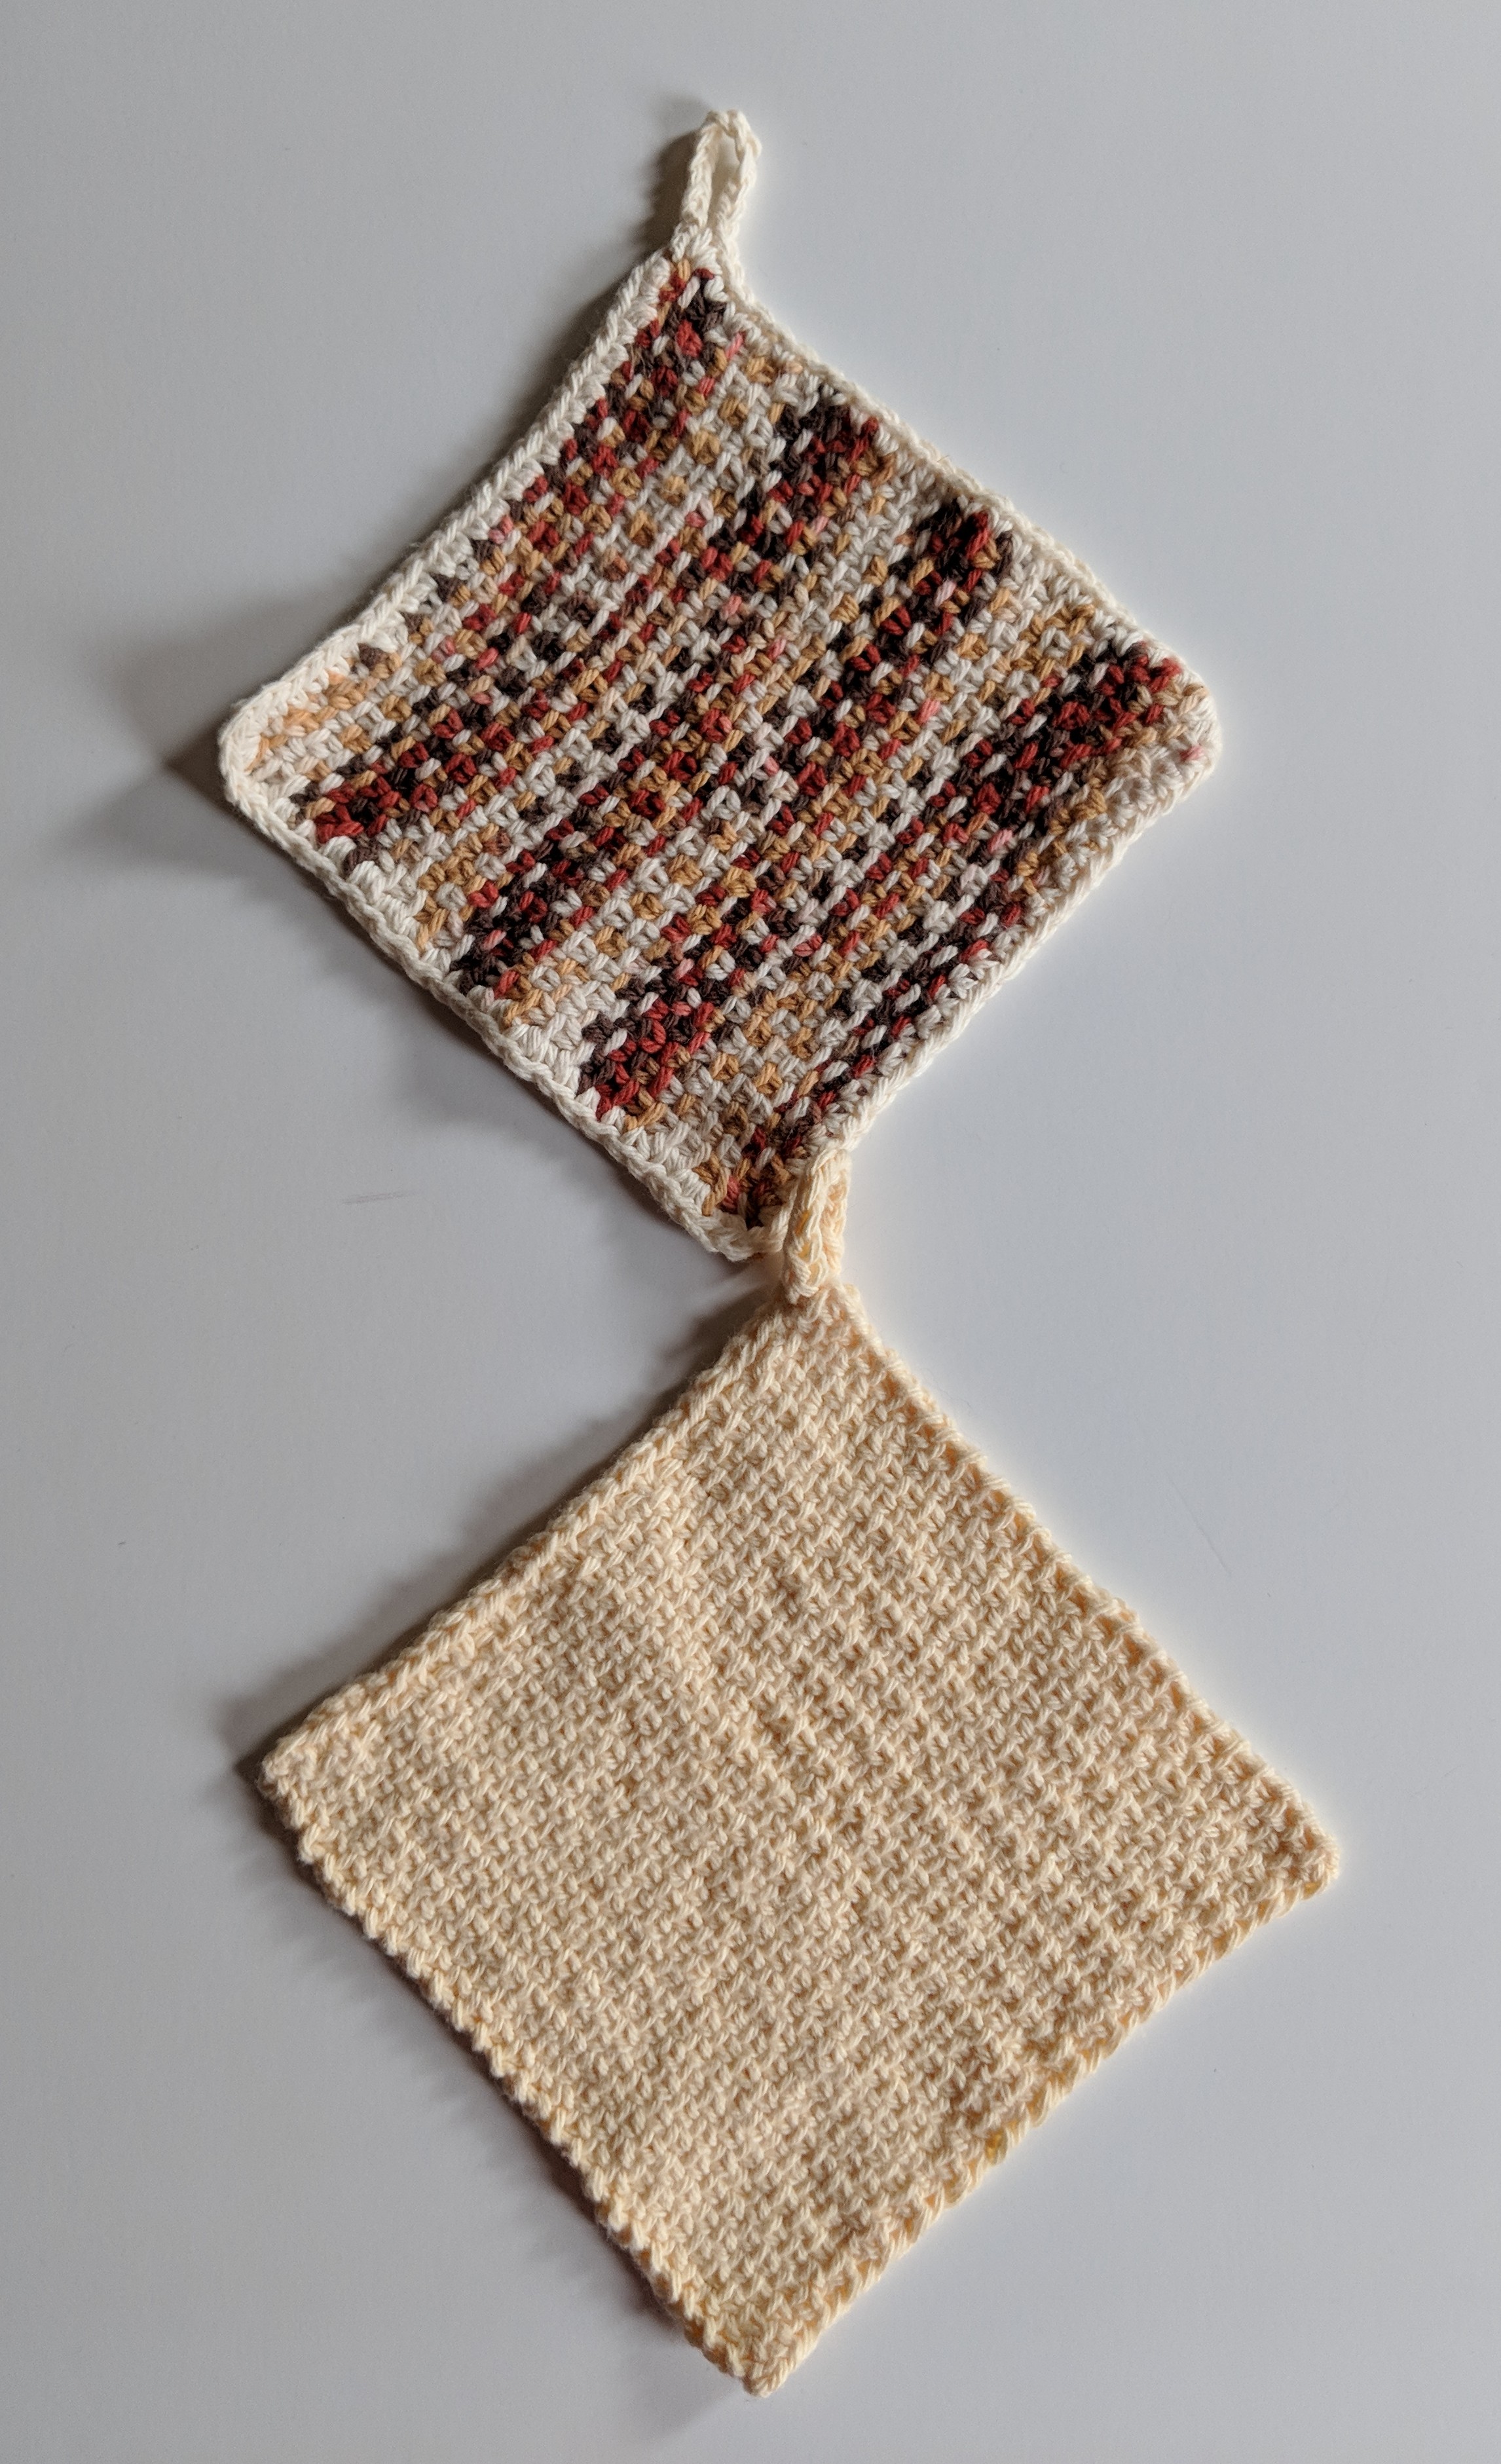
I have wanted to knit the knot stitch pattern ever since I came across it and also because the first post in my previous blogsite was titled “To knit or to knot”. Although this knot stitch pattern is not nålbinding/nålebinding, it is a lovely pattern that I’ve wanted to knit. Being more of a product knitter, a dishcloth with this stitch pattern seemed a perfect project for me to learn more about this knot stitch pattern.
Advertisements
The Knotted Dishcloth Pattern is knit flat with a two row pillared knot stitch pattern. The knots are made by purling, knitting, and then purling the same three stitches together. The edge stitches around the Knotted Dishcloth are picked up with another yarn colorway and bound off using a two stitch I-cord bind off in the round method (several tutorials available on YouTube). I like the crochet look of this stitch pattern and the dense or open lacelike fabric it creates depending on the knitting needle size. Making these knots may cause some hand fatigue if the yarn is held too tightly. By pulling out more yarn while making these knots seemed to reduce some hand fatigue for me.
Advertisements
The Knotted Dishcloth Pattern (text and images for personal use only):
Yarn: Any cotton worsted yarn. I used Premier Home® Cotton Cone Yarn Colorway: Jelly Dots and a solid color for the I-cord edging Knitting Needles: US #7 and US #9 (for cast on and bind off only) Gauge: Not needed for this project
Advertisements
Abbreviations:
K: Knit
P: Purl
*makeknot: Purl three stitches together, then knit the same three stitches together and then purl the three stitches together again
ssk: slip slip knit (slip 2 stitches to right hand needle then insert the left needle in front of the two slipped stitches and knit them together – Tutorial Series: Slip Slip Knit (SSK)
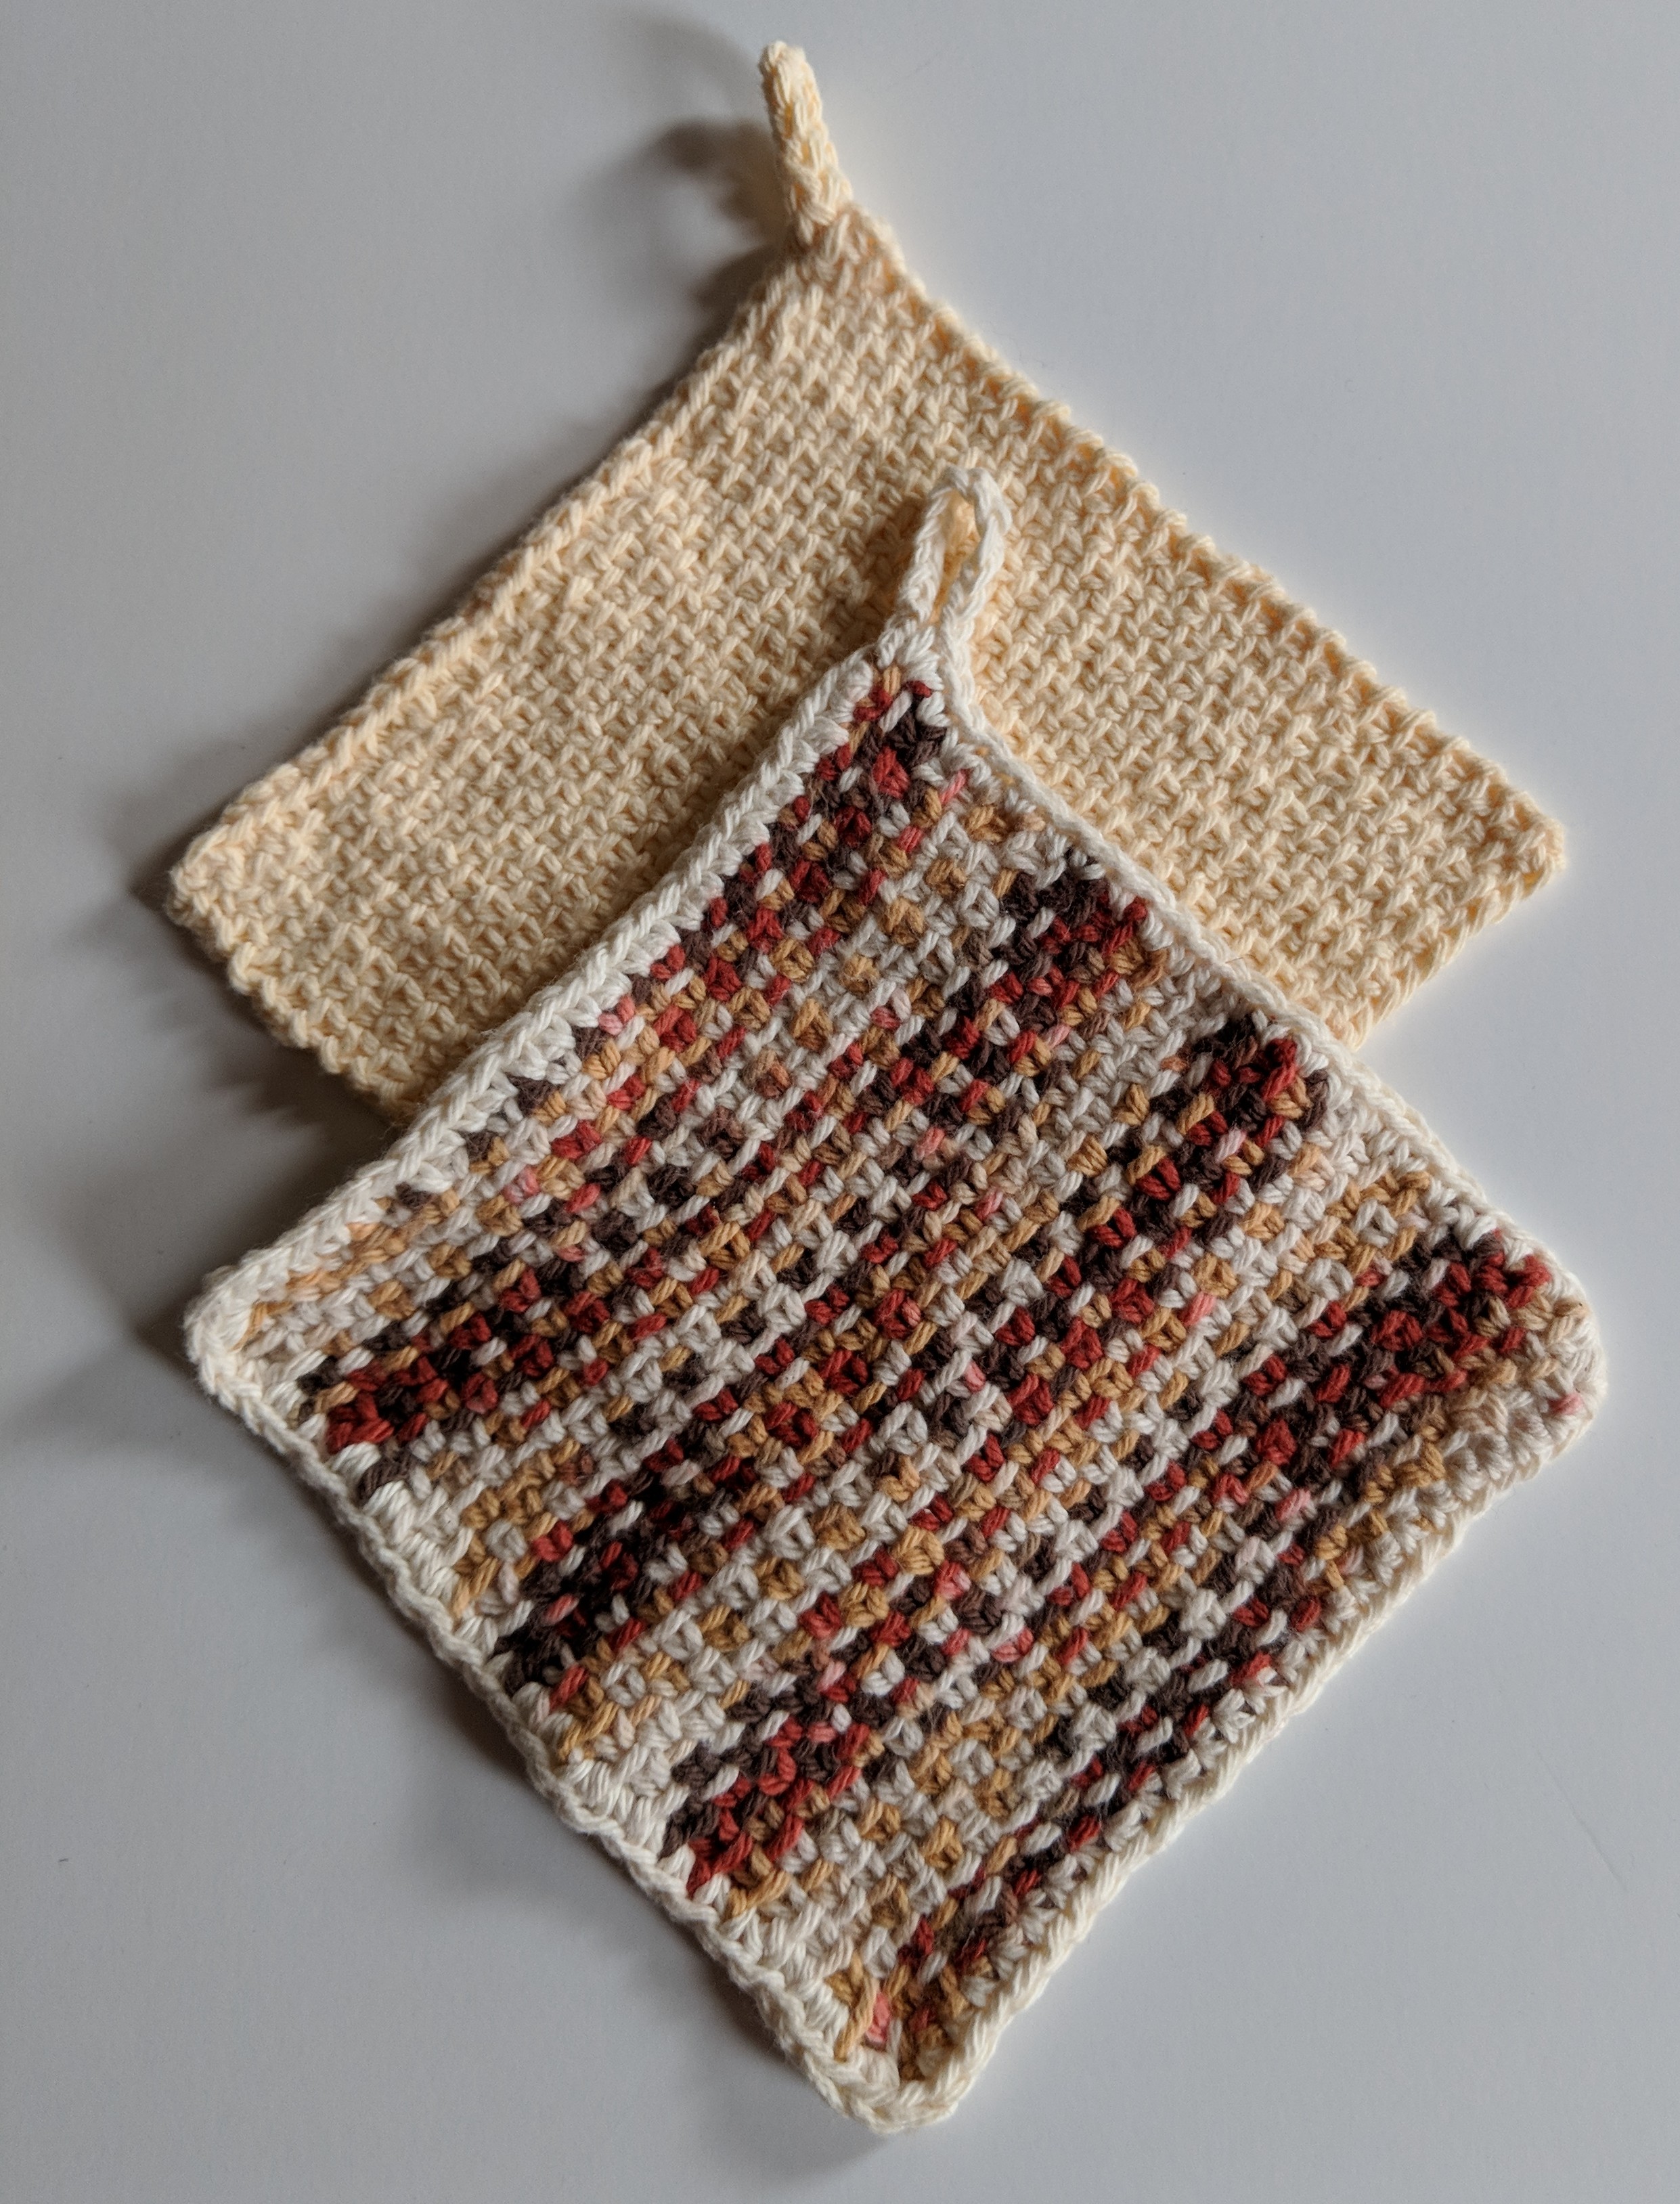
Most summers my sweater knitting with wool or other yarn slows down. I usually weave more or try to knit with cotton yarns during this season. Although this season is more a time for yarn and a loom for me (more details in the next post), I have knitted a few dishcloths including these Summertime Dishcloths. Summertime dishcloths are knit flat from bottom up in a combination of garter stitch and twisted seed stitch pattern.
The Summertime Dishcloths Pattern (text and images for personal use only)
Yarn: Loops & Threads Capri in Apricot colorway for the dishcloth 1 Yarn: Premier Home Cotton in Jelly dots colorway for the dishcloth 2 Knitting Needles: US #8, and US #10 circular needle for the dishcloth 1 Knitting Needles: US #7, and US #9 circular needle for the dishcloth 2 Crochet hook: 4.5 mm for the dishcloth 1; 4.0 mm for the dishcloth 2 Gauge: garter stitch pattern – 18 stitches/ 4 inches for the dishcloth 1; 17 stitches/ 4 inches for the dishcloth 2
Abbreviations:
K: Knit
RS: right side
WS: wrong side
wyif S1: bring working yarn to the front before slipping the next stitch (in this pattern slip the last stitch)
K1B: Knit one stitch below the stitch that is on the left needle
[….]: repeat of stitch pattern within a row
Cast on 31 stitches with US #10 needles for the dishcloth 1 or US #9 for the dishcloth 2. Then with US#8 knitting needles for the dishcloth 1 or with US#7 knitting needles for the dishcloth 2 knit as follows:
Row 1 (WS): Knit all stitches to 1 stitch before last, wyif S1
Row 2 (RS): Knit all stitches to 1 stitch before last, wyif S1
Row 3 (WS): Knit all stitches to 1 stitch before last, wyif S1
Row 4 (RS): Knit all stitches to 1 stitch before last, wyif S1
Row 5 (WS): Knit all stitches to 1 stitch before last, wyif S1
Row 6 (RS): K2, [K1B, K1] till 1 stitch before last, wyif S1
Row 7 (WS): Knit all stitches to 1 stitch before last, wyif S1
Row 8 (RS): K1, K1B, [K1, K1B] till 1 stitch before last, wyif S1
Repeat Rows 1 to 8, 7 more times ending with Row 8
Row (WS): Knit all stitches to 1 stitch before last, wyif S1
Row (RS): Knit all stitches to 1 stitch before last, wyif S1
Row (WS): Knit all stitches to 1 stitch before last, wyif S1
Row (RS): Bind off loosely in knit stitch pattern with a US #10 knitting needle for the dishcloth 1 or US #9 knitting needles for the dishcloth 2
Insert a 4.5 mm crochet hook for the dishcloth 1 (or 4.0 mm crochet hook for the dishcloth 2) in the last remaining stitch and single crochet all around the dishcloth.
(Optional) – For the hanging loop, chain 15 and slip stitch into the next single crocheted stitch on the crocheted border. Finish the dishcloths by washing, blocking and weaving in the ends.
In between large and lingering knitting projects (blankets, sweaters etc.), I find knitting dishcloths both appealing and interesting. I can explore and learn different stitch patterns using a particular knitting technique without spending too much time to finish the project. Dishcloths, of course, are useful to have around the kitchen and they also make great gifts. During one such in between period I knit this seed stitch mitered dishcloth (see a previous blog post “To knit a mitered square” for more information about this knitting technique). Below with photos and text (for personal use only), is the knitting progression of this mitered dishcloth in a seed stitch pattern.
Advertisements
Materials Needed: Yarn: PREMIER HOME® COTTON CONE YARN Colorway: Jelly Dots Knitting Needles: US #10 and US #7 Crochet hook: US size 7 or 4.5 mm crochet hook Gauge: Not needed for this project
Advertisements
Abbreviations:
K: Knit
P: Purl
K2tog: Knit two stitches together
ssk: slip slip knit (slip 2 stitches to right hand needle then insert the left needle in front of the two slipped stitches and knit them together.
rm: remove marker
sm: slip marker
wyif: with yarn in front
RS: right side
WS: wrong side
The Seed Stitch Mitered Dishcloth Pattern (text and images for personal use only)
PLEASE SUBSCRIBE FOR THE FREE PATTERN. THANK YOU
Subscribe to continue reading
Subscribe to get access to the rest of this post and other subscriber-only content.
Knitting or crocheting from the center out has many pros. You start with a few stitches in the center and knit or crochet out in a square, a rectangle or a circle. Once the first few rounds are knitted or crocheted, the rest of the rounds are quite straightforward and easy to do. This technique is a great way to use up leftover yarn from previous knitting or crocheting projects.
I crocheted these dishcloths using the center out crochet moss stitch.
The linen stitch pattern gives the knitted item a flat woven look on one side and a textured look on the other side.
The flat weave side
Textured side of the linen stitch
Why this stitch pattern is fast becoming a new favorite of mine:
Like the garter stitch it lays flat
Dishcloths with linen stitch
Linen stitch dishcloths
By varying the knitting needle sizes, it can be knit tightly without much stretch or elasticity or knit loosely with some elasticity
It creates a dense fabric-like look when knit tightly
It’s a simple 2 rows repeat pattern that can be used to create a plethora of single colored or multicolored knitted items
There’s no purling when knit in the round
Linen stitch hat
Hat with the textured side
This simple yet versatile stitch pattern is also great for leftover yarn from other knitting projects. I know I’ll be knitting quite a few items with this stitch pattern.