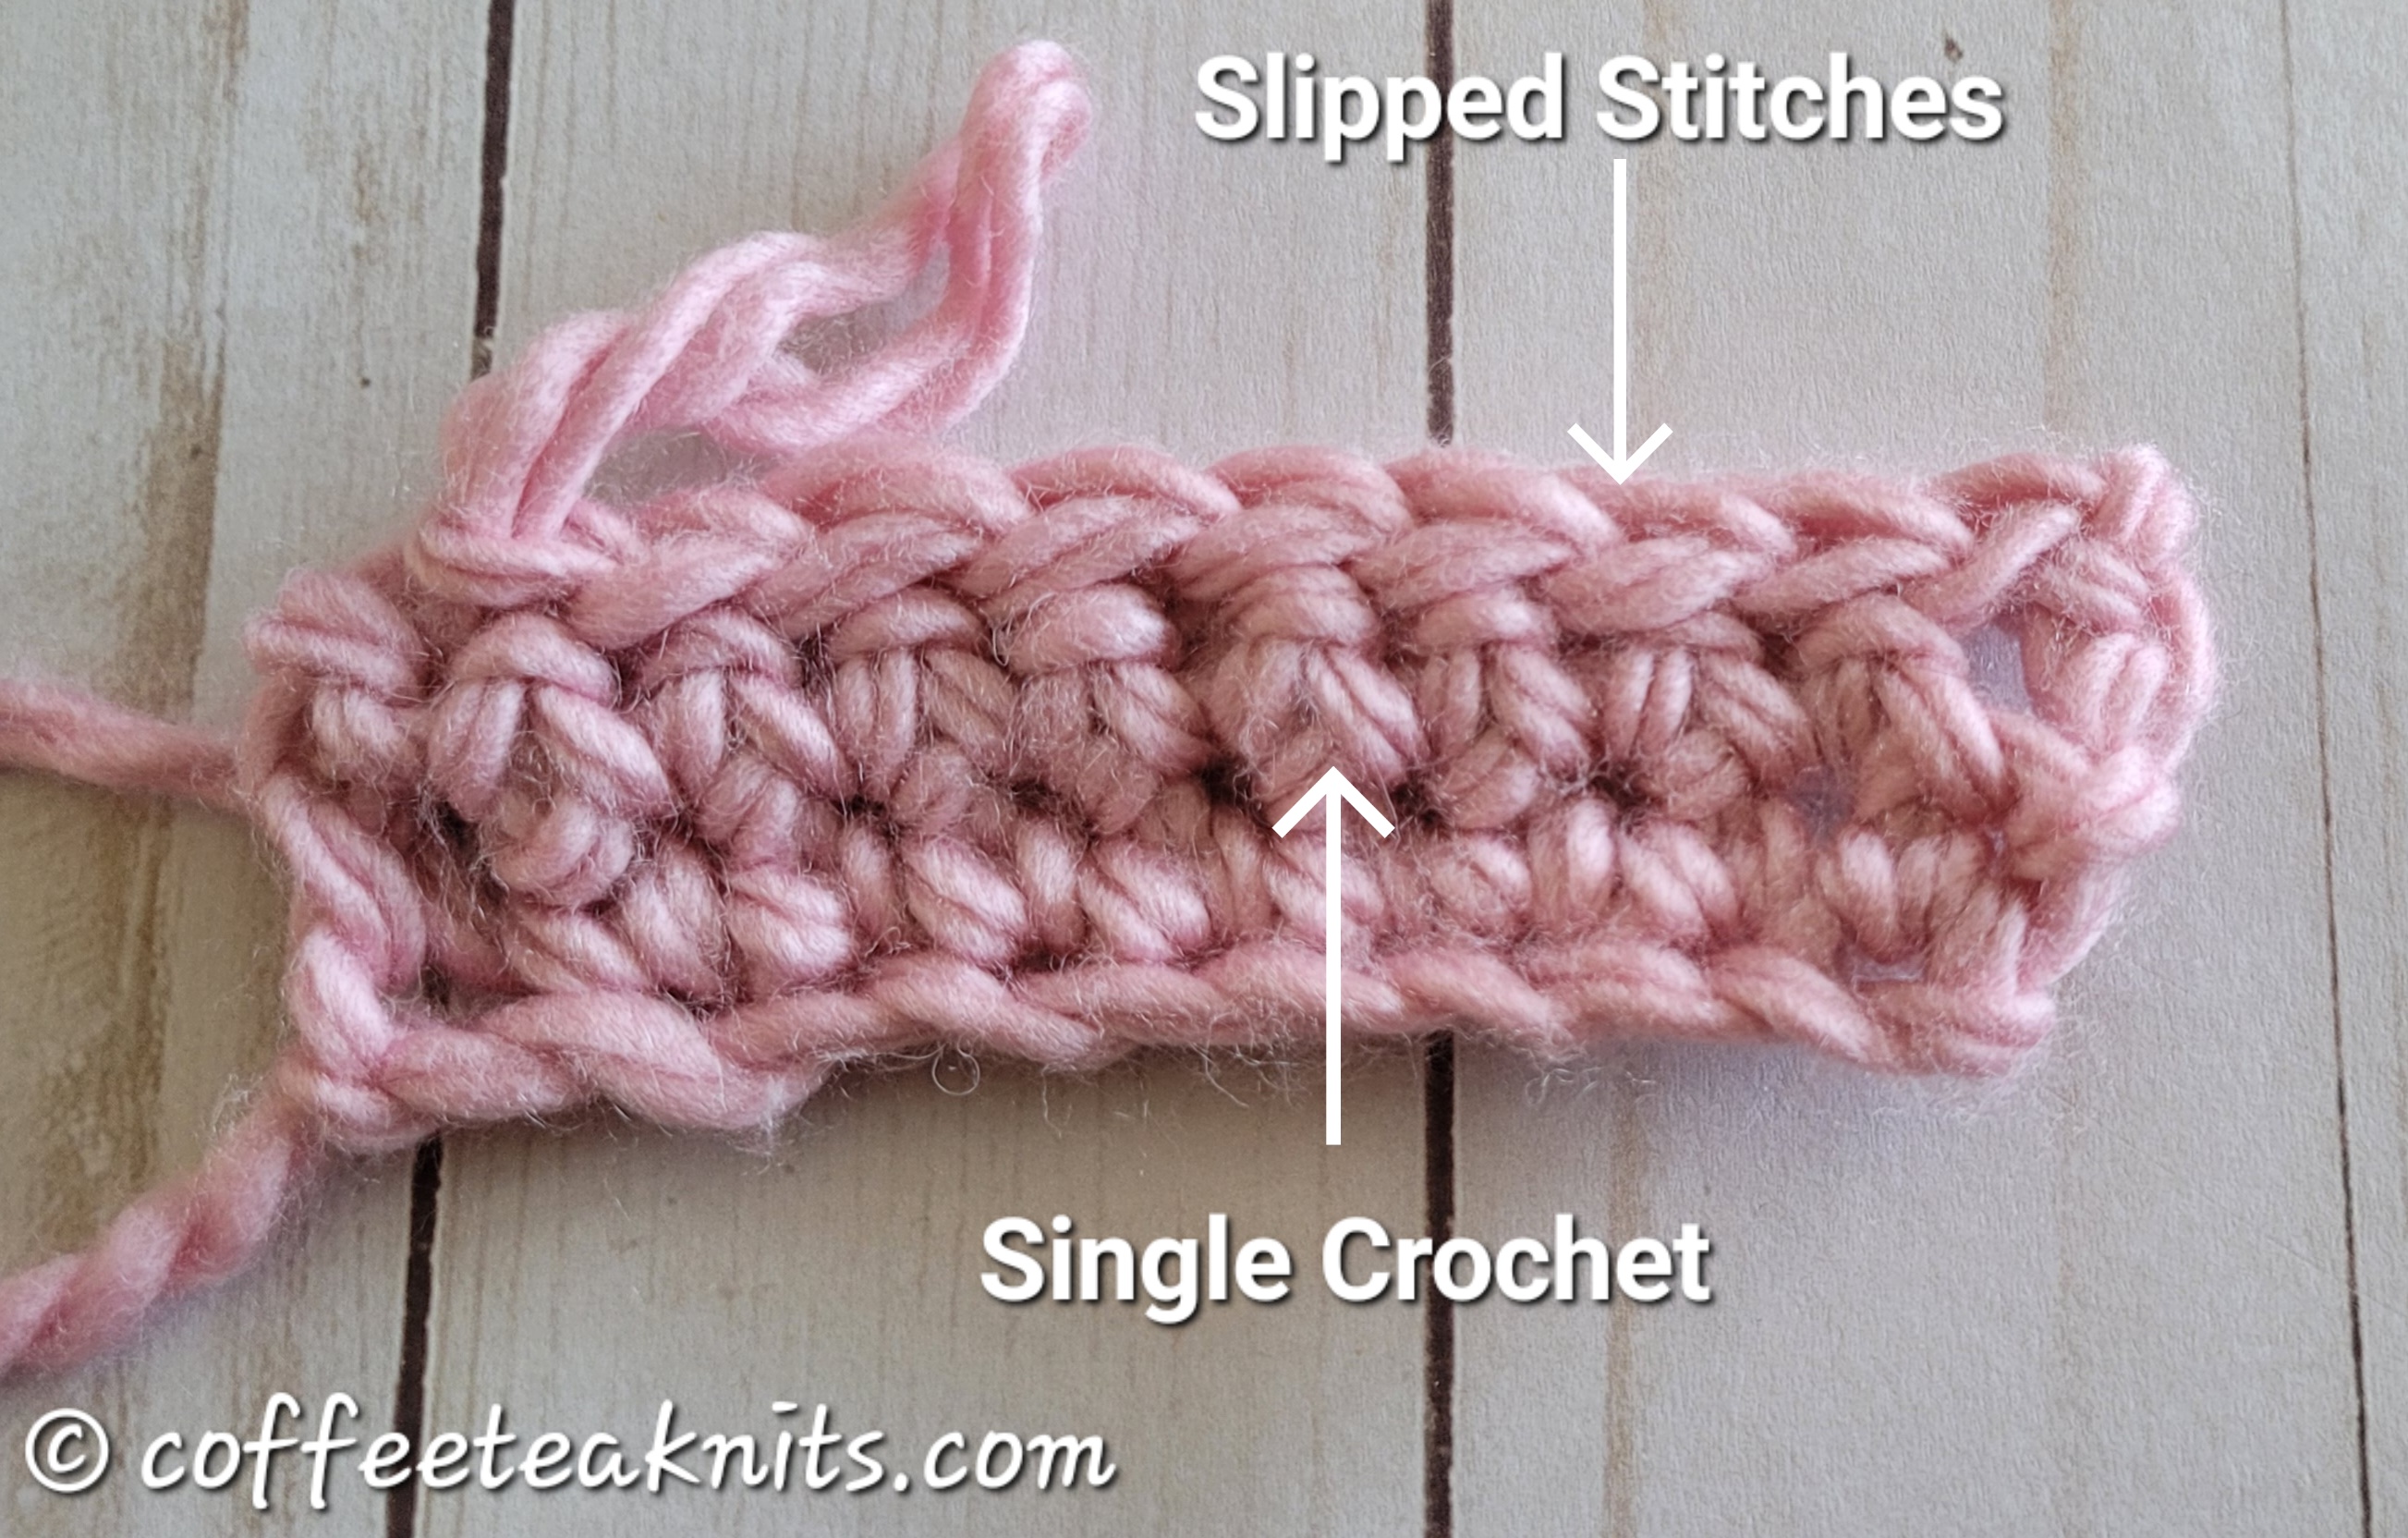
Slip stitches in crochet serve to join rounds, connect pieces, create texture, and form edges, making them an essential technique for any crocheter. The crochet slip stitches are tighter stitches that create a dense fabric, providing not only durability but also a polished finish to your projects. In the crochet slip stitch technique, there is no row height increase, allowing for a seamless transition between different sections of your work. In the single crochet slip stitch, a new loop is created with the working yarn that is then slipped through the loop on the crochet hook, effectively allowing you to move through your pattern without adding bulk. The slip stitch technique is useful in enhancing the overall structure and aesthetics of the crocheted item.
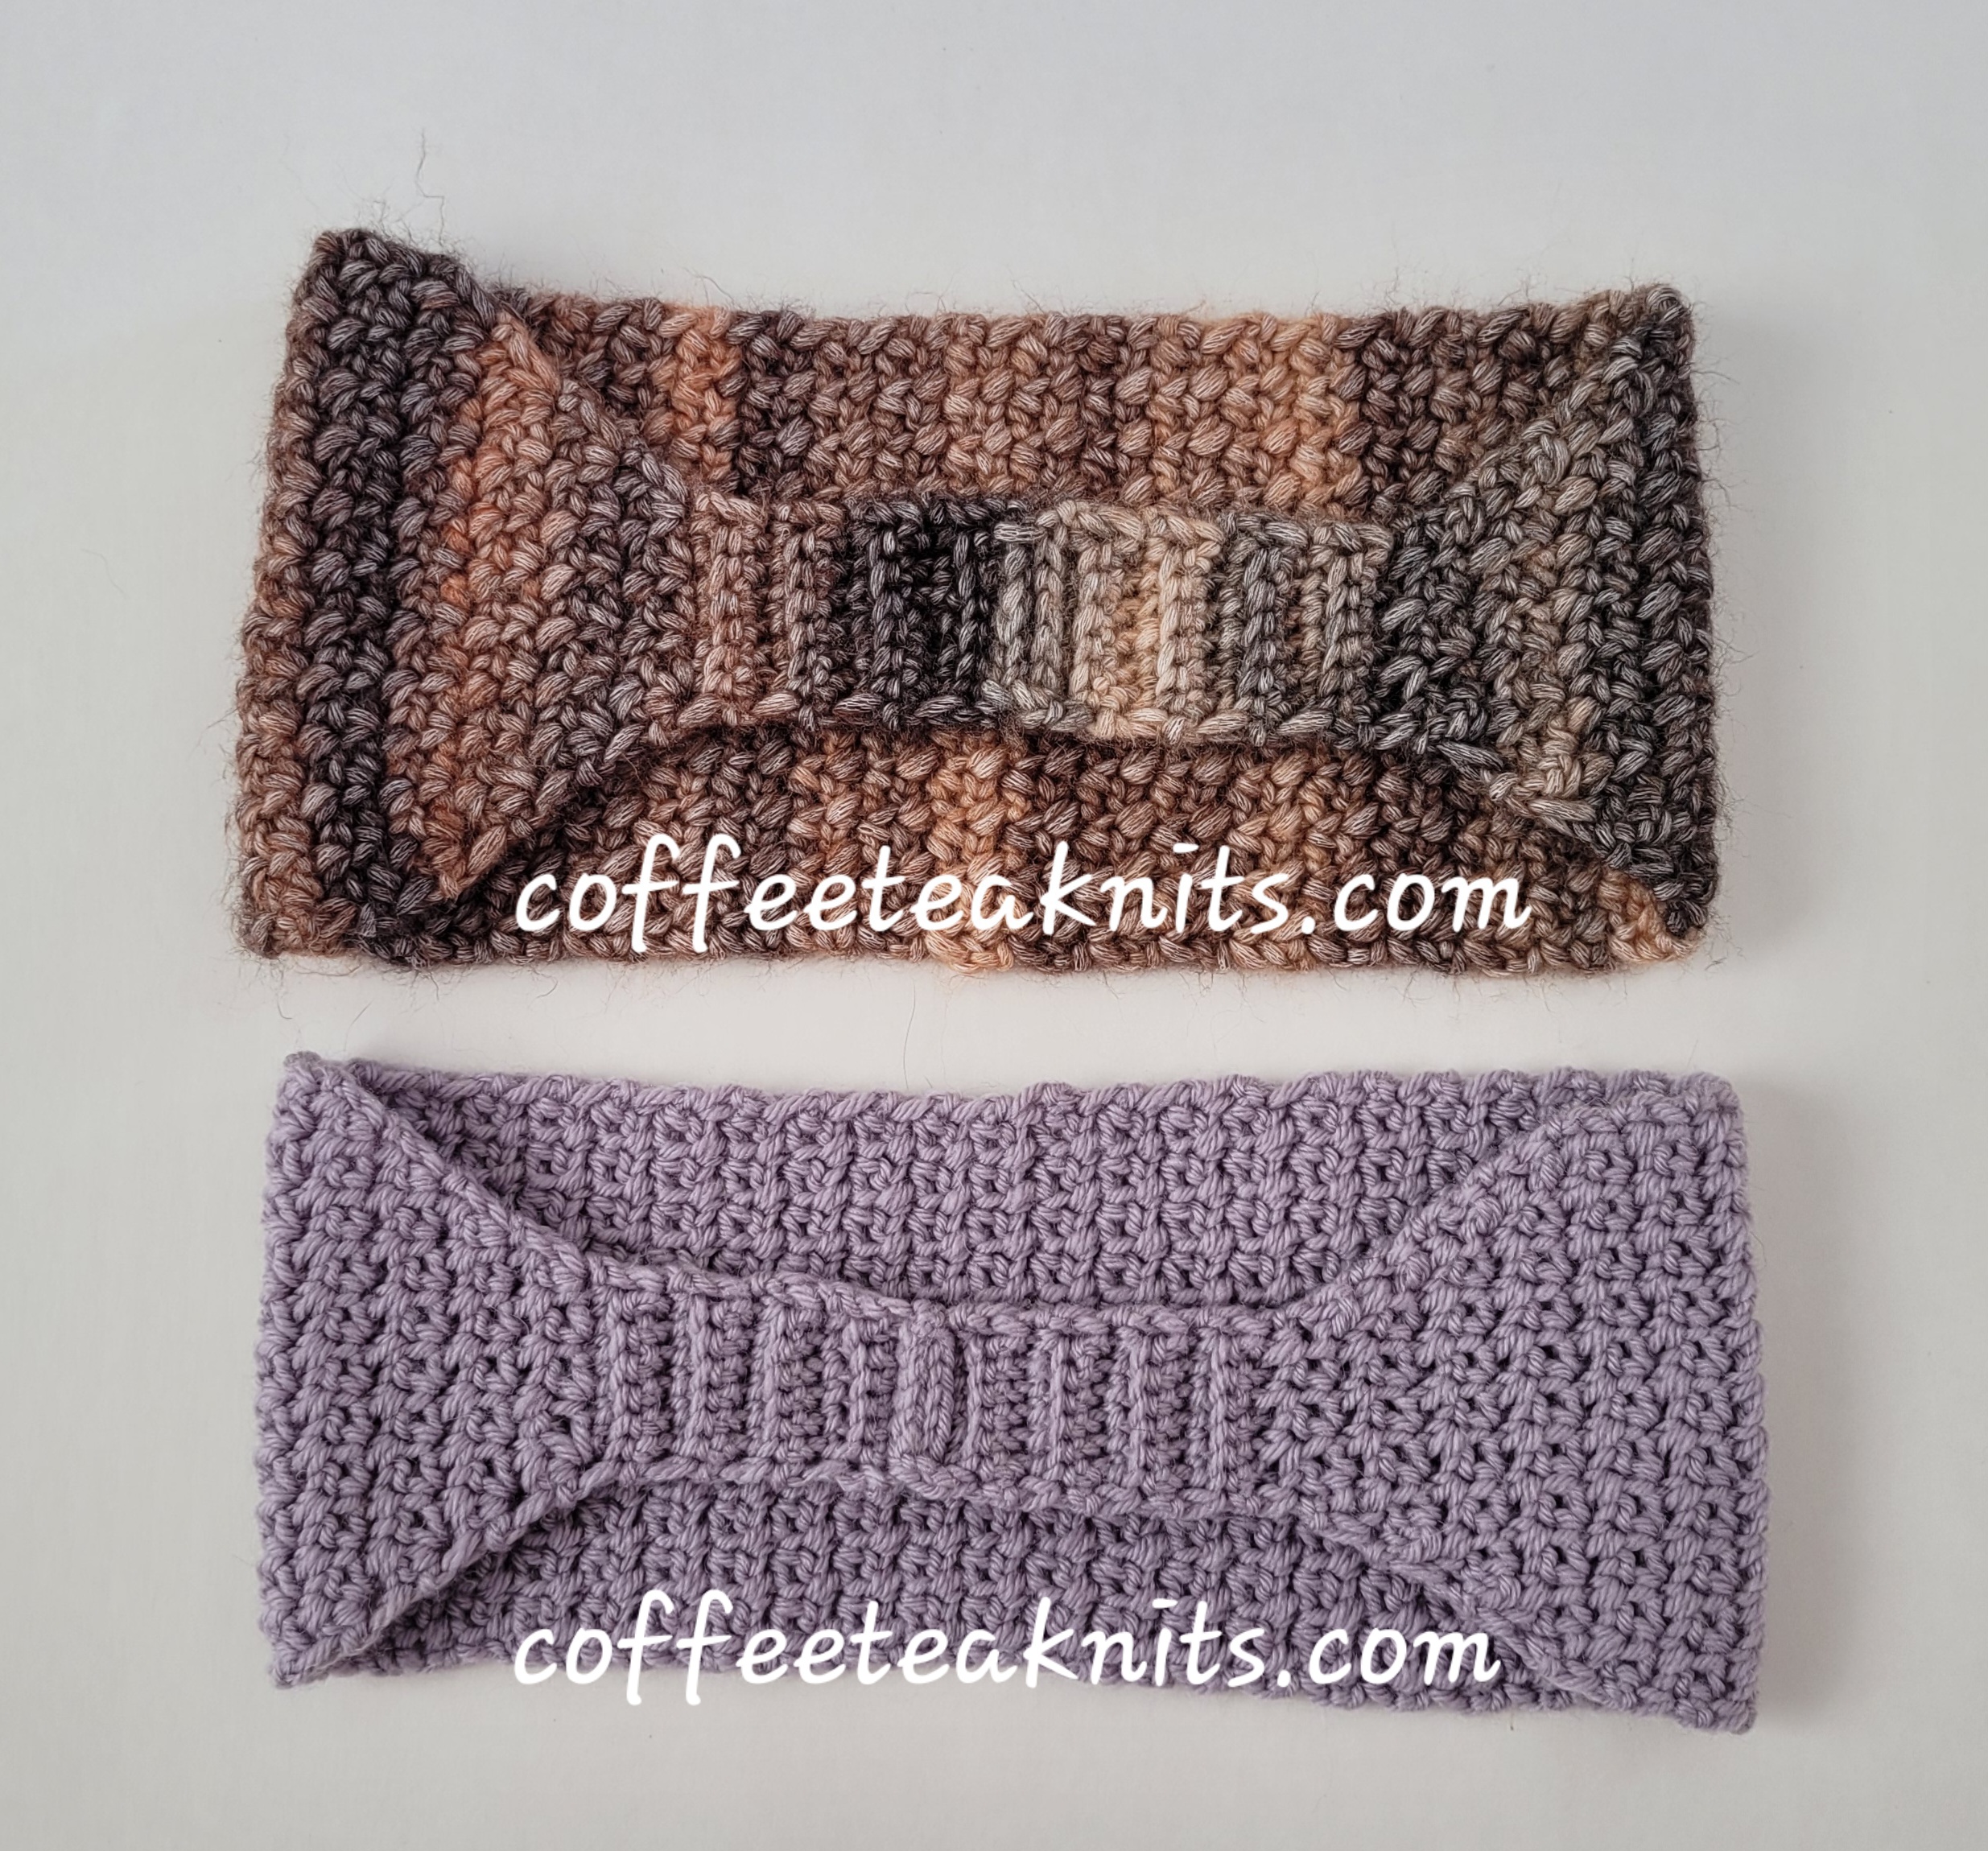
I have used crochet slip stitches as a decorative edging in “The With a Twist Dishcloth“, “The Speckles Dishcloth“, and “The Dotted Dishcloth“. The crochet zigzag slip stitch has been used to join together the “Winterland Cowl“, the “Four Seasons Blanket“, and the “Waiting Season Cowl“.
The video and written steps below on how to use the Crochet Slip Stitch technique in a single crochet stitch pattern are shown below for right-handed crocheters.
How to Crochet Slip Stitch:
Written Steps on How to Crochet Slip Stitch:
- Insert crochet hook under both strands into the next stitch as if to single crochet (Tutorial Series: How to Single Crochet)
- Catch the working yarn with the hook and pull the loop under and through both the strands of the next stitch
- Pull the same loop through the loop on the crochet hook
- Repeat Steps 1 to 3 until the end of the row for the crochet slip stitch
~coffeeteaknits.com
© Coffee Tea Knits. All text and images for personal use only. All Rights Reserved.