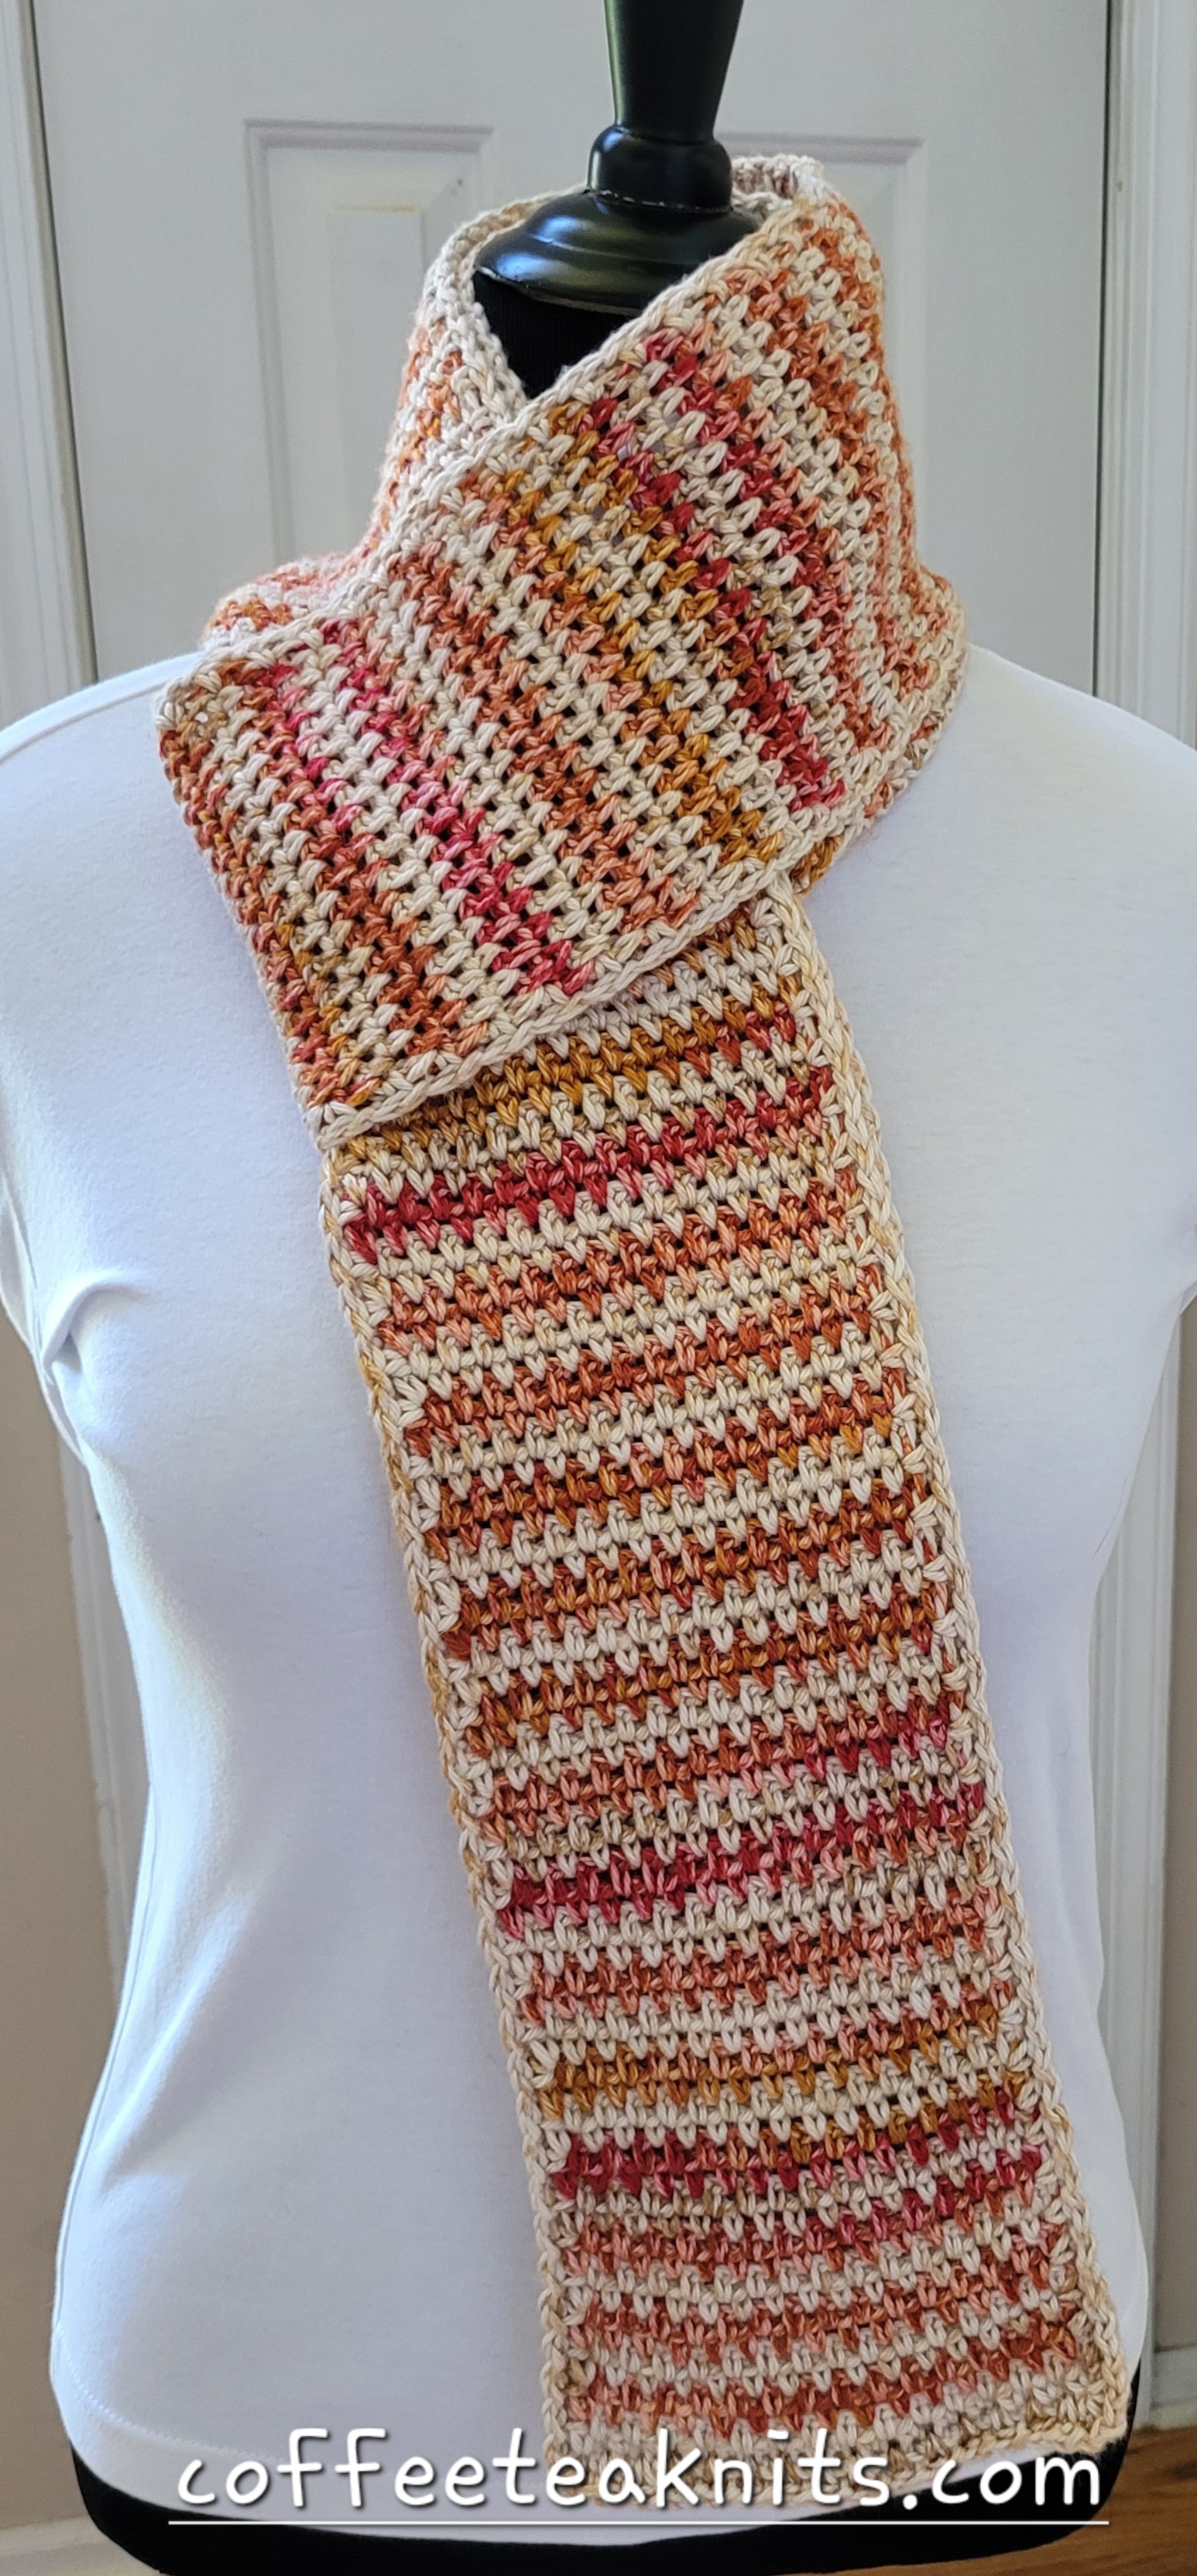
The Silver Clusters Baby Blanket is crocheted using a variation of the crochet moss stitch (see image below). The baby blanket is then finished with a crochet moss stitch border. The variation of the crochet moss stitch pattern forms clusters adding texture to the design. This stitch pattern is simple, making it a satisfying beginner friendly project that does not take long to finish. The repetitive nature of this variation of the crochet moss stitch is quite meditative and relaxing. Plus, the worsted weight cotton blend yarn used makes the blanket suitable for babies and can be used year-round.
The Crochet Moss Stitch versus the Variation Crochet Moss Stitch:
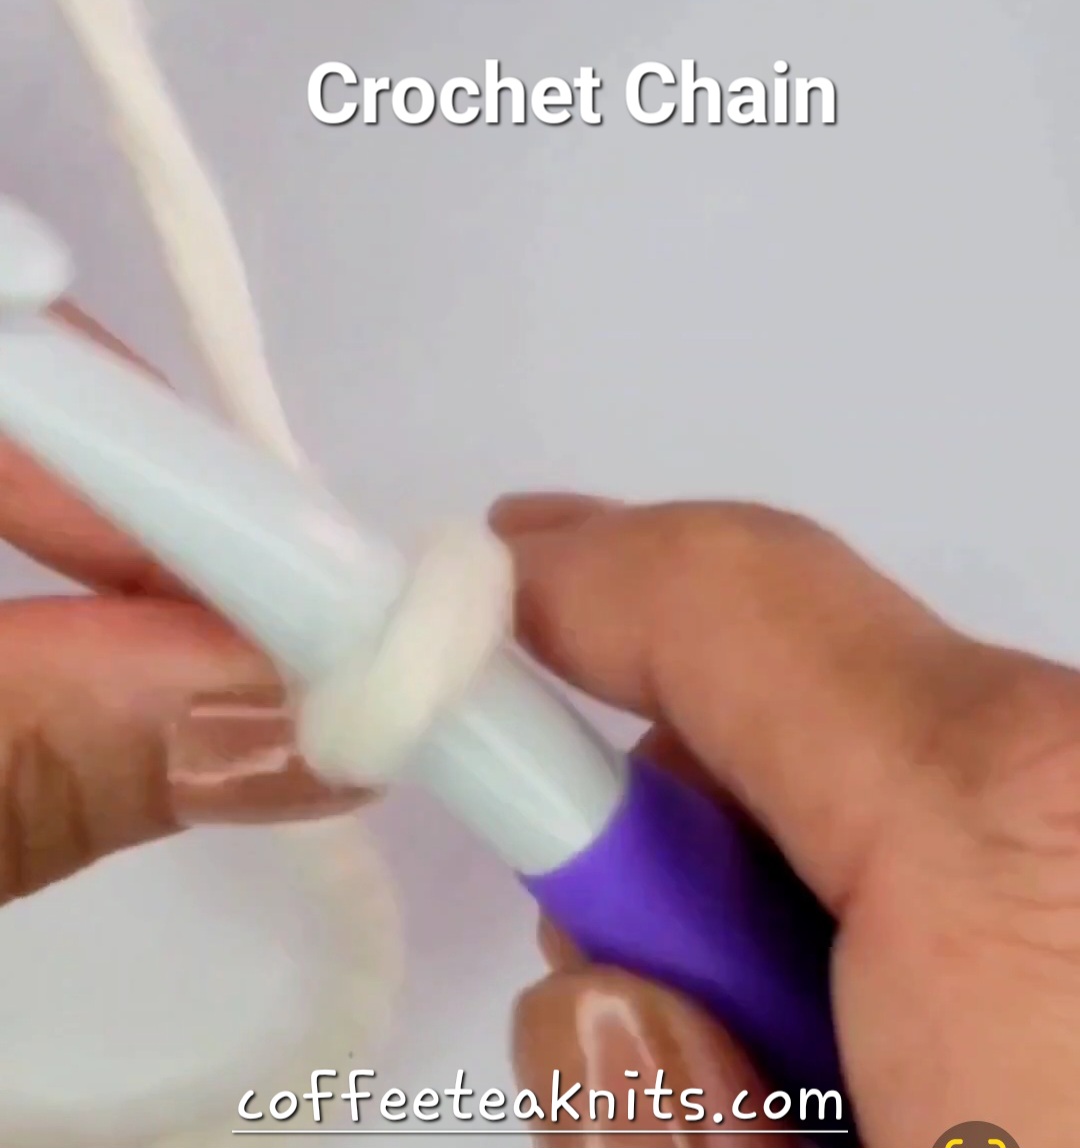
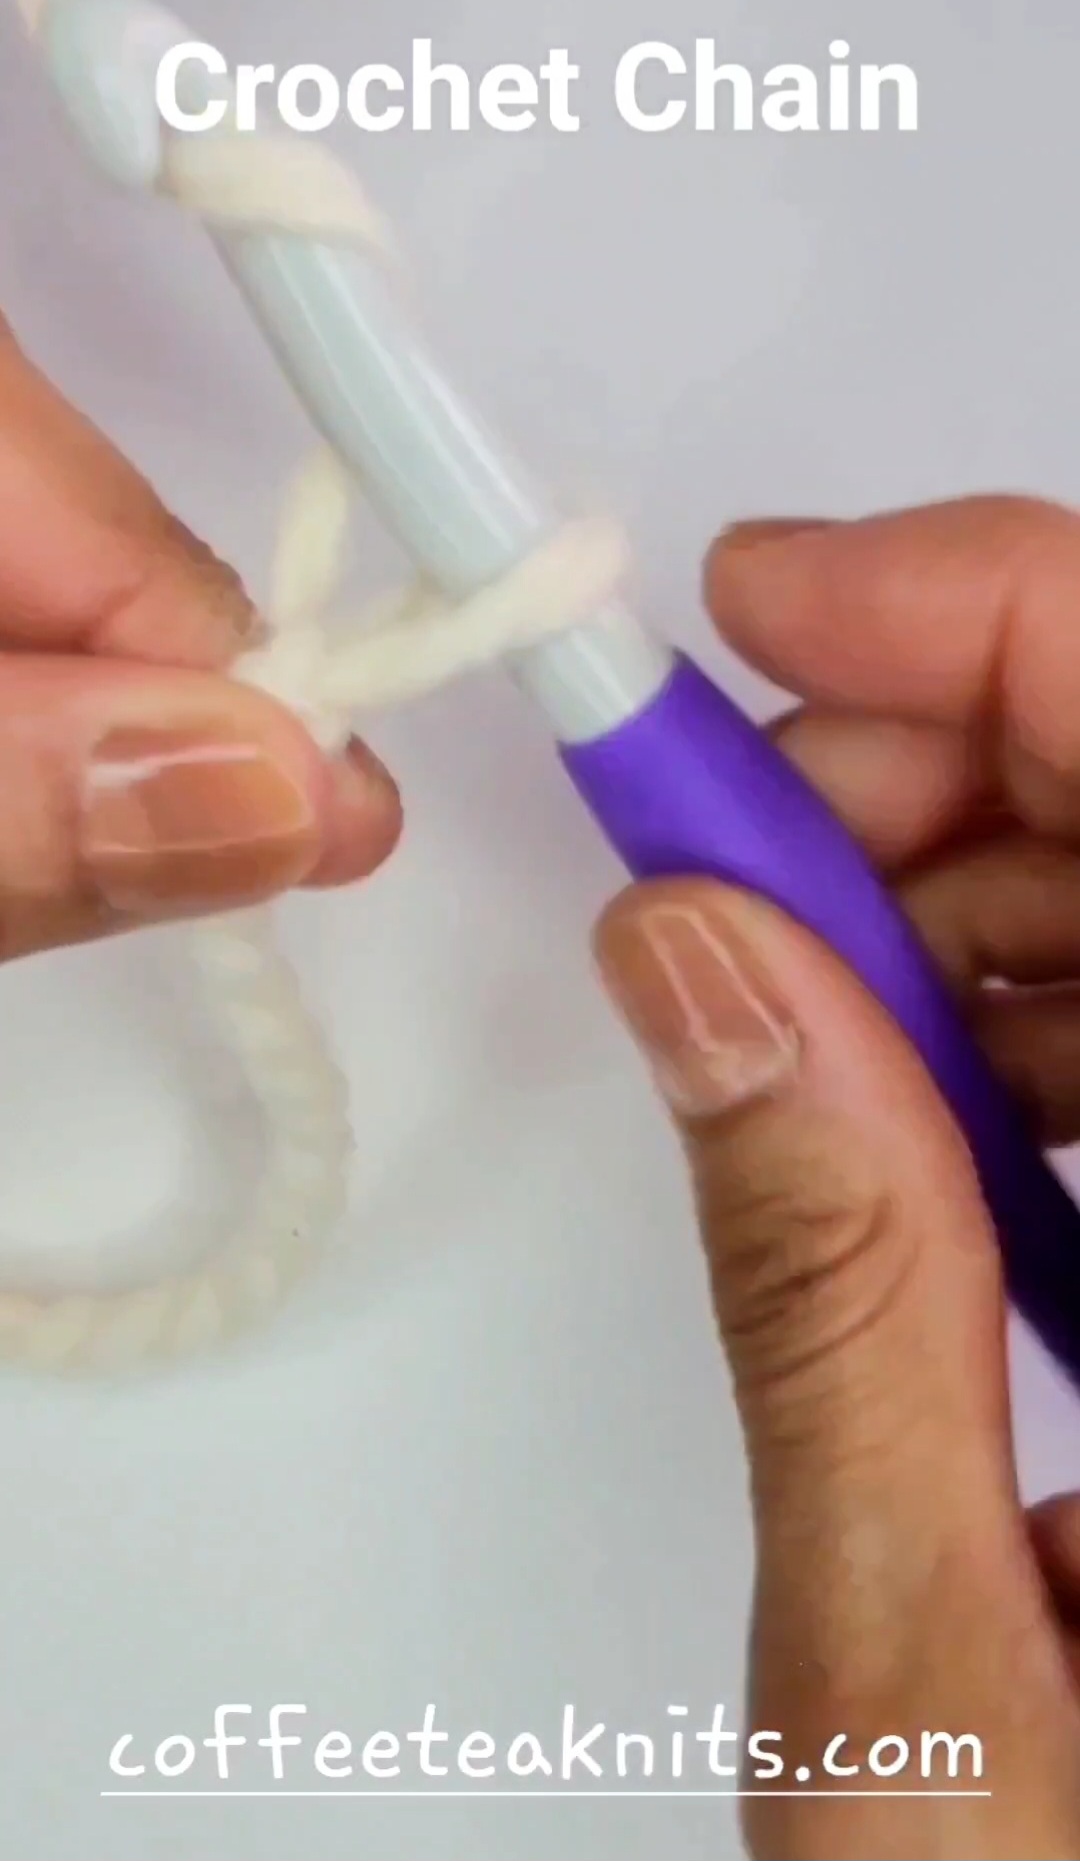
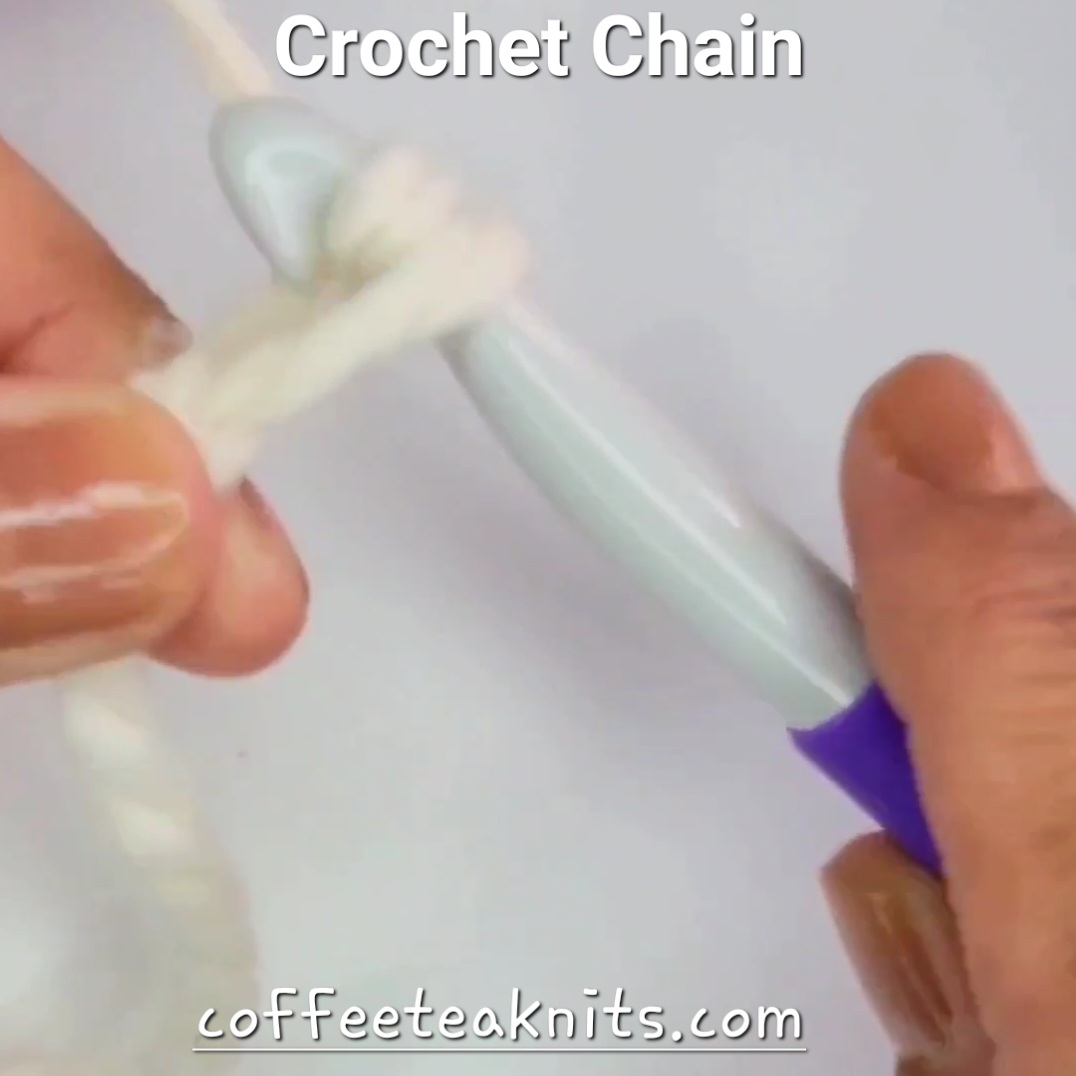
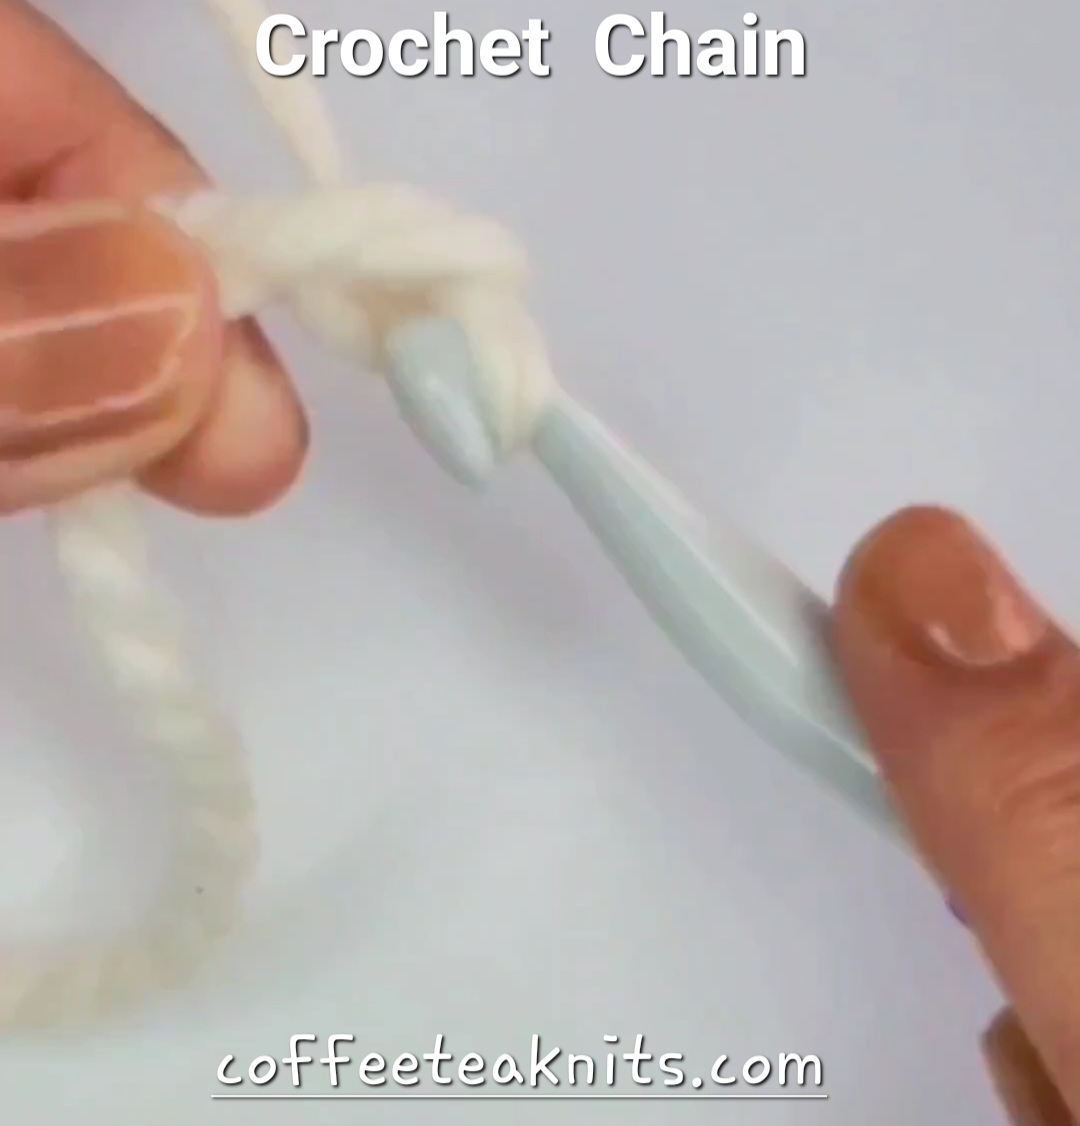
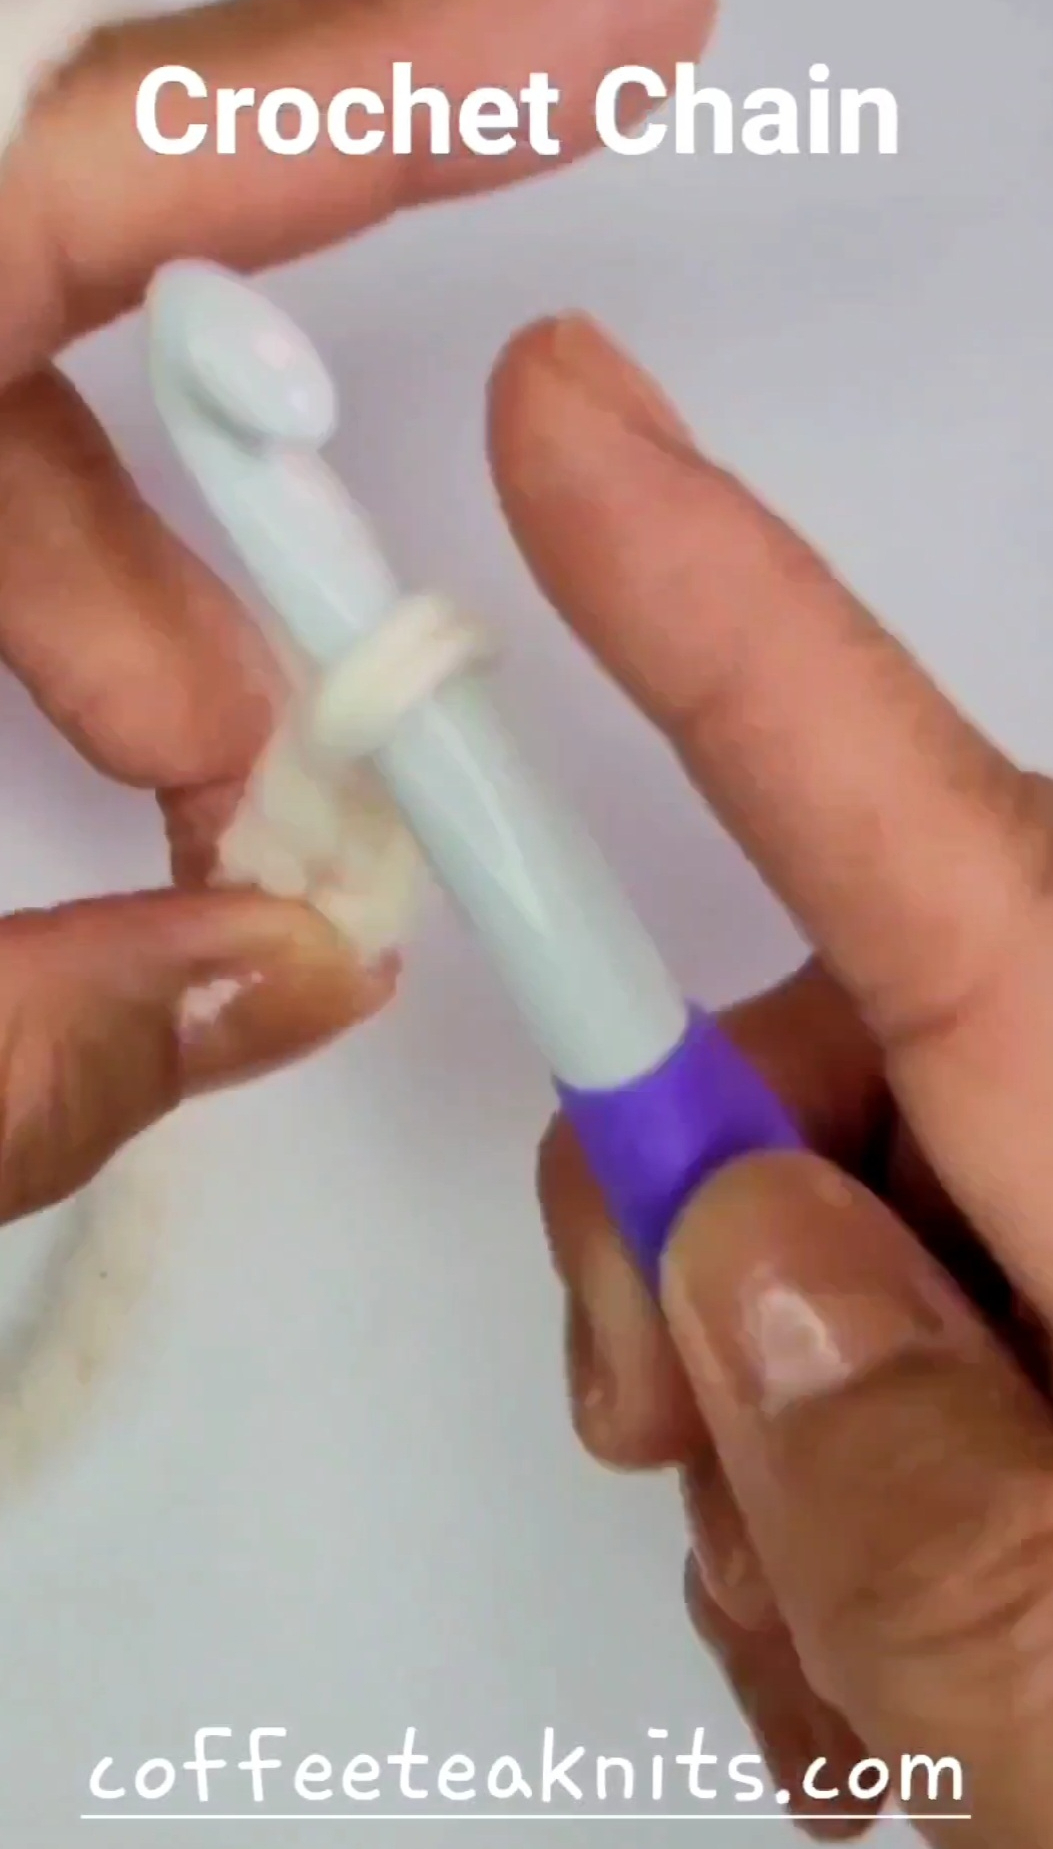
For the crochet moss stitch, the crochet hook is inserted in the chain 1 space to make a single crochet. In the moss stitch variation pattern, the crochet hook is inserted in the center (the V) of the stitch to make a single crochet.

The Silver Clusters Baby Blanket Pattern (text and images for personal use only)
PLEASE SUBSCRIBE FOR THE FREE PATTERN. THANK YOU

Subscribe to continue reading
Subscribe to get access to the rest of this post and other subscriber-only content.