It’s been five years since the March 2020 post “When life gave me yarn“. At that time a stay at home order was in place for a couple of weeks due to the coronavirus.
What yarn meant to me then:
March 2020
When life gave me yarn, I became an avid knitter.
I started a knitting blog and embarked on a journey paved with intricate designs, colors, and textures.
Thoughts of becoming a fiber artist crossed my path several times.
On this path I also picked up the yarn related crafts of crocheting and weaving.
All throughout the journey recurring dreams of someday designing my own yarn related items beckoned me towards more and more yarn.
Now, despite my efforts to the contrary, the yarn in my life keeps growing and growing.
So, tell me my friends, is this yarn in my life just a temporary haven or is the yarn calling me?
coffeeteaknits.com
I started a knitting blog and embarked on a journey paved with intricate designs, colors, and textures.
Thoughts of becoming a fiber artist crossed my path several times.
On this path I also picked up the yarn related crafts of crocheting and weaving.
All throughout the journey recurring dreams of someday designing my own yarn related items beckoned me towards more and more yarn.
Now, despite my efforts to the contrary, the yarn in my life keeps growing and growing.
So, tell me my friends, is this yarn in my life just a temporary haven or is the yarn calling me?
And what yarn is to me now:
July 2025
When life gave me yarn, I became an avid knitter and crocheter.
On this journey paved with intricate designs and texture, I discovered the strength of prayer and manifestation.
The meditative rhythm of fiber related crafts soothed me during coronovirus pandemic and health issues.
While on this path I became immersed in creating video tutorials.
Recurring dreams of someday designing my own yarn related items led to publishing fifty two patterns and more yarn.
Now, I’m grateful for the abundance of yarn in my life.
So, tell me my friends, is this yarn in my life here to stay? If so, I must answer.
coffeeteaknits.com
On this journey paved with intricate designs and texture, I discovered the strength of prayer and manifestation.
The meditative rhythm of fiber related crafts soothed me during coronovirus pandemic and health issues.
While on this path I became immersed in creating video tutorials.
Recurring dreams of someday designing my own yarn related items led to publishing fifty two patterns and more yarn.
Now, I’m grateful for the abundance of yarn in my life.
So, tell me my friends, is this yarn in my life here to stay? If so, I must answer.
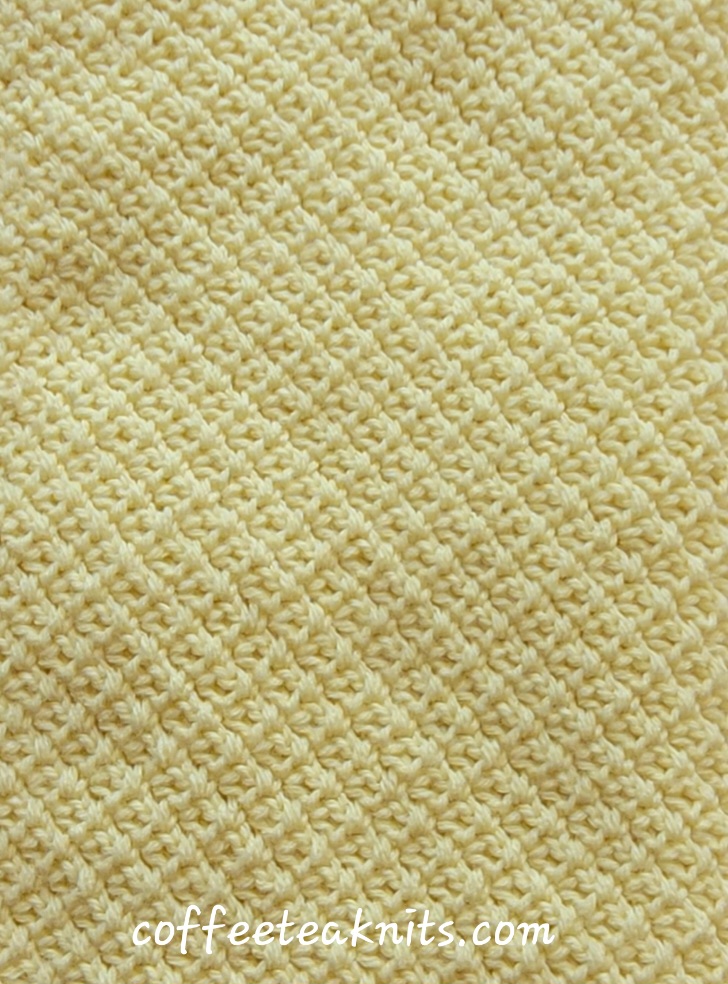
The image in the background above is a cloth I wove using the rigid heddle loom. The yarn Home Cotton® Cone Select Colors in Vineyard Dots colorway for the warp and Jelly Dots colorway for the weft.

Thank you to the fiber related crafts community, subscribers and readers of this blog for your feedback and encouragement all along my journey with yarn.
~coffeeteaknits.com
© Coffee Tea Knits. All text and images for personal use only. All Rights Reserved.