Tutorial Series: Slip Slip Knit (SSK)

Another way to decrease a stitch in knitting is to do a “Slip Slip Knit (SSK)”. In SSK, a stitch is decreased when two stitches are slipped and then knit together through the back loop. Decreasing stitches like increasing stitches are techniques in knitting used to give shape to knitted items. Unlike K2tog (Tutorial Series: K2tog and P2tog) technique which forms a right-leaning decrease, SSK technique forms a left-leaning decrease. The written instructions and video below show how to decrease one stitch for right handed knitting.

Advertisements

Slip Slip Knit (SSK):

Advertisements


The Steps for Slip Slip Knit (SSK):

  1. Slip the first two stitches knitwise (one at a time) on the left knitting needle to the right knitting needle
  2. Transfer the two slipped stitches (one at a time) now on the right knitting needle back to the left knitting needle
  3. Insert the right knitting needle through the back loop of those two slipped stitches on the left knitting needle
  4. Knit (Tutorial Series: Knit and Tink) the two stitches together through the back loop (one stitch decreased)
  5. Repeat steps 1 to 4 as needed for a knitting pattern

~coffeeteaknits.com

Tutorial Series: The Provisional Cast-On Method

The provisional cast-on is a temporary cast on method. With this technique, the “live” stitches on the waste yarn are picked up later. They are then knit in the opposite direction. A common way to make a provisional cast on is to make a crochet chain from waste yarn first. Then, with the project yarn, make stitches using the purl bumps of the crochet chain. Later, remove the crochet chain waste yarn by picking up the “live” stitches and knitting them in the opposite direction. For example, I use provisional cast on to start a top down sweater. Once the body of the sweater is finished, I pick up the “live” stitches. Then, I knit the collar in the opposite direction. There are several different kinds of knitting projects that use the provisional cast on method. The written instructions and video on how to do the provisional cast on is shown below for right handed knitting.

Advertisements

The Provisional Cast-On Method:

Advertisements


The Provisional Cast-On Stitches:

Advertisements


The Steps for the Provisional Cast-On Method:

  1. Using a waste yarn (or a yarn different from the knitting project yarn), make a crochet chain (Tutorial Series: How to Crochet Chain) with the number of stitches specific for a project
  2. [Tip: chain a few extra stitches than needed for the project]
  3. Turn the crochet chain so that the purl bumps are facing you (image below)
  4. Insert a knitting needle into the purl bump (image below)
  5. Make a loop with the project yarn and slide it onto the knitting needle
  6. Tighten and secure the project (working) yarn as needed
  7. Bring the project yarn loop through the purl bump and onto the needle
  8. Insert the knitting needle into the next purl bump
  9. Bring the project (working) yarn around the knitting needle (counterclockwise), catch and pull the yarn loop through the purl bump and onto the needle
  10. Repeat Steps 8 and 9 till you have all the stitches needed for a knitting project
Advertisements

~coffeeteaknits.com

The Light Unexpected Find Wrap Pattern


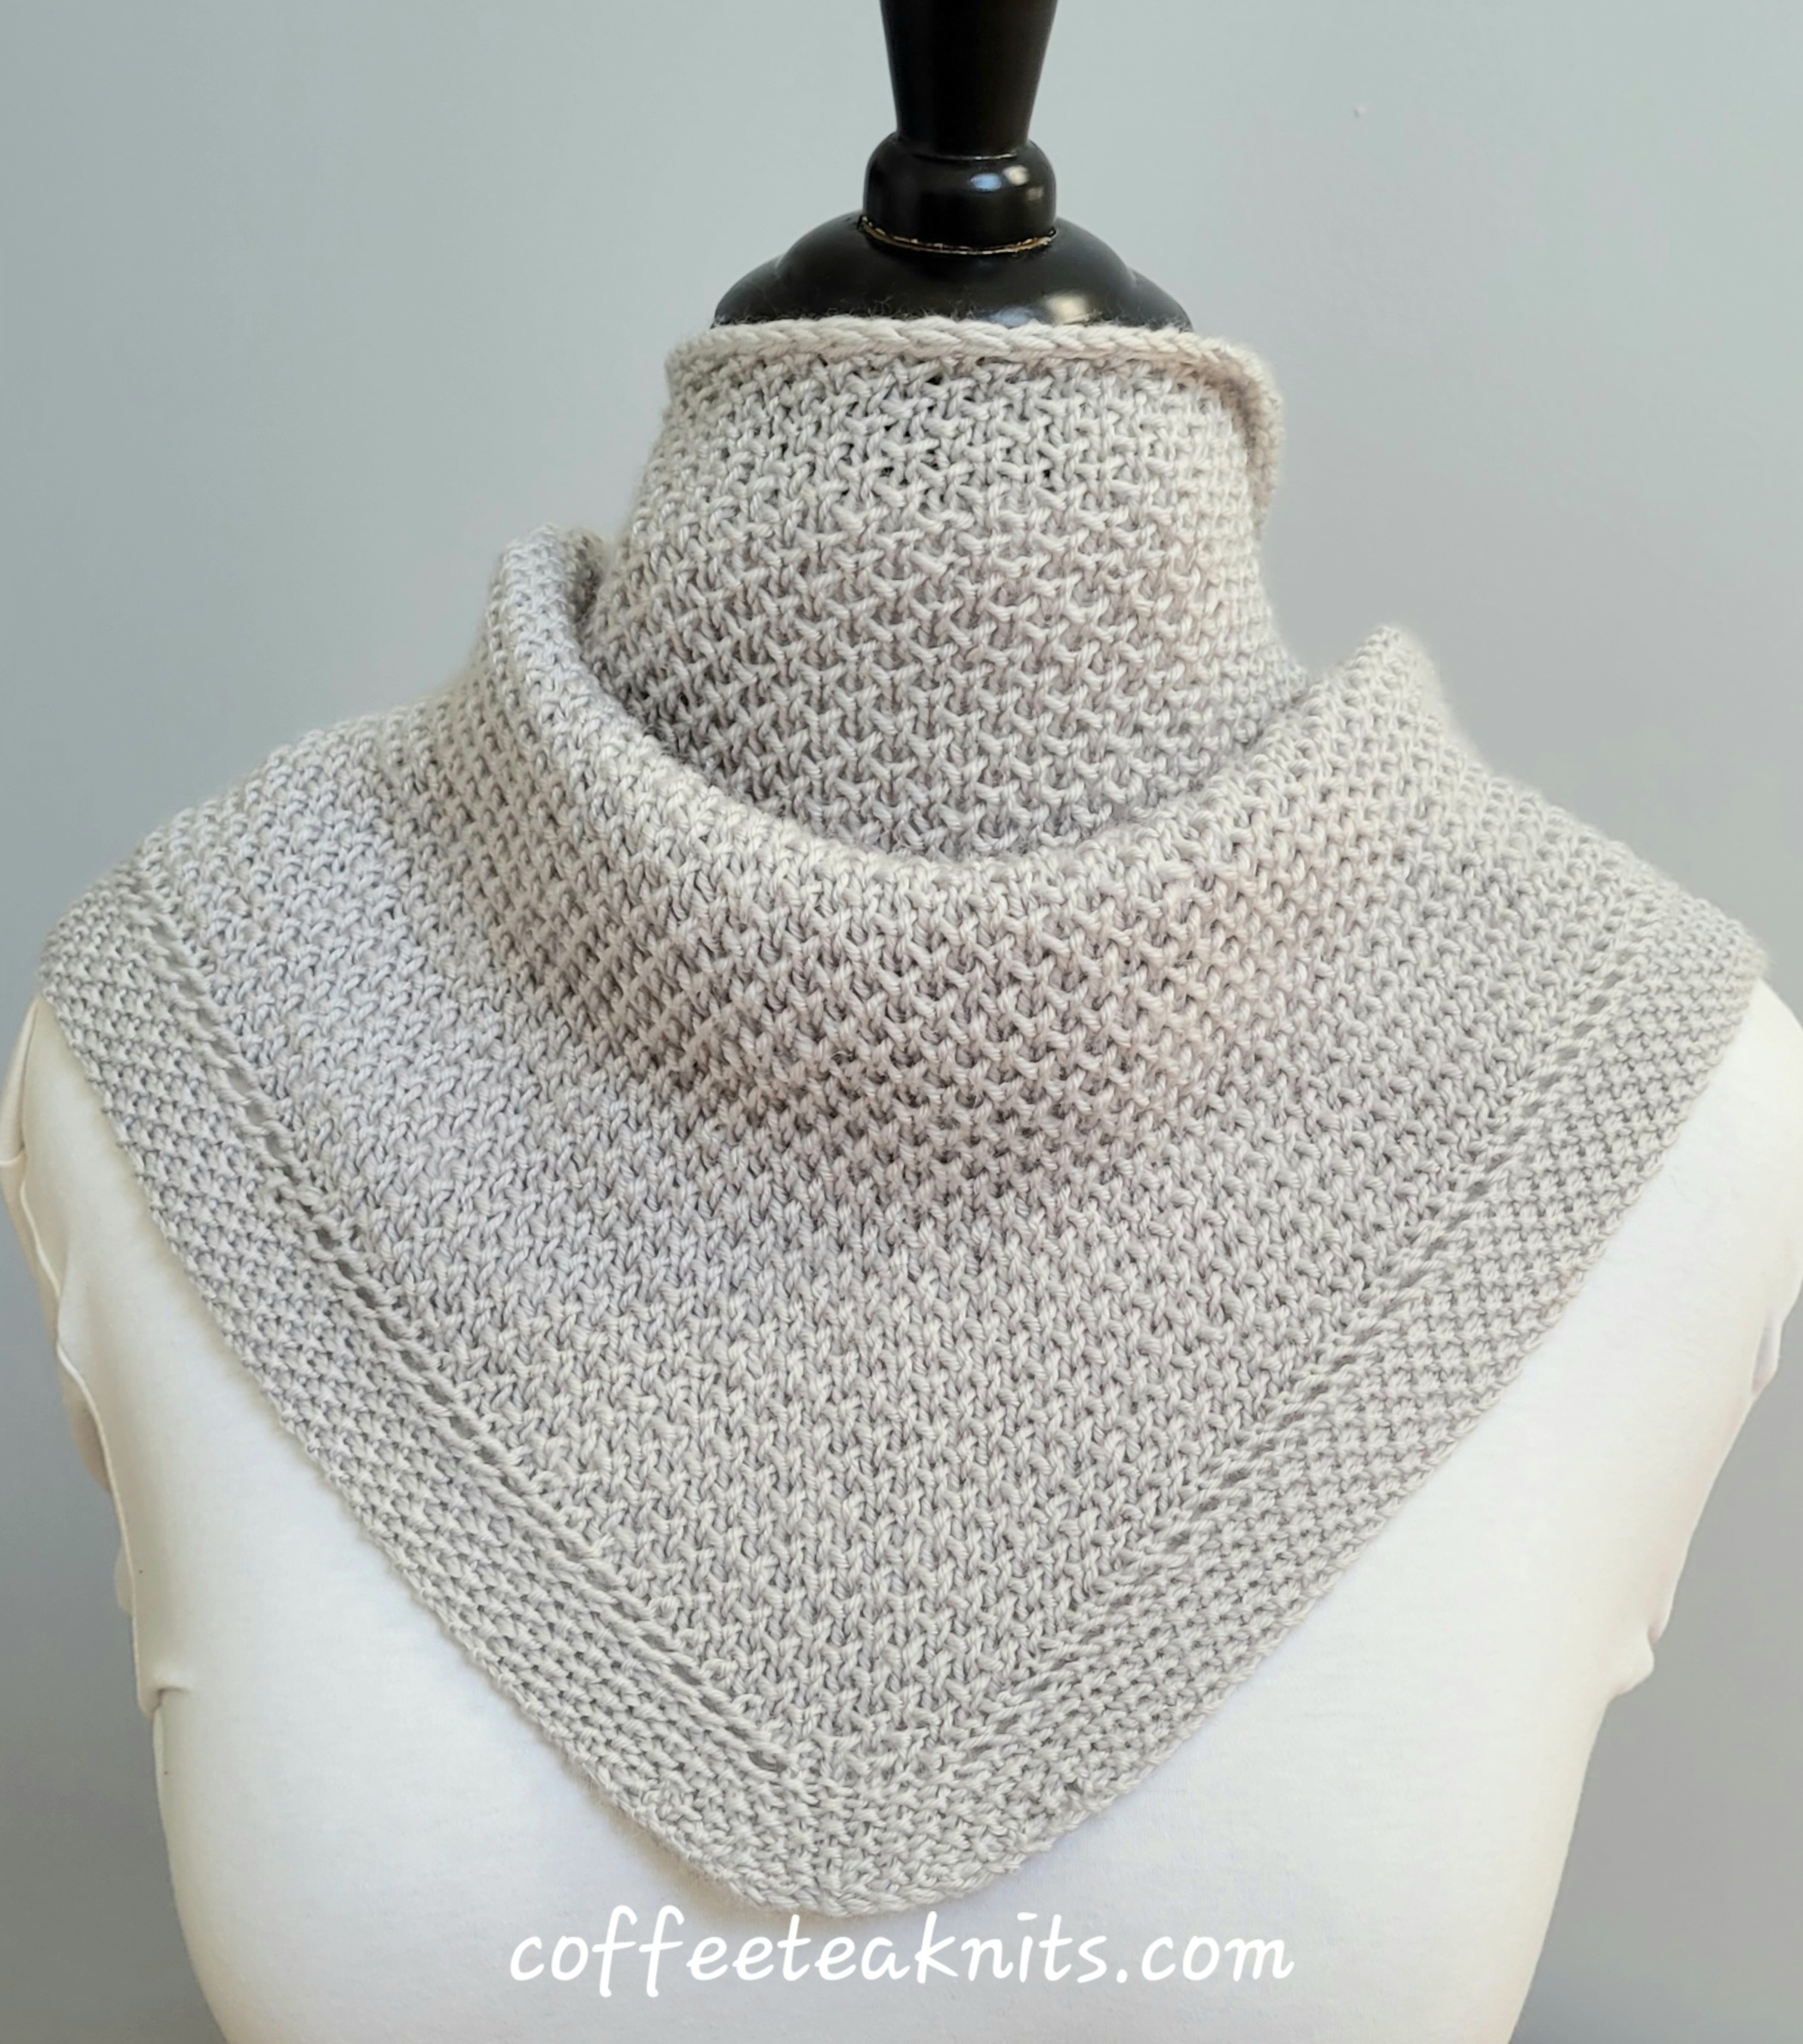
The Light Unexpected Find Wrap pattern is mostly based on the The Unexpected Find Wrap Pattern. The Light Unexpected Find Wrap is also a triangular shaped shawl. It is knit bottom up. The shawl features a two row repeat brioche honeycomb stitch pattern. However, nine stitches instead of seven are cast on for this shawl. It is also knit with a merino wool blend DK weight yarn (Loops and Threads® Luxe Merino™ Wool Blend). This yarn is lighter yet warm, making it suitable for this winter season. The yarn is also budget friendly and can be purchased at Michaels store.

Advertisements

The Light Unexpected Find Wrap Pattern (text and images for personal use only)

PLEASE SUBSCRIBE FOR THE FREE PATTERN. THANK YOU

Subscribe to continue reading

Subscribe to get access to the rest of this post and other subscriber-only content.

Tutorial Series: The Thumb Method Cast-on

The Thumb method cast-on is a commonly used long tail cast-on technique. A long tail of yarn is set aside on one side of the slip knot. The working yarn is on the other side of the slip knot. The thumb is used to form the loop that is used to make a new stitch on the knitting needle. Another example of a long tail cast-on technique is the slingshot method. In this method, the thumb and the index finger create a new stitch. The thumb method is beginner-friendly and a quick cast-on method. I use the thumb method cast-on mostly for knitting projects with few stitches (dishcloths, etc.). The written instructions and video below on how to do the thumb method cast-on are shown for right-handed knitting.

Advertisements

The Thumb Method Cast-On:

Advertisements


The Steps for the Thumb Method Cast-On:

  1. Make a slip knot (Tutorial Series: How to Slip Knot) with a yarn tail that will be enough for the number of stitches for a specific knitting project
  2. Insert the slip knot onto a knitting needle
  3. Holding the yarn tail with some tension in the left fist, wrap the left thumb under and over the yarn tail to make a loop
  4. Insert the right hand needle into the front strand of the loop on the thumb
  5. Bring the working yarn around the top of the right needle and wrap it between the thumb and the right knitting needle
  6. Catch and pick up the working yarn loop (a new stitch) with the right needle
  7. Repeat Steps 3 – 6 to cast-on the required number of stitches needed for a knitting project

~coffeeteaknits.com

The Berry Bunches Scarf Pattern


The Berry Bunches Scarf is a flat rectangular scarf in the crochet suzette stitch pattern. It’s a fun and quick project that is a combination of single and double crochet. Fringes are also added to the scarf. The yarn used for the project is Loops and Threads® Luxe Merino™ Wool Blend I purchased at Michaels. This soft and warm yarn is perfect for this time of year. The Berry Bunches Scarf, after washing, is about seven inches wide and eighty-three inches in length. The length and width can be customized, making the scarf more versatile.

Advertisements

The Berry Bunches Scarf Pattern (text and images for personal use only)

Materials Needed:
Yarn: Loops and Threads® Luxe Merino™ Wool Blend in the Raindrops colorway (2 skeins needed for this project)
Tapestry needle to weave in ends
Gauge: 5 stitches per inch in the crochet suzette stitch pattern
Crochet hook: US size G6 or 4.00 mm

Advertisements

PLEASE SUBSCRIBE FOR THE FREE PATTERN. THANK YOU

Subscribe to continue reading

Subscribe to get access to the rest of this post and other subscriber-only content.

Tutorial Series: The Knitted Cast-On Method

The Knitted Cast-On is one of many cast-on techniques in knitting. Other cast-on methods include the long tail cast-on, cable cast-on, provisional cast-on, the thumb method, picot cast-on, stretchy cast-on etc. The Knitted cast-on method is ideal for large projects. Use it when a large number of stitches are required for cast-on. This is typical for a blanket or shawl pattern. This method like the cable cast-on does not need a long yarn tail. The Knitted Cast-On is also a great beginner friendly cast-on method since it is basically the knit stitch. I usually use the knitted cast-on for knitting projects where all the edge stitches are later picked up for a more decorative border. The knitted cast-on begins with a slip knot and each additional stitch is then knitted on. The written instructions and video below on how to do the knitted cast-on is shown for right-handed knitting.

Advertisements

The Knitted Cast-On:

Advertisements


The Knitted Cast-on Steps:

  1. Make a slip knot (How To Slip Knot)
  2. Transfer the slip knot loop onto the left knitting needle
  3. Insert the right knitting needle into the slip knot and bring working yarn around and in between the two needles as if to knit (Knit and Tink)
  4. Catch and pull the working yarn loop onto the right knitting needle
  5. Transfer the new stitch loop from the right knitting needle onto the left knitting needle by inserting the left knitting needle under the front strand of the new stitch loop
  6. Tug the working yarn to tighten the new stitch loop on the left knitting needle
  7. Insert the right knitting needle into the first stitch on the left knitting needle
  8. Catch and pull the working yarn loop with the right knitting needle
  9. Move the new stitch loop from the right knitting needle to the left knitting needle by inserting the left knitting needle under the front strand of the new stitch loop
  10. Tug the working yarn to tighten the new stitch loop on the left knitting needle
  11. Repeat steps 7 – 10 till the desired number of stitch count is reached for a knitting project
Advertisements
Advertisements

~coffeeteaknits.com

The Autumn Leaves Cowl Pattern


This year at the New Jersey Sheep and Fiber Festival, I was happy to see Marian of the Marianted Yarns since it was her last time vending there. A few years ago, I bought a Practicality 75/25 (superwash merino/nylon) fingering weight skein in the Beeswax colorway from her. I wanted another skein in that colorway this year, but it was unavailable. Instead, I chose the Honeycomb colorway and purchased it. Both colors remind me of the autumn leaves in my yard. I will miss Marianated Yarns next year, but the Autumn Leaves Cowl will help me remember this wonderful day at the festival.

Advertisements
Advertisements


The Autumn Leaves Cowl is crocheted back and forth, holding two strands of the same colorway of yarn together. The single crochet V stitch pattern is repeated several times, with alternating colorways every 2 rows. A row of crochet moss stitch is made from the right side to the left. This helps flatten the bump from the V stitch cluster. A row of crochet moss stitch is also made on the foundation chain edge, starting at the slip knot stitch. The 2 edges are then joined using the crochet zig-zag join method. Lastly, the Autumn Leaves Cowl is completed with a crochet moss stitch border. This border is on both the top and bottom edges of the cowl.

Advertisements

The Autumn Leaves Cowl Pattern (text and images for personal use only)

PLEASE SUBSCRIBE FOR THE FREE PATTERN. THANK YOU

Subscribe to continue reading

Subscribe to get access to the rest of this post and other subscriber-only content.

Tutorial Series: WYIF and WYIB

There are knitting patterns that use the abbreviations wyif (with yarn in front) or wyib (with yarn in back). Some of my patterns with these include The Dotted Dishcloth Pattern and The Brick and Mortar Dishcloth Pattern. In these patterns, wyif or wyib is usually used before slipping a stitch or two. A slipped stitch is neither knit nor purled. Slipped stitches can be used for mosaic colorwork knitting or to create an i-cord edge or textured stitch patterns. The video and written instructions below show how to slip one stitch wyif or wyib purlwise for right-hand knitting.

Advertisements

How to slip a stitch WYIF and WYIB:

The video below shows K1 (knit 1), wyif S1 (with working yarn in front slip one stitch purlwise), wyib S1 (with working yarn in back slip one stitch purlwise), wyif S1, wyib S1

Advertisements
Advertisements

WYIF:

  • Bring working yarn from the back of the right knitting needle to the front of the work
  • Insert the right knitting needle as if to purl (purlwise) into the first stitch on the left knitting needle
  • Catch that first stitch with the right knitting needle
  • Pull the stitch off the left knitting needle and onto the right knitting needle (one stitch has been slipped)
Advertisements

WYIB:

  • Bring working yarn from the front of the right knitting needle to the back of the work
  • Insert the right knitting needle as if to purl (purlwise) into the first stitch on the left knitting needle
  • Catch that first stitch with the right knitting needle
  • Pull the stitch off the left knitting needle and onto the right knitting needle (one stitch has been slipped)
Advertisements

~coffeeteaknits.com

The Silver Clusters Baby Blanket Pattern


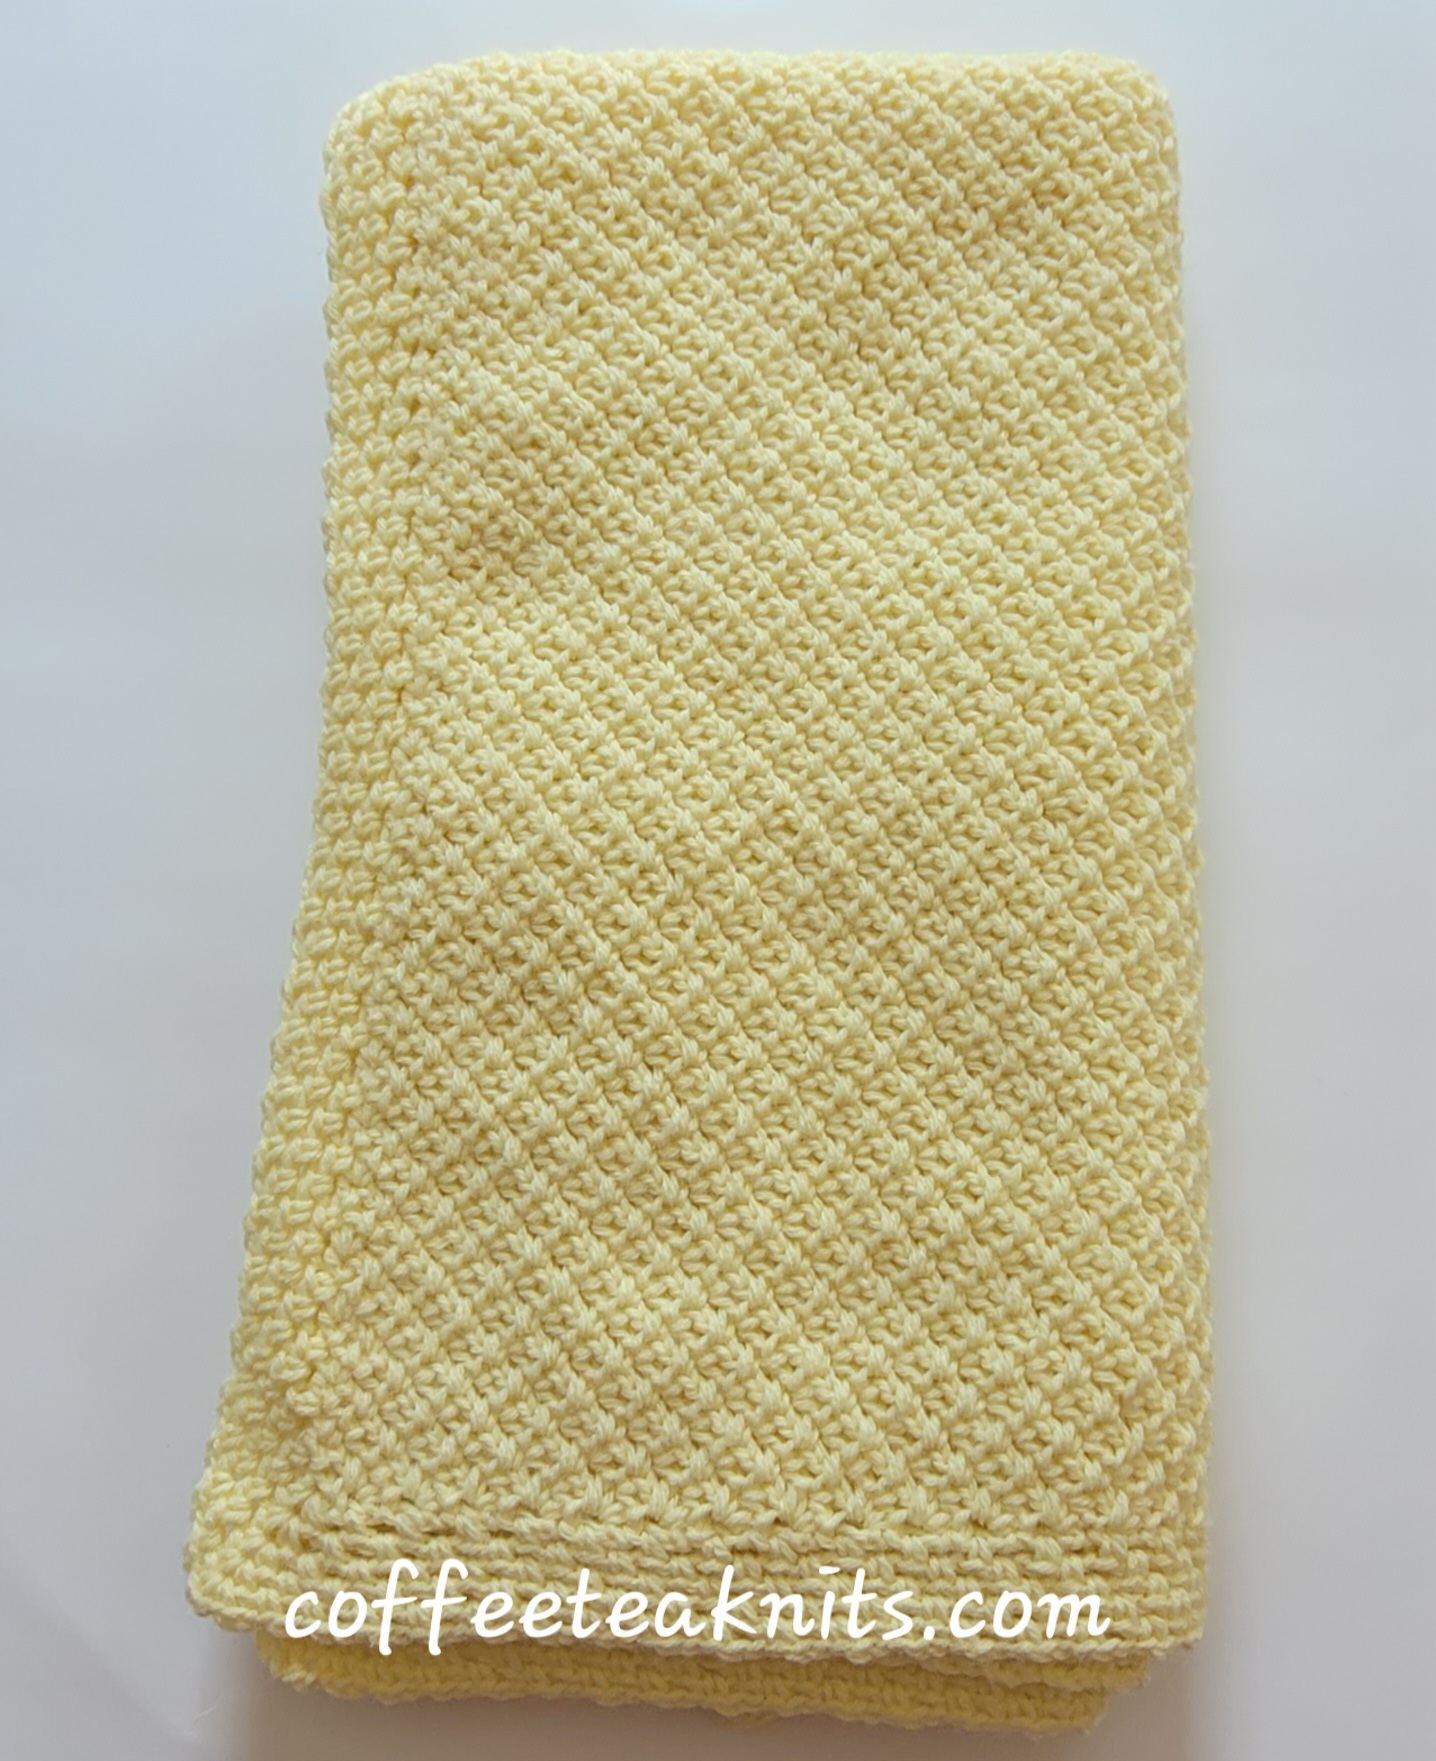
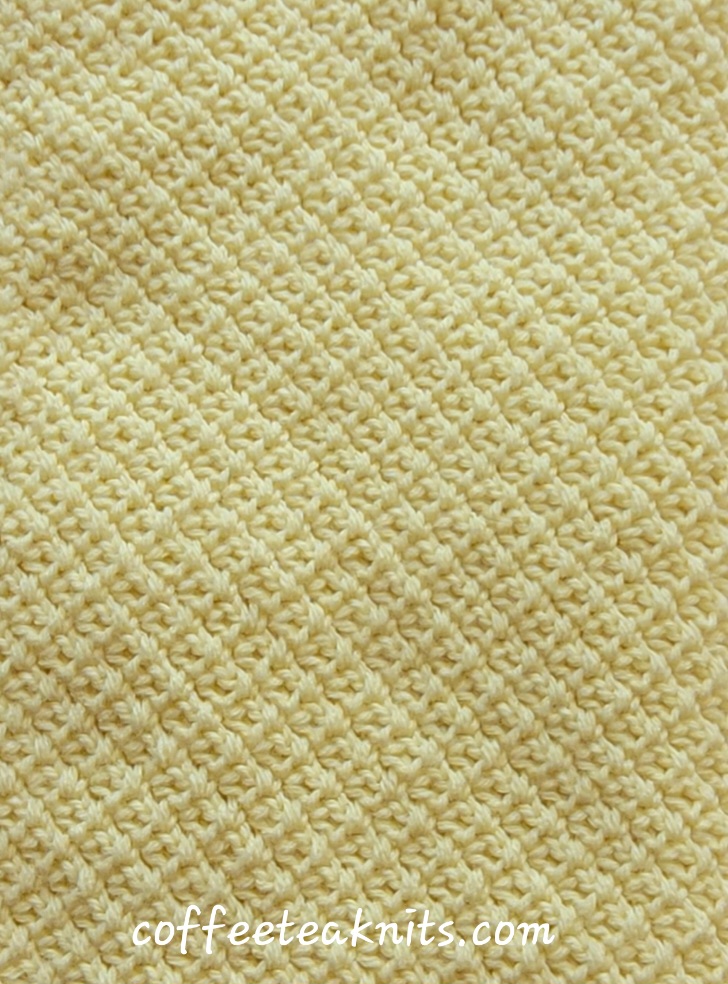
The Silver Clusters Baby Blanket is crocheted using a variation of the crochet moss stitch (see image below). The baby blanket is then finished with a crochet moss stitch border. The variation of the crochet moss stitch pattern forms clusters adding texture to the design. This stitch pattern is simple, making it a satisfying beginner friendly project that does not take long to finish. The repetitive nature of this variation of the crochet moss stitch is quite meditative and relaxing. Plus, the worsted weight cotton blend yarn used makes the blanket suitable for babies and can be used year-round.

Advertisements

The Crochet Moss Stitch versus the Variation Crochet Moss Stitch:
For the crochet moss stitch, the crochet hook is inserted in the chain 1 space to make a single crochet. In the moss stitch variation pattern, the crochet hook is inserted in the center (the V) of the stitch to make a single crochet.

Advertisements


The Silver Clusters Baby Blanket Pattern (text and images for personal use only)

PLEASE SUBSCRIBE FOR THE FREE PATTERN. THANK YOU

Subscribe to continue reading

Subscribe to get access to the rest of this post and other subscriber-only content.

Tutorial Series: How to Join Round

Knitting in the round, also known as circular knitting, is a versatile technique. It allows knitters to create seamless items like hats, sweaters, and socks. Using double pointed needles (DPNs) or circular knitting needles, it’s possible to join rounds seamlessly. For knitting in the round, the first stitch is joined to the last stitch in the cast on row. The video and written instructions below show how I join round using circular knitting needles.

Advertisements

How to Join Round:

Advertisements


Written Instructions for How to Join Round:

  • Cast on the required number of stitches using a circular knitting needle.
  • Place a beginning of round marker (BOR) on the right circular knitting needle
  • Check to see all the stitches are facing inwards in one direction in the circular knitting needle
  • Without twisting the stitches, knit the stitch on the right circular needle to the first stitch on the left circular needle to join round
  • Continue knitting in the round as specified in the pattern

~coffeeteaknits.com