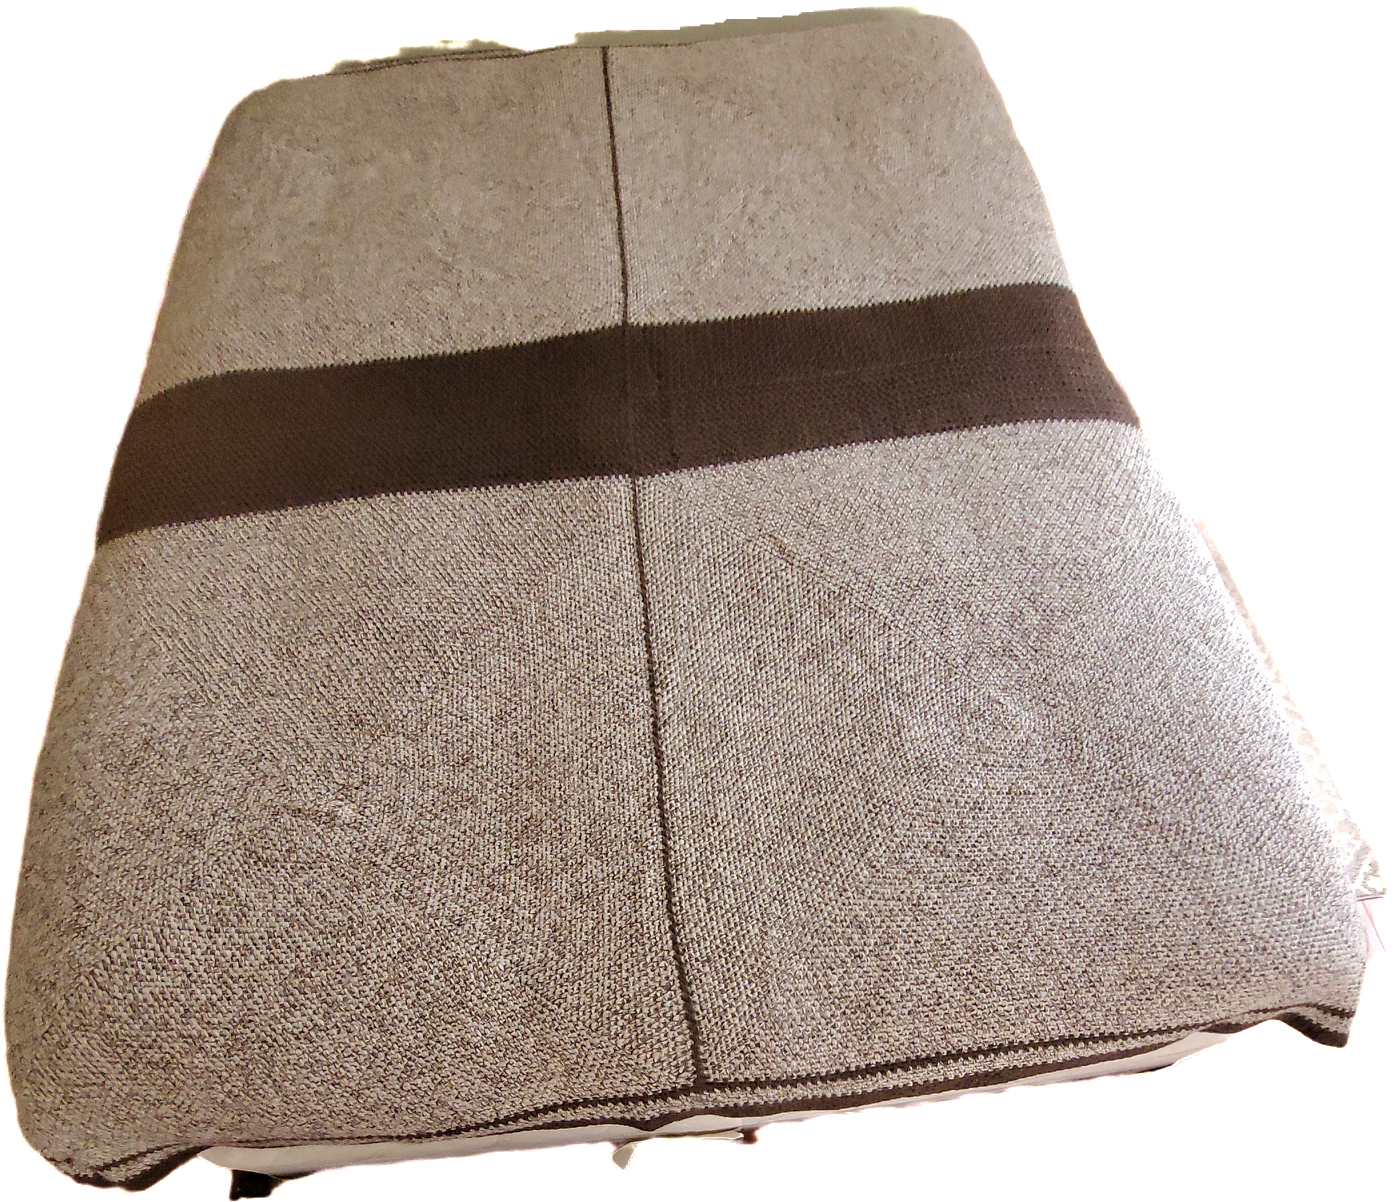
The Textured Dishcloth Pattern


Knitting or crocheting dishcloths are useful for exploring various stitch patterns, for personal use, and for gifting. Dishcloths are quick projects that can be knit or crocheted in a few days. This makes them perfect for both beginners and seasoned crafters looking to learn new techniques. Dishcloths can enhance a kitchen décor or add a pop of color to it. Gifting dishcloths for those domestic muses in our lives that give us delicious and soul-satisfying meals is my way of thanking them for their effort and care. Also, knitting or crocheting dishcloths has been meditative and calming for me this winter season.


Advertisements

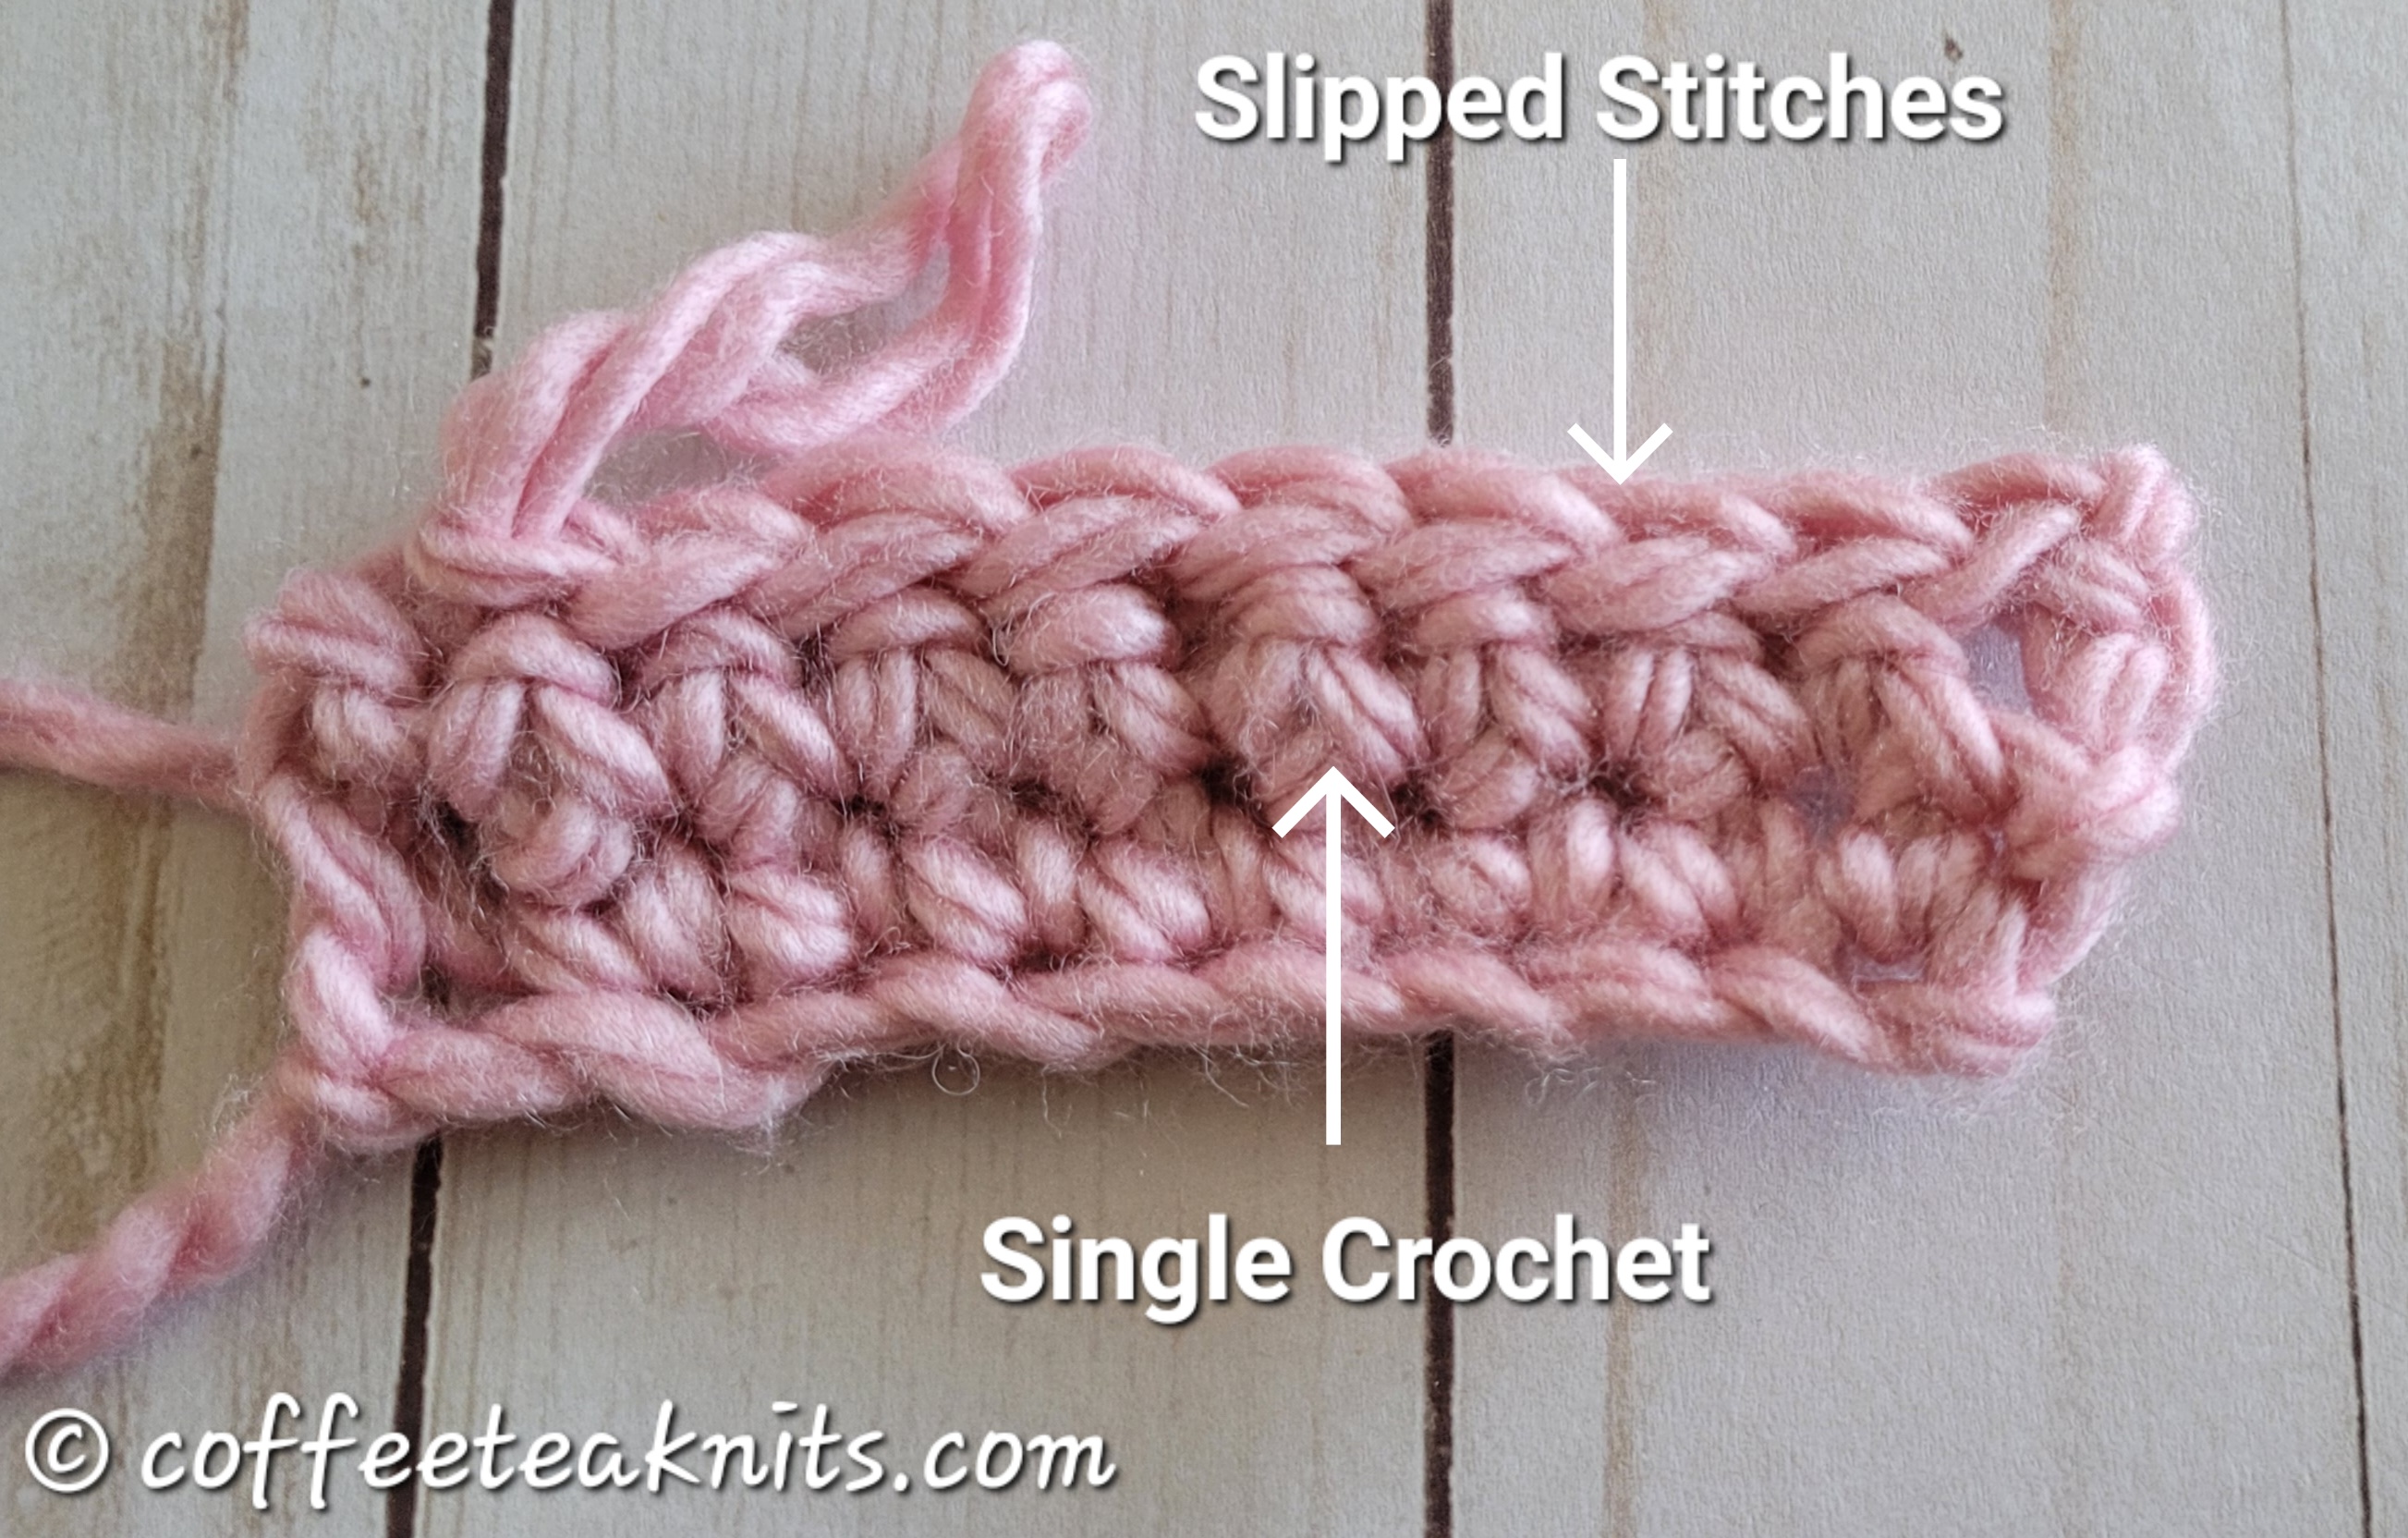
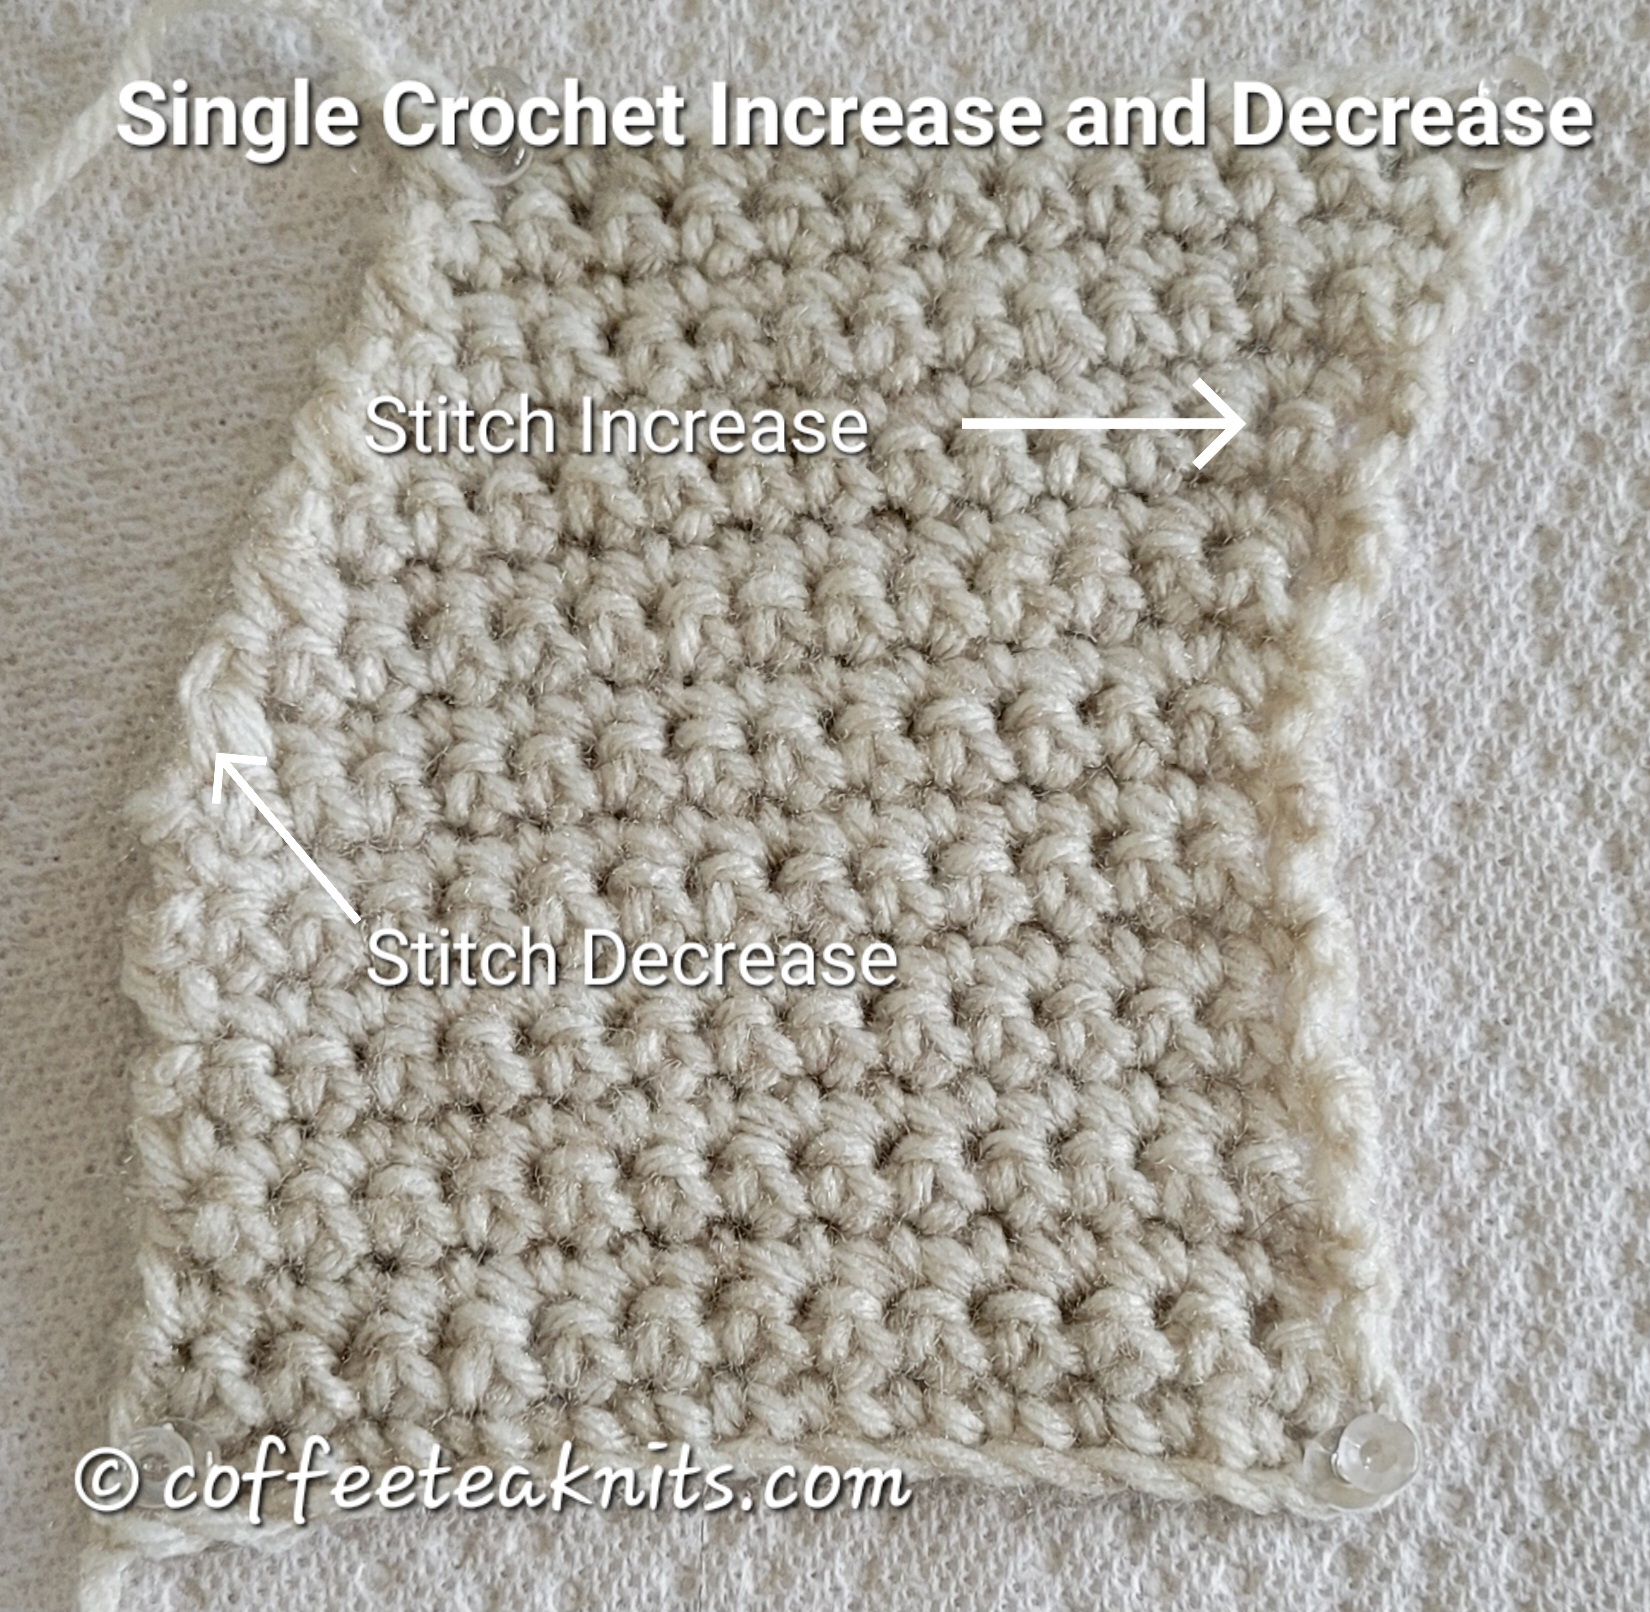
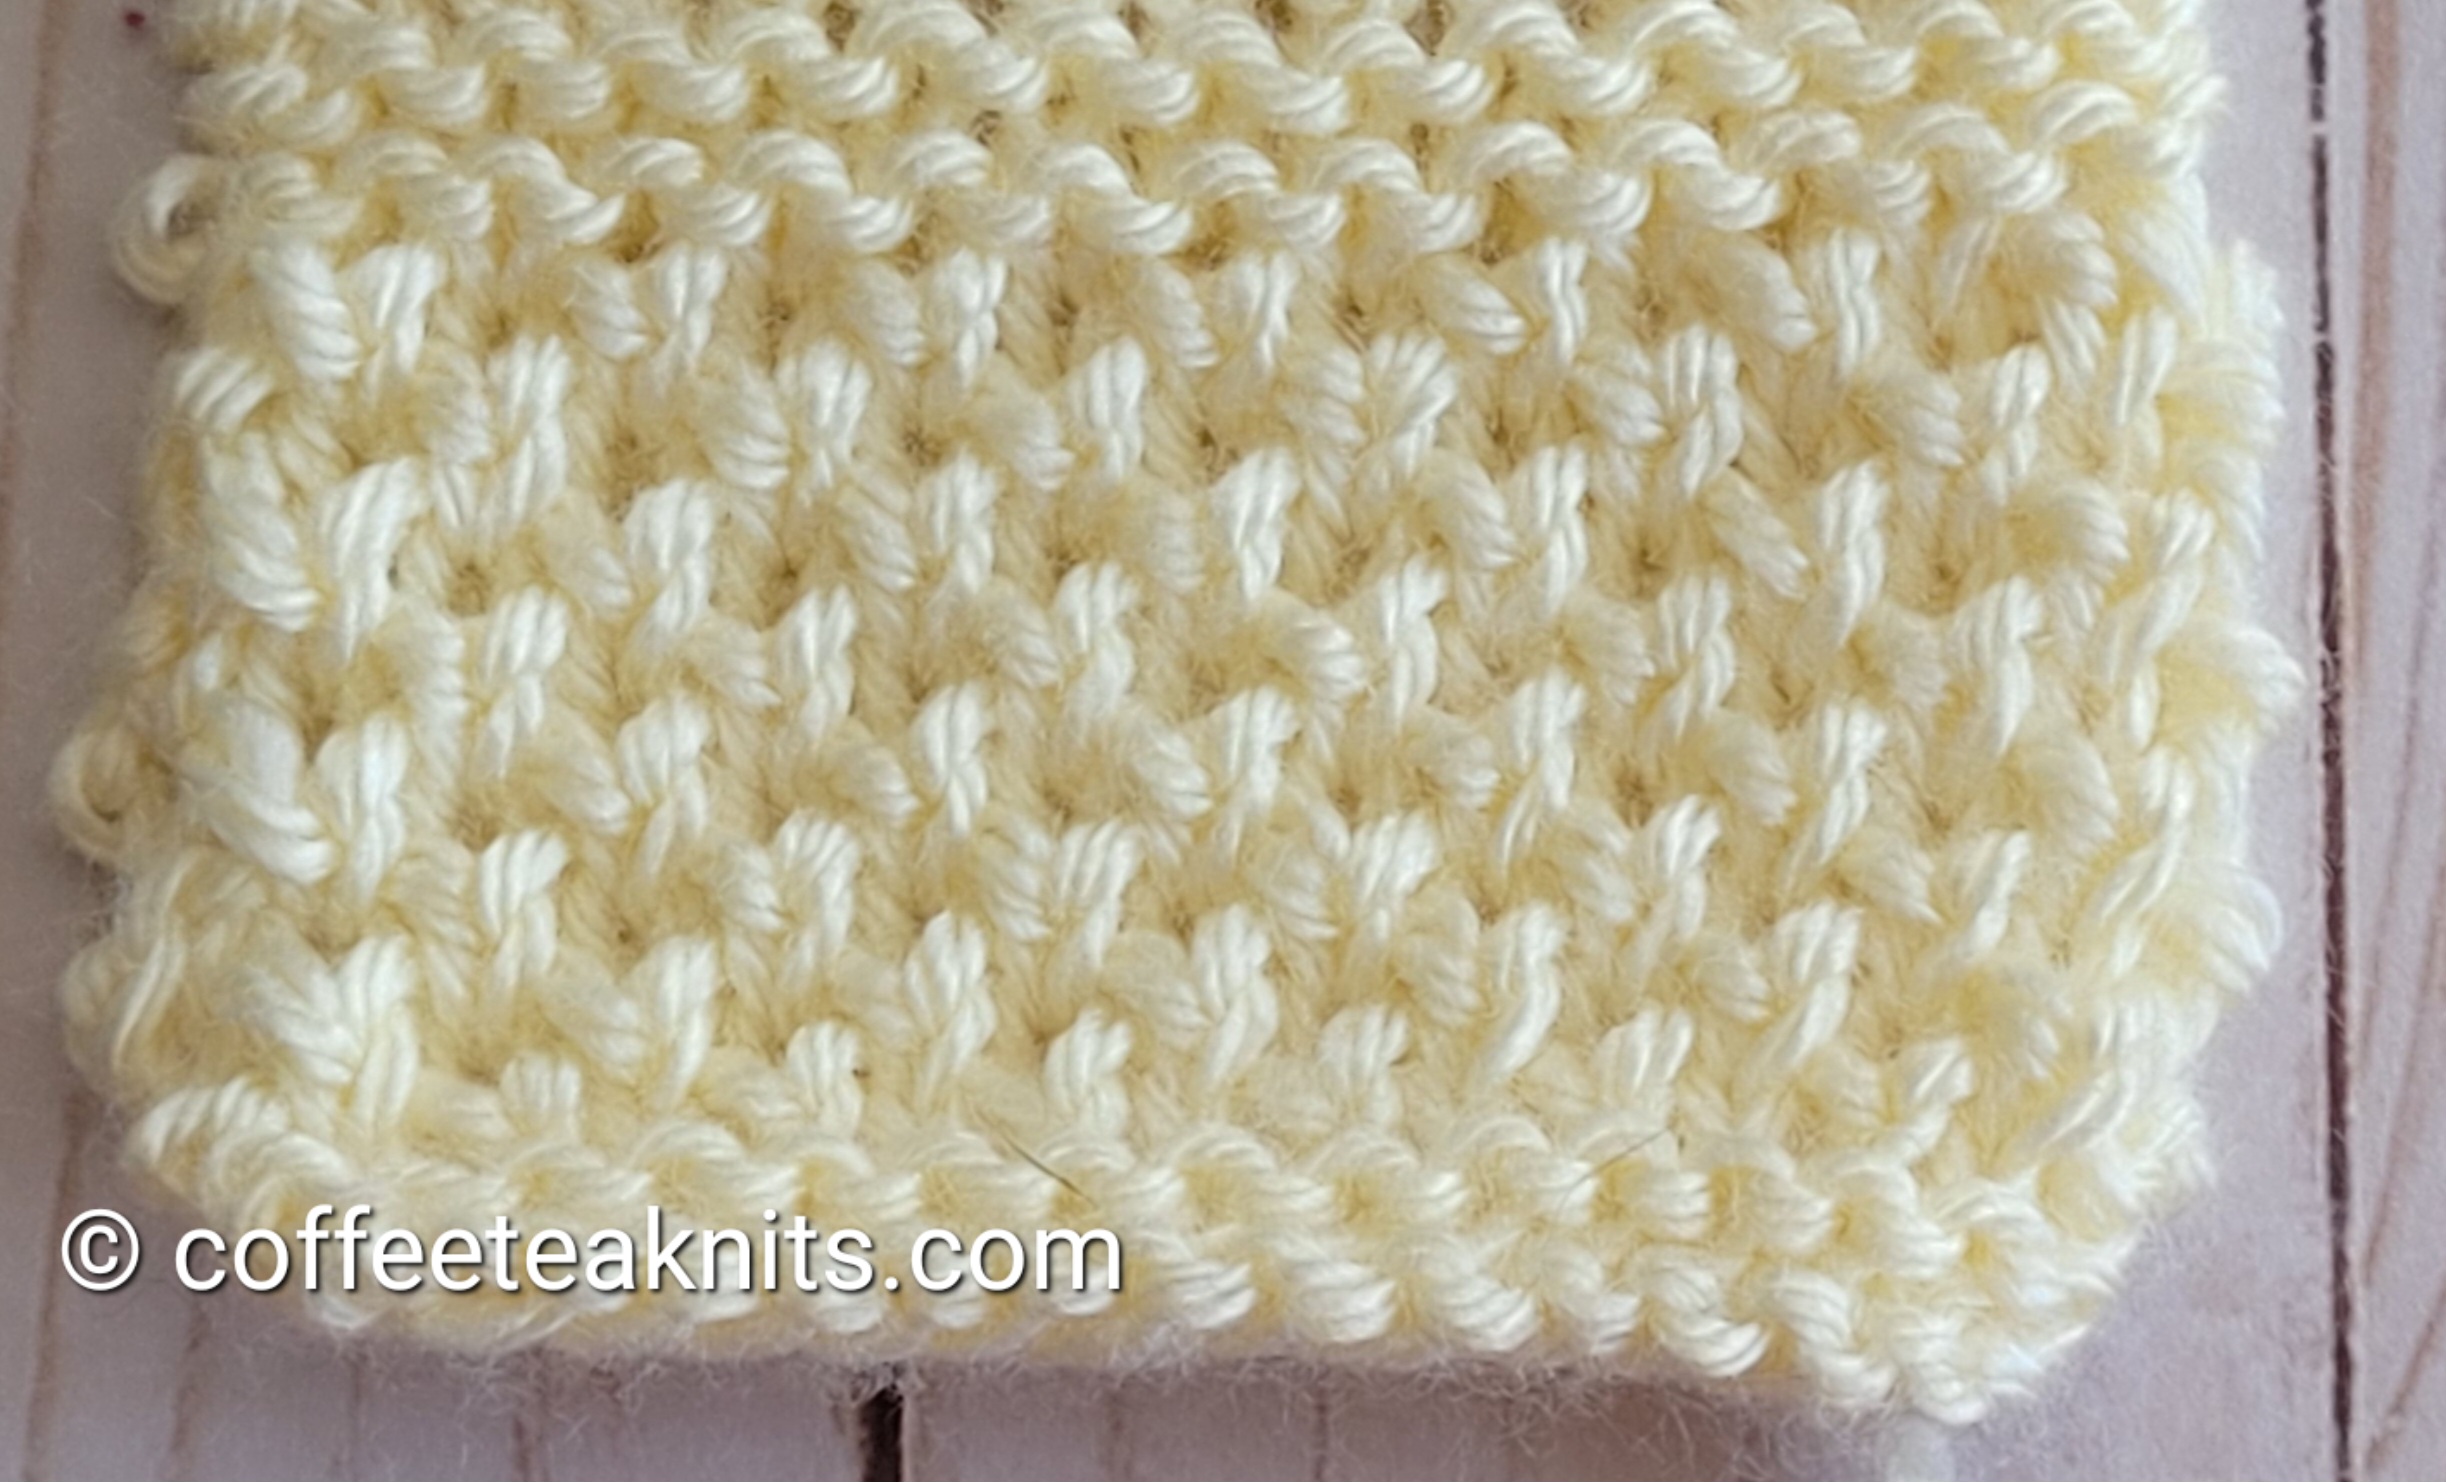
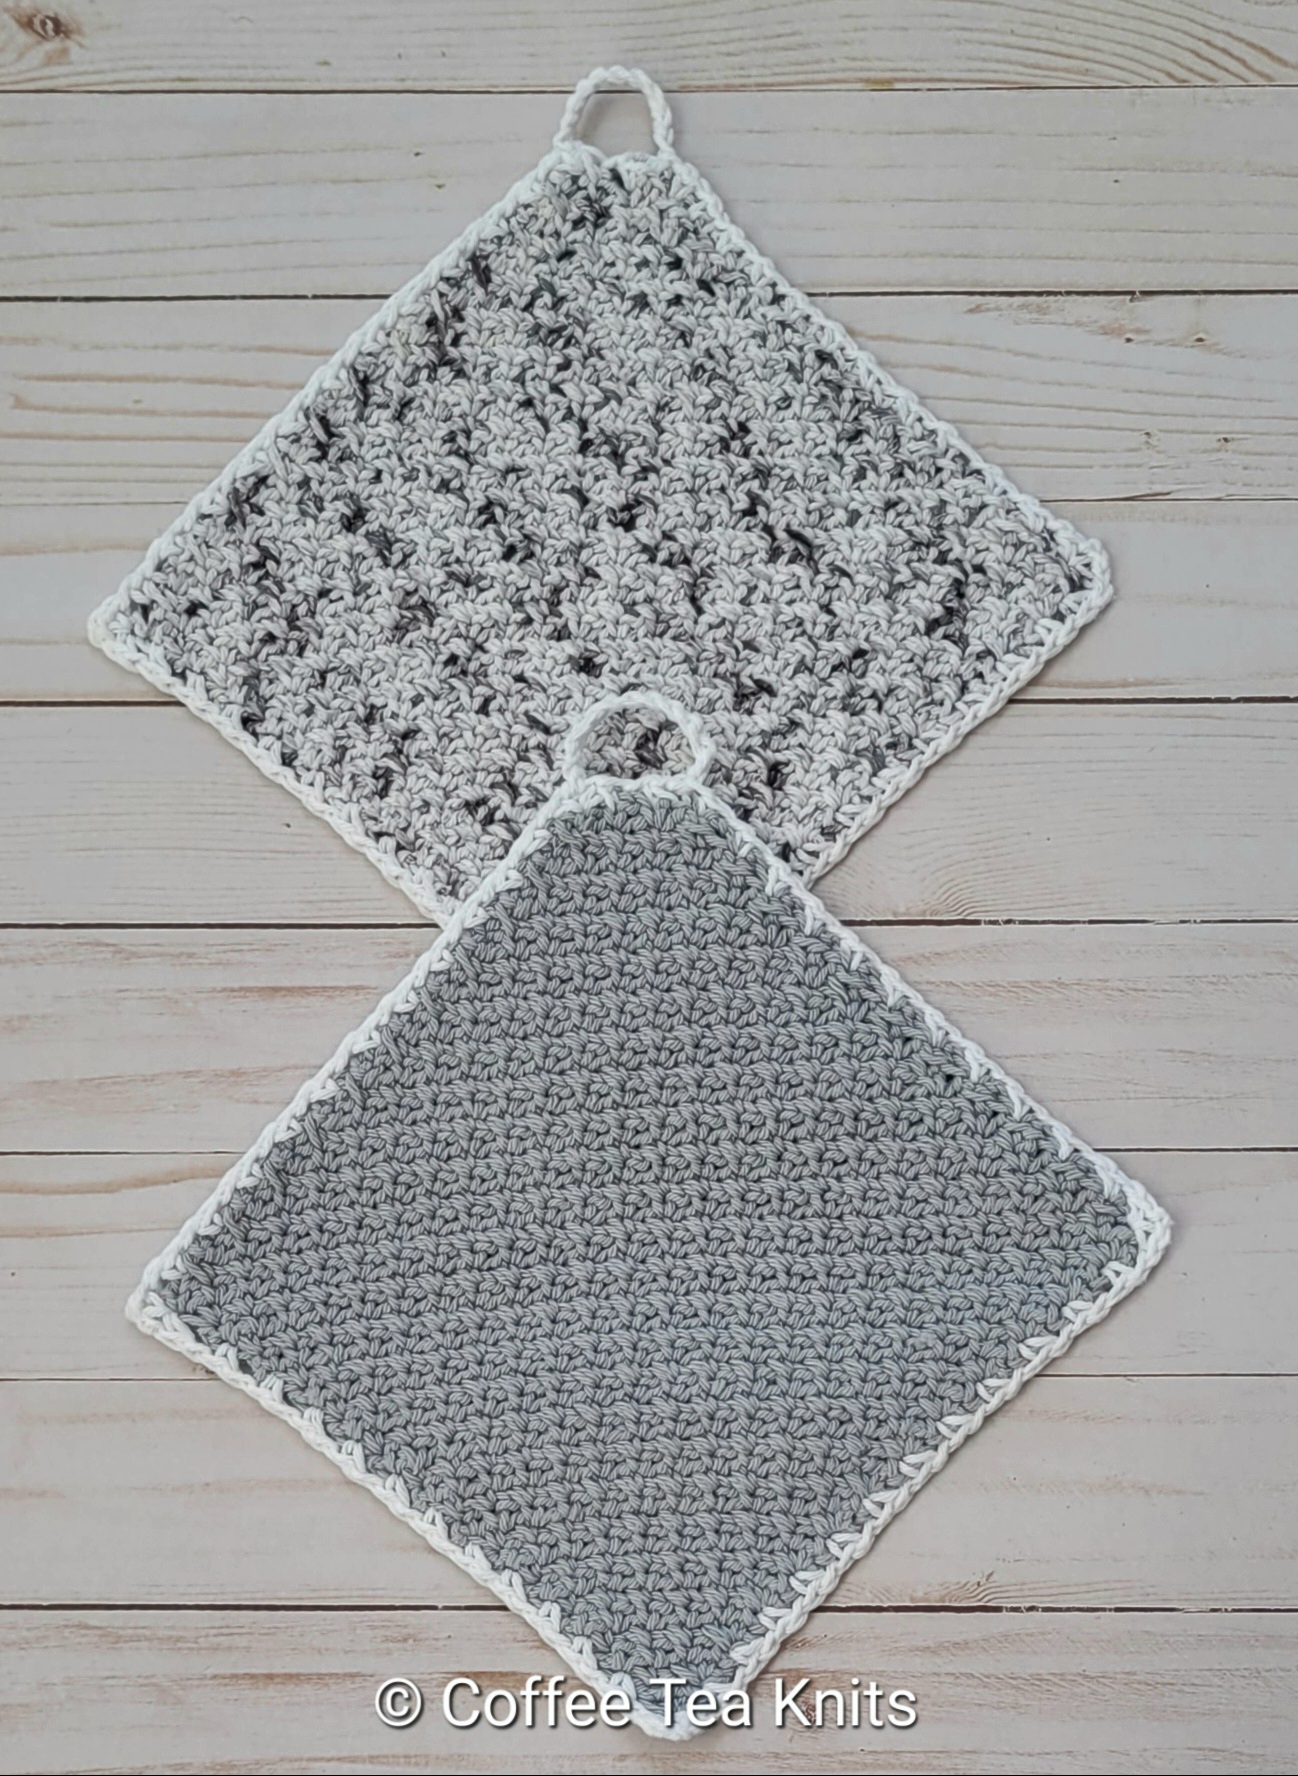
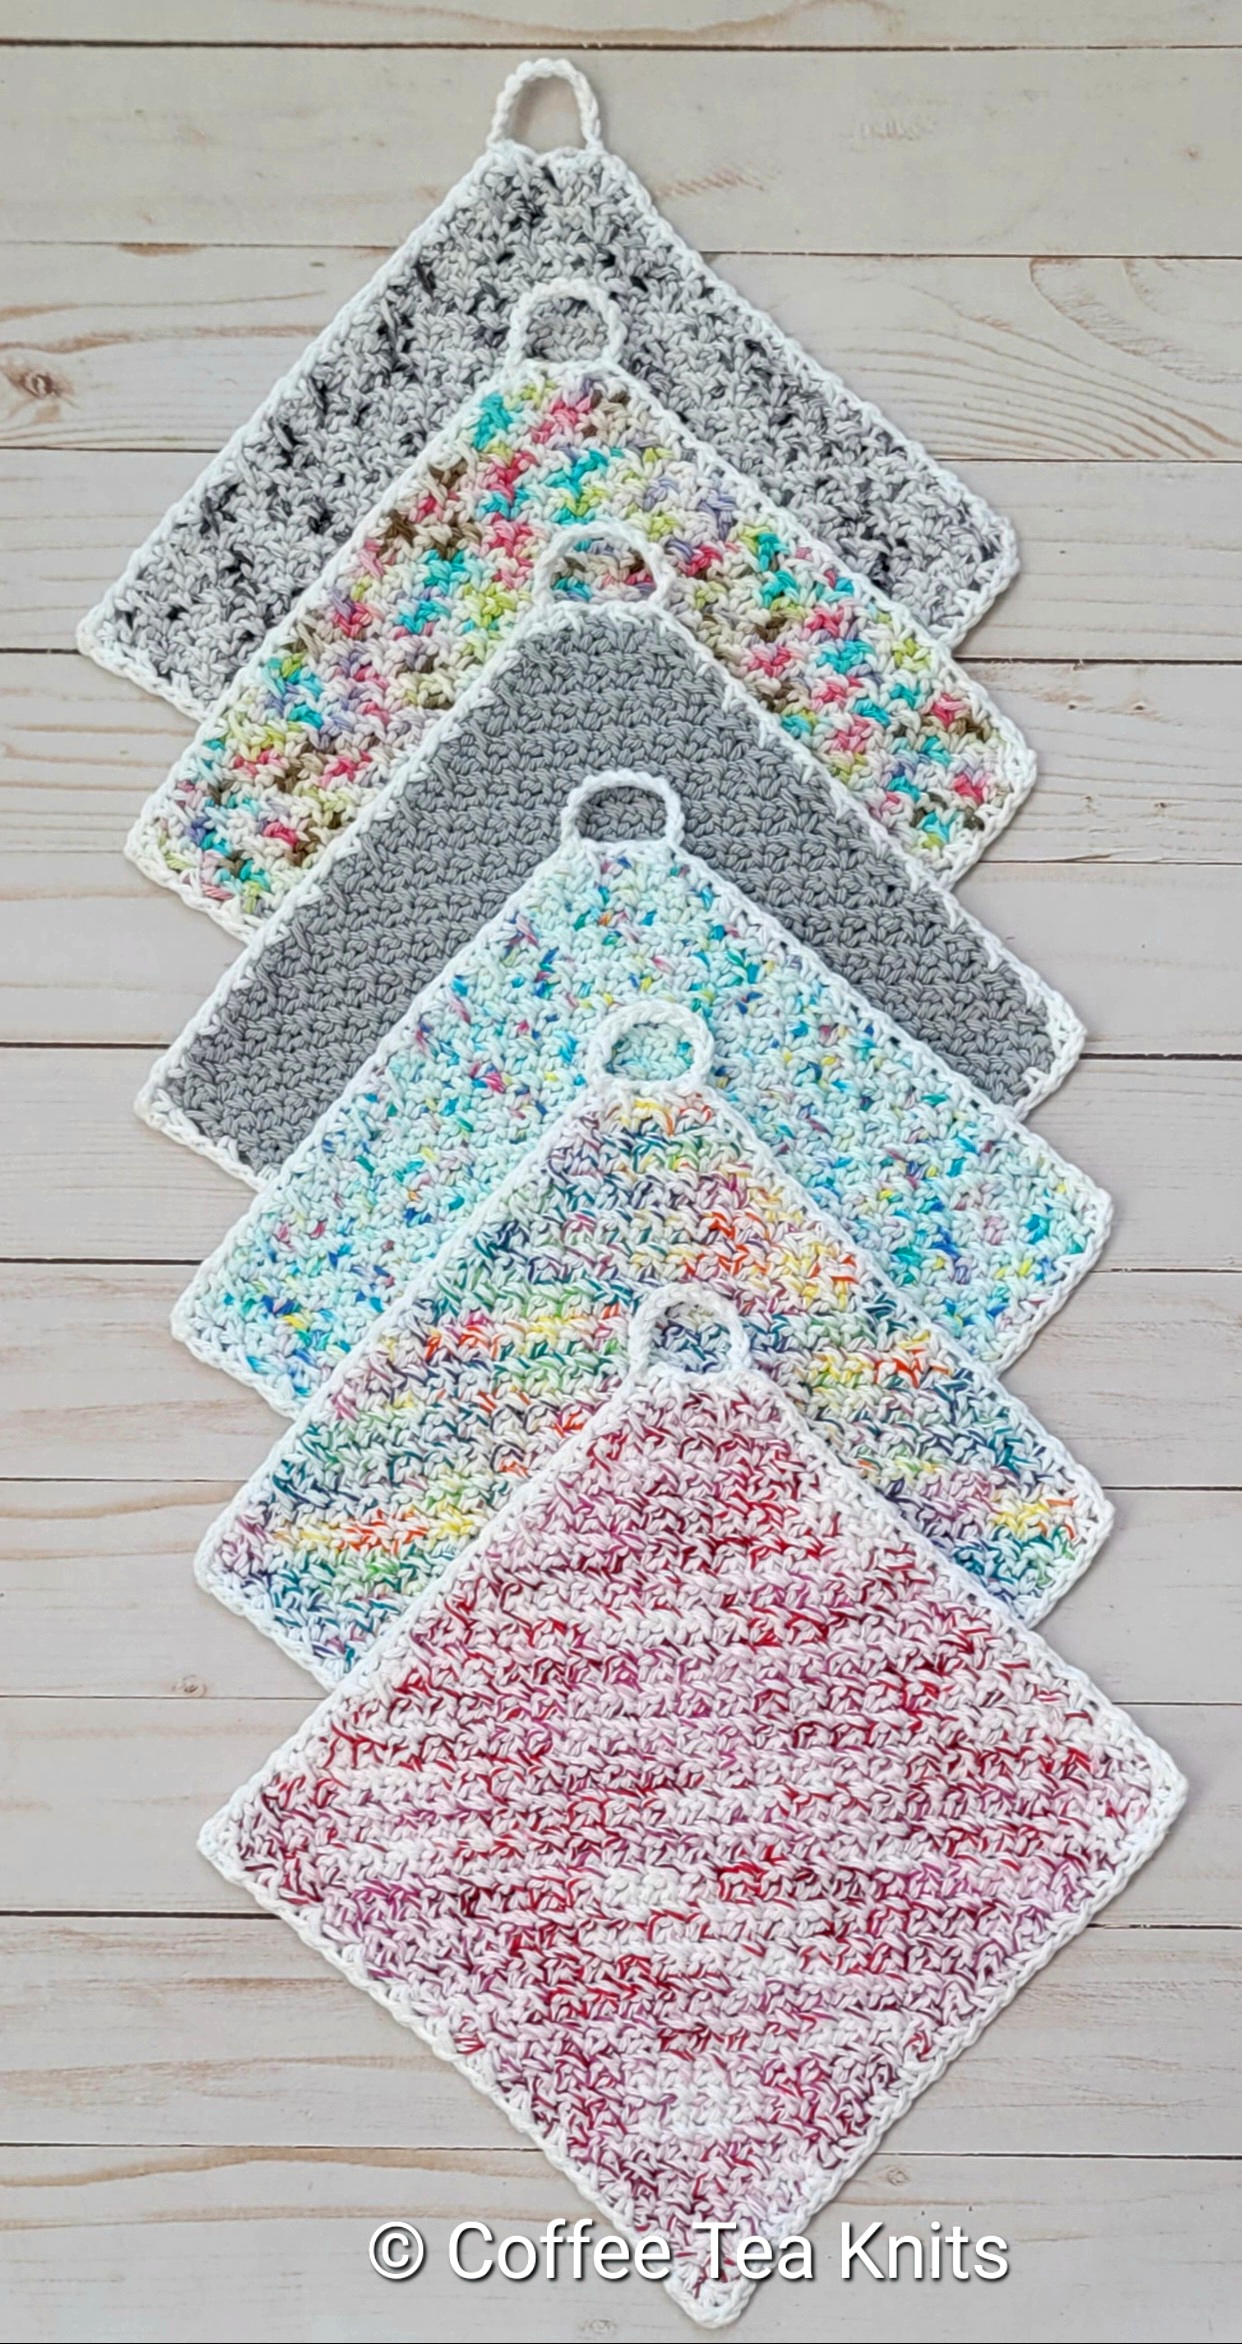
The Textured Dishcloth is crocheted flat from one corner to another in the granite crochet stitch pattern which is a variation of the crochet moss stitch pattern. It begins with a chain of 2 stitches with an increase of 4 stitches every other row, and then a decrease of 4 stitches every other row till a square shape is formed. The dishcloth is finished with a crochet moss stitch border along with a hanging loop of crochet chain stitches. This dishcloth is a two-row repeat pattern that can be customized to any size. It is beginner friendly and can be used with any worsted weight cotton yarn suitable for dishcloths.


The Textured Dishcloth Pattern (text and images for personal use only)

Advertisements

Materials Needed:

Yarn: Hobby Lobby Crafter’s Secret Cotton Yarn in several different colorways:
Main Colorways – Gray, City Stripe, Shaded Crimson, At The Fairgrounds, Extra Sprinkles, Potpourii Print
Contrast Colorway (for border edge) – White

Advertisements

PLEASE SUBSCRIBE FOR THE FREE PATTERN. THANK YOU

Subscribe to continue reading

Subscribe to get access to the rest of this post and other subscriber-only content.

Tutorial Series: Make One (M1R and M1L)

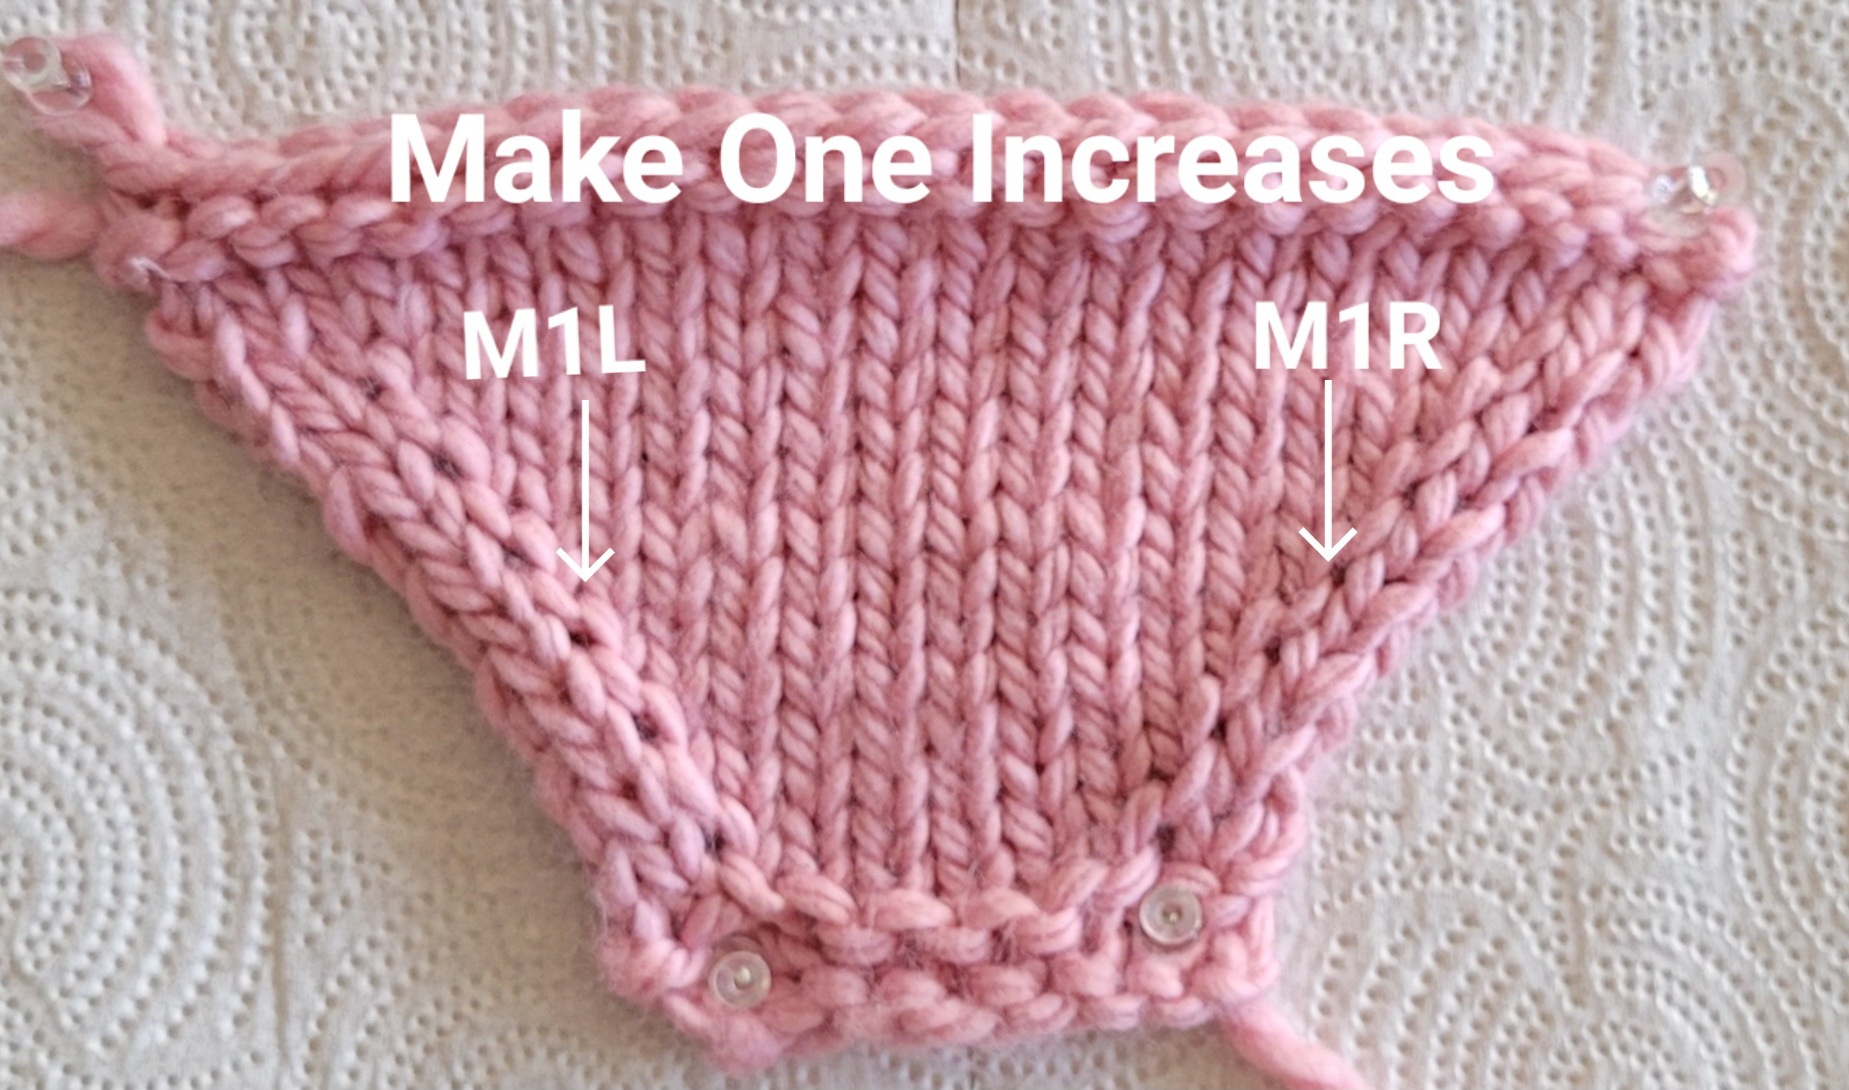
Another way to increase one stitch in knitting is to make one right (M1R) or make one left (M1L). M1L is a left-leaning increase while M1R is a right-leaning increase.


Advertisements


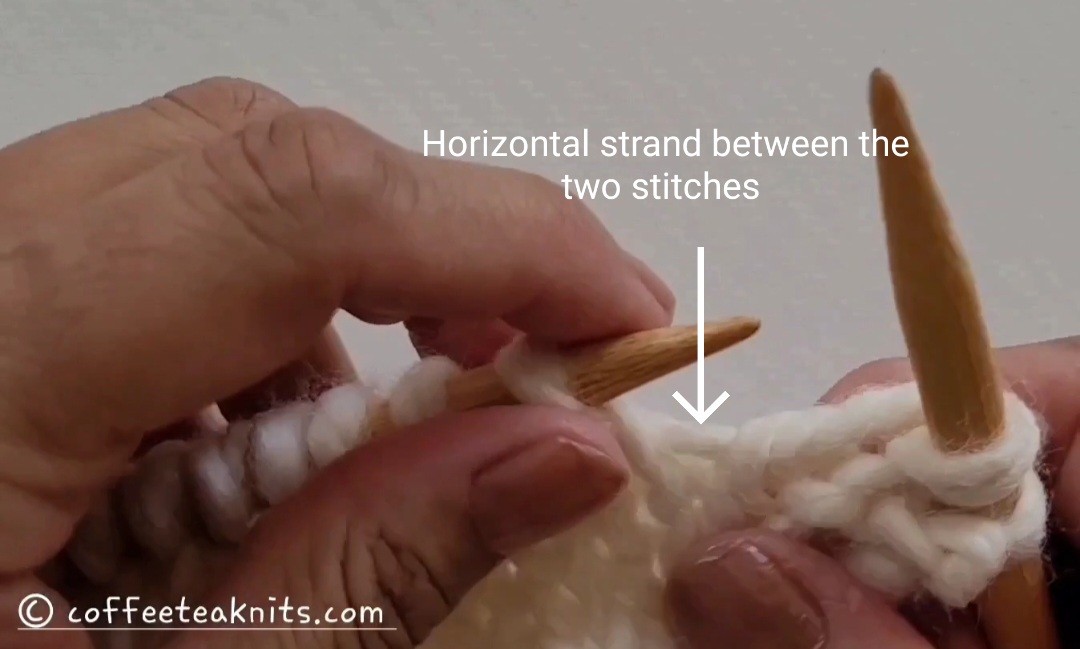
The horizontal strand between the stitch just worked on the right knitting needle and the stitch on the left knitting needle is lifted and placed on the left knitting needle. The loop made by the horizontal strand on the left knitting needle is then knit to create an extra stitch.


Advertisements

The make one (M1R or M1L) increase technique is used in the shaping of knitted items such as shawls, sweaters etc.


The video clip and the written instructions below show how to make one right (M1R) and then how to make one left (M1L) for right hand knitting.

Make One (M1R and M1L):

Advertisements


Written Instructions for M1R and M1L:

Make One Right (M1R):

  • To M1R increase, insert left knitting needle from back to front under the horizontal strand between the stitch on the right and the left knitting needle
  • Slip the horizontal strand loop on the left knitting needle
  • Insert the right knitting needle in the front leg of the loop on the left knitting needle (Tip: Loosen the front leg of the loop by tugging and pulling it with the right knitting needle as shown in the video clip above)
  • Knit (Tutorial Series: Knit and Tink) the front leg of the horizontal strand loop to increase one stitch
Advertisements

Make One Left (M1L):

  • To M1L increase, insert left knitting needle front to back under the horizontal strand between the stitch on the right and the left knitting needle
  • Slip the horizontal strand loop on the left knitting needle
  • Insert the right knitting needle in the back leg of the loop on the left knitting needle
  • Knit (Tutorial Series: Knit and Tink) the back leg of the horizontal strand loop to increase one stitch
Advertisements

~coffeeteaknits.com

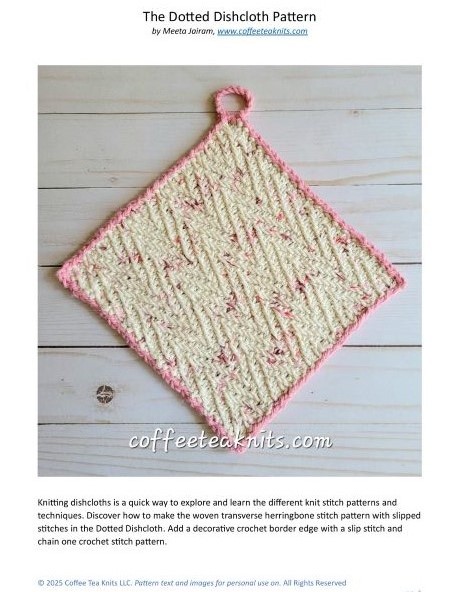
The Dotted Dishcloth Pattern PDF

The Dotted Dishcloth Pattern PDF includes the following:

  • It is 4 pages with images
  • It has detailed knitting instructions to knit the Dotted Dishcloth with the textured woven transverse herringbone knit stitch pattern
  • It has the Abbreviations and Materials sections for this dishcloth
  • It also includes detailed instructions with an image on how to crochet the slip stitch border edge

Knitting Skills: knit, purl, slipping stitches purlwise, cast-on, and bind off
Crochet Skills: slip knot, crochet slip stitch, and chain one

Good for beginners who want to explore textured stitch patterns and techniques

Download and enjoy this ad-free pattern pdf. The Dotted Dishcloth pattern was originally posted in June 2024 on Coffee Tea Knits

Thank you to my subscribers and readers of this blog. As always your feedback is much appreciated.


~coffeeteaknits.com

.

.

2025 Year in Review and an Announcement

Hello folks, hope 2025 went well for you. For me, 2025 has been an eventful year. I published seven knit or crochet patterns, nine knitting or crochet technique video tutorials, and a few tidbits.

2025 also brought me some endings, loss, grief, celebrations, and not-so-fun health issues.

There’s also been a change in my journey with yarn.

After 55 published patterns, the call of yarn in my life has led me to a new beginning.

Coffee Tea Knits will be returning in January 2026 with new video tutorials and tidbits.

Stay tuned for updates as we explore the world of yarn and needles together.

Thank you to the fiber related crafts community. I am grateful to the subscribers and readers of this blog. Your feedback and encouragement have been invaluable in my journey with yarn.

All the best to you in the New Year!


~coffeeteaknits.com

The Dilemma of Leftover Yarn

Hello folks, I’m in the process of organizing my yarn. I face a dilemma because I do not know what to do with the project leftover yarn. The project leftover yarn has accumulated quite a bit over the years I’ve been knitting or crocheting.

I sometimes have a whole skein or two left over and sometimes just a small amount of yarn left over. With a skein or two of leftover yarn, making a hat, a dishcloth, or other small knitted items is possible. I have made such items in the past. I have also donated leftover skeins of yarn to charity.

The small amount of project leftover yarn puzzles me. I have no idea what to do with these bits of yarn leftover from a knitting or crochet project. Below is a picture of a small sample of the leftover yarn that I have. I probably have about 2 bags full of these bits and pieces of yarn.


Advertisements

Leftover yarn a, b, c, d, and e in the image above are from these knitting and crochet projects:


Advertisements

Is there something I can make out of this that is aesthetically pleasing? It’s hard for me to find the time. I struggle to find the motivation to mix them up to knit or crochet something. I don’t find the prospect of just knitting or crocheting for the sake of making something very appealing.

Your Suggestions/Feedback:

Do you also have an accumulation of project leftover yarn? Comment below on how you deal with these bits and pieces of project leftover yarn?


~coffeeteaknits.com

Tutorial Series: Slip, Knit, Pass (Skp)

The Skp is a method used to decrease one stitch in knitting. Skp means to slip 1 stitch, either knitwise or purlwise. Then, knit 1 stitch. Finally, pass the slipped stitch over the knit stitch. Unlike K2tog (Tutorial Series: K2tog and P2tog) which is a right slanting decrease, Skp is a left slanting decrease. When you slip the stitch knitwise or purlwise, the knitting looks different. This topic is covered in the Tutorial Series: Slipping Stitches (knitwise and purlwise). A knitting pattern usually will specify how to slip a stitch. Below are samples of Skp knitwise and Skp purlwise.

Advertisements


The video and written instructions below show how to slip stitches knitwise and purlwise for right-hand knitting.

Slip, Knit, Pass (Skp): Video below shows how to Skp knitwise and then purlwise

Advertisements


Written Instructions for Skp (knitwise and then purlwise):

  • Slip the next stitch (knitwise or purlwise) on the left knitting needle onto the right knitting needle
  • Knit (Tutorial Series: Knit and Tink) the next stitch on the left knitting needle
  • Insert the left knitting needle into the front loop of the slipped stitch on the right knitting needle
  • Pull and lift the slipped stitch with the left knitting needle and pass it over the knitted stitch on the right knitting needle
  • Slide the slipped stitch off the right knitting needle
  • Repeat as specified in a knitting pattern to make one stitch decrease

~coffeeteaknits.com

Tutorial Series: Slipping Stitches (Knitwise versus Purlwise)

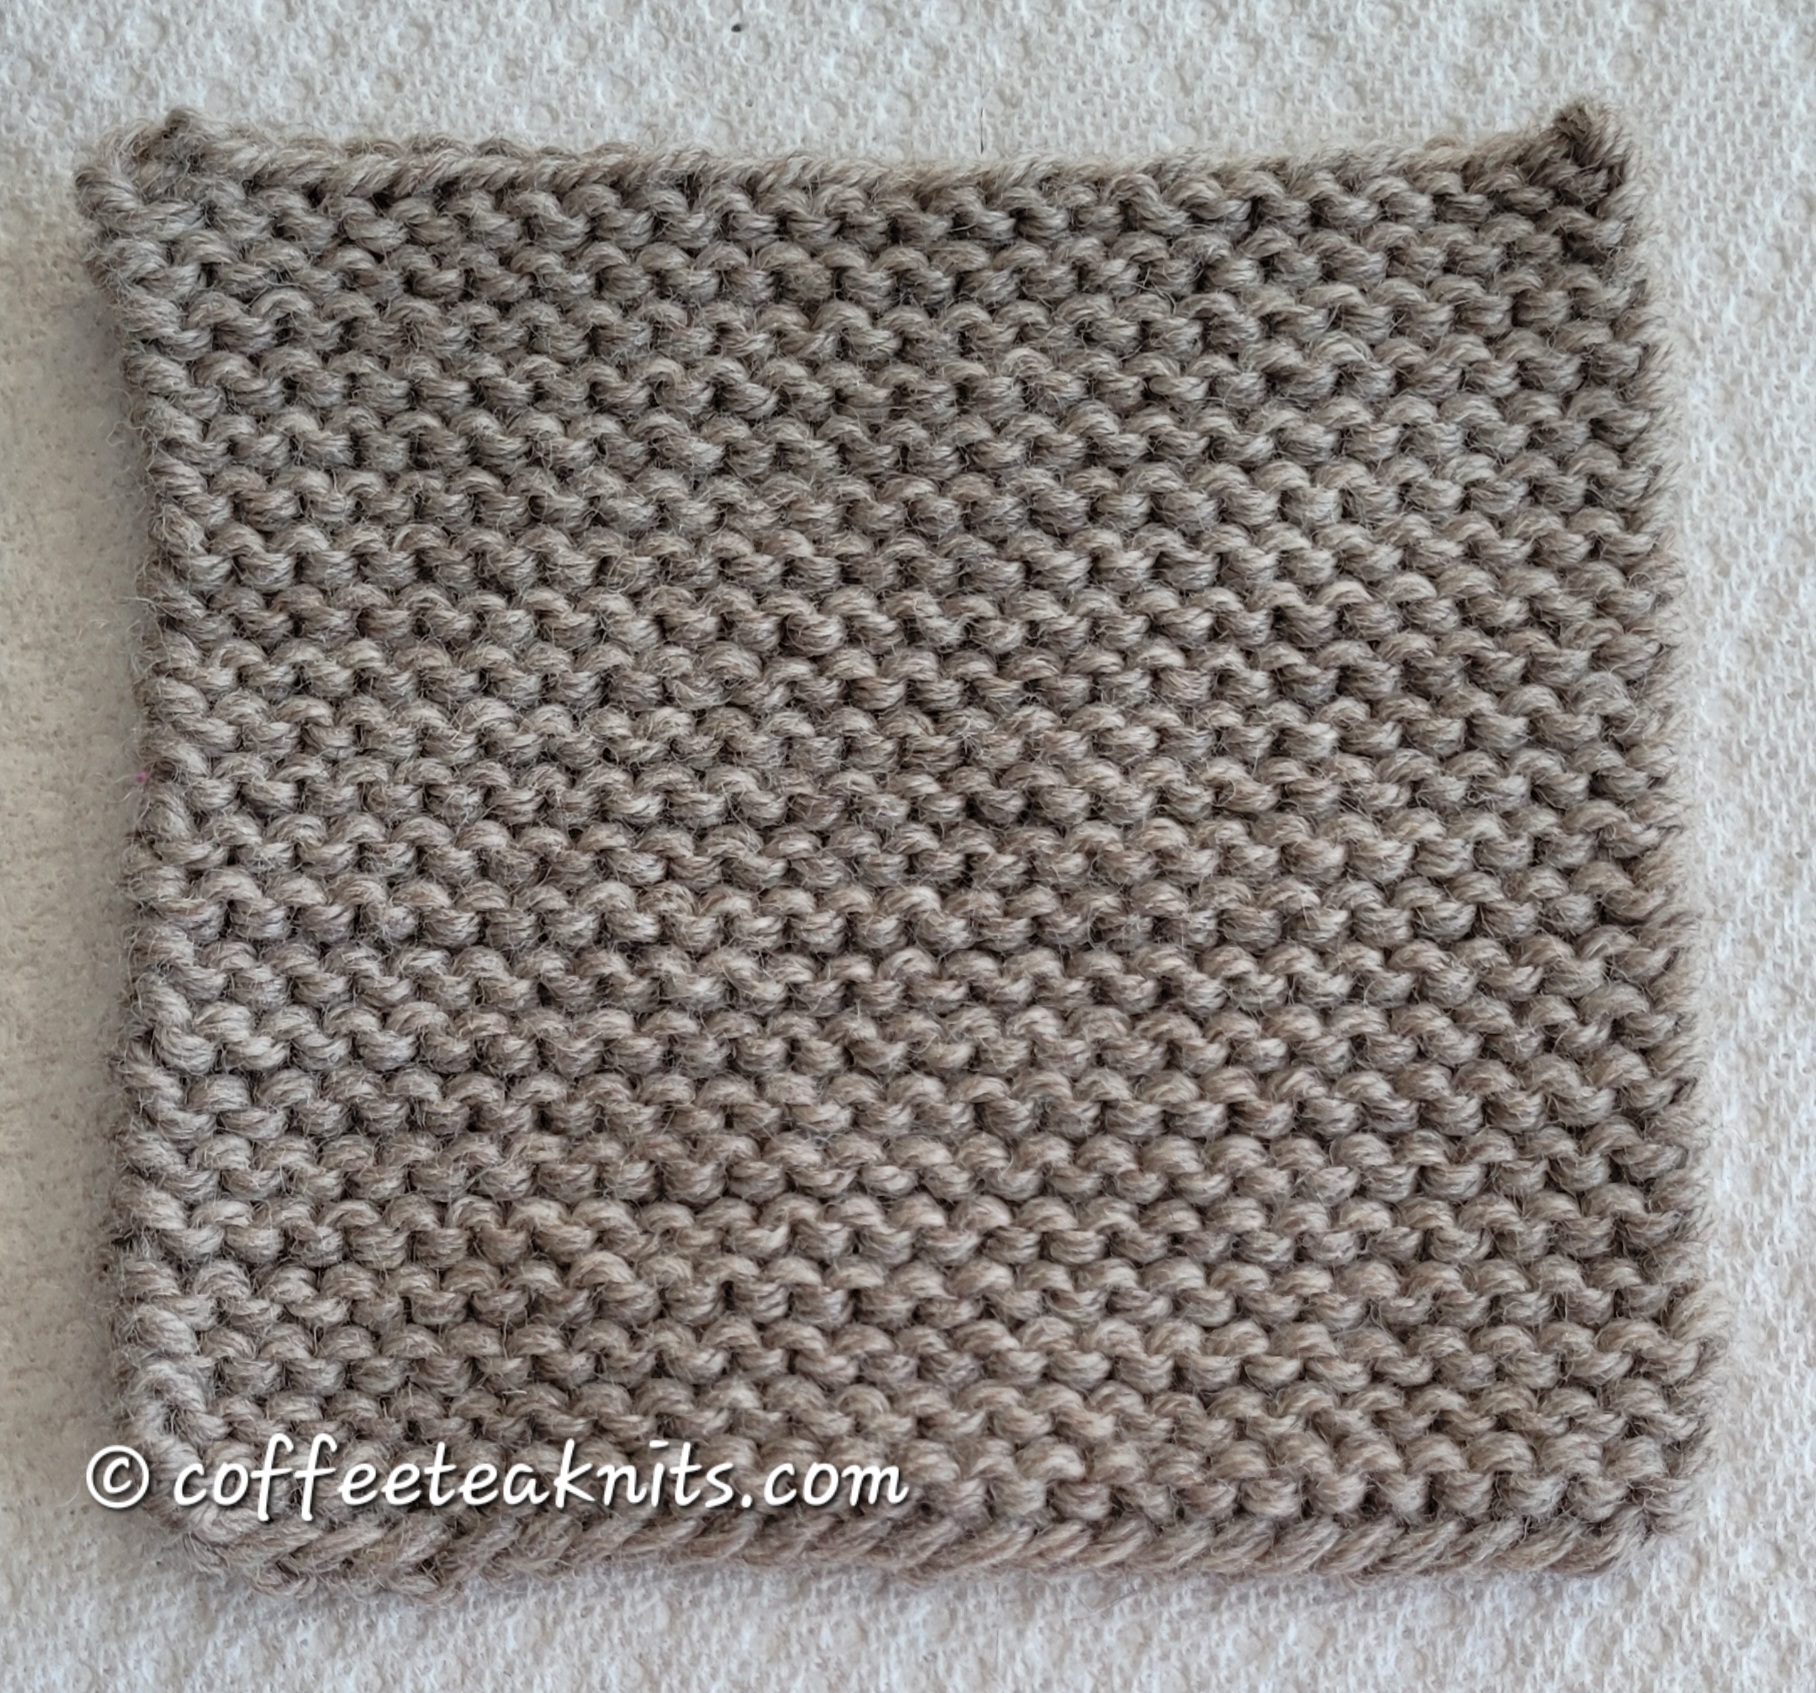
Slipped Stitches are stitches that have not been worked (knitted or purled) with the working yarn. These stitches are just transferred from the left knitting needle to the right knitting needle. The stitches can be slipped to the right knitting needle either knitwise or purlwise. A knit pattern will usually specify how the stitches are to be slipped. Otherwise the default is to slip stitches purlwise. Below is a garter stitch sample with stitches slipped either knitwise or purlwise on the right side. These slipped stitches are then purled on the wrong side of the work. There is some difference in how the stitches look when slipped knitwise versus when they are slipped purlwise.


Advertisements


Slipped stitches can be used at the end of the row to create a neat border edge. The Hydrangea Dishcloth is one example where I’ve used slipped stitches at the end of the rows. The Knotted Dishcloth also uses slipped stitches for a neat border edge. Slipped stitches are used to create textured patterns in knitting. The Dotted Dishcloth is an example where slipped stitches create a textured knit stitch pattern. The Light Unexpected Find Wrap as well as The Unexpected Find Wrap also uses the same technique. Slipped stitches are also used in colorwork knitting such as mosaic knitting. An example of slipped stitches in colorwork knitting is The Brick and Mortar Dishcloth.


The video and written instructions below show how to slip stitches knitwise and purlwise for right-hand knitting.

Slipping Stitches (Knitwise):


Slipping Stitches (Knitwise) written instructions:

  • Insert the right knitting needle from back to front in the front loop of the first stitch on the left knitting needle
  • Holding the stitch with the right needle, slip the first stitch off the left knitting needle and onto the right knitting needle

Advertisements

Slipping Stitches (Purlwise):


Slipping Stitches (Purlwise) written instructions:

  • Insert the right knitting needle from front to back in the front loop of the first stitch on the left knitting needle
  • Holding the stitch with the right knitting needle, slip the stitch off the left knitting needle and onto the right knitting needle

Leave a comment below on how you use slipped stitches in your knitting


~coffeeteaknits.com

The Waiting Season Cowl Pattern


It’s the end of September and the leaves have begun to show their glorious autumnal colors. Nature is preparing to slow down and there is anticipation in the air. It’s a season to pause, to wait. We expect and linger to admire the glorious colors of autumnal leaves. We know that pretty soon the trees will be bare and Nature will rest for a few months. As a knitter/crocheter I wait for this season to start knitting with wool yarn again. It’s a season of fiber festivals and warm beverages. A season to curl up with our knitting/crochet projects and dream of all the new things to make.

Advertisements

The Waiting Season Cowl is a rectangular scarf crocheted using the alternate crochet moss stitch like the Silky Long Scarf. The bind off edge is then joined to the side of the rectangular scarf to make the cowl. Stitches are picked up at the collar edge to knit a few rounds of 1×1 ribbing. The bottom edge of the cowl is finished with a round of the crochet moss. After that, a round of crochet shell stitch is added to complete the bottom edge of the cowl. The fingering weight budget friendly yarn is 100% superwash merino wool. This hand dyed tonal yarn reflects the vibrant autumnal colors. The Waiting Season Cowl was such an enjoyable project to crochet and knit.


Advertisements

The Waiting Season Cowl Pattern
(text and images for personal use only)

PLEASE SUBSCRIBE FOR THE FREE PATTERN. THANK YOU

Subscribe to continue reading

Subscribe to get access to the rest of this post and other subscriber-only content.

Tutorial Series: Double Vertical Decrease (S2kp)

In the double vertical decrease (S2kp), two stitches are decreased by slipping 2 stitches knitwise. Then, the next stitch is knit. Finally, the 2 slipped stitches are passed over the knitted stitch. This double vertical decrease is used for shaping in knitting. I used this technique in the Hydrangea Dishcloth and in the With a Twist Dishcloth. I like this method for the mitered square shaped dishcloths. The double decrease creates a straight vertical knit stitch when used in the center of the work. The video and written instructions below show how to do a double vertical decrease (s2kp) for right-hand knitting.


Advertisements


The Double Vertical Decrease (S2kp):

Advertisements


Steps to make a Double Vertical Decrease (S2kp):

Advertisements
1. Insert the right knitting needle into the front of second and then the first stitch as if to knit 2 together
2. Slip the 2 stitches off the left knitting needle and onto the right knitting needle

3. The 2 slipped stitches are now on the right knitting needle
4. Knit the next stitch from the left knitting needle onto the right knitting needle
5. Insert the the left knitting needle into the front loop on the 2 slipped stitches
6. Catch and hold the 2 slipped stitches onto the left knitting needle
7. Pass the 2 held slipped stitches on the left knitting needle over the knitted stitch on the right knitting needle
8. The double vertical decrease (slip 2 stitches, knit 2, pass the slipped stitch over the knitted stitch) is now on the right knitting needle
9. Tug the working yarn to tighten the double vertical decrease stitch
Advertisements


Repeat Steps 1 through 9 for the double vertical decrease (s2kp)


~coffeeteaknits.com

The Silky Long Scarf Pattern


JoAnn Fabrics closed it stores May 2025. Of course I went on a yarn-buying spree there before it closed. I’m sure other knitters and crocheters did too. One of my purchases was KC Botanical by K+C Yarns, a yarn exclusive to JoAnn Fabrics. Unfortunately it’s not available now since the store has closed. While the yarn is discontinued, there may be some still be available on eBay, Amazon, etc. Yarn Sub offers a list of yarns the can be substituted for the KC Botanical yarn. This yarn is a bamboo viscose and cotton blend with a soft shiny sheen. It’s smooth and drapes well. I used this yarn in a different colorway to crochet The Favorite Things Cowl. The yarn is thick and made up of several (I counted 18) strands of thinner threads. Because of the several strands it has a tendency to split at times while crocheting. Overall I like this yarn and crocheted The Silky Long Scarf with it.

Advertisements

The Silky Long Scarf is a rectangular scarf. It is crocheted flat from corner to corner using a single crochet, chain one stitch pattern. The Silky Long Scarf like The Springtime Baby Blanket and Favorite Things Cowl starts with a chain of 2. There is an increase section, a length extension section, and a decrease section. In the increase section, four stitches are increased every other row. This continues until a specific number of stitches is reached. In the length extending section the number of stitches stays the same while the scarf increases in length. Finally in the decrease section, four stitches are decreased every other row down to one stitch. A crochet moss stitch in the round is used as a border to finish the scarf. The Silky Long Scarf pattern is beginner friendly and the length or the width can be customized easily.


Advertisements

The Silky Long Scarf Pattern (text and images for personal use only)

Materials Needed:
Yarn: KC Botanical by K+C Yarn in the Camel colorway (2 skeins used for the scarf). An image of the yarn label with more information is shown below


Gauge:  4.5 stitches per inch in the variation crochet moss stitch pattern 
Crochet hook: US size H-8 (5.00 mm) 
Tapestry needle to weave in ends

Advertisements

Abbreviations:
sc: single crochet (Tutorial Series: How to Single Crochet)
[…]: pattern repeat
Skill Level: Beginner friendly pattern with single crochet and crochet chains


Crochet Foundation Chain:

  • Chain 2 using US size H-8 (5.00 mm) crochet hook

Advertisements

Increase Section:

  • Row 1 (RS): Single crochet, chain 1 in the second foundation chain stitch from the crochet hook, sc, chain 1 again in the same second stitch and turn
  • Row 2 (WS): Single crochet in the second stitch from the crochet hook, chain 1, skip a stitch and sc in the last stitch, chain 1 and turn (4 stitches)
Advertisements
  • Row 3 (RS): Single crochet in the second stitch from the crochet hook, chain 1, sc in the same stitch again, chain 1, skip a stitch, and sc in the last stitch, chain 1, sc in the same last stitch again, chain 1 and turn 
  • Row 4 (WS): Single crochet in the second stitch from the crochet hook, chain 1, [skip a stitch, sc in the next stitch, chain 1], repeat […] till the last stitch, sc in the last stitch, chain 1 and turn (8 stitches)
Advertisements
  • Row 5 (RS): Single crochet in the second stitch from the crochet hook, chain 1, sc in the same stitch again, chain 1, [skip a stitch, sc in the next stitch, chain 1], repeat […] till the last stitch of the row, sc in the last stitch, chain 1, sc again in the same last stitch, chain 1 and turn 
  • Row 6 (WS): Single crochet in the second stitch from the crochet hook, chain 1, [skip a stitch, sc in the next stitch, chain 1], repeat […] till the last stitch, sc in the last stitch, chain 1 and turn (12 stitches)
Advertisements

Repeat Rows 5 and 6 of the increase section till 28 stitches in the row. The width can be increased by continuing repeats of Rows 5 and 6 till preferred width reached. The Silky Long Scarf is about 5 inches wide. 


Advertisements

Length Extension Section: There is an increase of two stitches in the beginning of the row and a decrease of two stitches at the end of the row. 

  • Row 1 (RS): Single crochet in the second stitch from the crochet hook, chain 1, sc in the same stitch again, chain 1, [skip a stitch, sc in the next stitch, chain 1], repeat […] till 4 stitches left, insert crochet hook into the next stitch, yarn over and pull the loop under and through that stitch (there are 2 loops on the crochet hook), skip a stitch and insert hook in the last stitch, yarn over and pull the loop under and through that stitch (three loops on the hook), yarn over and pull loop through the three loops on the hook, chain 1 and turn
Advertisements
  • Row 2 (WS): Single crochet in the second stitch from the crochet hook, chain 1, [skip a stitch, sc in the next stitch, chain 1], repeat […] till the last stitch, sc in the last stitch, chain 1 and turn

Repeat Rows 1 and 2 of the length extension section till preferred length is reached. The Silky Long Scarf is about 94 inches in length


Advertisements

Decrease Section:

  • Row 1 (RS): Skip the first stitch, insert crochet hook into the next stitch, wrap yarn around the crochet hook and pull the loop under and through that stitch (there are 2 loops on the crochet hook), skip a stitch and insert hook in the next stitch (4th stitch from the beginning), wrap yarn around the crochet hook and pull the loop under and through that stitch (three loops on the hook now), yarn over and pull loop through the three loops on the hook, chain 1, [skip a stitch, sc in the next stitch, chain 1], repeat […] till 4 stitches left, insert crochet hook into the next stitch, yarn over and pull the loop under and through that stitch (there are 2 loops on the crochet hook), skip a stitch and insert hook in the last stitch, yarn over and pull the loop under and through that stitch (three loops on the hook), yarn over and pull loop through the three loops on the hook, chain 1 and turn
  • Row 2 (WS): [Skip the first stitch and sc in the next stitch, chain 1], repeat […] till 2 stitches left, sc in the last stitch, chain 1, and turn 
Advertisements

Repeat Rows 1 and 2 of the decrease section till 4 stitches left. Facing the right side of the work, insert hook into the second stitch, yarn over and pull the working yarn through that stitch (2 loops on the hook). Skip a stitch and insert crochet hook into the next stitch, yarn over and pull working yarn through that stitch (three loops on the hook). Yarn over and pull working yarn through all three loops. One loop remains on the crochet hook.  


Advertisements

Crochet Moss Stitch Border (in the round):

Round 1:

  • With the remaining loop on the hook, chain 2, sc in the same stitch again and chain 1 (beginning of round). Facing the top left corner of right side of the scarf turn counter clockwise
  • Pick up stitches in the crochet in moss stitch pattern (pick up a stitch and sc, chain 2, skip the next stitch and repeat) all along the left side
Advertisements
  • At the bottom left corner edge stitch of the right side of the scarf, sc, chain 2, sc again in the same corner stitch, chain 2
  • Turn and pick up stitches in the crochet moss stitch pattern (pick up a stitch and sc, chain 2, skip the next stitch and repeat) along the bottom edge.
  • At the bottom right corner edge stitch of the right side of the scarf, sc, chain 2, sc again in the same corner stitch, chain 2
  • Turn and pick up stitches in the crochet in moss stitch pattern (pick up a stitch and sc, chain 2, skip the next stitch and repeat) going up all along the right side
Advertisements
  • At the top right corner edge stitch of the right side of the scarf, sc, chain 2, sc again in the same corner stitch, chain 2
  • Turn and pick up stitches in the last row in the crochet in moss stitch pattern (pick up a stitch and sc, chain 2, skip the next stitch and repeat) along that last row till the beginning of the round.
Advertisements

Insert hook into the chain 2 space of the beginning of round stitch, yarn over and pull working yarn through the remaining loop on the crochet hook.

Weave in the ends. Wash and block the Silky Long Scarf

Advertisements

~coffeeteaknits.com