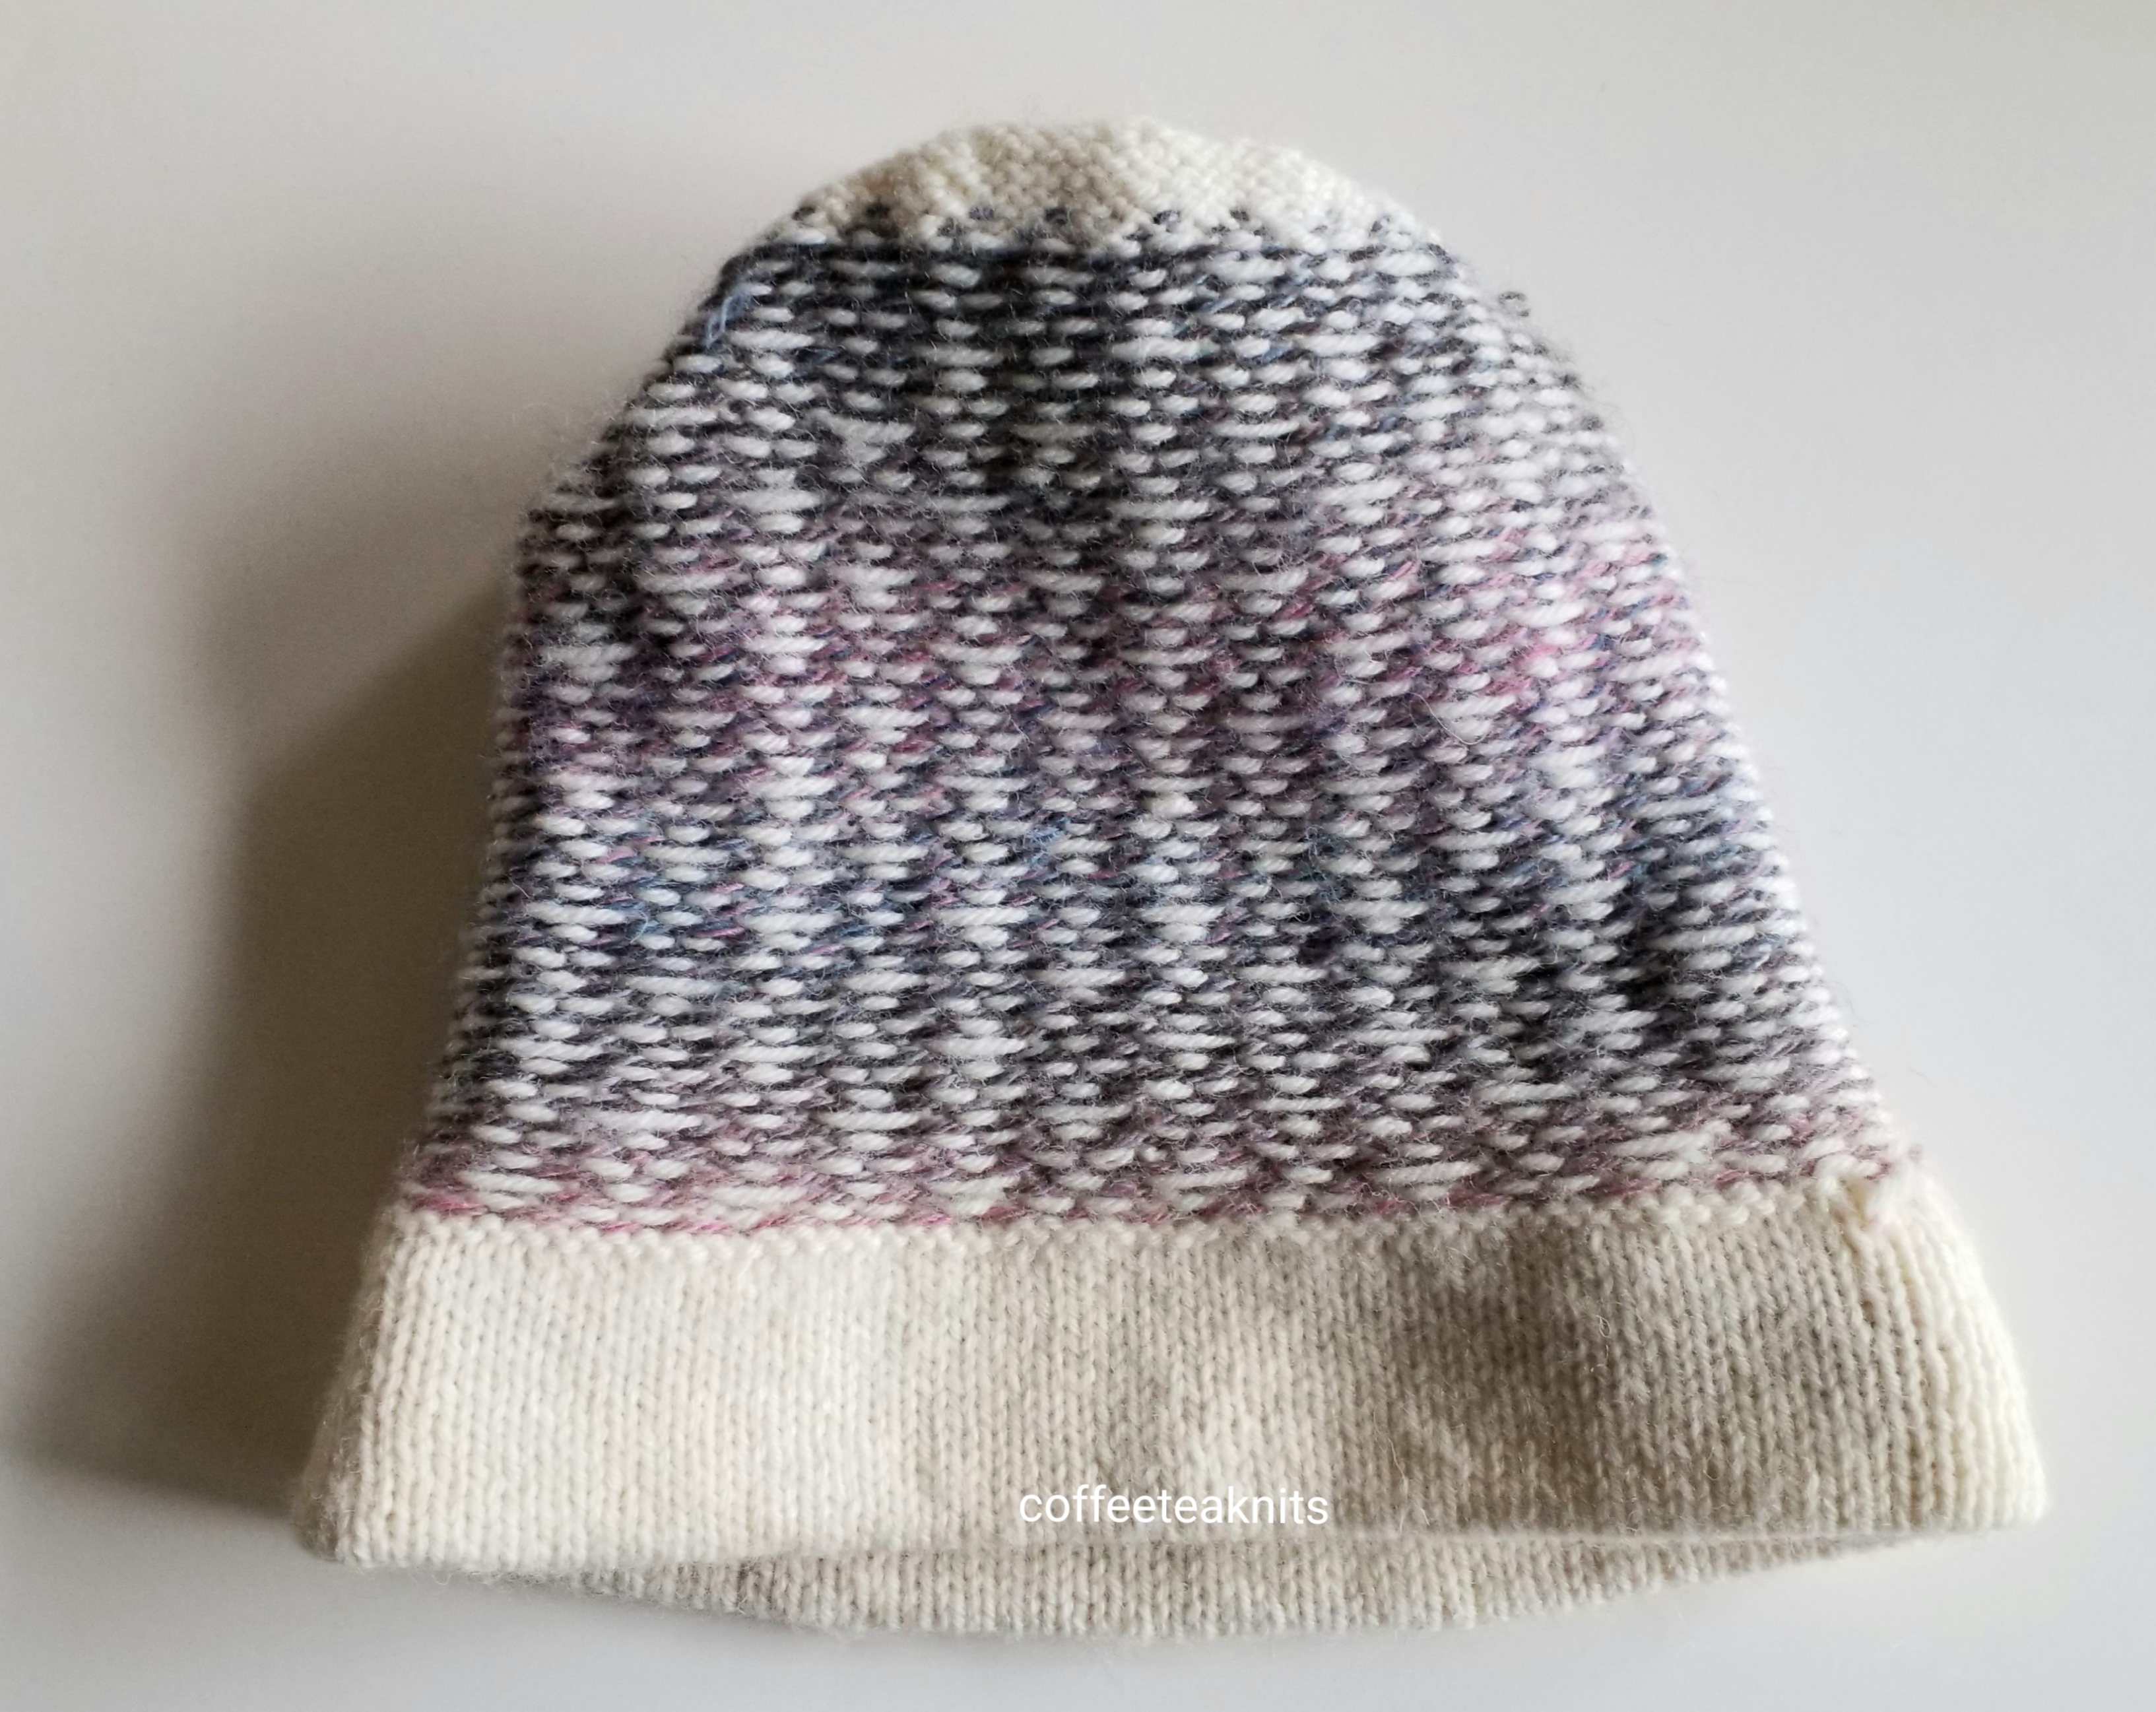
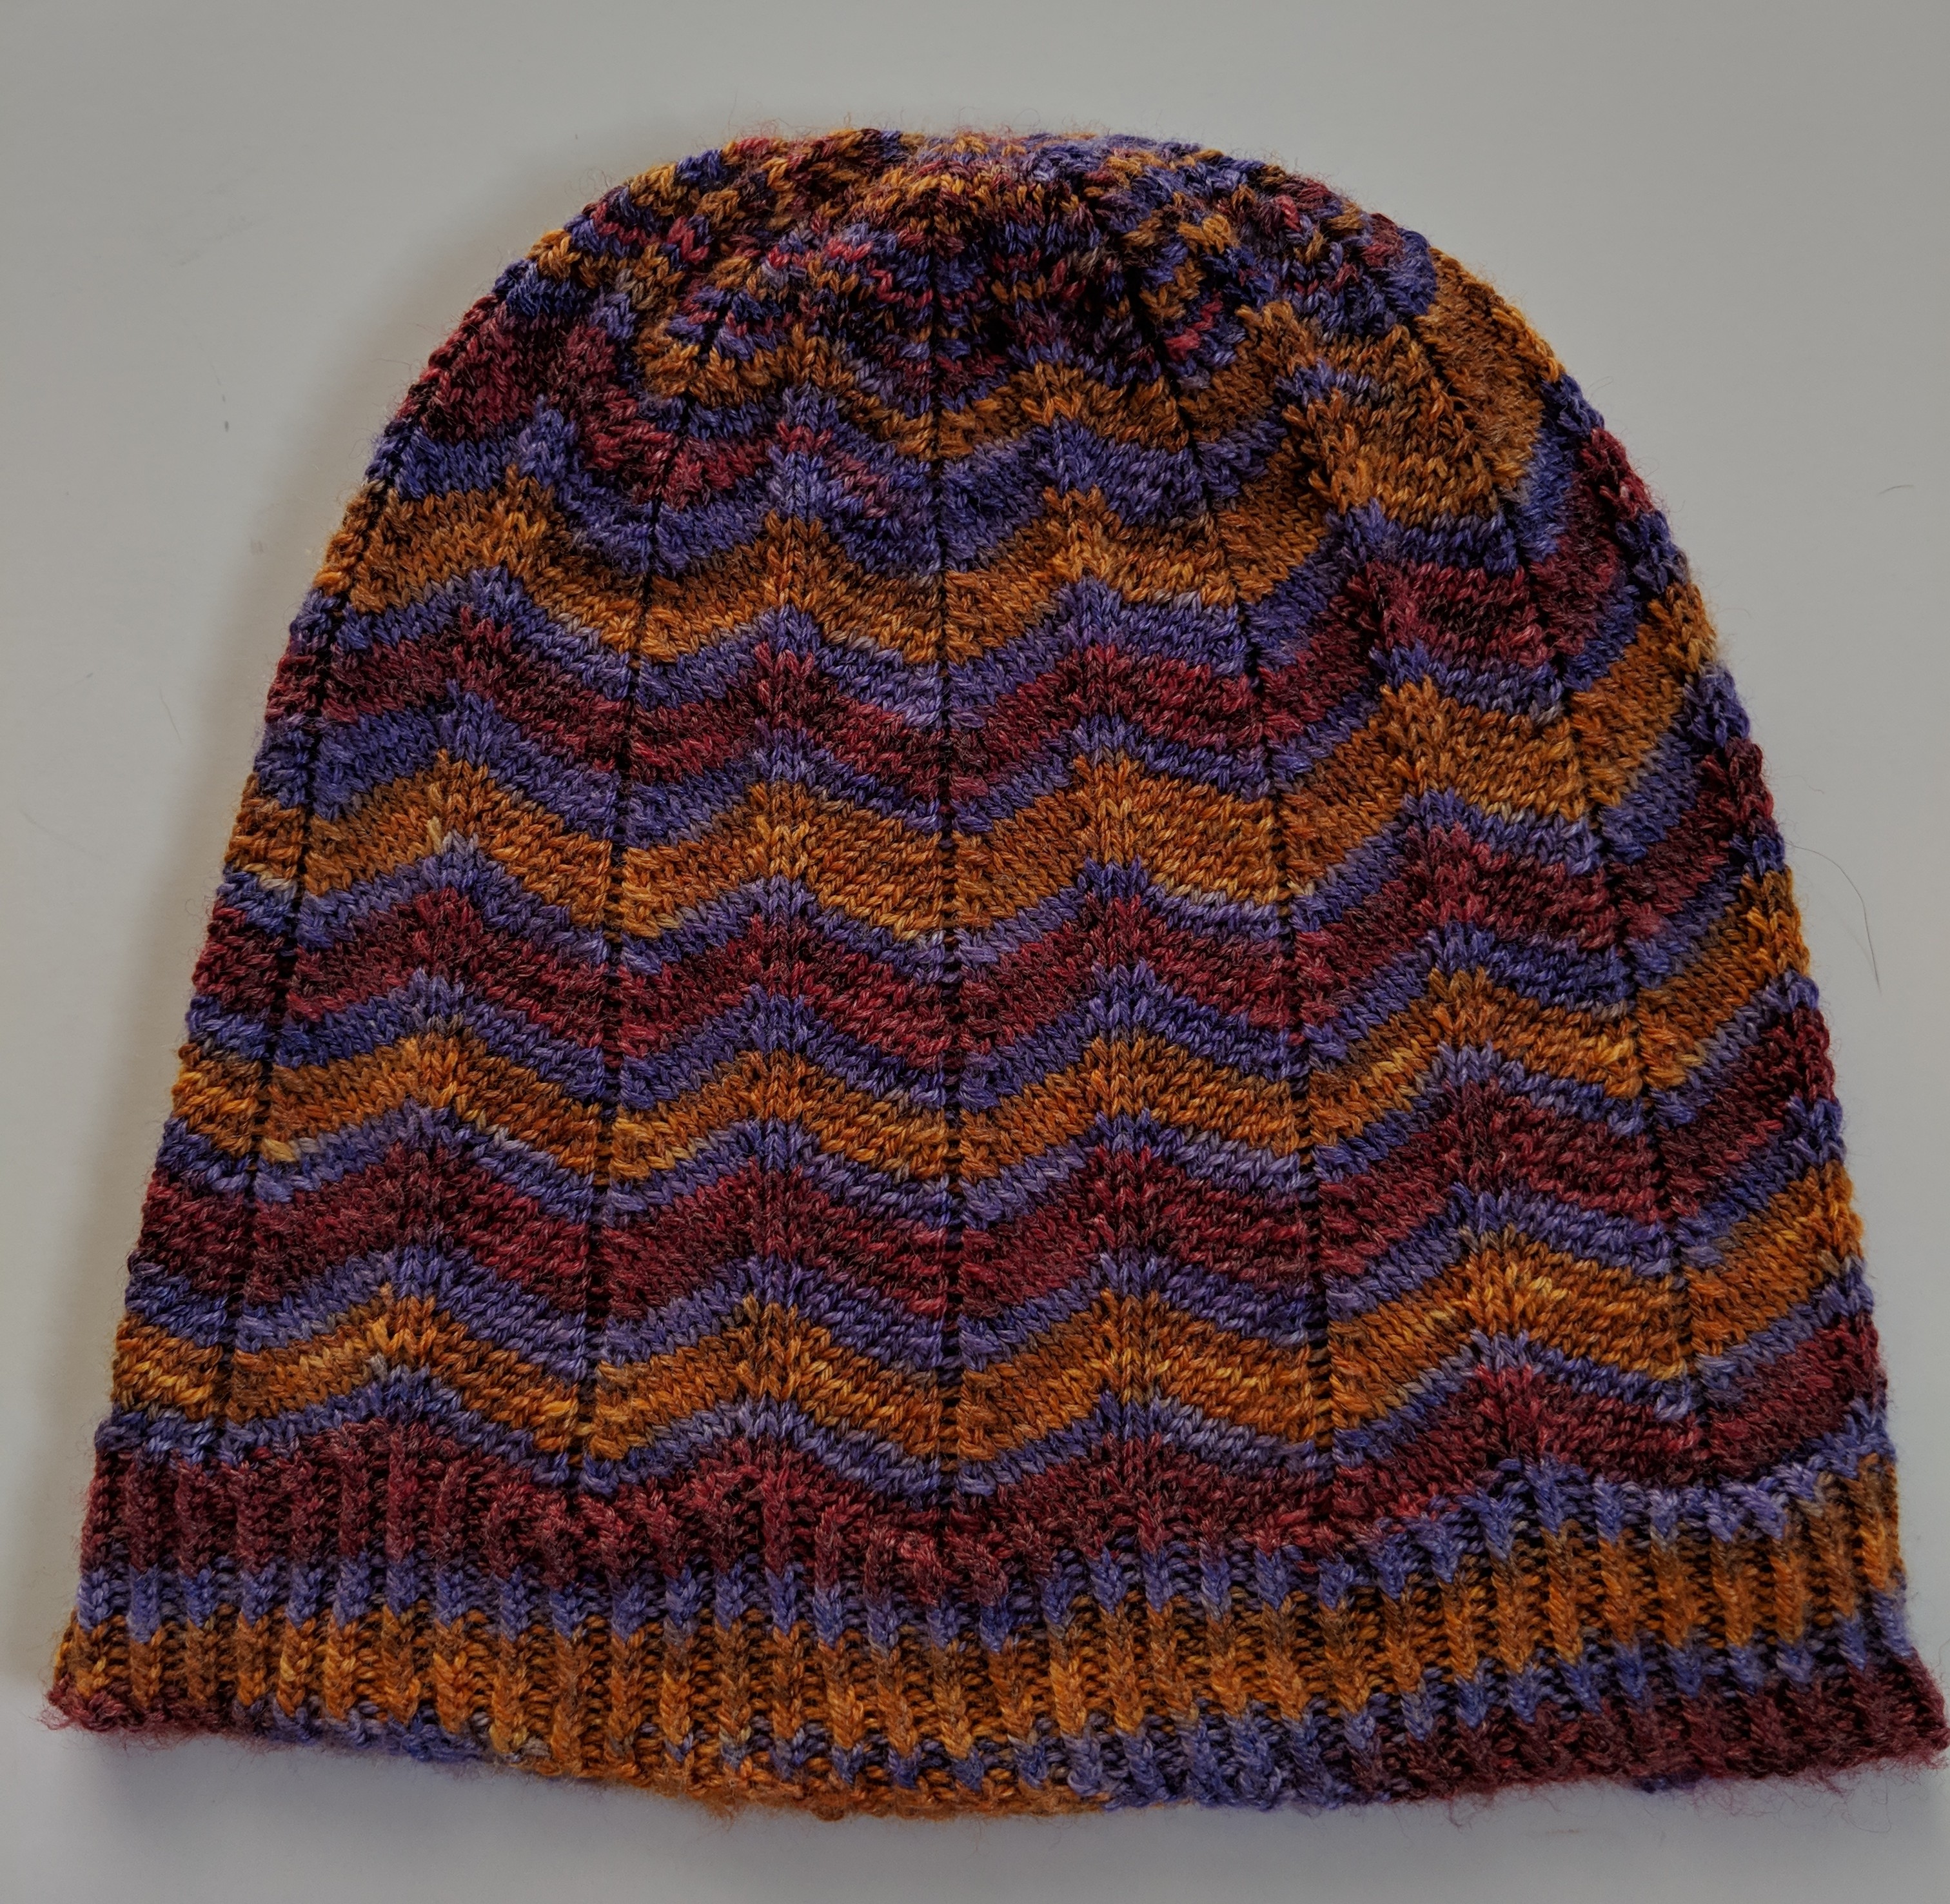
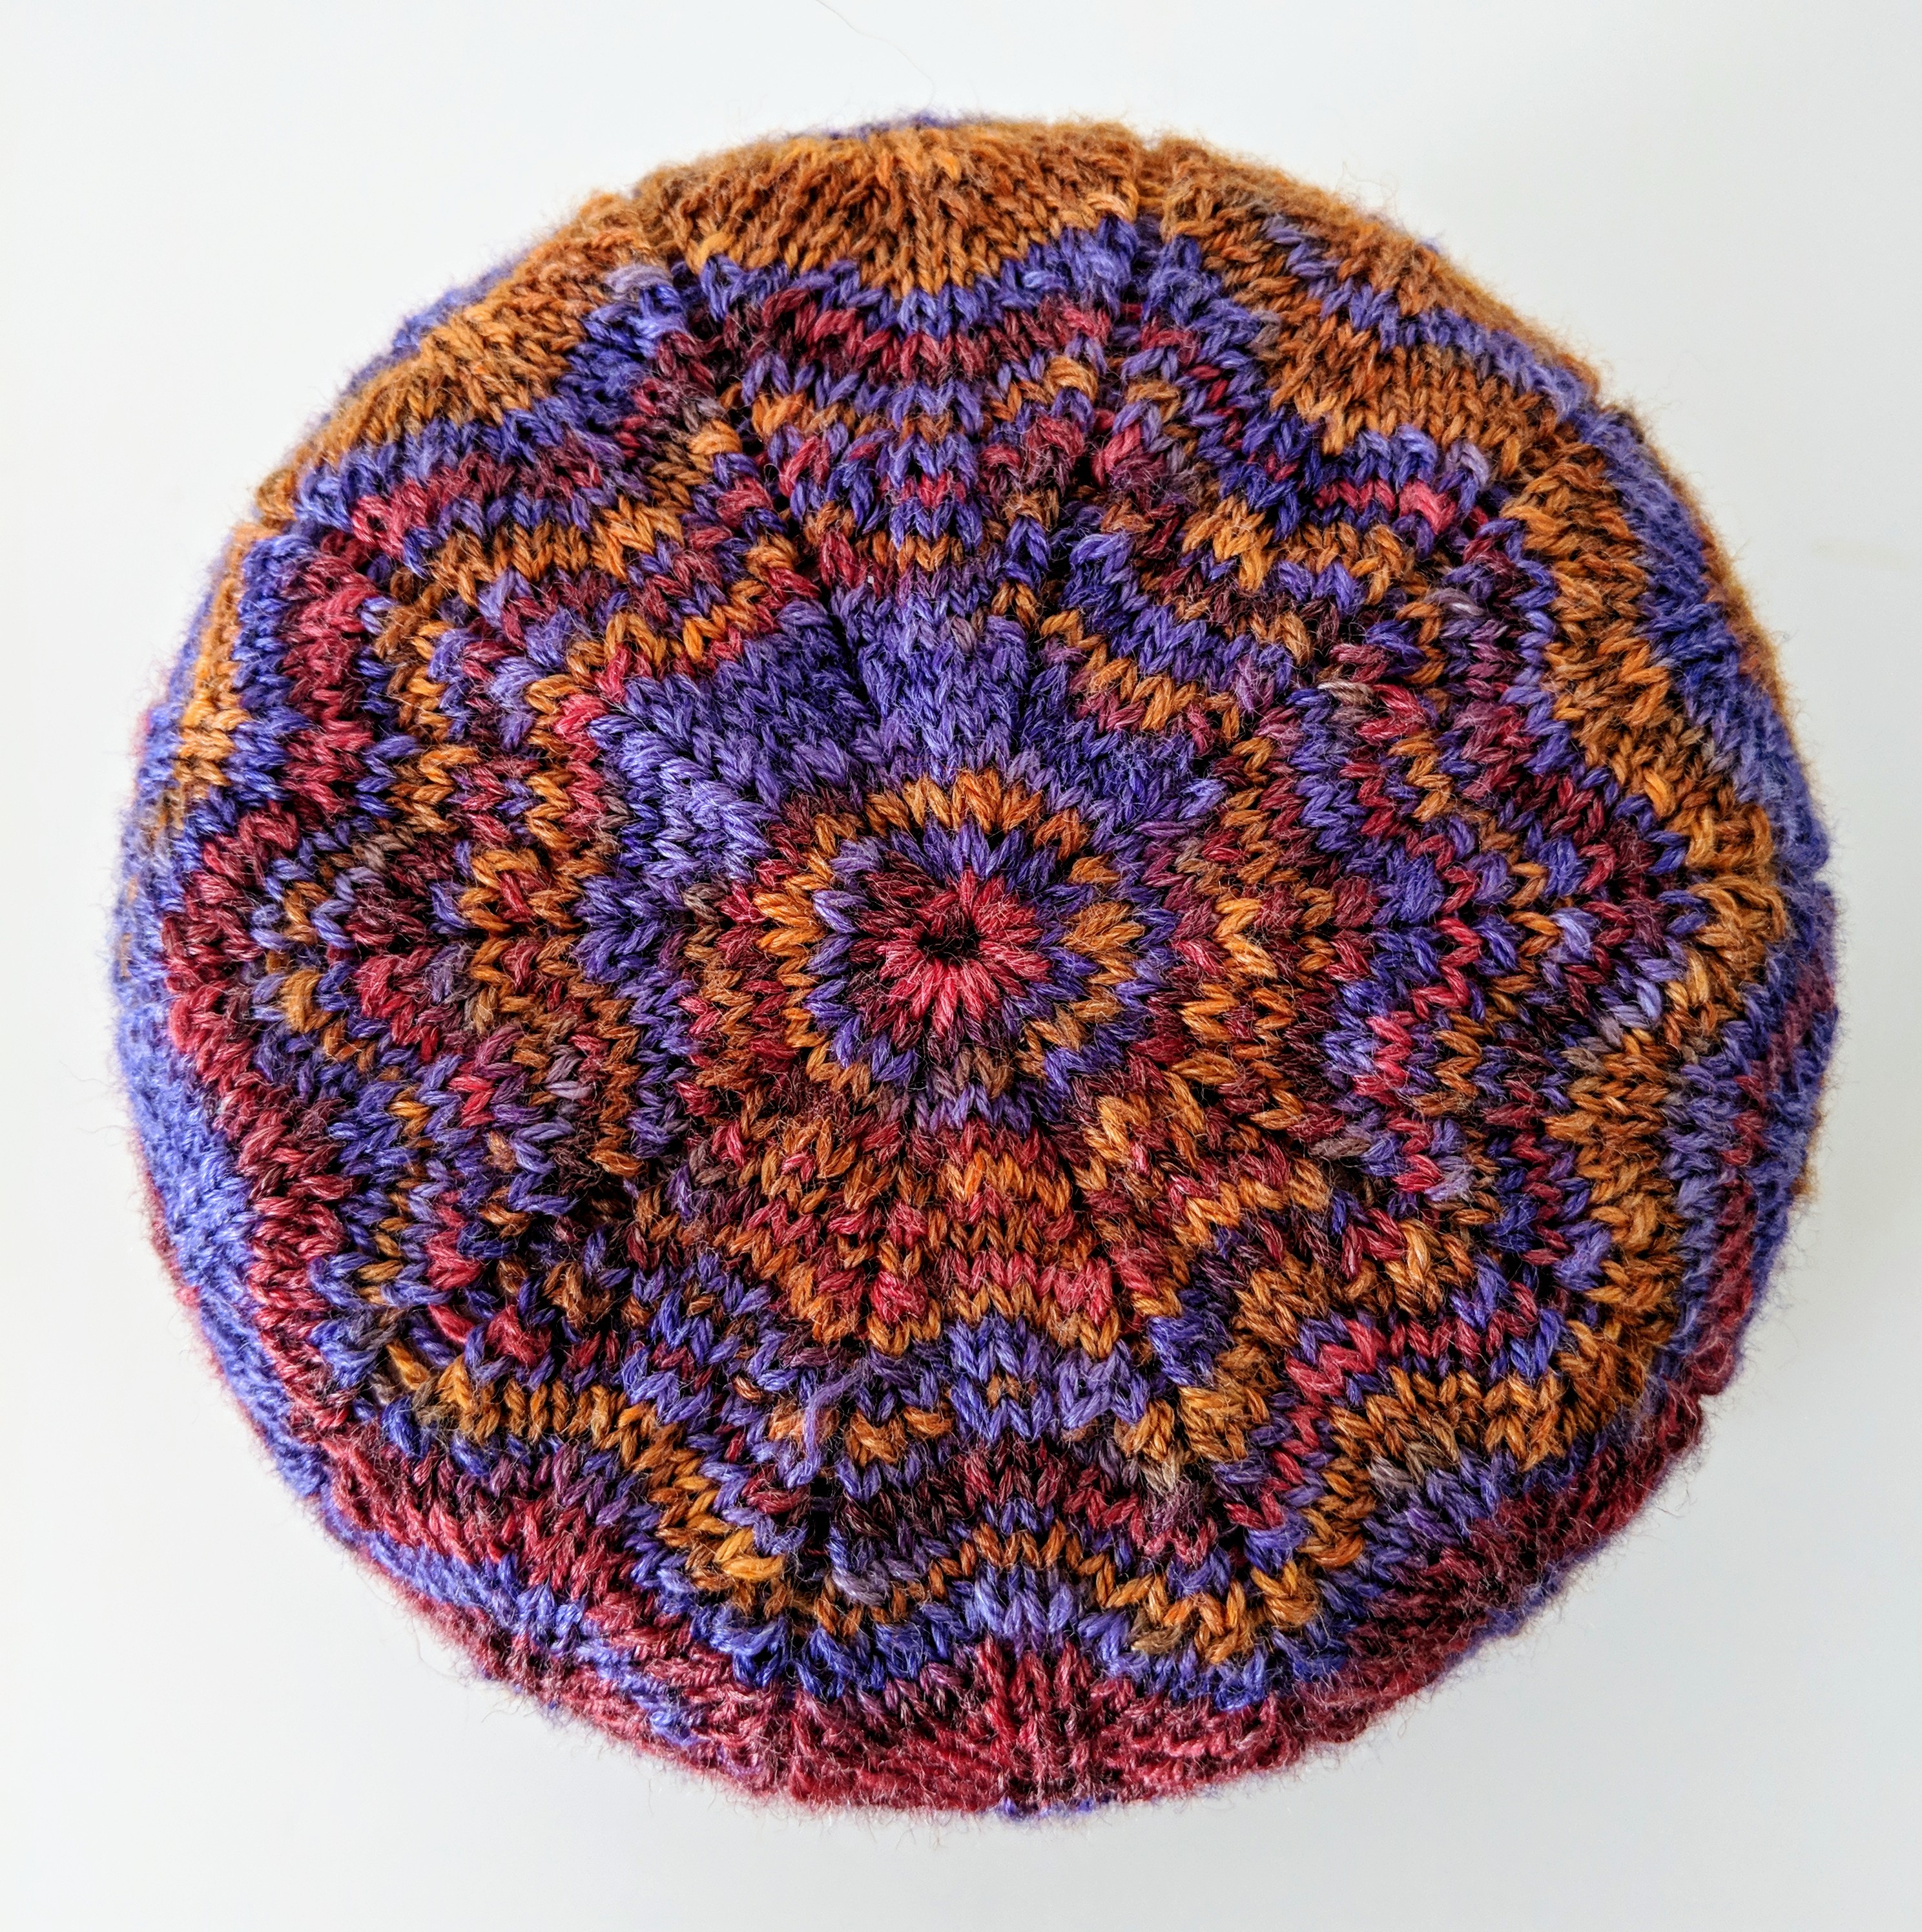
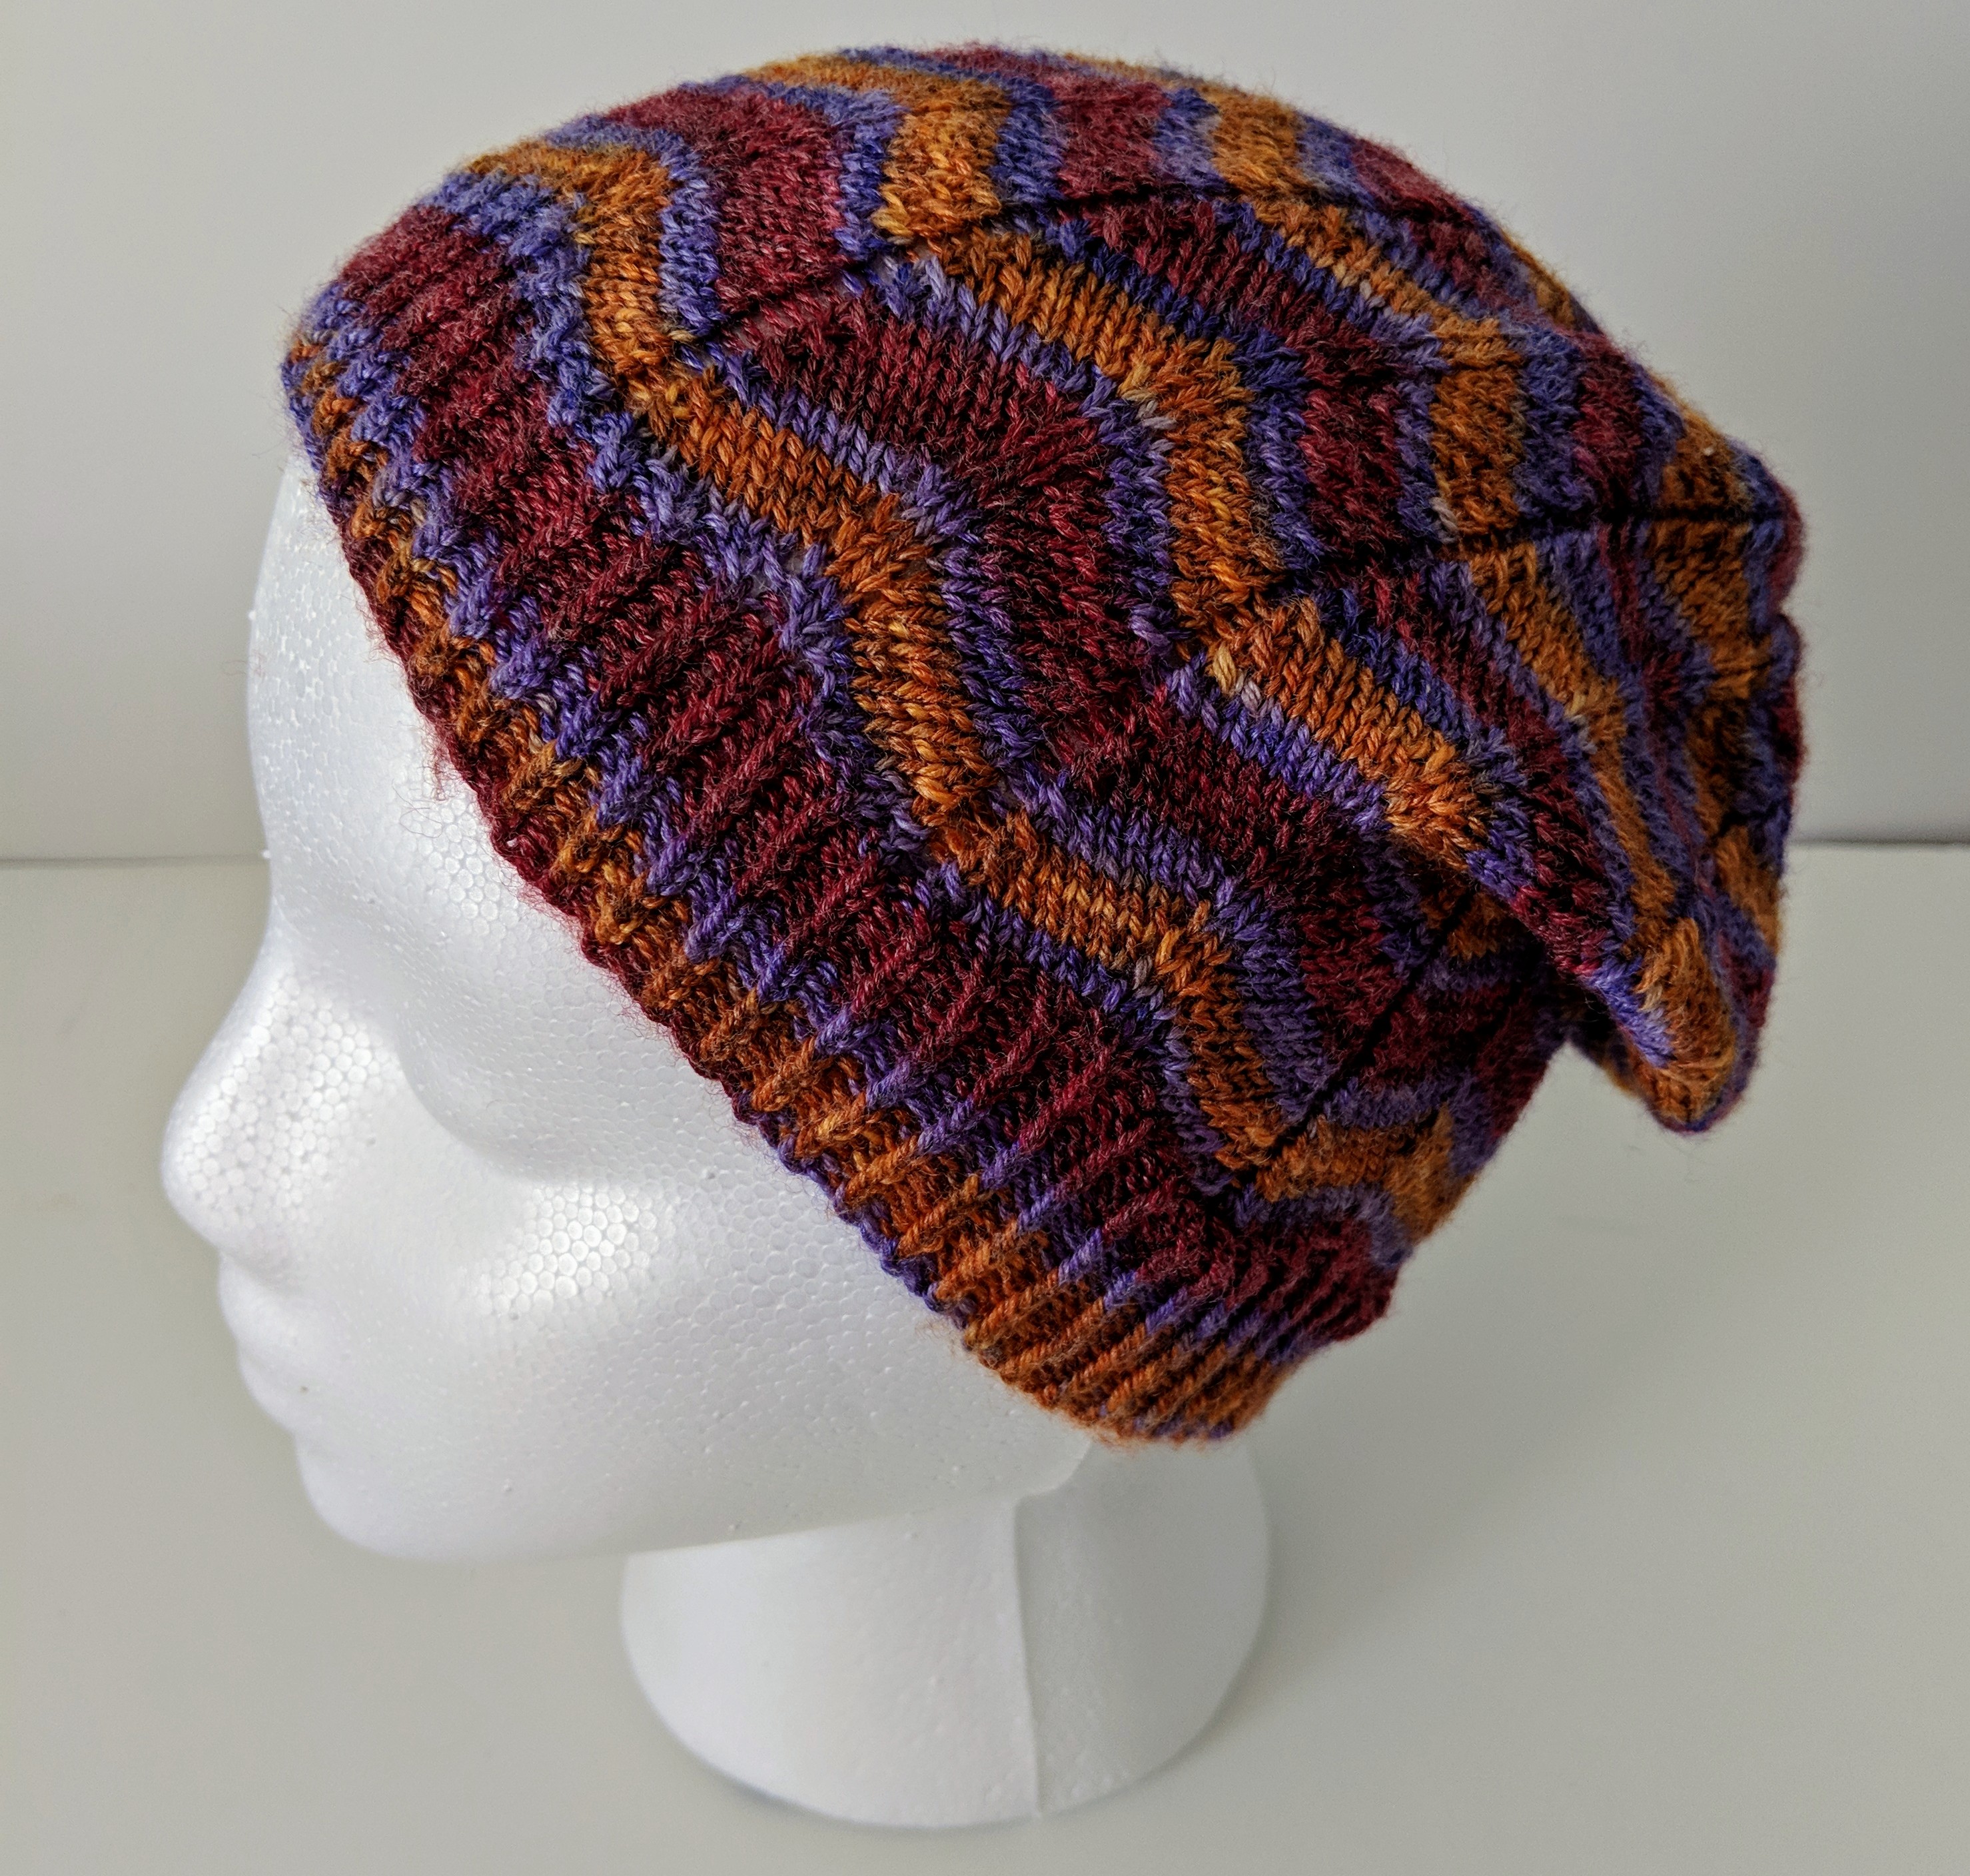
February Hat for the #WNHyearofhatsKAL2019
The pattern used was Fruju Hat by Deb Cunningham
Yarn: a merino bamboo fingering weight yarn by Taylored Fibers I bought few years back.


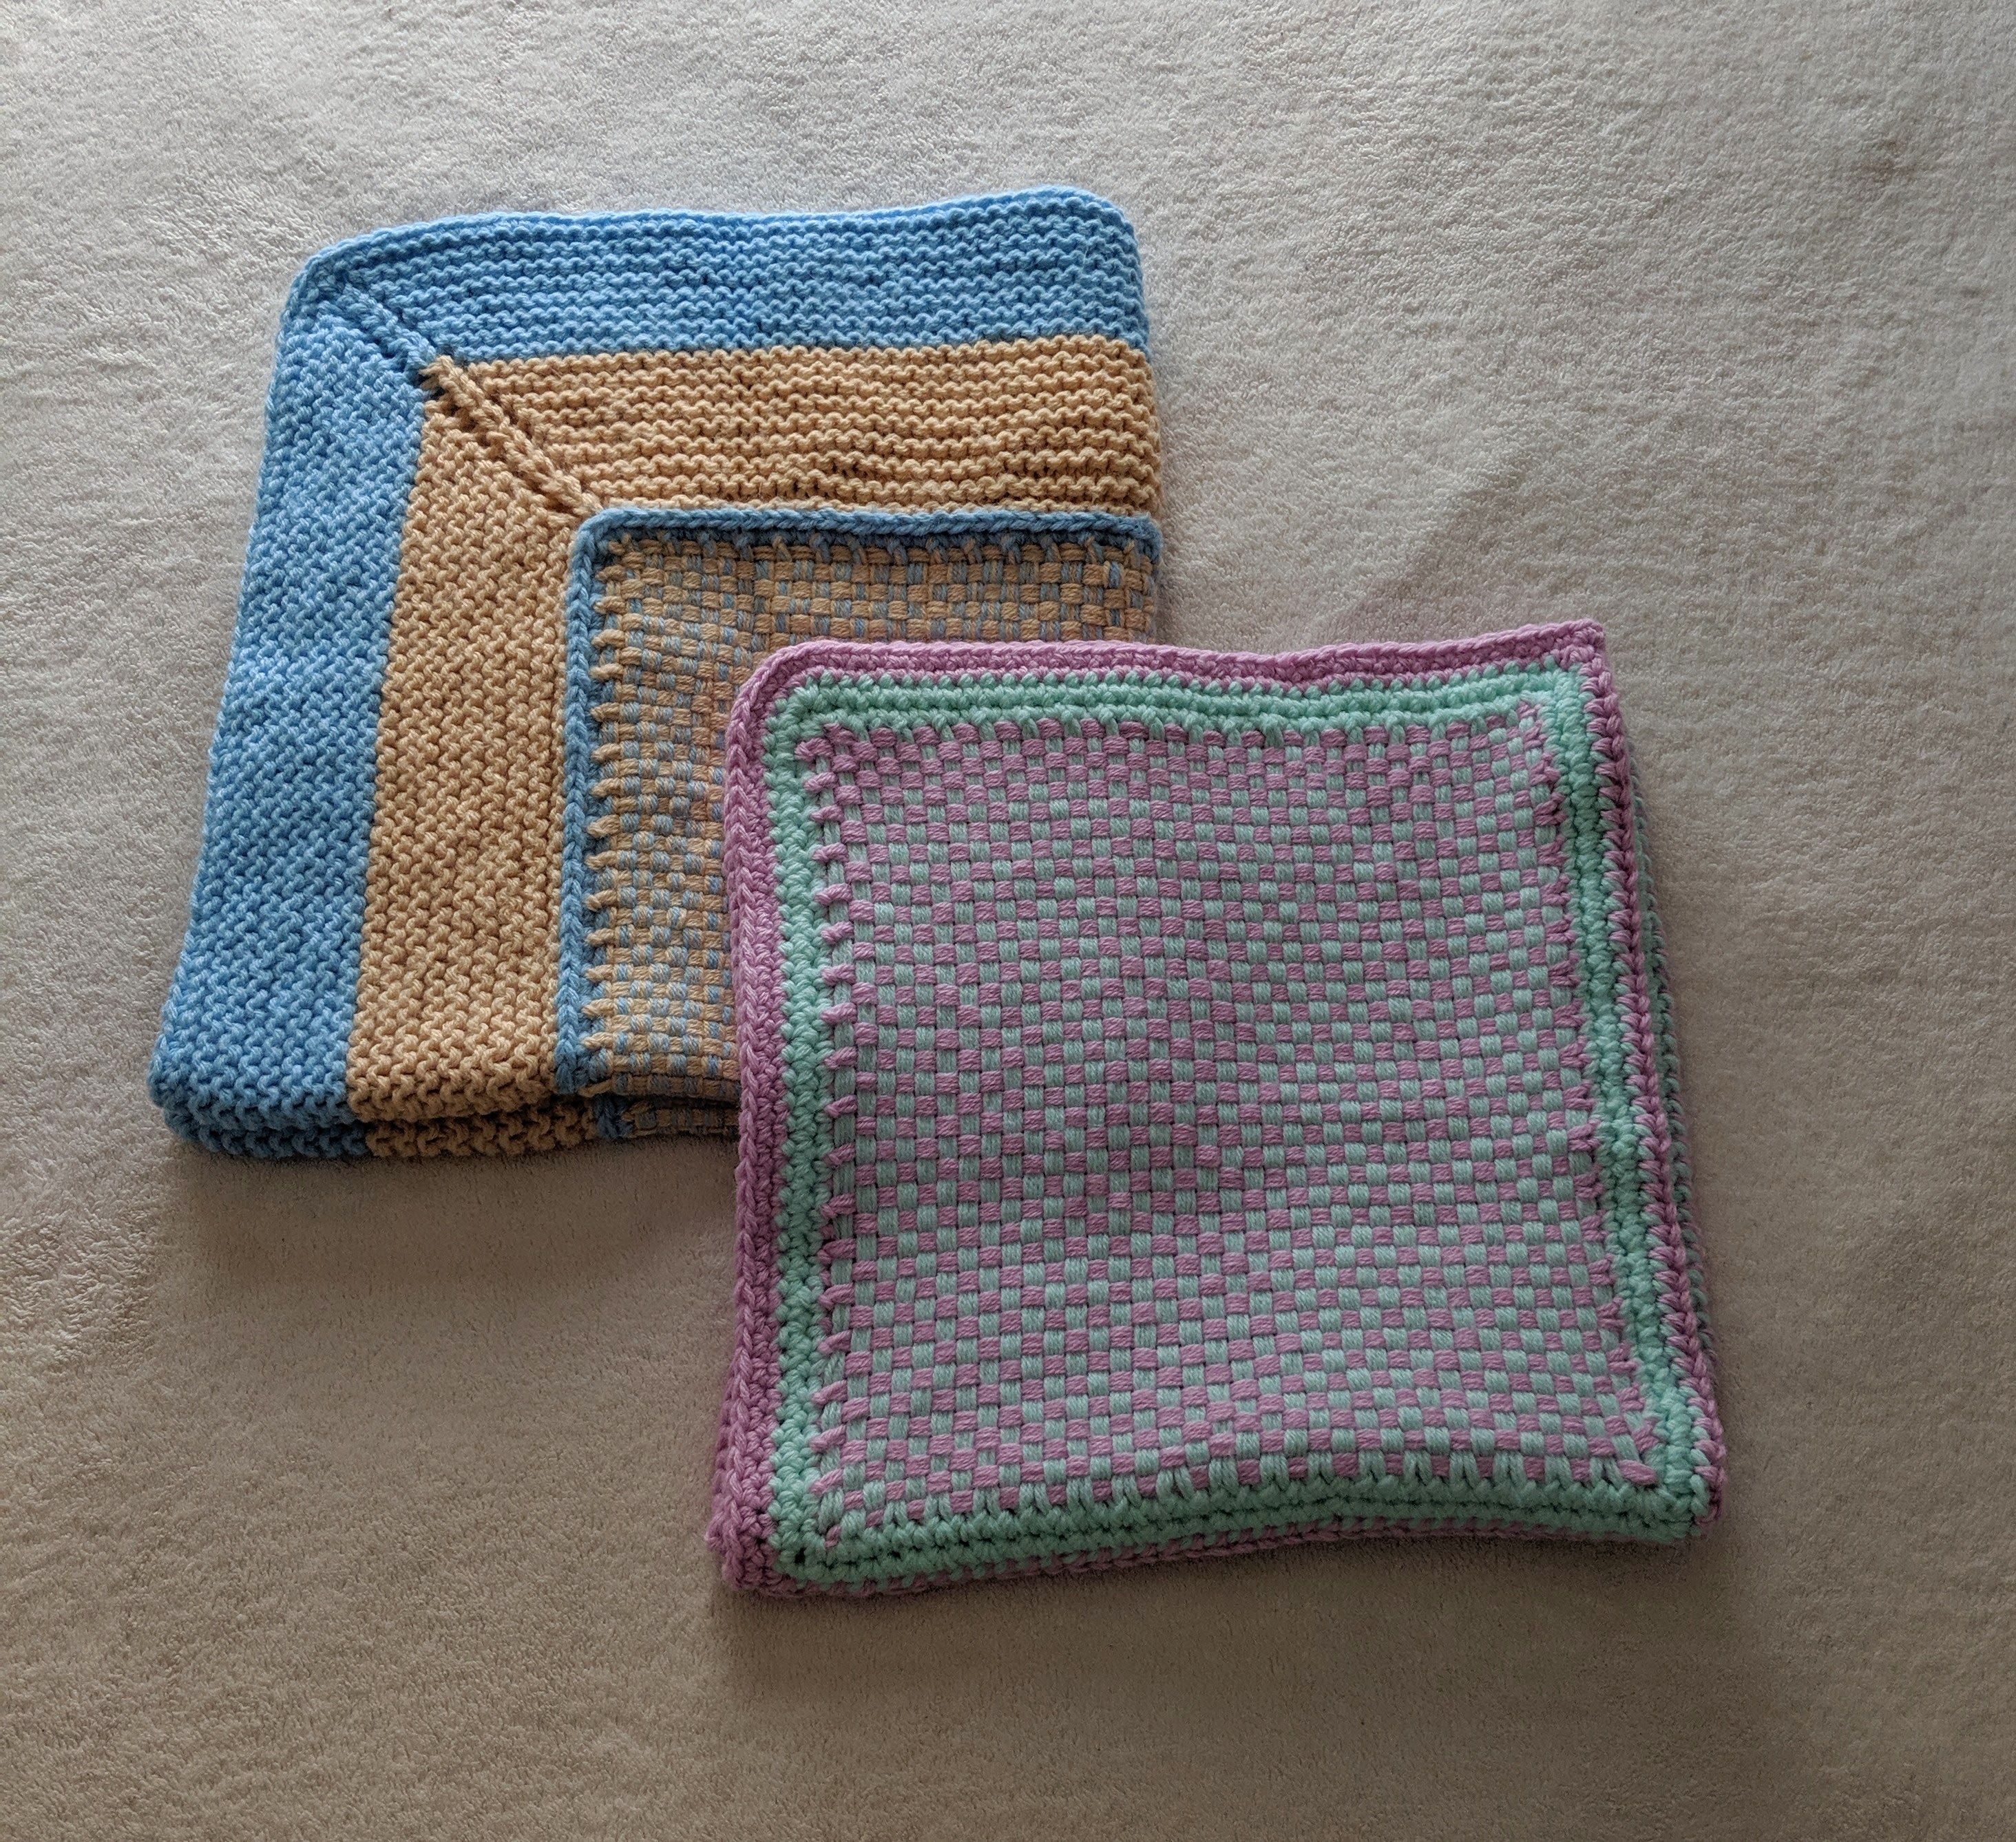
As a hobby knitter it takes me days and sometimes months to complete my knitting projects and yet I spend very little time when it comes to taking good photographs of the knitted items. I think it’s important to spend the time to learn how to take good photographs of the knitted items to showcase them on blog sites, Ravelry or any other social media. Nowadays smartphones with good camera resolution can be used to improve photography skills. There are many resources and tips* available online on how to improve picture taking skills with a smartphone.
Here’s a general summary of some of the tips mentioned:
- Clean the camera lens before taking any picture with a lens wipe or a microfiber cloth
- Find a good location around the house, outside etc.
- Lighting – as much as possible use indirect natural lighting
- Focus camera on the item to be photographed
- Take as many pictures to get the one that is good for posting
- Be ready to spend quite a bit of time to get that one good photo.
- Take time to edit photos using the photo editing tool on the phone
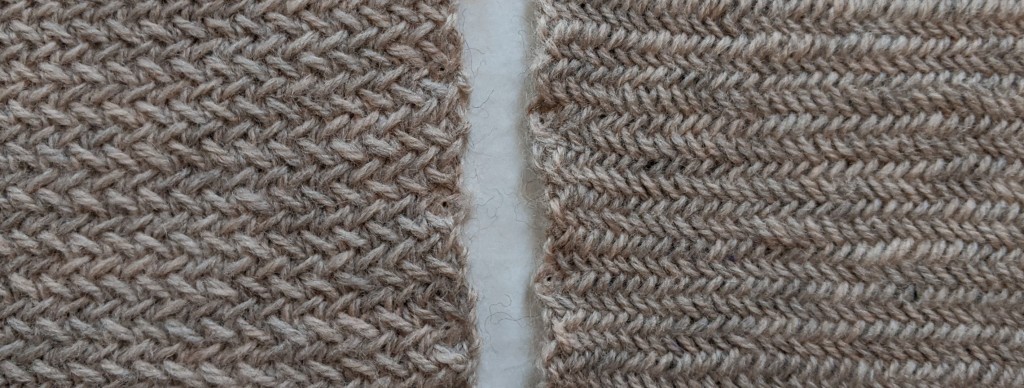
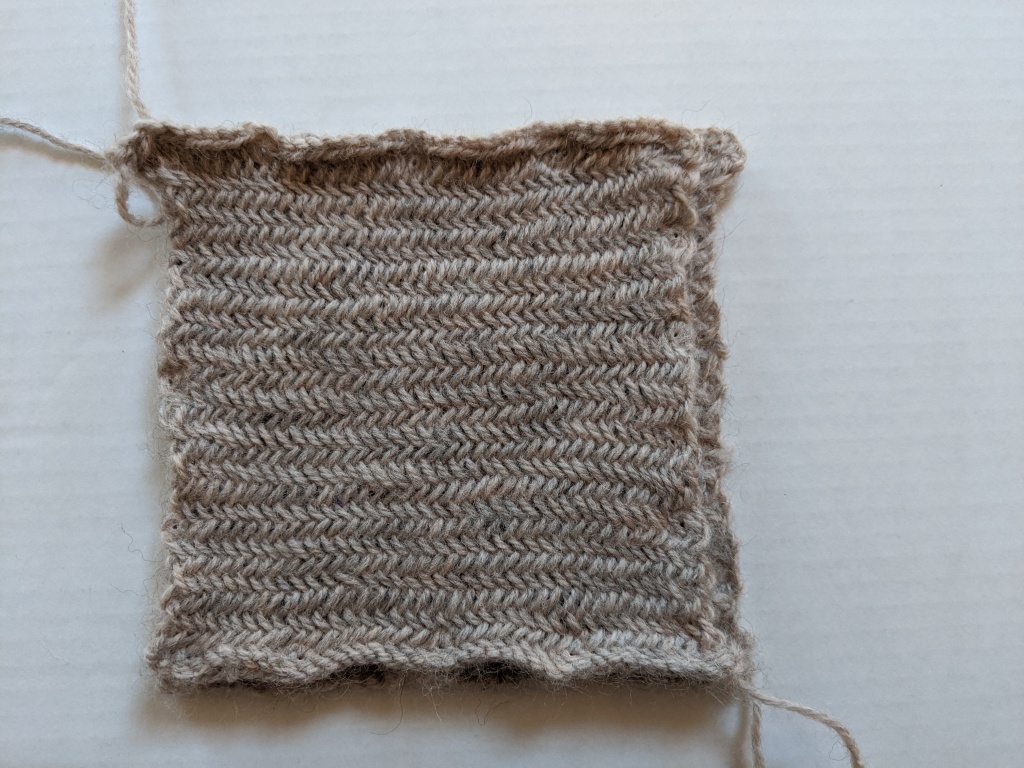
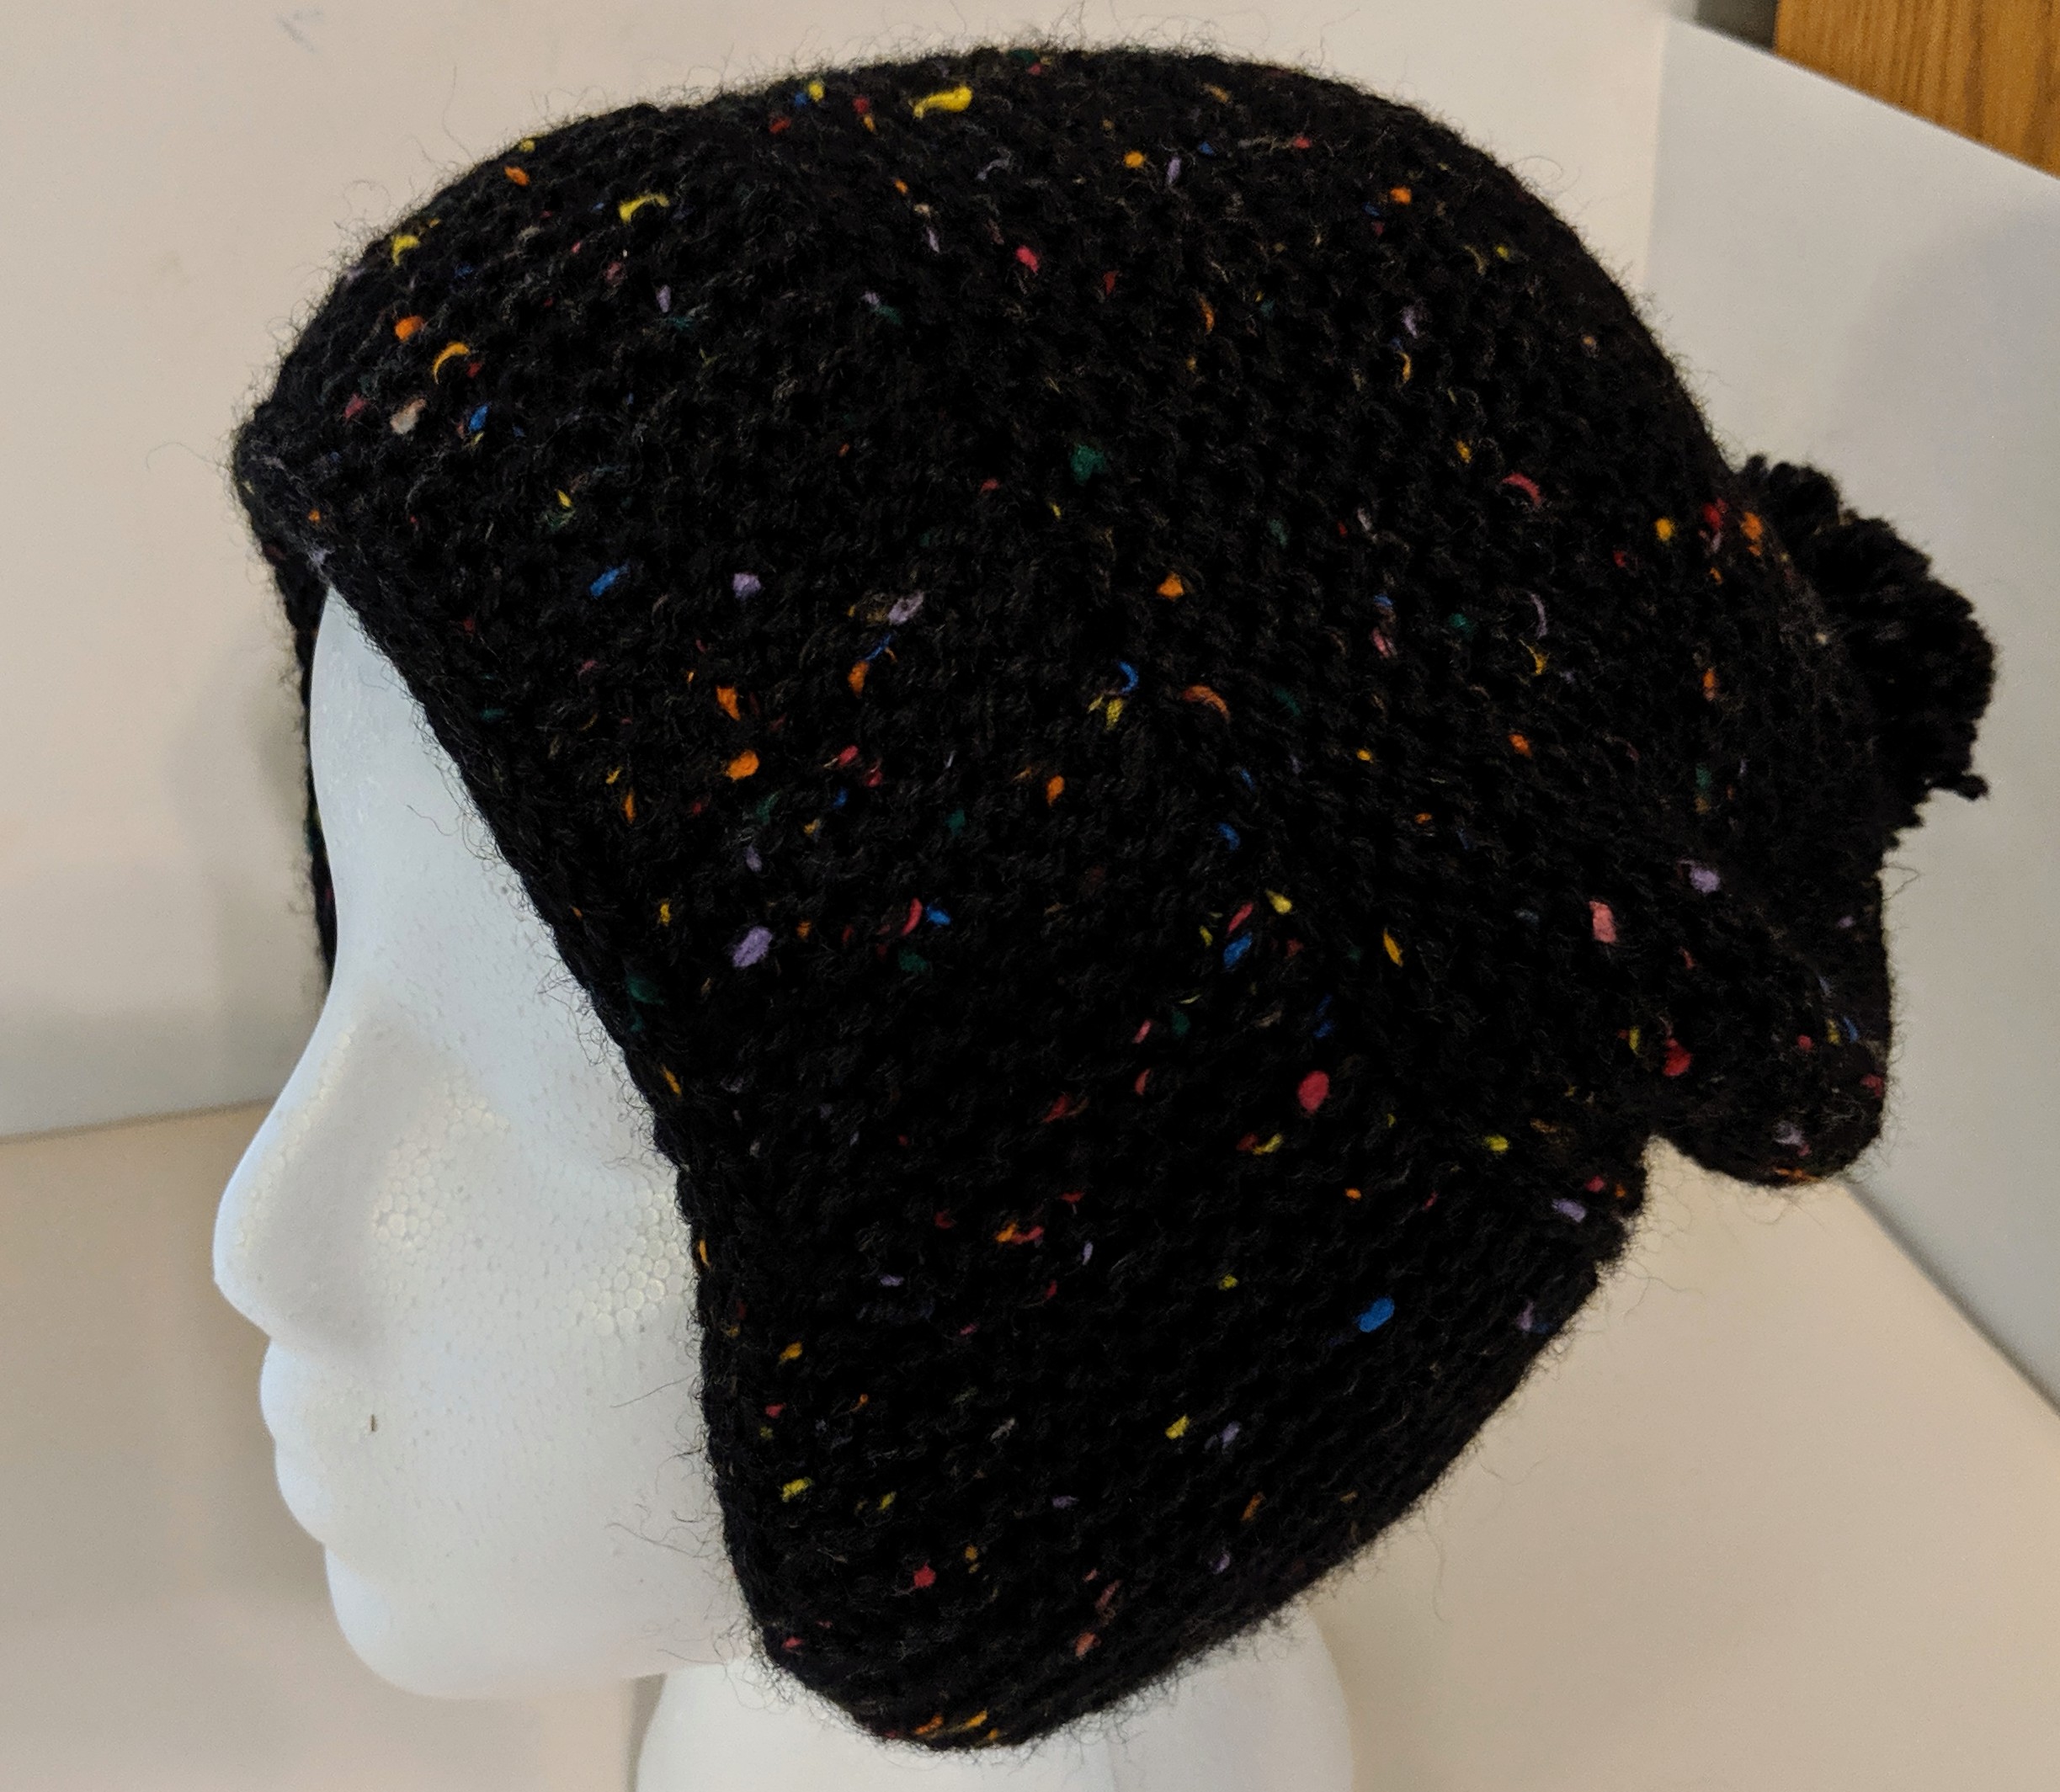
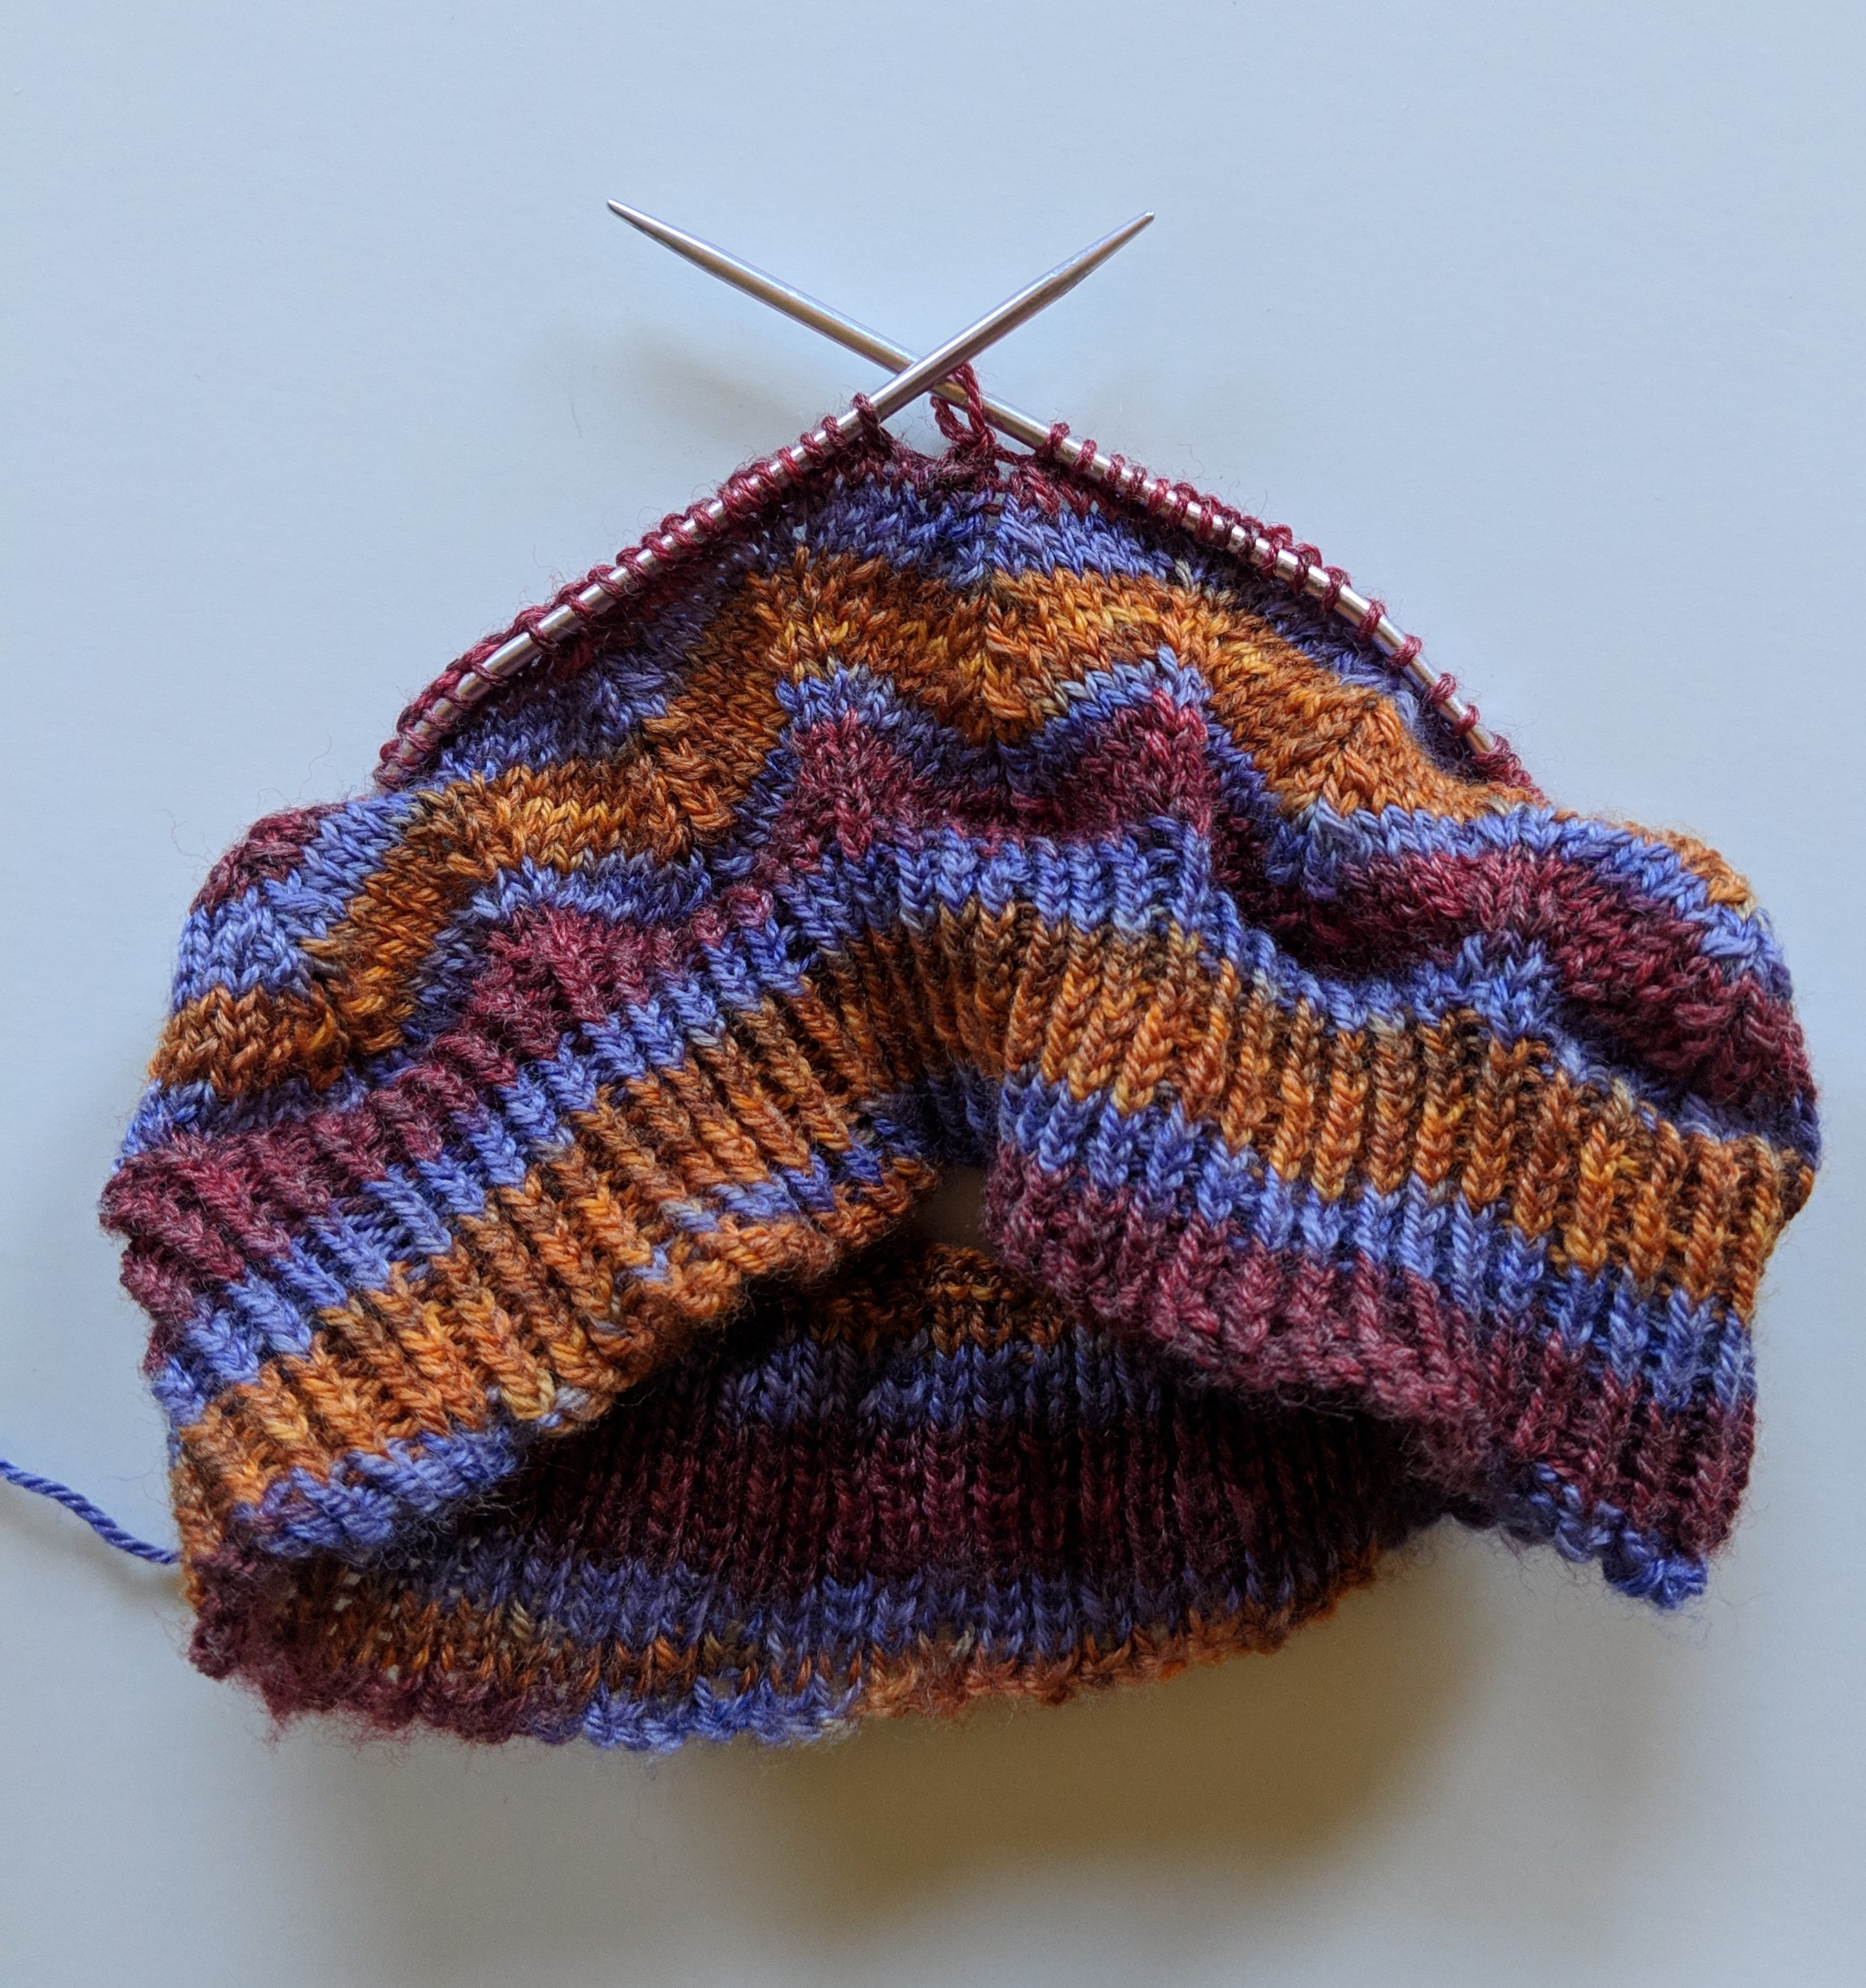
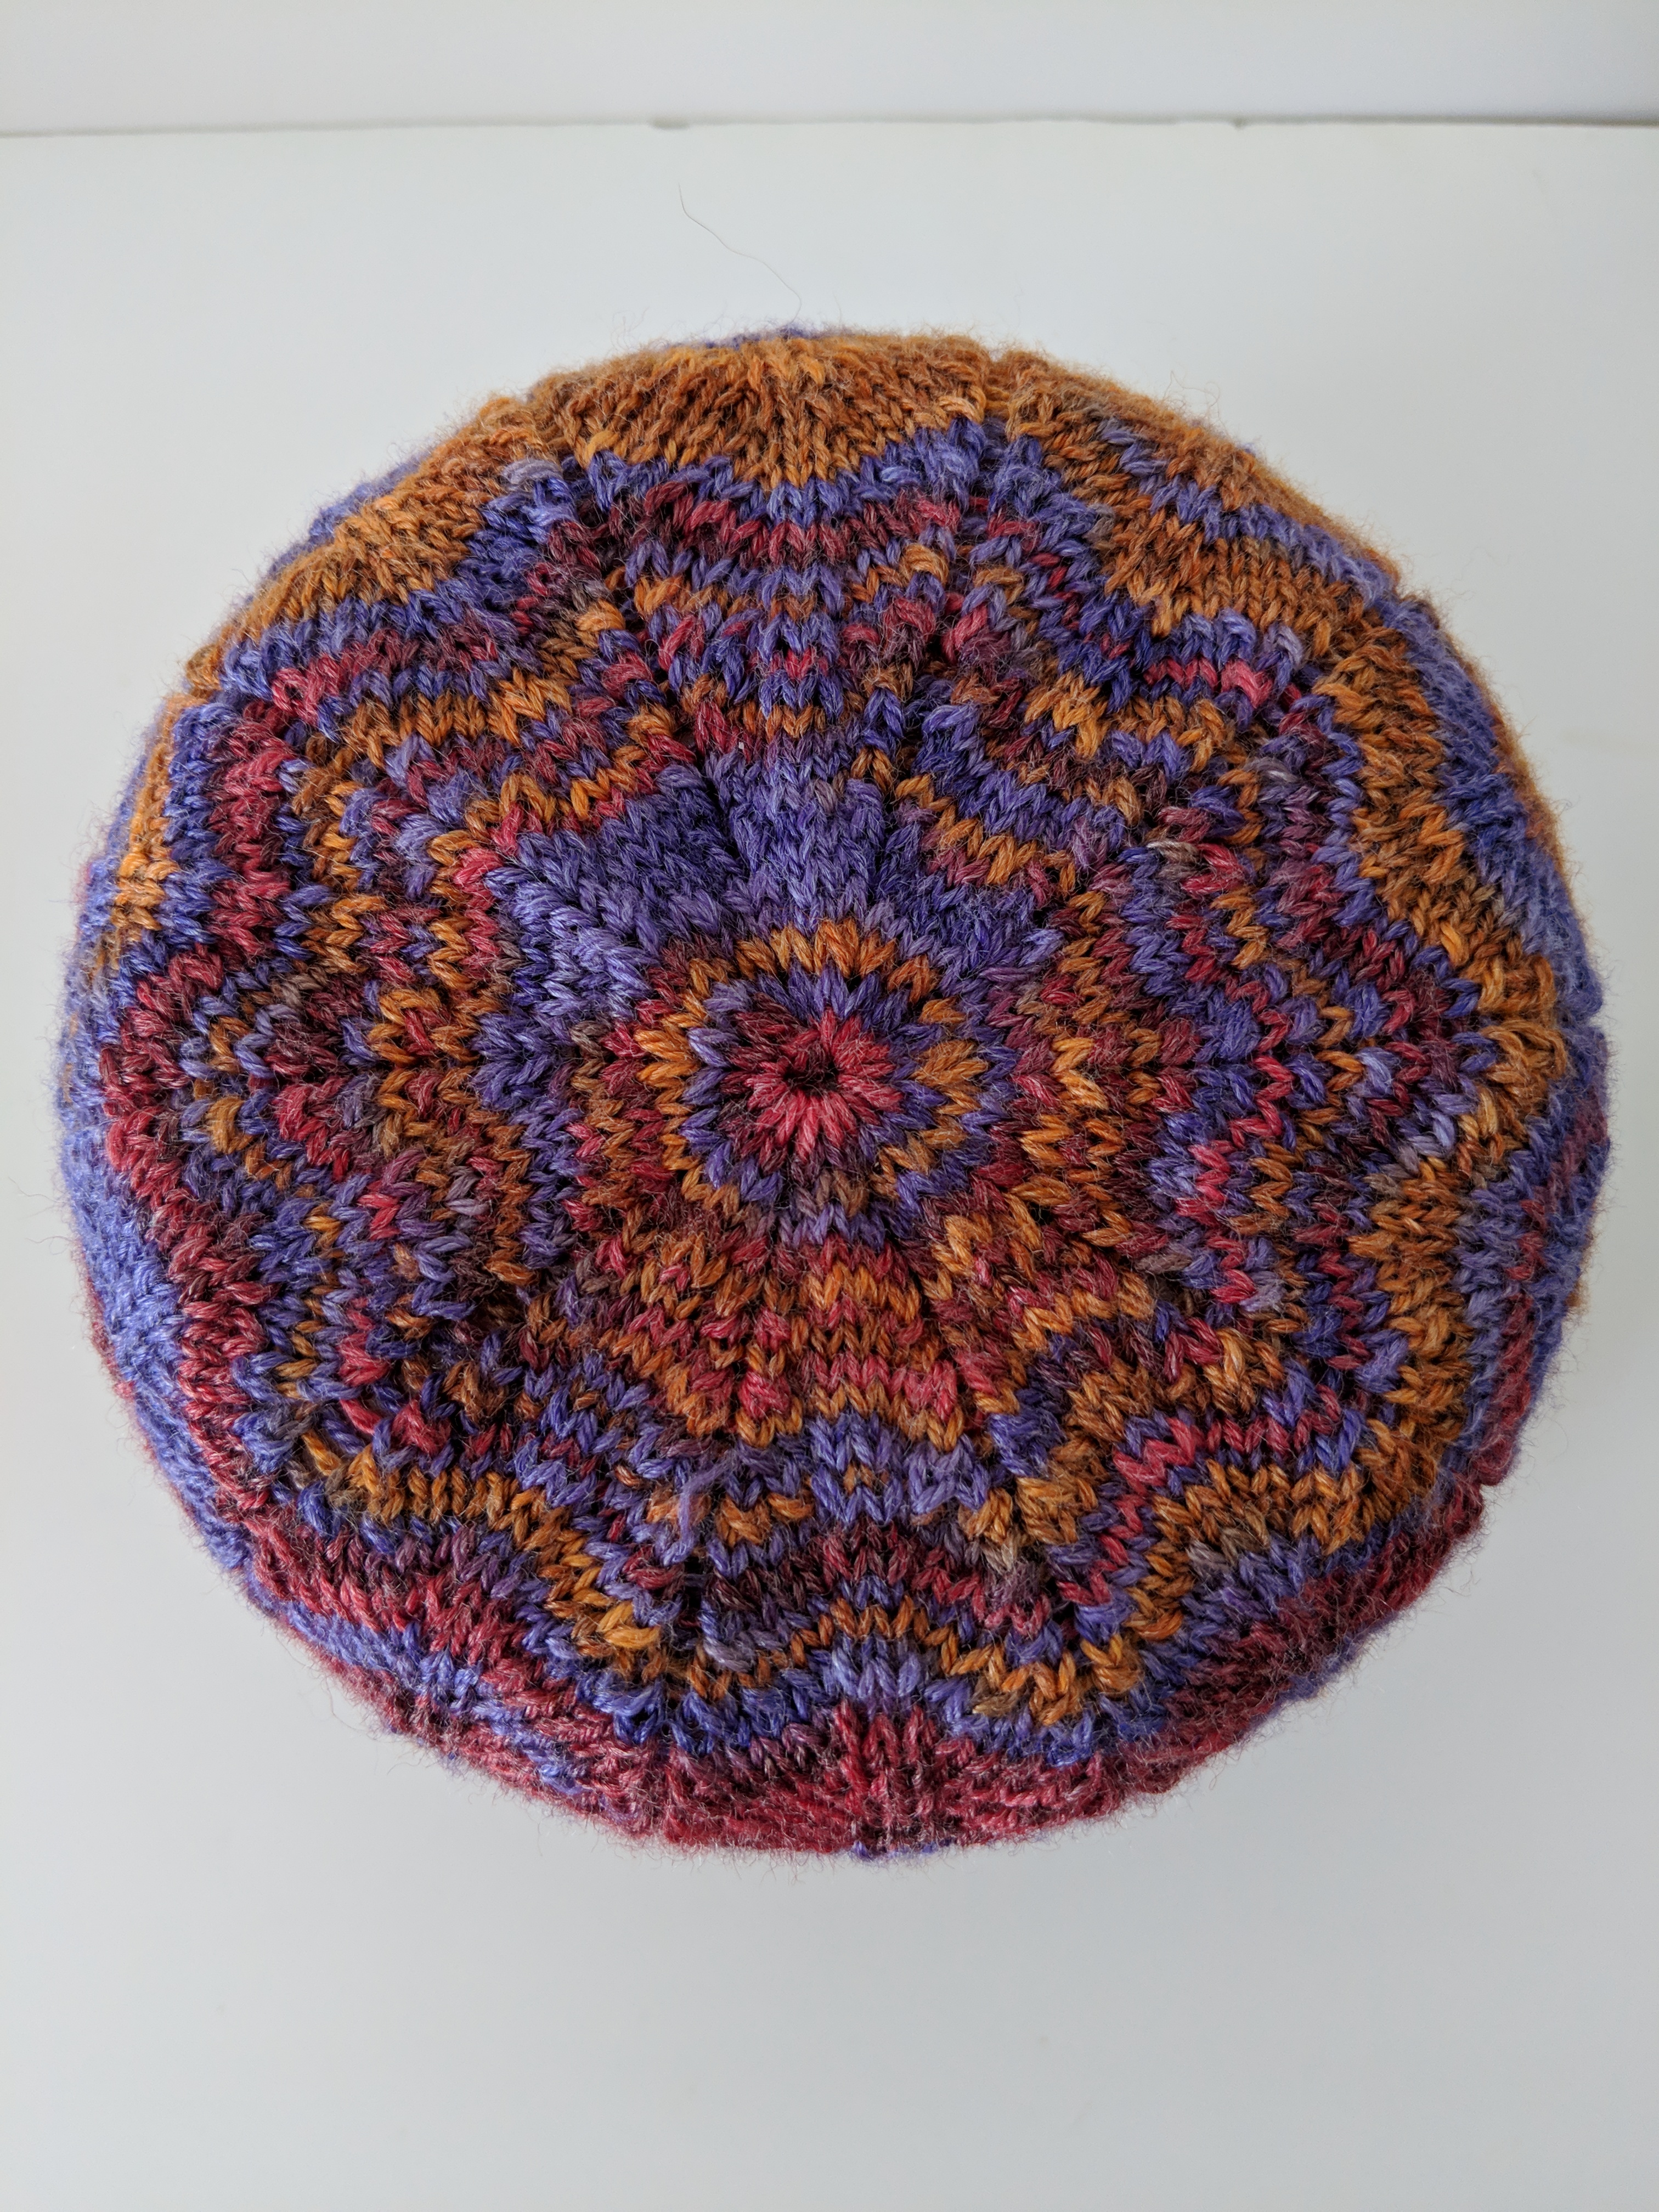
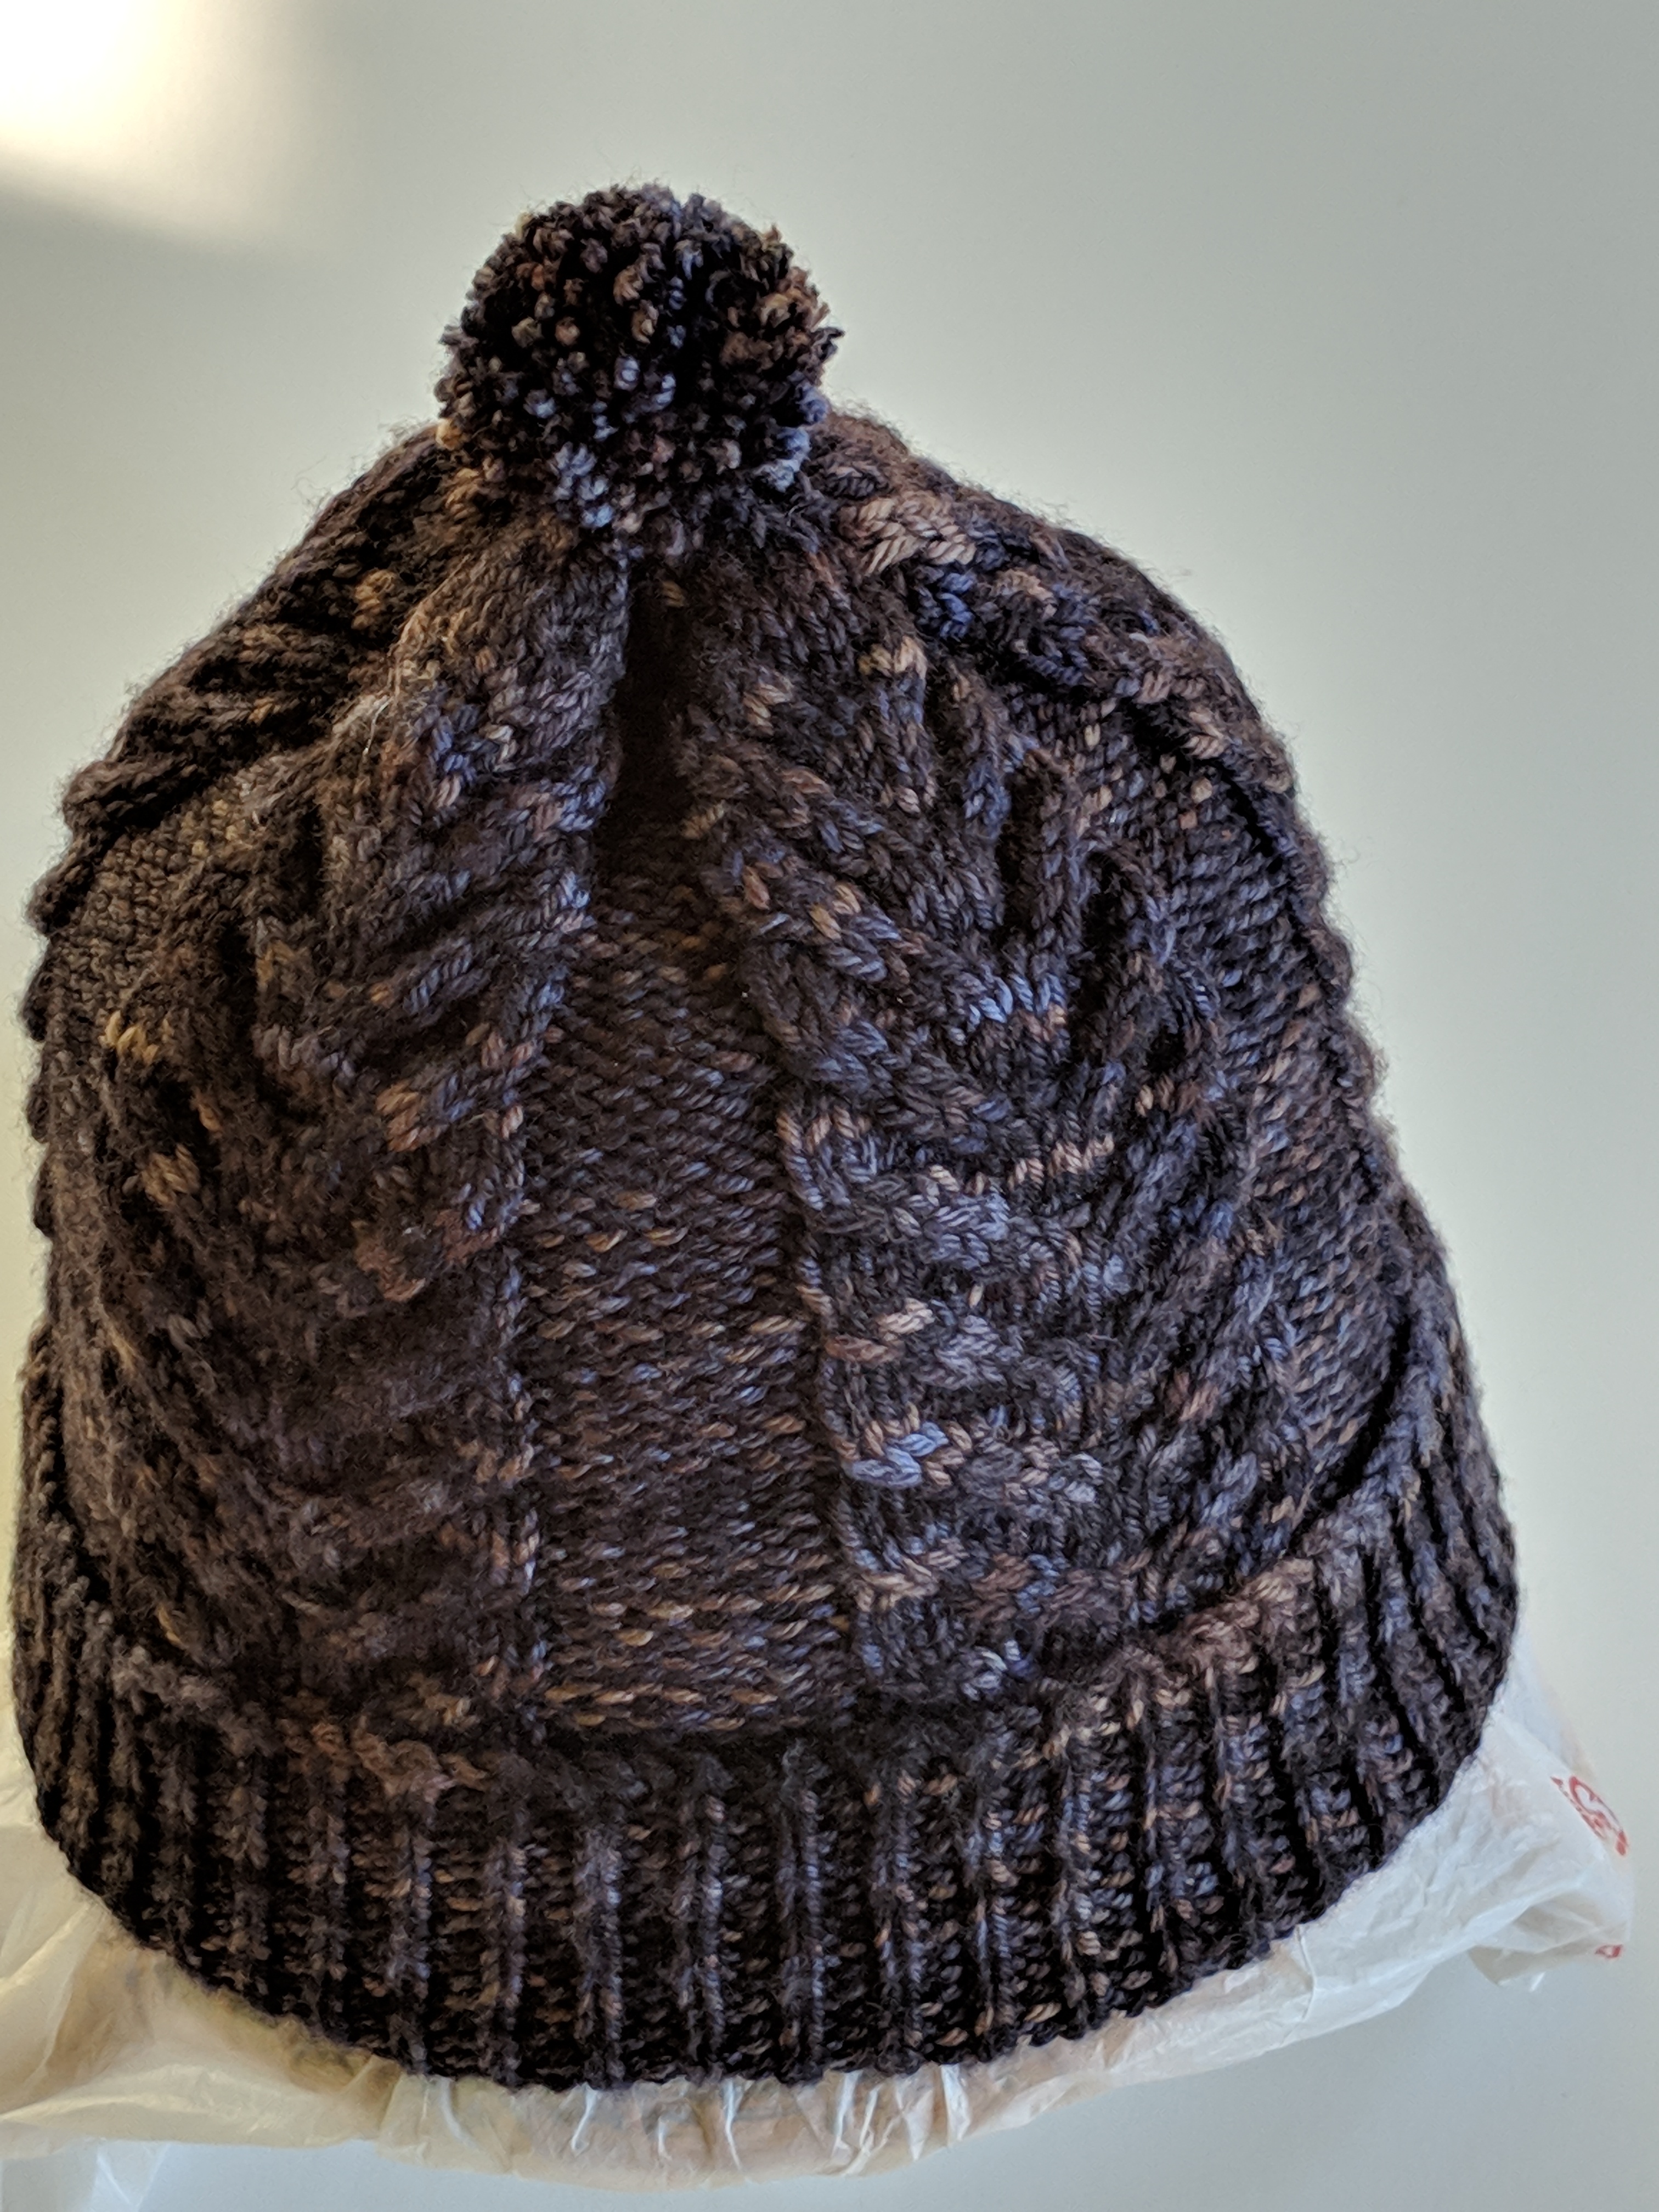
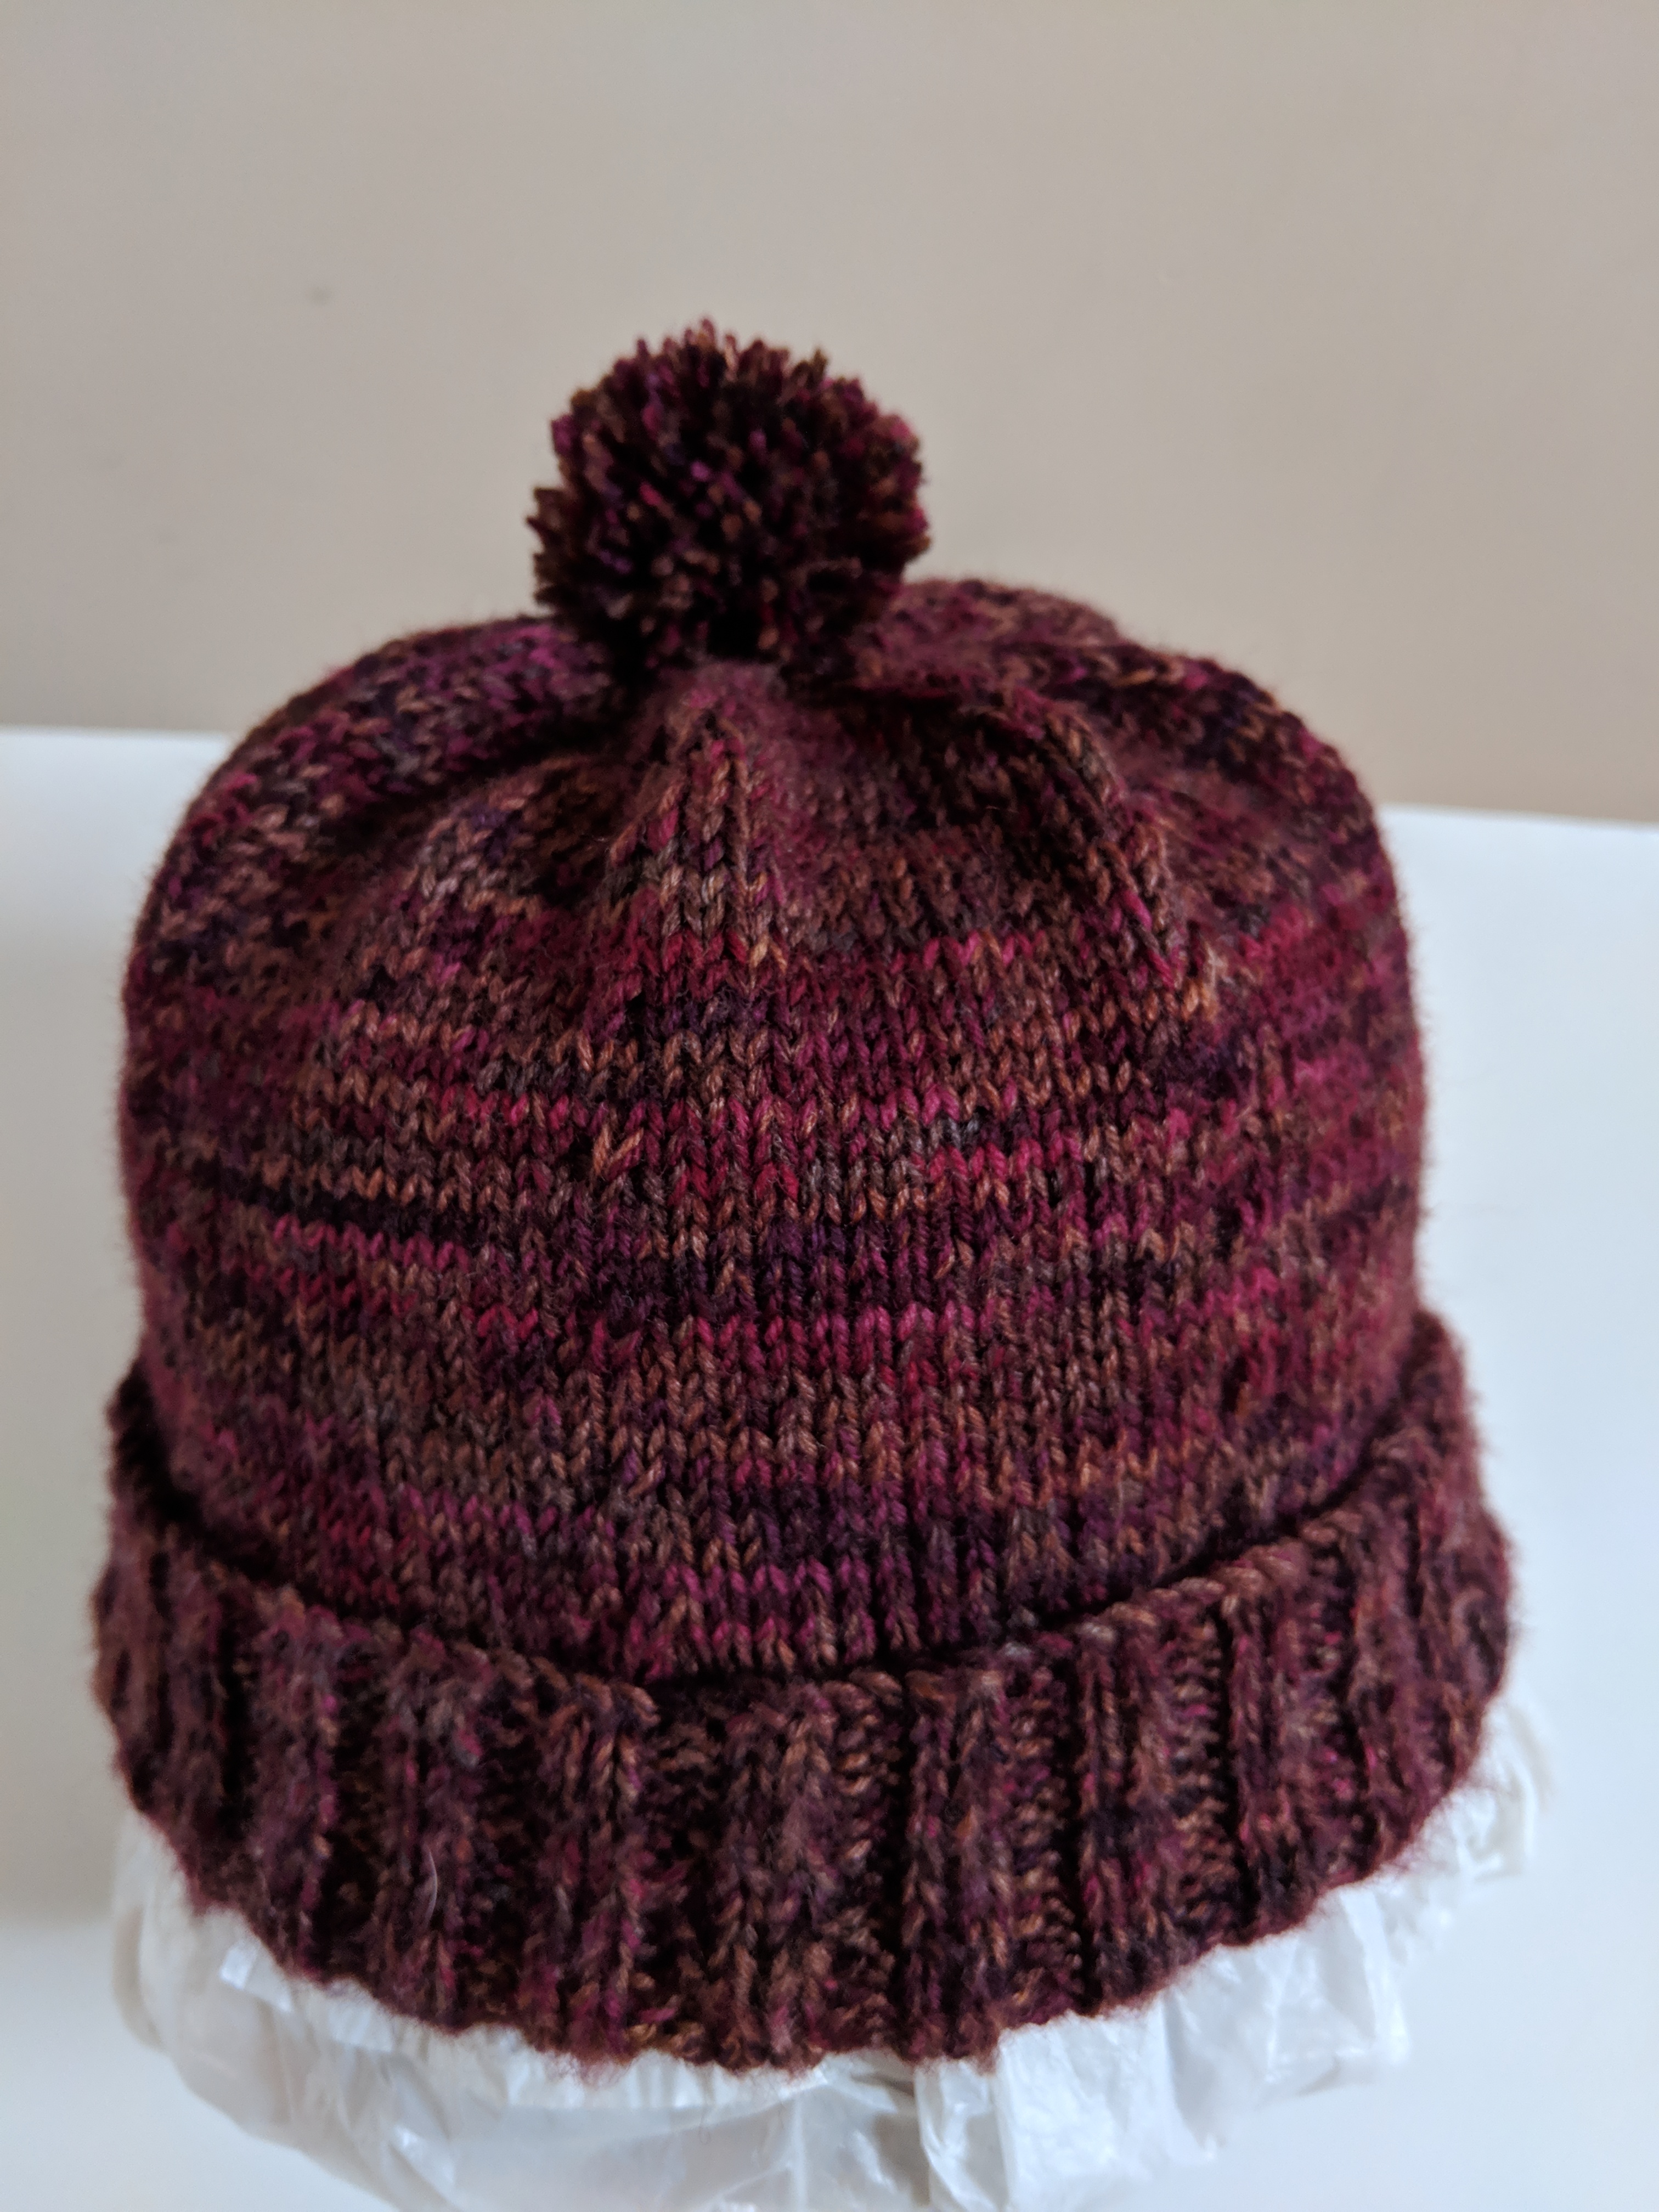
With lighting, location and other tips in mind I took several more pictures of the hat I knit this month for the hat knit – along. Here are the original and edited pictures of the ones I thought were the better ones.
I’ve learnt a few things about taking good picture taking but need to learn more including how to use the picture editing tools. The only downside to taking pictures with a smartphone is that you need to spend a bit more time removing all the pictures that didn’t turn out well!
How do you take photos of your knitted items?
* “Take better smartphone photos with these simple tips and tricks”
* “How to Take Amazing Product Photos With a Smartphone”
~coffeeteaknits.com
© Coffee Tea Knits. All text and images for personal use only. All Rights Reserved.