Early in my knitting and crocheting journey, I bought several one-skein yarns for blankets. These yarns weigh about 454 grams and are perfect for making a baby blanket (Lion Brand yarn). I’ve made several blankets over the years, but I still have some one-skein yarn left. Starting now, I want to use up all my one-skein yarn and any leftover yarn from past projects this year. I intend to work on knitting/crochet patterns that are quick and simple to use up most of these one-skein yarns.
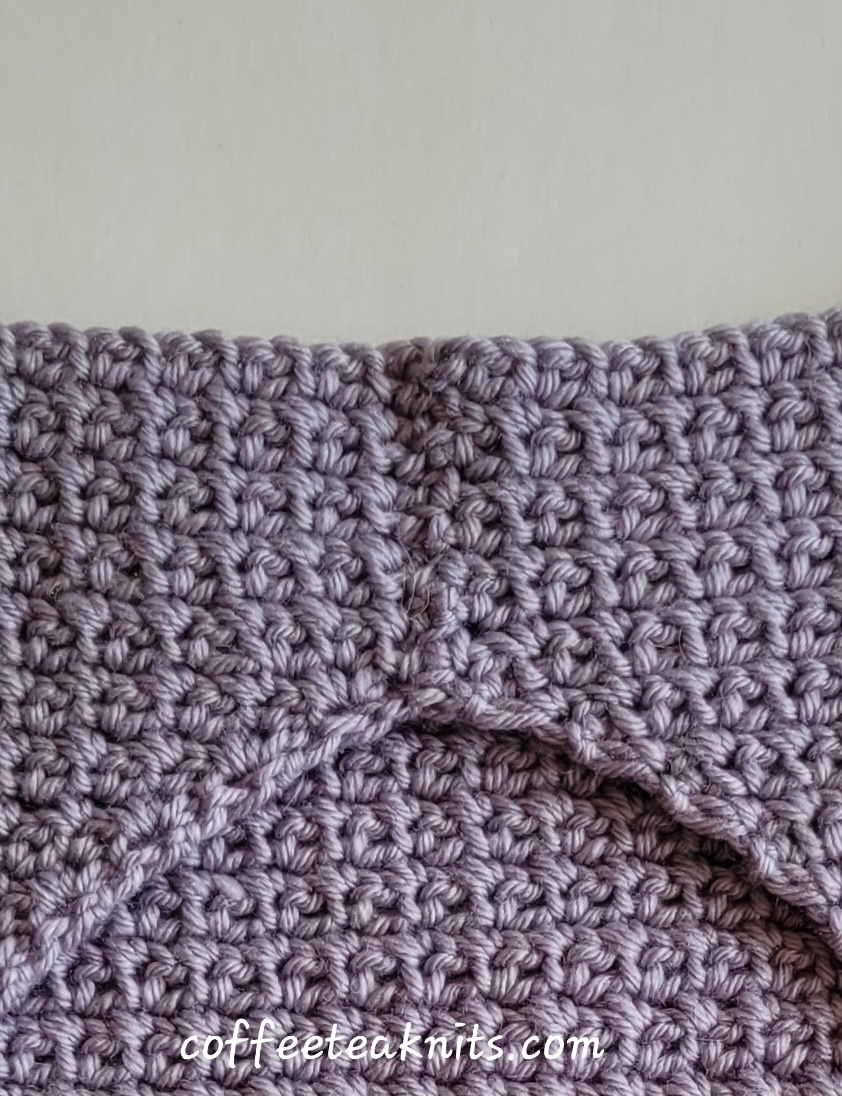
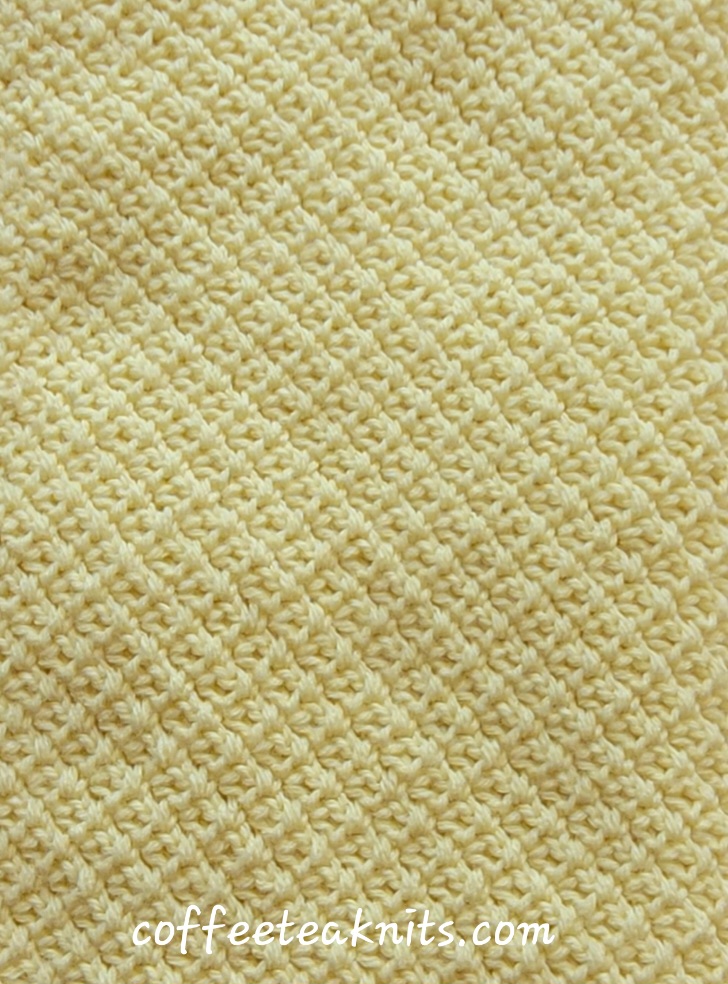
Center-out and in the round technique is one way to use up most of these one-skein yarn. Another way is the corner to corner technique. The Springtime Baby Blanket is crocheted flat from corner to corner using a single crochet, chain one stitch pattern. The Springtime Baby Blanket starts with a chain of 2. Then, four stitches are increased every other row. This continues until the midpoint is reached. It is then decreased by four stitches every other row down to 2 stitches. The blanket is finished with a border in the crochet moss stitch pattern. The Springtime Baby Blanket pattern is beginner friendly and can be customized easily. Weigh any amount of one-skein yarn and set aside equal amounts for the increase and decrease sections. Also, reserve some extra amount for the border.
The Springtime Baby Blanket Pattern (text and images for personal use only)
Materials Needed:
Yarn: Lion Brand Pound of Love® Yarn in Pastel Yellow colorway (454 grams). Although the pastel yellow colorway is not available now, similar shade can be found in stores today
Gauge: 4.5 stitches per inch in the variation crochet moss stitch pattern
Crochet hook: US size H-8 (5.00 mm)
Tapestry needle to weave in ends
Abbreviations:
sc: single crochet (Tutorial Series: How to Single Crochet)
[…]: pattern repeat
Skill Level: Beginner friendly pattern with single crochet and crochet chains
Crochet Foundation Chain:
- Chain 2 using US size H-8 (5.00 mm) crochet hook
Increase Section:
- Row 1 (RS): Single crochet, chain 1 in the second foundation chain stitch from the crochet hook, sc, chain 1 again in the same second stitch and turn
- Row 2 (WS): Single crochet in the second stitch from the crochet hook, chain 1, skip a stitch and sc in the last stitch, chain 1 and turn (4 stitches)
- Row 3 (RS): Single crochet in the second stitch from the crochet hook, chain 1, sc in the same stitch again, chain 1, skip a stitch, and sc in the last stitch, chain 1, sc in the same last stitch again, chain 1 and turn
- Row 4 (WS): Single crochet in the second stitch from the crochet hook, chain 1, [skip a stitch, sc in the next stitch, chain 1], repeat […] till the last stitch, sc in the last stitch, chain 1 and turn (8 stitches)
- Row 5 (RS): Single crochet in the second stitch from the crochet hook, chain 1, sc in the same stitch again, chain 1, [skip a stitch, sc in the next stitch, chain 1], repeat […] till the last stitch of the row, sc in the last stitch, chain 1, sc again in the same last stitch, chain 1 and turn
- Row 6 (WS): Single crochet in the second stitch from the crochet hook, chain 1, [skip a stitch, sc in the next stitch, chain 1], repeat […] till the last stitch, sc in the last stitch, chain 1 and turn (12 stitches)
Repeat Rows 5 and 6 till 204 stitches in the row (about 200 grams of yarn). I put aside about 50 grams for the border.
Decrease Section:
- Row 1 (RS): Skip the first stitch, insert crochet hook into the next stitch, wrap yarn around the crochet hook and pull the loop under and through that stitch (there are 2 loops on the crochet hook), skip a stitch and insert hook in the next stitch (4th stitch from the beginning), wrap yarn around the crochet hook and pull the loop under and through that stitch (three loops on the hook now), yarn over and pull loop through the three loops on the hook, chain 1, [skip a stitch, sc in the next stitch, chain 1], repeat […] till 4 stitches left, insert crochet hook into the next stitch, yarn over and pull the loop under and through that stitch (there are 2 loops on the crochet hook), skip a stitch and insert hook in the last stitch, yarn over and pull the loop under and through that stitch (three loops on the hook), yarn over and pull loop through the three loops on the hook, chain 1 and turn
- Row 2 (WS): [Skip the first stitch and sc in the next stitch, chain 1], repeat […] till 2 stitches left, sc in the last stitch, chain 1, and turn
Repeat Rows 1 and 2 till 4 stitches left in the row. Facing the right side of the work, wrap yarn around the crochet hook and pull the loop under and through that stitch (there are two loops on the crochet hook), skip a stitch and insert hook in the last stitch (three loops on the hook now), yarn over and pull loop through the three loops on the hook (one loop remaining on the hook)
Crochet Moss Stitch Border (in the round):
Round 1:
- With the remaining loop on the hook, chain 2, sc in the same stitch again and chain 2 (beginning of round). Facing the top left corner of right side of the blanket turn counter clockwise
- Pick up stitches in the crochet in moss stitch pattern (pick up a stitch and sc, chain 2, skip the next stitch and repeat) all along the left side
- At the bottom left corner edge stitch of the right side of the blanket, sc, chain 2, sc again in the same corner stitch, chain 2
- Turn and pick up stitches in the crochet moss stitch pattern (pick up a stitch and sc, chain 2, skip the next stitch and repeat) along the bottom edge.
- At the bottom right corner edge stitch of the right side of the blanket, sc, chain 2, sc again in the same corner stitch, chain 2
- Turn and pick up stitches in the crochet in moss stitch pattern (pick up a stitch and sc, chain 2, skip the next stitch and repeat) going up all along the right side
- At the top right corner edge stitch of the right side of the blanket, sc, chain 2, sc again in the same corner stitch, chain 2
- Turn and pick up stitches in the last row in the crochet in moss stitch pattern (pick up a stitch and sc, chain 2, skip the next stitch and repeat) along that last row
Rounds 2 to 5:
- At the corner edge stitch (beginning of the round), sc , chain 2, sc again in the same corner stitch, chain 2
Crochet moss stitch (sc in the chain 2 space, chain 2, skip the next stich and repeat) all around the blanket with a sc, chain 2, sc, chain 2 at each of the corner edge stitches
Single crochet in the first beginning of round stitch, cut yarn and pull yarn through the loop
Weave in ends, wash and block the Springtime Baby Blanket
![]()
~coffeeteaknits.com
© Coffee Tea Knits. All text and images for personal use only. All Rights Reserved.