One variation of single crochet stitch pattern is the single crochet in back loop (SCBL). This stitch pattern is commonly used as a ribbed border for sweaters, blankets etc. In the February 2025 Earwarmer, the ribbing sections for the earwarmers are in the single crochet in the back loop stitch pattern.
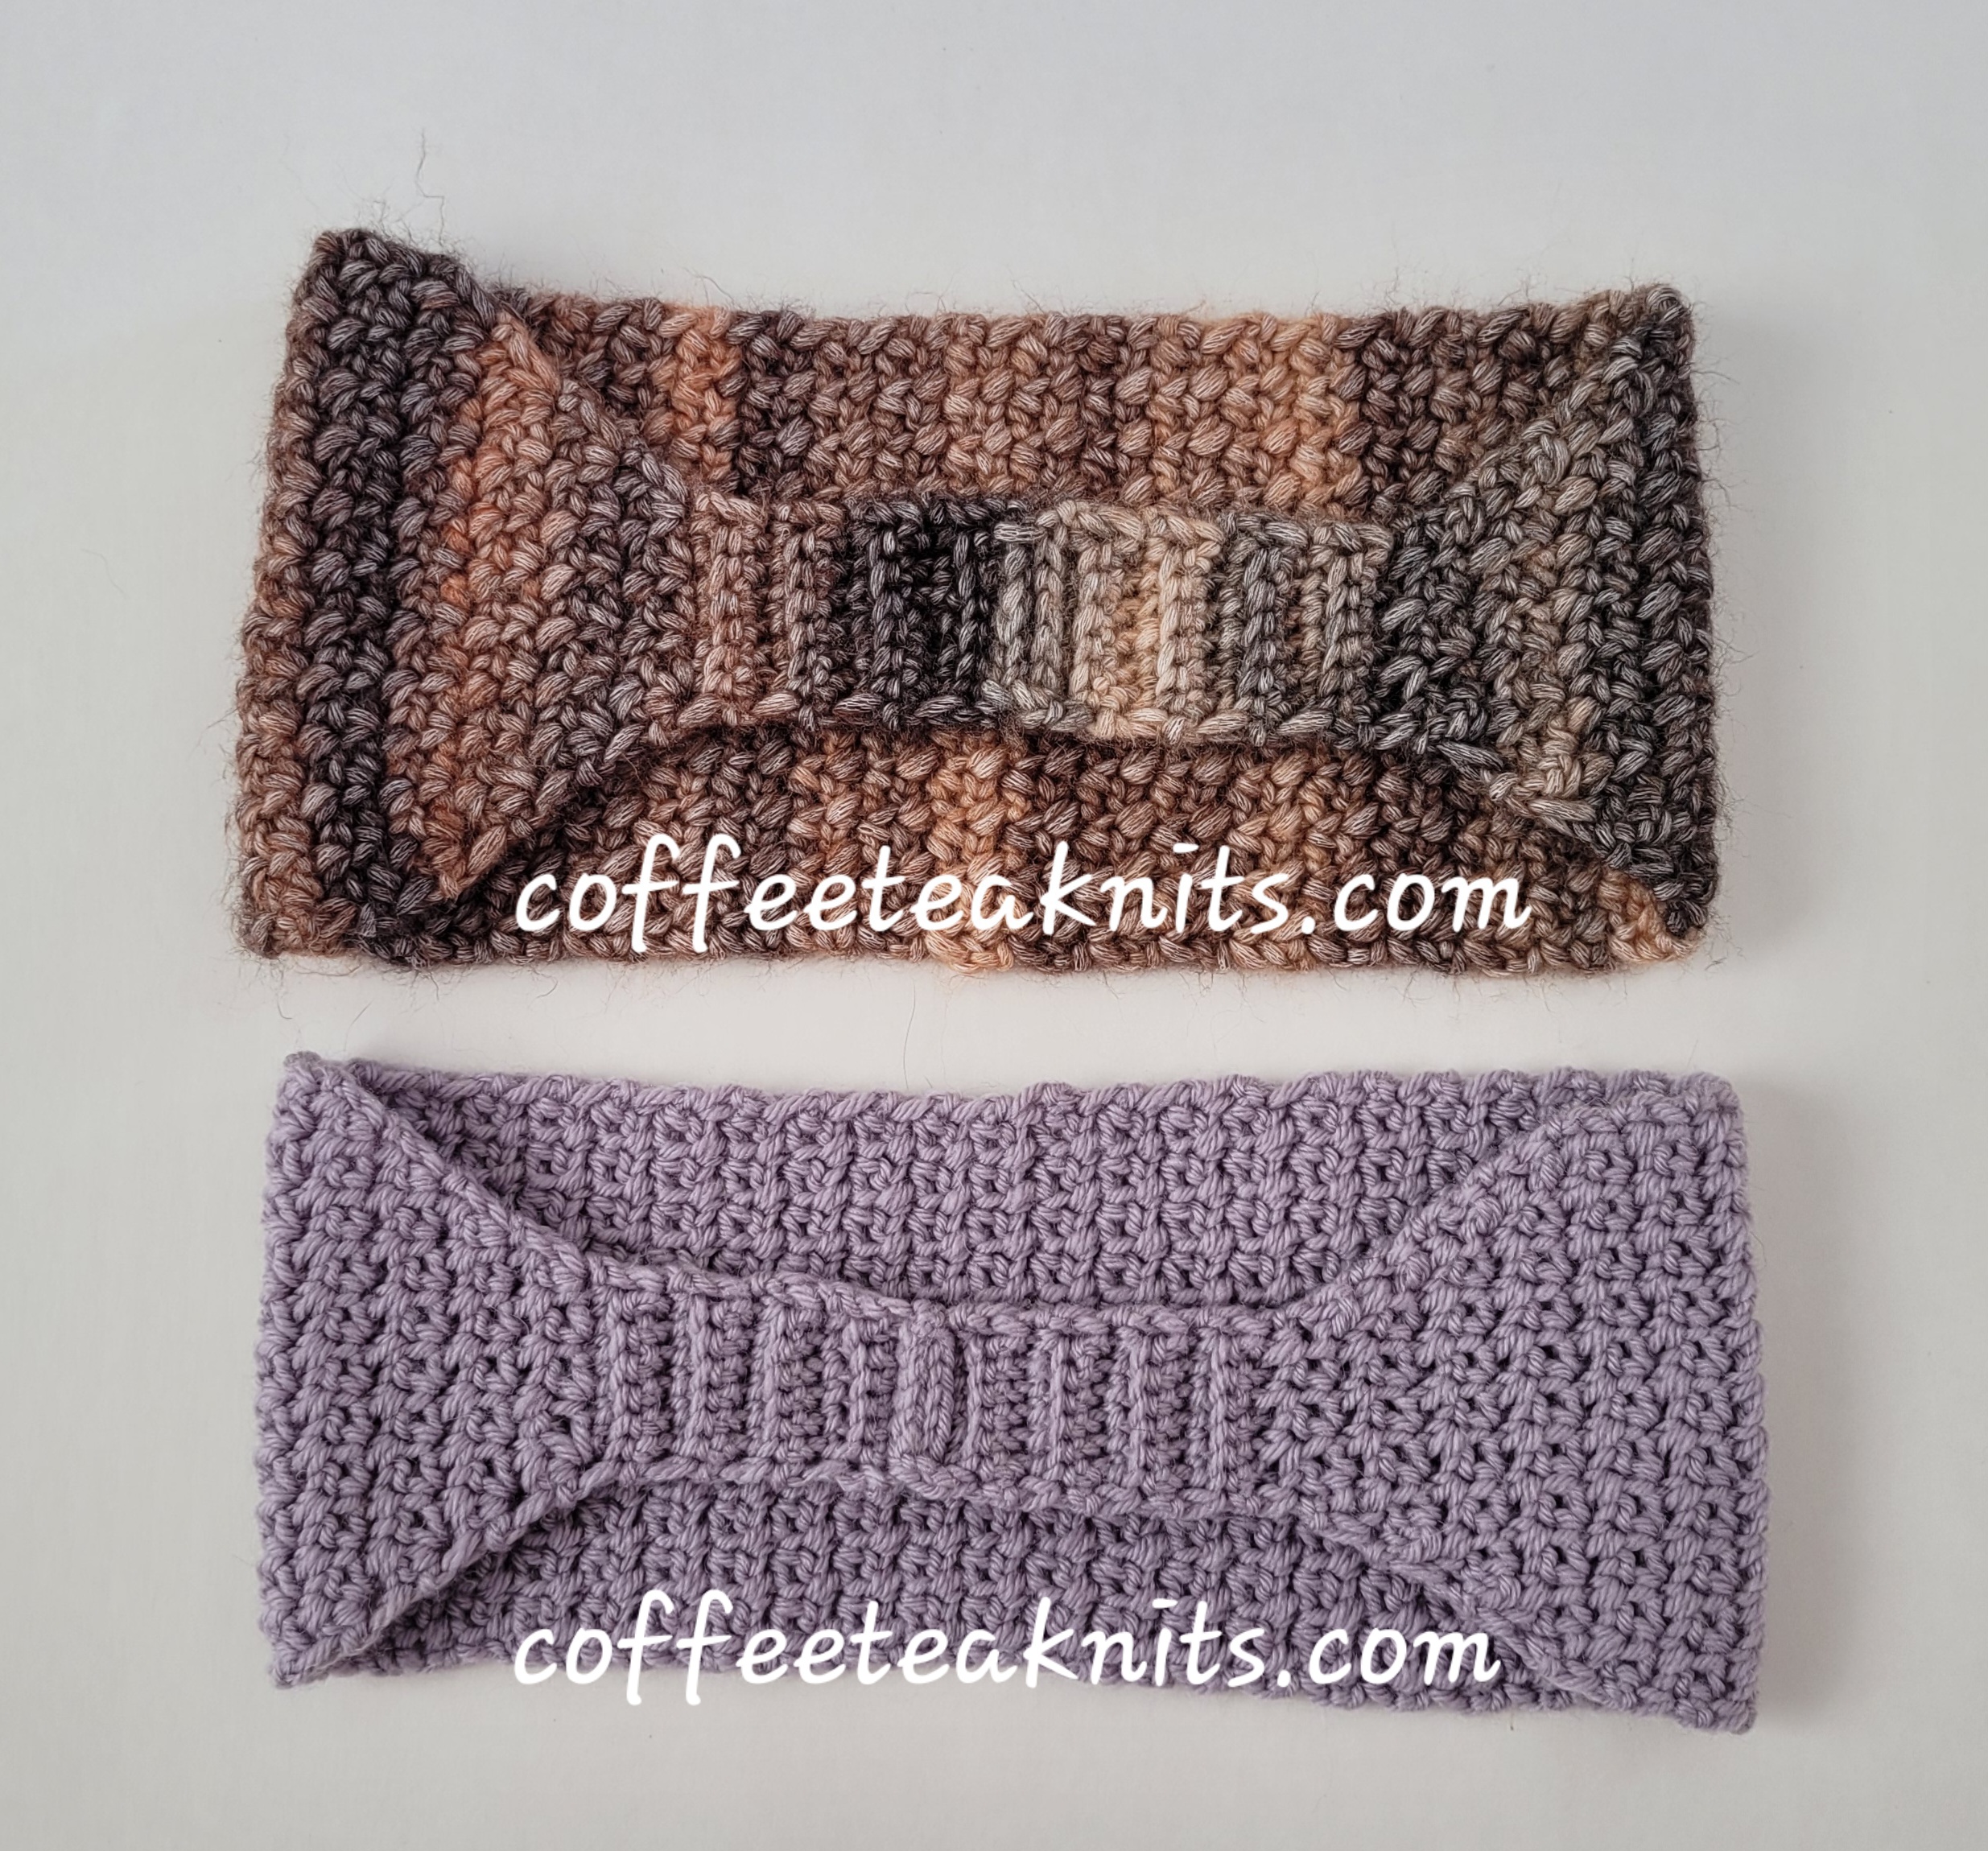
Once the foundation row is worked for a single crochet, the crochet hook is inserted only into the back loop for all the the stitches in the next and the subsequent rows. After inserting the crochet hook in the back loop, a single crochet is worked. This differs from a regular single crochet where the crochet hook is inserted under both loops (strands) of a stitch. Using the single crochet in back loops gives the worked fabric a ribbed look.

The video and written instructions are below showing how to make a single crochet in the back loop. This technique is used for all the rows after the foundation chain row. The video and instructions below are for right-handed crocheting
How to Single Crochet in Back Loop (SCBL):
Written Instructions on How to Single Crochet in Back Loop (SCBL):
- After working single crochet (Tutorial Series: How to Single Crochet) in the last stitch of the foundation chain row, chain one and turn
- Skip the first stitch and insert crochet hook in the back loop of the next stitch
- Catch and pull yarn loop under the back loop of the stitch and on to the crochet hook
- There are two loops on the crochet hook now
- Yarn over (wrap the working yarn around the hook counterclockwise)
- Catch and pull yarn through the remaining two loops on the hook.
- There is one loop left on the crochet hook.
- Insert hook into the back loop of the next stitch and repeat Steps 3 to 7 till the end of the row
- Chain one after working the last stitch of the row and turn to the next row
- Repeat Steps 8 and 9 for all subsequent rows as specified in a pattern.
~coffeeteaknits.com
© Coffee Tea Knits. All text and images for personal use only. All Rights Reserved.