It never ceases to amaze me how fast the colors of the leaves change from Summer to Autumn. Around the autumn equinox, the leaves start displaying their autumnal colors and brighten our days as we adjust to the cooler weather and shorter days.
The tonal and earthy colors of the yarn in the Autumnal Leaves Cowl represent the changing colors of the leaves in Autumn to me. It will be there to provide me warmth during the cold season ahead and also to remind me of the bright colors of the leaves in Autumn.
Advertisements
The Autumnal Leaves Cowl is knit bottom up and in-the-round in a simple textured pattern with two strands of the same yarn held together. The cowl narrows slightly at the top for a cozier fit around the neck.
The Autumnal Leaves Cowl Pattern (text and image for personal use only)
PLEASE SUBSCRIBE FOR THE FREE PATTERN. THANK YOU
Subscribe to continue reading
Subscribe to get access to the rest of this post and other subscriber-only content.
I find knitting hats a great way to use up those single hanks of fingering weight sock yarn purchased at a yarn shop or at a craft festival. Although I could use these single hanks of sock yarn for knitting socks, I much prefer to knit hats, shawlettes or cowls with them. Hats are useful in keeping our heads warm, make wonderful gifts, are small enough projects to be knit quickly, and a great way to learn and explore the different knit stitch patterns and techniques.
Advertisements
I named this hat “The Wistful Hat” because I purchased the yarn a few years back from a yarn shop I had newly found but regrettably it is no longer there now. The Wistful Hat is knit bottom up and in the round. It’s knit holding two strands of the same yarn together with a simple textured knit stitch pattern for the body and crown shaping in stockinette stitch. The brim of the hat can be folded for extra warmth.
Advertisements
The Wistful Hat Pattern (text and images for personal use only)
PLEASE SUBSCRIBE FOR THE FREE PATTERN. THANK YOU
Subscribe to continue reading
Subscribe to get access to the rest of this post and other subscriber-only content.
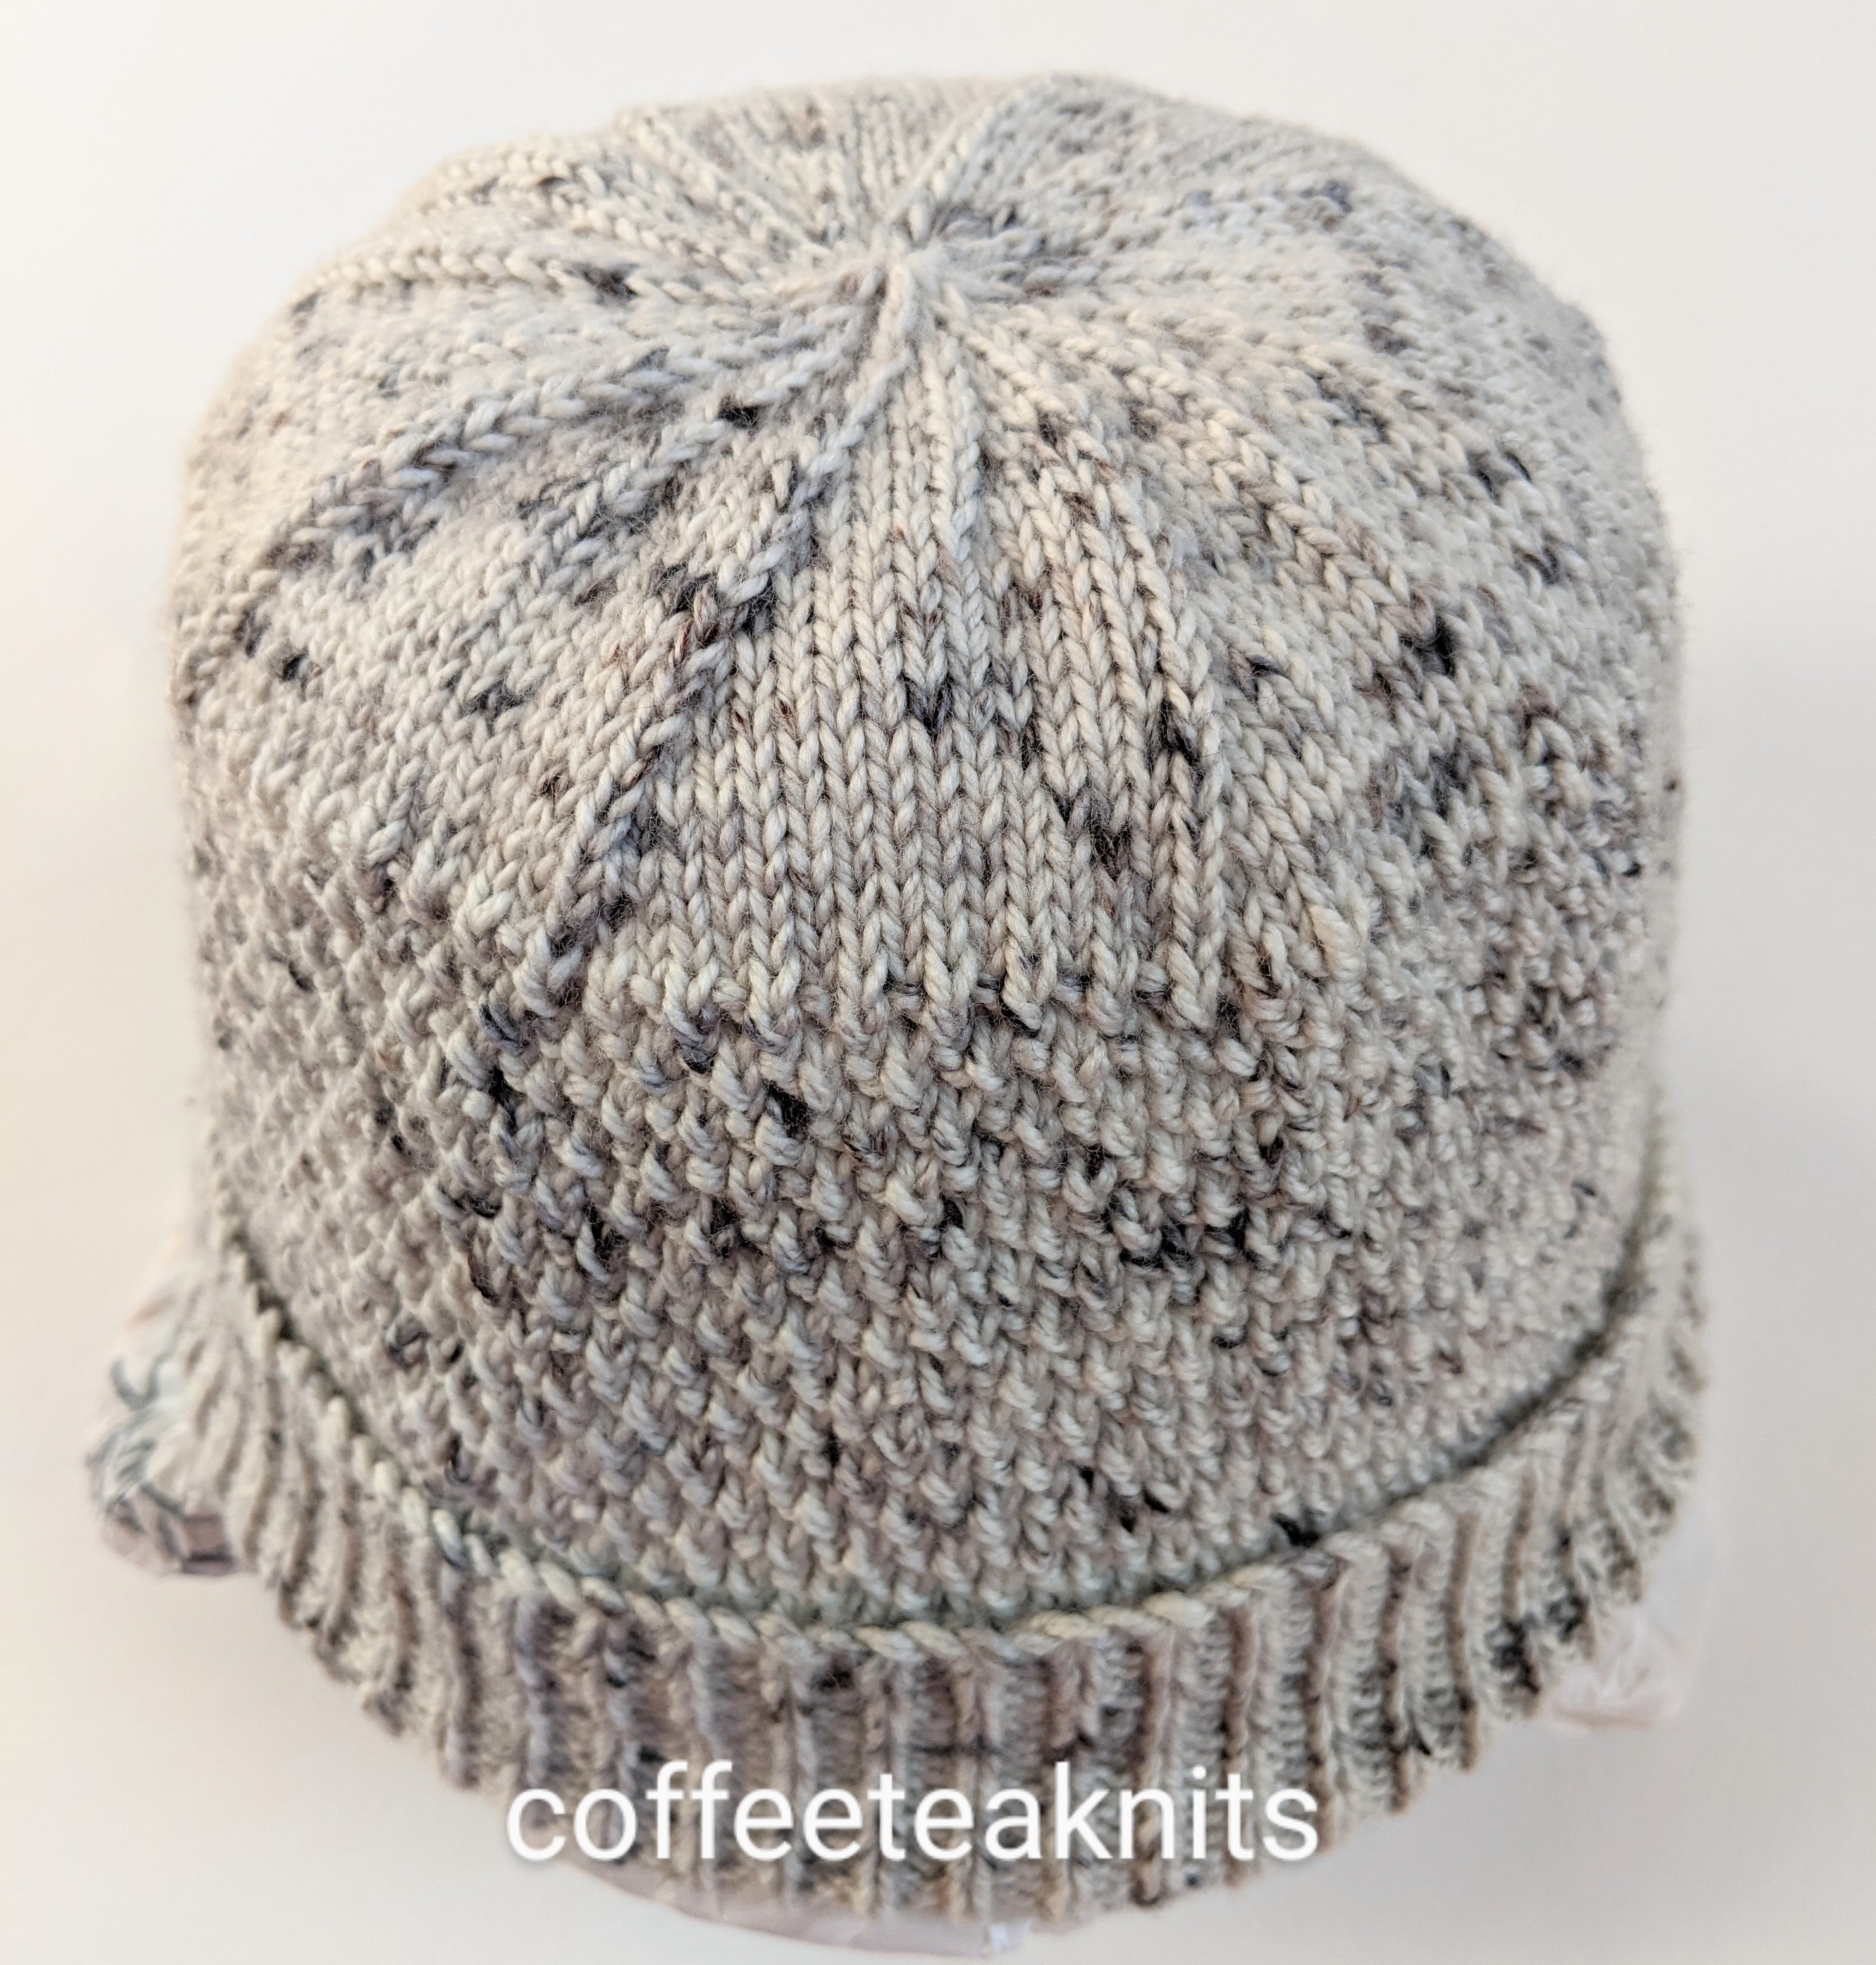
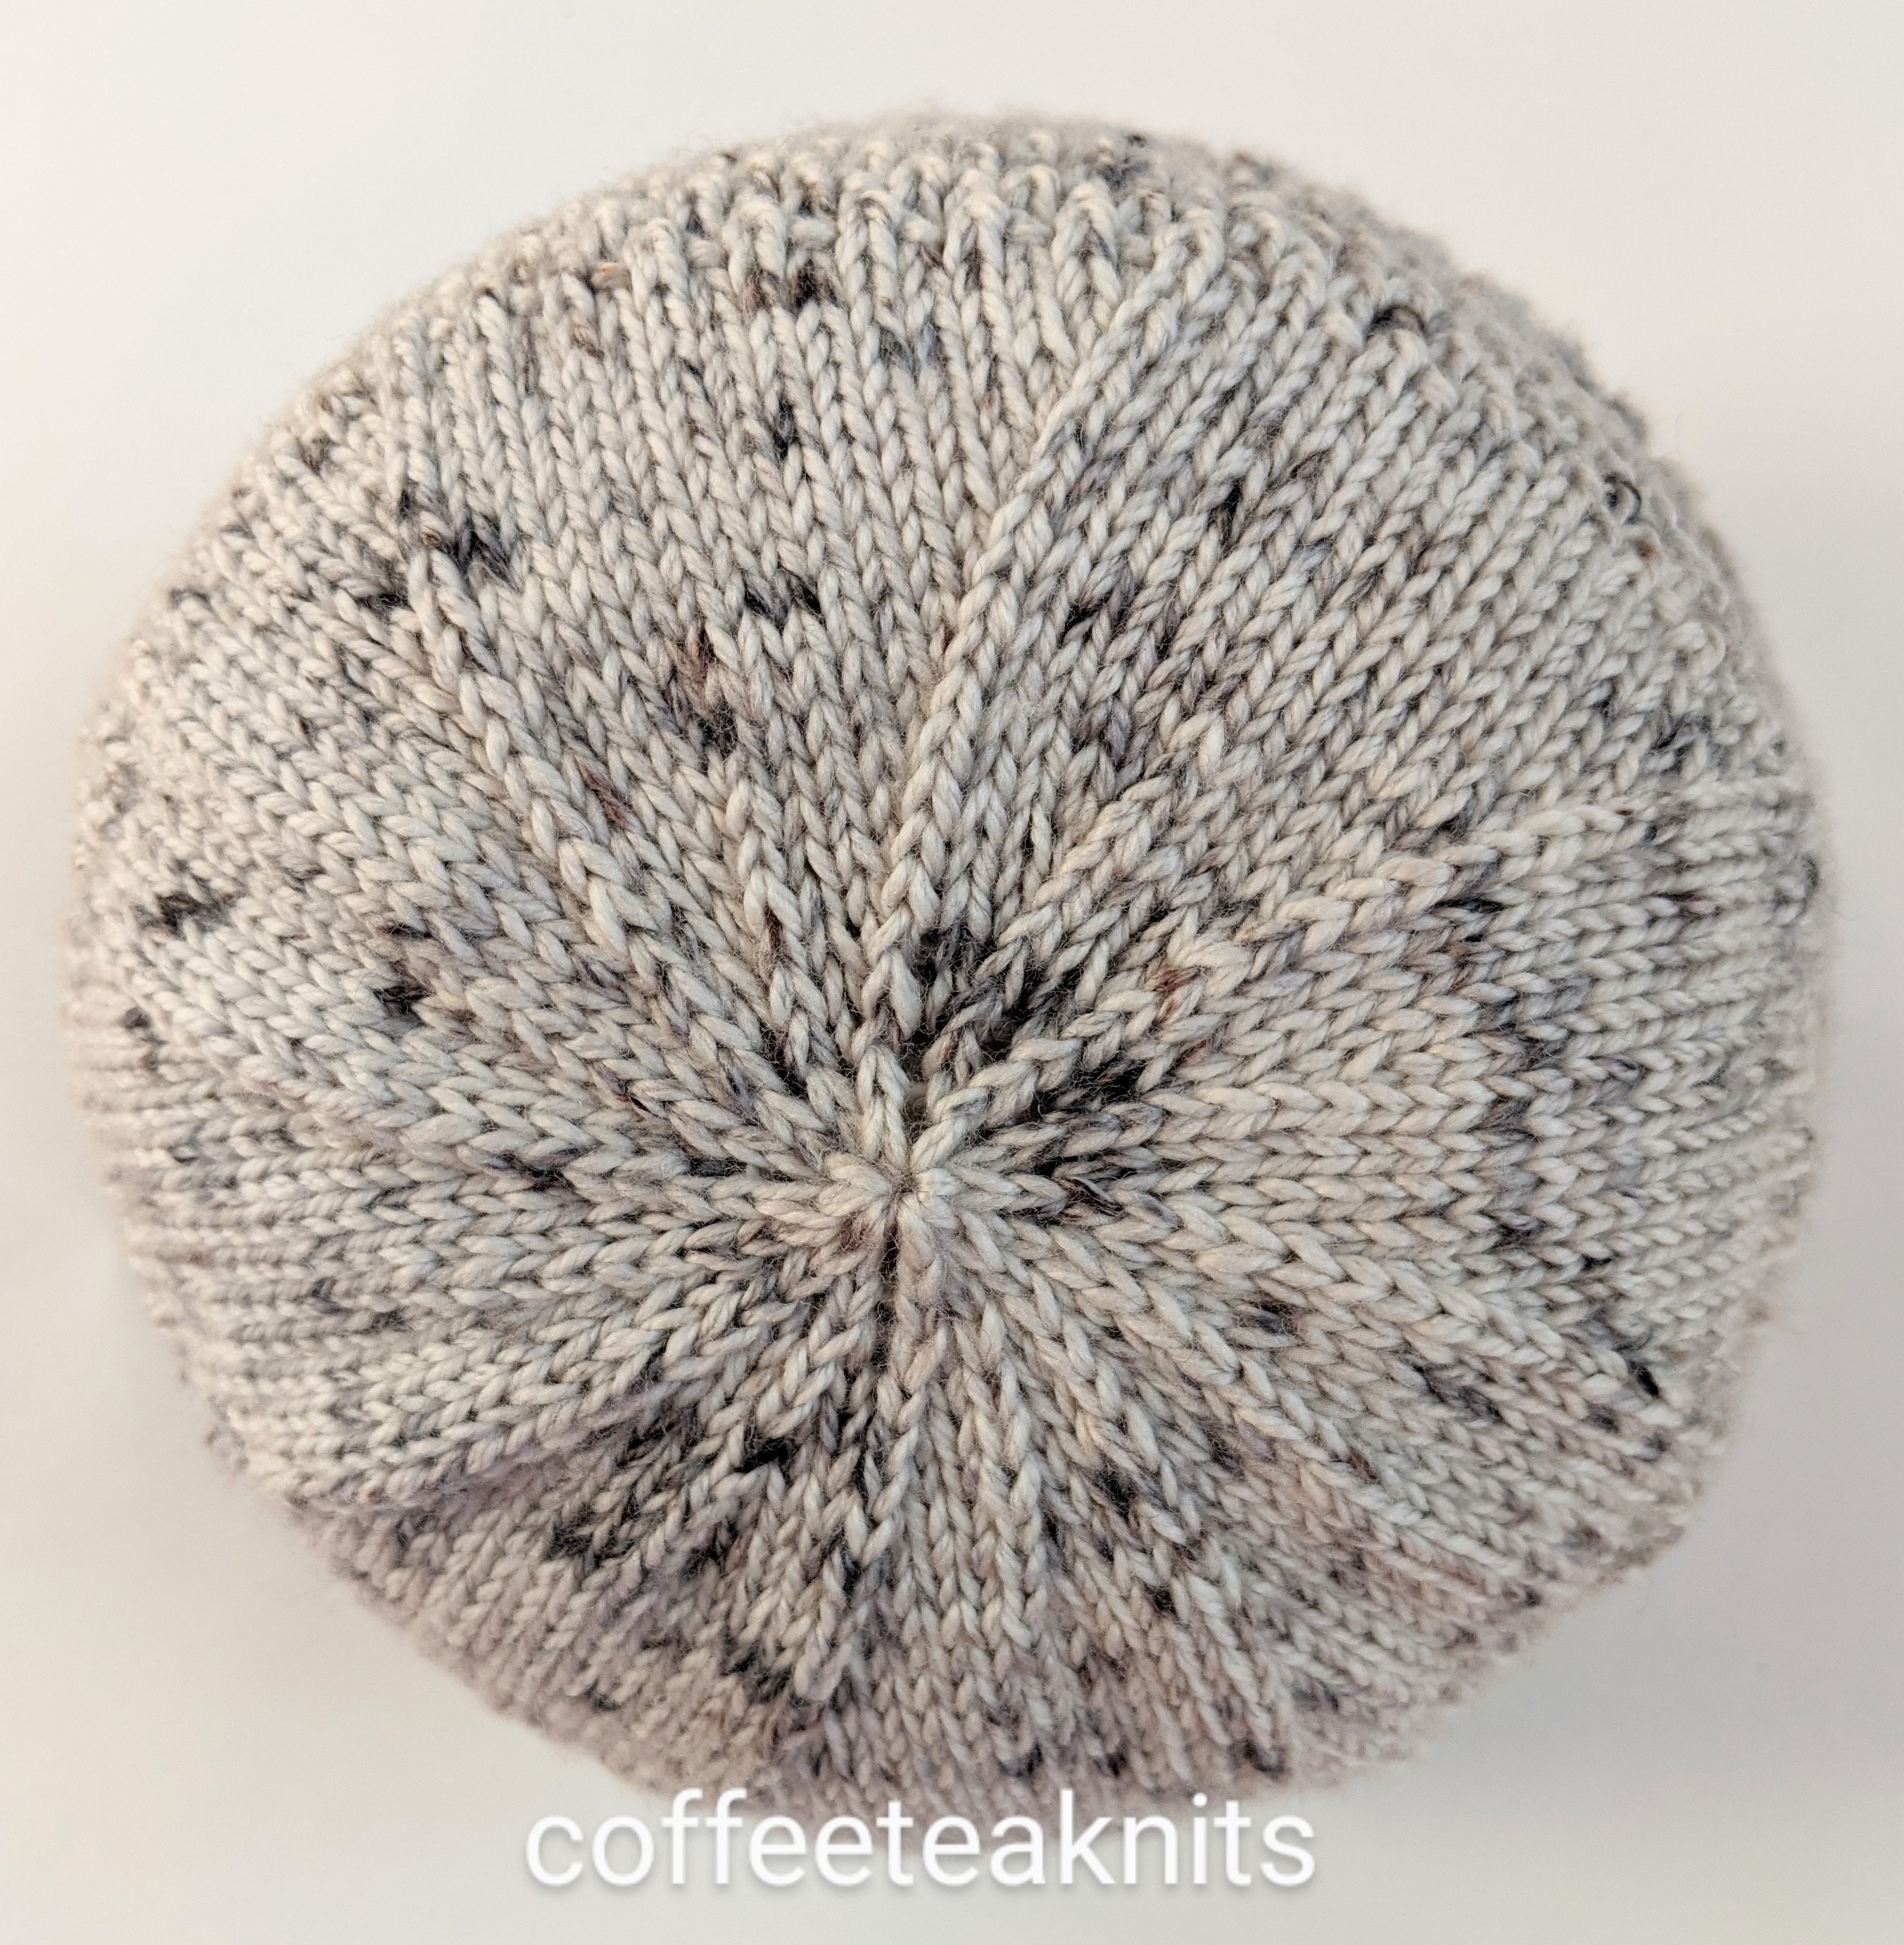
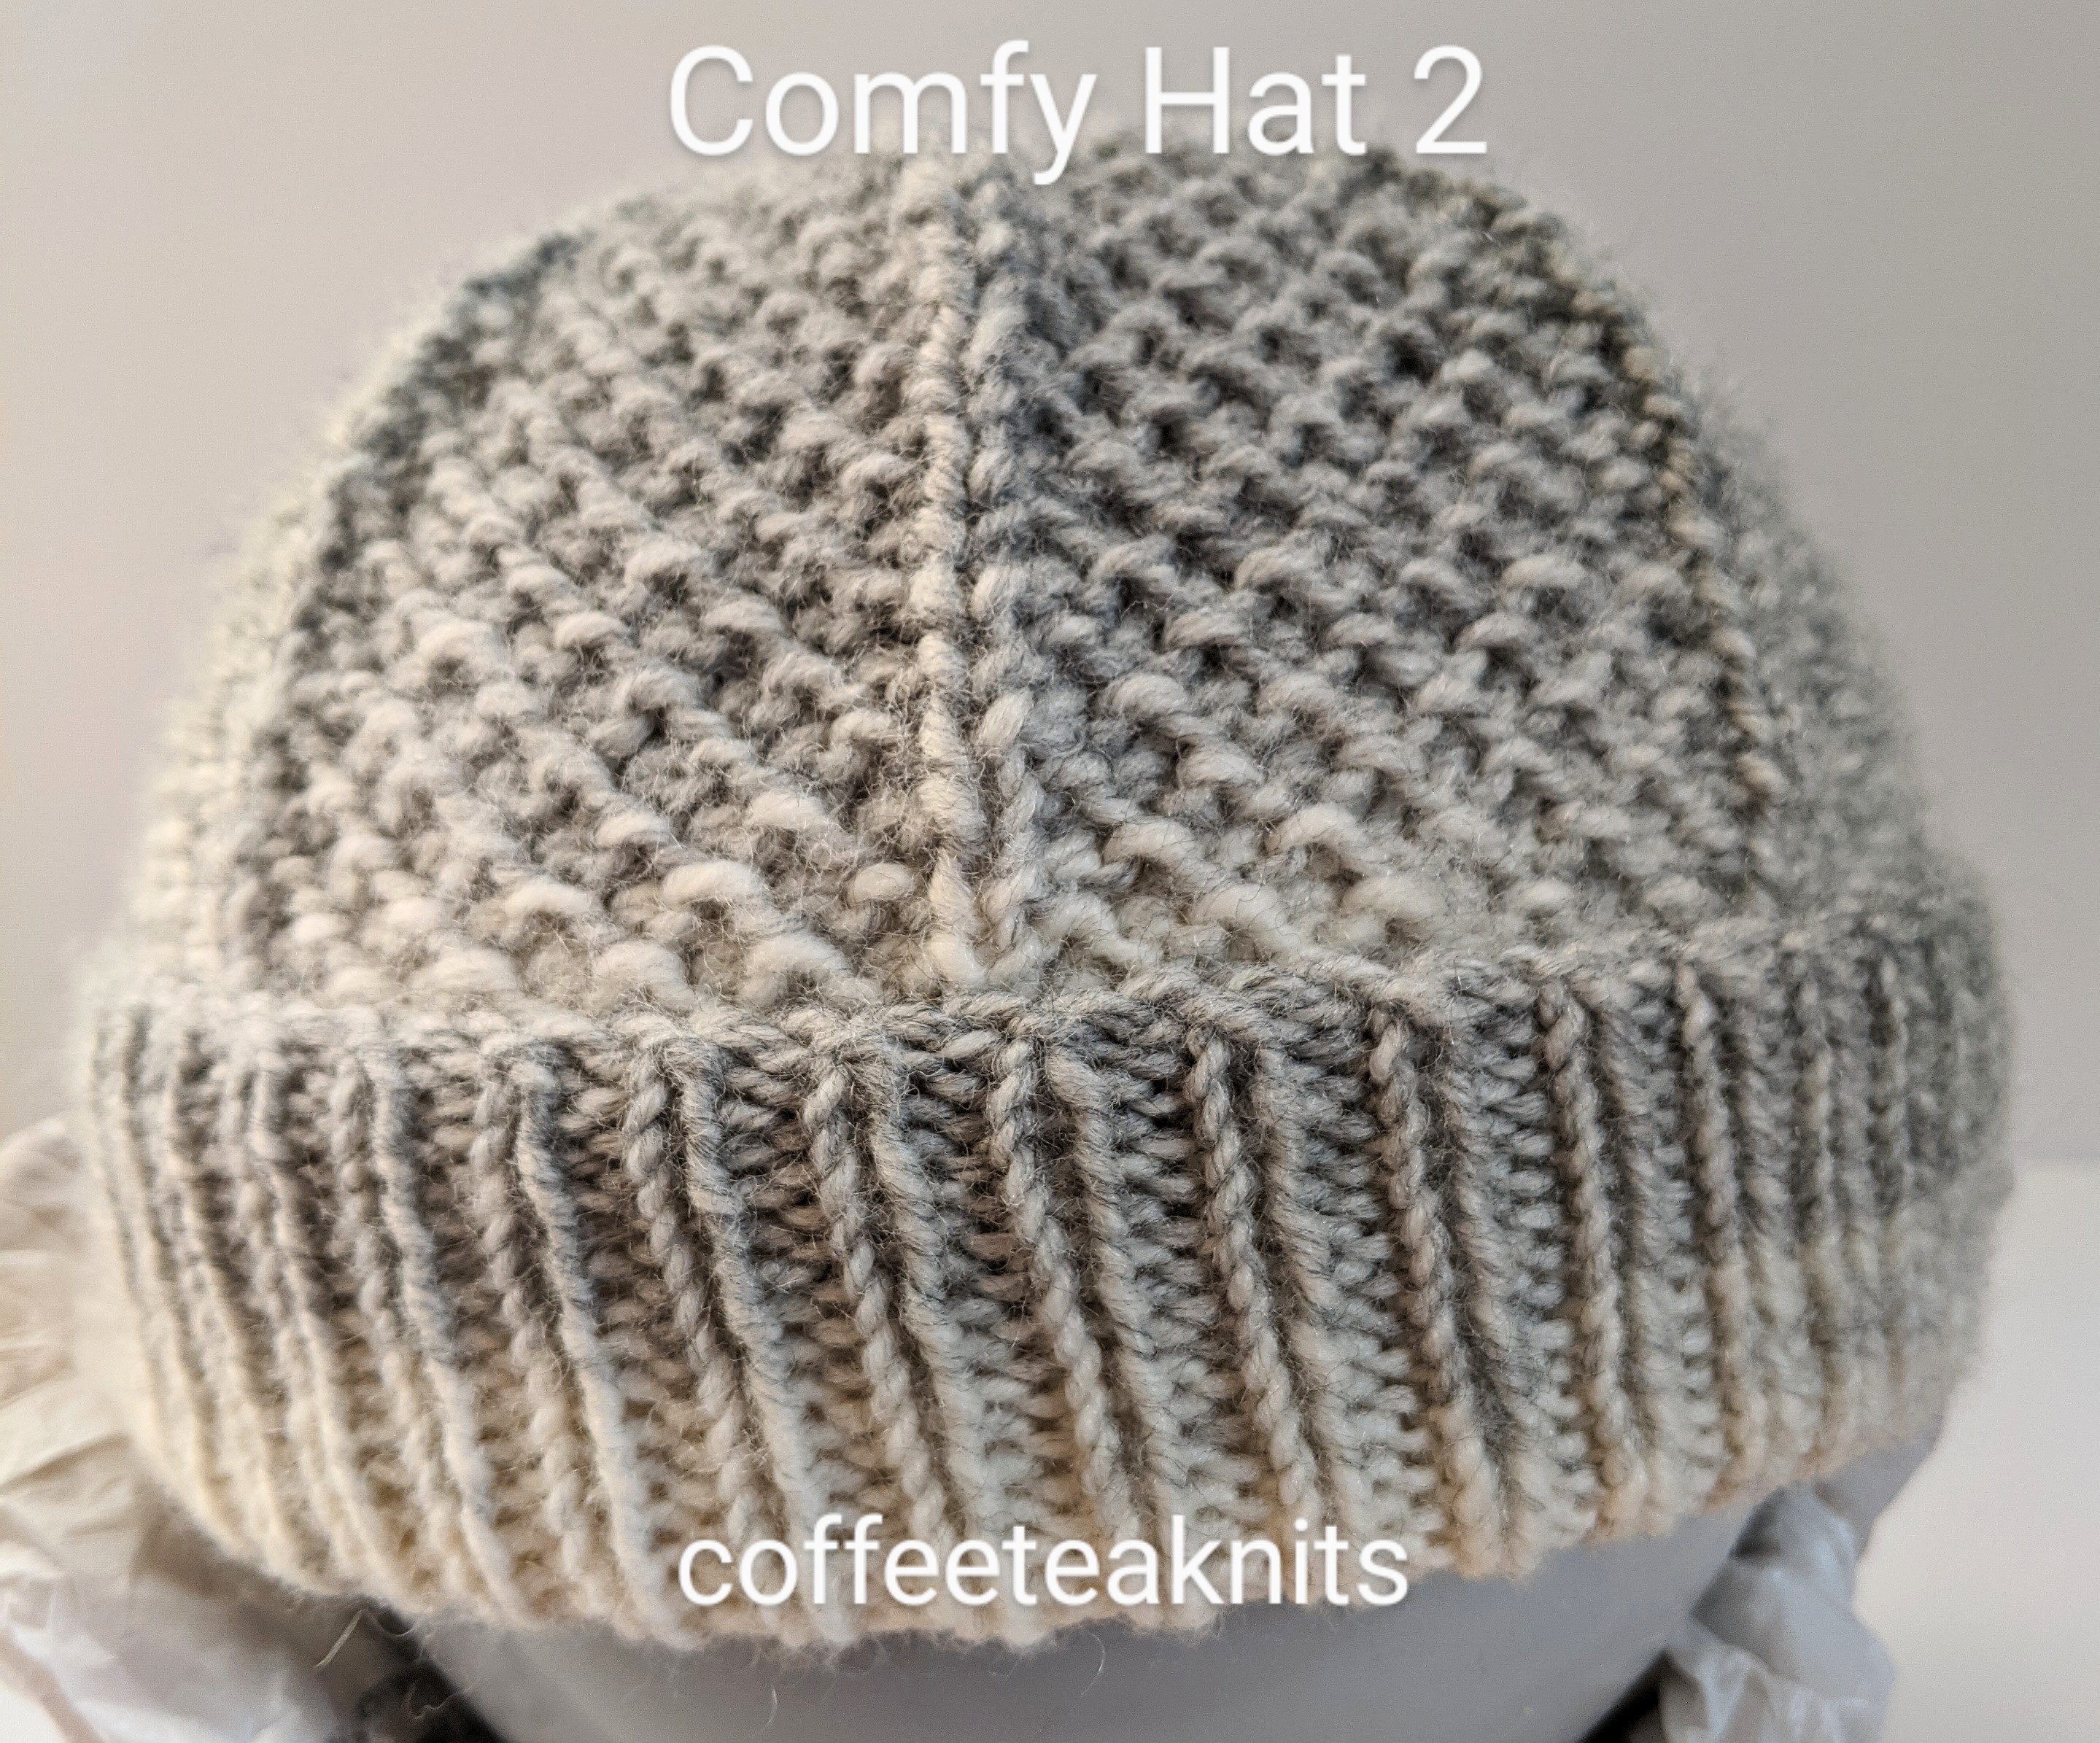
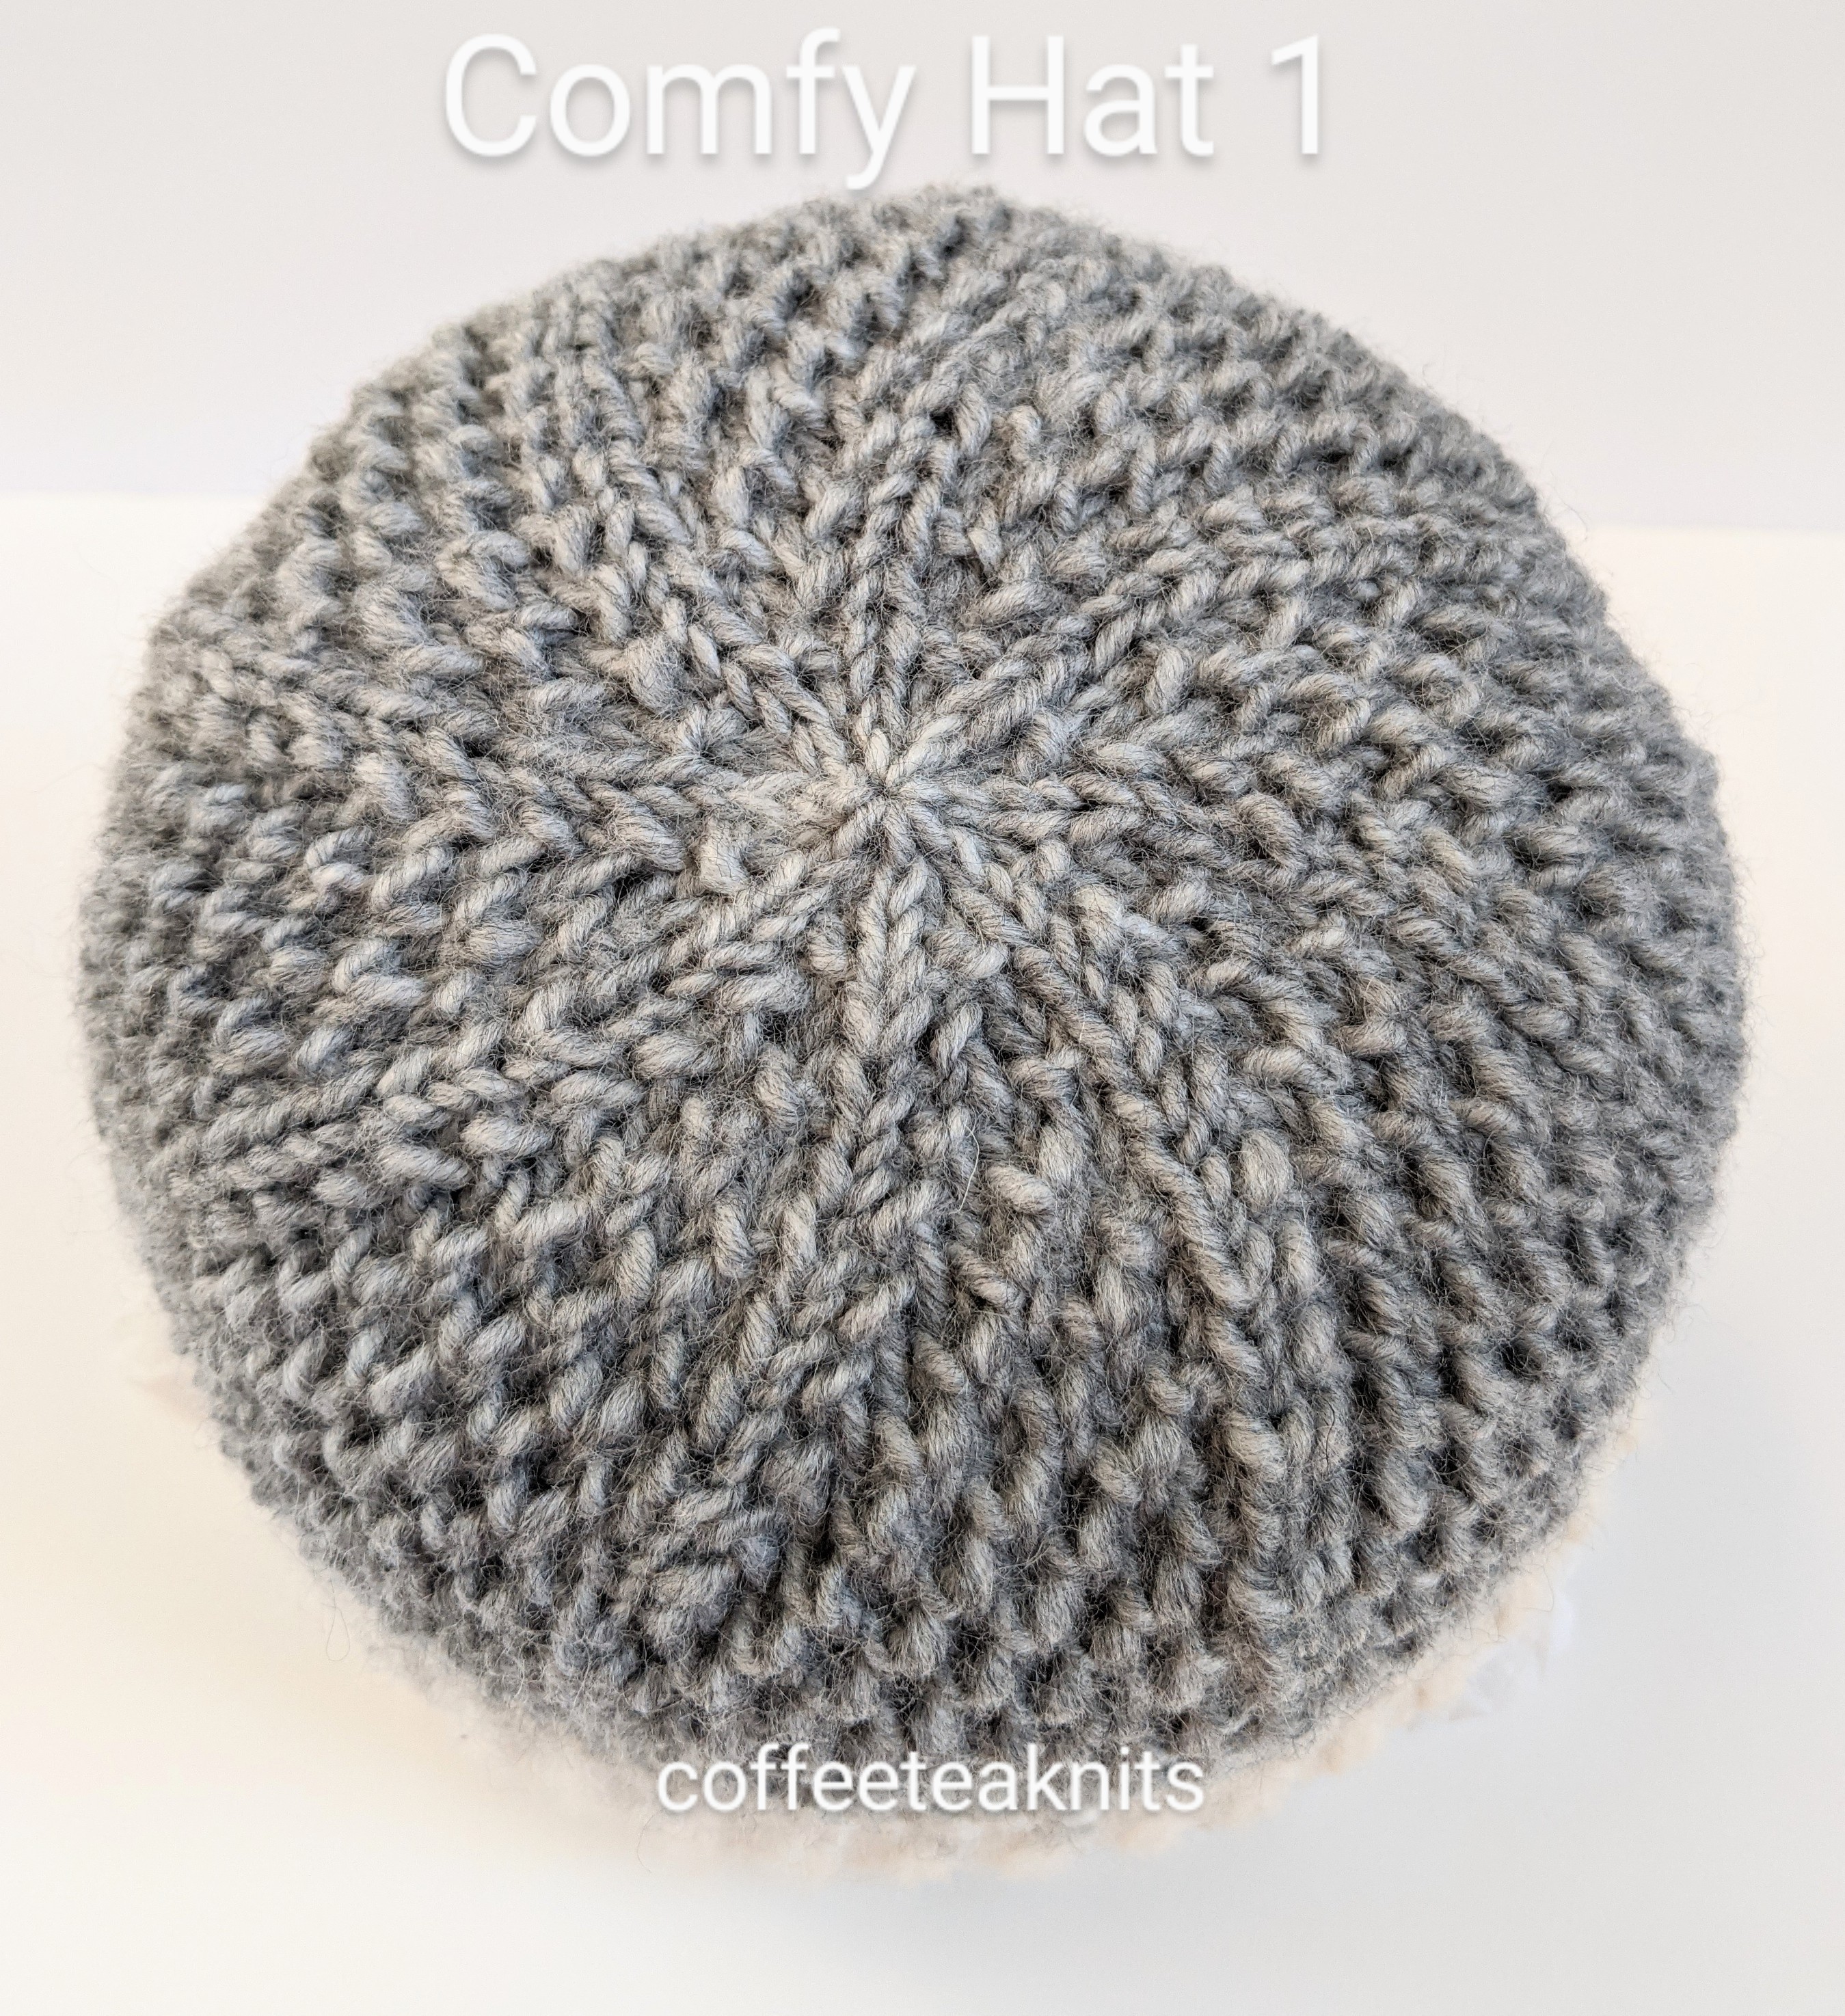
There are some knit stitch patterns that look just as good on the right side as they do on the wrong side. It is so with the twisted seed stitch knit pattern. So I knitted the Comfy Hats with this twisted seed stitch pattern, one with the right side on the outside and the other with the wrong side on the outside. The Lion Brand® Scarfie yarn is warm and comfortable making it the right hat to wear this time of the year. Both hats were knitted bottom up and in the round with a 1 x 1 rib knit stitch pattern folded cuff, a body with the twisted seed stitch pattern, and crown shaping.
Advertisements
There are two patterns down below for the two hats. The patterns are mostly similar but with a few modifications. These patterns are only for an adult medium hat size. These hats have not been graded for different sizes but the pattern can be easily adapted to different sizes by increasing or decreasing the number of cast on stitches or by increasing or decreasing the number of the pattern repeats.
Advertisements
The Comfy Hat Patterns (text and images for personal use only)
Yarn: Lion Brand® Scarfie Yarn in the Cream/Silver colorway Knitting Needles: US #7 and US #9 circular knitting needles Gauge: 17 stitches and 26 rows = 4 inches in stockinette stitch before blocking and with US #7 knitting needles Abbreviations:
Advertisements
K: Knit
P: Purl
RS: right side
WS: wrong side
P2tog: Purl two stitches together
K2tog: Knit two stitches together
K1B: knit below the stitch on the left hand needle
pm: place marker
rm: remove marker
sm: slip marker
BOR marker: beginning of round marker
Advertisements
Comfy Hat Pattern 1
Comfy Hat Pattern 2
With US #9 cast on 88 stitches using the cable cast on method, slip stitches on to US #7 circular knitting needles, place a BOR marker and join the round
With US #9 cast on 88 stitches using the cable cast on method, slip stitches on to US #7 circular knitting needles, place a BOR marker and join the round
Folded Cuff (1 x 1 rib stitch): Round 1: [K1, P1] till the BOR marker, slip marker
Repeat Round 1 twenty-four more times (about 4 inches in length)
Folded Cuff (1 x 1 rib stitch): Round 1: [K1, P1] till the BOR marker, slip marker
Repeat Round 1 twenty-four more times (about 4 inches in length)
Body (Twisted Seed Stitch Pattern): Setup Round: [purl 10, K1, pm] repeat this 7 more times till the BOR marker, slip the BOR marker
Round 1: [purl till 1 stitch before marker, K1, sm] repeat this 7 more times till the BOR marker, slip the BOR marker
Round 2: [K1, K1B till 1 stitch before marker, K1, sm] repeat this 7 more times till the BOR marker
Round 3: [purl till 1 stitch before marker, K1, sm] repeat this 7 more times till the BOR marker, slip the BOR marker
Round 4: [K1B, K1 till 1 stitch before marker, K1, sm] repeat this 7 more times till the BOR marker
Repeat Rounds 1 – 4 seven more times
Body (Twisted Seed Stitch Pattern): Setup Round: [purl 11, pm] repeat this 7 more times till the BOR marker, slip the BOR marker
Round 1: [purl to marker, sm] repeat this 7 more times till the BOR marker, slip the BOR marker
Round 2: [K1, K1B till 1 stitch before marker, P1, sm] repeat this 7 more times till the BOR marker
Round 3: [purl to marker, sm] repeat this 7 more times till the BOR marker, slip the BOR marker
Round 4: [K1B, K1 till 1 stitch before marker, P1, sm] repeat this 7 more times till the BOR marker
Repeat Rounds 1 – 4 seven more times
Crown Shaping: Round 1: [purl till 3 stitches before marker, P2tog, K1, sm] repeat this 7 more times, slip BOR marker
Round 2: [K1, K1B till 2 stitches before marker, K2, sm] repeat this 7 more times, slip BOR marker
Round 3: [purl till 3 stitches before marker, P2tog, K1, sm] repeat this 7 more times, slip BOR marker
Round 4: [K1B, K1 till 1 stitch before marker, K1, sm] repeat this 7 more times, slip BOR marker
Repeat Rounds 1 – 4 three more times
Round 17: [P2tog, K1, sm] repeat this seven more till BOR marker, slip BOR marker
Round 18: Knit all the stitches removing all markers till the BOR marker, slip the BOR marker
Round 19: K2tog till the BOR marker, remove BOR marker, break about 6 inches of the working yarn and thread it through a tapestry needle. Insert the tapestry needle with the working yarn into the remaining stitches, pull tight and secure yarn
Weave in the ends and wash hat.
Crown Shaping: Round 1: [purl till 3 stitches before marker, P2tog, P1, sm] repeat this 7 more times, slip BOR marker
Round 2: [K1, K1B till 2 stitches before marker, K1, P1, sm] repeat this 7 more times, slip BOR marker
Round 3: [purl till 3 stitches before marker, P2tog, P1, sm] repeat this 7 more times, slip BOR marker
Round 4: [K1B, K1 till 1 stitch before marker, P1, sm] repeat this 7 more times, slip BOR marker
Repeat Rounds 1 – 4 three more times
Round 17: [P2tog, P1, sm] repeat this seven more till BOR marker, slip BOR marker
Round 18: [K1, P1 till marker, rm] repeat till the BOR marker, slip the BOR marker
Round 19: P2tog till the BOR marker, remove BOR marker, break about 6 inches of the working yarn and thread it through a tapestry needle. Insert the tapestry needle with the working yarn into the remaining stitches, pull tight and secure yarn
Turn the hat inside out, weave in the ends and wash hat.
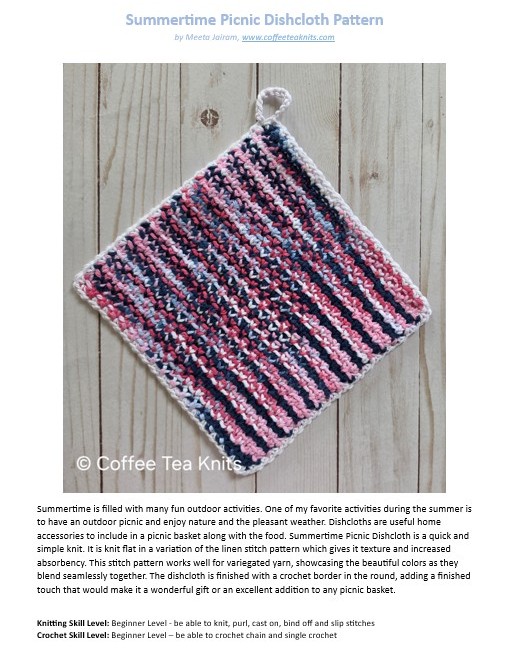
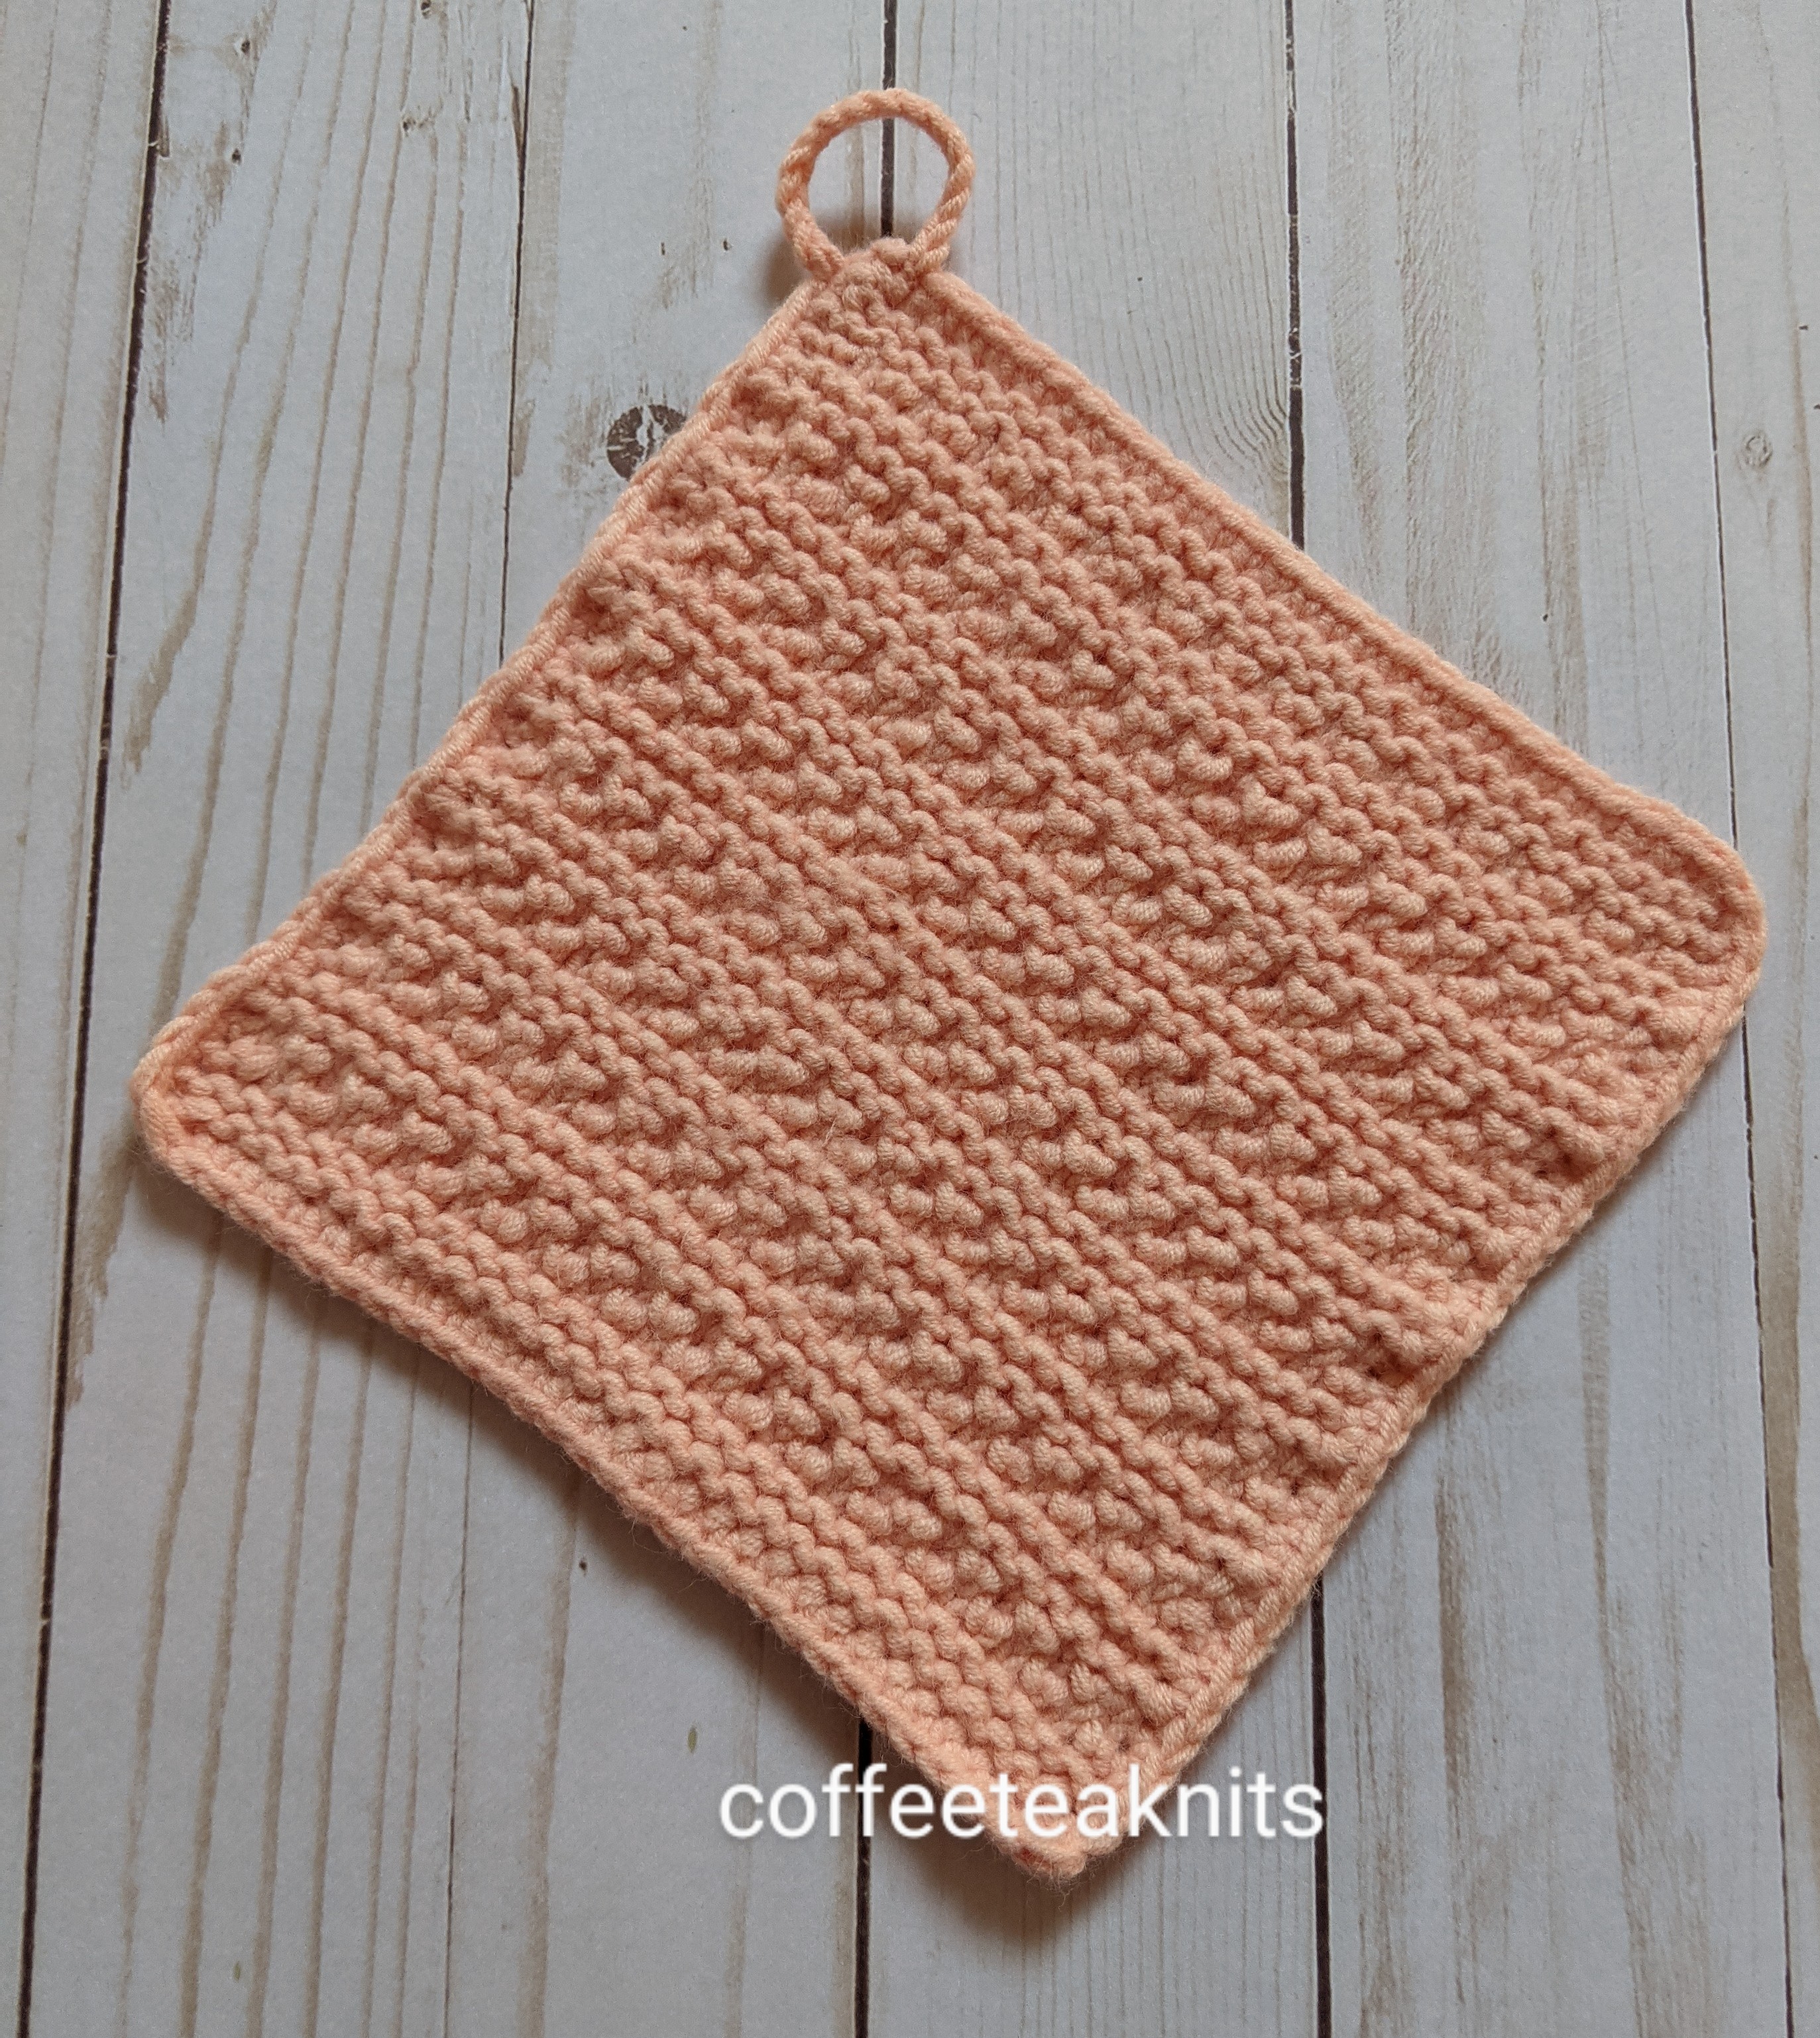
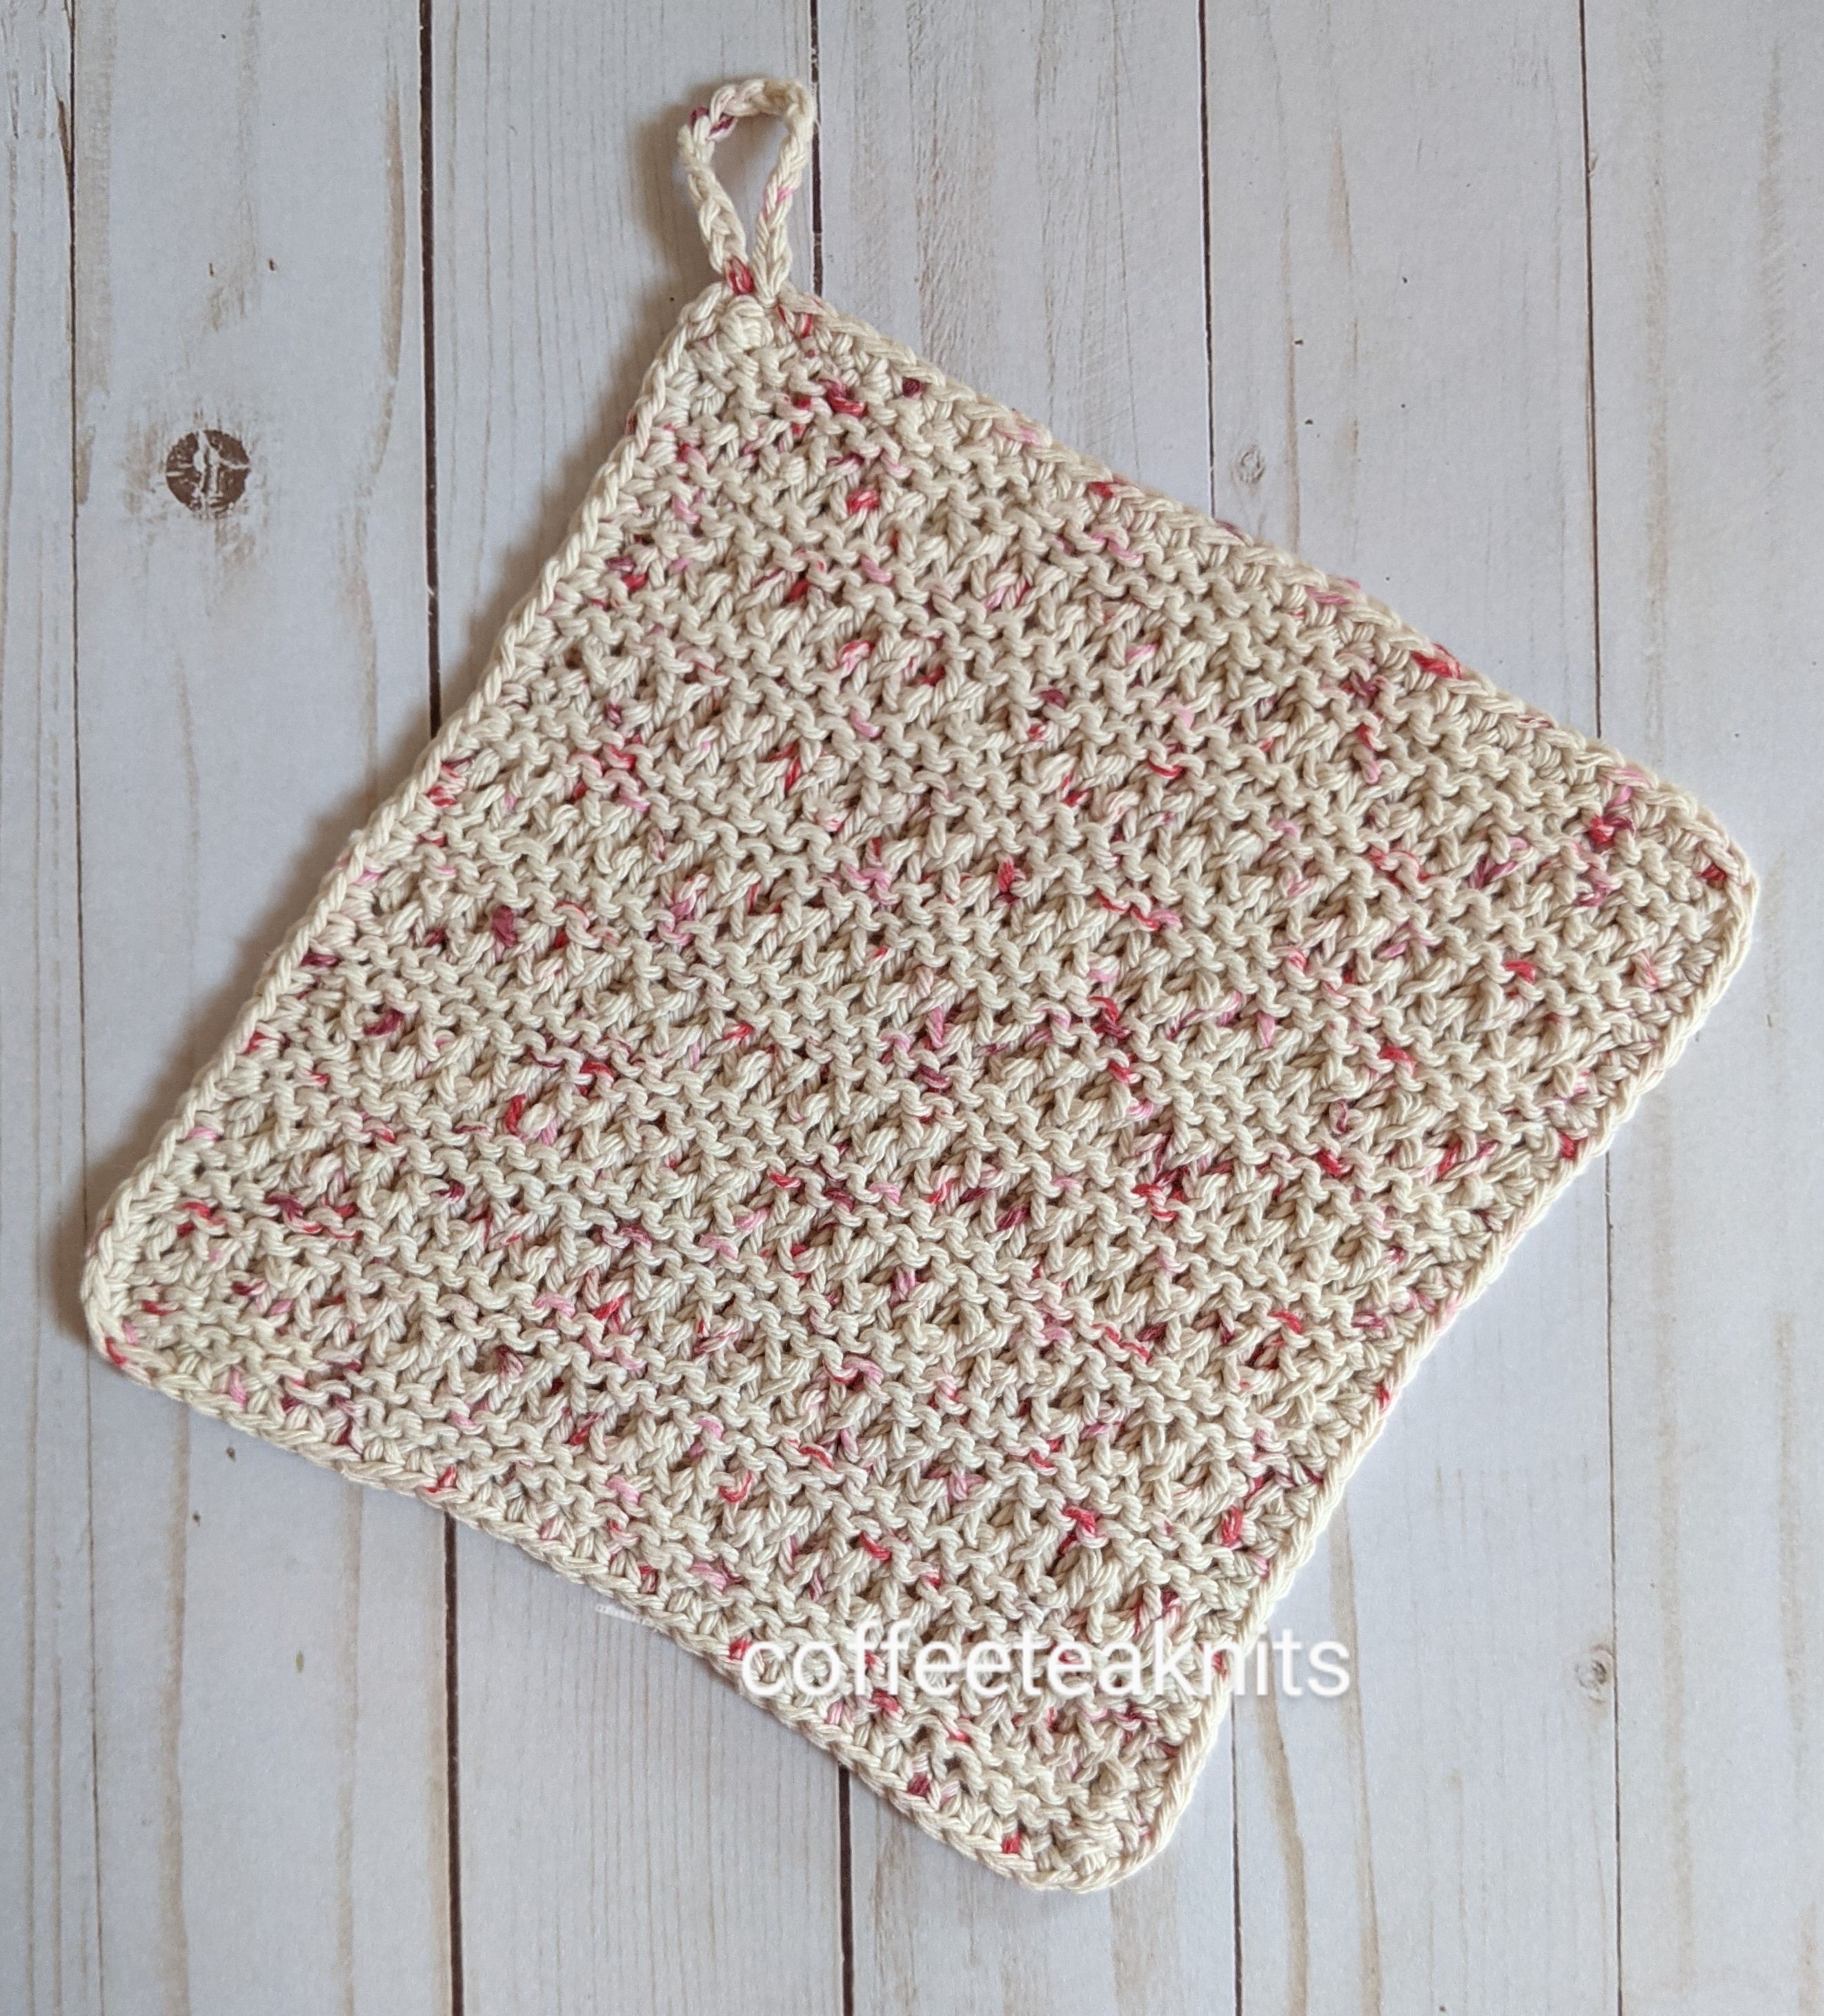
Most summers my sweater knitting with wool or other yarn slows down. I usually weave more or try to knit with cotton yarns during this season. Although this season is more a time for yarn and a loom for me (more details in the next post), I have knitted a few dishcloths including these Summertime Dishcloths. Summertime dishcloths are knit flat from bottom up in a combination of garter stitch and twisted seed stitch pattern.
The Summertime Dishcloths Pattern (text and images for personal use only)
Yarn: Loops & Threads Capri in Apricot colorway for the dishcloth 1 Yarn: Premier Home Cotton in Jelly dots colorway for the dishcloth 2 Knitting Needles: US #8, and US #10 circular needle for the dishcloth 1 Knitting Needles: US #7, and US #9 circular needle for the dishcloth 2 Crochet hook: 4.5 mm for the dishcloth 1; 4.0 mm for the dishcloth 2 Gauge: garter stitch pattern – 18 stitches/ 4 inches for the dishcloth 1; 17 stitches/ 4 inches for the dishcloth 2
Abbreviations:
K: Knit
RS: right side
WS: wrong side
wyif S1: bring working yarn to the front before slipping the next stitch (in this pattern slip the last stitch)
K1B: Knit one stitch below the stitch that is on the left needle
[….]: repeat of stitch pattern within a row
Cast on 31 stitches with US #10 needles for the dishcloth 1 or US #9 for the dishcloth 2. Then with US#8 knitting needles for the dishcloth 1 or with US#7 knitting needles for the dishcloth 2 knit as follows:
Row 1 (WS): Knit all stitches to 1 stitch before last, wyif S1
Row 2 (RS): Knit all stitches to 1 stitch before last, wyif S1
Row 3 (WS): Knit all stitches to 1 stitch before last, wyif S1
Row 4 (RS): Knit all stitches to 1 stitch before last, wyif S1
Row 5 (WS): Knit all stitches to 1 stitch before last, wyif S1
Row 6 (RS): K2, [K1B, K1] till 1 stitch before last, wyif S1
Row 7 (WS): Knit all stitches to 1 stitch before last, wyif S1
Row 8 (RS): K1, K1B, [K1, K1B] till 1 stitch before last, wyif S1
Repeat Rows 1 to 8, 7 more times ending with Row 8
Row (WS): Knit all stitches to 1 stitch before last, wyif S1
Row (RS): Knit all stitches to 1 stitch before last, wyif S1
Row (WS): Knit all stitches to 1 stitch before last, wyif S1
Row (RS): Bind off loosely in knit stitch pattern with a US #10 knitting needle for the dishcloth 1 or US #9 knitting needles for the dishcloth 2
Insert a 4.5 mm crochet hook for the dishcloth 1 (or 4.0 mm crochet hook for the dishcloth 2) in the last remaining stitch and single crochet all around the dishcloth.
(Optional) – For the hanging loop, chain 15 and slip stitch into the next single crocheted stitch on the crocheted border. Finish the dishcloths by washing, blocking and weaving in the ends.