The Wistful Hat Pattern

wistfulhat_front
wistfulhat_top

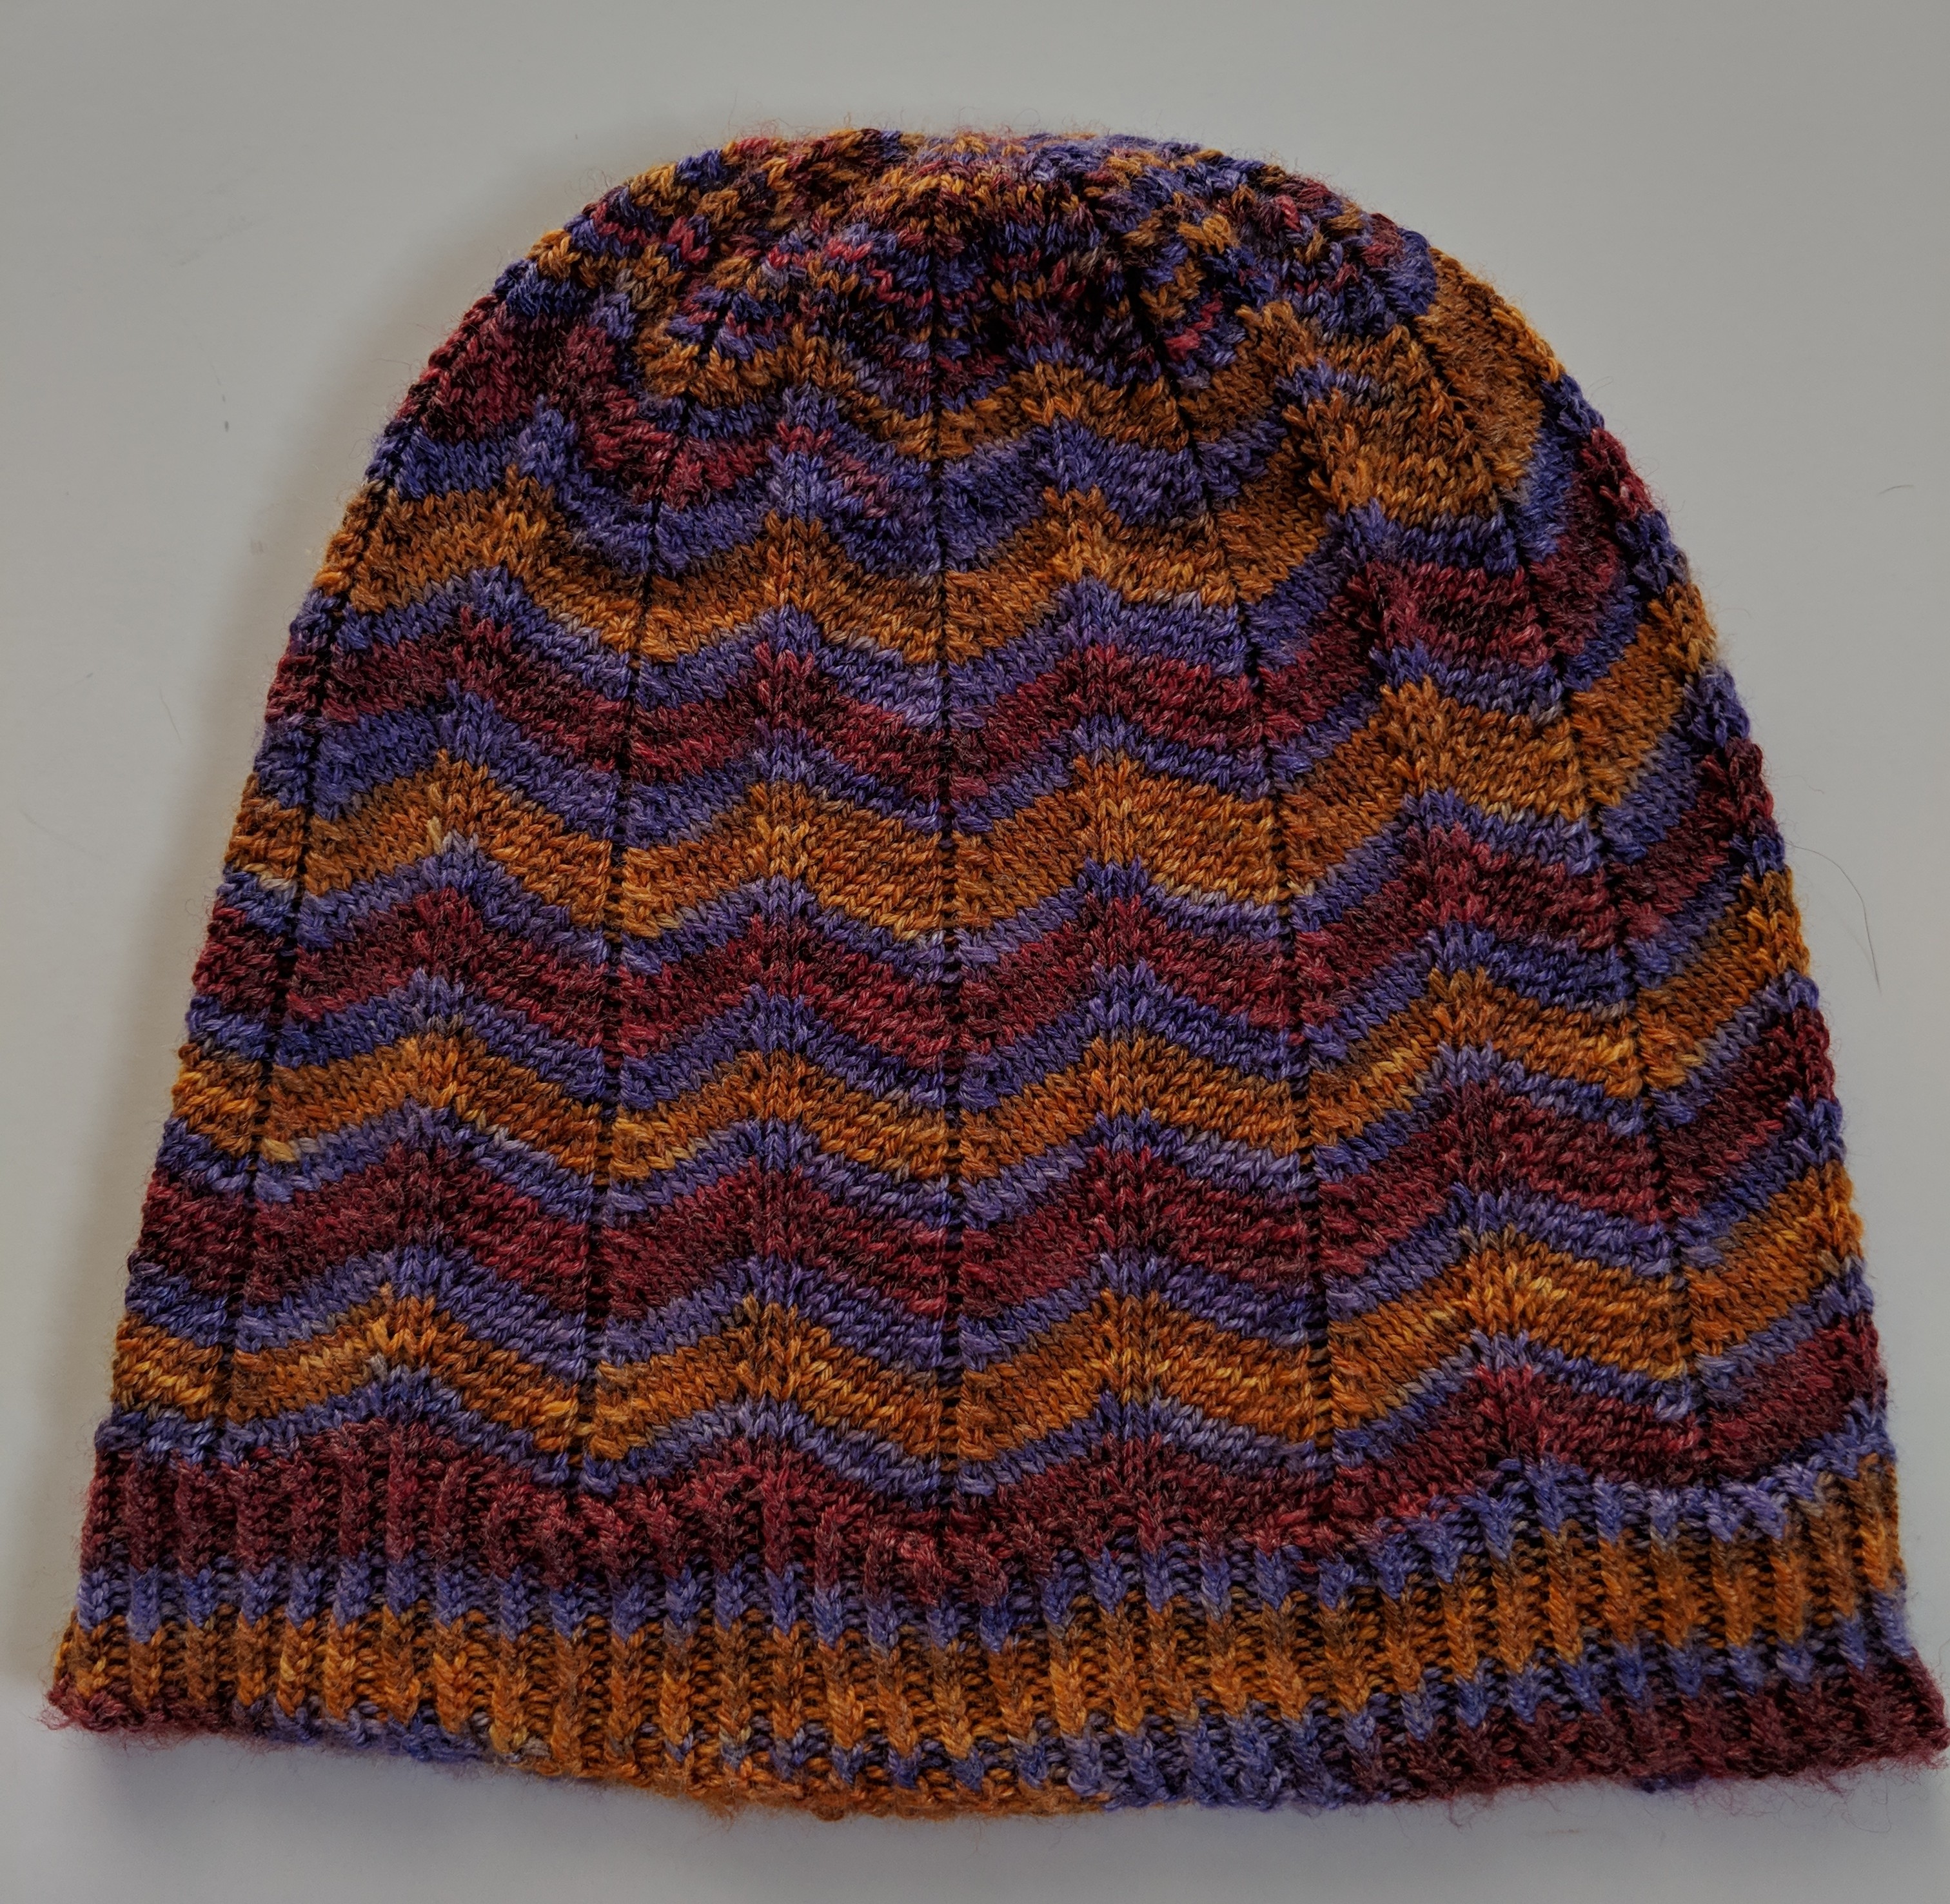
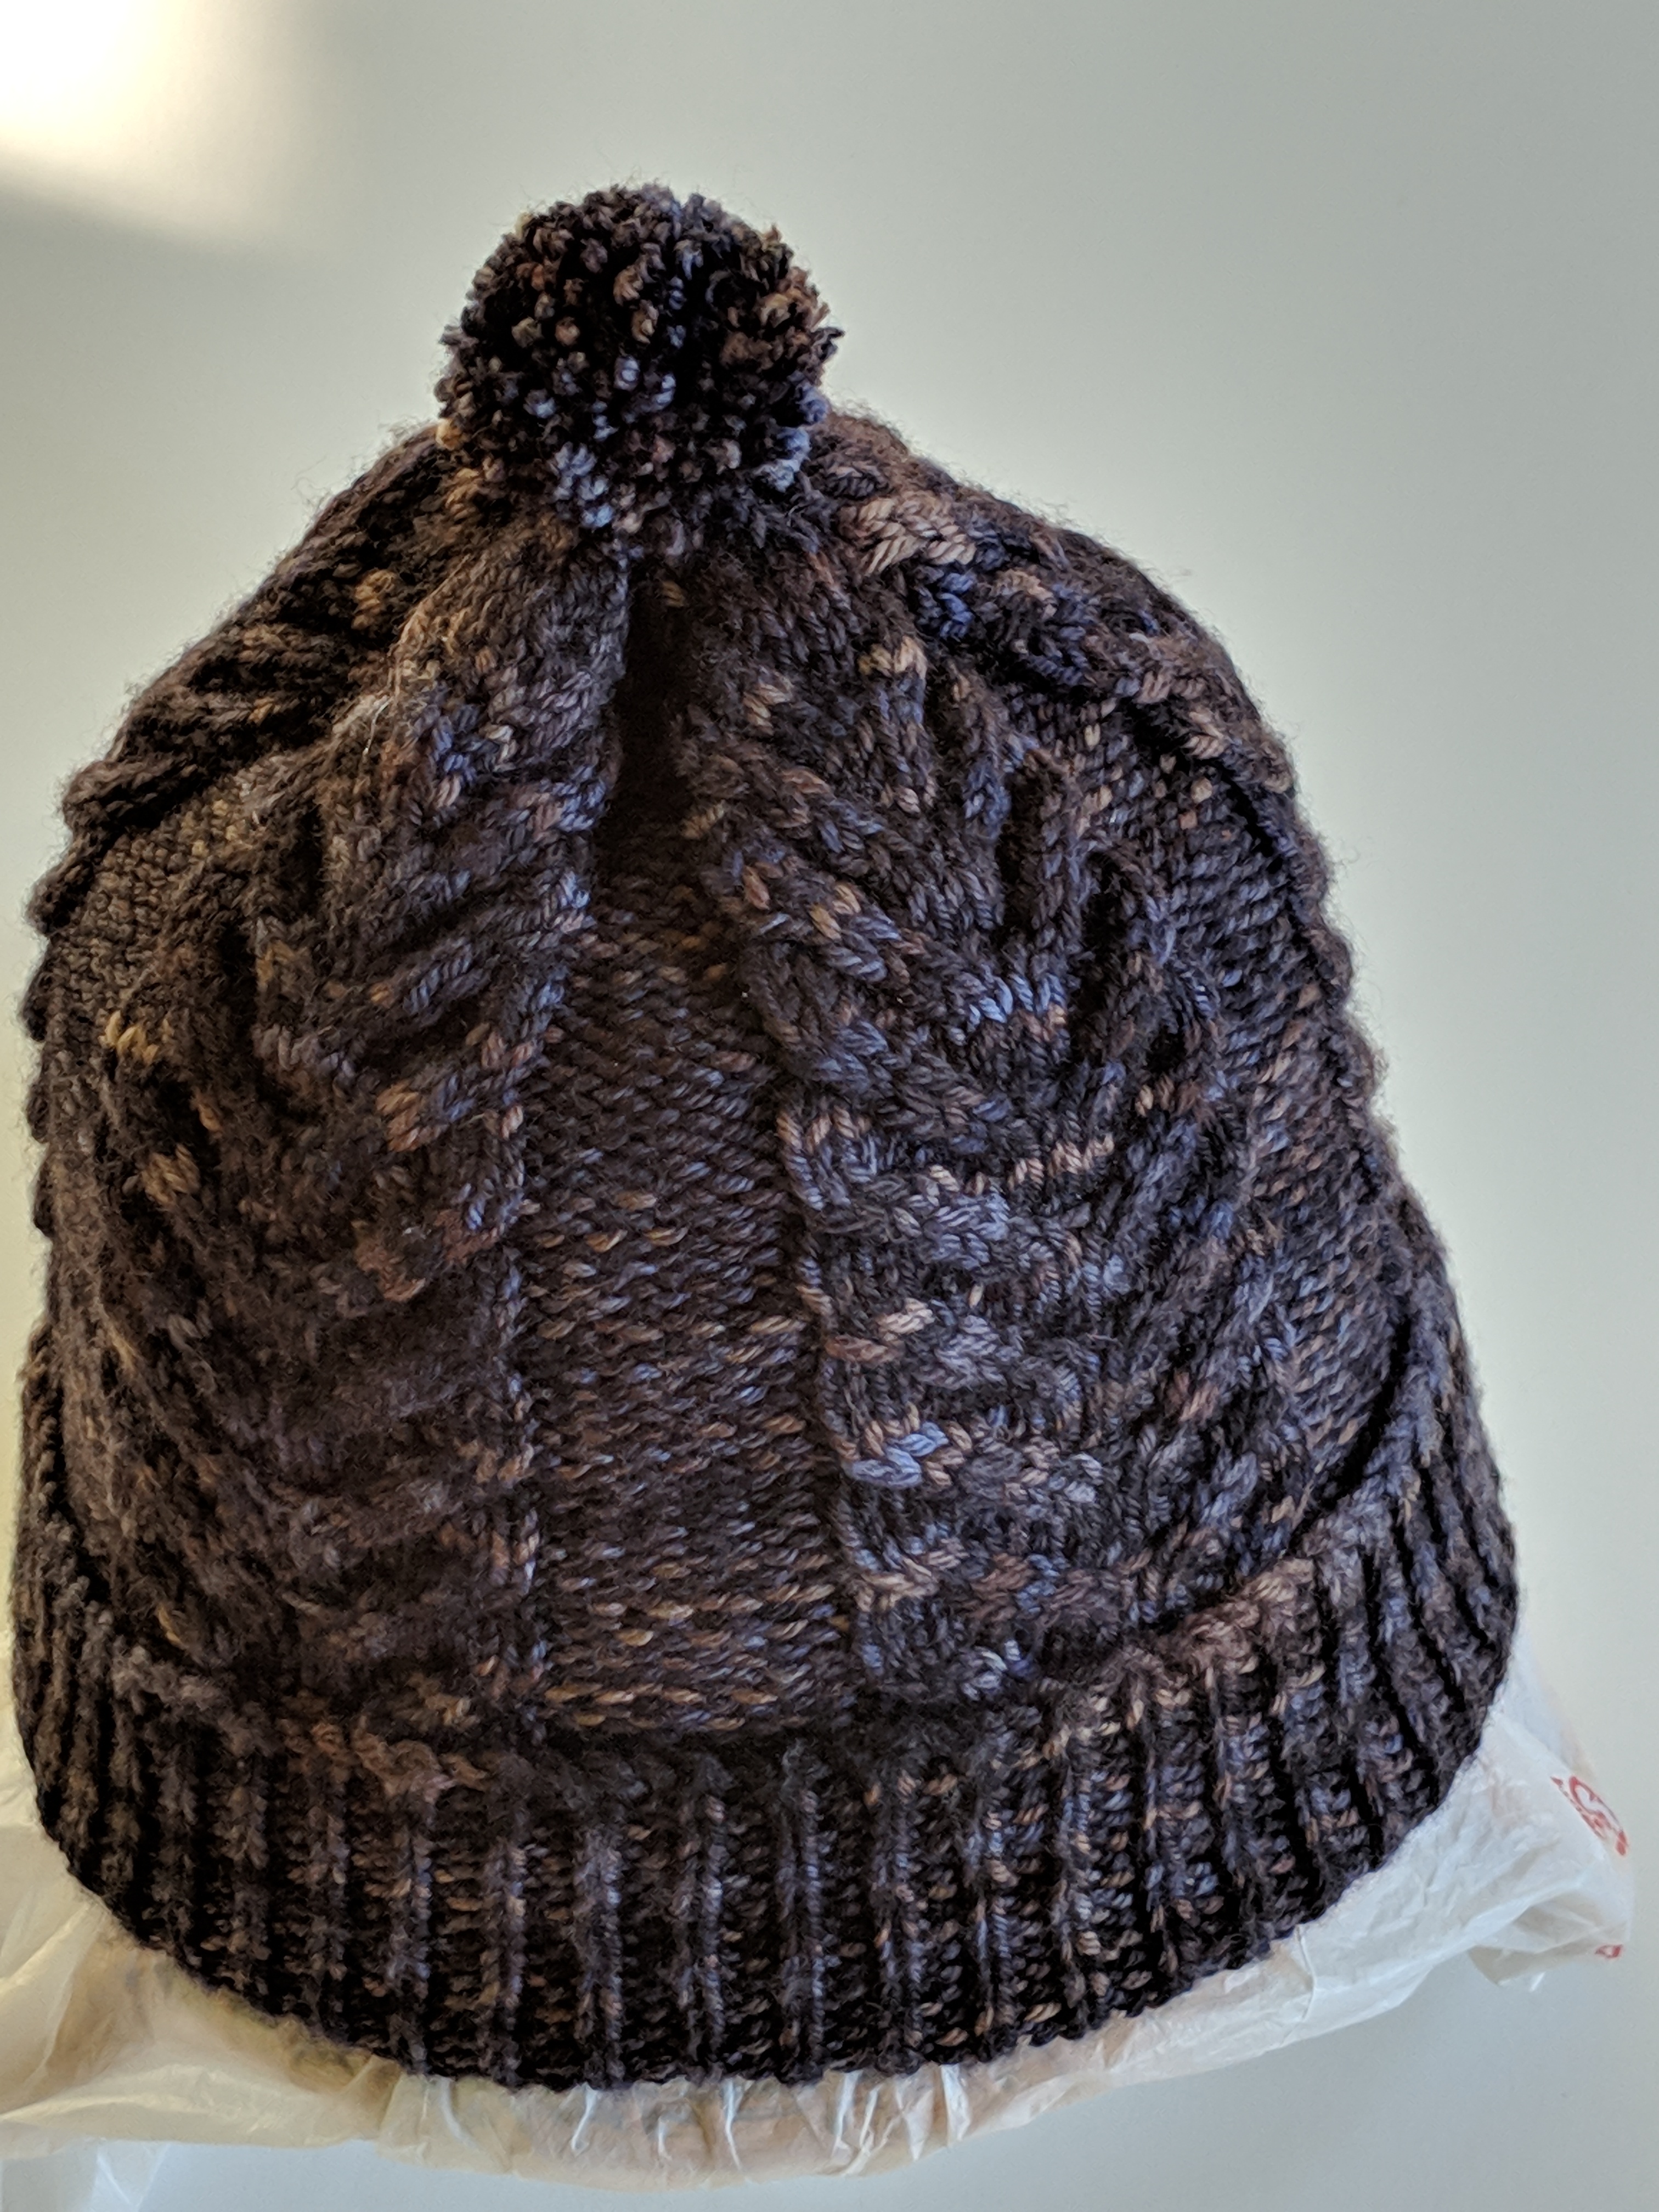
I find knitting hats a great way to use up those single hanks of fingering weight sock yarn purchased at a yarn shop or at a craft festival. Although I could use these single hanks of sock yarn for knitting socks, I much prefer to knit hats, shawlettes or cowls with them. Hats are useful in keeping our heads warm, make wonderful gifts, are small enough projects to be knit quickly, and a great way to learn and explore the different knit stitch patterns and techniques.

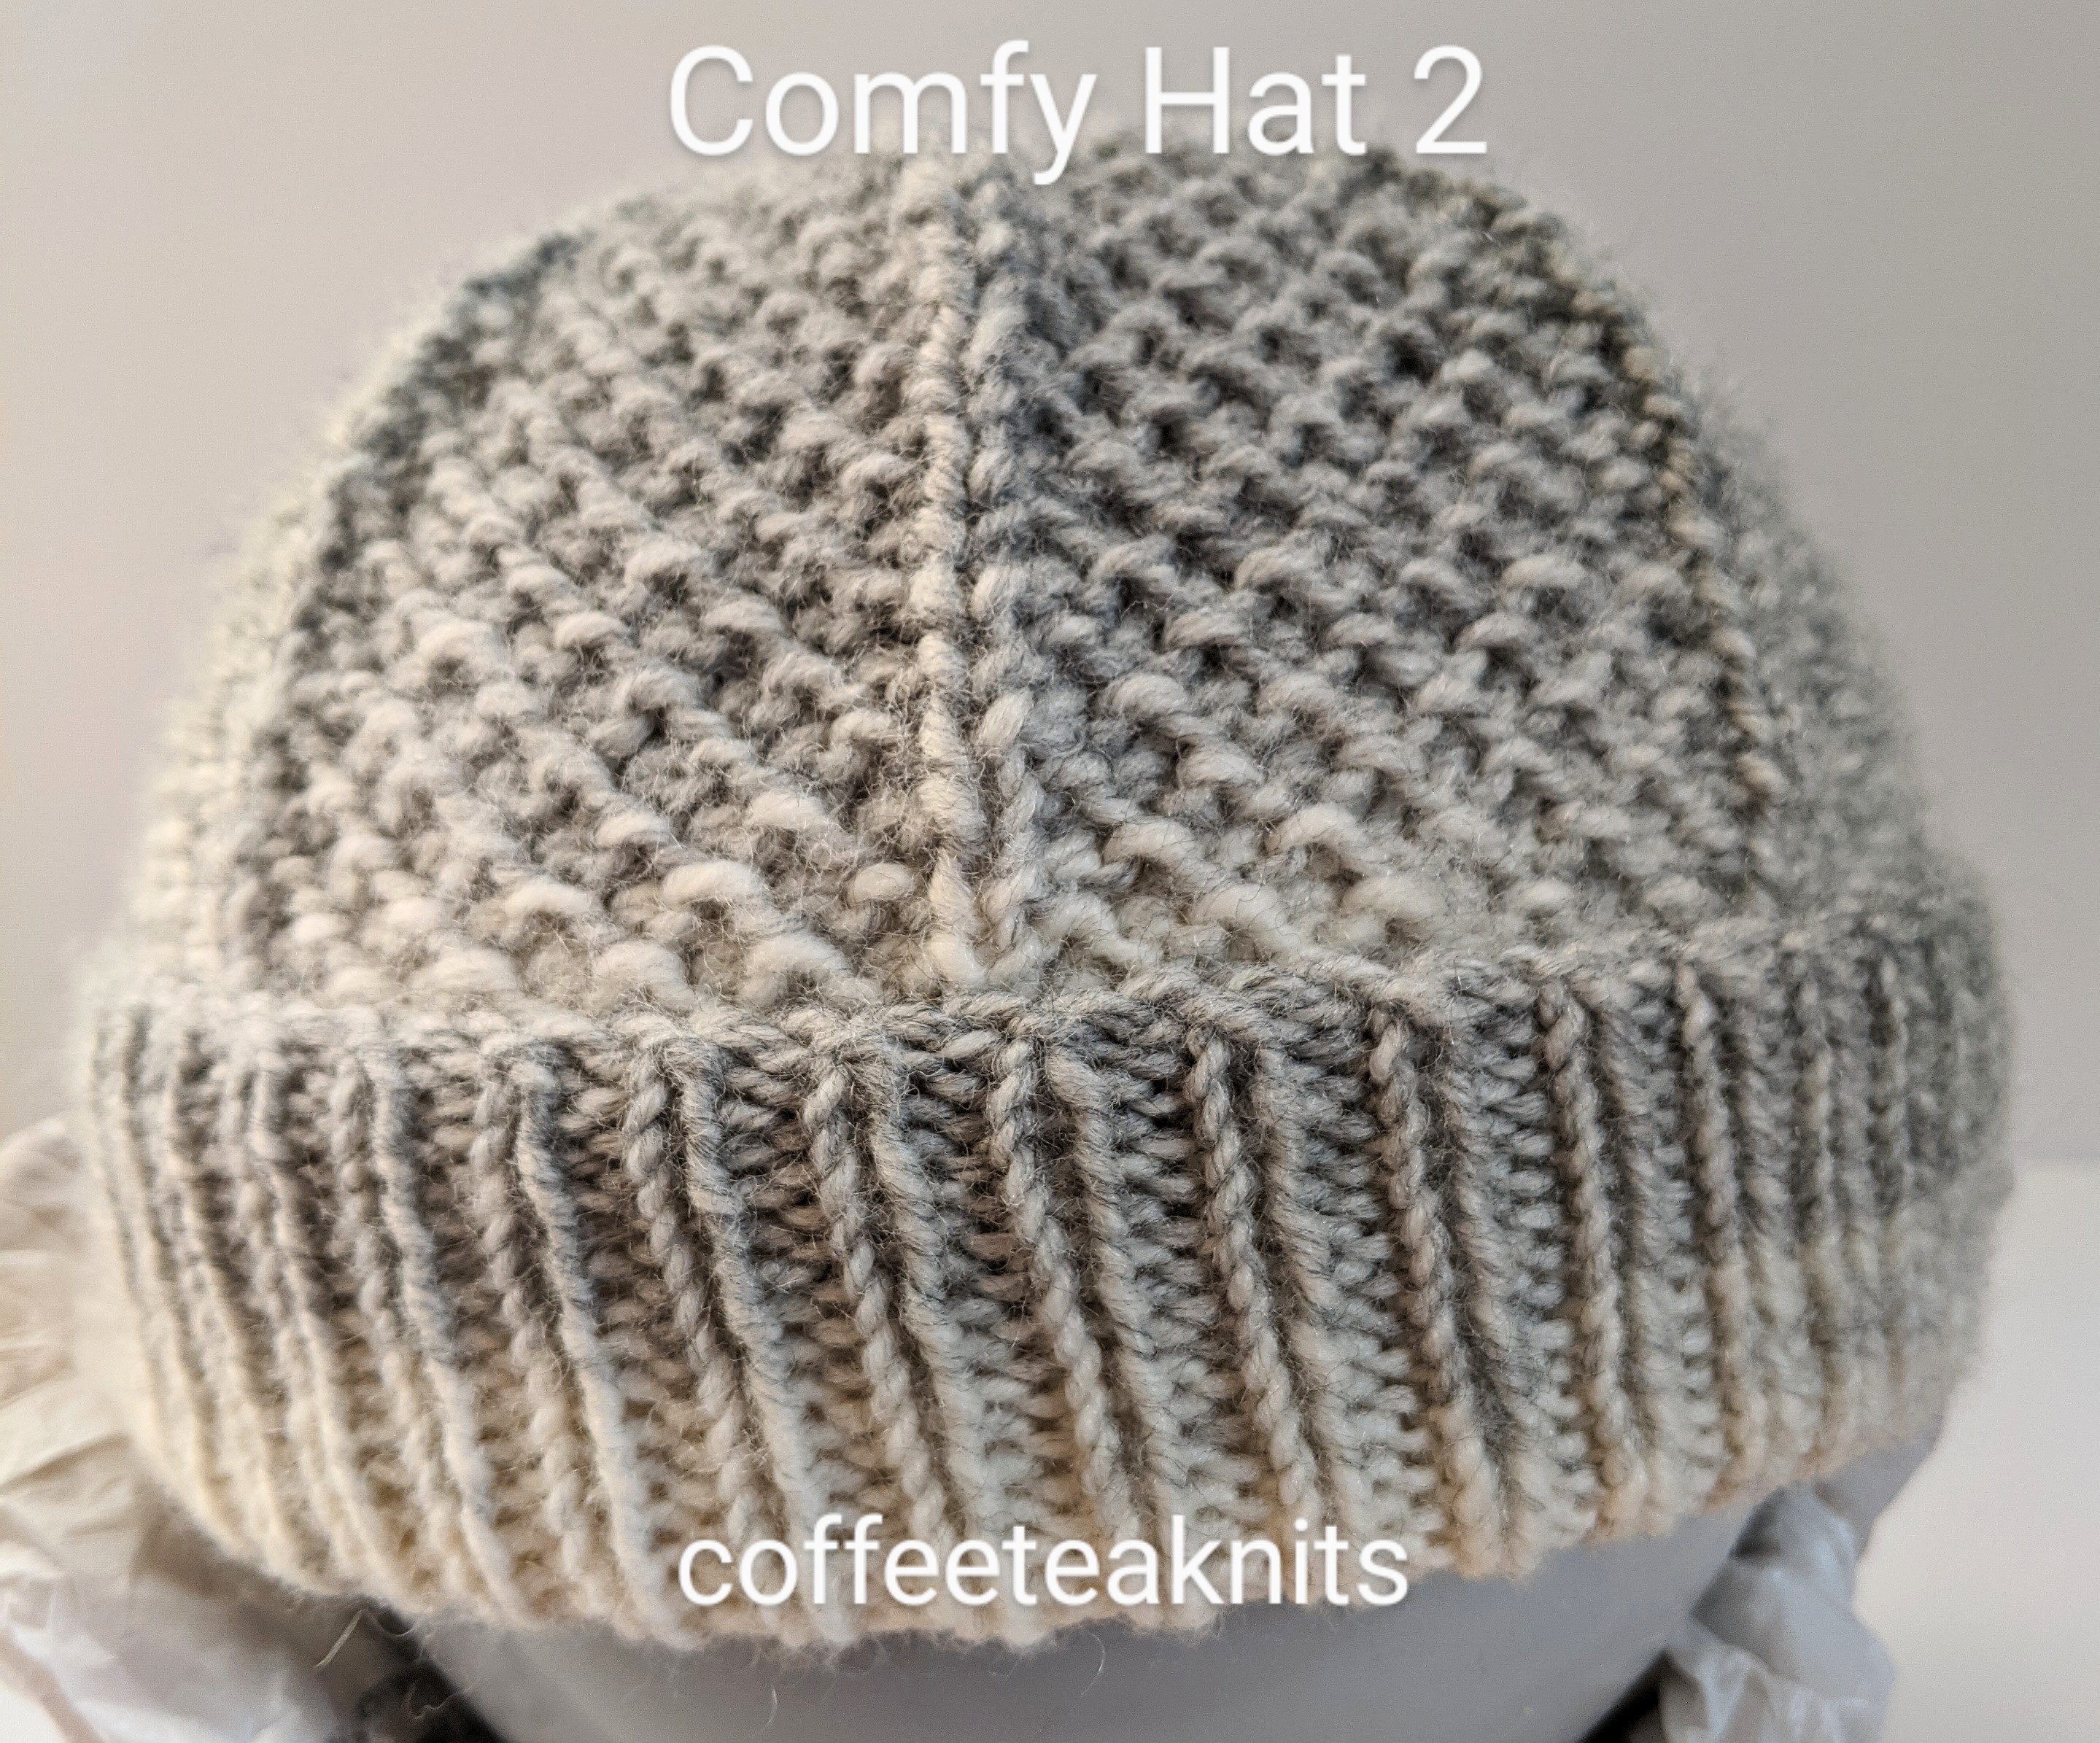
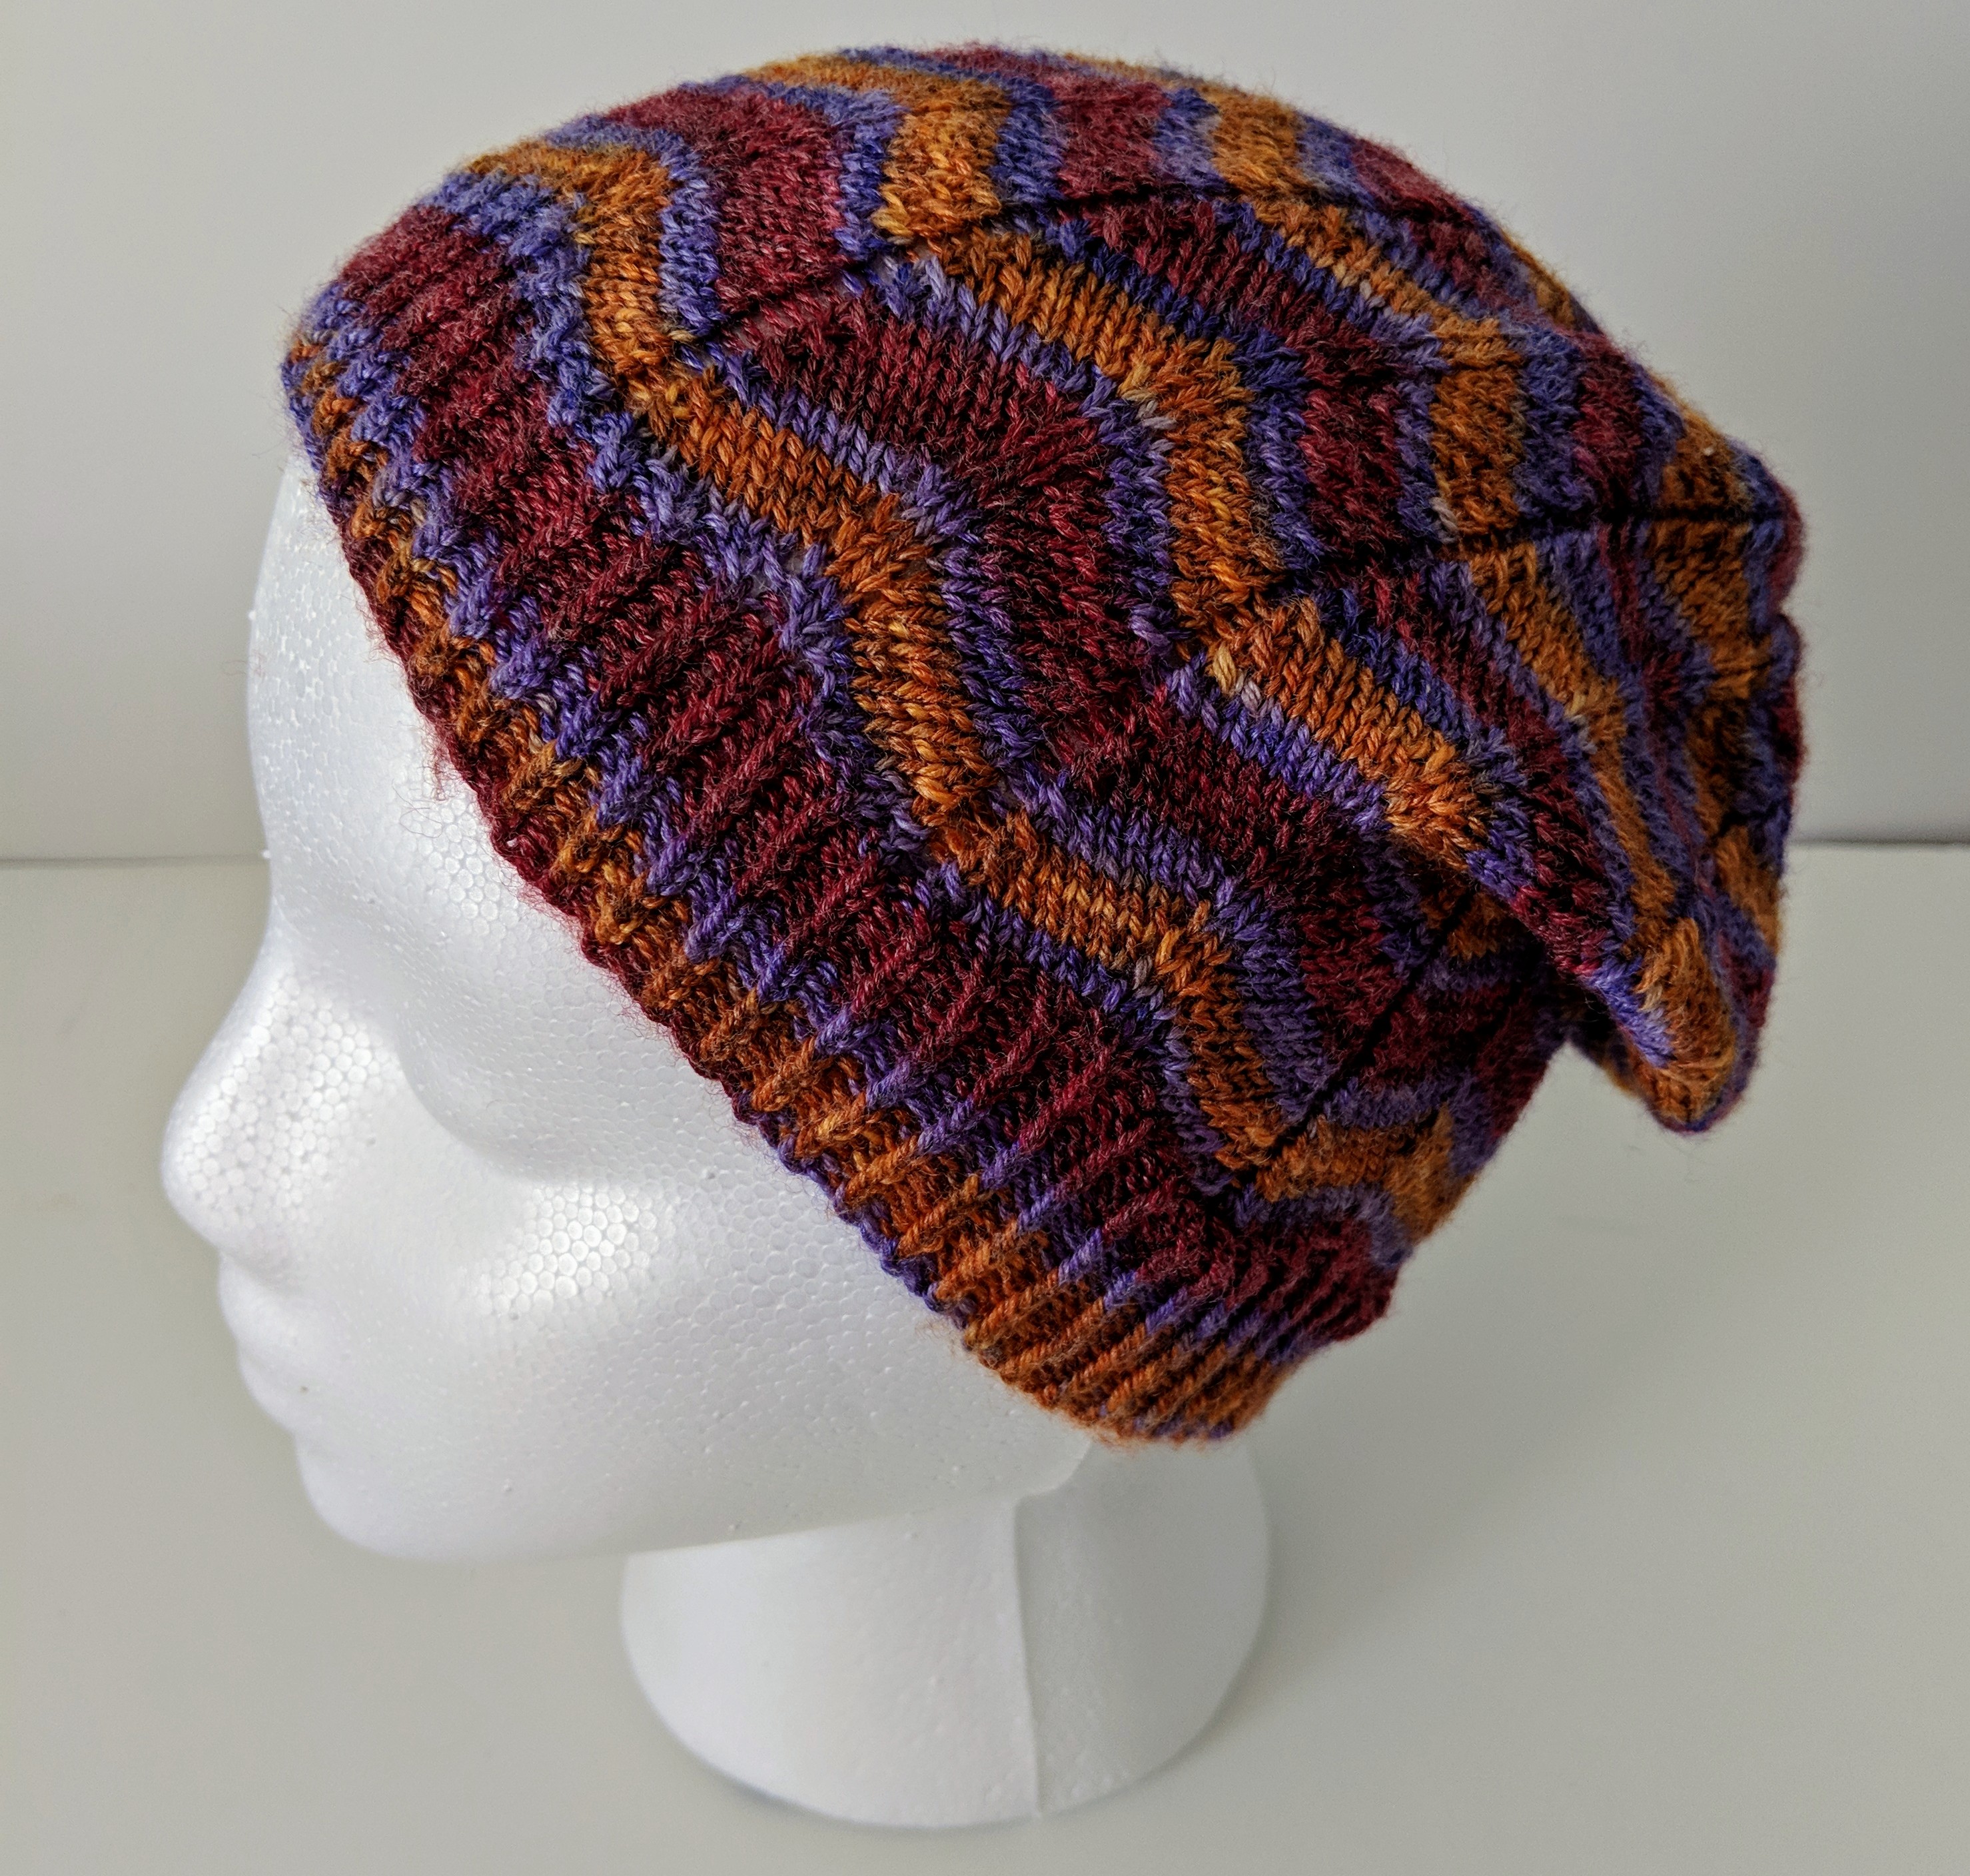
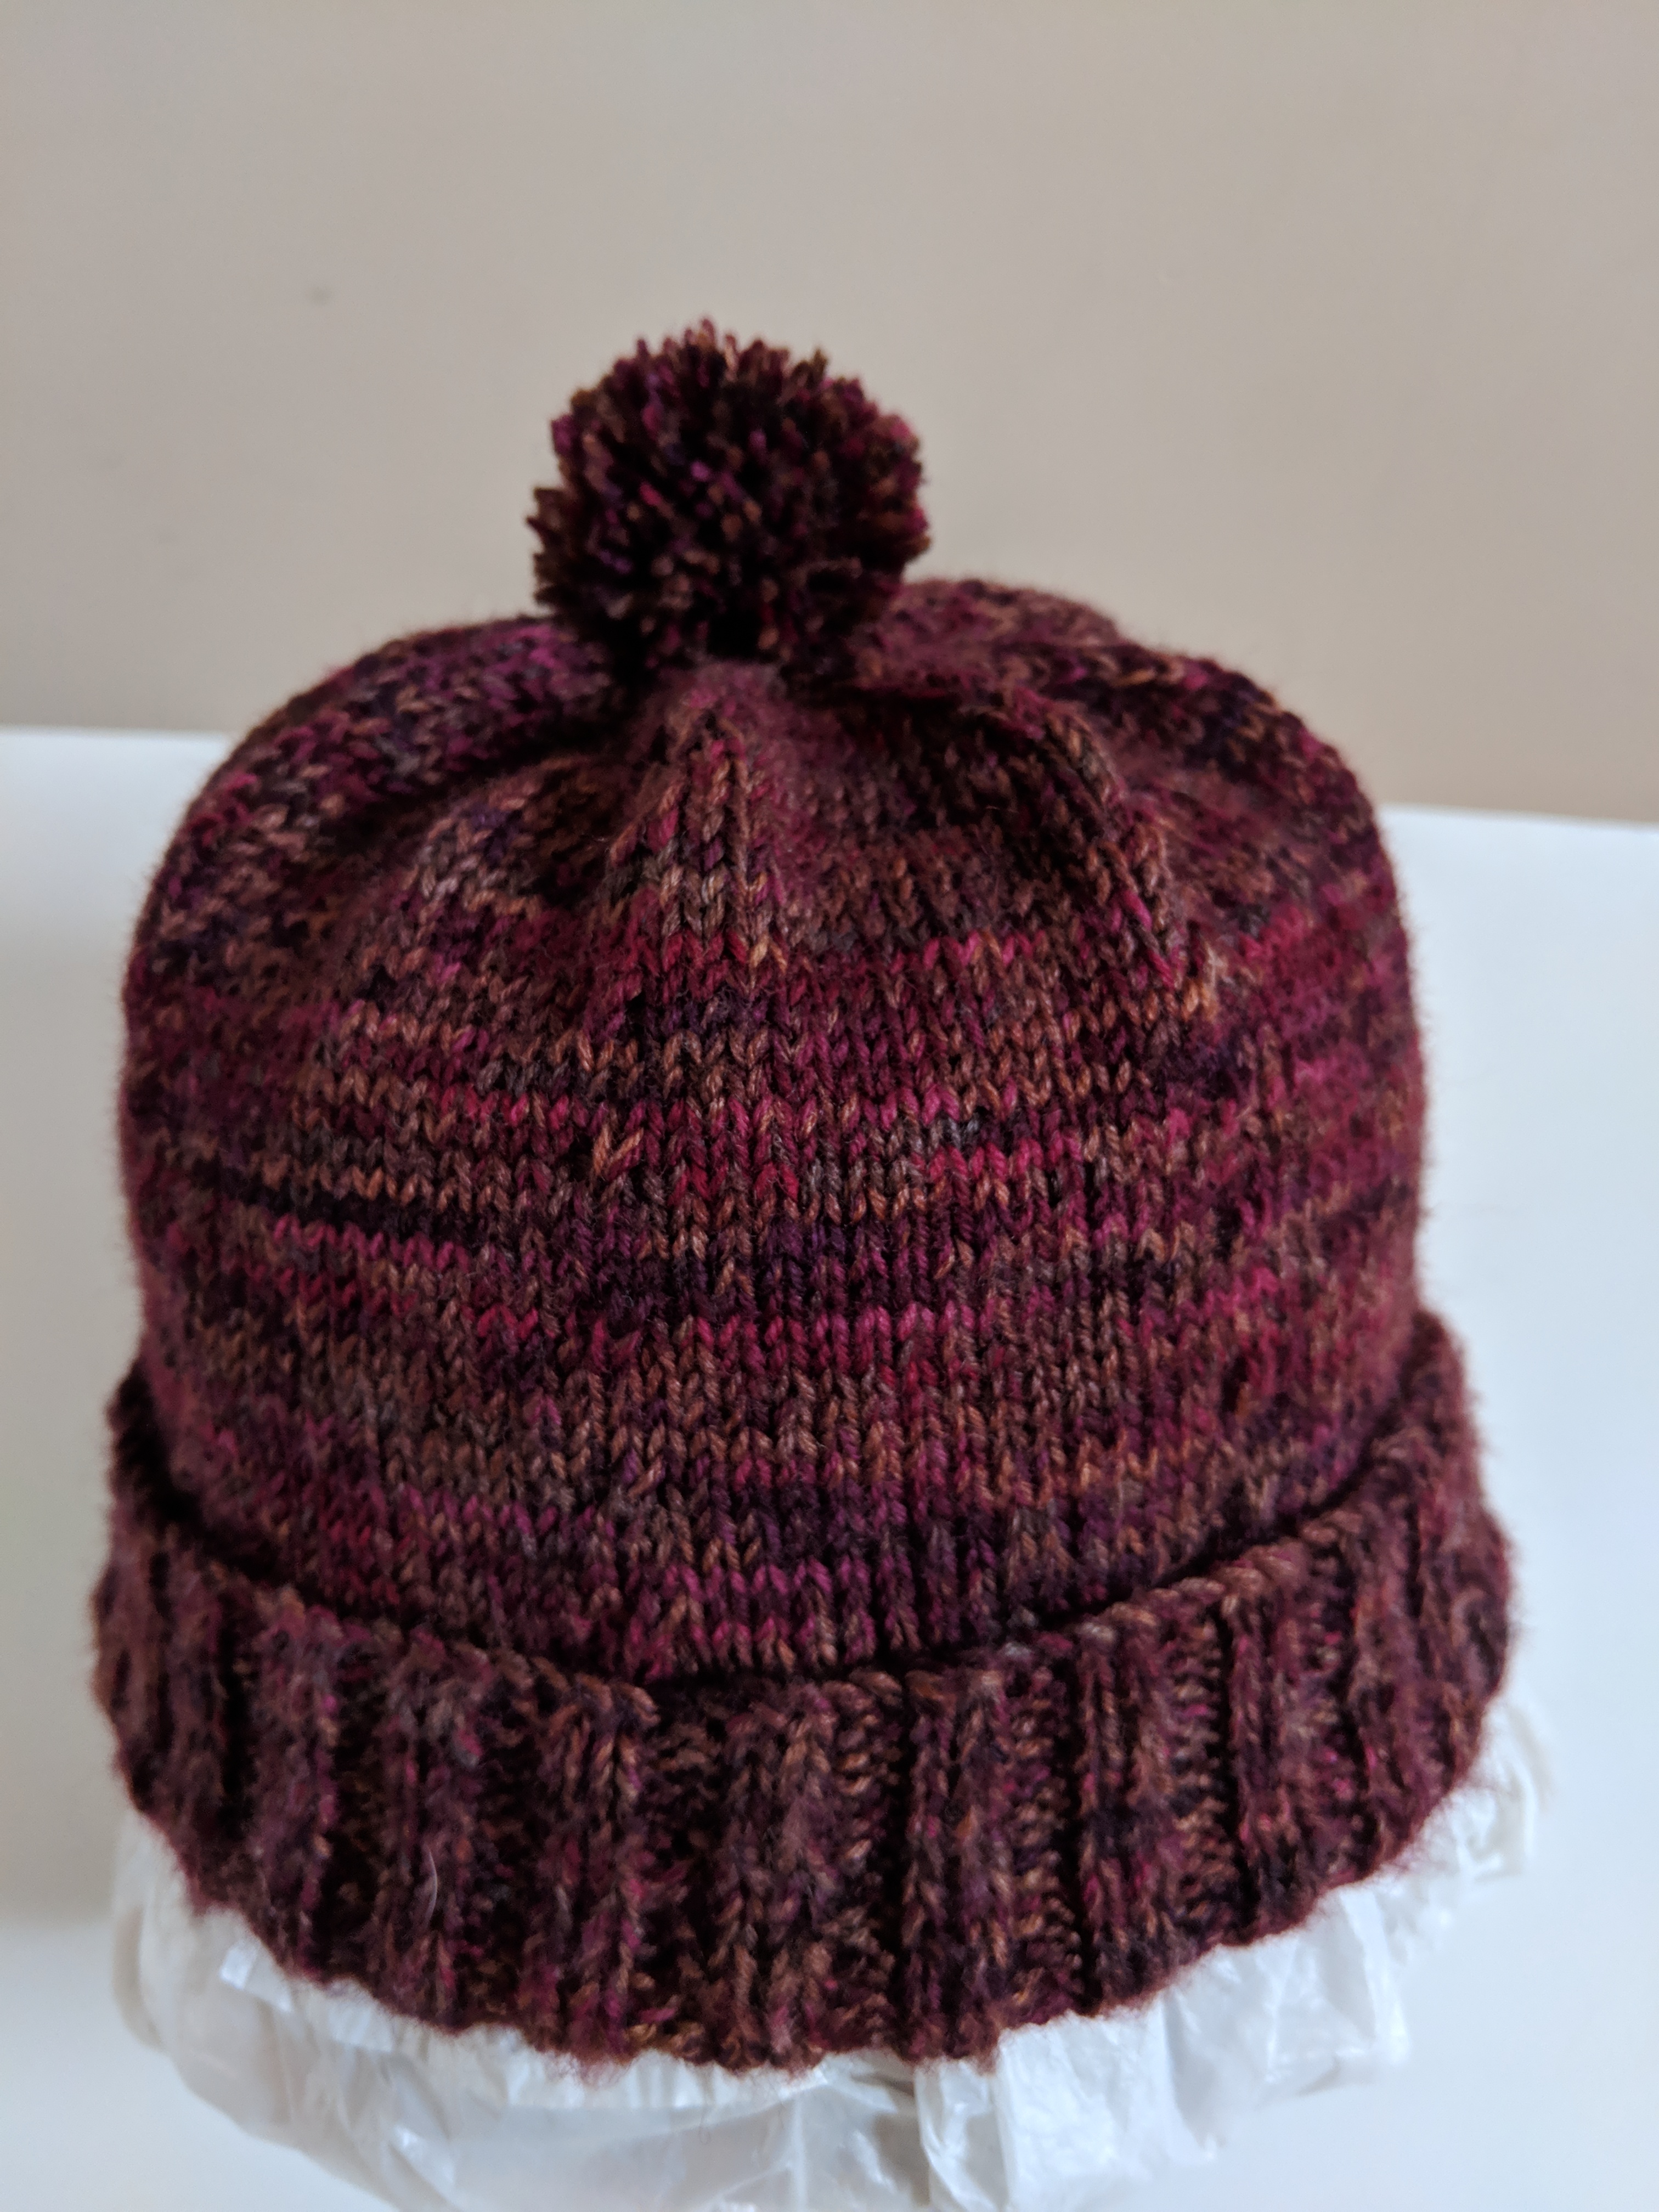
I named this hat “The Wistful Hat” because I purchased the yarn a few years back from a yarn shop I had newly found but regrettably it is no longer there now. The Wistful Hat is knit bottom up and in the round. It’s knit holding two strands of the same yarn together with a simple textured knit stitch pattern for the body and crown shaping in stockinette stitch. The brim of the hat can be folded for extra warmth. 

Yarn:  Plymouth Yarn® Happy Feet 100 in color 0110 or any other colorway of choice
Knitting Needles: US #4 and US #5 circular needles for knitting the hat and US #6 knitting needles for the cable cast on 
Tapestry needle to weave in ends
Gauge:  6 stitches /  8.75 rows per inch in stockinette stitch with US #4 knitting needles
Size: Adult M/L 
Abbreviations:
K: Knit
P: Purl
pm: place marker
rm: remove marker
sm: slip marker
BOR: beginning of round
Ktbl: knit through the back loop
K2tog: Knit the two stitches on the left needle together
[ ]: stitch pattern repeats

The Wistful Hat Pattern (text and images for personal use only)

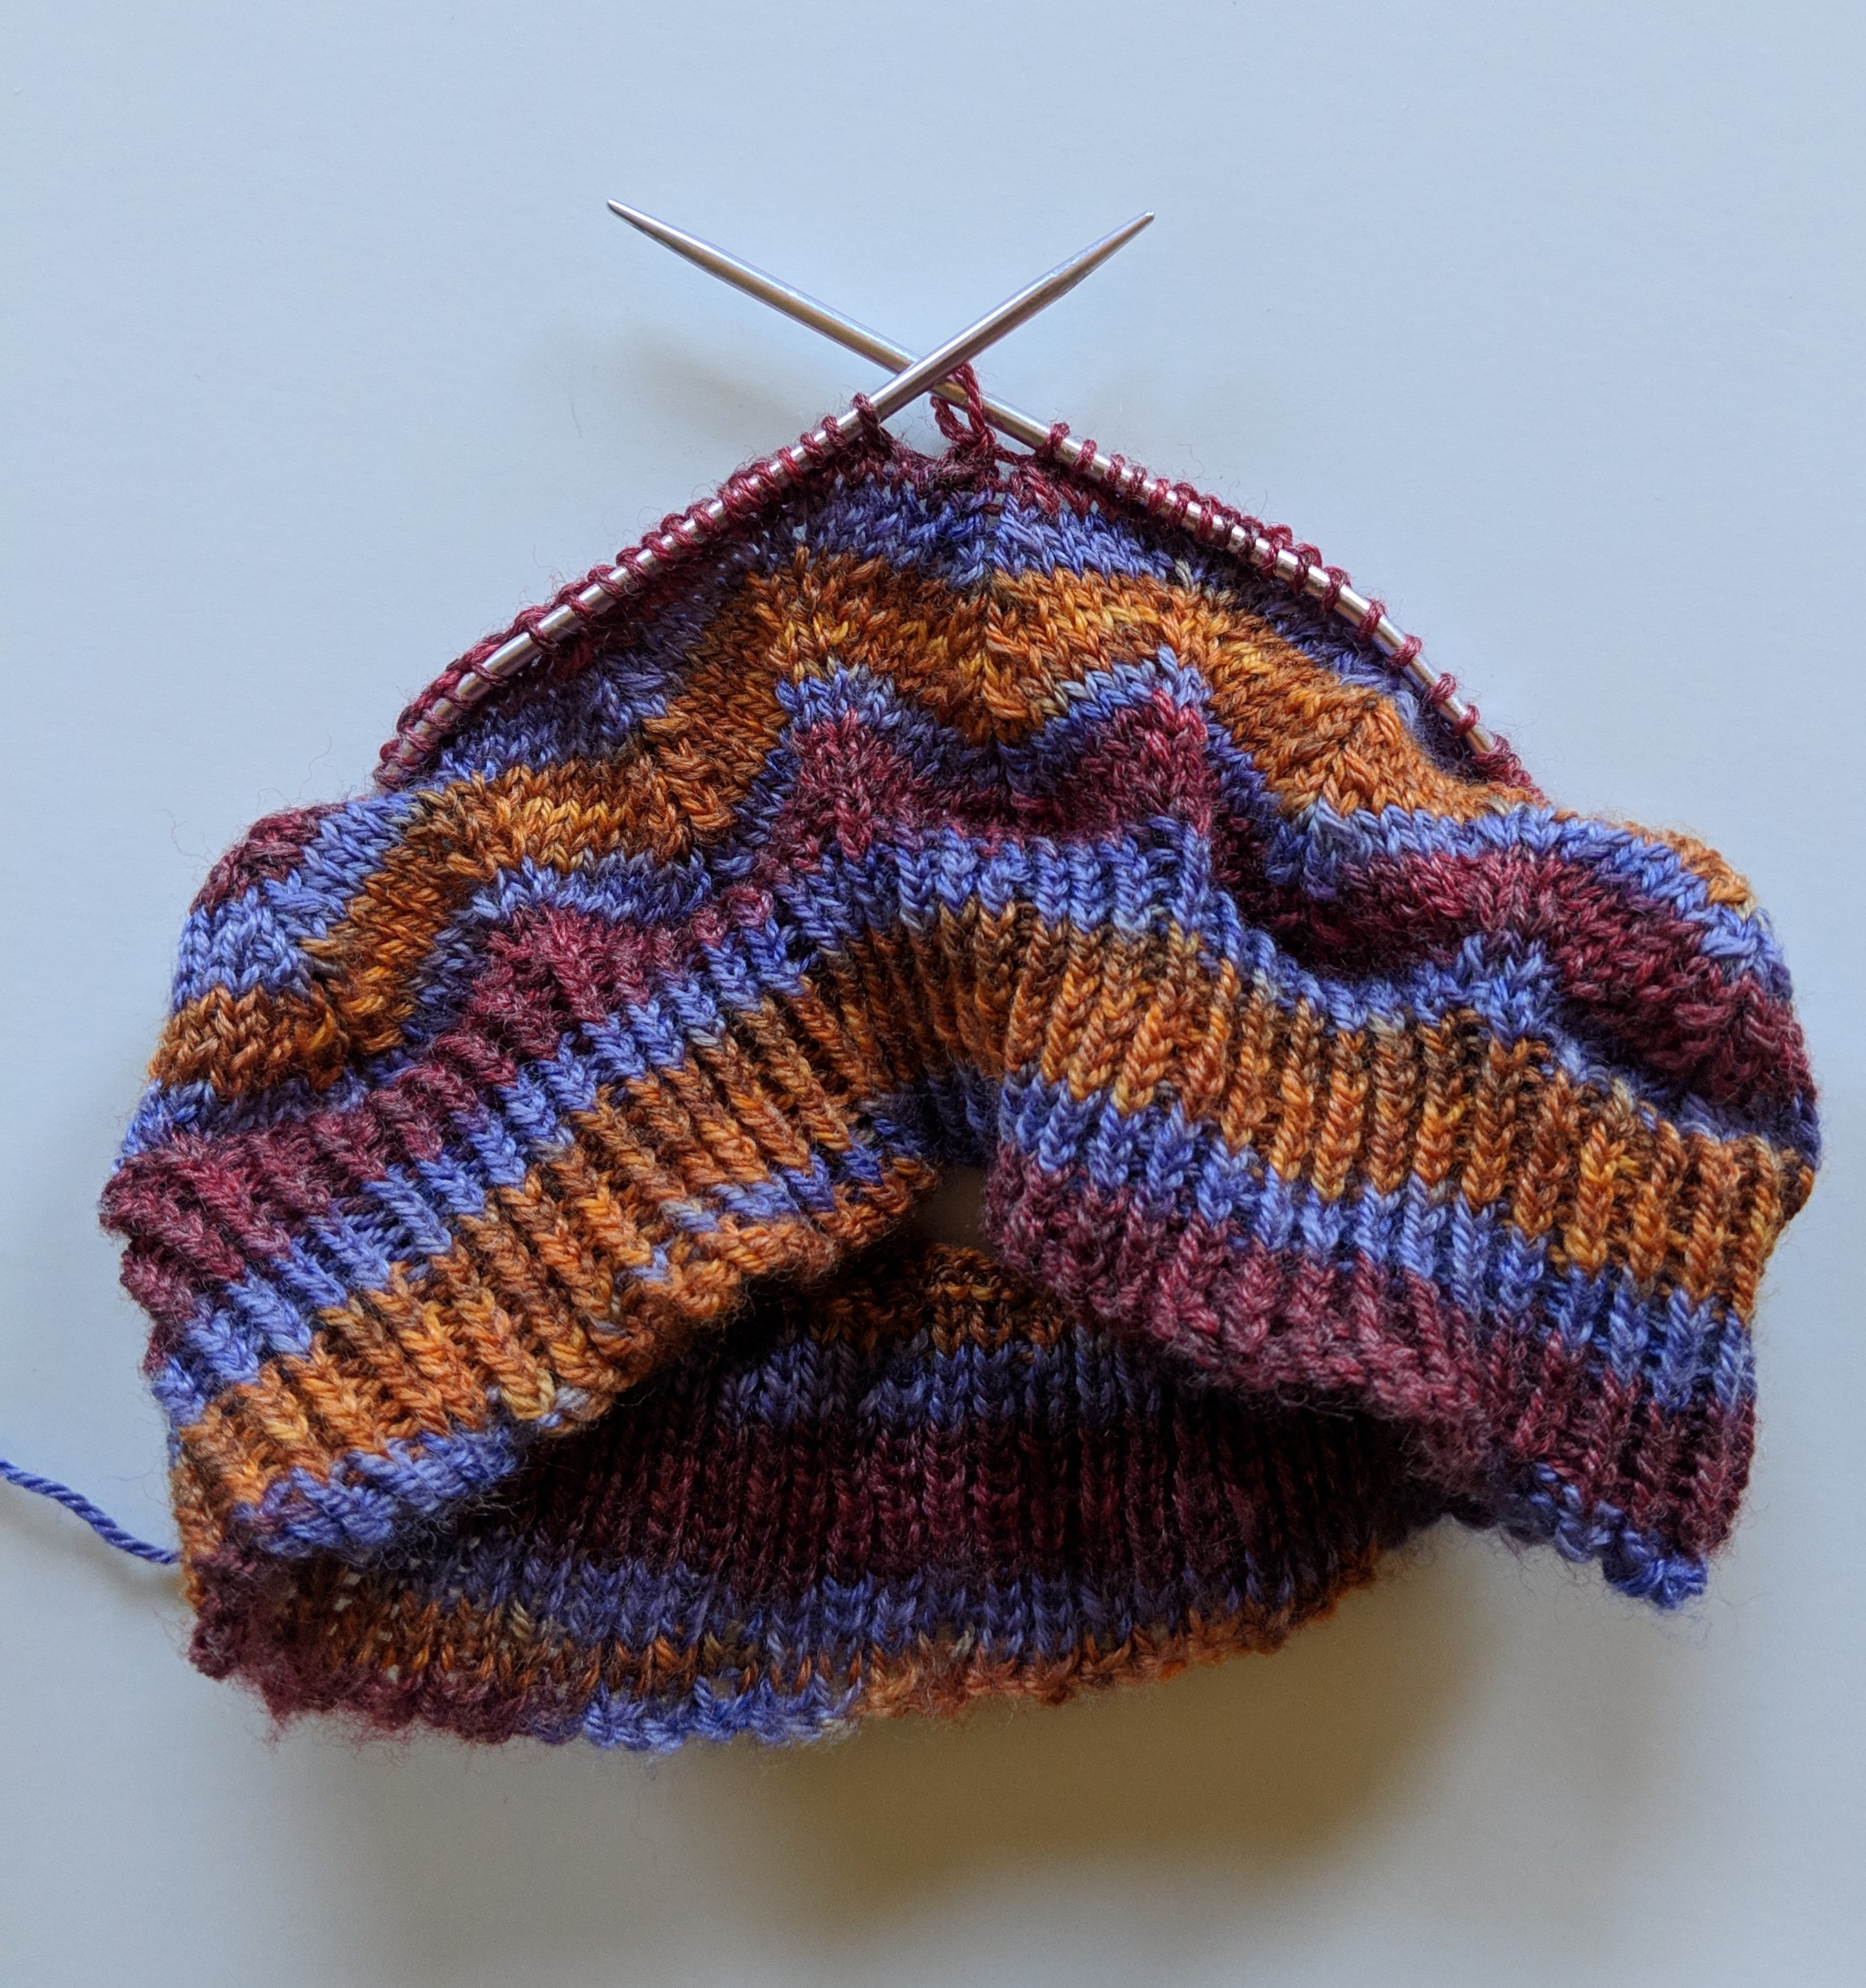
The brim of the hat:

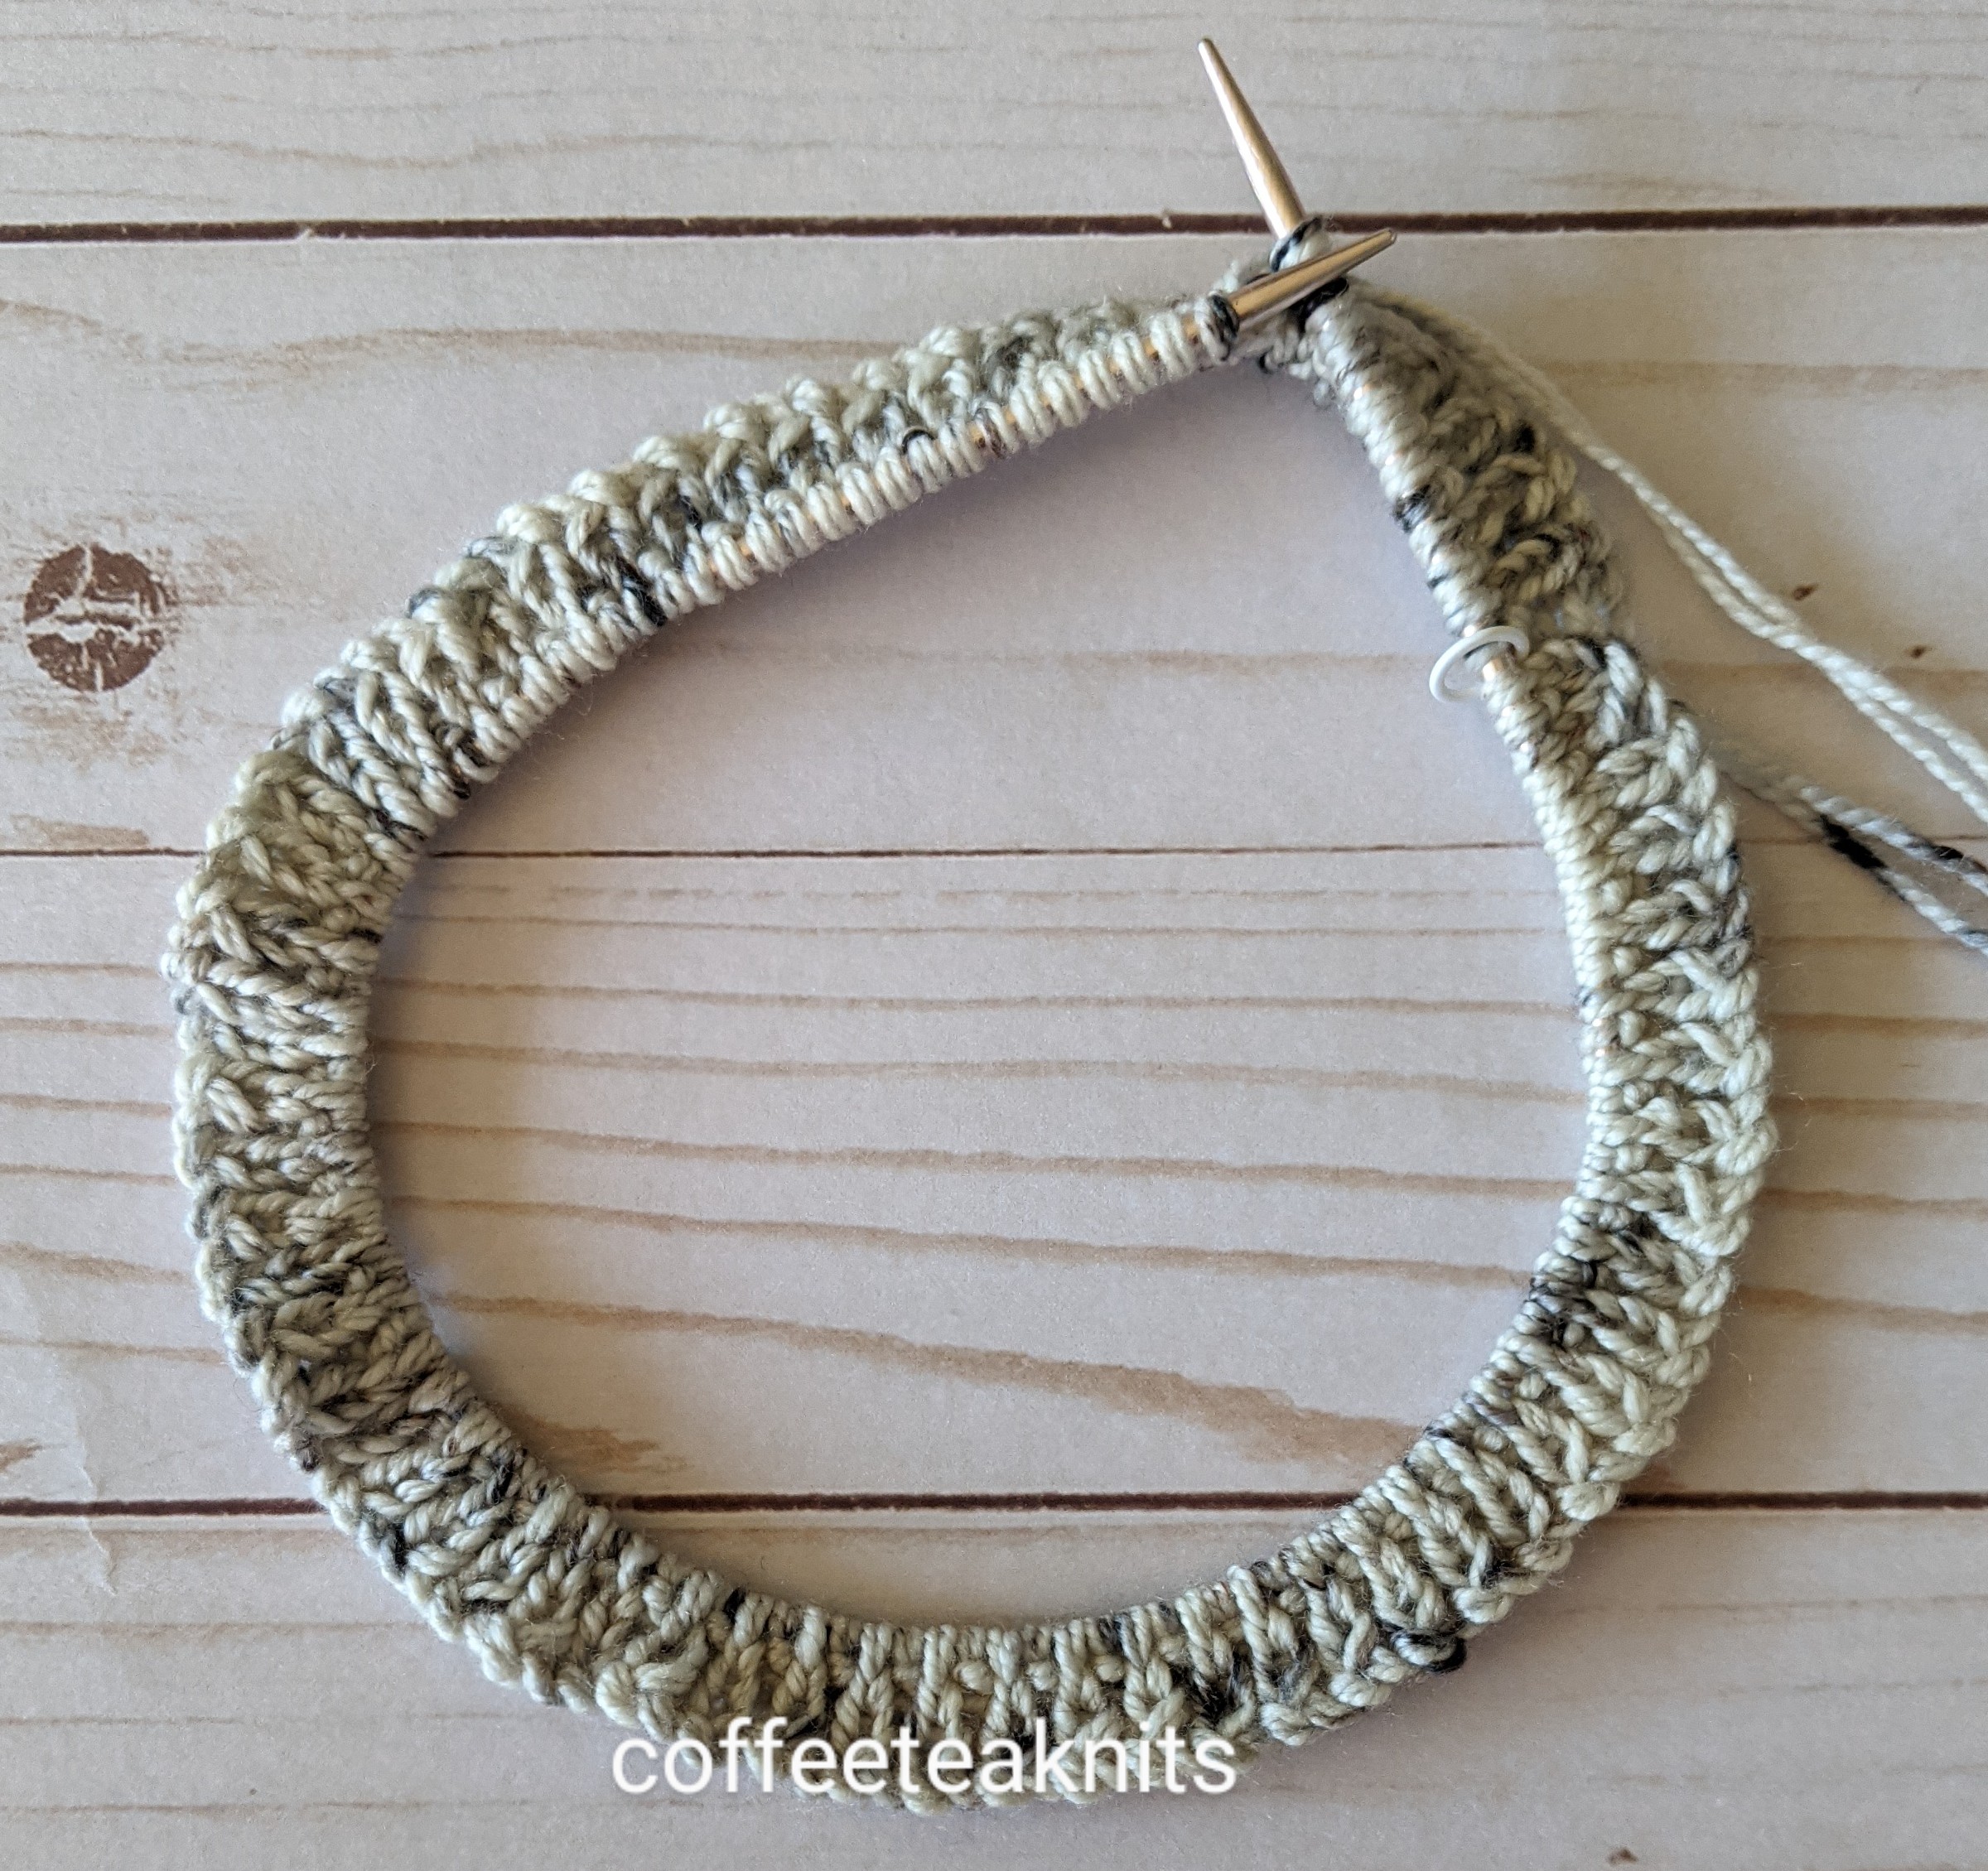
  • Cast on 128 stitches with two strands of yarn held together using the cable cast on method and with US #6 knitting needles. 
  • Transfer the stitches to US #4 circular knitting needles, place a BOR marker and join the round making sure the yarn is not twisted.
    wistfulhat_begin
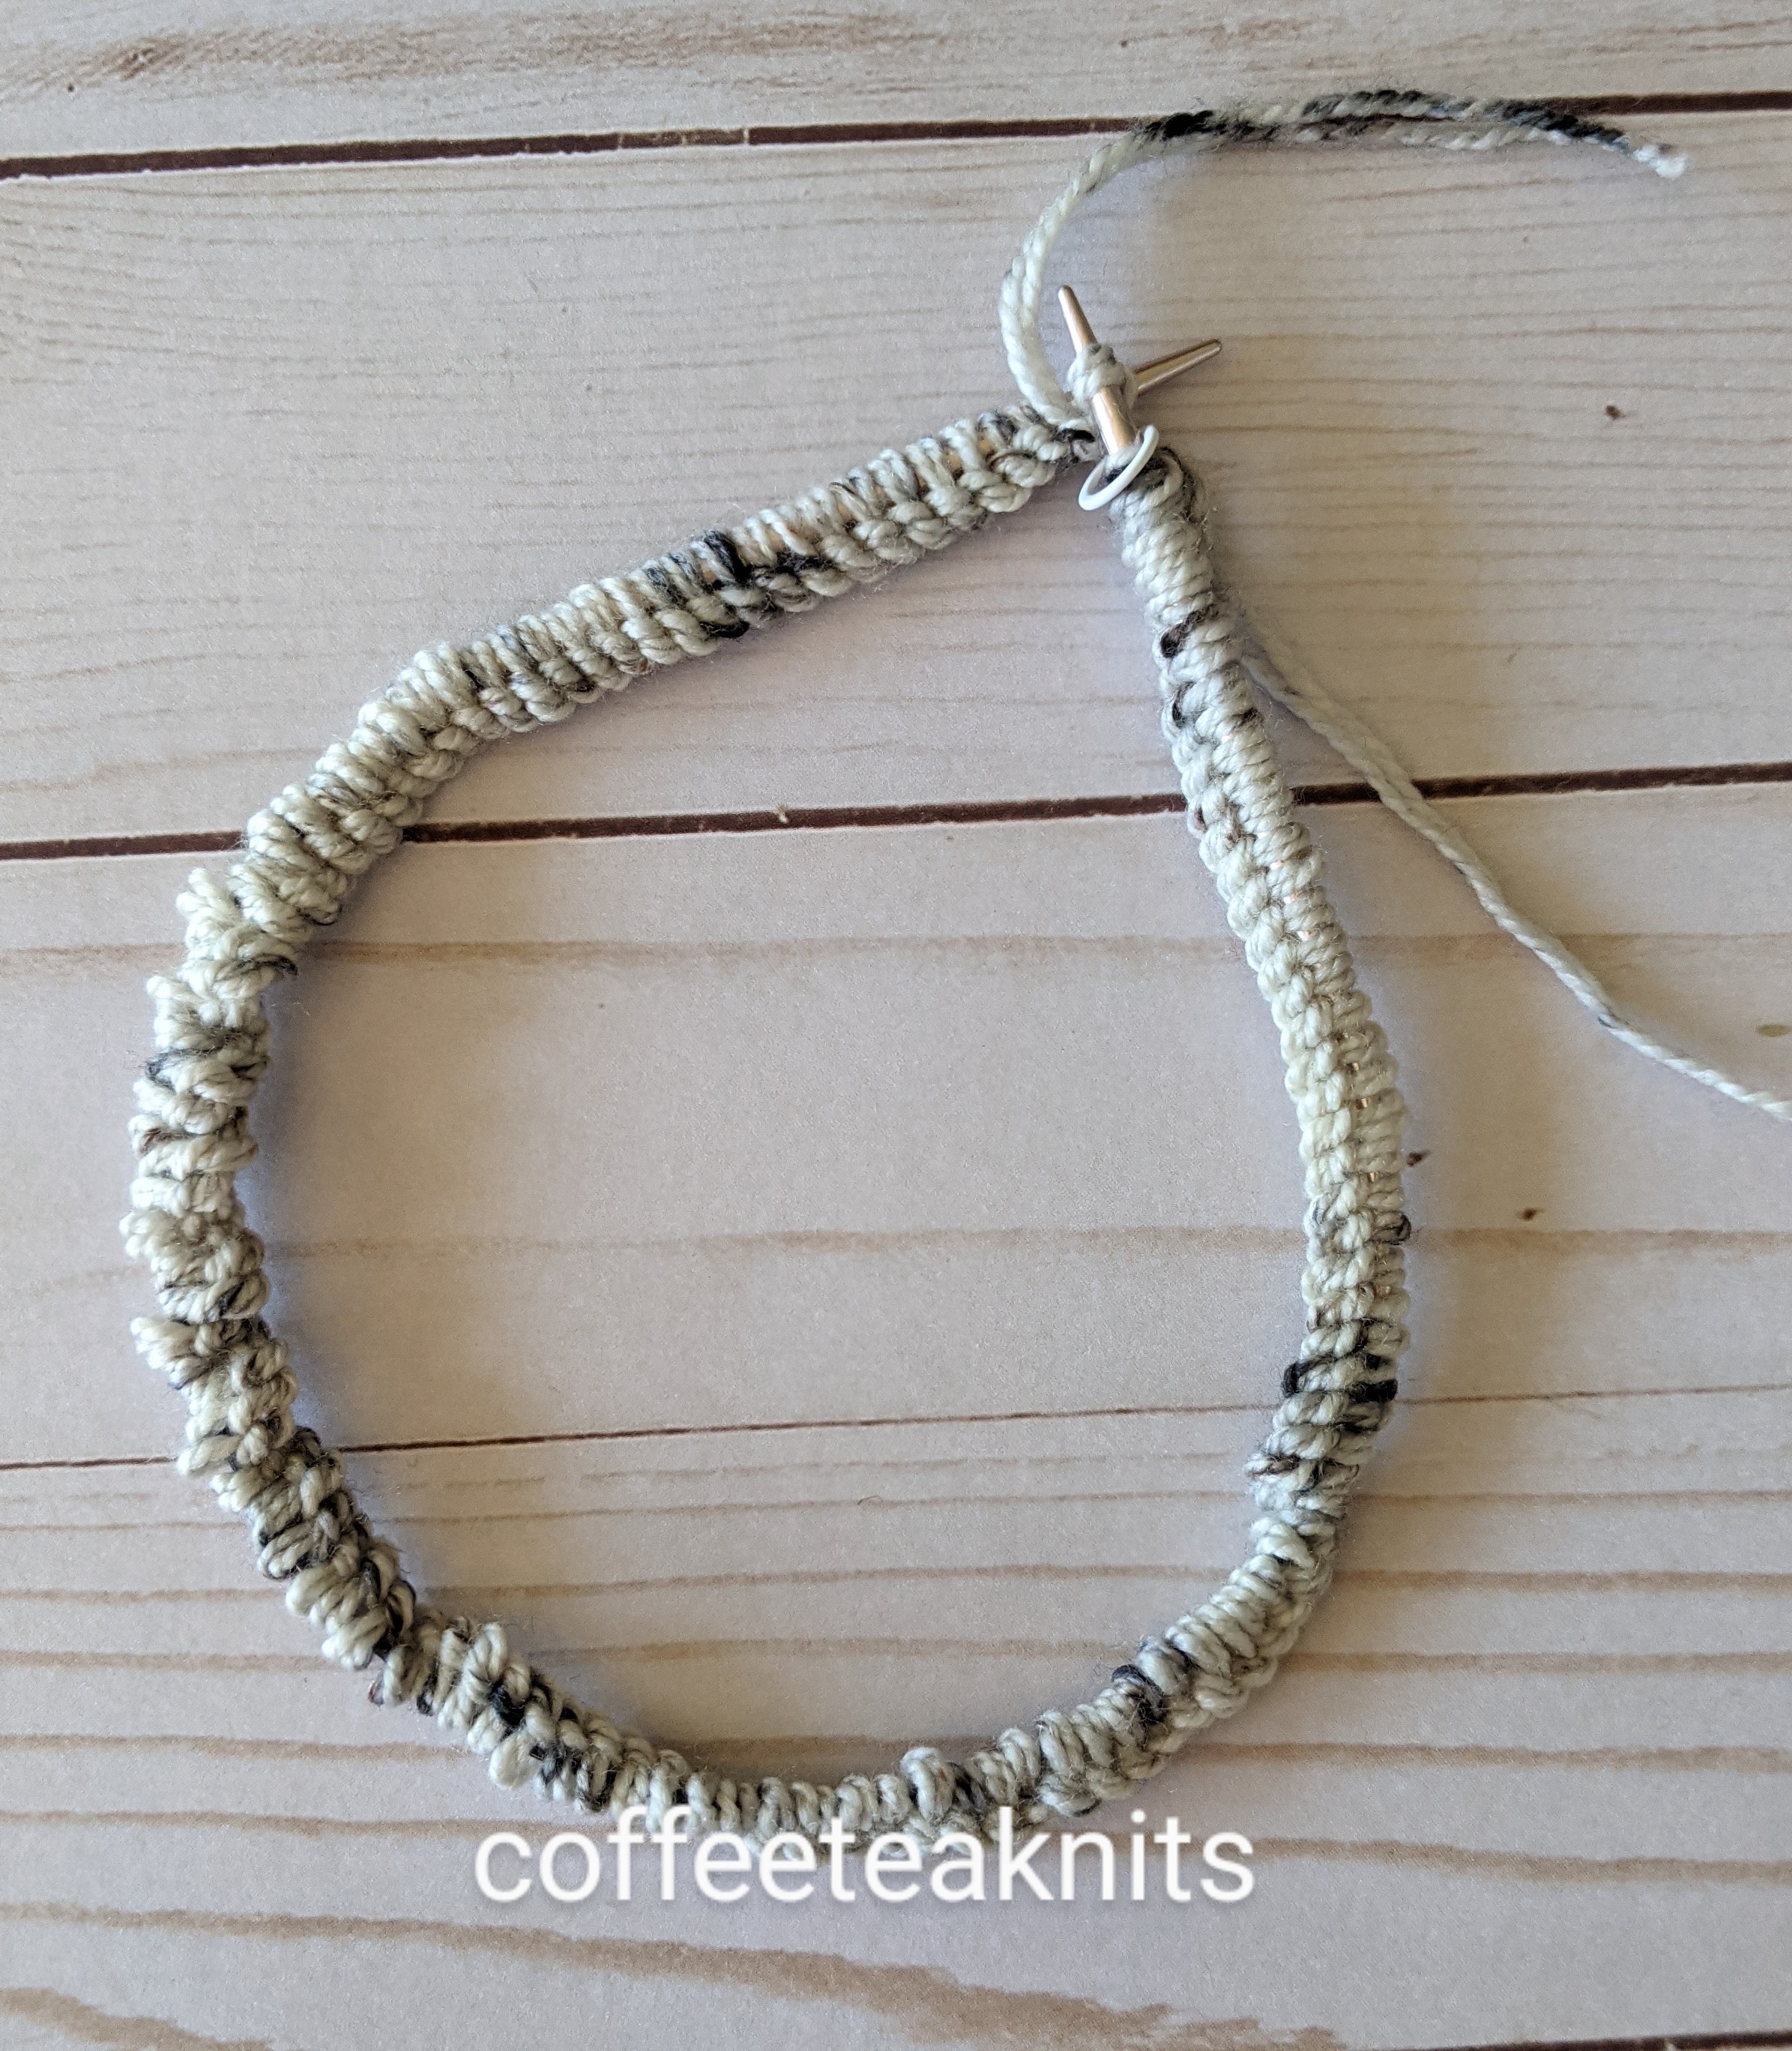
  • Knit in 1 x 1 rib stitch pattern (K1,P1) for 32 rounds or about 4 inches.
    wistfulhat_ribstitchroundswistfulhat_endofribstitch

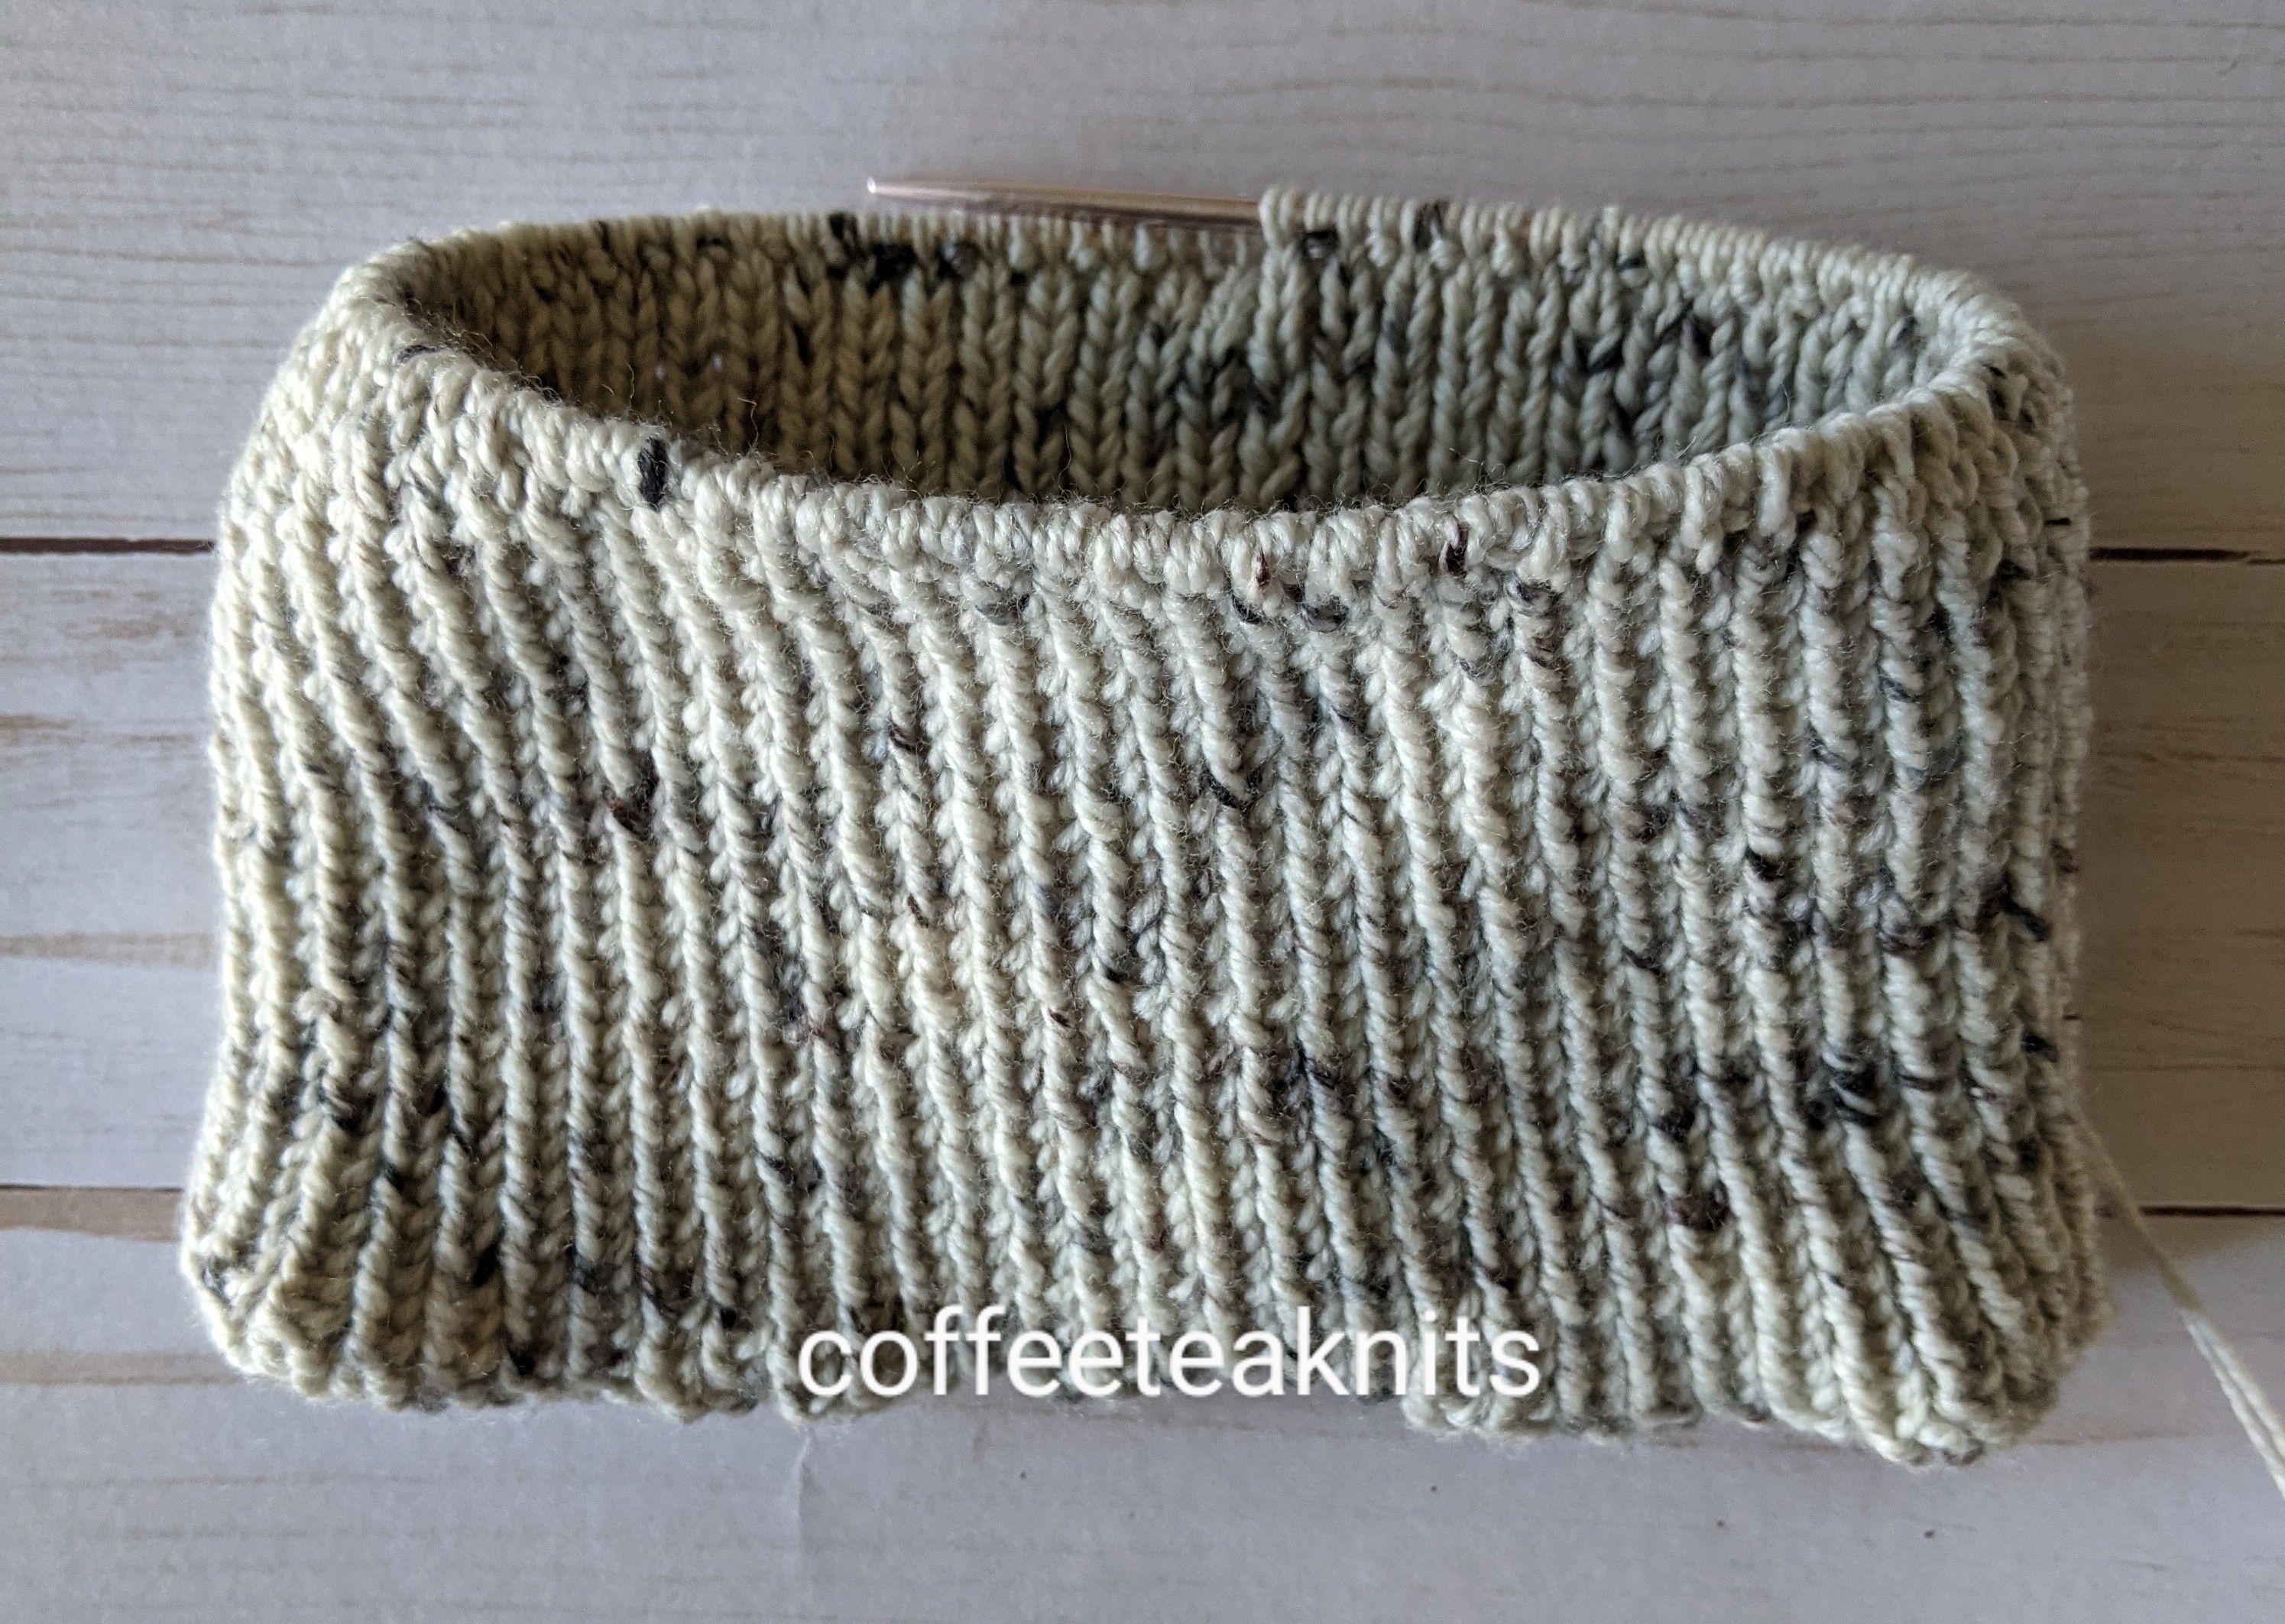
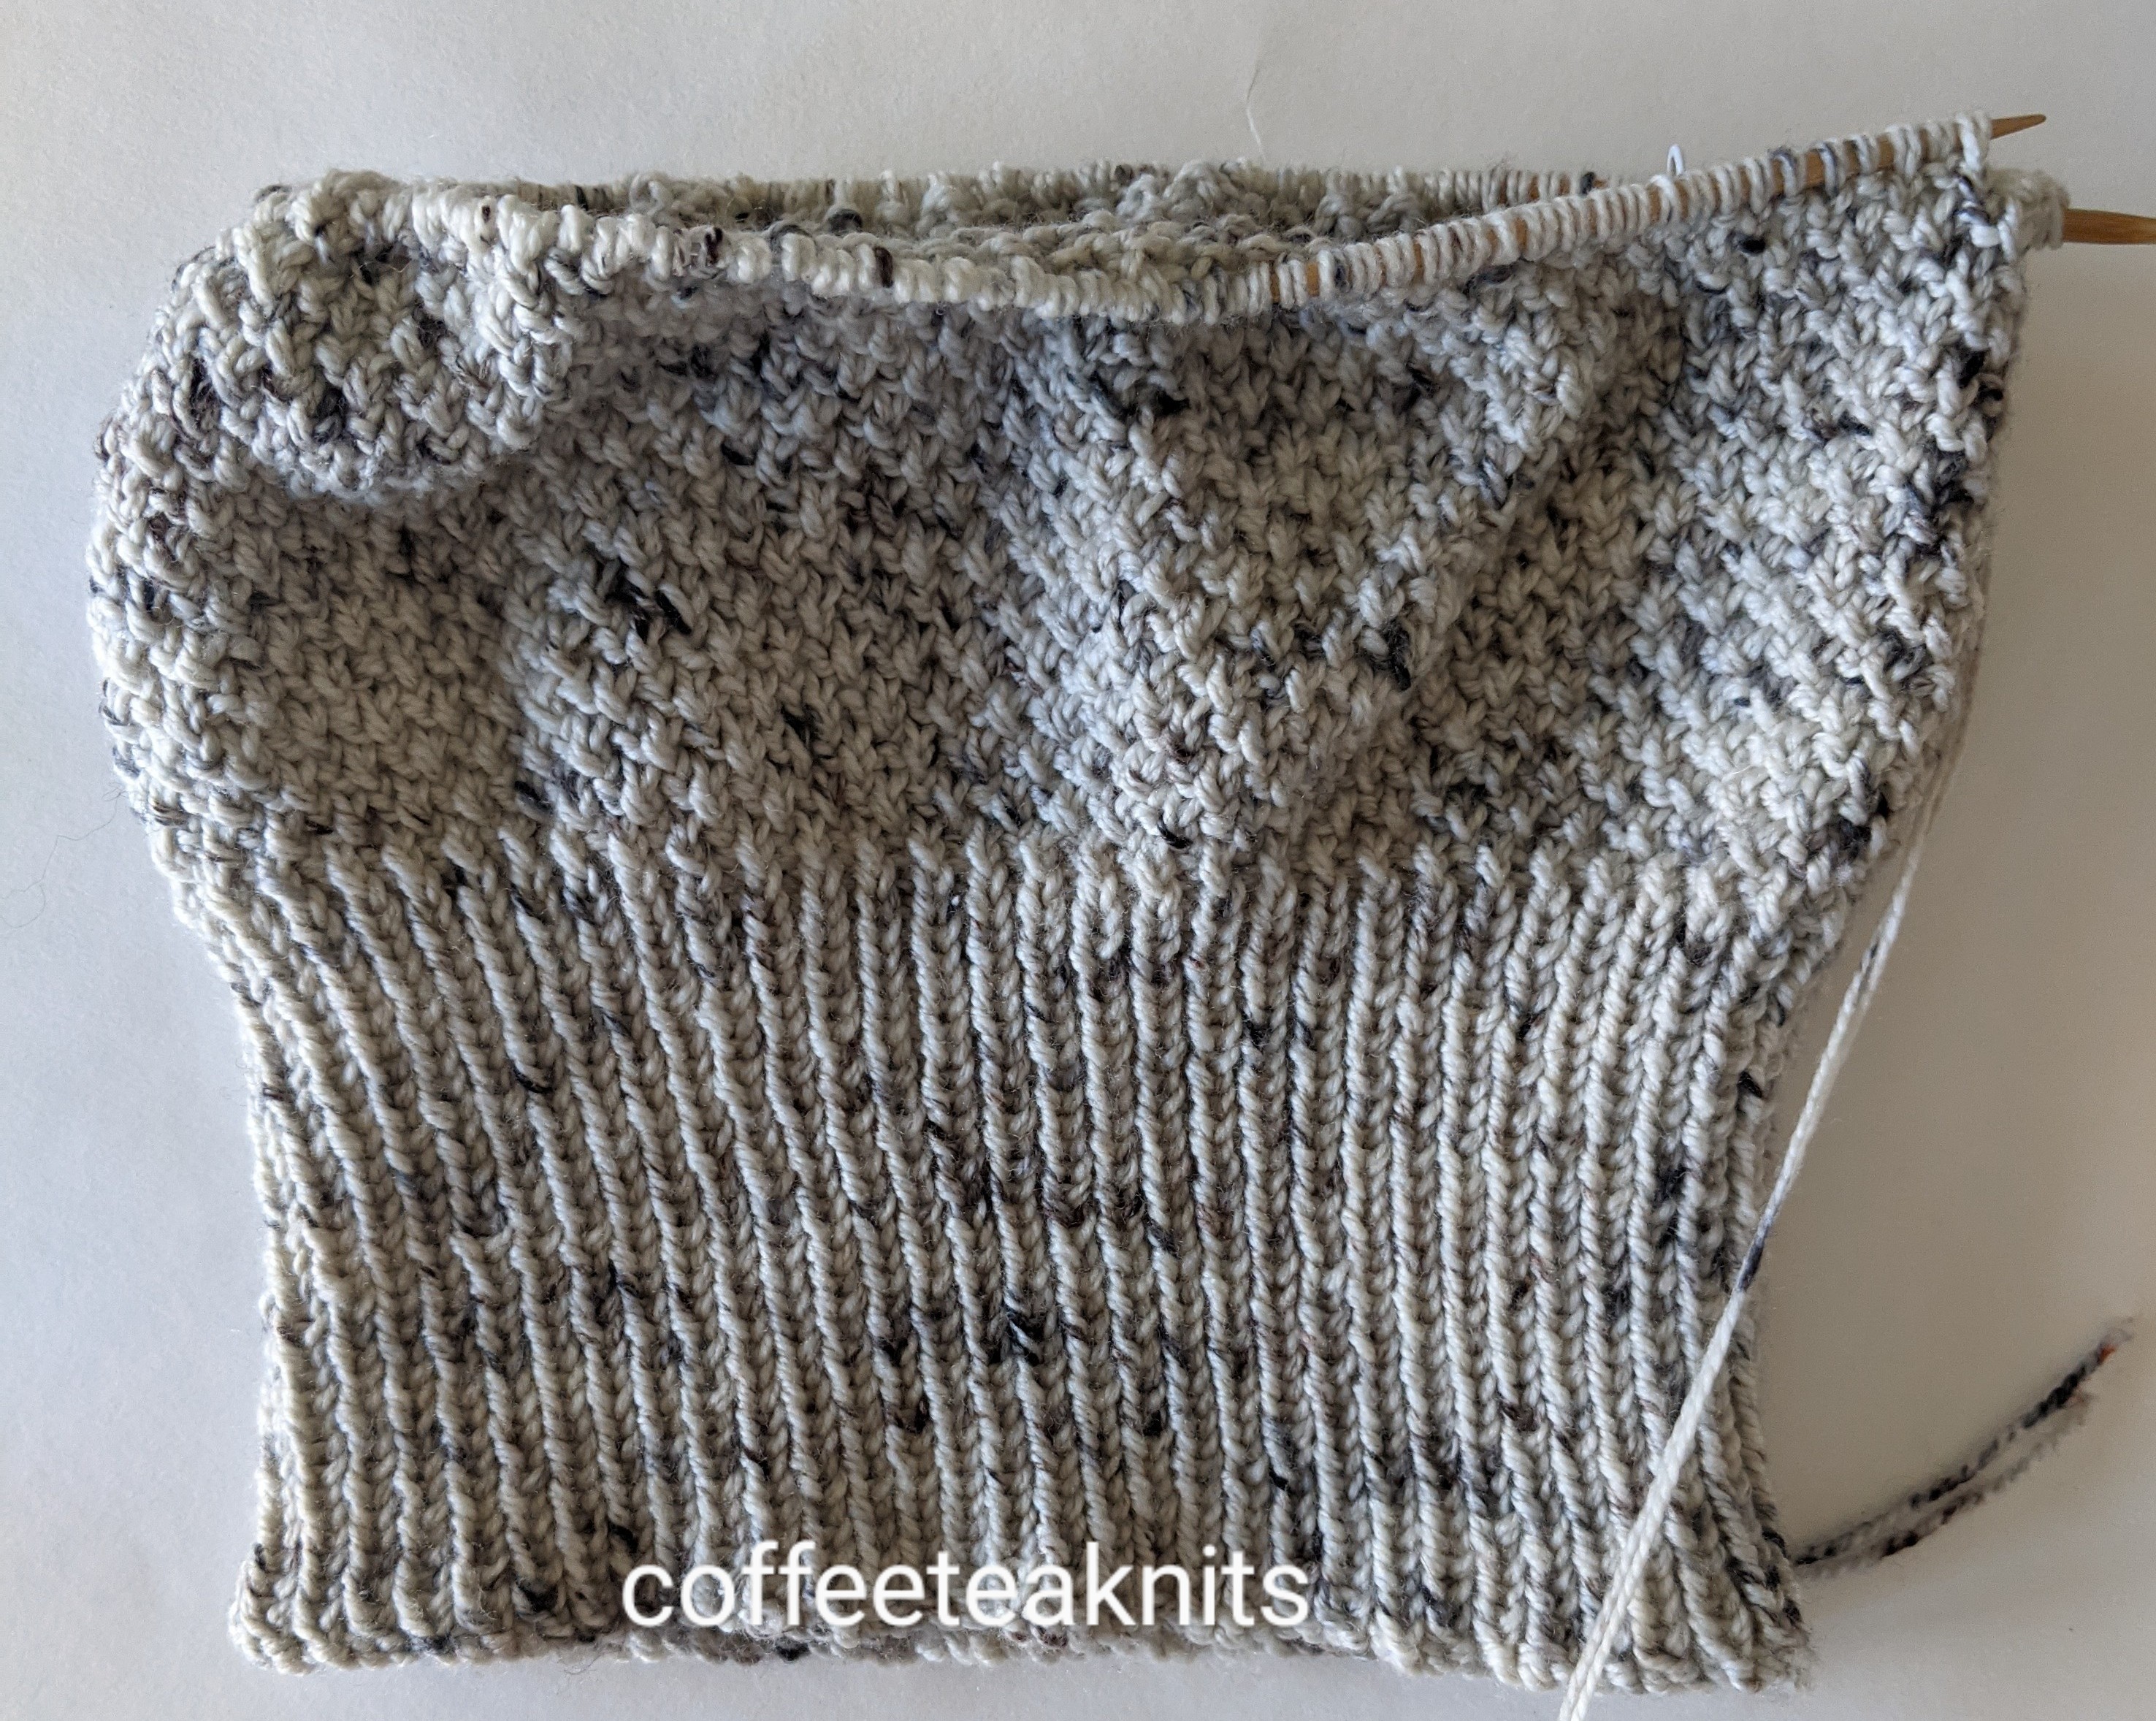
The body of the hat:

  • Change to US #5 circular needles and begin the textured stitch pattern as follows:
    • Round 1: [Ktbl, P1] repeat [ ] till BOR marker, slip BOR marker
    • Round 2: Knit till BOR marker, slip BOR marker
    • Round 3: [P1, Ktbl] repeat [ ] till BOR marker, slip BOR marker
    • Round 4: Knit till BOR marker, slip BOR marker
  • Repeat Rounds 1 to 4 six more times and then knit
    • Round 1: [Ktbl, P1] repeat [ ] till BOR marker, slip BOR marker
    • Round 2: Knit till BOR marker, slip BOR marker
    • Round 3: [P1, Ktbl] repeat [ ] till BOR marker, slip BOR marker
    • Round 4: [K16, pm] repeat [ ] 6 more times, K16, slip BOR marker

wistfulhat_patternstitch

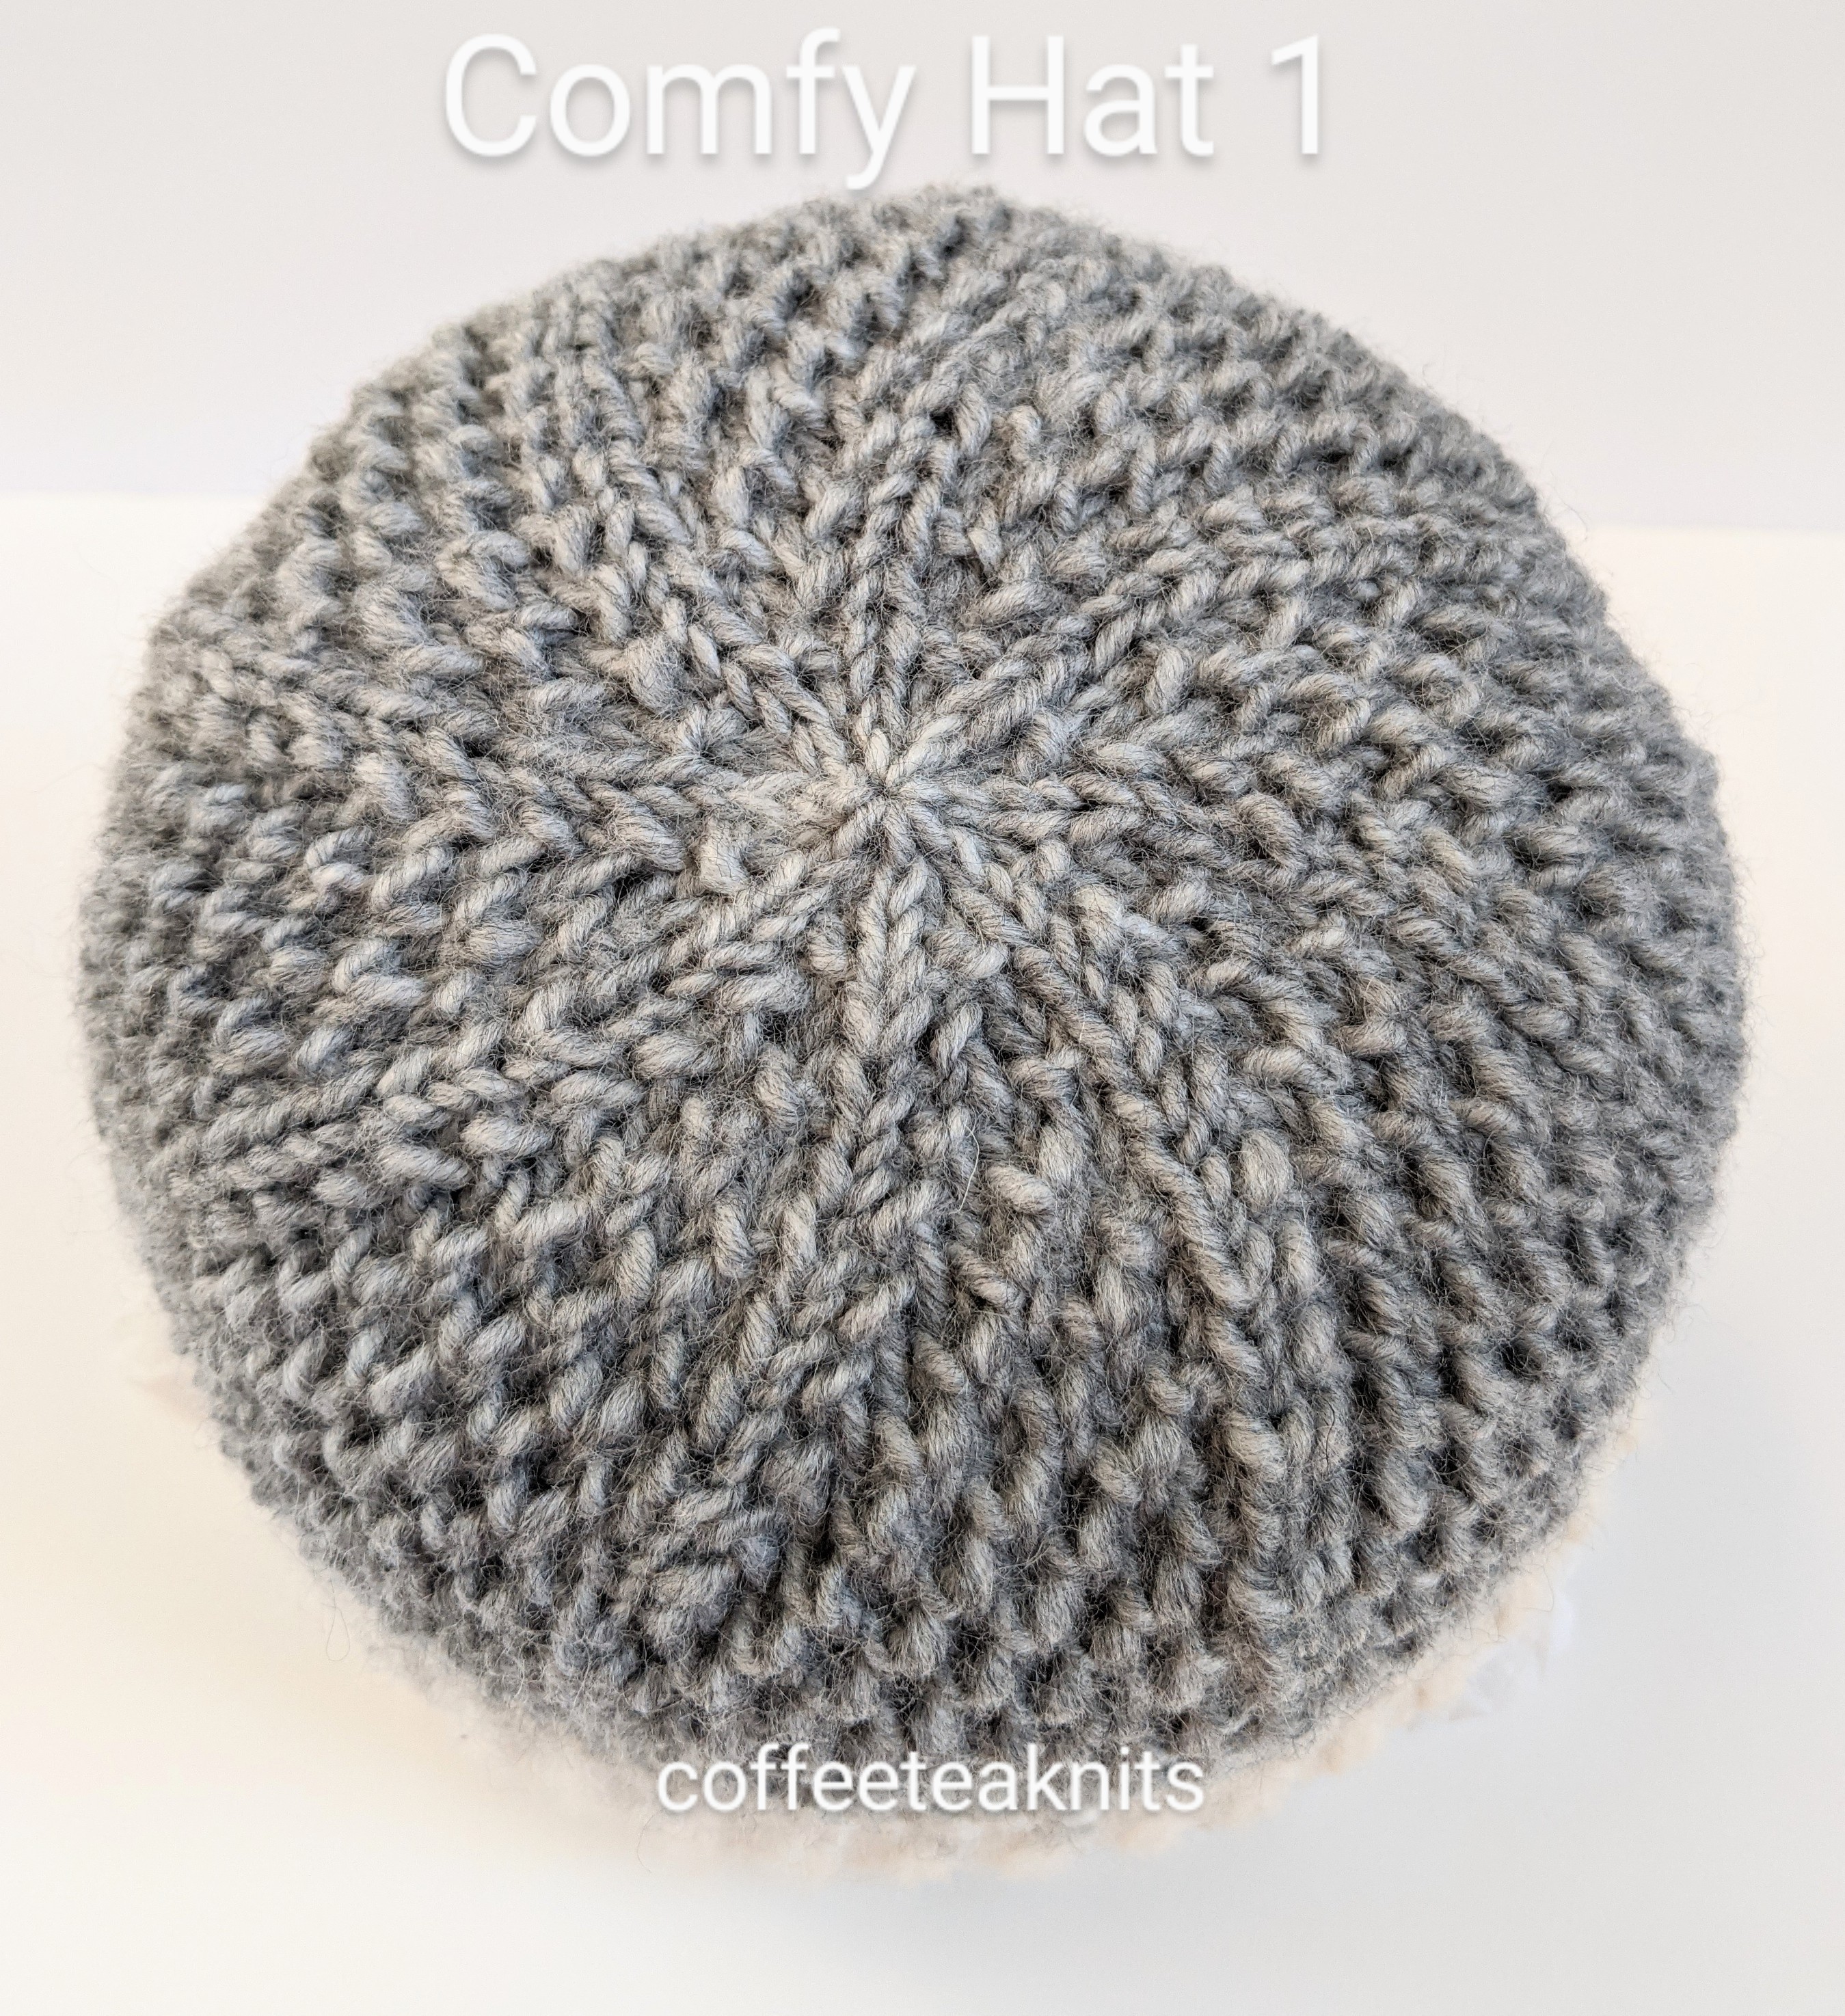
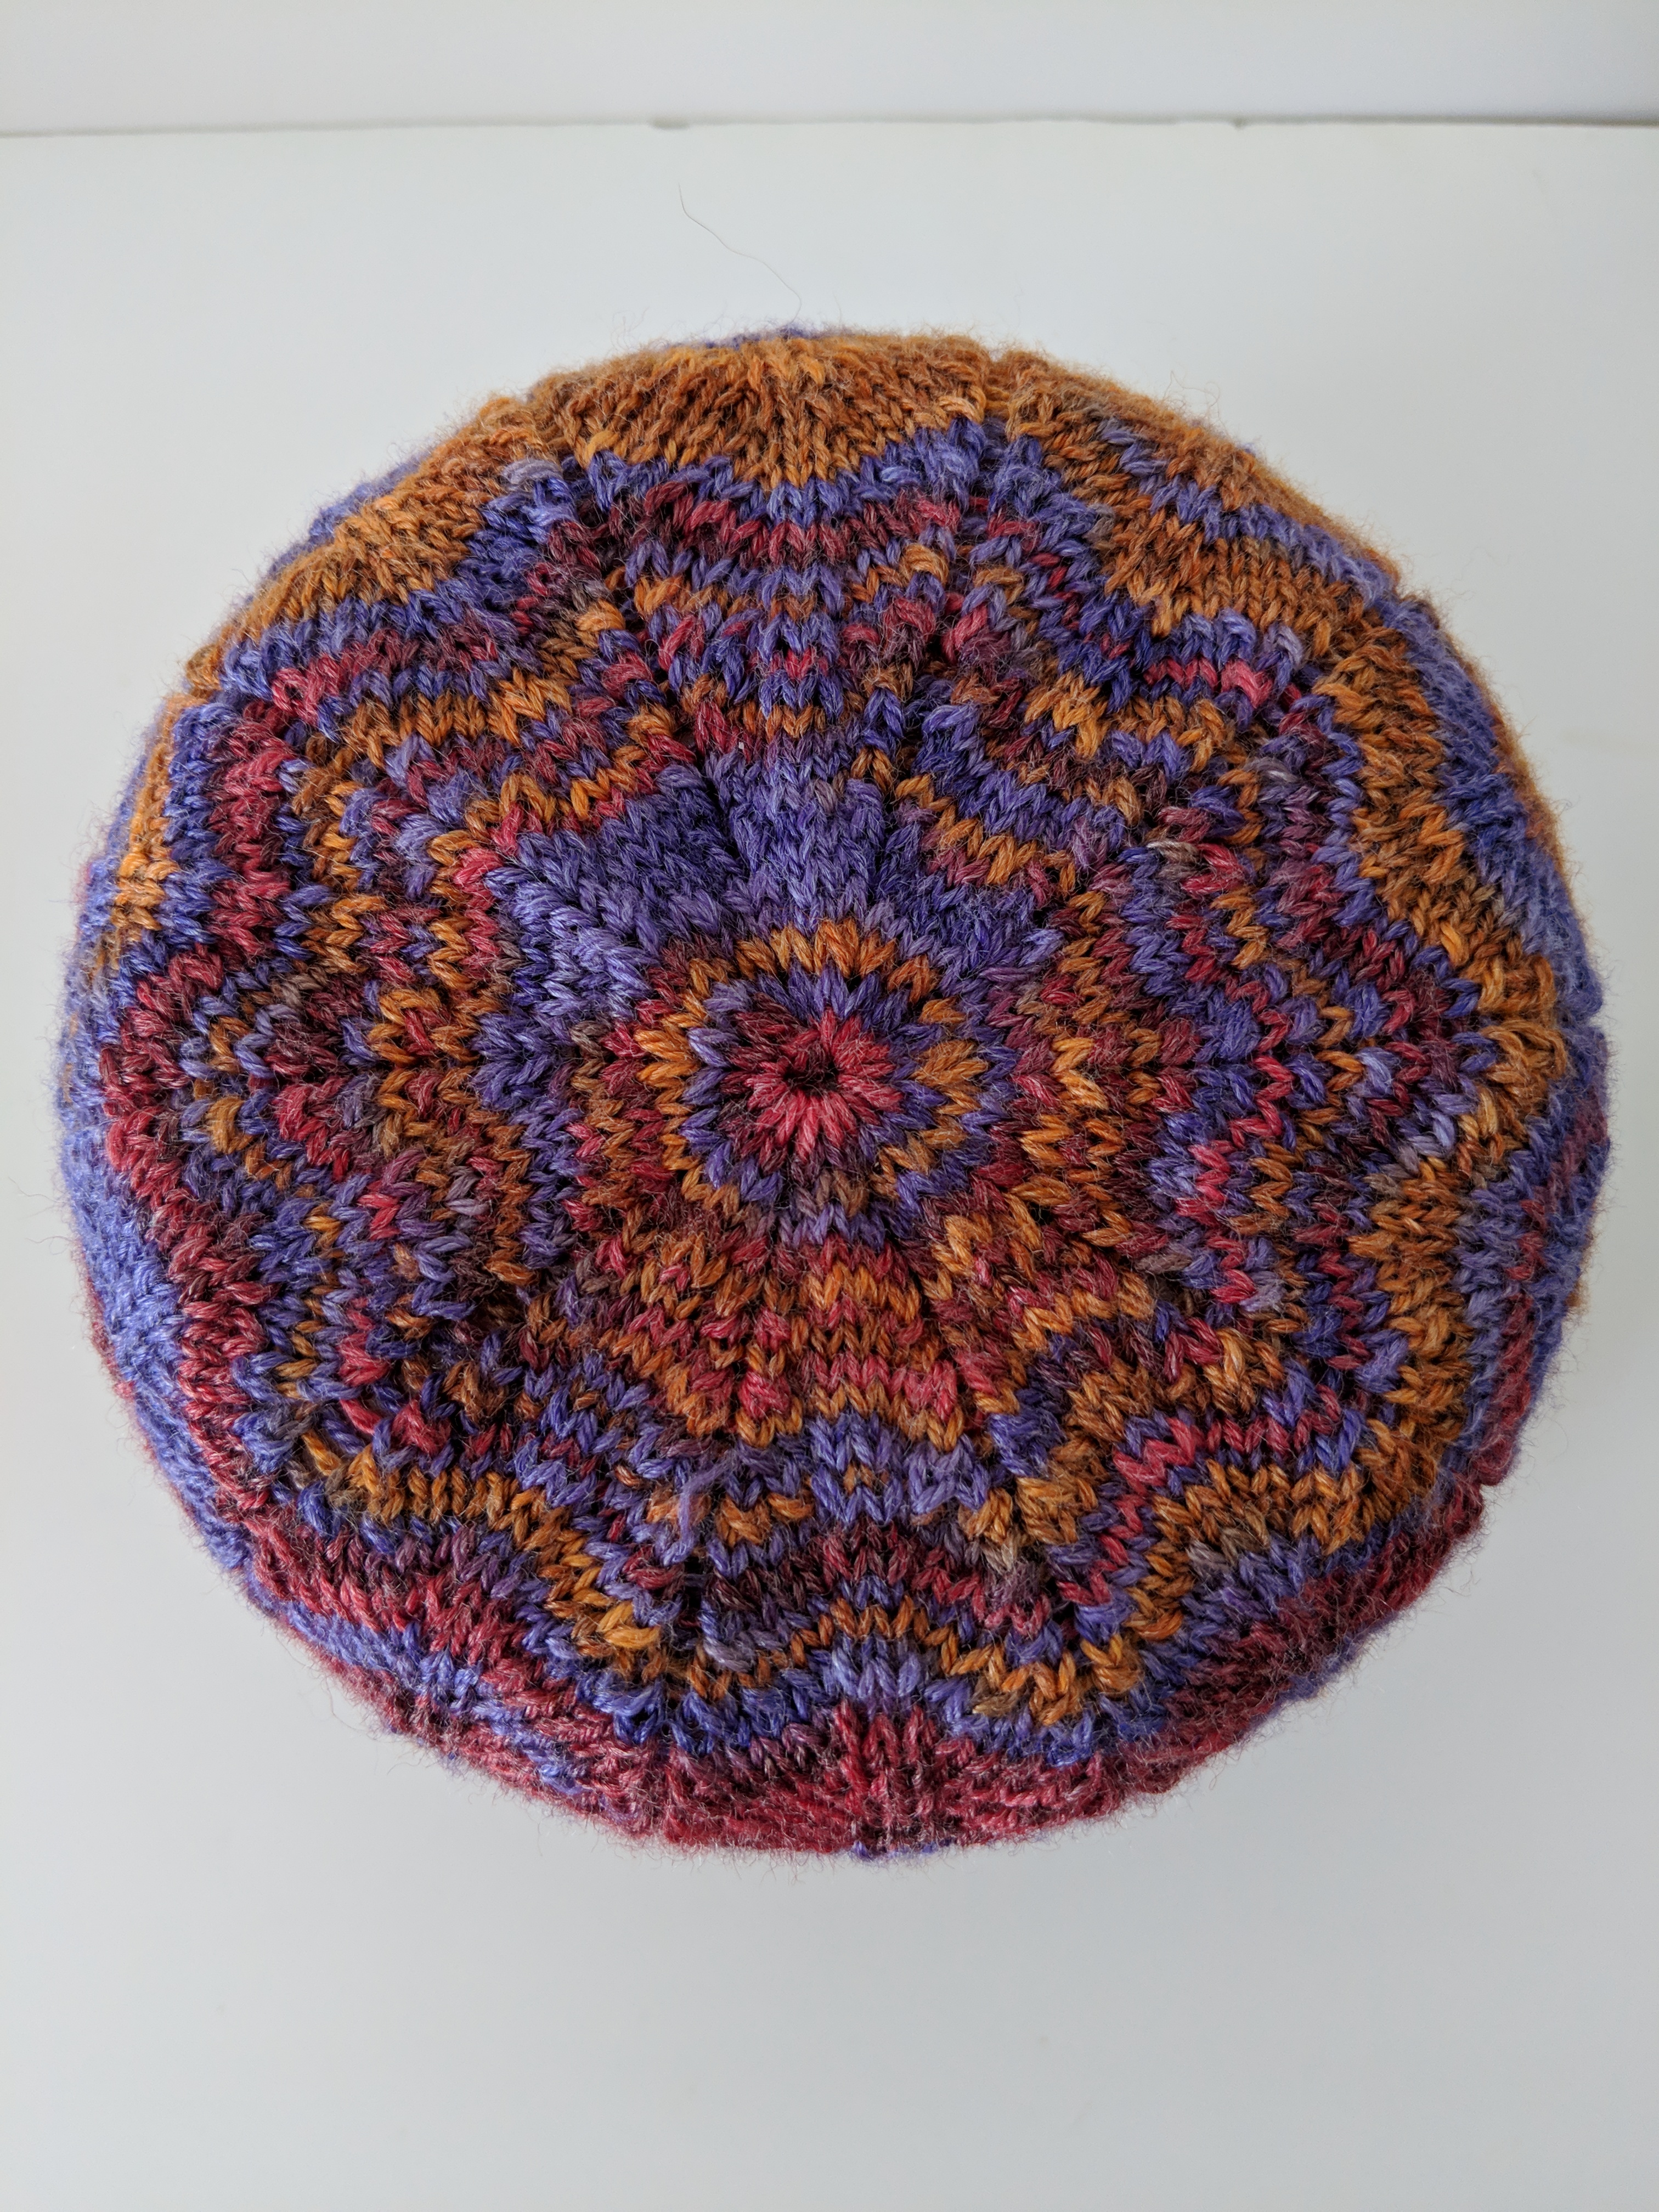
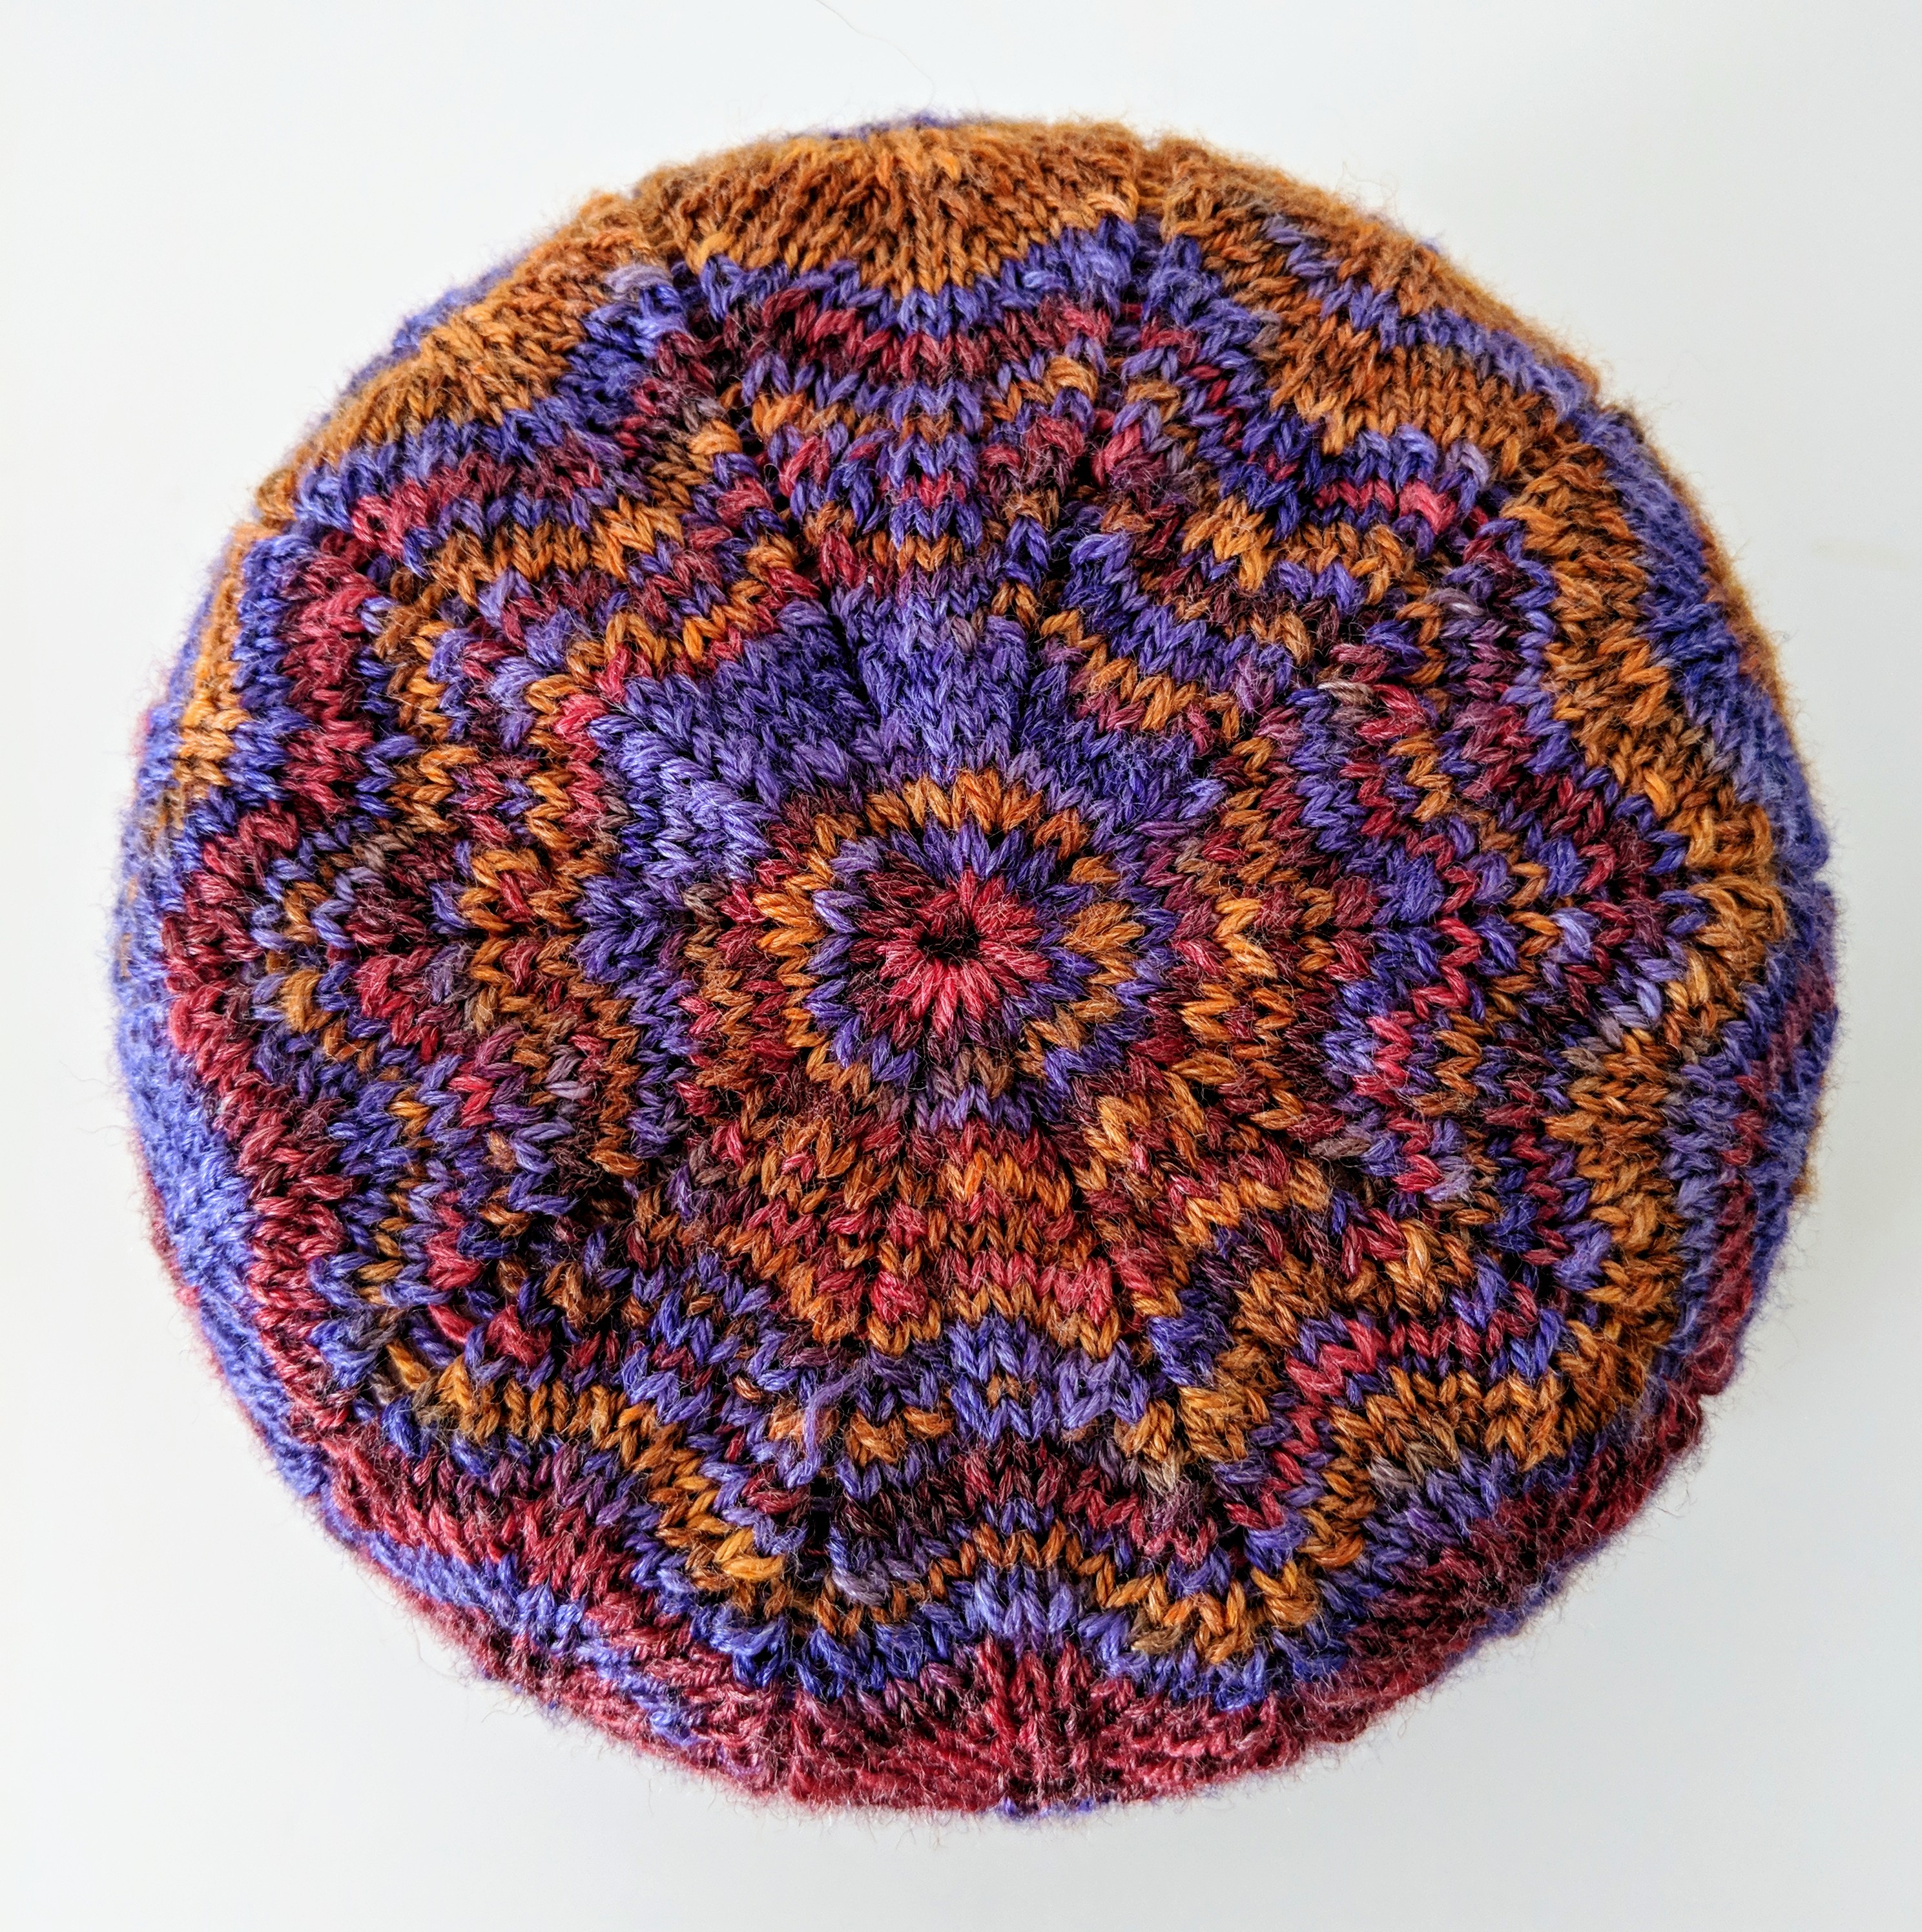
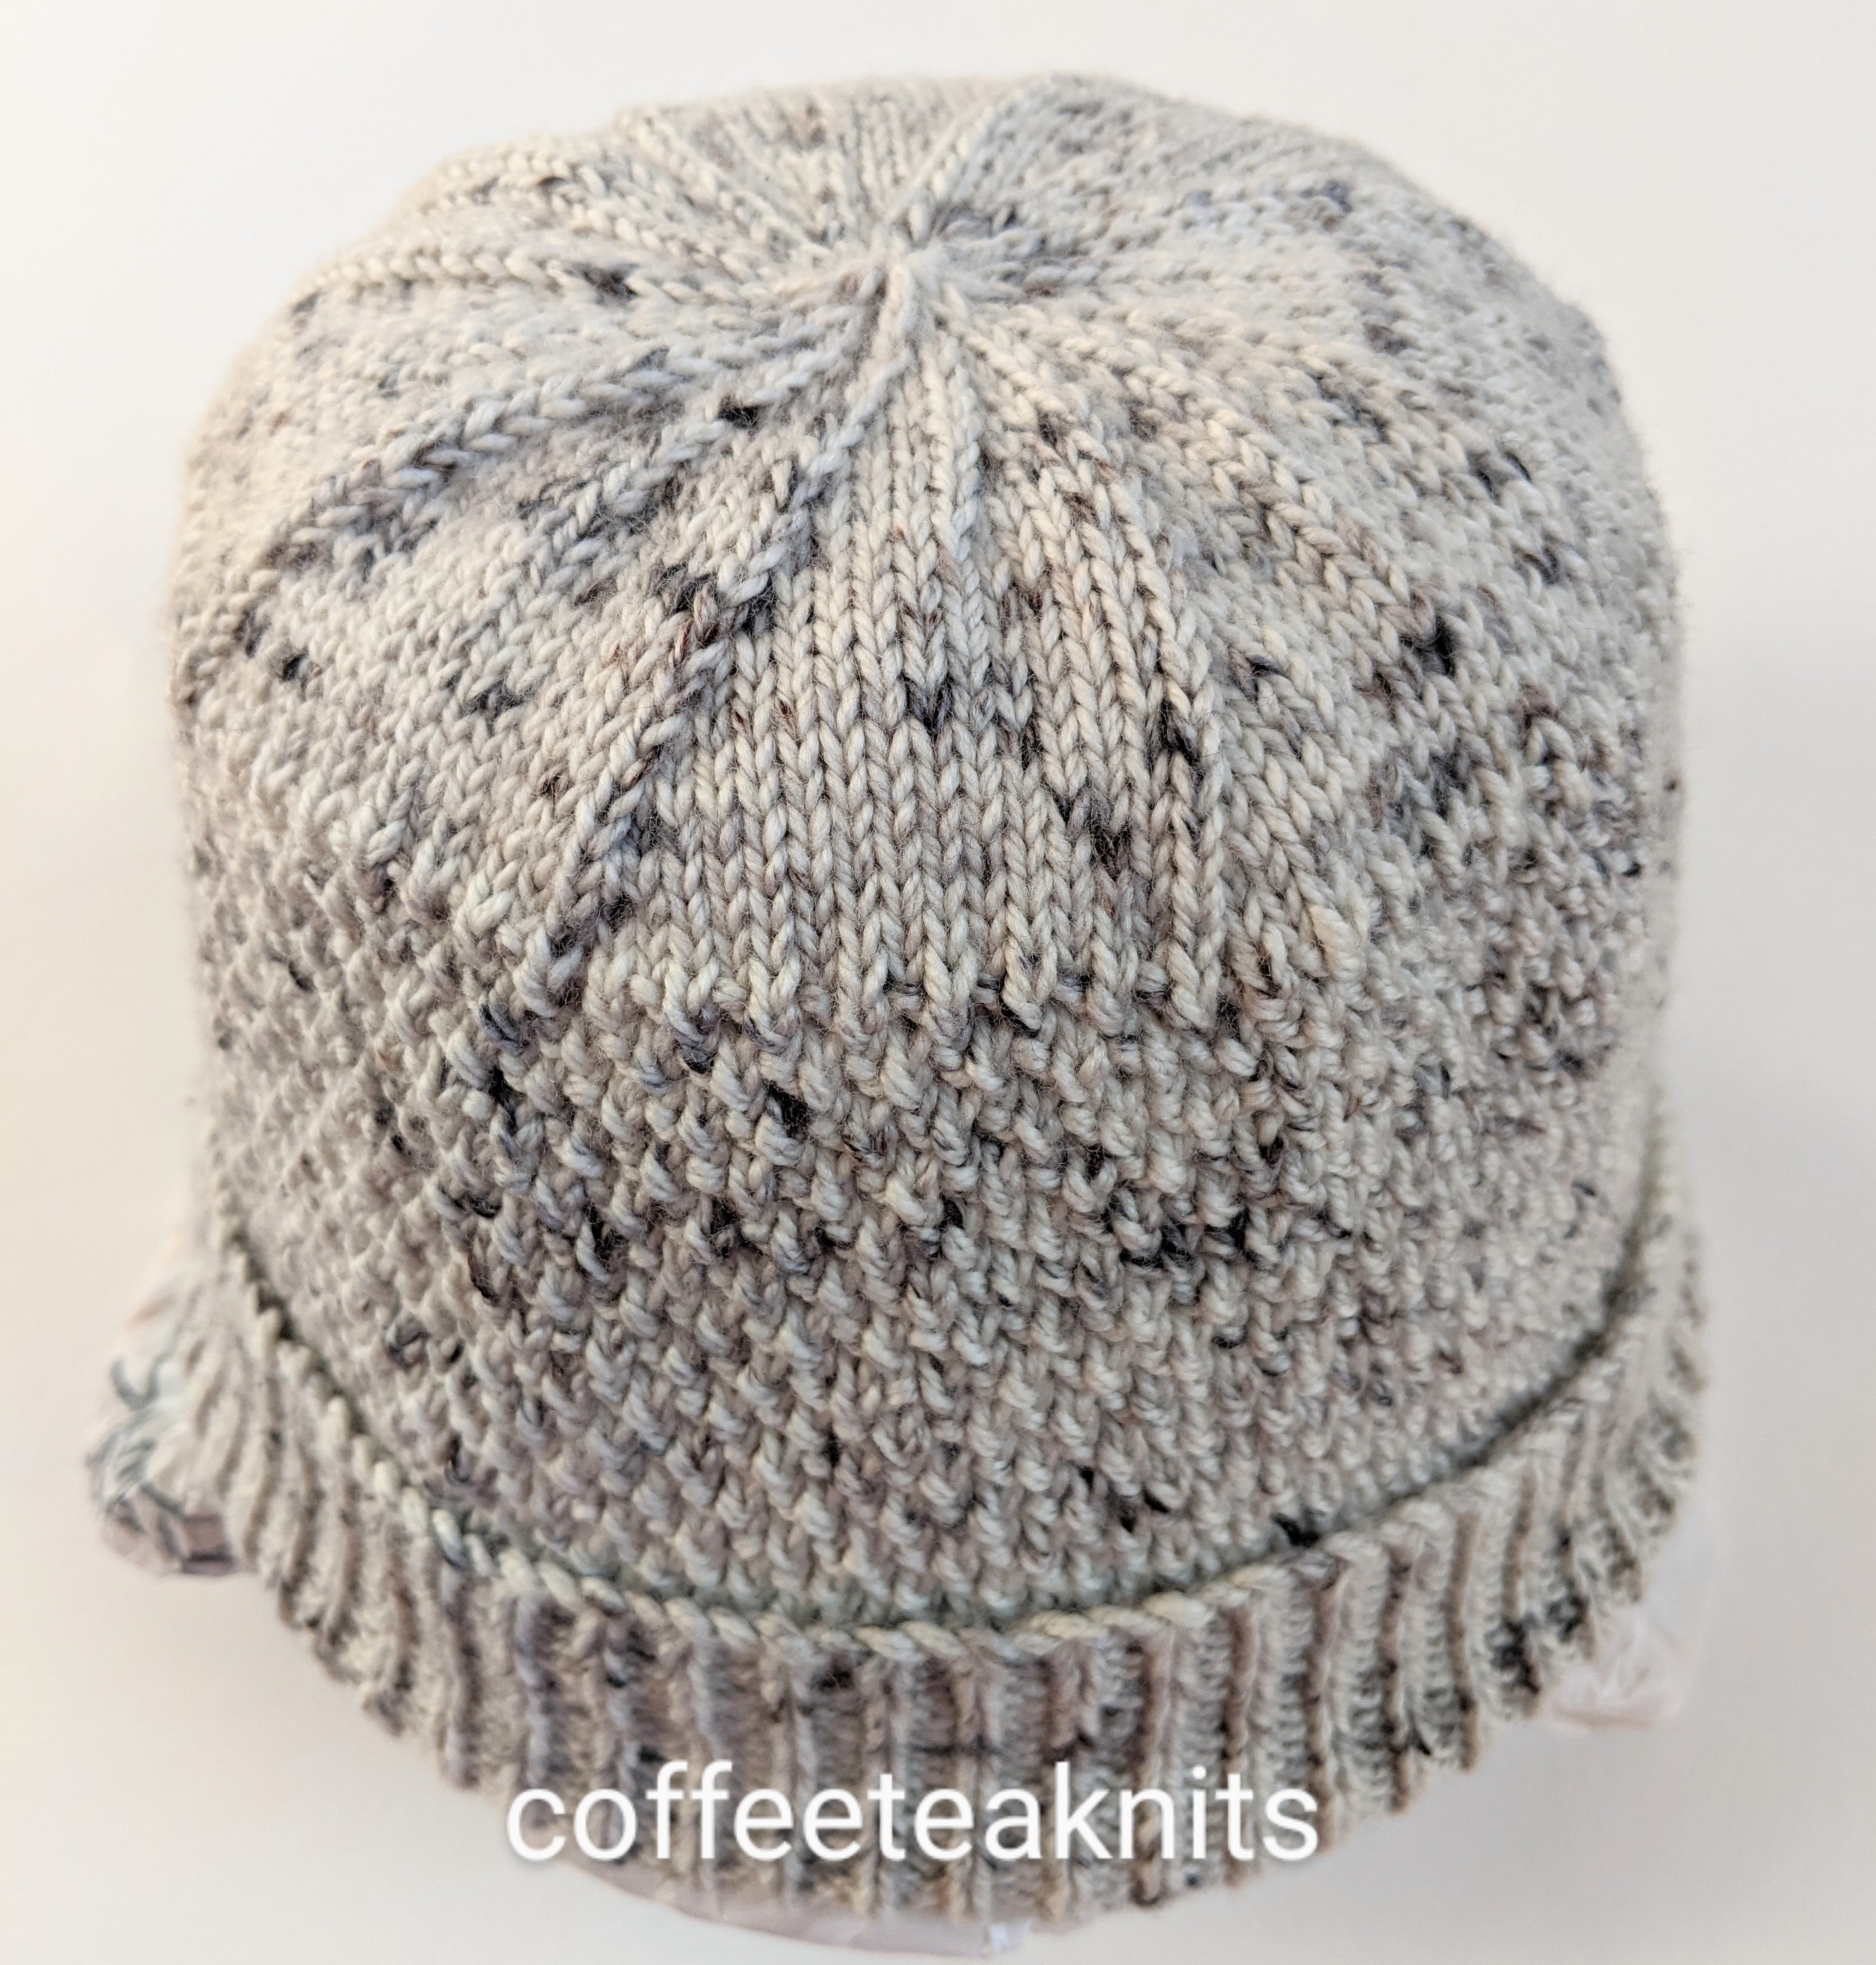
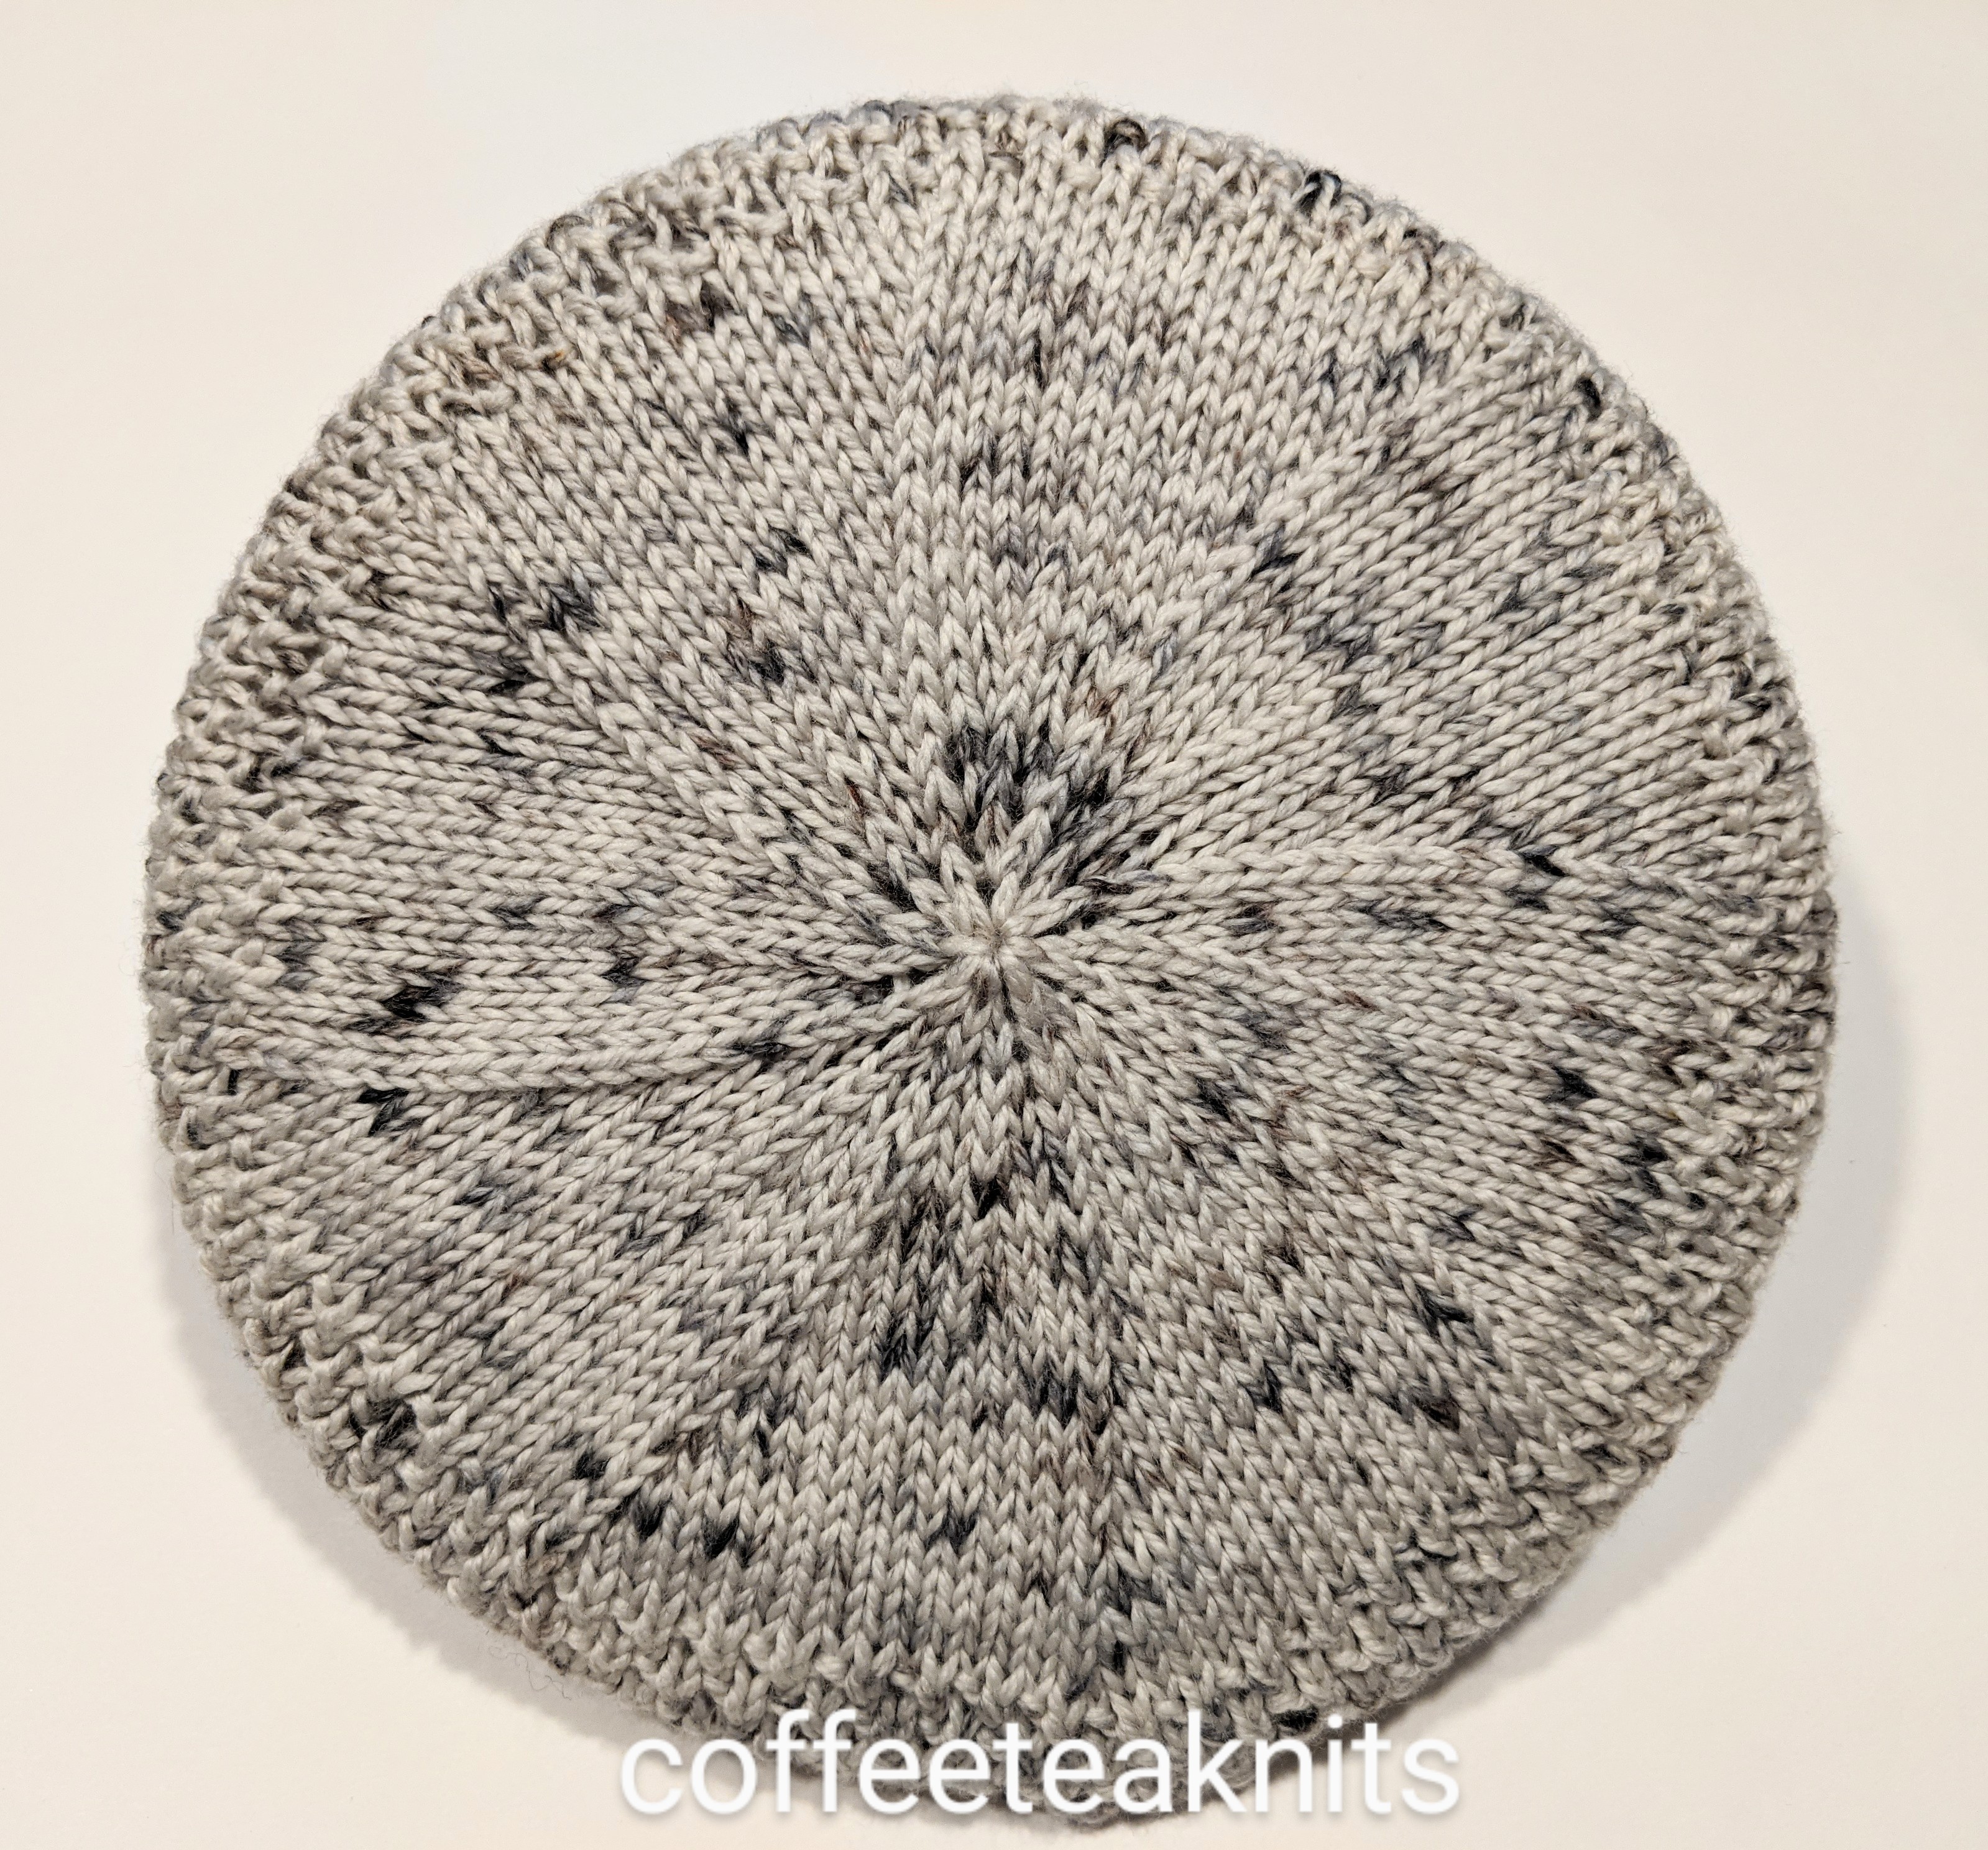
The crown shaping of the hat:

  • Change to US #4 circular knitting needles and knit for the crown shaping
    • Round 1: [Knit to 2 stitches before marker, K2tog, sm] repeat [ ] 6 more times, knit to 2 stitches before marker, K2tog, slip BOR marker
    • Round 2: [Knit to marker, sm] repeat [ ] 6 more times, knit till BOR marker, slip BOR marker

wistfulhat_crownshaping

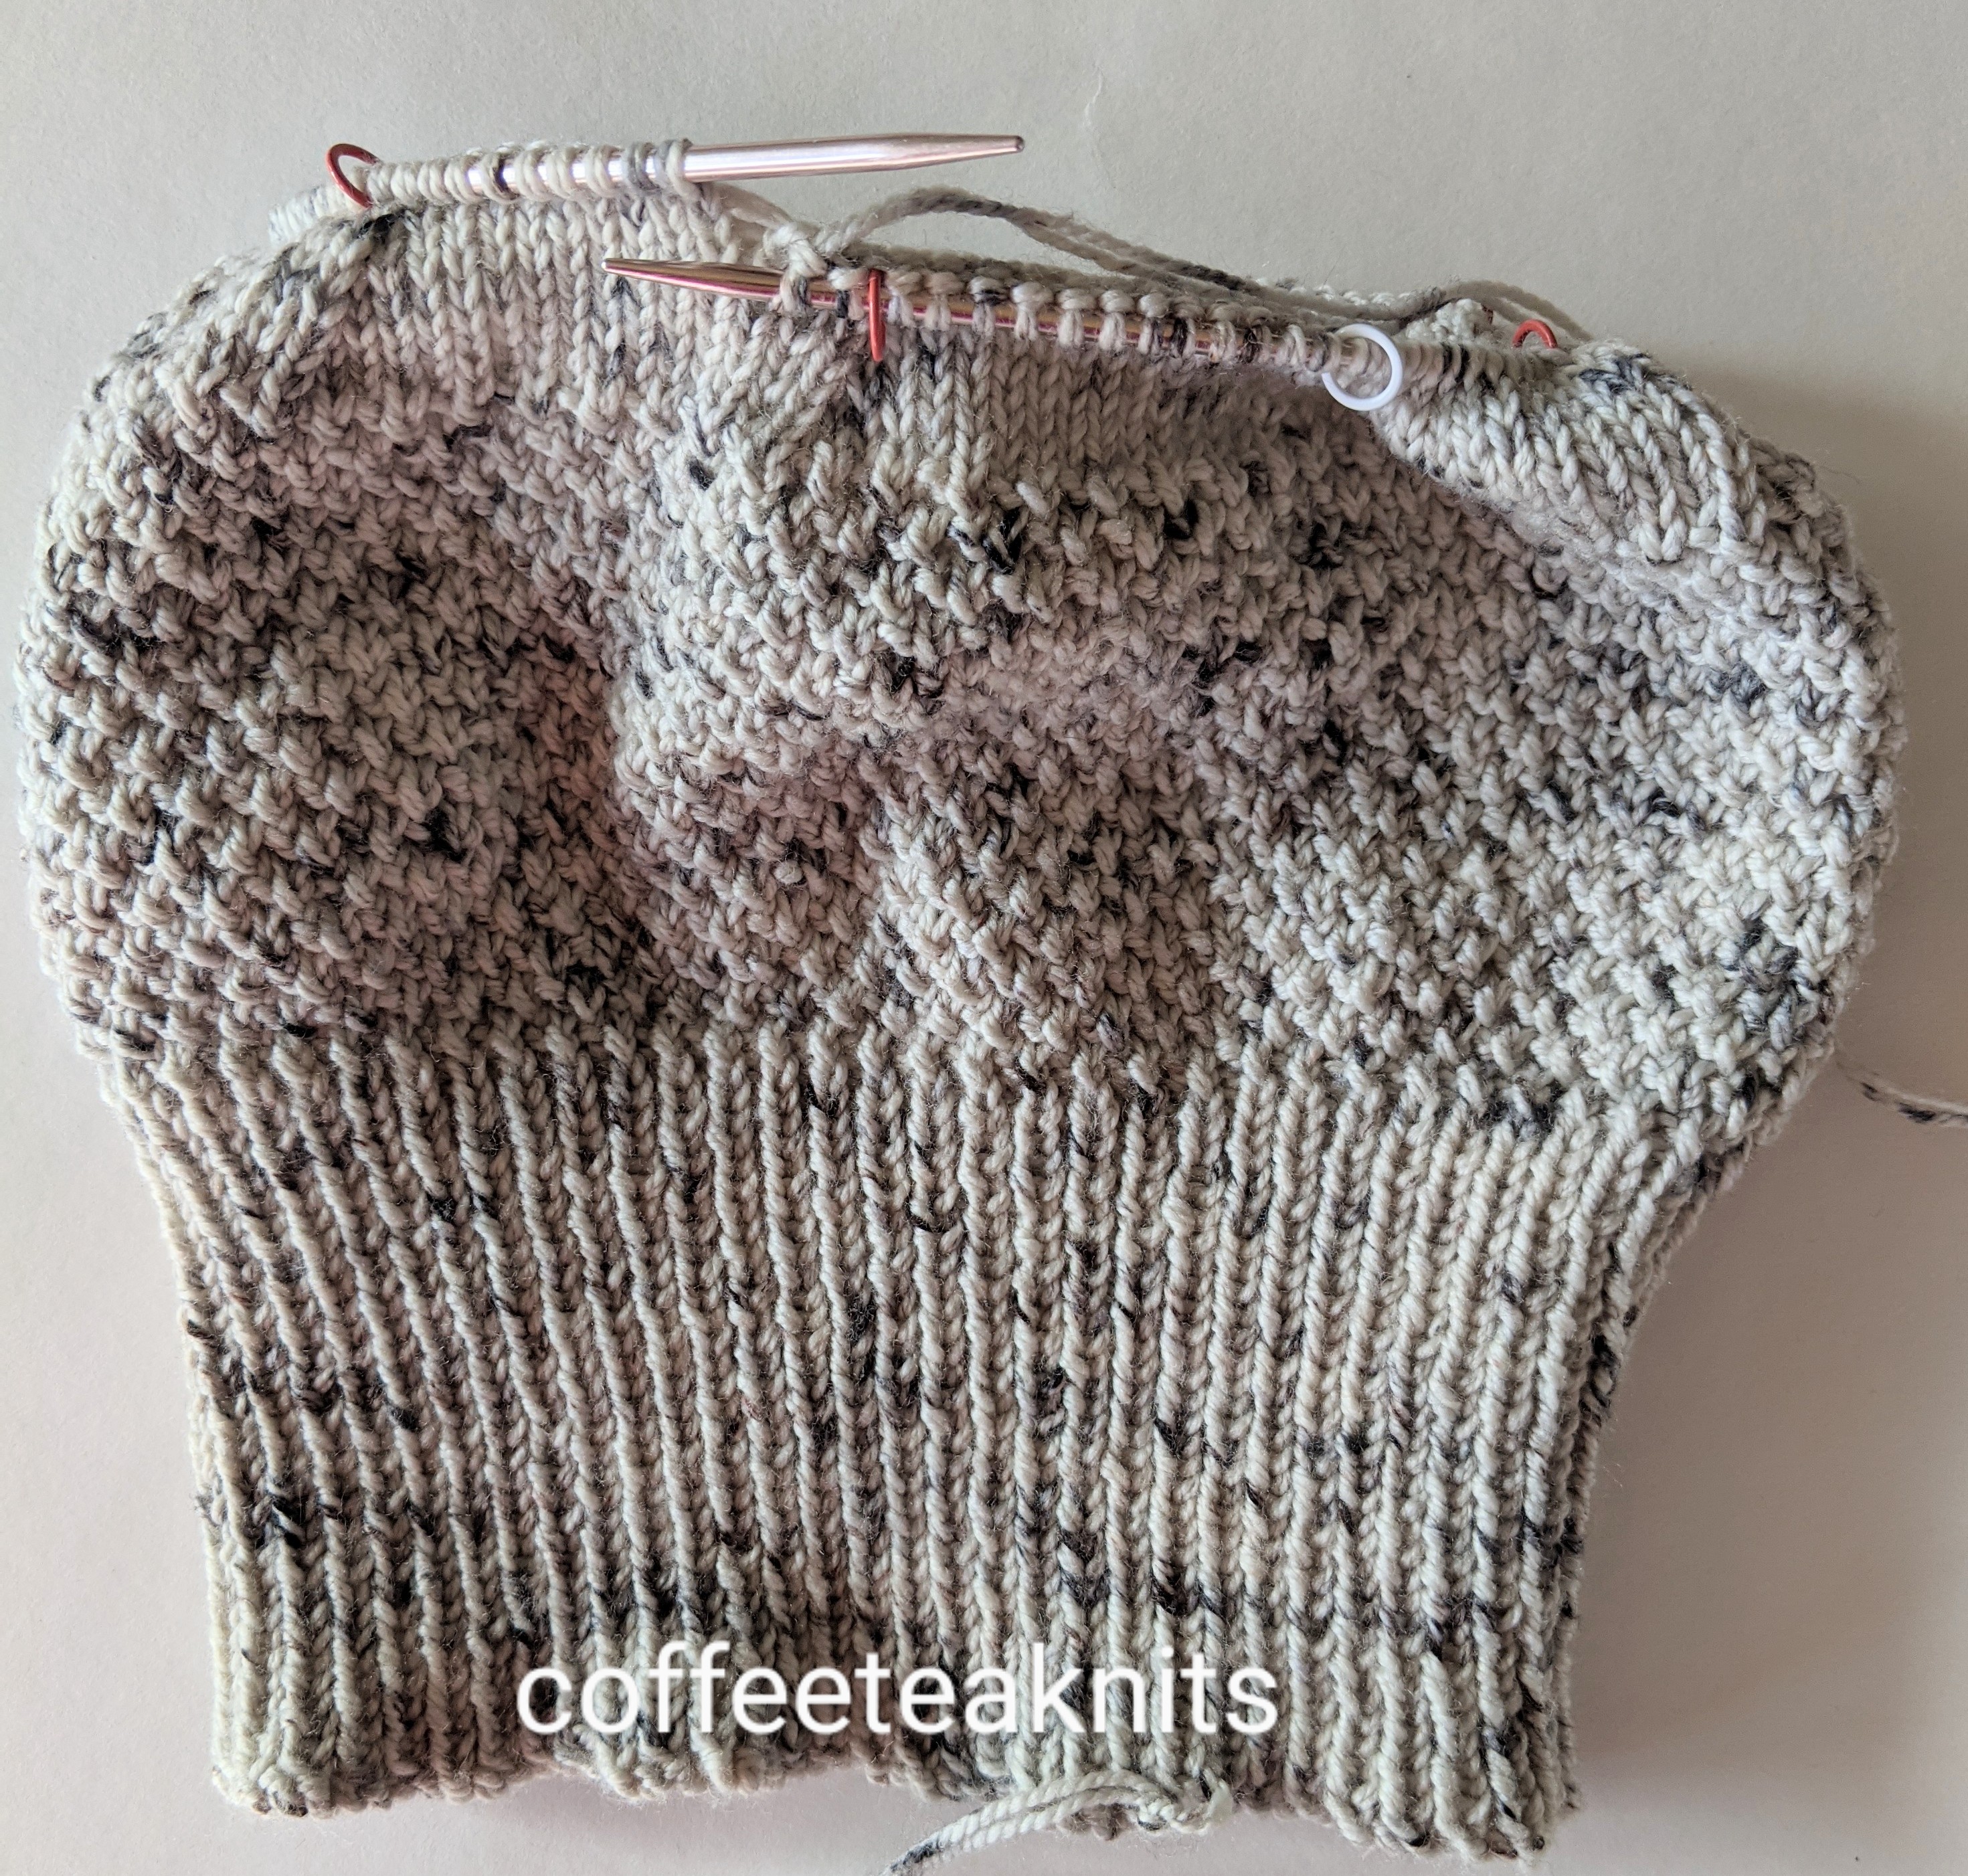
  • Repeat Rounds 1 and 2 five more times (80 stitches) and then knit the following rounds
    • Round 1: [K3, K2tog, pm, K3, K2tog, sm] repeat [ ] 6 more times, K3, K2tog, pm, K3, K2tog, slip BOR marker
    • Round 2: [Knit to marker, sm] repeat [ ] 14 more times, knit to BOR marker, slip BOR marker
    • Round 3: [K2, K2tog, sm] repeat [ ] 14 more times, K2, K2tog, slip BOR marker
    • Round 4: [Knit to marker, sm] repeat [ ] 14 more times, knit to BOR marker, slip BOR marker
    • Round 5: [K1, K2tog, sm] repeat [ ] 14 more times, K1, K2tog, slip BOR marker
    • Round 6: [Knit to marker, sm] repeat [ ] 14 more times, knit to BOR marker, slip BOR marker
    • Round 7: [K2tog, rm] repeat [ ] 14 more times, K2tog, slip BOR marker
    • Round 8: Knit to BOR marker, slip BOR marker 
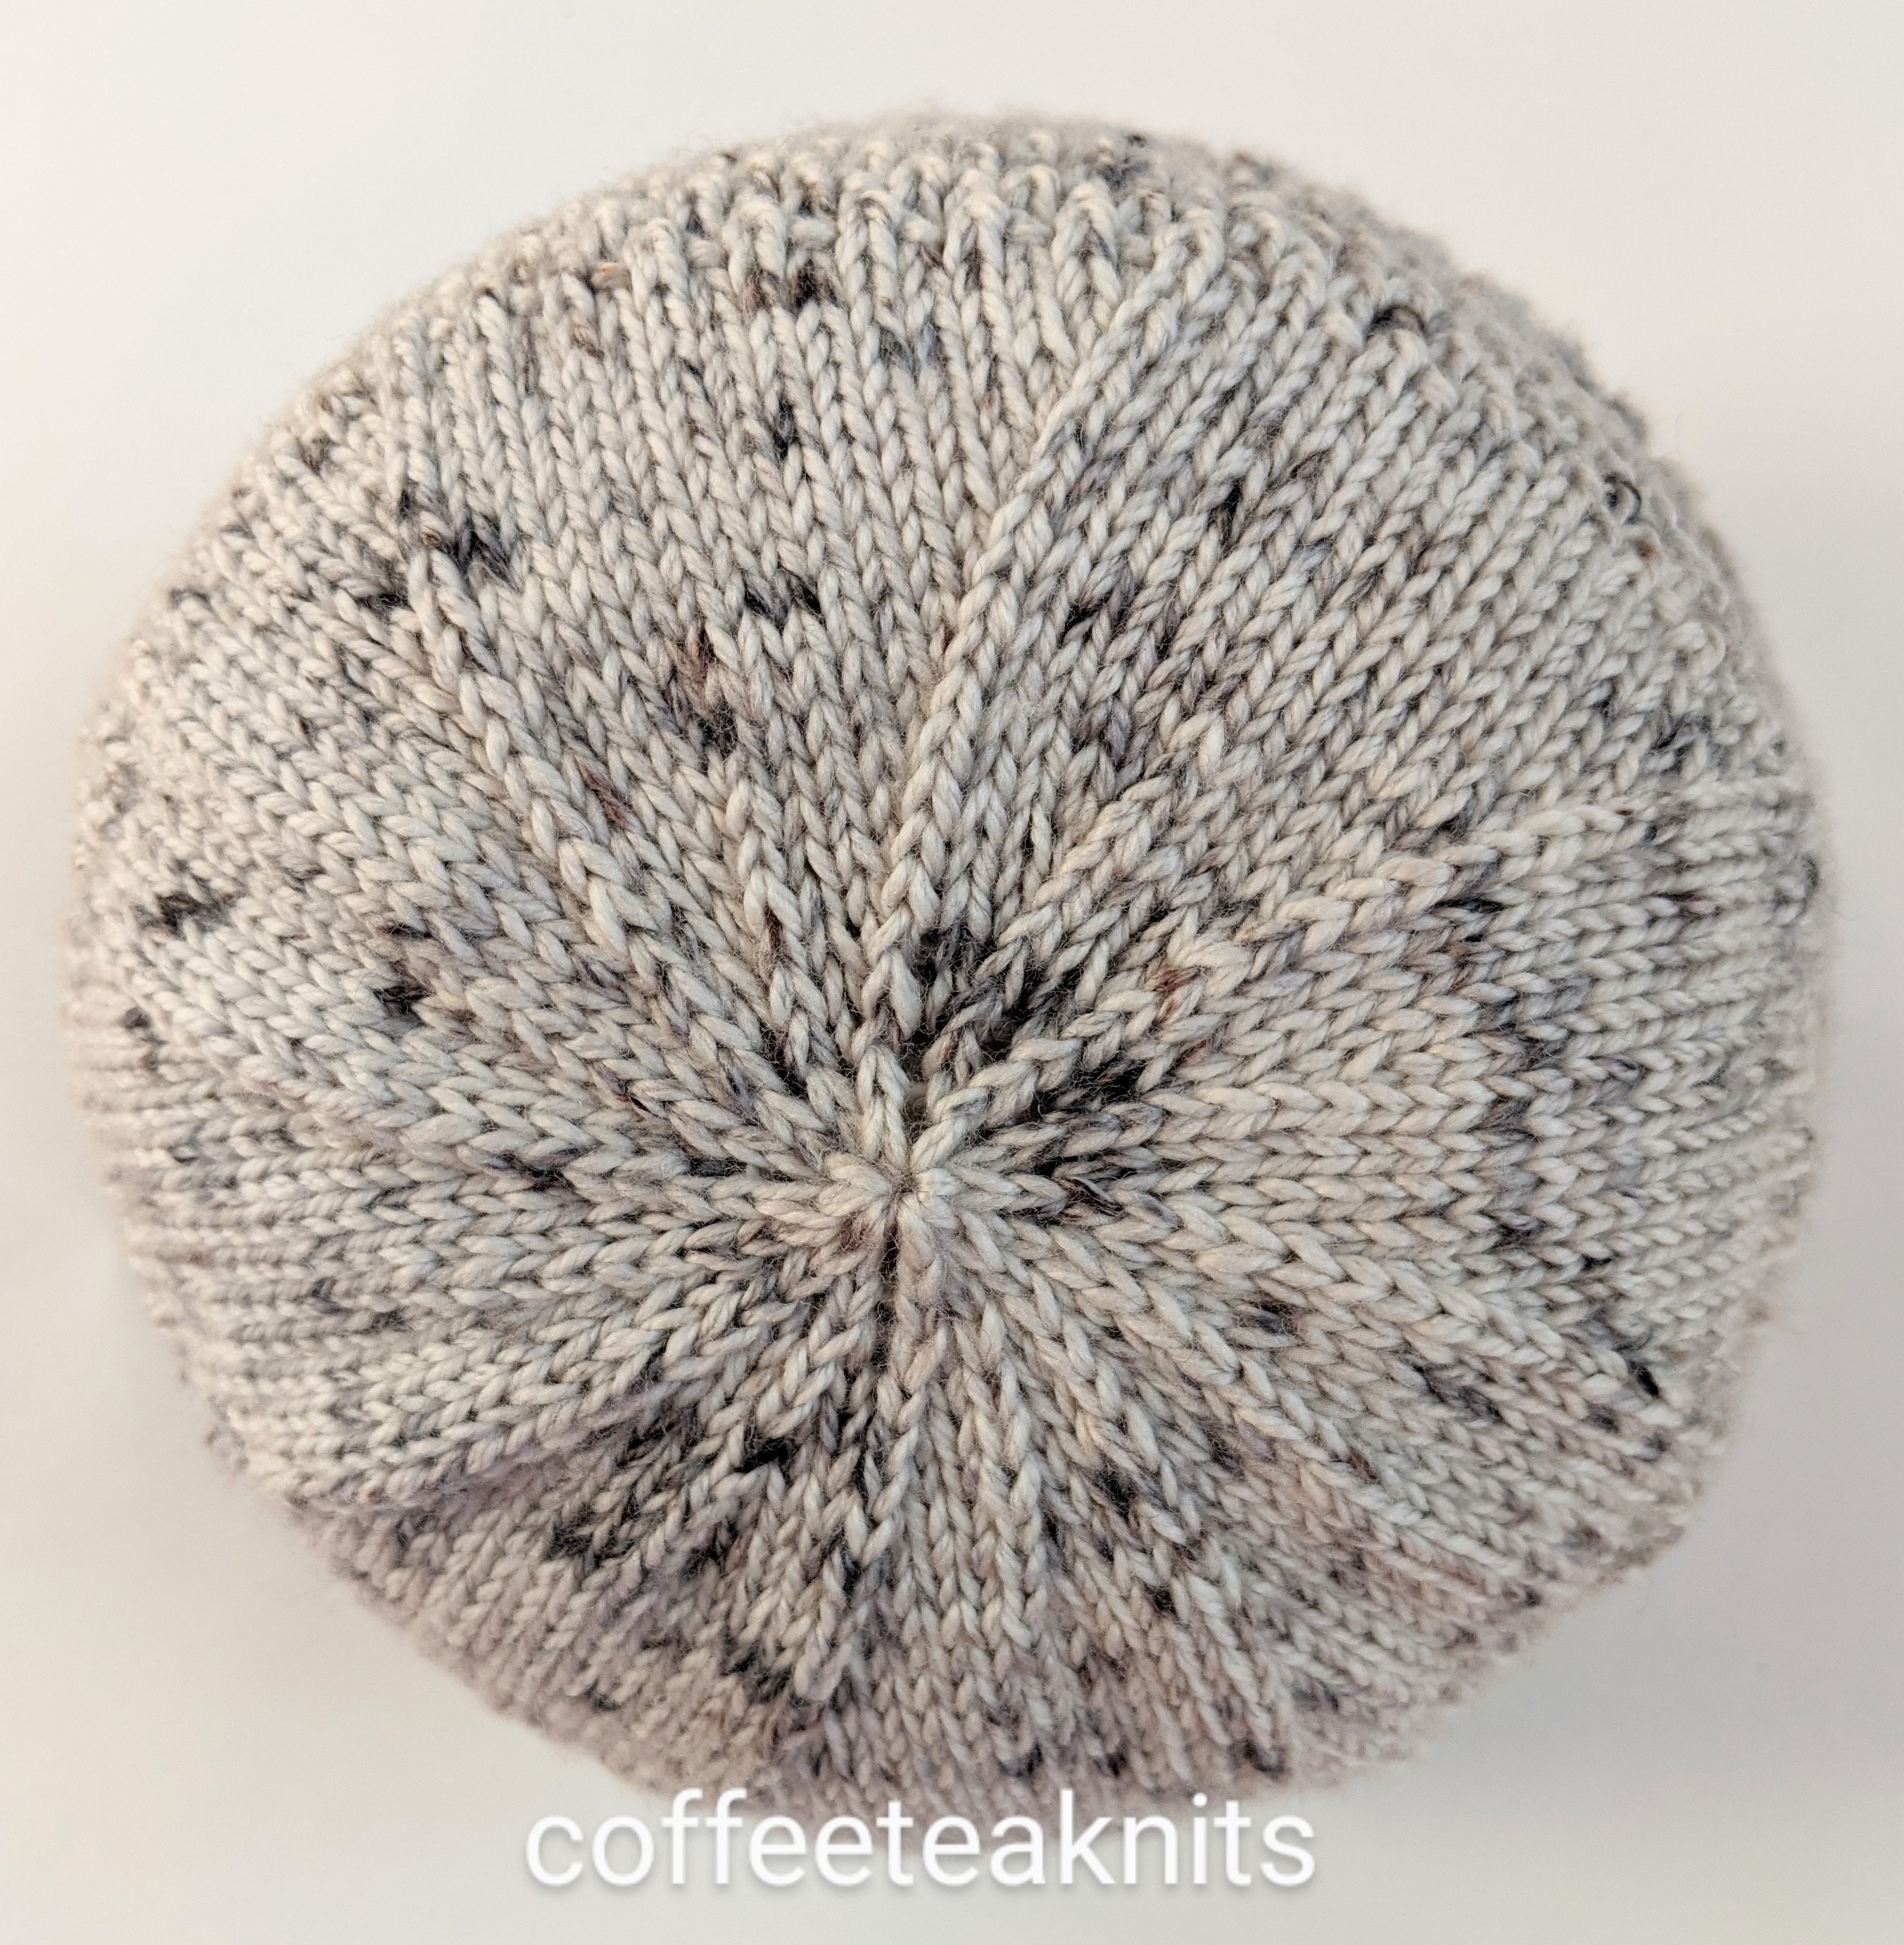
    • Round 9: K2tog till BOR marker, remove the BOR marker (8 stitches remaining)
    • Break about 6 inches of the working yarn and thread it through a tapestry needle. Pass the tapestry needle with the working yarn into the remaining stitches, pull tight and secure yarn.

wistfulhat_topview

  • Weave in the ends and wash the hat.

~coffeeteaknits.com

The Comfy Hat Patterns

There are some knit stitch patterns that look just as good on the right side as they do on the wrong side. It is so with the twisted seed stitch knit pattern. So I knitted the Comfy Hats with this twisted seed stitch pattern, one with the right side on the outside and the other with the wrong side on the outside. The Lion Brand® Scarfie yarn is warm and comfortable making it the right hat to wear this time of the year. Both hats were knitted bottom up and in the round with a 1 x 1 rib knit stitch pattern folded cuff, a body with the twisted seed stitch pattern, and crown shaping. 

There are two patterns down below for the two hats. The patterns are mostly similar but with a few modifications. These patterns are only for an adult medium hat size. These hats have not been graded for different sizes but the pattern can be easily adapted to different sizes by increasing or decreasing the number of cast on stitches or by increasing or decreasing the number of the pattern repeats.

The Comfy Hat Patterns (text and images for personal use only)

Yarn: Lion Brand® Scarfie Yarn in the Cream/Silver colorway
Knitting Needles: US #7 and US #9 circular knitting needles
Gauge: 17 stitches and 26 rows = 4 inches in stockinette stitch before blocking and with US #7 knitting needles
Abbreviations:

  • K: Knit
  • P: Purl
  • RS: right side
  • WS: wrong side
  • P2tog: Purl two stitches together
  • K2tog: Knit two stitches together
  • K1B: knit below the stitch on the left hand needle 
  • pm: place marker
  • rm: remove marker
  • sm: slip marker
  • BOR marker: beginning of round marker
Comfy Hat Pattern 1Comfy Hat Pattern 2
With US #9 cast on 88 stitches using the cable cast on method, slip stitches on to US #7 circular knitting needles, place a BOR marker and join the round With US #9 cast on 88 stitches using the cable cast on method, slip stitches on to US #7 circular knitting needles, place a BOR marker and join the round
Folded Cuff (1 x 1 rib stitch):
Round 1: [K1, P1] till the BOR marker, slip marker

Repeat Round 1 twenty-four more times (about 4 inches in length)
Folded Cuff (1 x 1 rib stitch):
Round 1: [K1, P1] till the BOR marker, slip marker

Repeat Round 1 twenty-four more times (about 4 inches in length)
Body (Twisted Seed Stitch Pattern):
Setup Round: [purl 10, K1, pm] repeat this 7 more times till the BOR marker, slip the BOR marker

Round 1: [purl till 1 stitch before marker, K1, sm] repeat this 7 more times till the BOR marker, slip the BOR marker

Round 2: [K1, K1B till 1 stitch before marker, K1, sm] repeat this 7 more times till the BOR marker

Round 3: [purl till 1 stitch before marker, K1, sm] repeat this 7 more times till the BOR marker, slip the BOR marker

Round 4: [K1B, K1 till 1 stitch before marker, K1, sm] repeat this 7 more times till the BOR marker


Repeat Rounds 1 – 4 seven more times
Body (Twisted Seed Stitch Pattern):
Setup Round: [purl 11, pm] repeat this 7 more times till the BOR marker, slip the BOR marker

Round 1: [purl to marker, sm] repeat this 7 more times till the BOR marker, slip the BOR marker

Round 2: [K1, K1B till 1 stitch before marker, P1, sm] repeat this 7 more times till the BOR marker

Round 3: [purl to marker, sm] repeat this 7 more times till the BOR marker, slip the BOR marker

Round 4: [K1B, K1 till 1 stitch before marker, P1, sm] repeat this 7 more times till the BOR marker

Repeat Rounds 1 – 4 seven more times


Crown Shaping:
Round 1: [purl till 3 stitches before marker, P2tog, K1, sm] repeat this 7 more times, slip BOR marker

Round 2: [K1, K1B till 2 stitches before marker, K2, sm] repeat this 7 more times, slip BOR marker

Round 3: [purl till 3 stitches before marker, P2tog, K1, sm] repeat this 7 more times, slip BOR marker

Round 4: [K1B, K1 till 1 stitch before marker, K1, sm] repeat this 7 more times, slip BOR marker

Repeat Rounds 1 – 4 three more times


Round 17: [P2tog, K1, sm] repeat this seven more till BOR marker, slip BOR marker

Round 18: Knit all the stitches removing all markers till the BOR marker, slip the BOR marker

Round 19: K2tog till the BOR marker, remove BOR marker, break about 6 inches of the working yarn and thread it through a tapestry needle. Insert the tapestry needle with the working yarn into the remaining stitches, pull tight and secure yarn


Weave in the ends and wash hat.
Crown Shaping:
Round 1: [purl till 3 stitches before marker, P2tog, P1, sm] repeat this 7 more times, slip BOR marker

Round 2: [K1, K1B till 2 stitches before marker, K1, P1, sm] repeat this 7 more times, slip BOR marker

Round 3: [purl till 3 stitches before marker, P2tog, P1, sm] repeat this 7 more times, slip BOR marker

Round 4: [K1B, K1 till 1 stitch before marker, P1, sm] repeat this 7 more times, slip BOR marker

Repeat Rounds 1 – 4 three more times


Round 17: [P2tog, P1, sm] repeat this seven more till BOR marker, slip BOR marker

Round 18: [K1, P1 till marker, rm] repeat till the BOR marker, slip the BOR marker

Round 19: P2tog till the BOR marker, remove BOR marker, break about 6 inches of the working yarn and thread it through a tapestry needle. Insert the tapestry needle with the working yarn into the remaining stitches, pull tight and secure yarn

Turn the hat inside out, weave in the ends and wash hat.


~coffeeteaknits.com

Photography, a non knitting skill that is helpful to knitters

February Hat for the #WNHyearofhatsKAL2019
The pattern used was Fruju Hat by Deb Cunningham
Yarn: a merino bamboo fingering weight yarn by Taylored Fibers I bought few years back.

As a hobby knitter it takes me days and sometimes months to complete my  knitting projects and yet I spend very little time when it comes to taking good photographs of the knitted items. I think it’s important to spend the time to learn how to take good photographs of the knitted items to showcase them on blog sites, Ravelry or any other social media. Nowadays smartphones with good camera resolution can be used to improve photography skills. There are many resources and tips* available online on how to improve picture taking skills with a smartphone.

Here’s a general summary of some of the tips mentioned:

  • Clean the camera lens before taking any picture with a lens wipe or a microfiber cloth
  • Find a good location around the house, outside etc.
  • Lighting – as much as possible use indirect natural lighting
  • Focus camera on the item to be photographed
  • Take as many pictures to get the one that is good for posting
  • Be ready to spend quite a bit of time to get that one good photo.
  • Take time to edit photos using the photo editing tool on the phone

With lighting, location and other tips in mind I took several more pictures of the hat I knit this month for the hat knit – along. Here are the original and edited pictures of the ones I thought were the better ones.

Original Edited

I’ve learnt a few things about taking good picture taking but need to learn more including how to use the picture editing tools. The only downside to taking pictures with a smartphone is that you need to spend a bit more time removing all the pictures that didn’t turn out well!

How do you take photos of your knitted items?


* “Take better smartphone photos with these simple tips and tricks
* “How to Take Amazing Product Photos With a Smartphone


~coffeeteaknits.com

2019 and knitting hats

  • This year will be a year of knitting a hat (or two) a month,

I knit the Antler hat by Tin Can knits and added a pom pom. More details can be found on my Ravelry project page.

Hat made with two strands of sock yarn held together. More details can be found on my Ravelry project page.

  • a year to explore and learn more challenging stitch patterns,
  • and a year to continue knitting sweaters and blankets with the yarn I already have

Finished Sweaters:

Finally after two years this lingering Top down striped tunic is complete. It turned out to be different than what I had initially planned to knit. While I was not quite successful in helical striping (see more details on my Ravelry project page), I did learn how to crochet and sew the duplicate stitch. 

In the Top down moss stitch pullover, I knit a double brim collar after picking up the provisionally cast on stitches.


~coffeeteaknits.com

When a knitted hat is more than just another hat

Hat with Lion Brand® Yarn Heartland® yarn

Hat in Glacier Bay colorway

This hat was knitted to support Lion Brand’s #HatNotHate campaign to increase awareness of bullying and its impact on the community.


Knit-along by Hannah Wallace in Knit Simple Magazine, Holiday 2017 issue.
September 2018 squares: Stitch pattern for both squares are different from the knit-along pattern.
Yarn: Lion Brand® Vanna’s Choice®.
Project details on my Ravelry project page

Square 1 for September

Square 2 for September


~coffeeteaknits.com