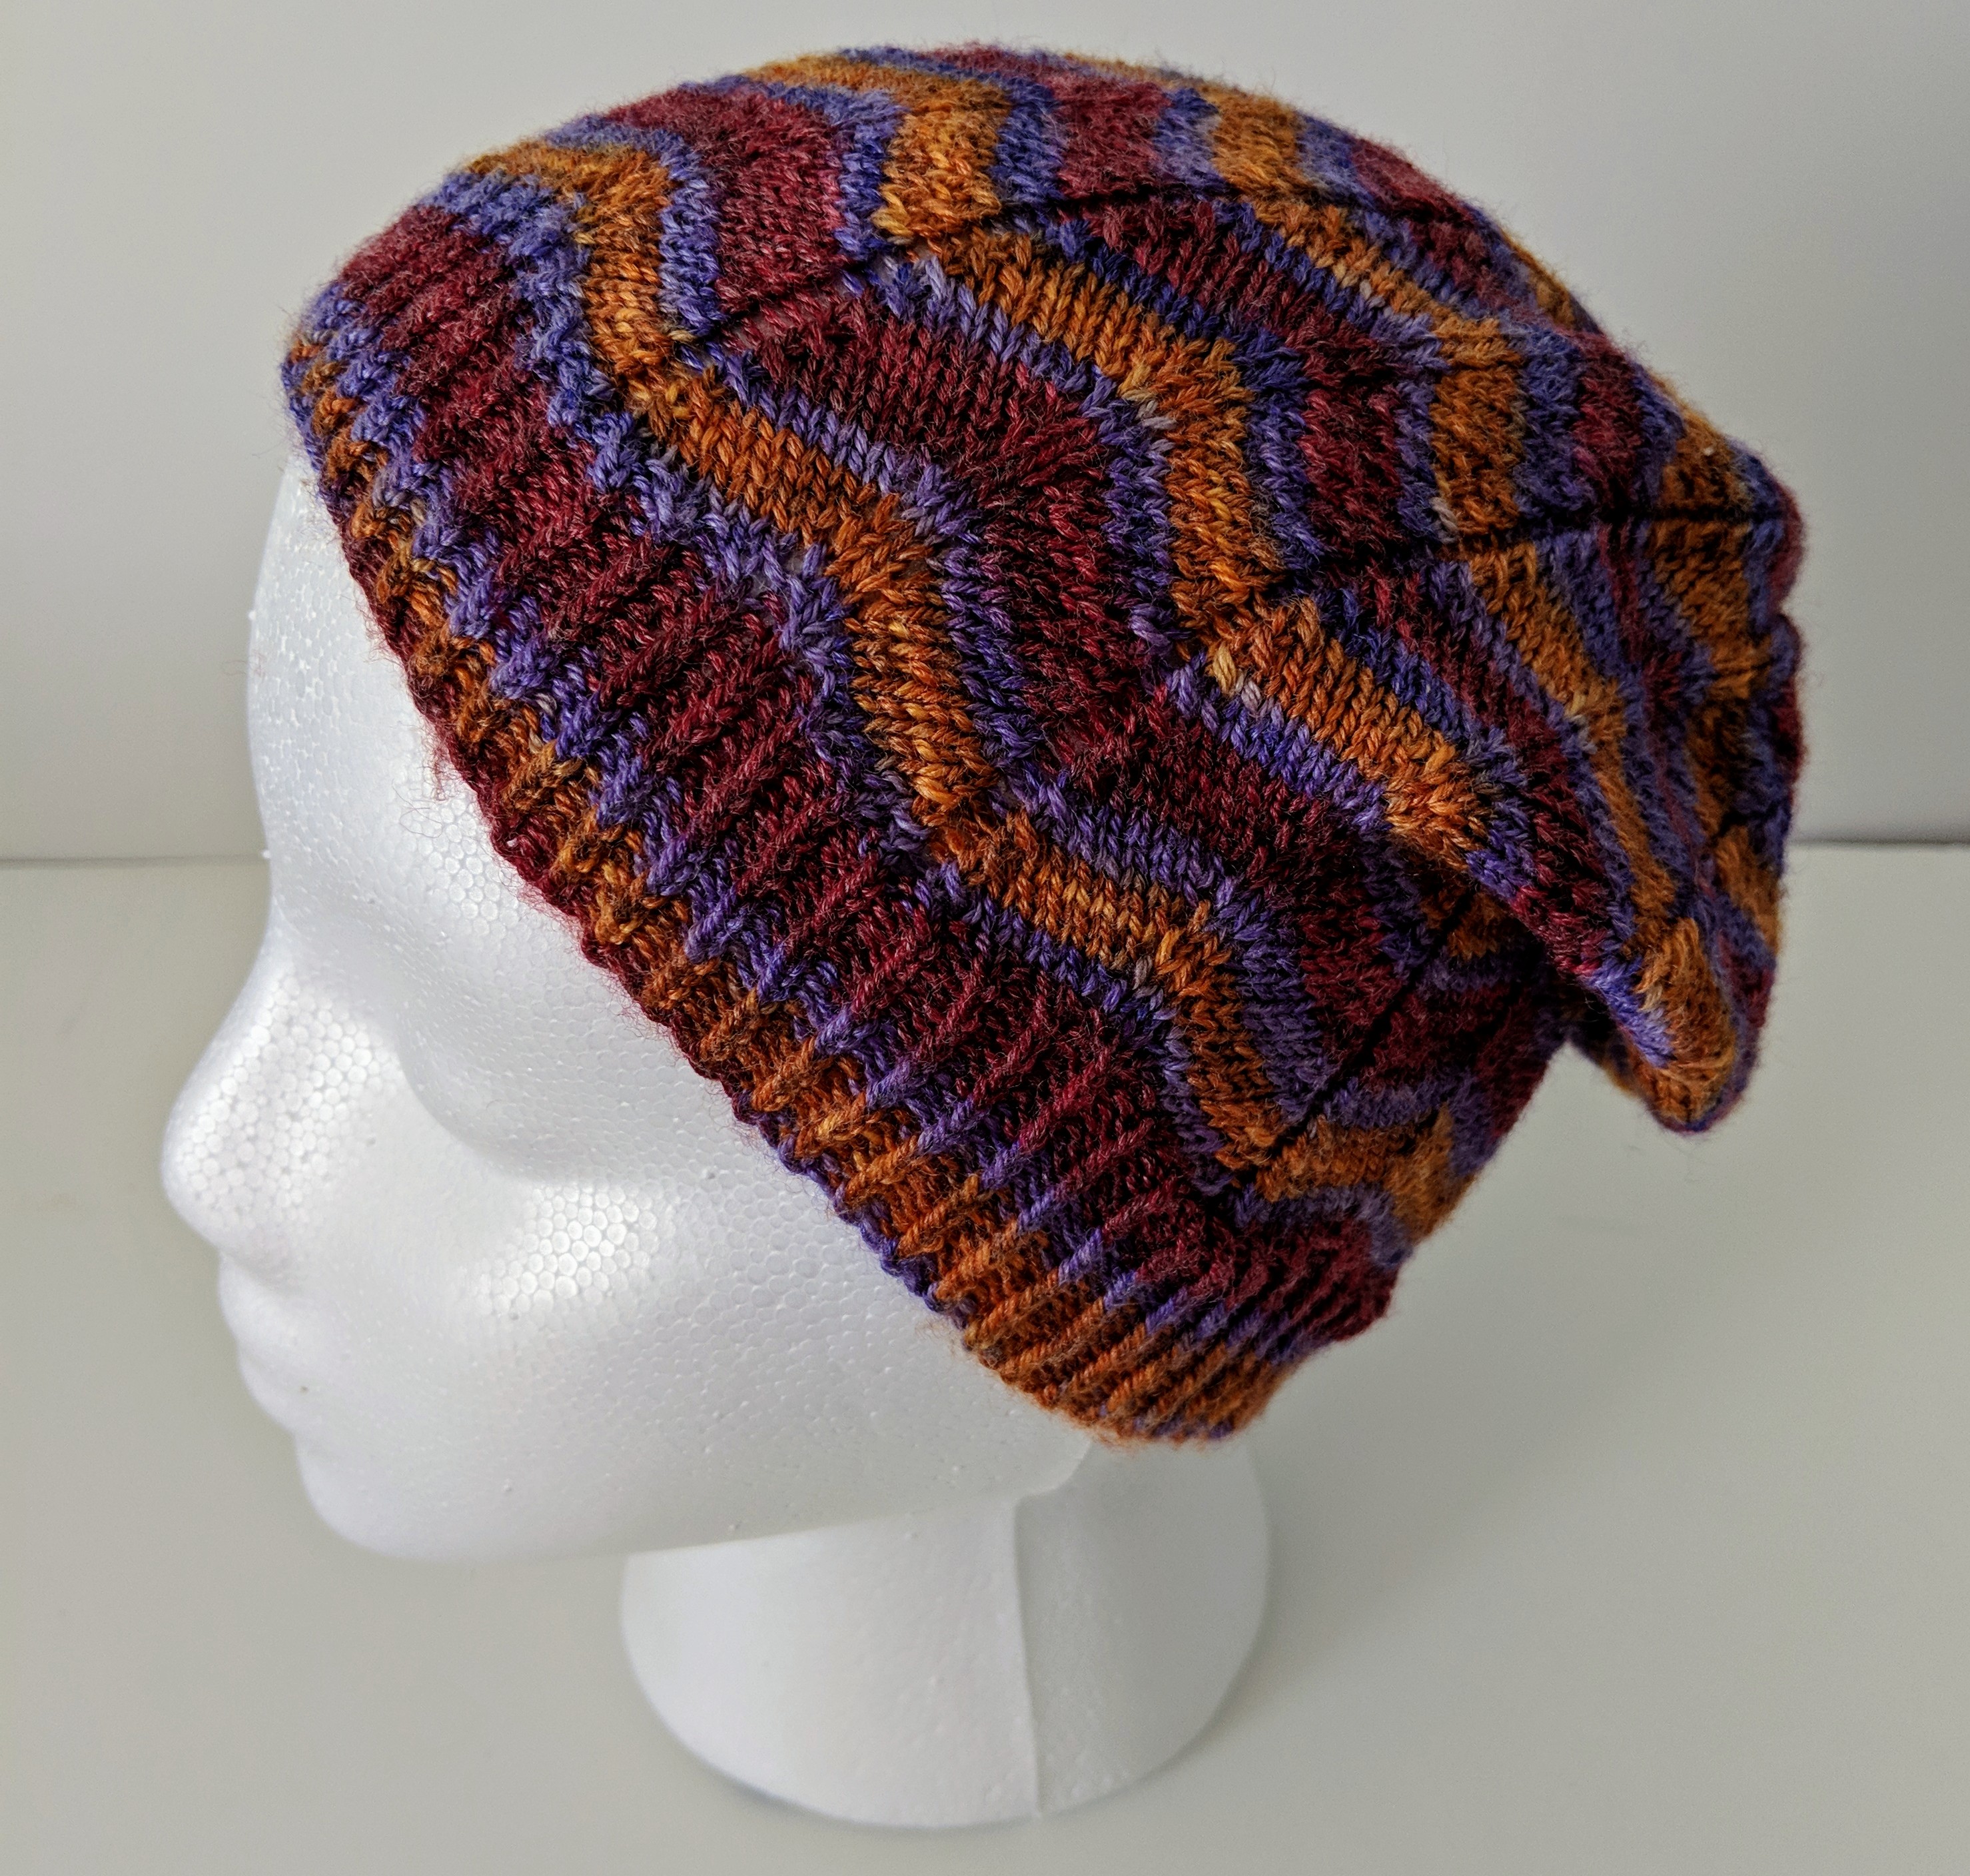
Body (Twisted Seed Stitch Pattern):
Setup Round: [purl 10, K1, pm] repeat this 7 more times till the BOR marker, slip the BOR marker
Round 1: [purl till 1 stitch before marker, K1, sm] repeat this 7 more times till the BOR marker, slip the BOR marker
Round 2: [K1, K1B till 1 stitch before marker, K1, sm] repeat this 7 more times till the BOR marker
Round 3: [purl till 1 stitch before marker, K1, sm] repeat this 7 more times till the BOR marker, slip the BOR marker
Round 4: [K1B, K1 till 1 stitch before marker, K1, sm] repeat this 7 more times till the BOR marker
Repeat Rounds 1 – 4 seven more times | Body (Twisted Seed Stitch Pattern):
Setup Round: [purl 11, pm] repeat this 7 more times till the BOR marker, slip the BOR marker
Round 1: [purl to marker, sm] repeat this 7 more times till the BOR marker, slip the BOR marker
Round 2: [K1, K1B till 1 stitch before marker, P1, sm] repeat this 7 more times till the BOR marker
Round 3: [purl to marker, sm] repeat this 7 more times till the BOR marker, slip the BOR marker
Round 4: [K1B, K1 till 1 stitch before marker, P1, sm] repeat this 7 more times till the BOR marker
Repeat Rounds 1 – 4 seven more times
|
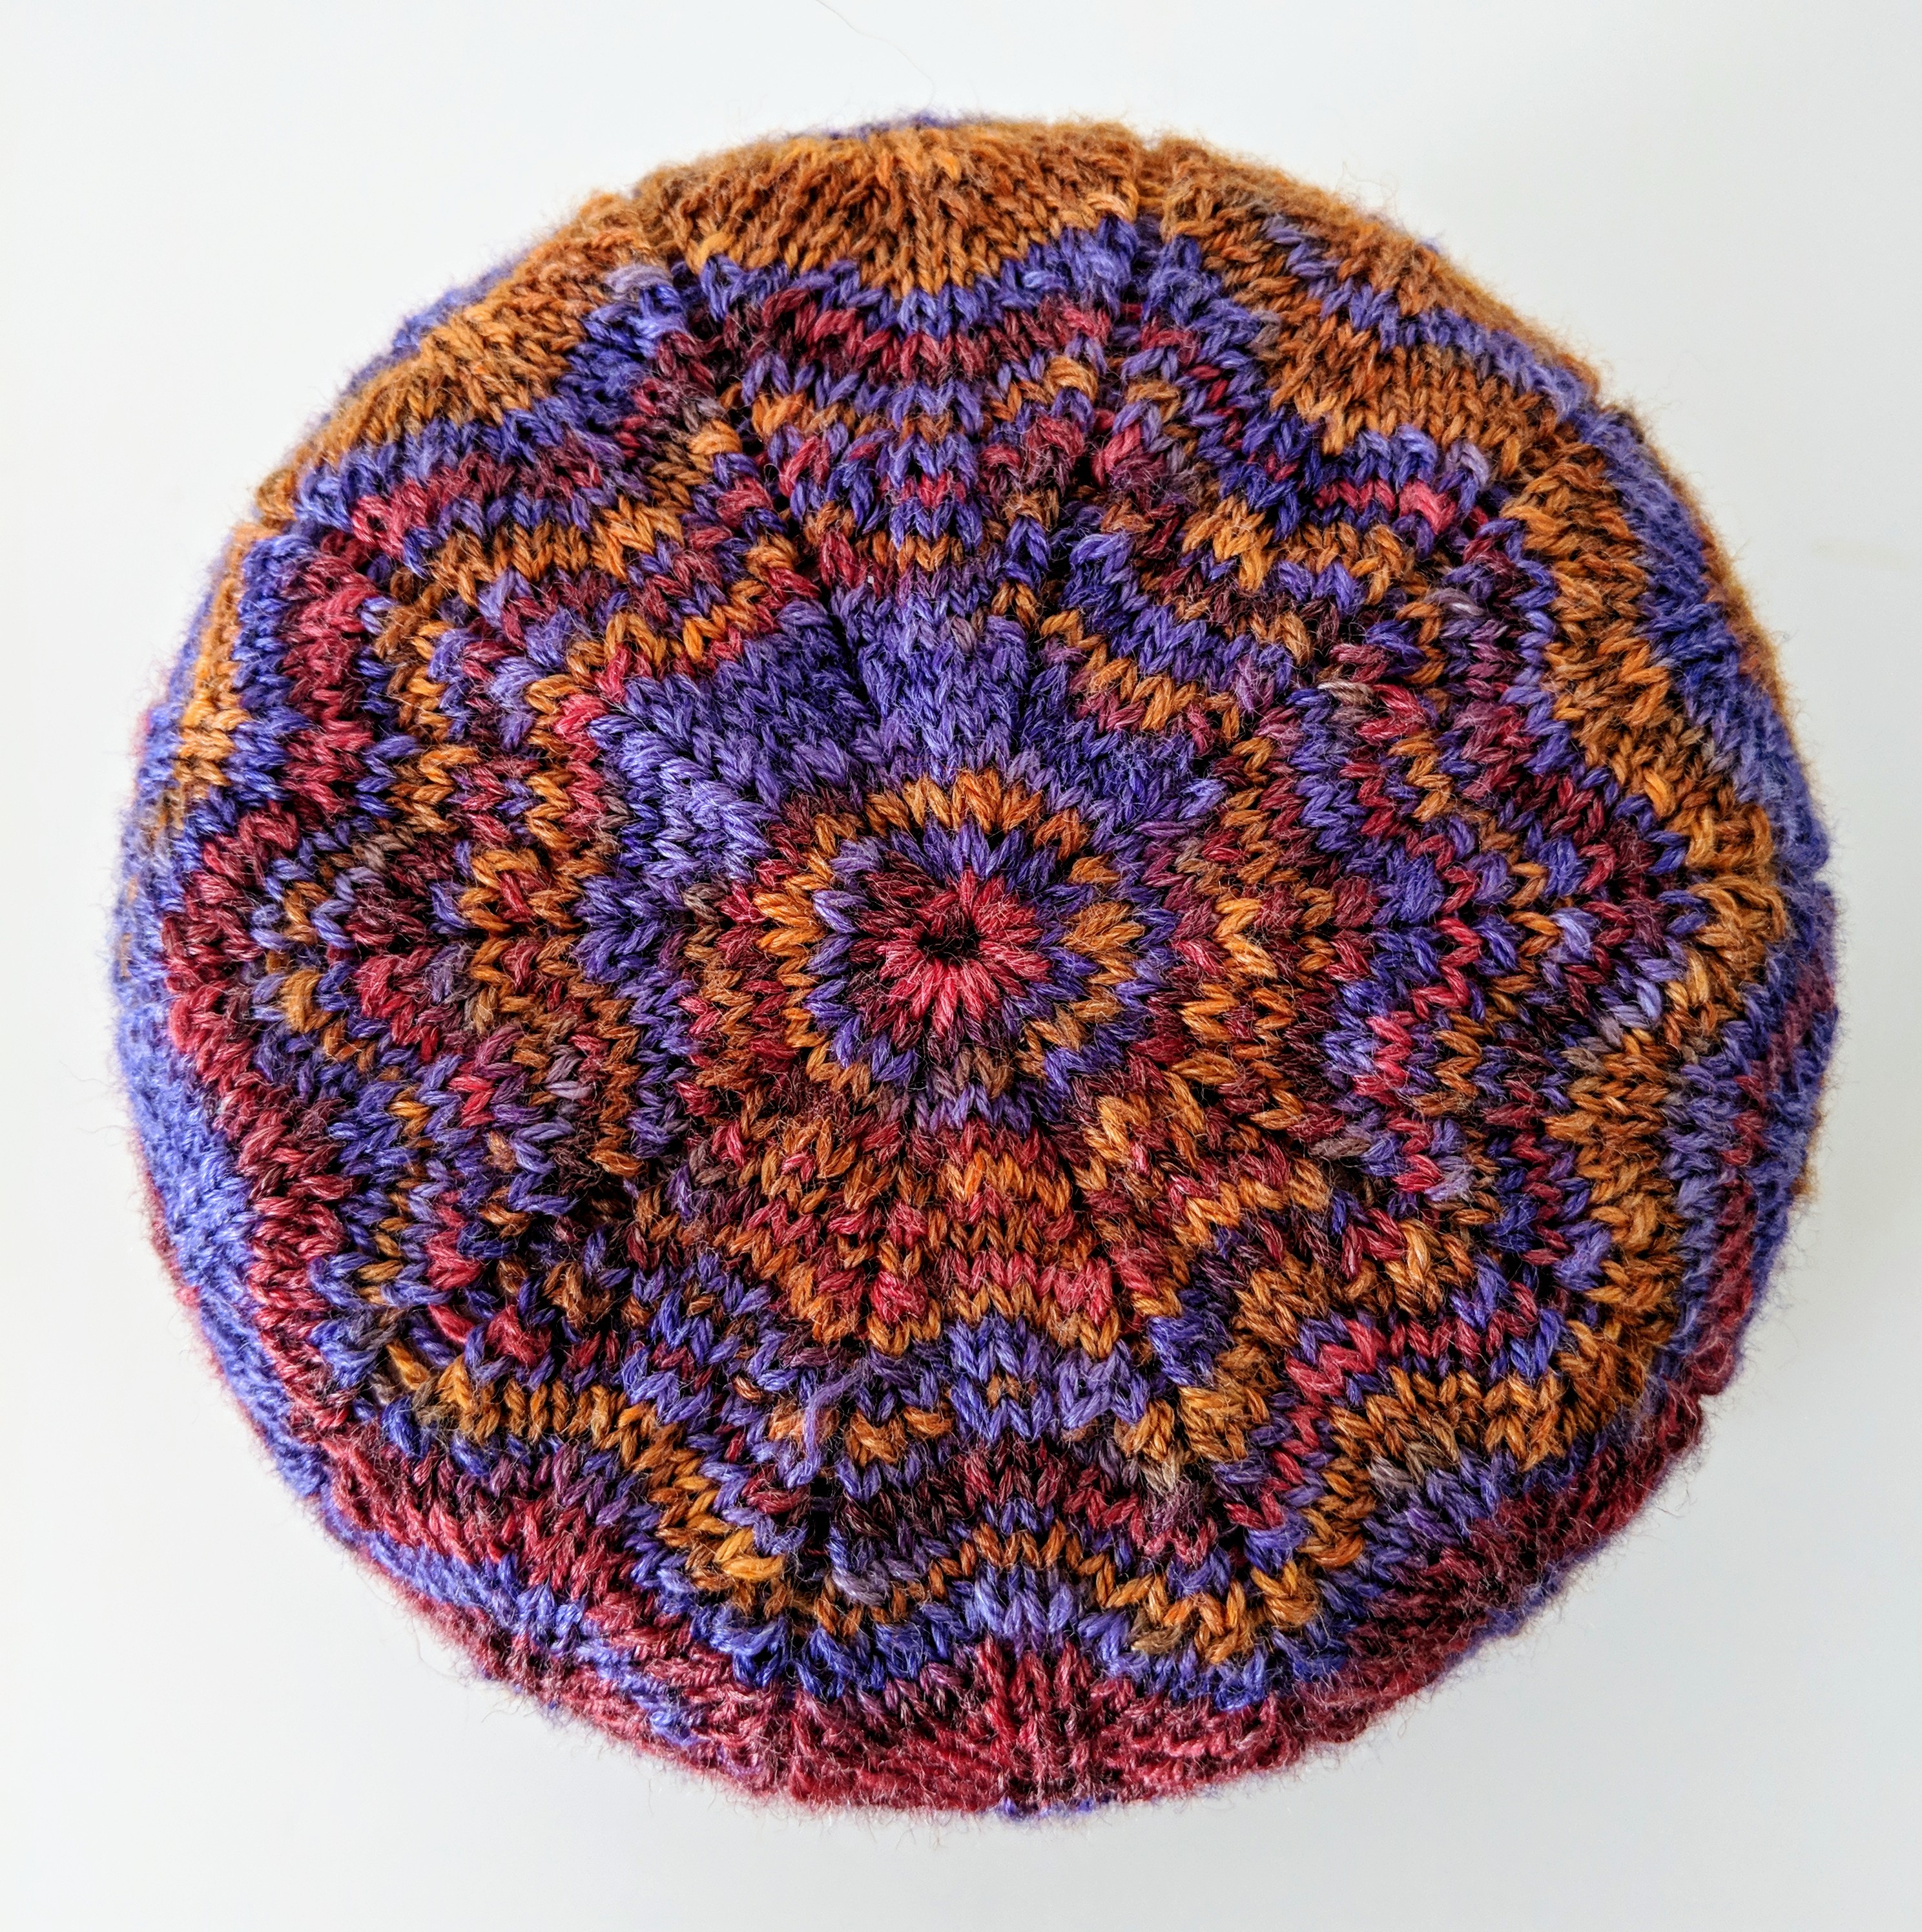
Crown Shaping:
Round 1: [purl till 3 stitches before marker, P2tog, K1, sm] repeat this 7 more times, slip BOR marker
Round 2: [K1, K1B till 2 stitches before marker, K2, sm] repeat this 7 more times, slip BOR marker
Round 3: [purl till 3 stitches before marker, P2tog, K1, sm] repeat this 7 more times, slip BOR marker
Round 4: [K1B, K1 till 1 stitch before marker, K1, sm] repeat this 7 more times, slip BOR marker
Repeat Rounds 1 – 4 three more times
Round 17: [P2tog, K1, sm] repeat this seven more till BOR marker, slip BOR marker
Round 18: Knit all the stitches removing all markers till the BOR marker, slip the BOR marker
Round 19: K2tog till the BOR marker, remove BOR marker, break about 6 inches of the working yarn and thread it through a tapestry needle. Insert the tapestry needle with the working yarn into the remaining stitches, pull tight and secure yarn
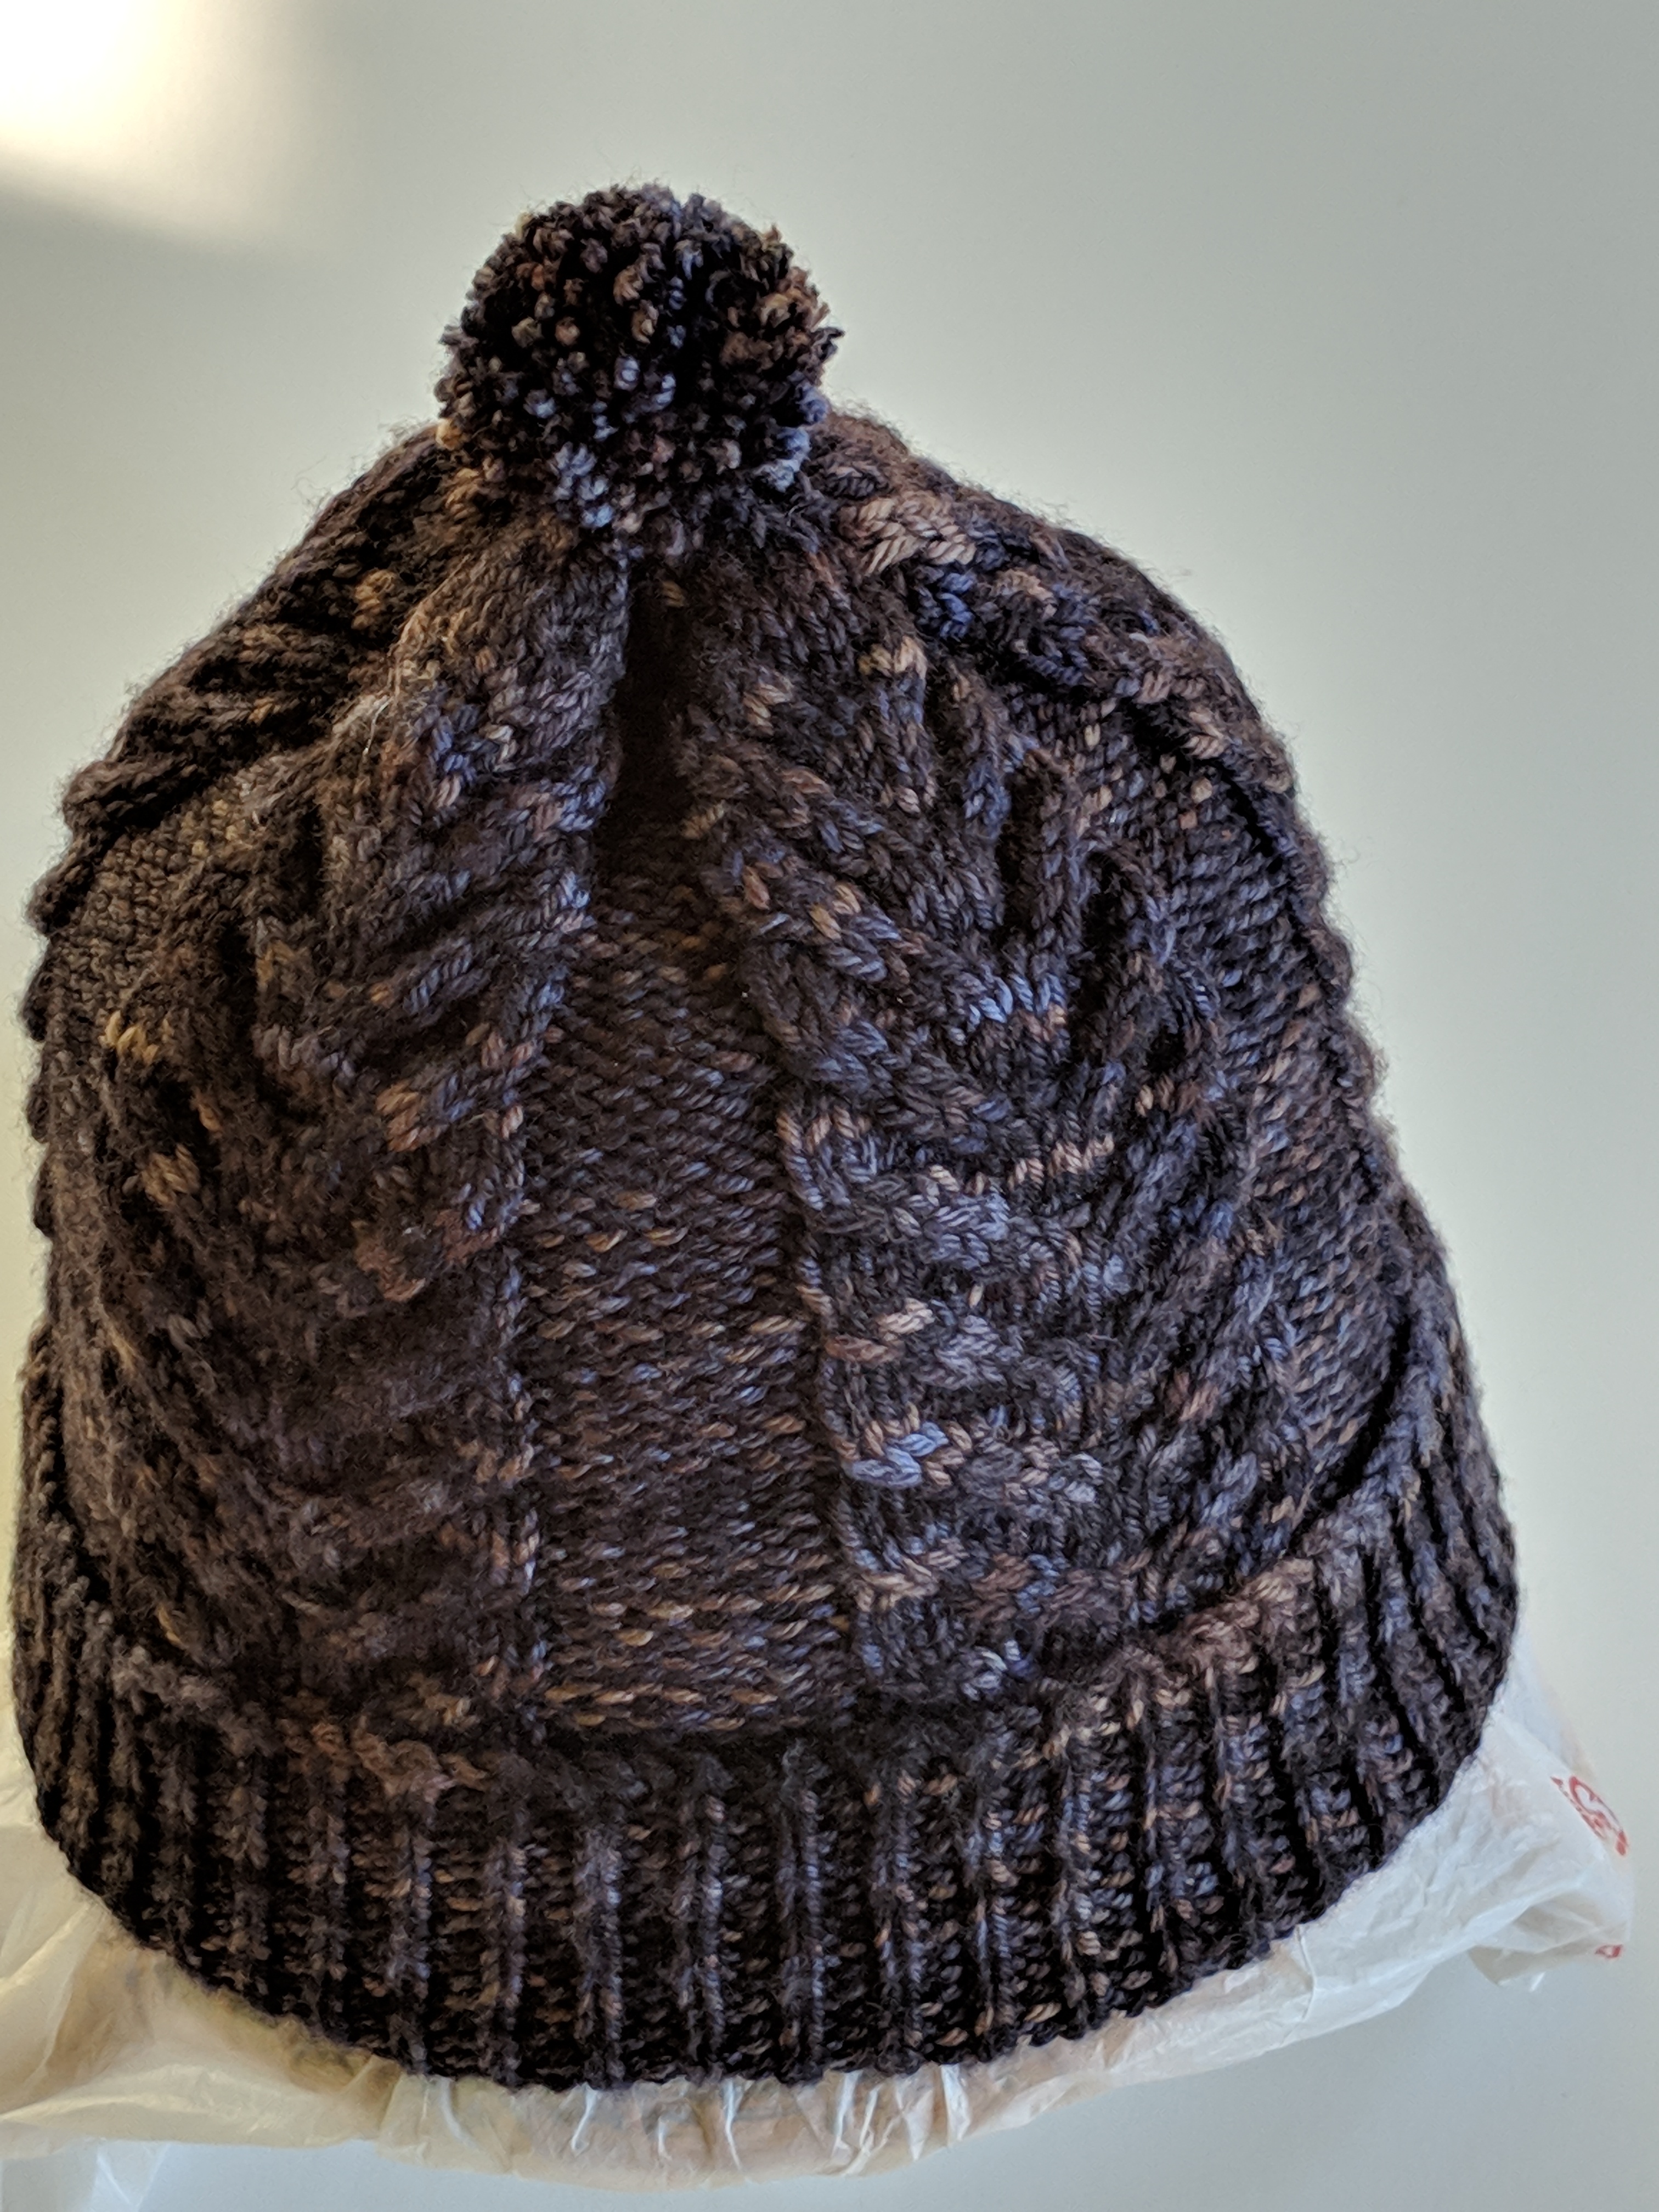
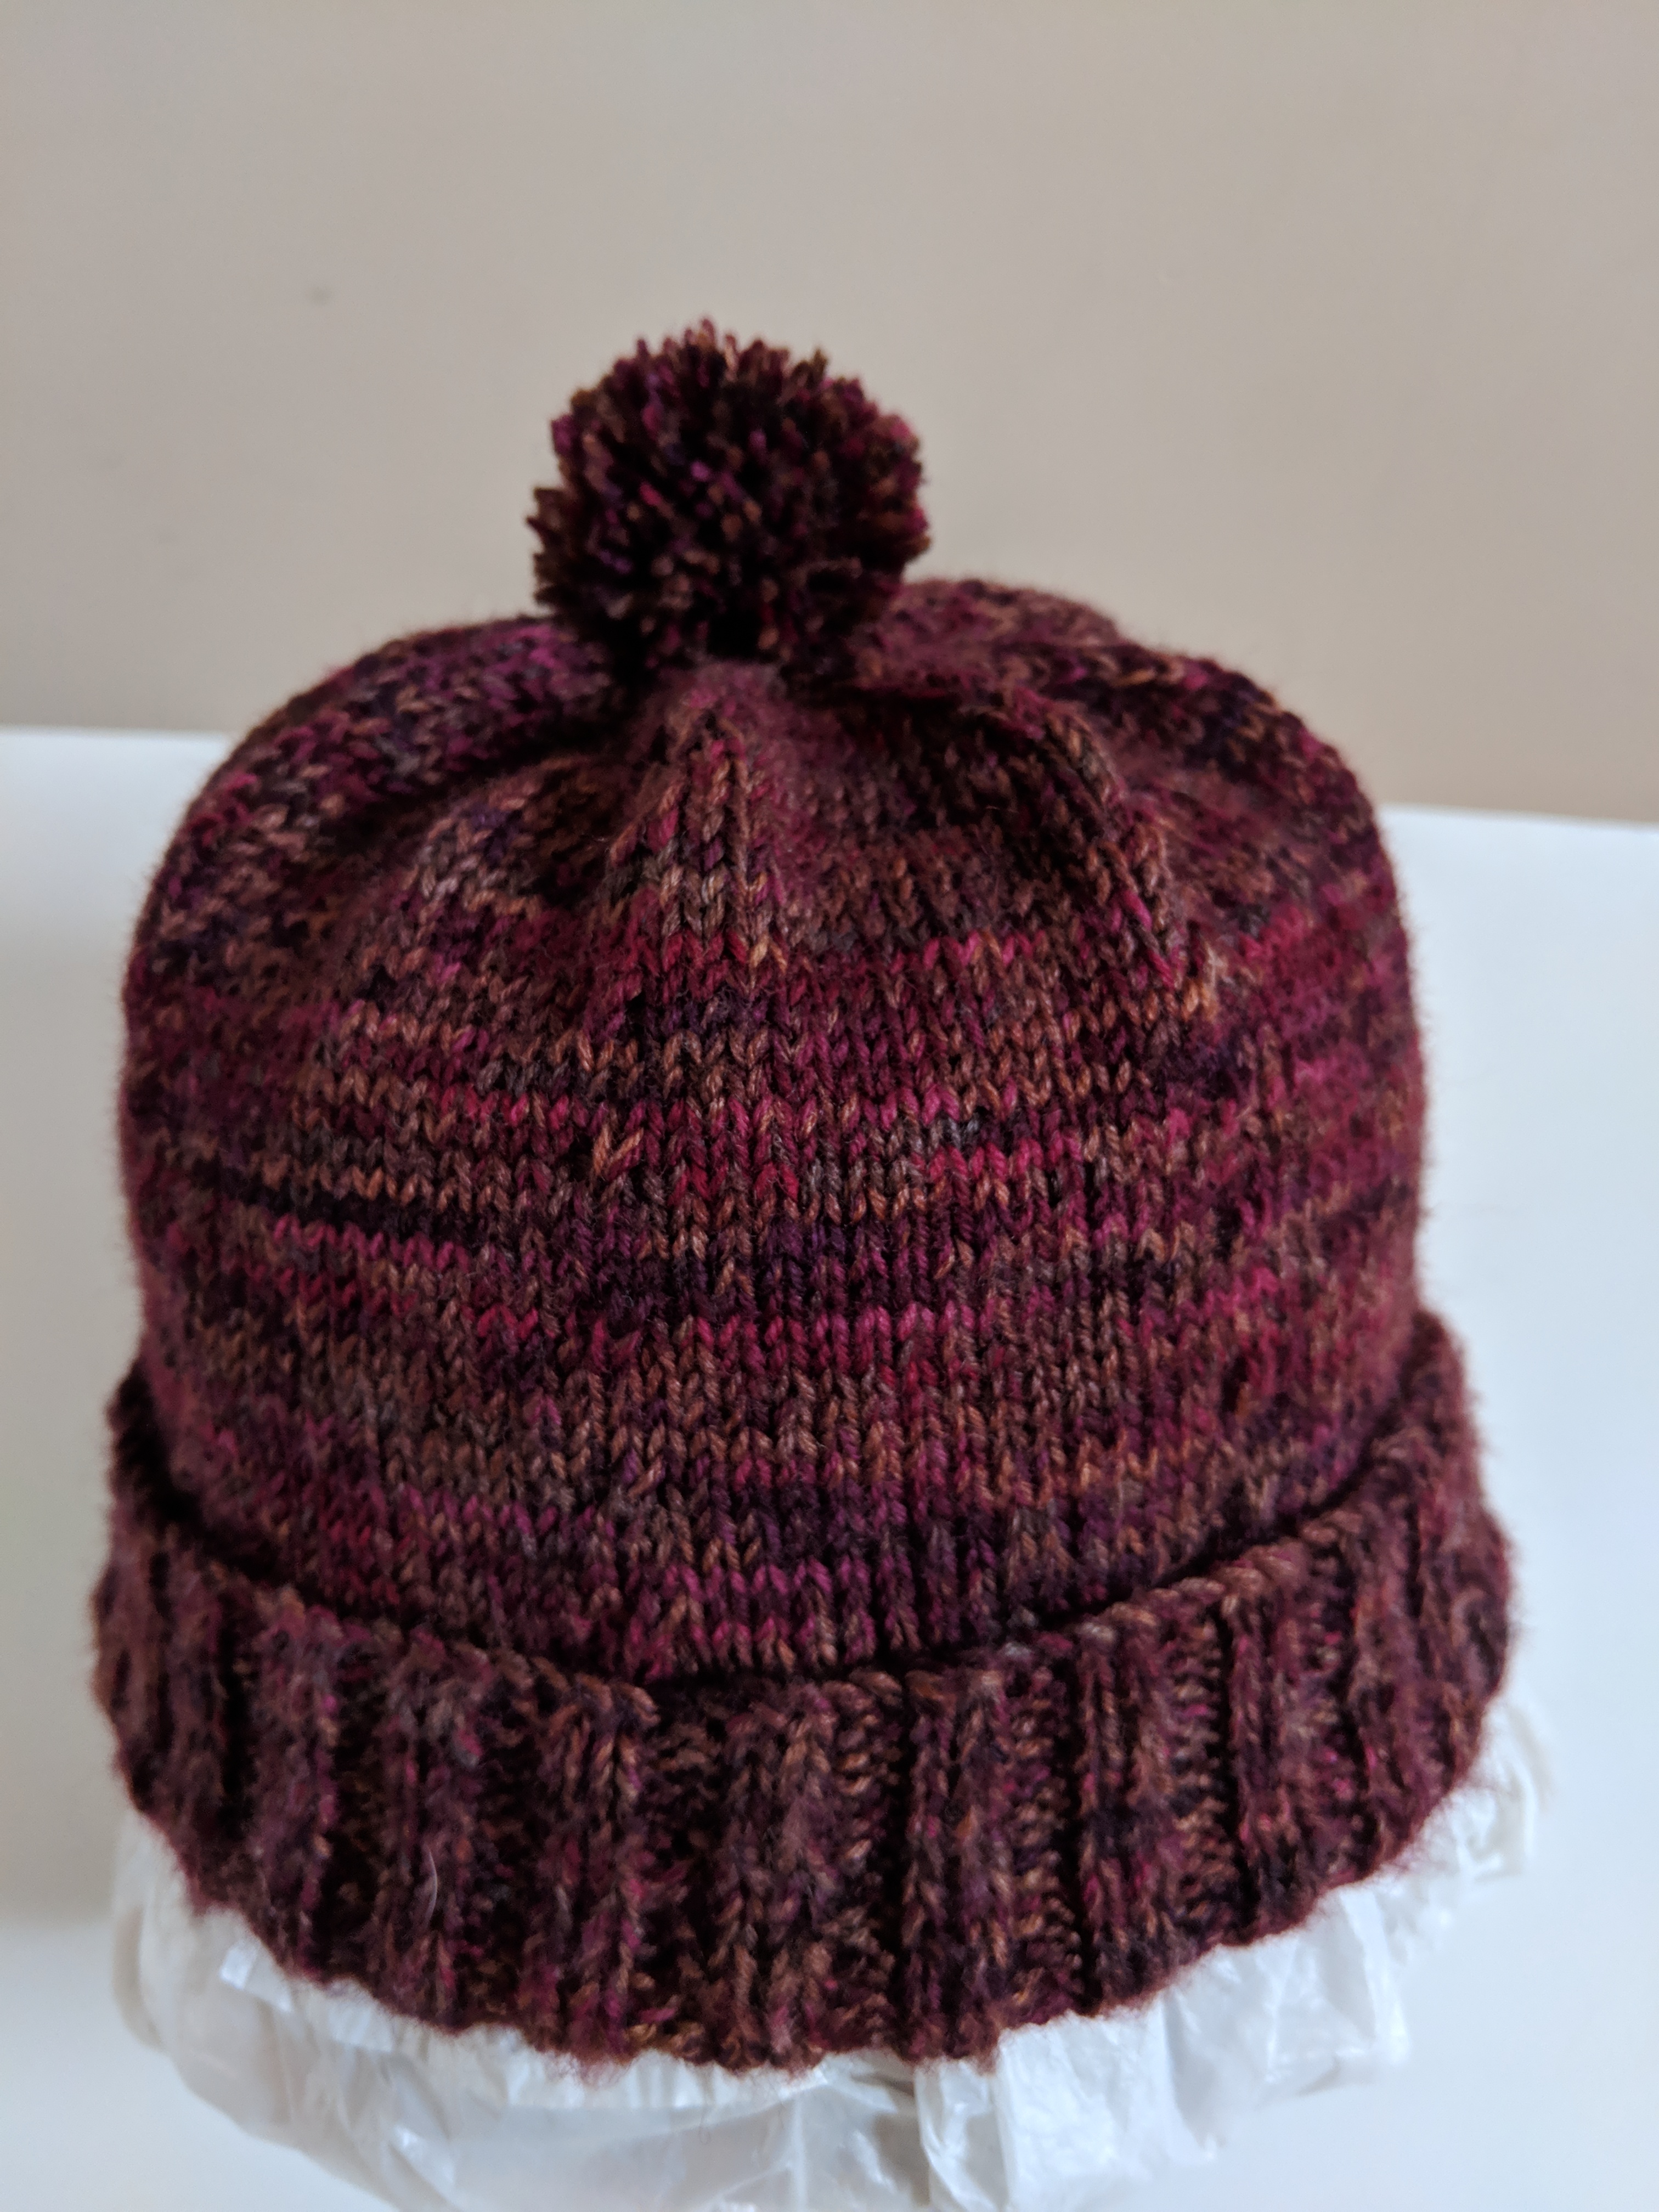
Weave in the ends and wash hat. | Crown Shaping:
Round 1: [purl till 3 stitches before marker, P2tog, P1, sm] repeat this 7 more times, slip BOR marker
Round 2: [K1, K1B till 2 stitches before marker, K1, P1, sm] repeat this 7 more times, slip BOR marker
Round 3: [purl till 3 stitches before marker, P2tog, P1, sm] repeat this 7 more times, slip BOR marker
Round 4: [K1B, K1 till 1 stitch before marker, P1, sm] repeat this 7 more times, slip BOR marker
Repeat Rounds 1 – 4 three more times
Round 17: [P2tog, P1, sm] repeat this seven more till BOR marker, slip BOR marker
Round 18: [K1, P1 till marker, rm] repeat till the BOR marker, slip the BOR marker
Round 19: P2tog till the BOR marker, remove BOR marker, break about 6 inches of the working yarn and thread it through a tapestry needle. Insert the tapestry needle with the working yarn into the remaining stitches, pull tight and secure yarn
Turn the hat inside out, weave in the ends and wash hat. |