Change is inevitable, whether we want it or not, and embracing it allows us to move forward with enthusiasm. Whenever I face challenges in decision-making, thinking about my favorite activities brings me joy. I like exploring the yarn aisles at arts and craft stores and choosing beautiful yarn. Spending time knitting or crocheting is also a favorite thing of mine. While it’s true that Jo-Ann stores are closing, I will cherish the memories of browsing their colorful yarn selections. I’ve created some wonderful patterns using Jo-Ann yarns, like The Long Striped Crochet Scarf and The Unexpected Find Wrap. I, of course, had to stock up on some Jo-Ann store-brand yarn before the store closes. Every time I knit or crochet with these yarns, I will fondly remember the joy of exploring their yarn aisles.
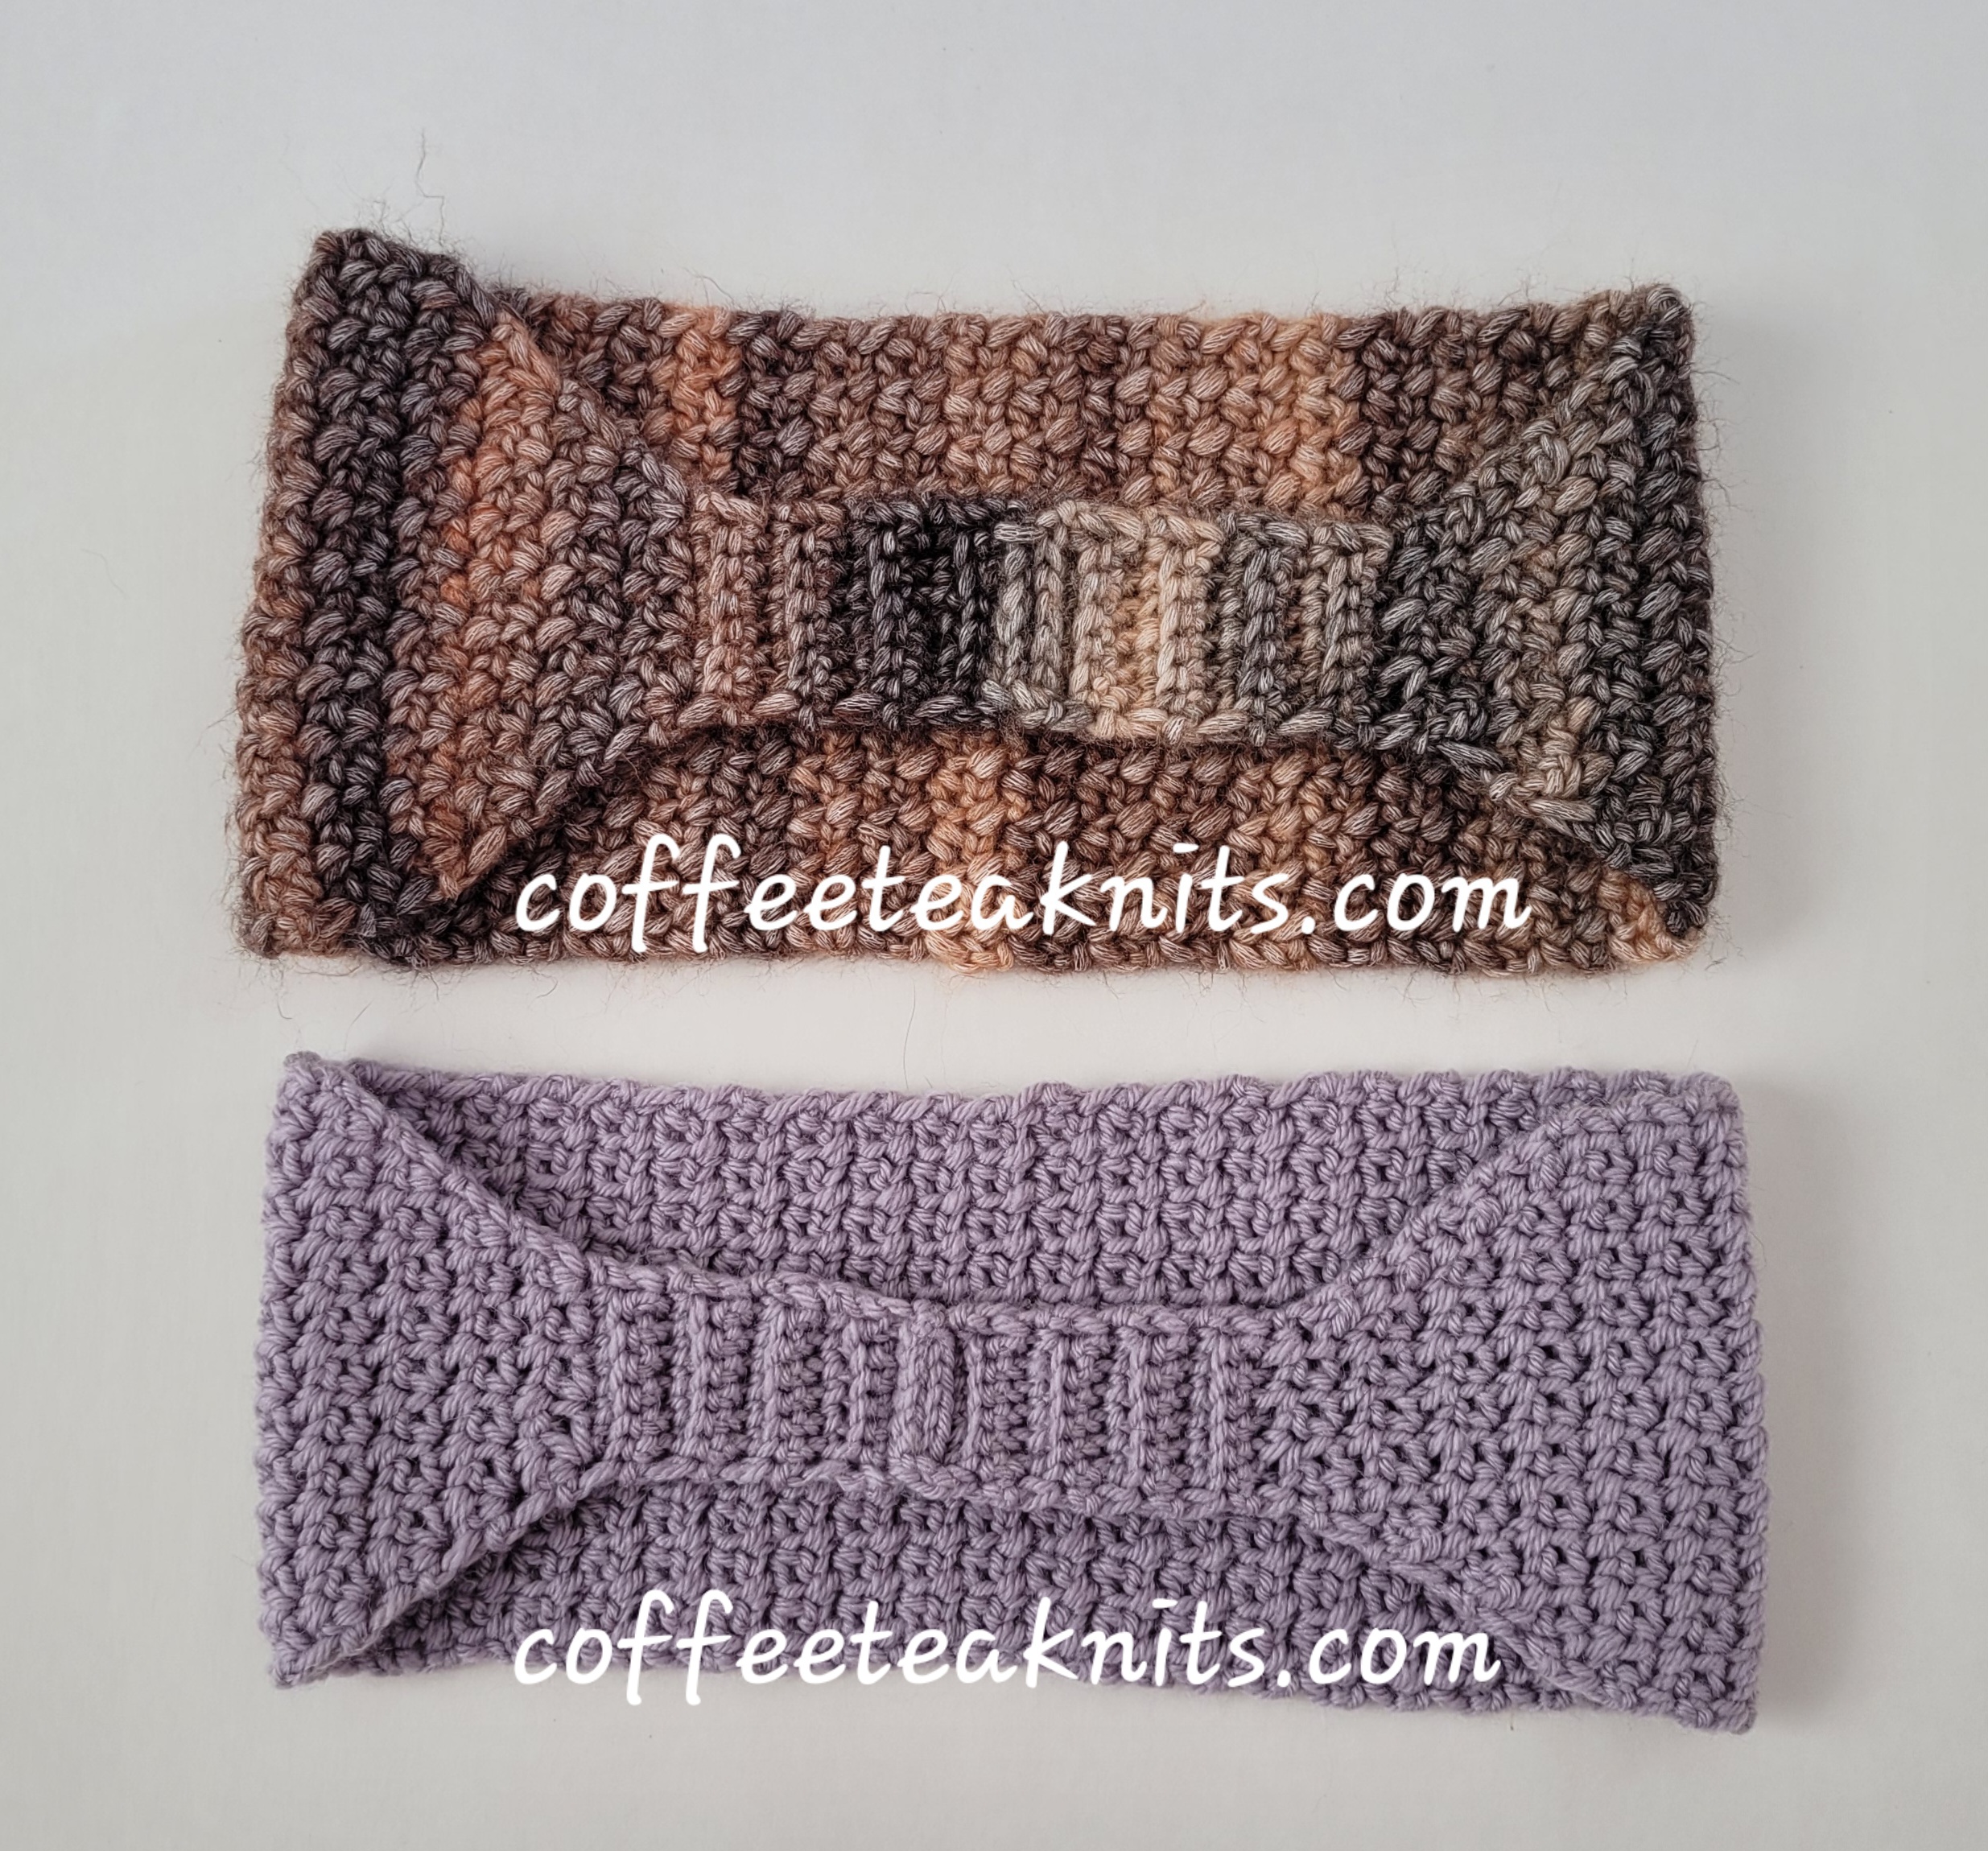
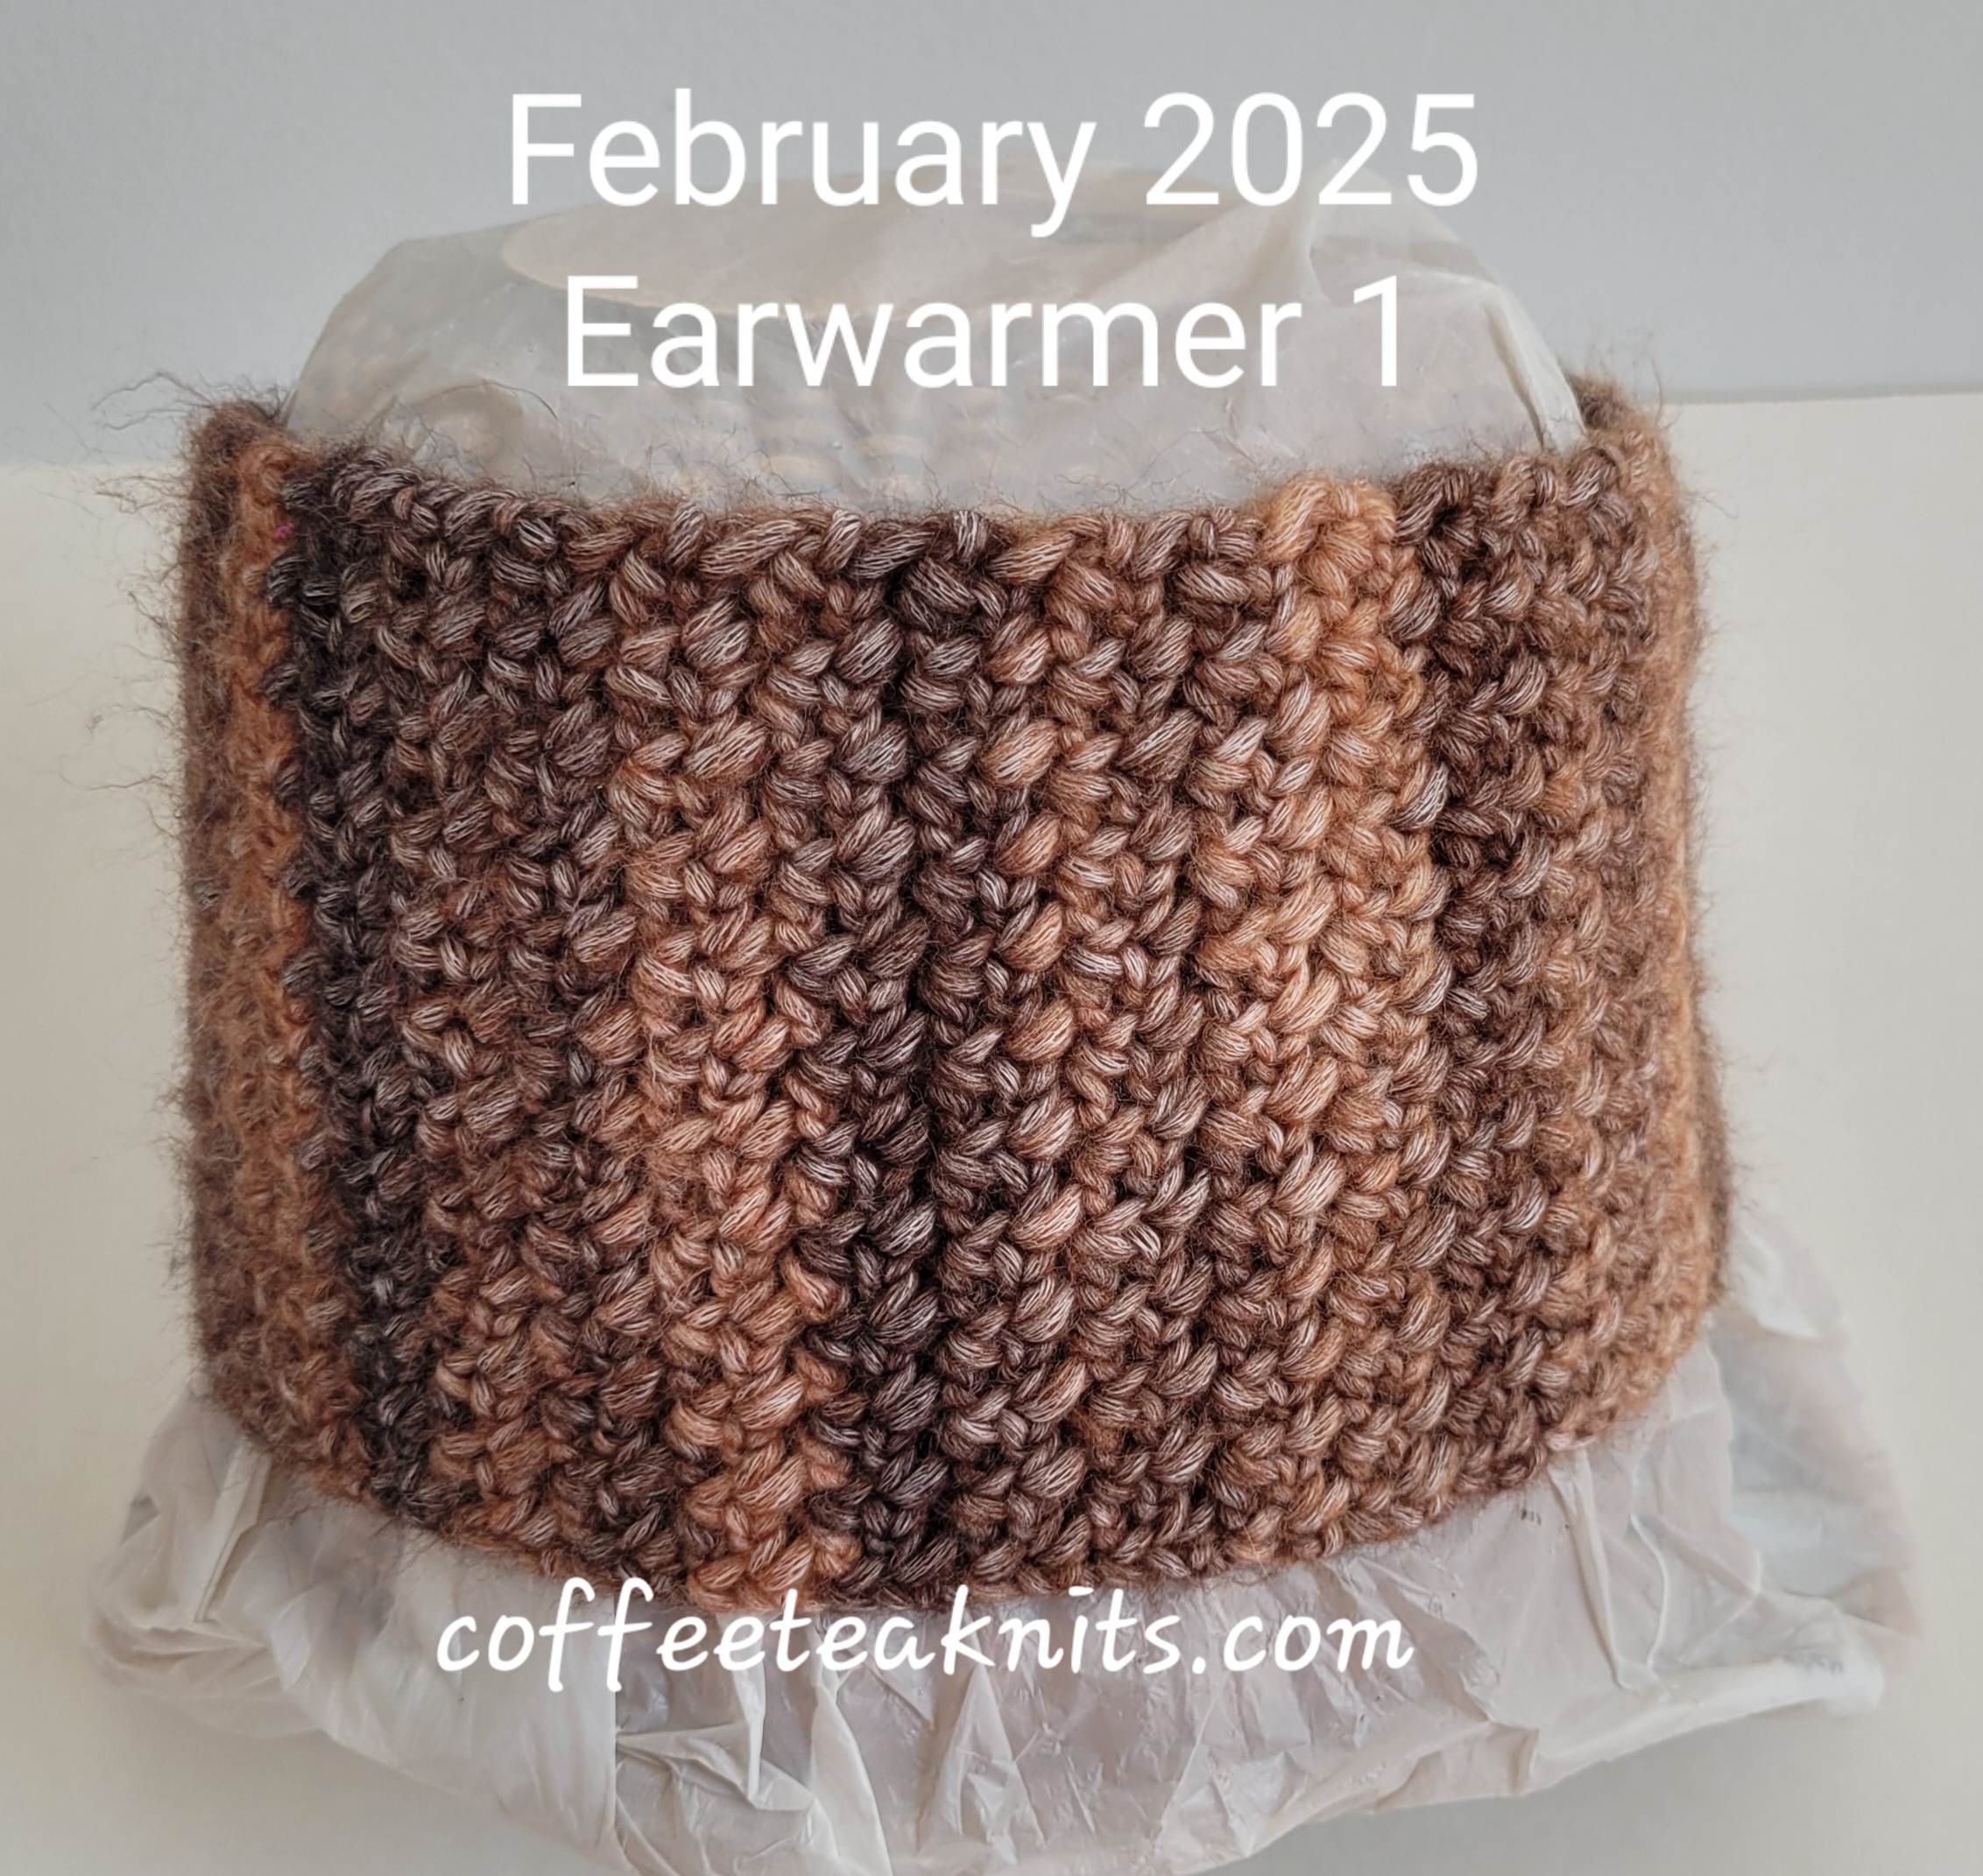
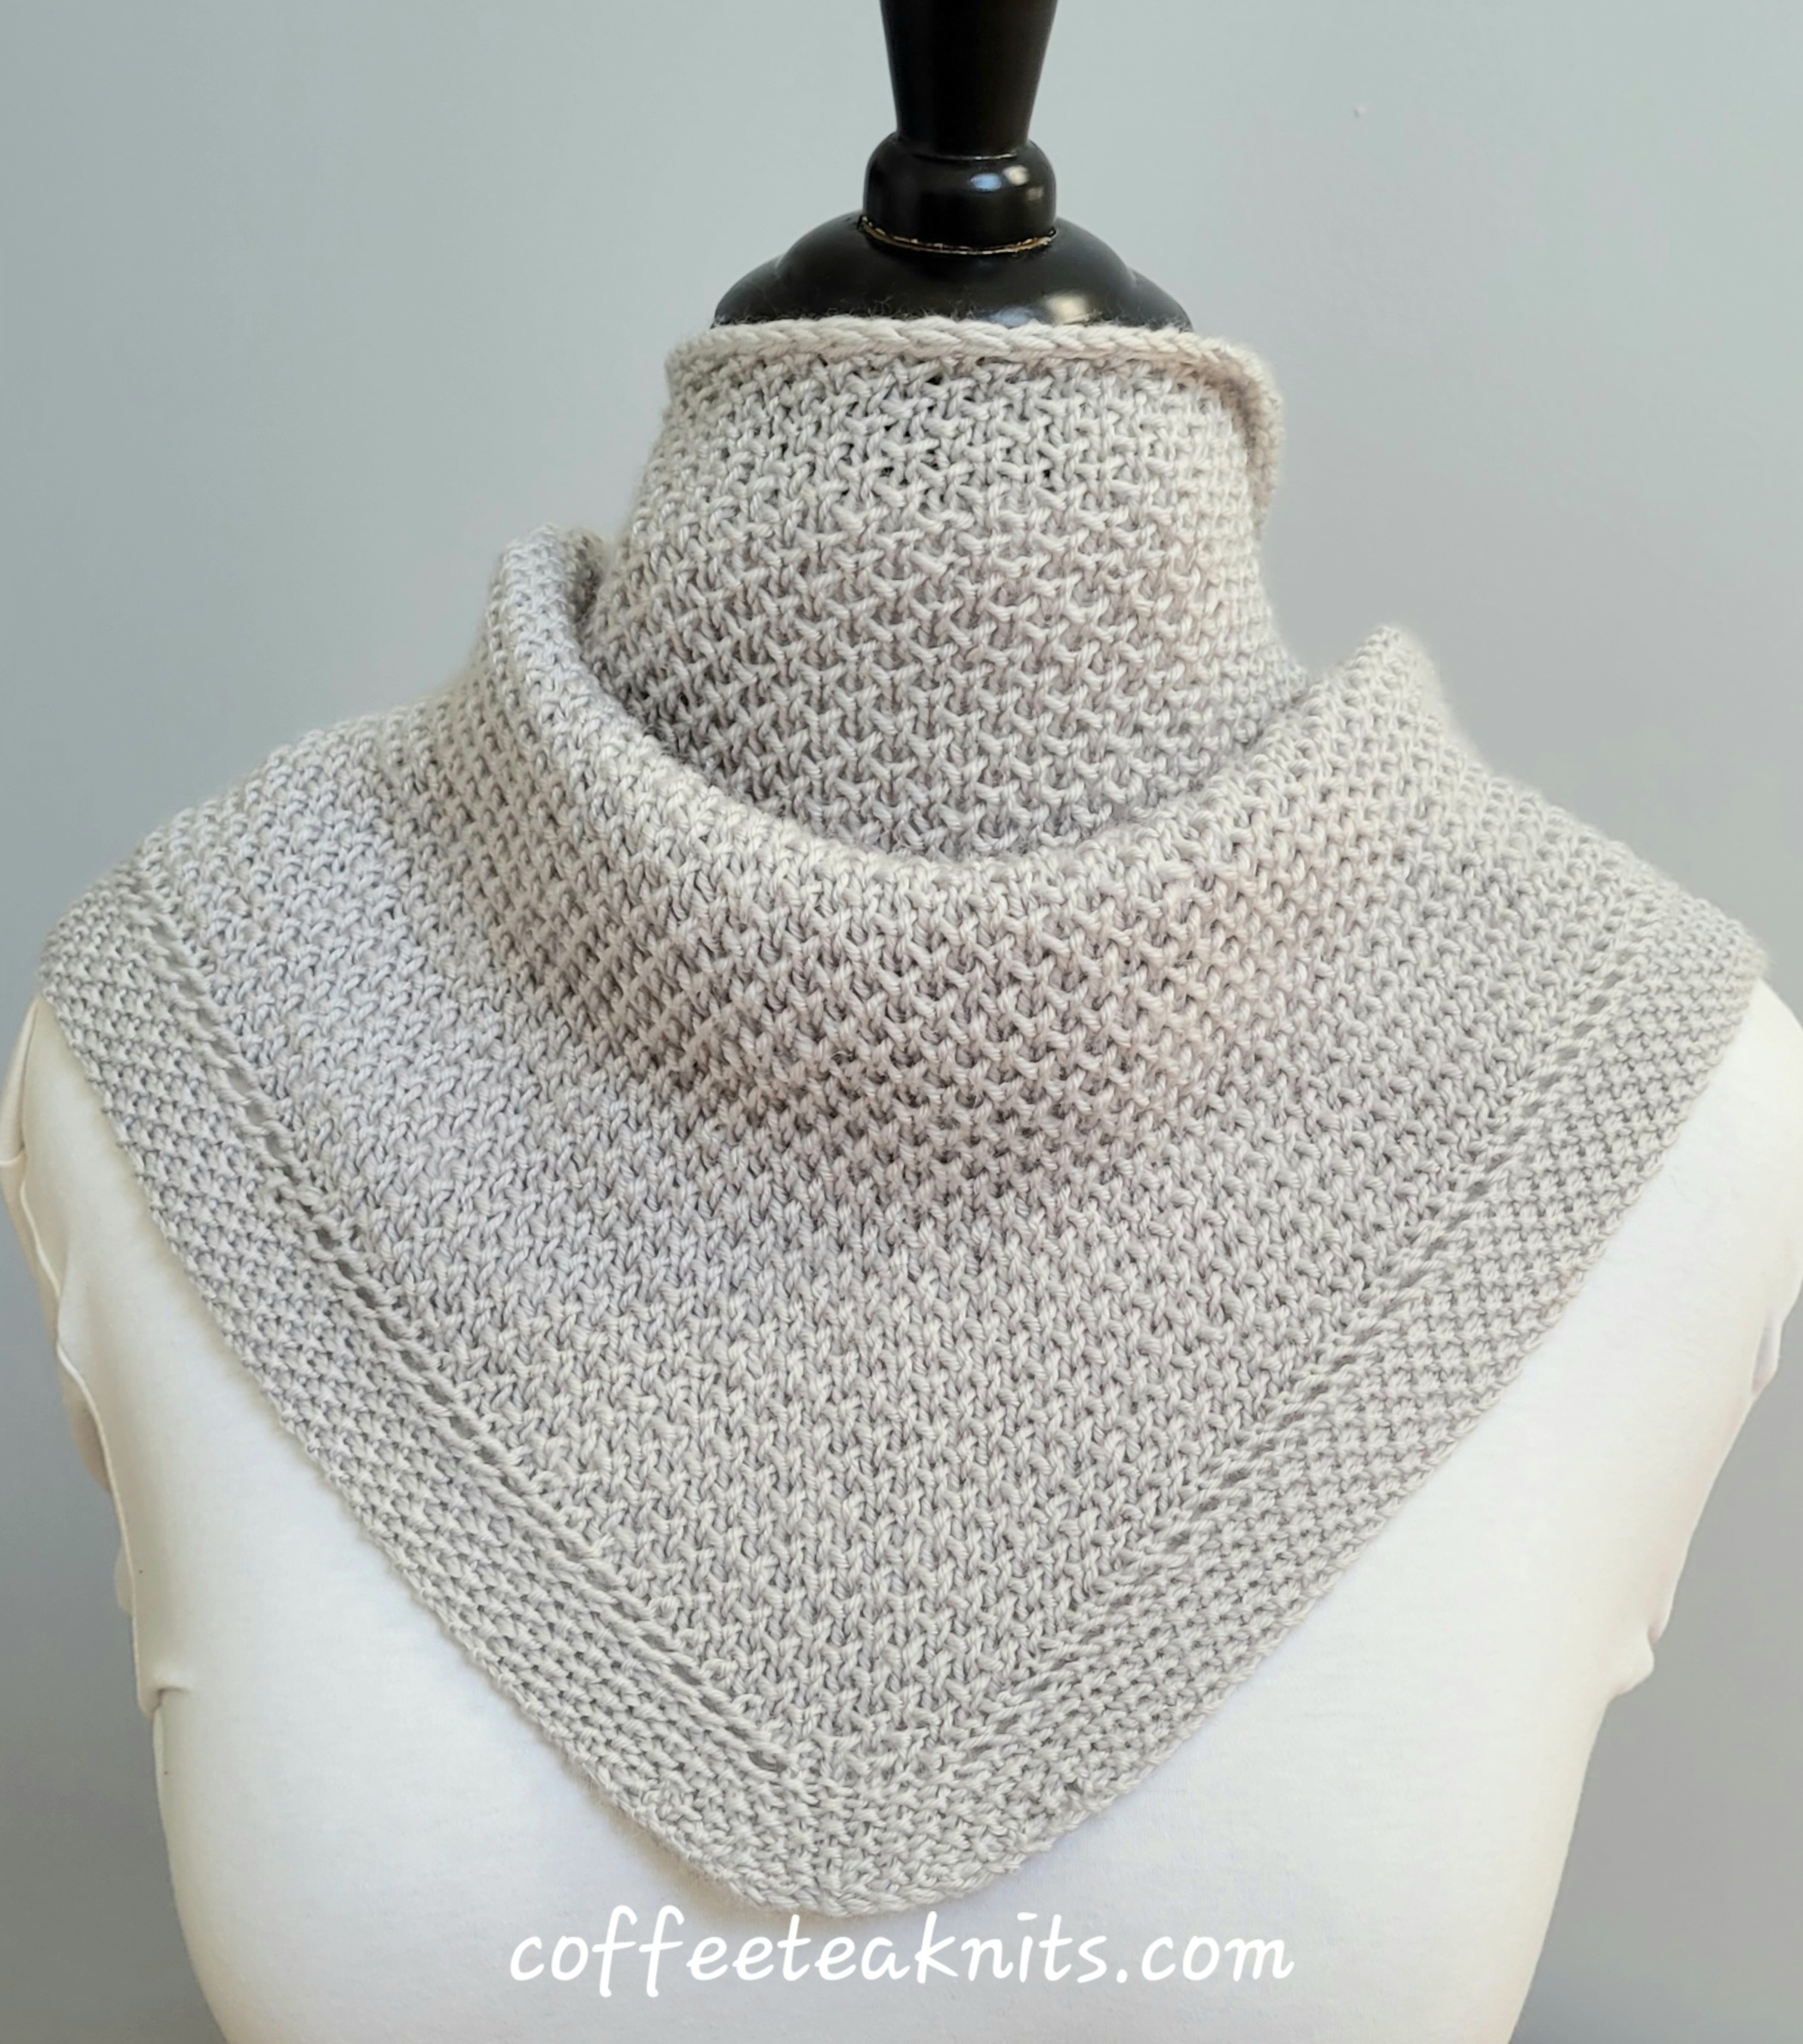
The Favorite Things Cowls are bandana-style cowls crocheted flat with a variation of the crochet moss stitch pattern. One uses K + C yarn and the other uses Loops and Threads yarn. Both start with a chain of 2 and are increased every other row to form a triangle. The cowl lengths are then extended without any row increases. One cowl is extended over 2 inches long, and the other over 3 inches. The edges of the extended section are joined, and a fringe is added at the end. These cowls are quick one-skein projects, perfect for keeping the neck warm and cozy.
The Favorite Things Cowl Pattern
Materials Needed:
Yarn: Cowl 1 – K + C Botanical yarn in Colorway: Feather Gray (one skein of yarn from Jo-Ann store)
Yarn: Cowl 2 – Loops and Threads® Luxe Merino™ Wool Blend Colorway: Raindrops
Gauge: 4.0 stitches per inch for Favorite Things Cowl 1 and Favorite Things Cowl 2 in the variation crochet moss stitch pattern (gauge not necessary)
Crochet hook: US size H-8 (5.00 mm) for Favorite Things Cowl 1 and US size 7 (4.5 mm) for the Favorite Things Cowl 2
Tapestry needle to weave in ends
Abbreviations:
sc: single crochet (Tutorial Series: How to Single Crochet)
[…]: pattern repeat
Skill Level: Beginner friendly pattern with single crochet and crochet chains
The Favorite Things Cowl Pattern (images and text for personal use only)
PLEASE SUBSCRIBE FOR THE FREE PATTERN. THANK YOU

Subscribe to continue reading
Subscribe to get access to the rest of this post and other subscriber-only content.