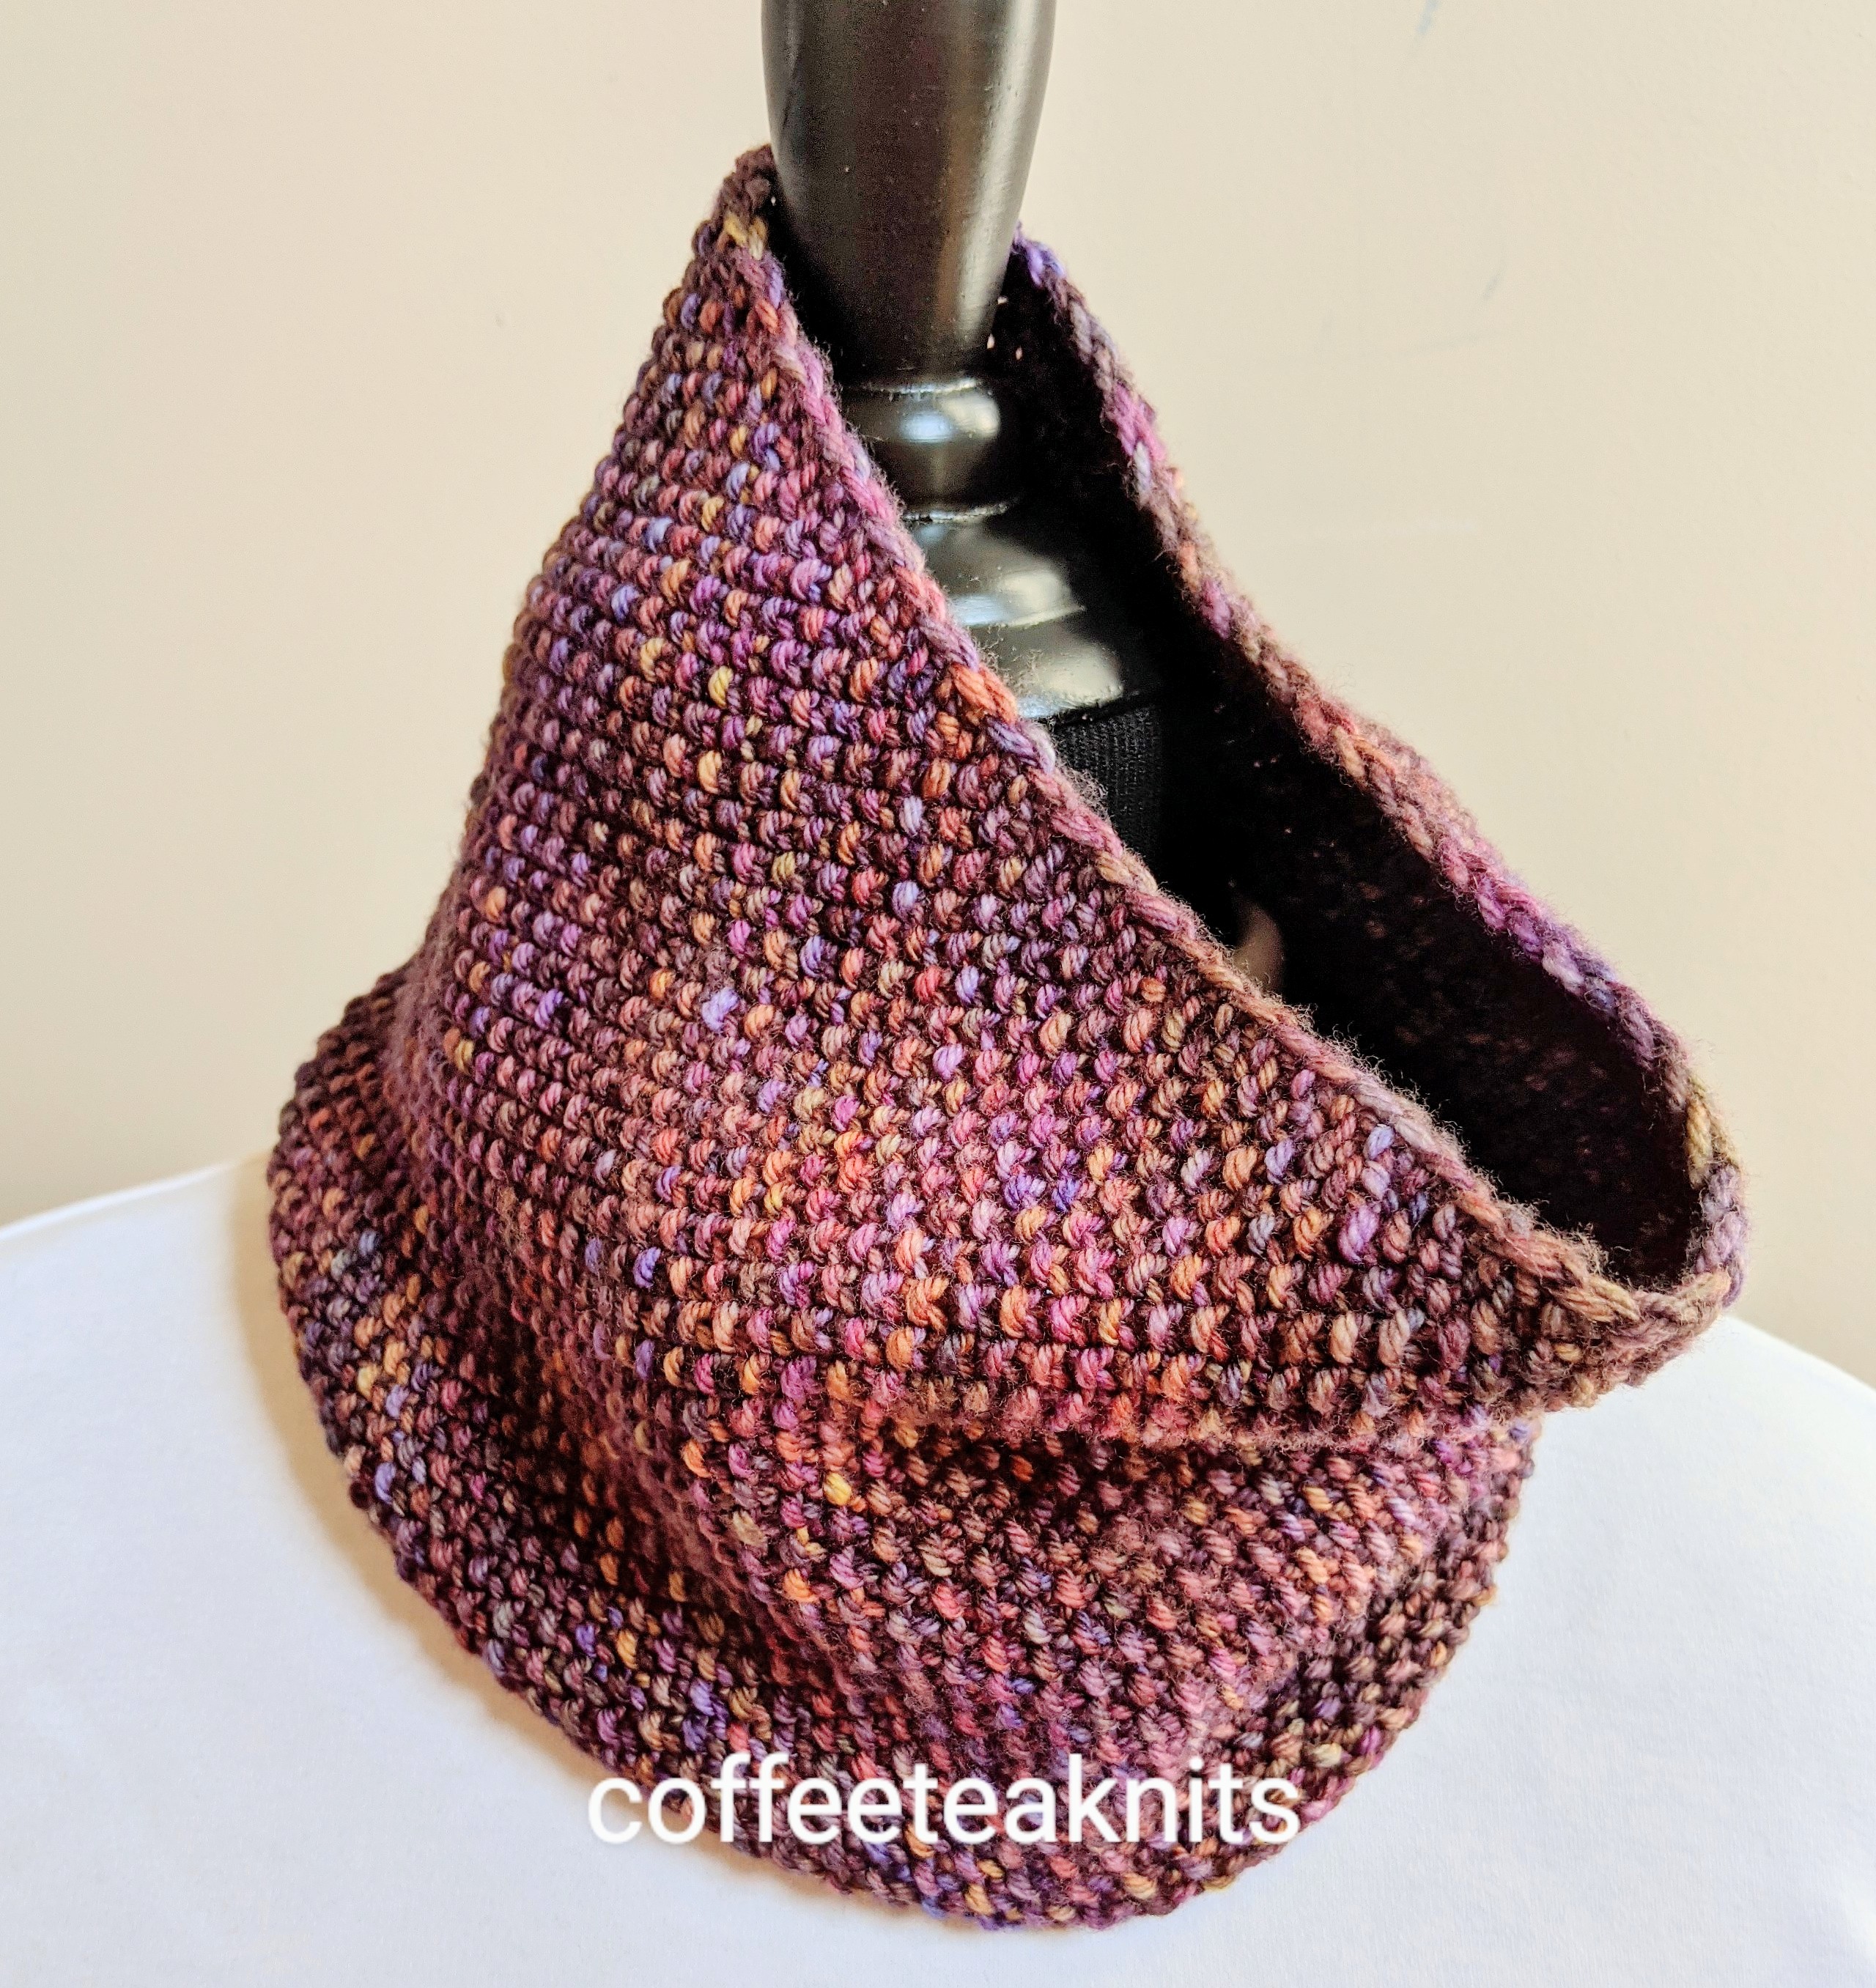
Goes with Everything Earwarmer


This month has been quite overwhelming in terms of snow and icy temperatures. I’ve spent most of the month staying indoors bundled up in sweaters and other knitwear for warmth and of course keeping busy with knitting, weaving or crocheting. I had some of Malabrigo Rios yarn left over from knitting the “Goes with Everything Cowl” last month. There was just enough yarn leftover (about 27 – 28 grams) to knit the Goes with Everything Earwarmer.
The earwarmers I’ve knit in the past have been knit in the round. I wear them but I’ve found that they tend to curl up in the back when my hair is tied up in a ponytail or a bun. To avoid the earwarmer from curling up in the back, I knit Goes with Everything Earwarmer flat from one side to the other with a series of increases and decreases.
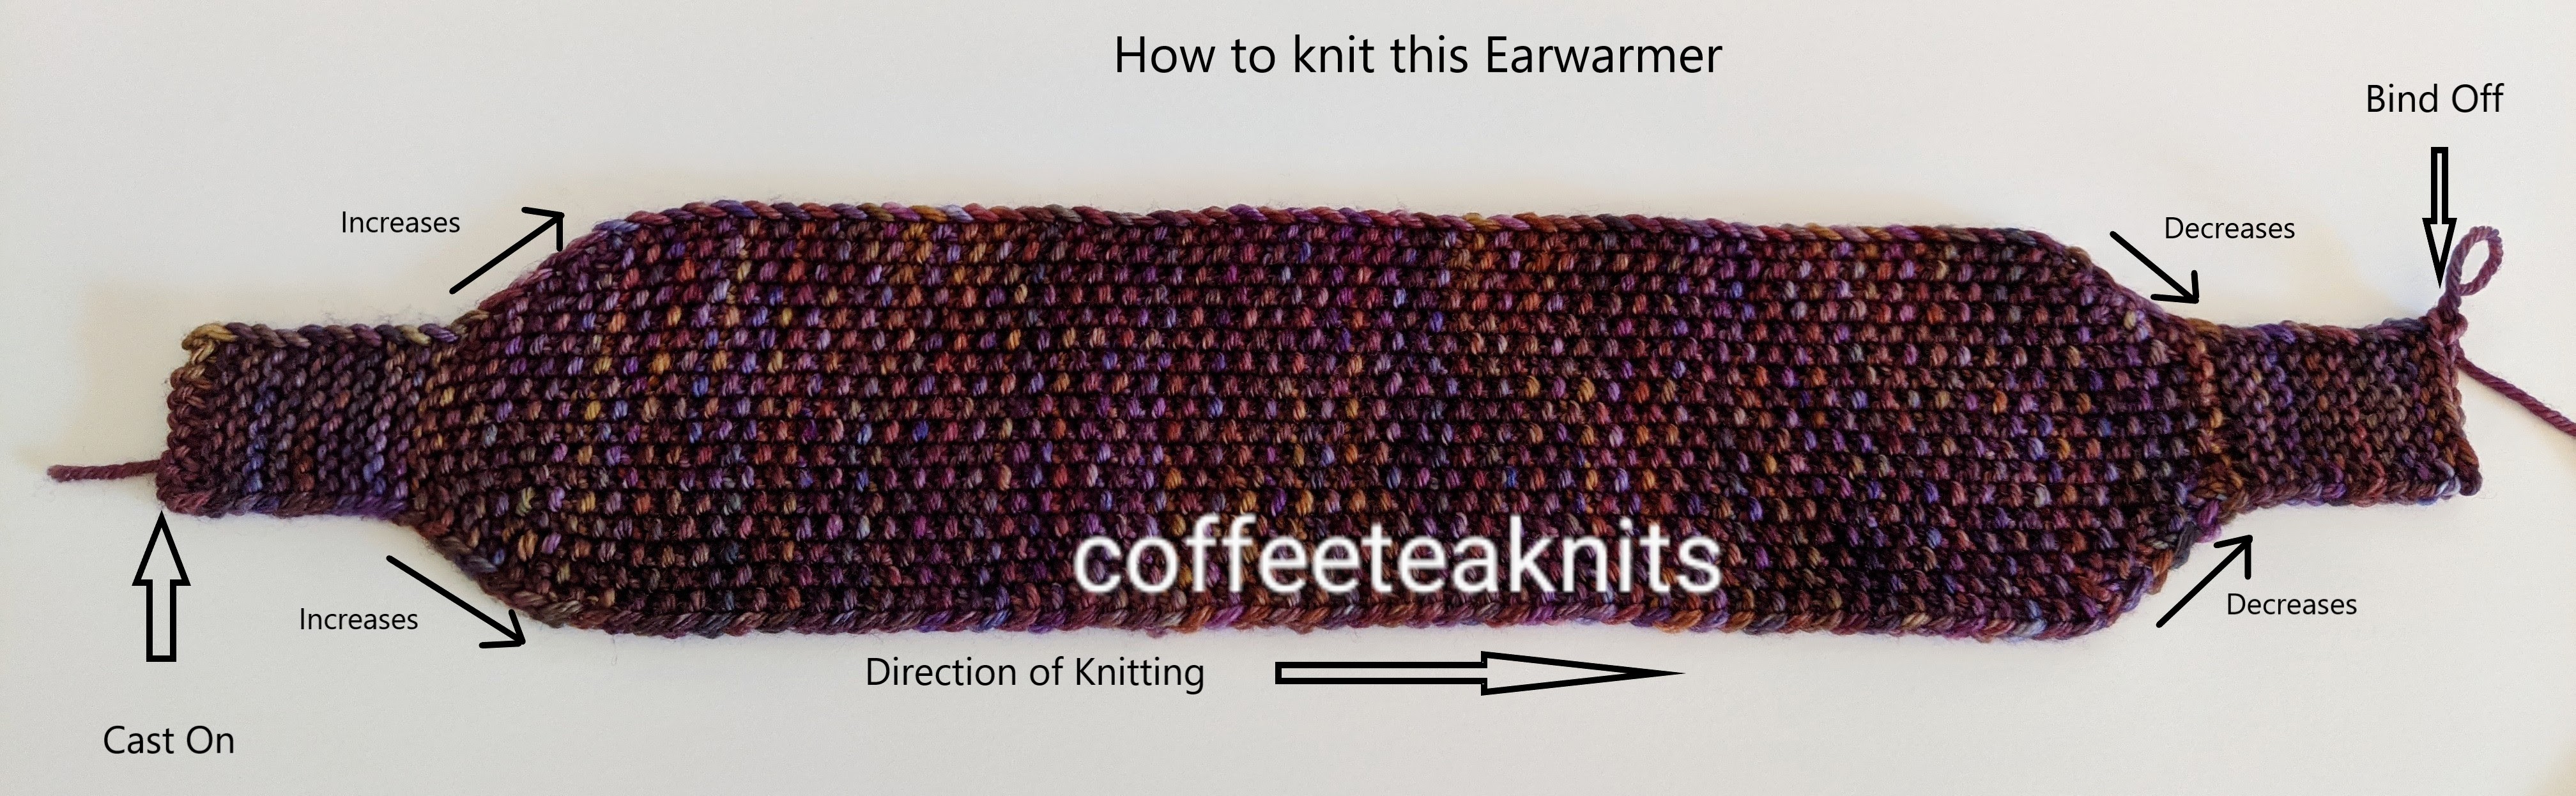
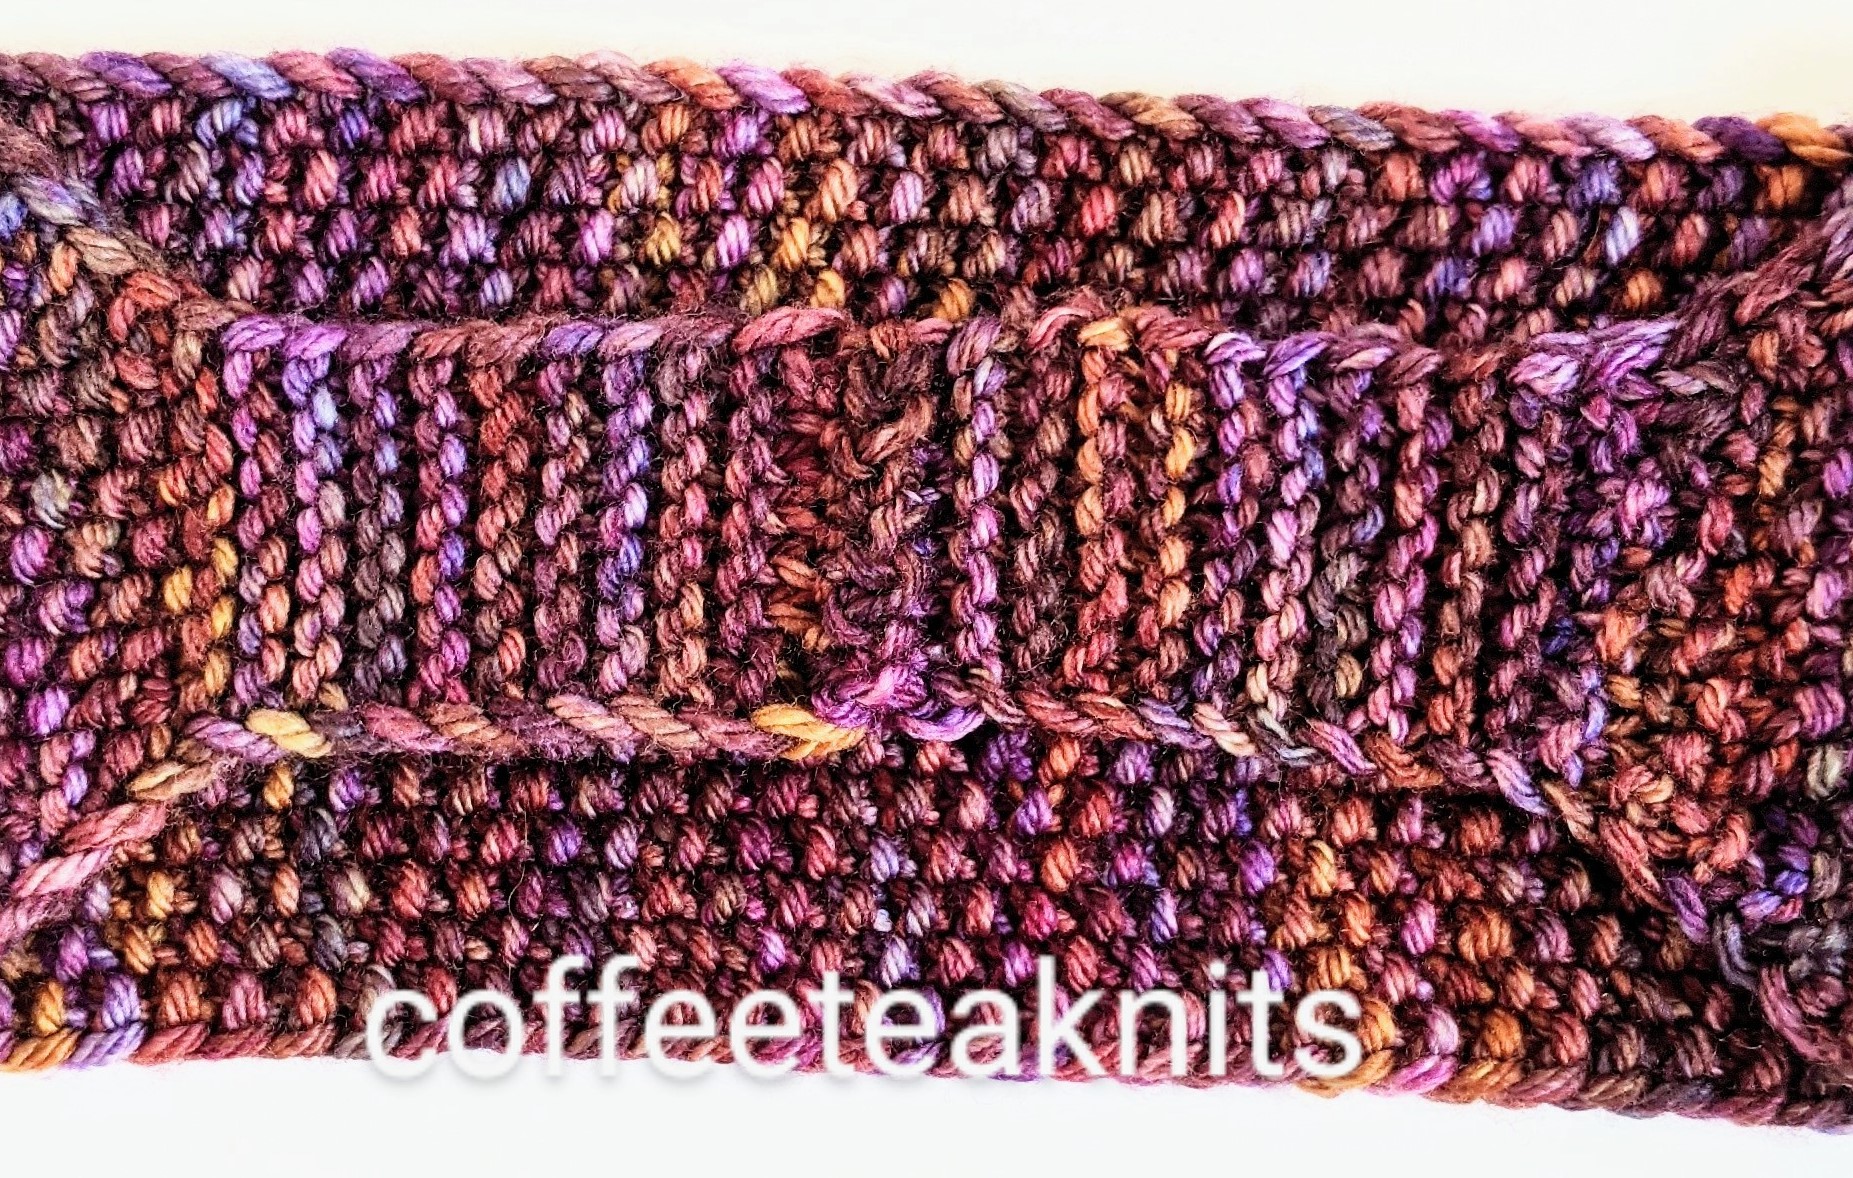
It is first knit in garter stitch pattern for a couple of inches, then increased by 2 stitches every other row for another inch or so (customizable) in seed stitch pattern. The earwarmer is knit straight in seed stitch pattern with no increases or decreases for a specific (customizable) length, and then decreased every other row to the original number of stitches. It is knit again in garter stitch for a couple of inches and then bound off. The two garter stitch sides are joined using the zig zag crochet method.
Goes with Everything Earwarmer Pattern (text and images for personal use only):
Yarn: Malabrigo Yarn – Rios in the RIO877 (Queguay) colorway
Knitting Needles: US #6 and #7 for knitting the earwarmer. US #8 for casting on and binding off.
Crochet hook: US size 7 or 4.5 mm crochet hook
Gauge: 16 stitches/ 4 inches (this pattern is generic so gauge not so critical)
Abbreviations:
- K: Knit
- P: Purl
- Kfb: Knit front and back (knit one stitch first in the front and then knit the same stitch in the back before slipping it off the left needle – 1 stitch increase)
- K2tog: Knit the first two stitches together on the left needle (1 stitch decrease)
- pm: place marker
- rm: remove marker
- sm: slip marker
- wyif S1: with yarn in front slip 1 stitch purlwise
- RS: right side
- WS: wrong side
The seed stitch pattern:
Row 1 (RS): *K1, P1*; repeat from *…* to end of the row
Row 2 (WS): *P1, K1*; repeat from *…* to end of the row
*Knit in seed stitch pattern: Knit the purl stitches and purl the knit stitches
With a size US #8 knitting needle cast on 9 stitches start knitting with US #6 knitting needle the following garter stitch pattern:
- Row1 – Setup row (RS): K1, pm, K7, pm, wyif S1
- Row2 (WS): K1, sm, K7, sm, wyif S1
Repeat Row 2 – 18 more times (about 2 inches in length)
Increase section (2 stitches increased every other row):
With US #7 needles knit this section in seed stitch pattern
- Row 1 (RS): K1, sm, Kfb, *knit in seed stitch pattern till 1 stitch before marker, Kfb, sm, wyif S1
- Row 2 (WS): K1, sm, K1, *knit in seed stitch pattern till 1 stitch before marker, K1, sm, wyif S1
Repeat these two rows 5 more times for a total of 19 stitches (customize to your size by adding or subtracting these row repeats to the length that will cover your ears)
Straight knitting with no increases or decreases section (customize to your size by measuring the number of stitches from one ear to the other and knit about 2 to 4 inches less for negative ease):
Continue in knitting with US #7 knitting needle and seed stitch pattern
- Row 1 (RS): K1, sm, *K1, P1*; repeat from *…* to 1 stitch before marker, K1, sm, wyif S1
- Row 2 (WS): K1, sm, K1, *P1, K1*; repeat from *…* till marker, sm, wyif S1
Repeat these two rows till the knitted piece measures about 15 inches from cast on edge (add or subtract row repeats to your specific size)
Decrease section (2 stitches decreased every other row):
With US #7 knitting needle and seed stitch pattern
- Row 1 (RS): K1, sm, K2tog, *knit in seed stitch pattern till 1 stitch before marker, K2tog, sm, wyif S1
- Row 2 (WS): K1, sm, K1, *knit in seed stitch pattern till 1 stitch before marker, K1, sm, wyif S1
Repeat these two rows 5 more times decreasing the number of stitches to 9 (if your stitch count was more or less than 19 stitches, add or subtract these row repeats till 9 stitches)
With US #6 knitting needle knit the following garter stitch pattern:
- Row1(RS): K1, sm, K7, sm, wyif S1
- Row2 (WS): K1, sm, K7, sm, wyif S1
Repeat these two rows 9 more times (about 2 inches in length). Bind off with US #8 knitting needle and hold the remaining stitch with a removable stitch marker.
Crochet join (optional):
Insert a size 7 or 4.5 mm crochet hook in the remaining stitch, chain one, and align the two sides facing RS of the knitted piece together on the RS. Use the zig zag slip stitch crochet join method to join the two sides together (several online video tutorials are available on YouTube for this crochet join method).
Alternately, the two sides can be joined with any other join method of choice.
Weave in the ends, wash and block the earwarmer.
Stay warm
~coffeeteaknits.com
© Coffee Tea Knits. All text and images for personal use only. All Rights Reserved.