Tutorial Series: The 1 x 1 Rib Stitch Bind-Off

There are several ways to bind off in knitting. The bind-off row technique is after the last row of a knitting project. This technique secures the loops that are on the knitting needle so they don’t unravel at the end of a knitting project. There is the basic knit bind-off (Tutorial Series: The Basic Knit Bind Off), the crochet bind-off, the three needle bind-off, the sewn bind-off, the I-cord bind-off etc. as well as the 1 x 1 rib stitch bind-off.

Advertisements

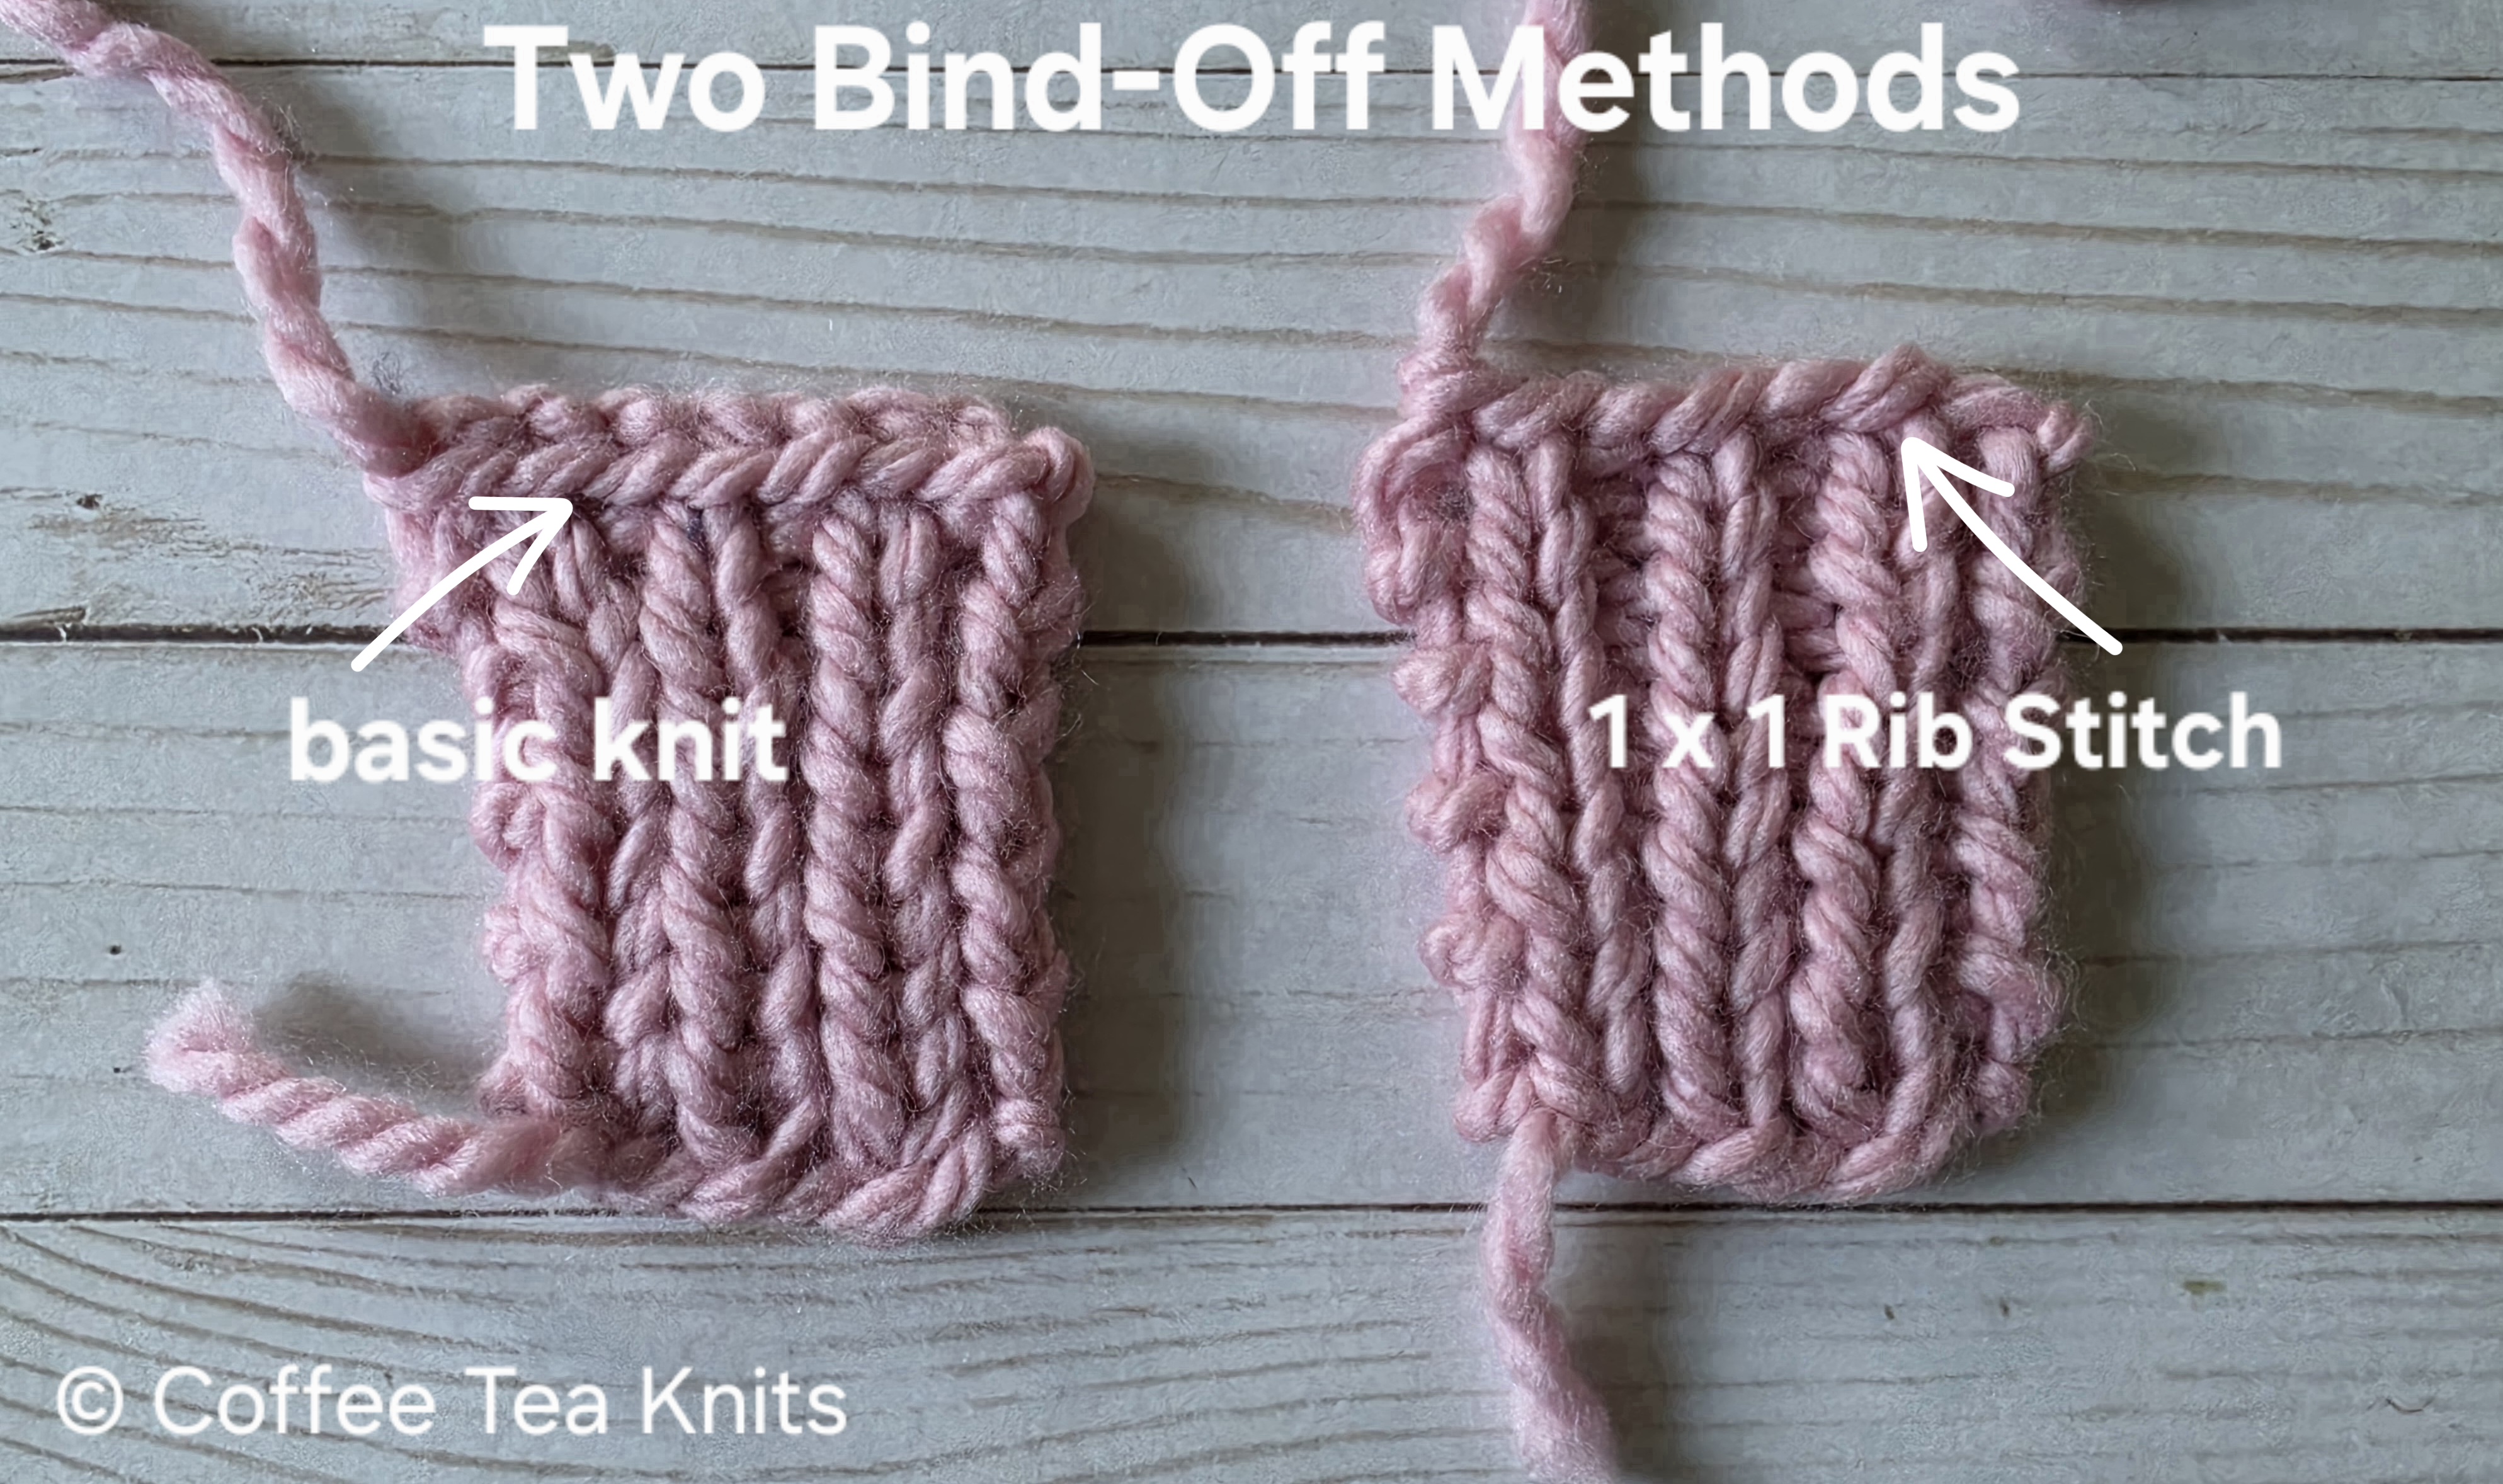
The 1 x 1 Rib Stitch (Tutorial Series: 1 x 1 Rib Stitch) bind-off method looks different and is stretchier than the regular knit stitch bind-off, making it an excellent choice for maintaining the elasticity of your project. It is the preferred bind-off technique for 1 x 1 ribbing knitting patterns, as it seamlessly blends with the stitch pattern, allowing the ribbing to maintain its characteristic stretch and texture. I have used this bind-off technique in The Increasing and Decreasing Cowl pattern, where it provides a polished look while ensuring the cowl fits comfortably around the neck. This method has become a go-to in my knitting repertoire, especially for the 1 x 1 ribbing patterns in sweaters and hats.

The image below shows the two bind-off methods.
Advertisements


The video and written instructions below on how to knit the 1 x 1 Rib Stitch Bind-off is for right-hand knitting.

The 1 x 1 Rib Stitch Bind-Off:

Advertisements


Written Steps for the 1 x 1 Rib Stitch Bind-off:

  1. At the beginning of the bind-off row, knit (Tutorial Series: Knit and Tink) the first stitch on the left knitting needle and place the new stitch on the right knitting needle
  2. Purl (Tutorial Series: Purl and Un-Purl) the next stitch on the left knitting needle and place the new stitch on the right knitting needle
  3. There are two stitches on the right knitting needle
  4. Move the working yarn back of the work
  5. Insert the left knitting needle into the front loop of the first stitch on the right knitting needle
  6. Pull and lift the first stitch with the left knitting needle and pass it over the second stitch on the right knitting needle
  7. One stitch remains on the right knitting needle
  8. Knit the next stitch on the left knitting needle and place it on the right knitting needle
  9. There are two stitches on the right knitting needle
  10. Insert the left knitting needle into the front loop of the first stitch on the right knitting needle
  11. Pull and lift the first stitch with the left knitting needle and pass it over the second stitch on the right knitting needle
  12. One stitch remains on the right knitting needle
  13. Repeat Steps 2 to 7
  14. Repeat Steps 8 to 13 to the end of the bind-off row and one remaining stitch
  15. Cut yarn and pull through the remaining stitch on the right knitting needle
Advertisements

~coffeeteaknits.com

Tutorial Series: The 1 x 1 Rib Stitch

The 1 x 1 rib stitch is a knit stitch pattern that is reversible, stretchy, and lays flat, making it an ideal choice for various knitting projects. This pattern alternates between the knit (Tutorial Series: Knit and Tink) and purl (Tutorial Series: Purl and Un-purl) stitches, providing a textured look and elasticity to the finished garment. It is versatile in that it can be used as the main stitch pattern for a knitted item, such as sweaters, scarves, and hats, as well as for borders, neckbands, cuffs, and hems, showcasing its ability to blend seamlessly with other stitch patterns.

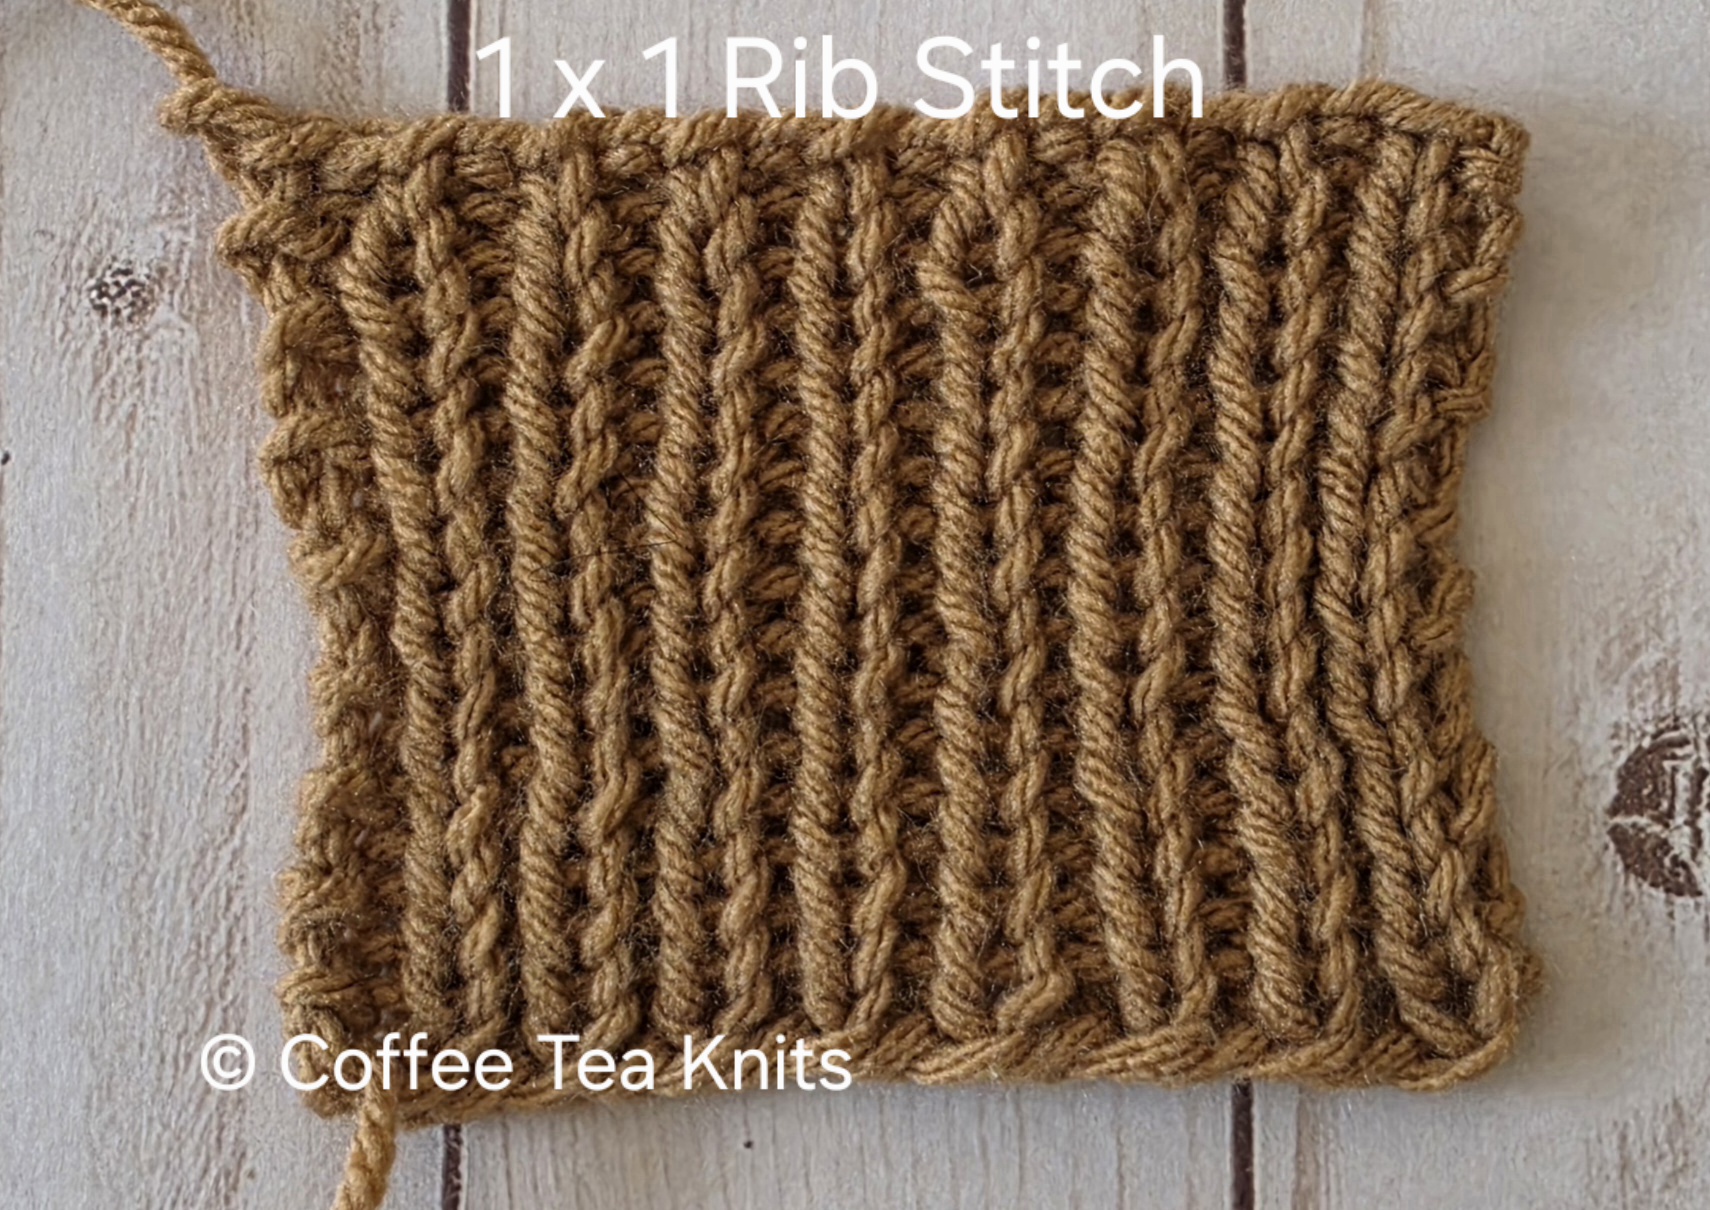
The sample below shows 1 x 1 rib stitch with a garter stitch (Tutorial Series: The Garter Stitch Pattern) for the first and last stitches. The knitted piece can be stretched horizontally but the fabric tends pull inward and go back to it’s original shape. The repeated alternating of the knit and purl stitches (K1, P1) gives the knitted piece the vertical lines and ridges.

Advertisements


I have used the 1 x 1 rib stitch pattern mostly for neck band or border edge in cowls (The Increasing and Decreasing Cowl and The Waiting Season Cowl) and for the body or the brims of knitted hats (The Wintry Weather Hat and The Wistful Hat)

Advertisements

The video and the written steps below show how to knit the first and second rows of the 1 x 1 rib stitch for right-hand knitting.

The 1 x 1 Rib Stitch (first row):

Advertisements


The 1 x 1 Rib Stitch (second row):

Advertisements

Written Steps for 1 x 1 Rib Stitch (first and second row):

Cast on even number of stitches with any cast-on method of choice

First Row:

  • Knit (Tutorial Series: Knit and Tink) the first stitch – insert the right knitting needle from back to front of the first stitch on the left knitting needle
  • Take the working yarn around the top of the right knitting needle and wrap it between the two needles on top of the first stitch
  • Catch and pick up the working yarn loop (the new stitch) with the right needle
  • Slip the first stitch off the left knitting needle and onto the right knitting needle for the new knit stitch
  • Bring yarn from the back of the right knitting needle to the front of the work
  • Purl (Tutorial Series: Purl and Un-purl) the second stitch – insert the right knitting needle from front to back of the second stitch on the left knitting needle
  • Wrap the working yarn around the inserted right knitting needle
  • Catch the loop made by the working yarn (the new stitch) with the right knitting needle
  • Slip the loop (the new stitch) onto the right knitting needle and the first stitch off the left knitting needle
  • Bring yarn from the front of the right knitting needle to the back of the work
  • Repeat all the steps above of alternating between the knit and purl stitches (K1, P1) for the remaining stitches of the row ending with the purl stitch as the last stitch of the row

Second Row and all Subsequent Rows:

  • Repeat all the steps of the First Row for the 1 x 1 Rib Stitch Pattern
Advertisements

~coffeeteaknits.com

Weaving Tales: My Rigid Heddle Loom

Choosing a loom depends on time, budget, space, and project interests.

Types of Weaving Looms:

There are various types of weaving looms tailored for different techniques, including frame looms for beginners, potholder looms for children or adults, specialized tapestry looms for intricate designs, versatile rigid heddle looms, and complex multi-shaft table or floor looms for advanced weavers, each capable of handling different yarn types and creating diverse fabrics.

Advertisements

Which Loom to use:

Beginning weavers usually start with the frame looms or potholder type looms before moving to a different type of loom. The projects are smaller with a short learning curve.

For scarves and larger projects, rigid heddle or multi-shaft looms are suitable based on the weaver’s interest and skill level. Rigid heddle looms are more beginner-friendly and affordable, while multi-shaft looms, though more expensive and less portable, allow experienced weavers to create complex designs and patterns.

Advertisements

I got interested in weaving as a way to reduce my yarn stash. At first I dabbled with a DIY potholder type loom that I made with push pins on a bulletin board. I wove a few blankets with this DIY loom.

Advertisements


My Rigid Heddle Loom:

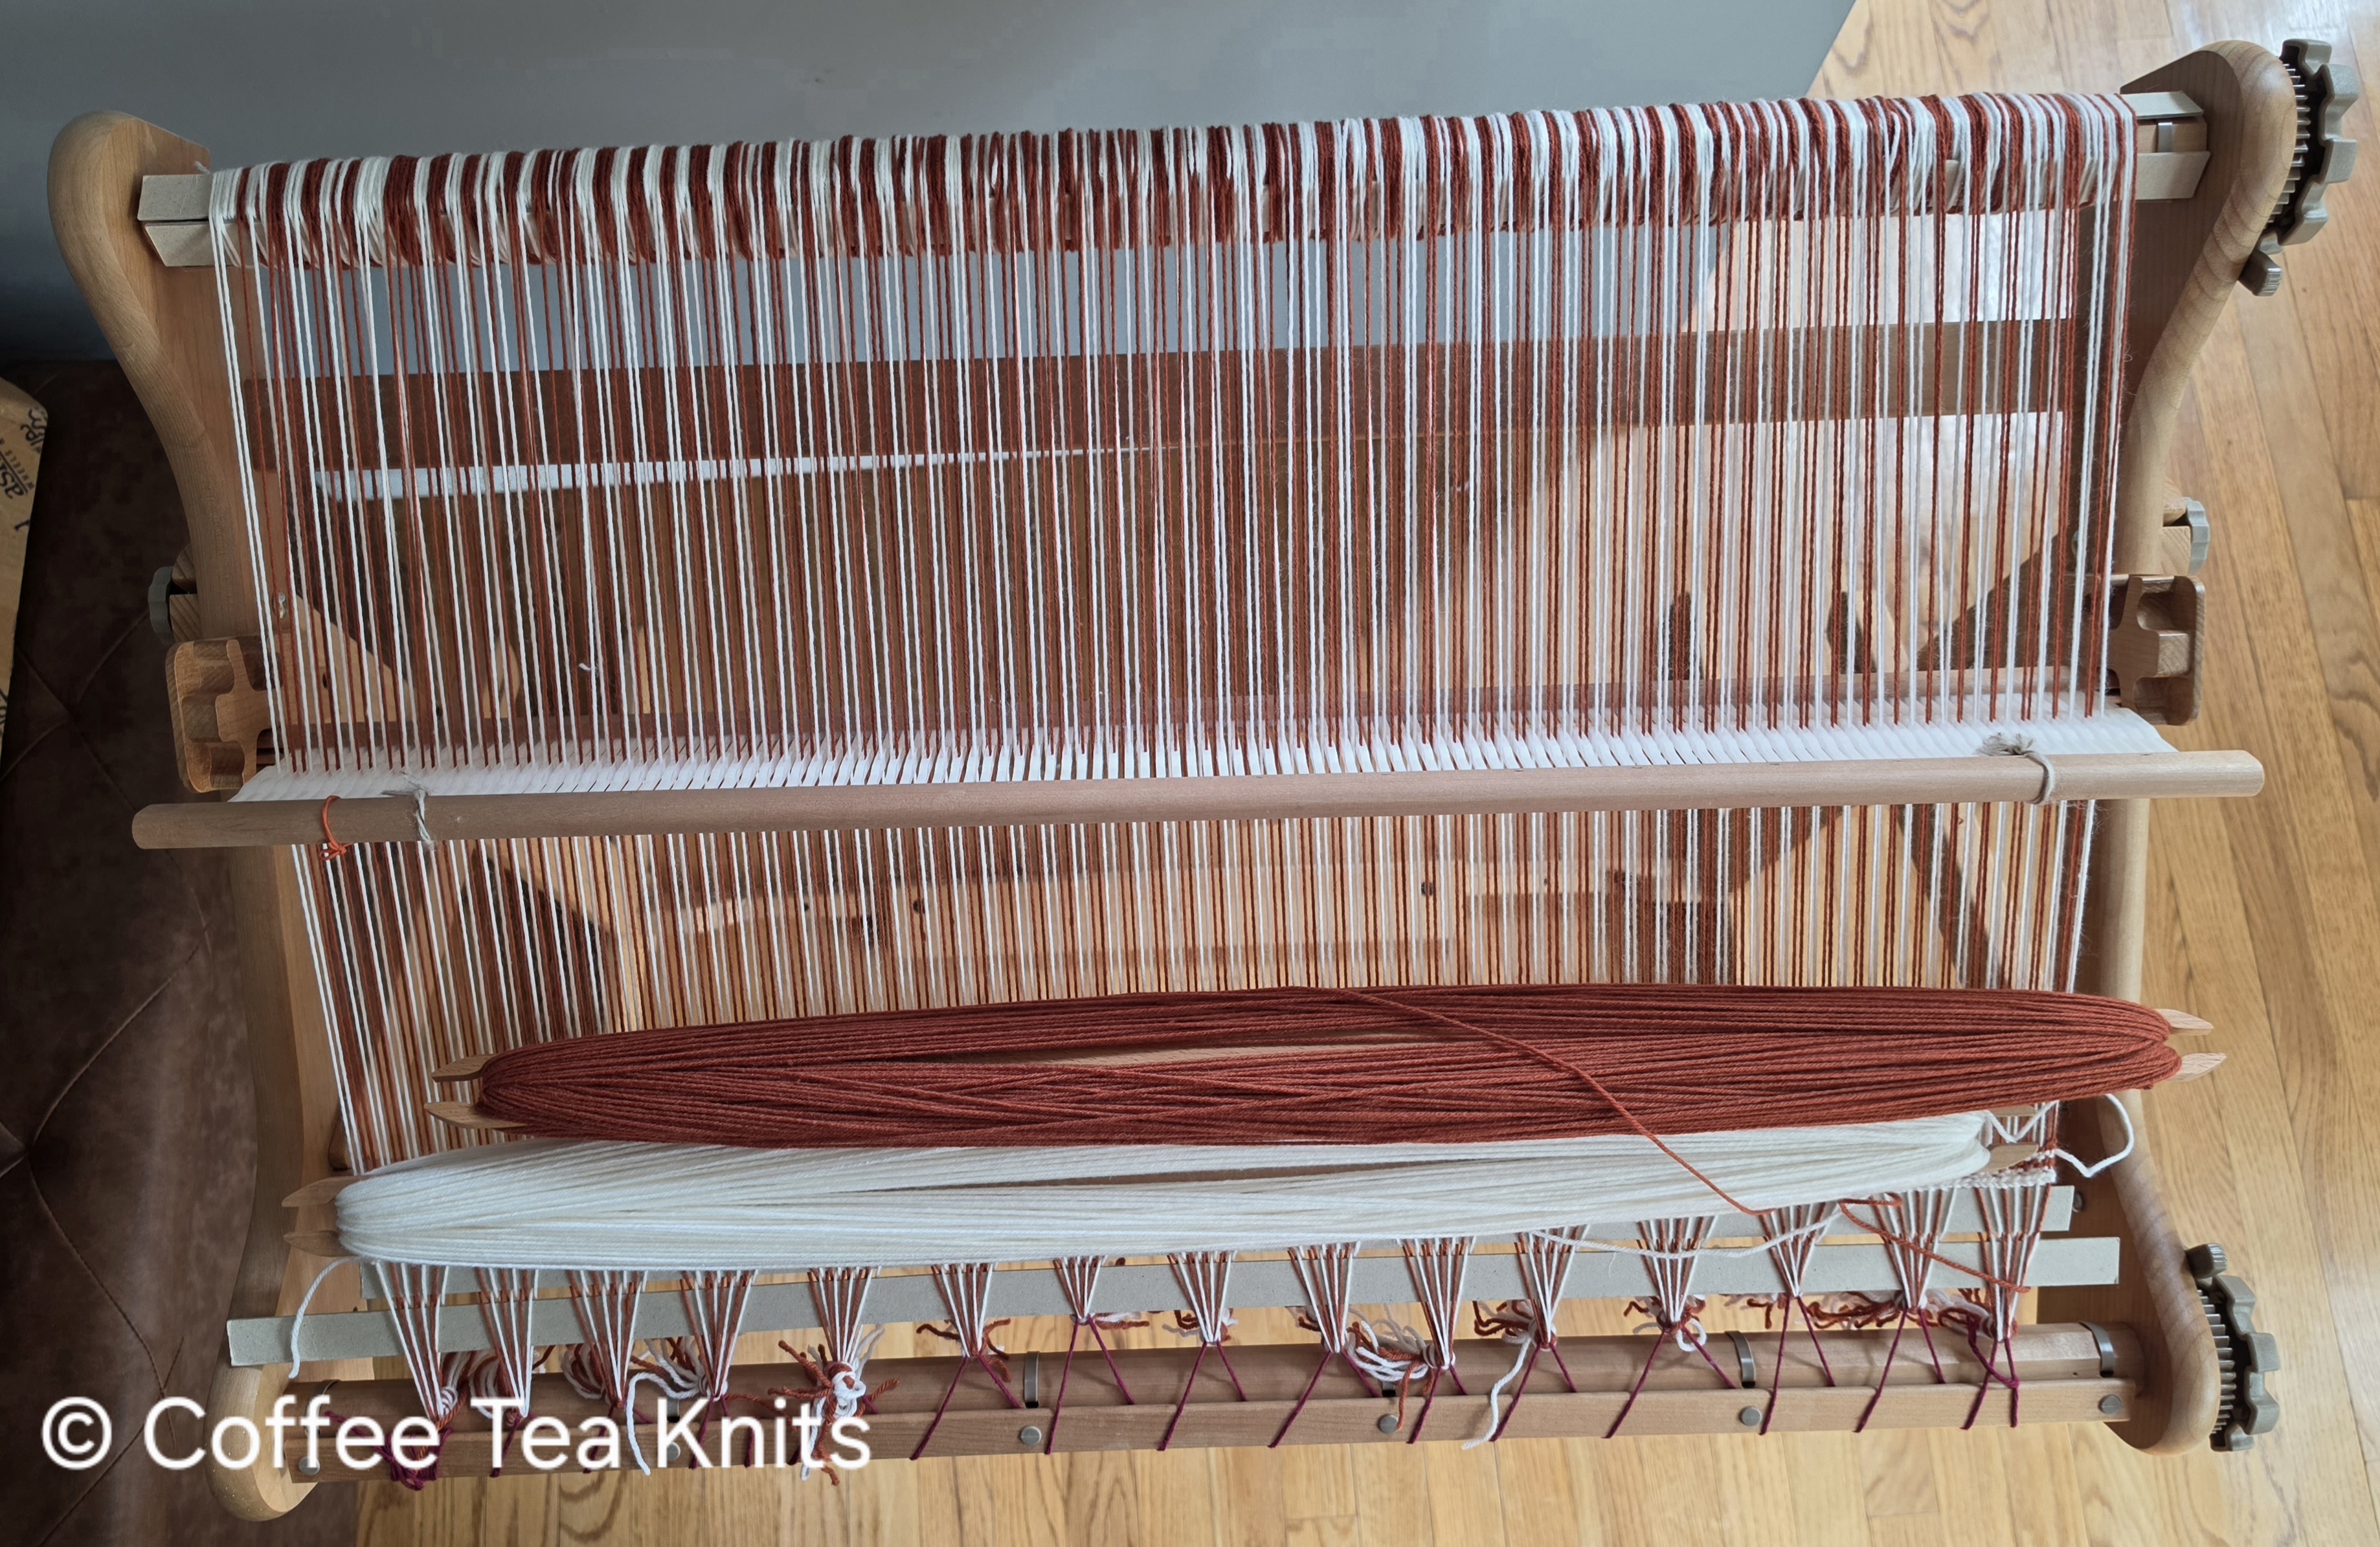
I soon developed an interest in weaving as a craft and sought a portable, affordable loom for creating blankets and wraps. In 2019, I purchased a 32-inch Ashford Rigid Heddle Loom from Amazon. Thus began my weaving journey with plain weave and an exploration of colors and textures that the warps and wefts could produce.

Advertisements


There are so many intricate patterns and textures to explore with the rigid heddle loom and I eagerly look forward to expanding and sharing my weaving experience.

I would love to hear your weaving experience and how you chose your loom in the comments.


~coffeeteaknits.com

Mitered Seed Stitch Dishcloth Pattern Pdf

Advertisements

Yarns used to knit this dishcloth: PREMIER HOME® COTTON CONE YARN and Classic Cotton™ Yarn by Loops & Threads®

Any worsted weight cotton yarn can be used to knit this dishcloth.

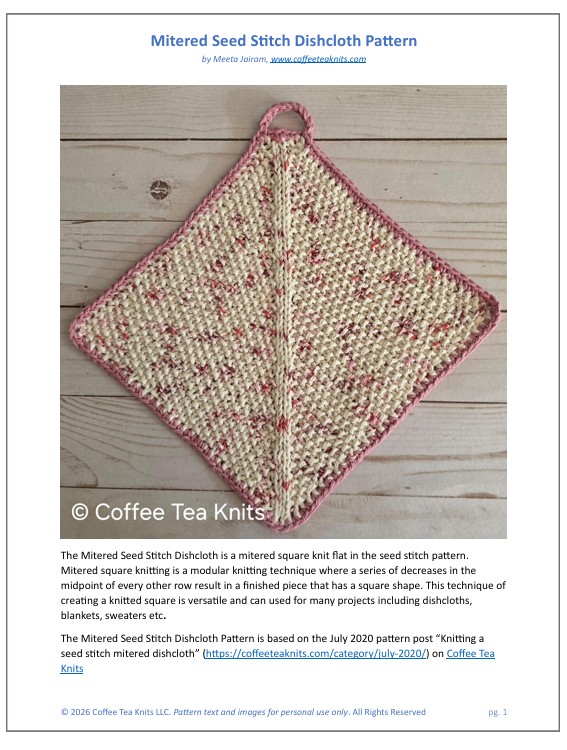
Mitered Seed Stitch Dishcloth is knit flat and in one piece.

The mitered square knitting is a modular knitting technique

This dishcloth knits up quickly and is a useful way to explore and learn some knitting techniques.

You need beginning crochet skills and advanced beginners knitting skills to knit this dishcloth.

Advertisements

Mitered Seed Stitch Dishcloth Pattern Pdf includes:

  • A list of the abbreviations used in the pattern, gauge, and the materials needed
  • Links to several video tutorial clips including how to single crochet, SSK, K2tog etc.
  • Step by step written instructions on how to knit this dishcloth
  • Written instructions on how to crochet the border with photos as visual aid

Buy the beginner to advanced beginner-friendly Mitered Seed Stitch Dishcloth Pattern Pdf to explore and learn the mitered square modular knitting technique


~coffeeteaknits.com