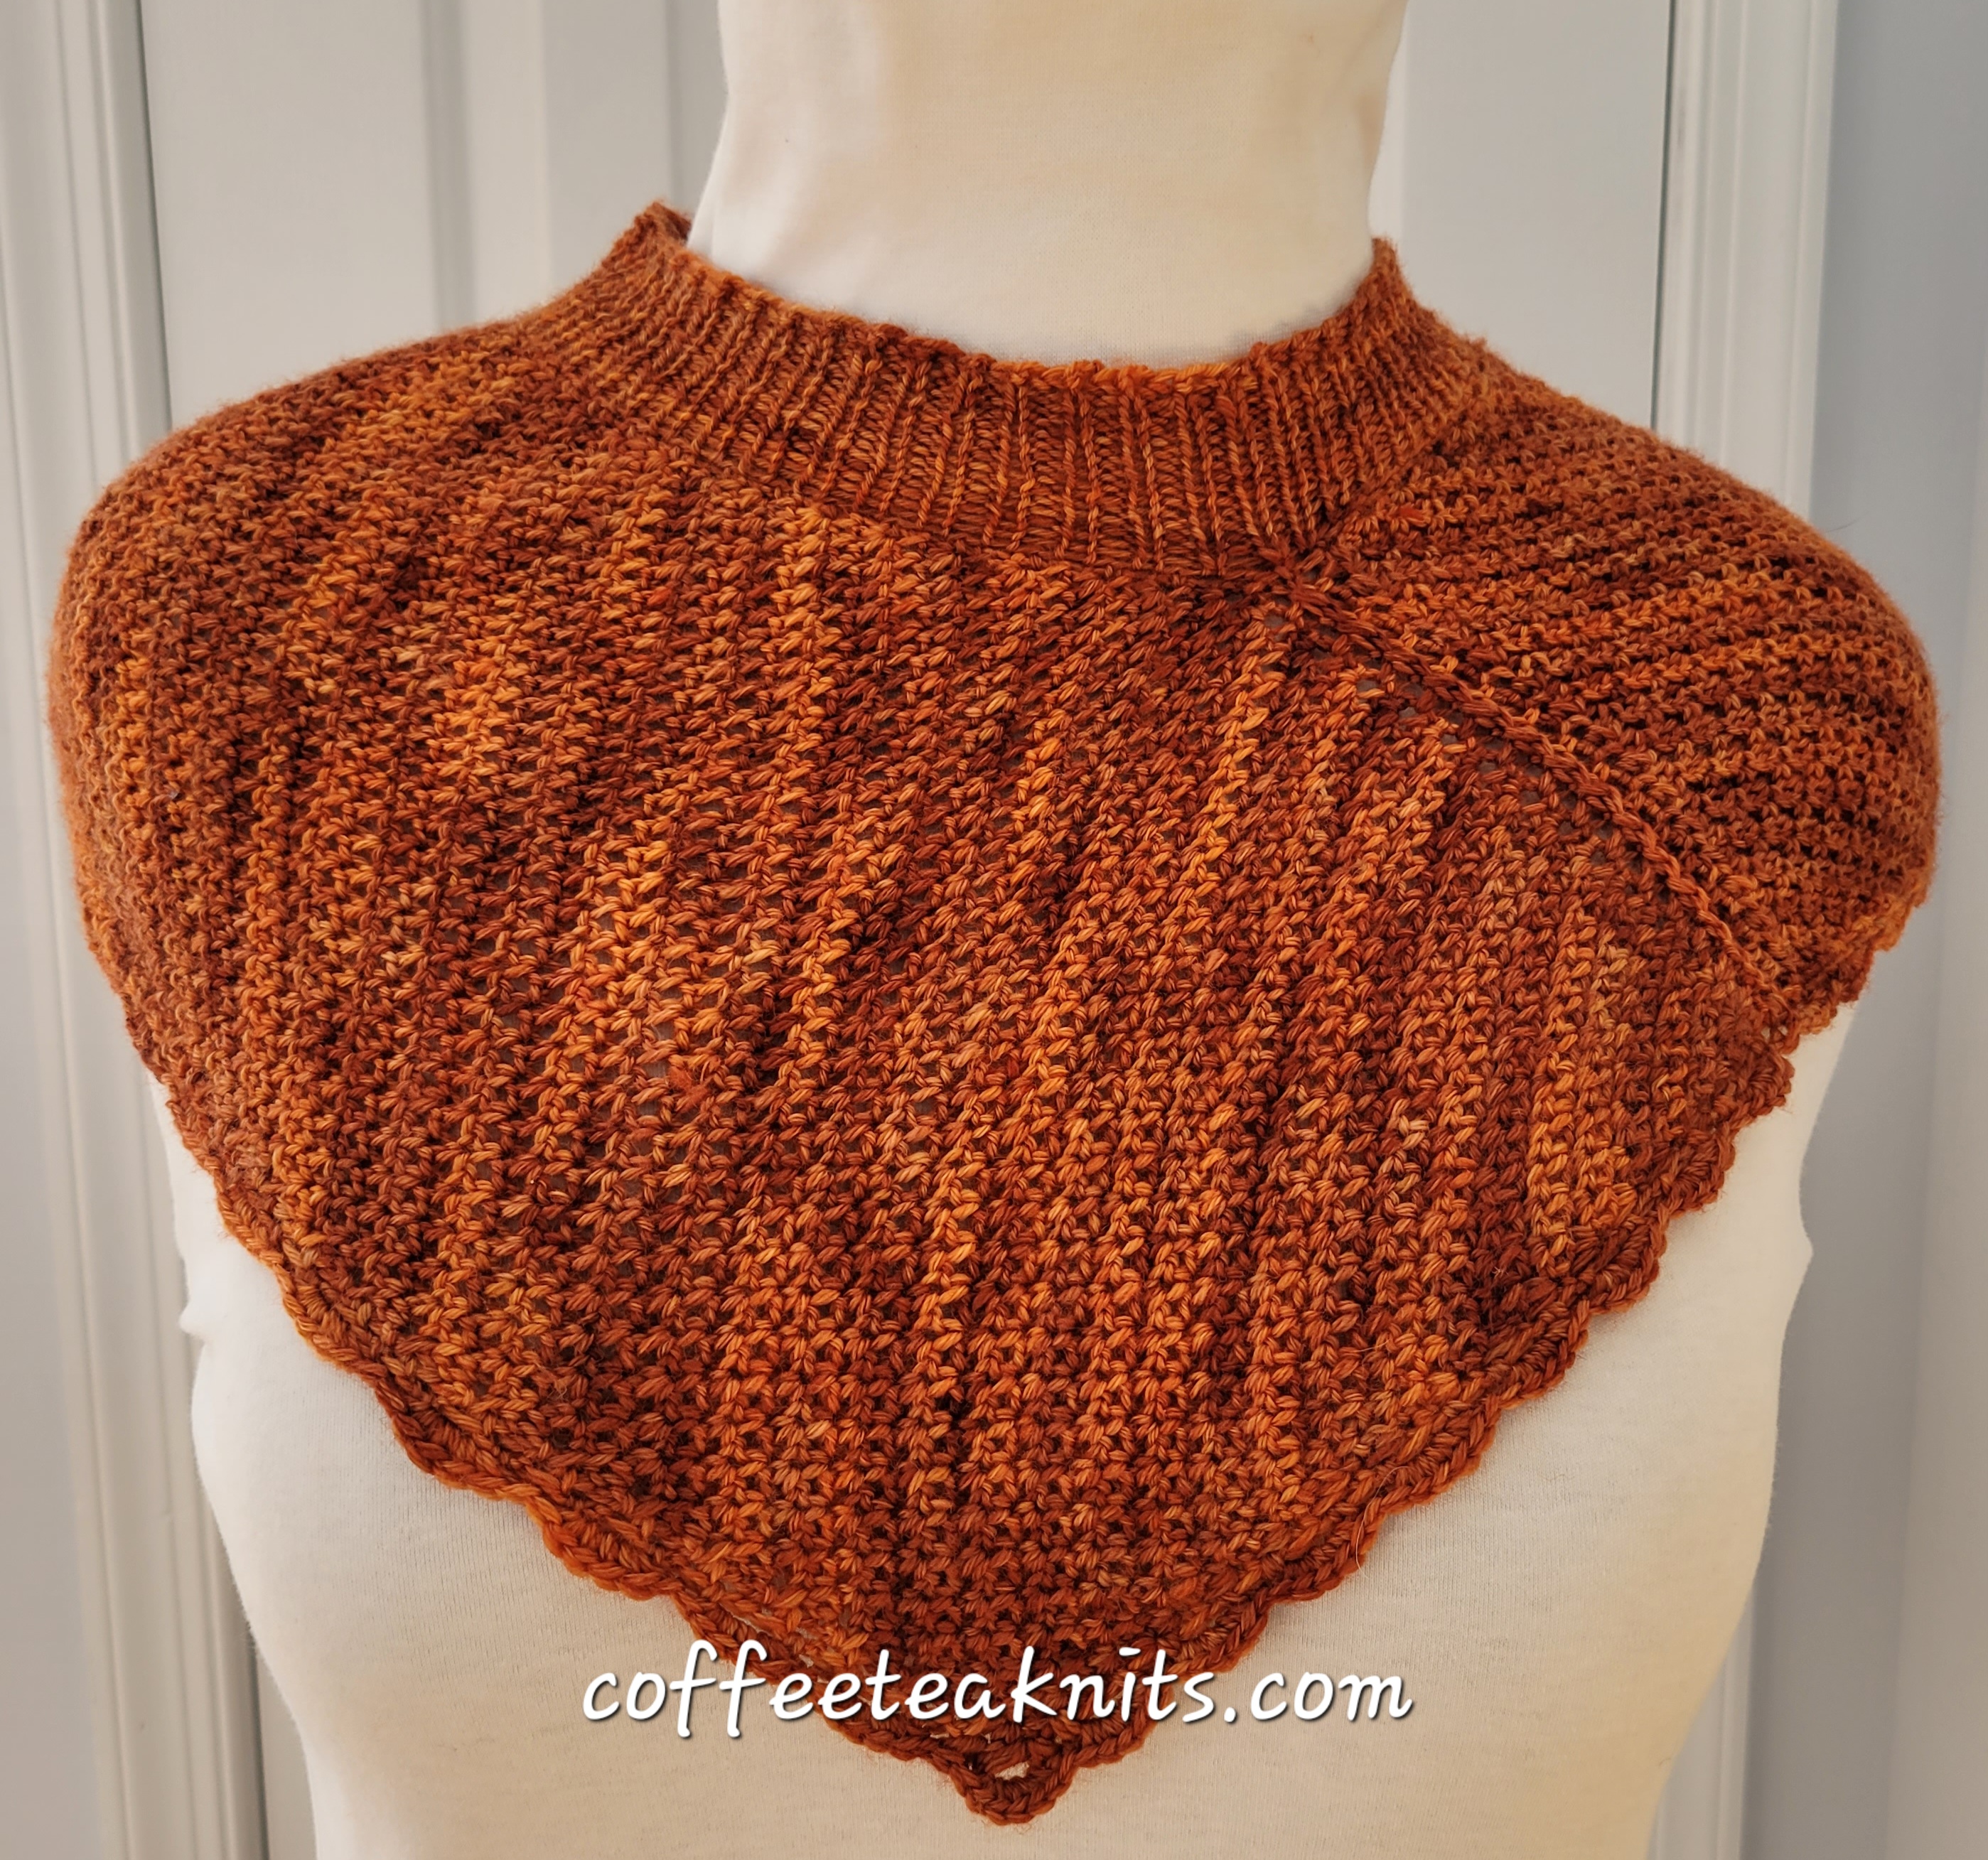
The 1 x 1 rib stitch is a knit stitch pattern that is reversible, stretchy, and lays flat, making it an ideal choice for various knitting projects. This pattern alternates between the knit (Tutorial Series: Knit and Tink) and purl (Tutorial Series: Purl and Un-purl) stitches, providing a textured look and elasticity to the finished garment. It is versatile in that it can be used as the main stitch pattern for a knitted item, such as sweaters, scarves, and hats, as well as for borders, neckbands, cuffs, and hems, showcasing its ability to blend seamlessly with other stitch patterns.
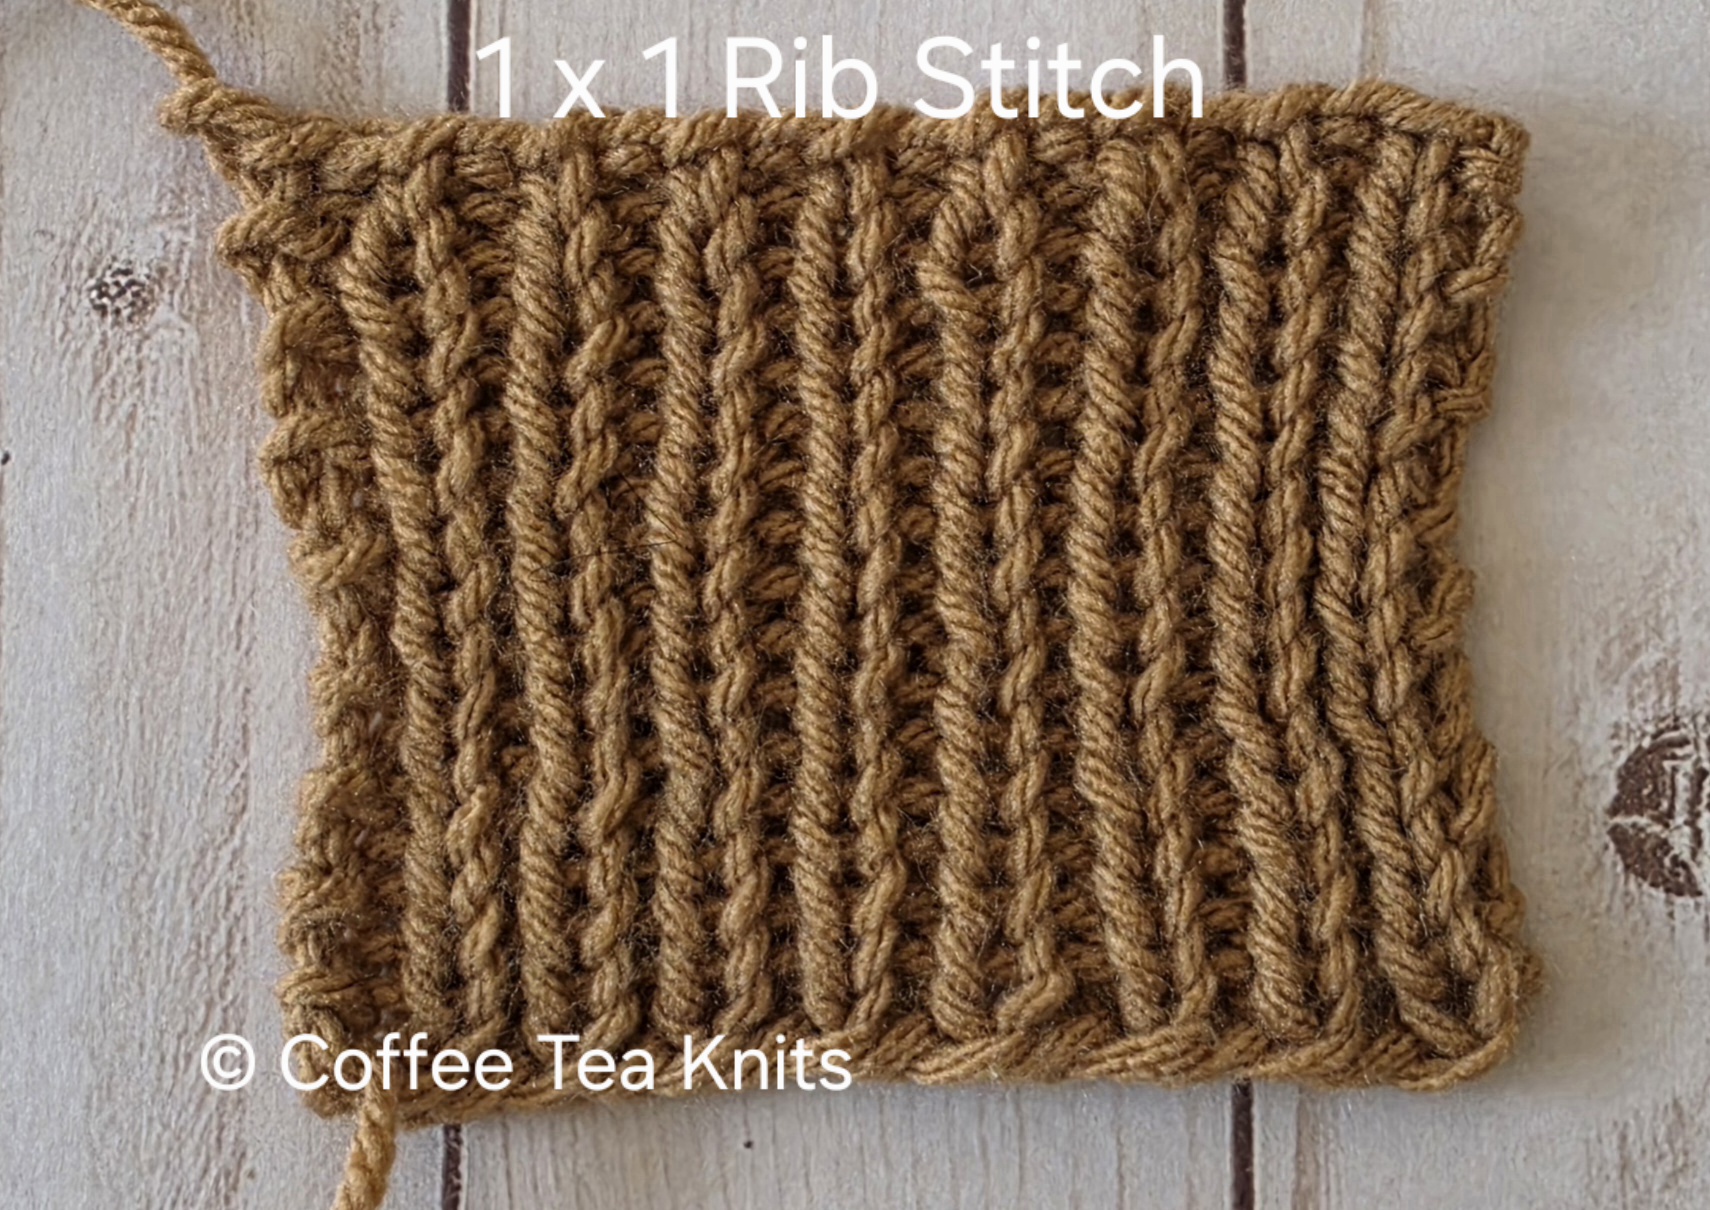
The sample below shows 1 x 1 rib stitch with a garter stitch (Tutorial Series: The Garter Stitch Pattern) for the first and last stitches. The knitted piece can be stretched horizontally but the fabric tends pull inward and go back to it’s original shape. The repeated alternating of the knit and purl stitches (K1, P1) gives the knitted piece the vertical lines and ridges.
I have used the 1 x 1 rib stitch pattern mostly for neck band or border edge in cowls (The Increasing and Decreasing Cowl and The Waiting Season Cowl) and for the body or the brims of knitted hats (The Wintry Weather Hat and The Wistful Hat)
The video and the written steps below show how to knit the first and second rows of the 1 x 1 rib stitch for right-hand knitting.
The 1 x 1 Rib Stitch (first row):
The 1 x 1 Rib Stitch (second row):
Written Steps for 1 x 1 Rib Stitch (first and second row):
Cast on even number of stitches with any cast-on method of choice
First Row:
- Knit (Tutorial Series: Knit and Tink) the first stitch – insert the right knitting needle from back to front of the first stitch on the left knitting needle
- Take the working yarn around the top of the right knitting needle and wrap it between the two needles on top of the first stitch
- Catch and pick up the working yarn loop (the new stitch) with the right needle
- Slip the first stitch off the left knitting needle and onto the right knitting needle for the new knit stitch
- Bring yarn from the back of the right knitting needle to the front of the work
- Purl (Tutorial Series: Purl and Un-purl) the second stitch – insert the right knitting needle from front to back of the second stitch on the left knitting needle
- Wrap the working yarn around the inserted right knitting needle
- Catch the loop made by the working yarn (the new stitch) with the right knitting needle
- Slip the loop (the new stitch) onto the right knitting needle and the first stitch off the left knitting needle
- Bring yarn from the front of the right knitting needle to the back of the work
- Repeat all the steps above of alternating between the knit and purl stitches (K1, P1) for the remaining stitches of the row ending with the purl stitch as the last stitch of the row
Second Row and all Subsequent Rows:
- Repeat all the steps of the First Row for the 1 x 1 Rib Stitch Pattern
~coffeeteaknits.com
© Coffee Tea Knits, LLC. All text and images for personal use only. All Rights Reserved.