Where did 2022 go? I can’t believe this year is almost over. After a rough start to the year with illness due to covid (blogged here), I’ve been trying to catch up with all the goals I had for this year. Needless to say there will be some unfinished works in progress that will be completed in 2023. Knitting smaller projects such as hats and cowls are more enjoyable when other non-knitting things require our attention and time.
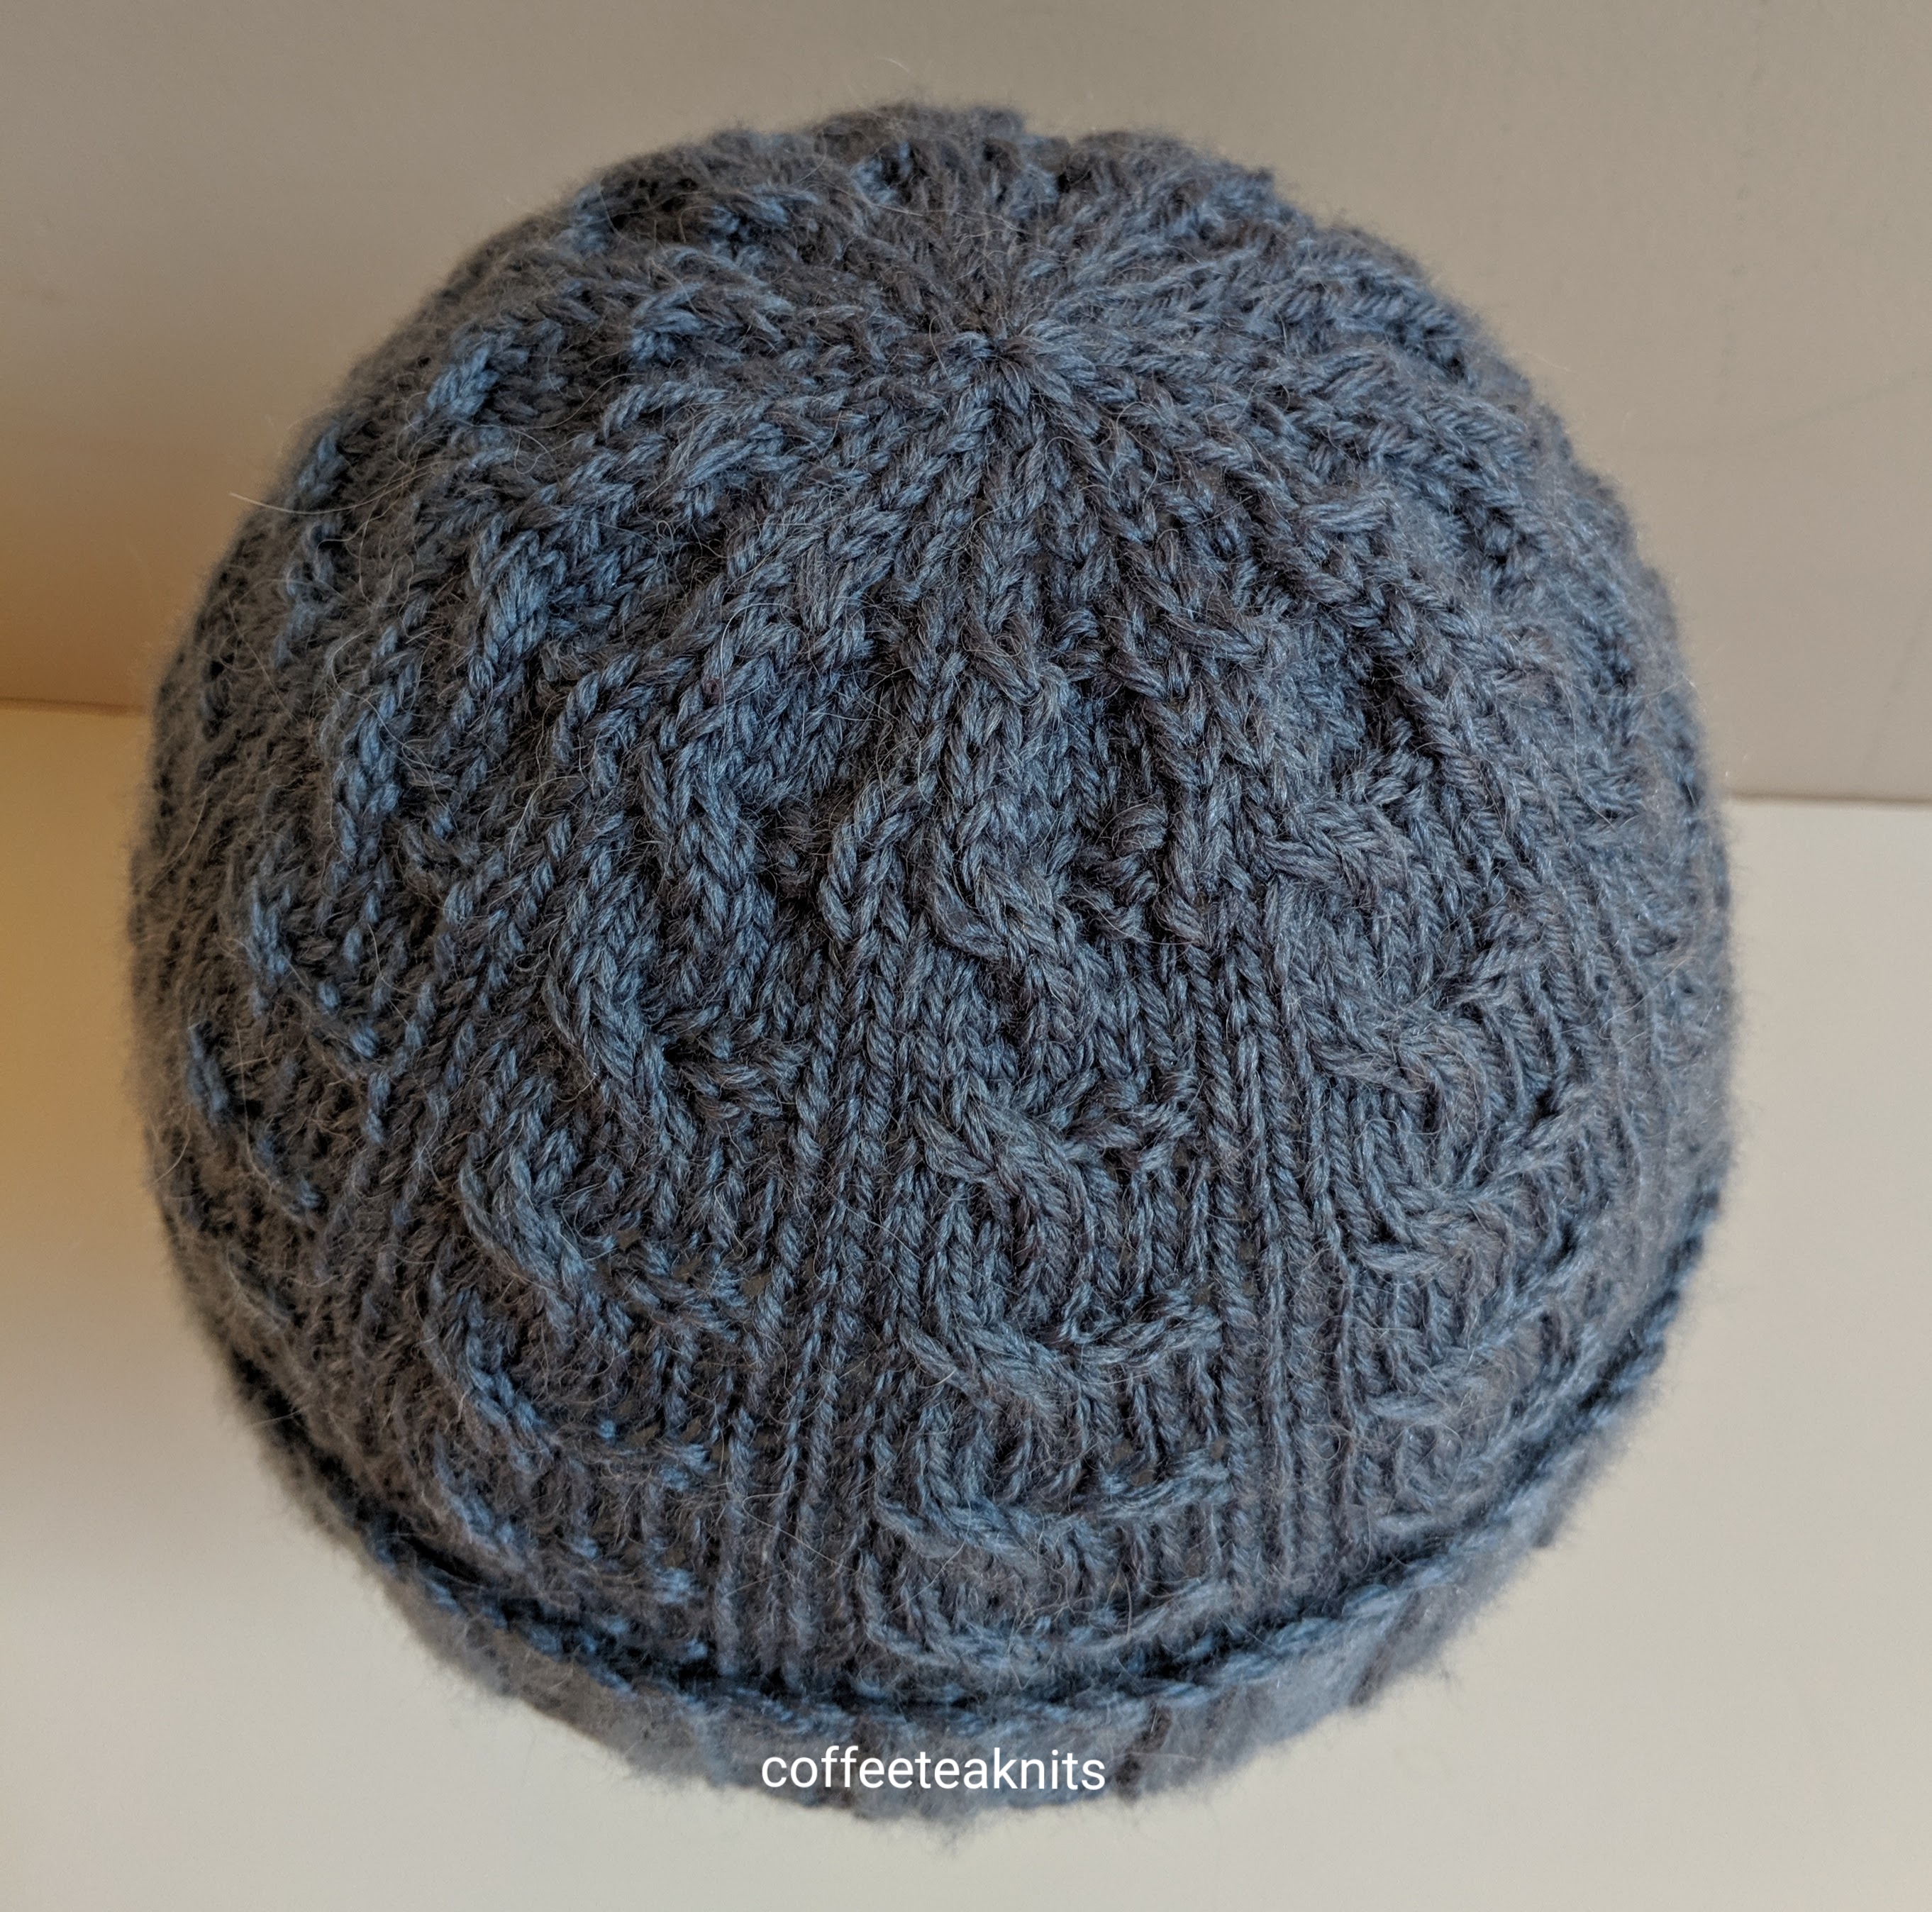
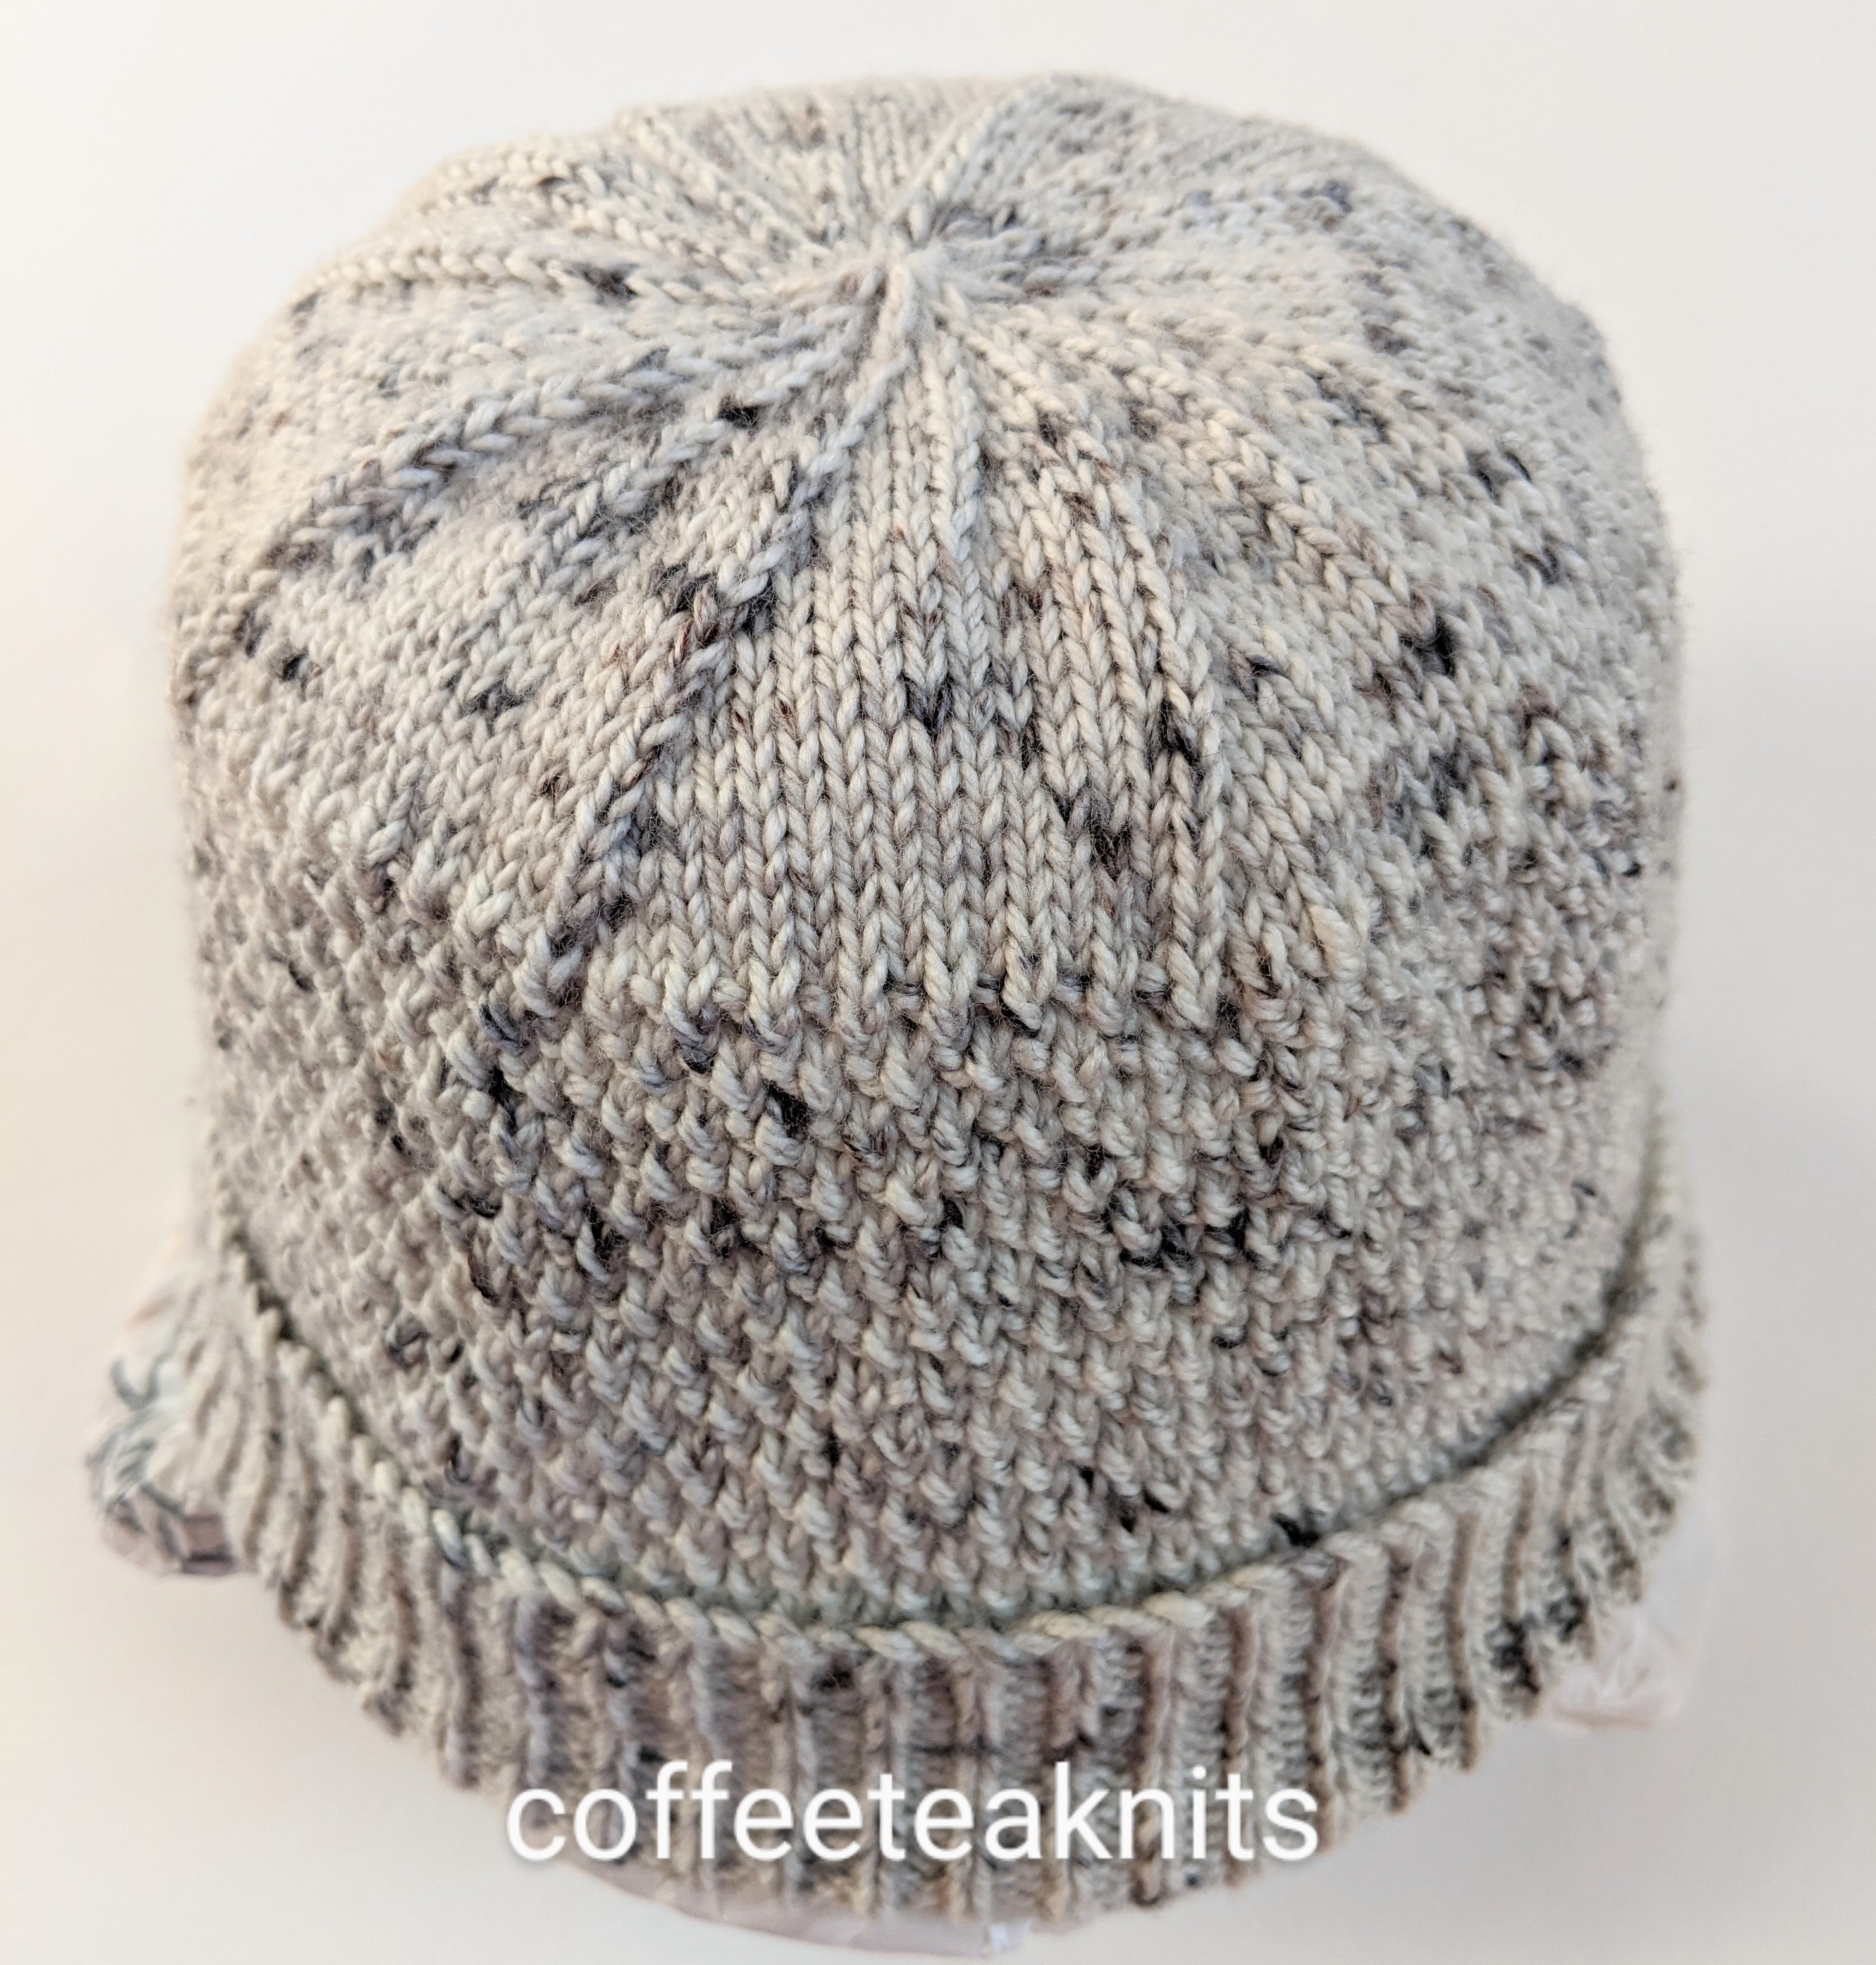
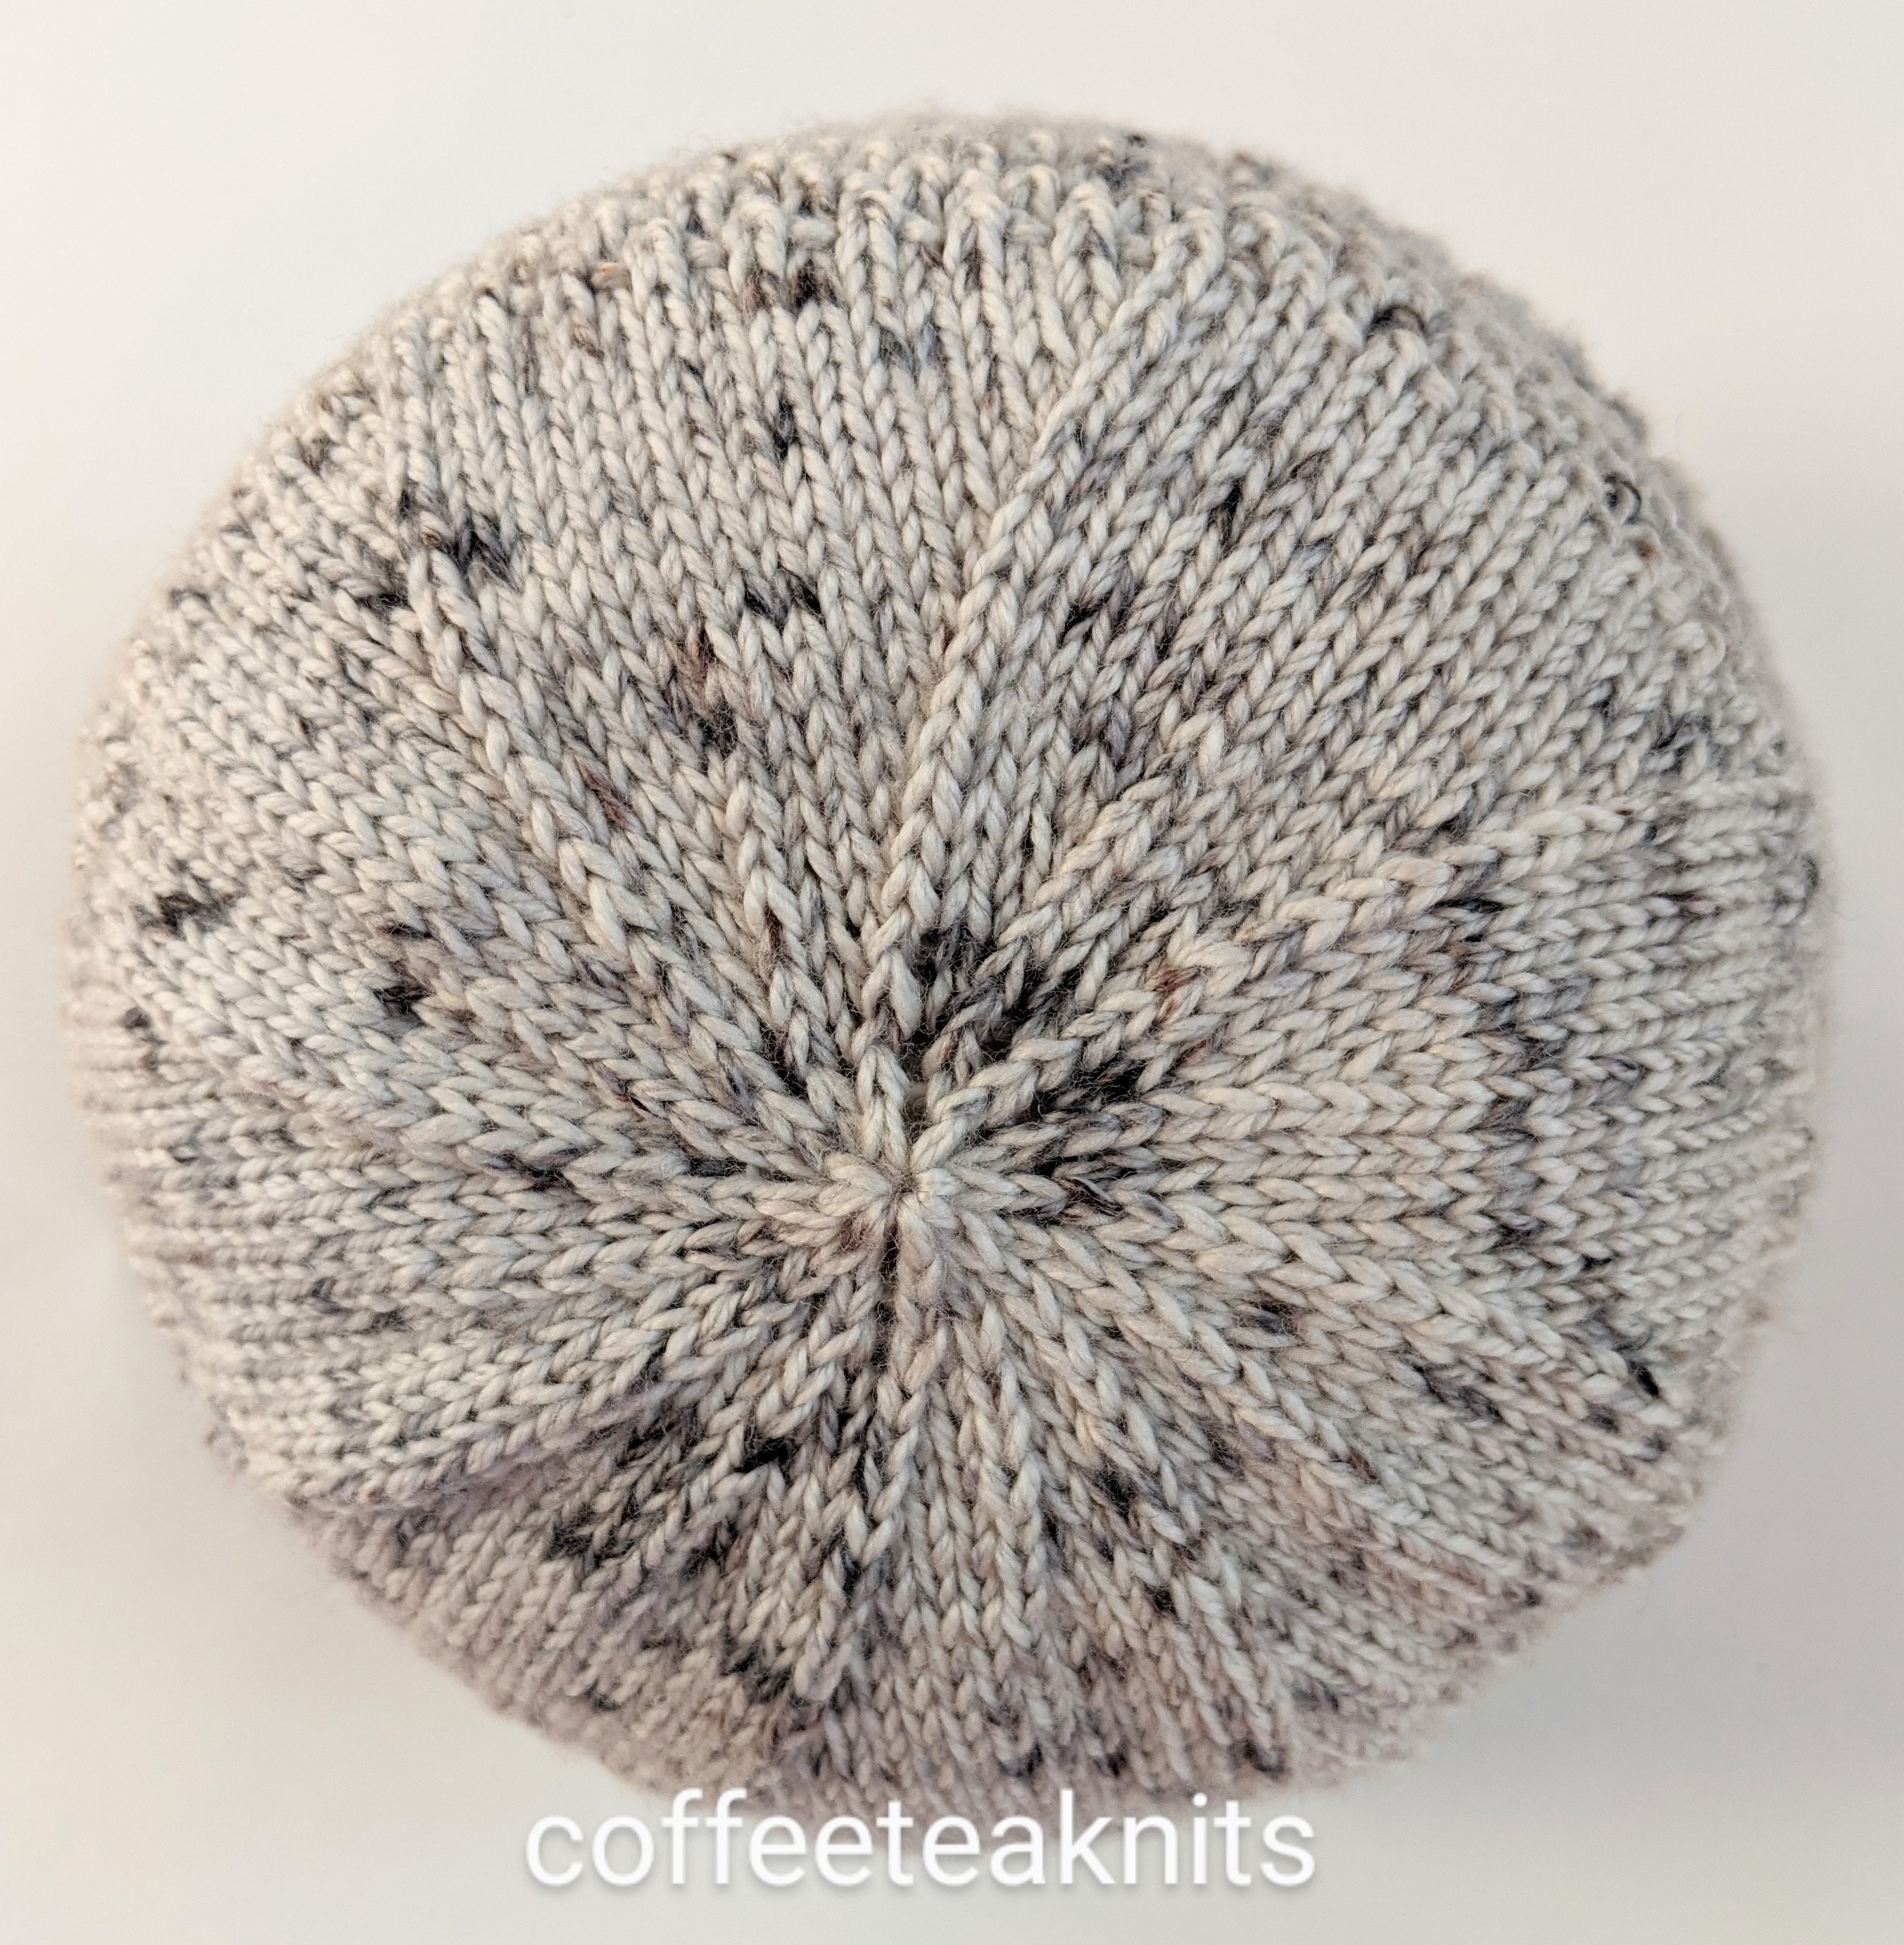
The Winterland Hat is knit bottom up and in the round. It has a simple cable stitch pattern and is a light and warm hat for this time of the year.
The Winterland Hat Pattern (text and images for personal use only)
PLEASE SUBSCRIBE FOR THE FREE PATTERN. THANK YOU

Subscribe to continue reading
Subscribe to get access to the rest of this post and other subscriber-only content.