Tutorial Series: The Garter Stitch Pattern

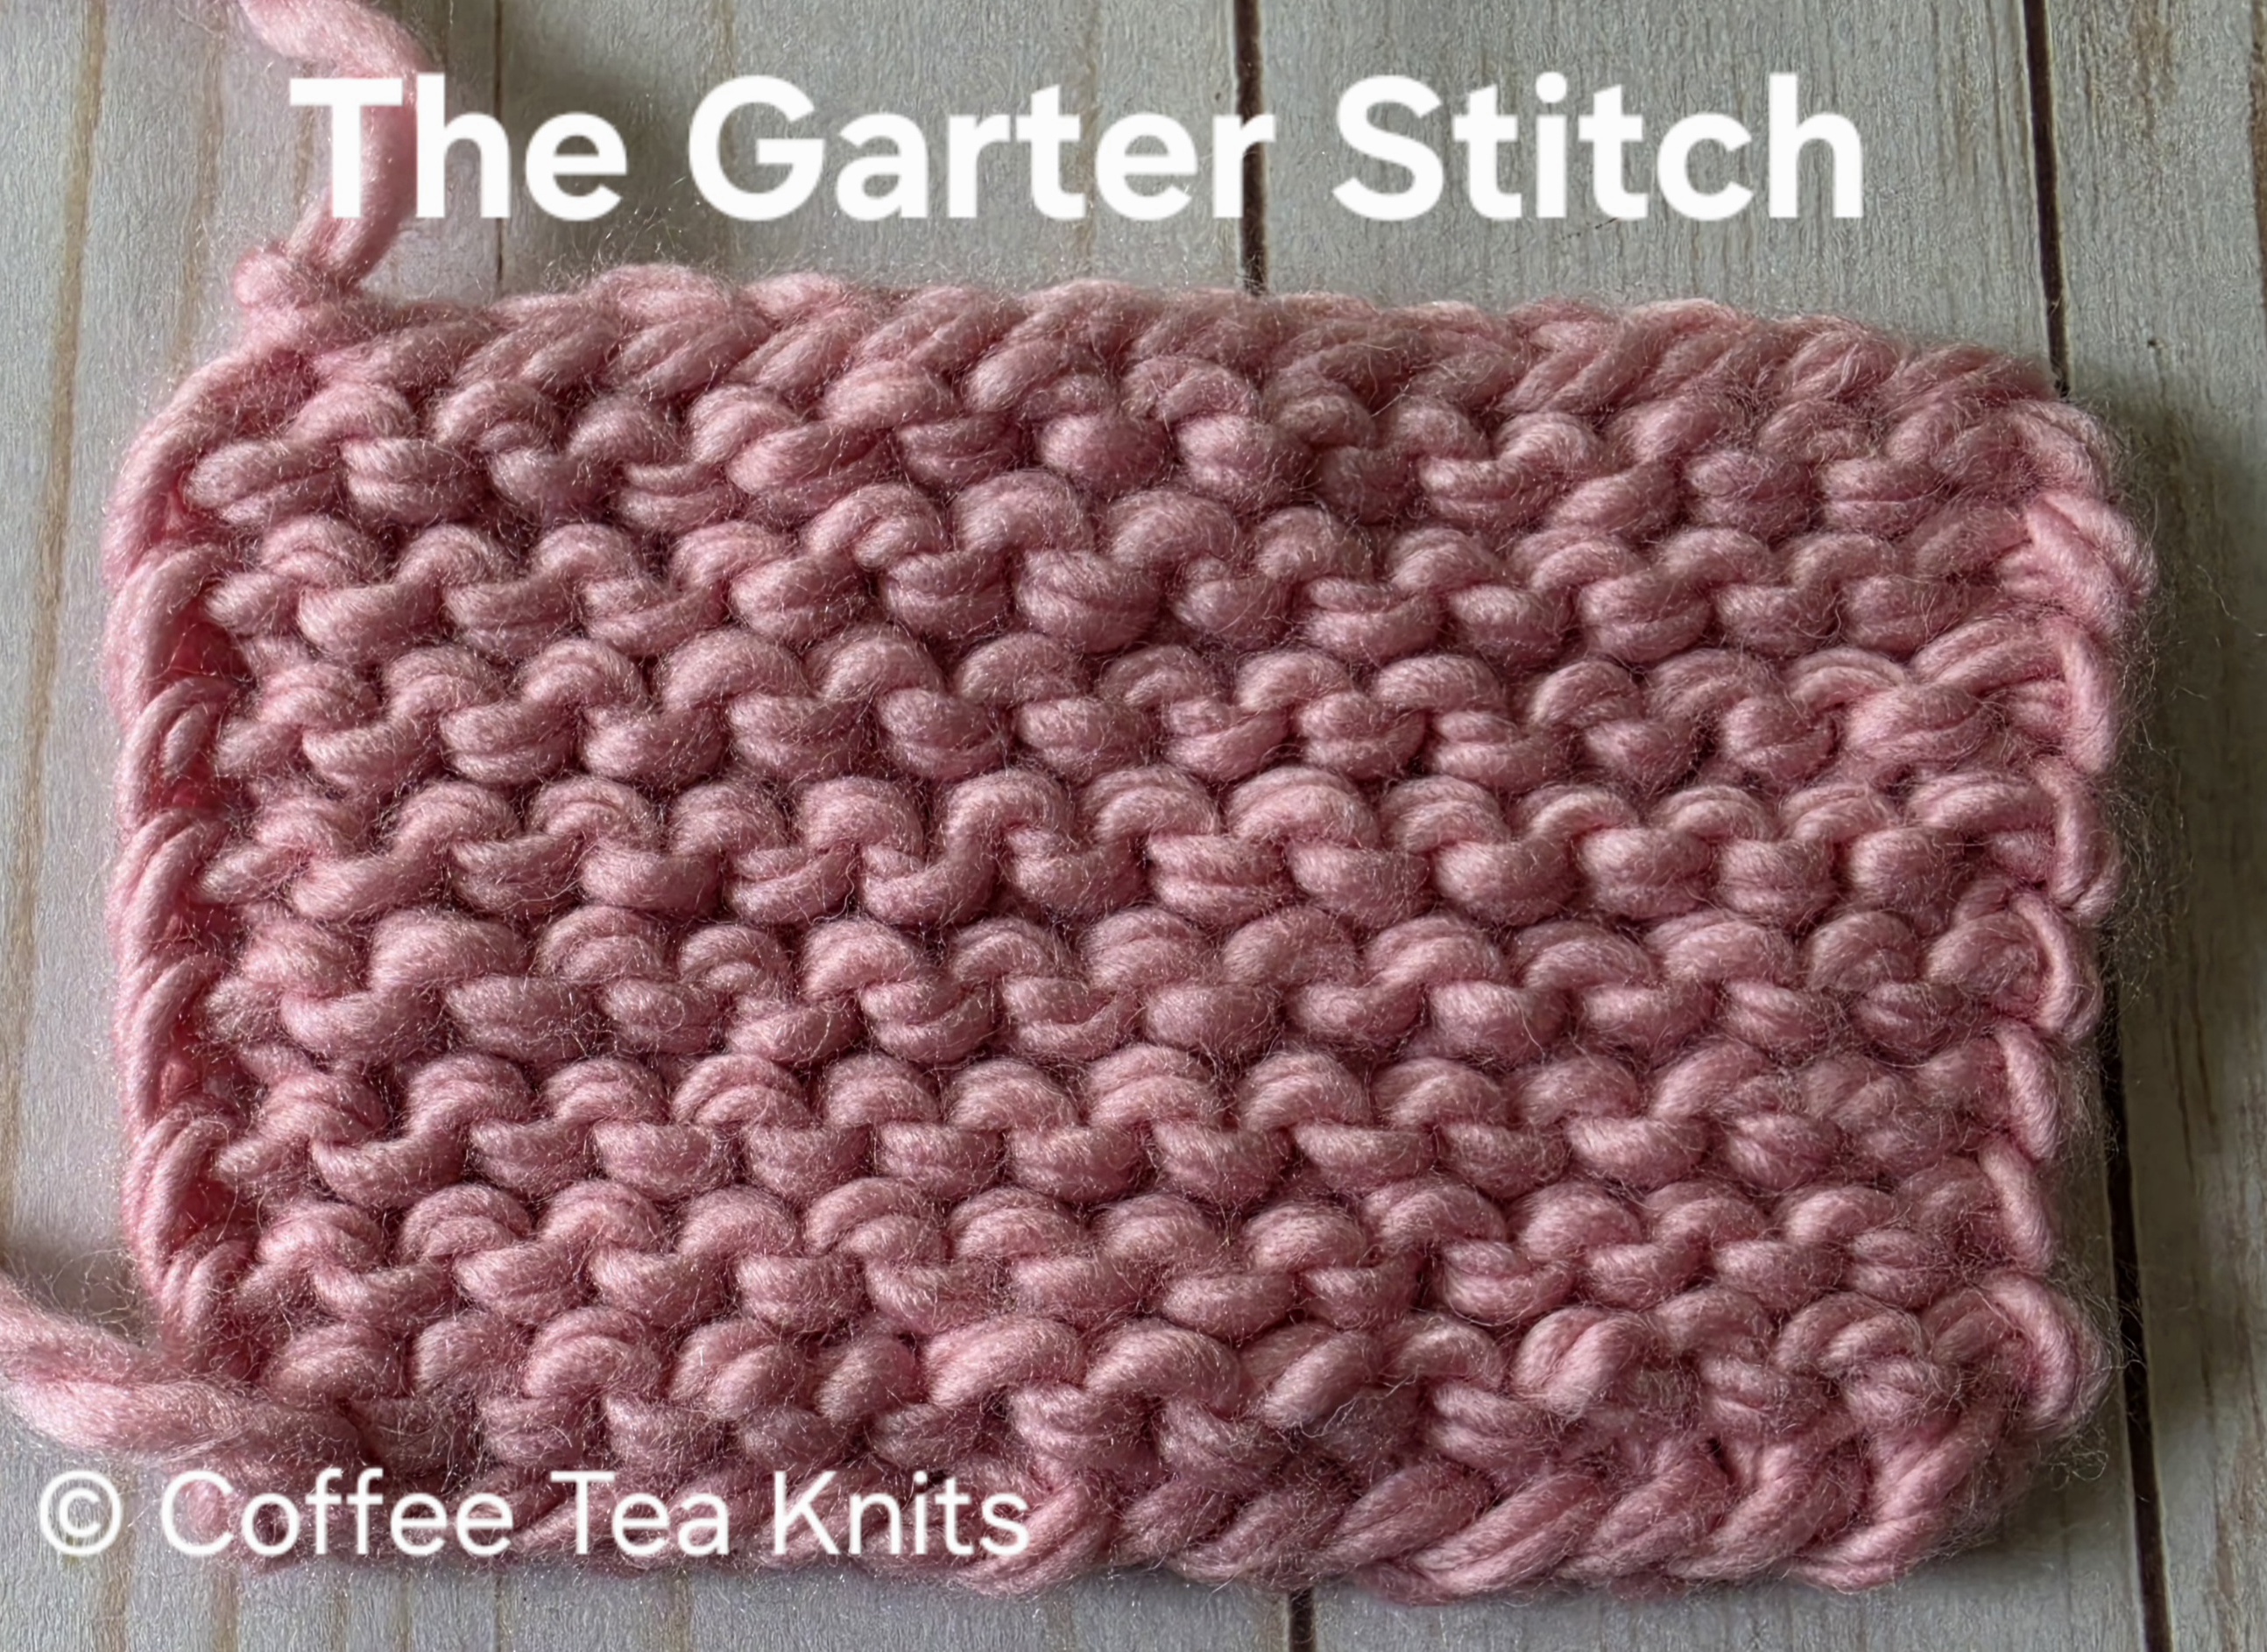
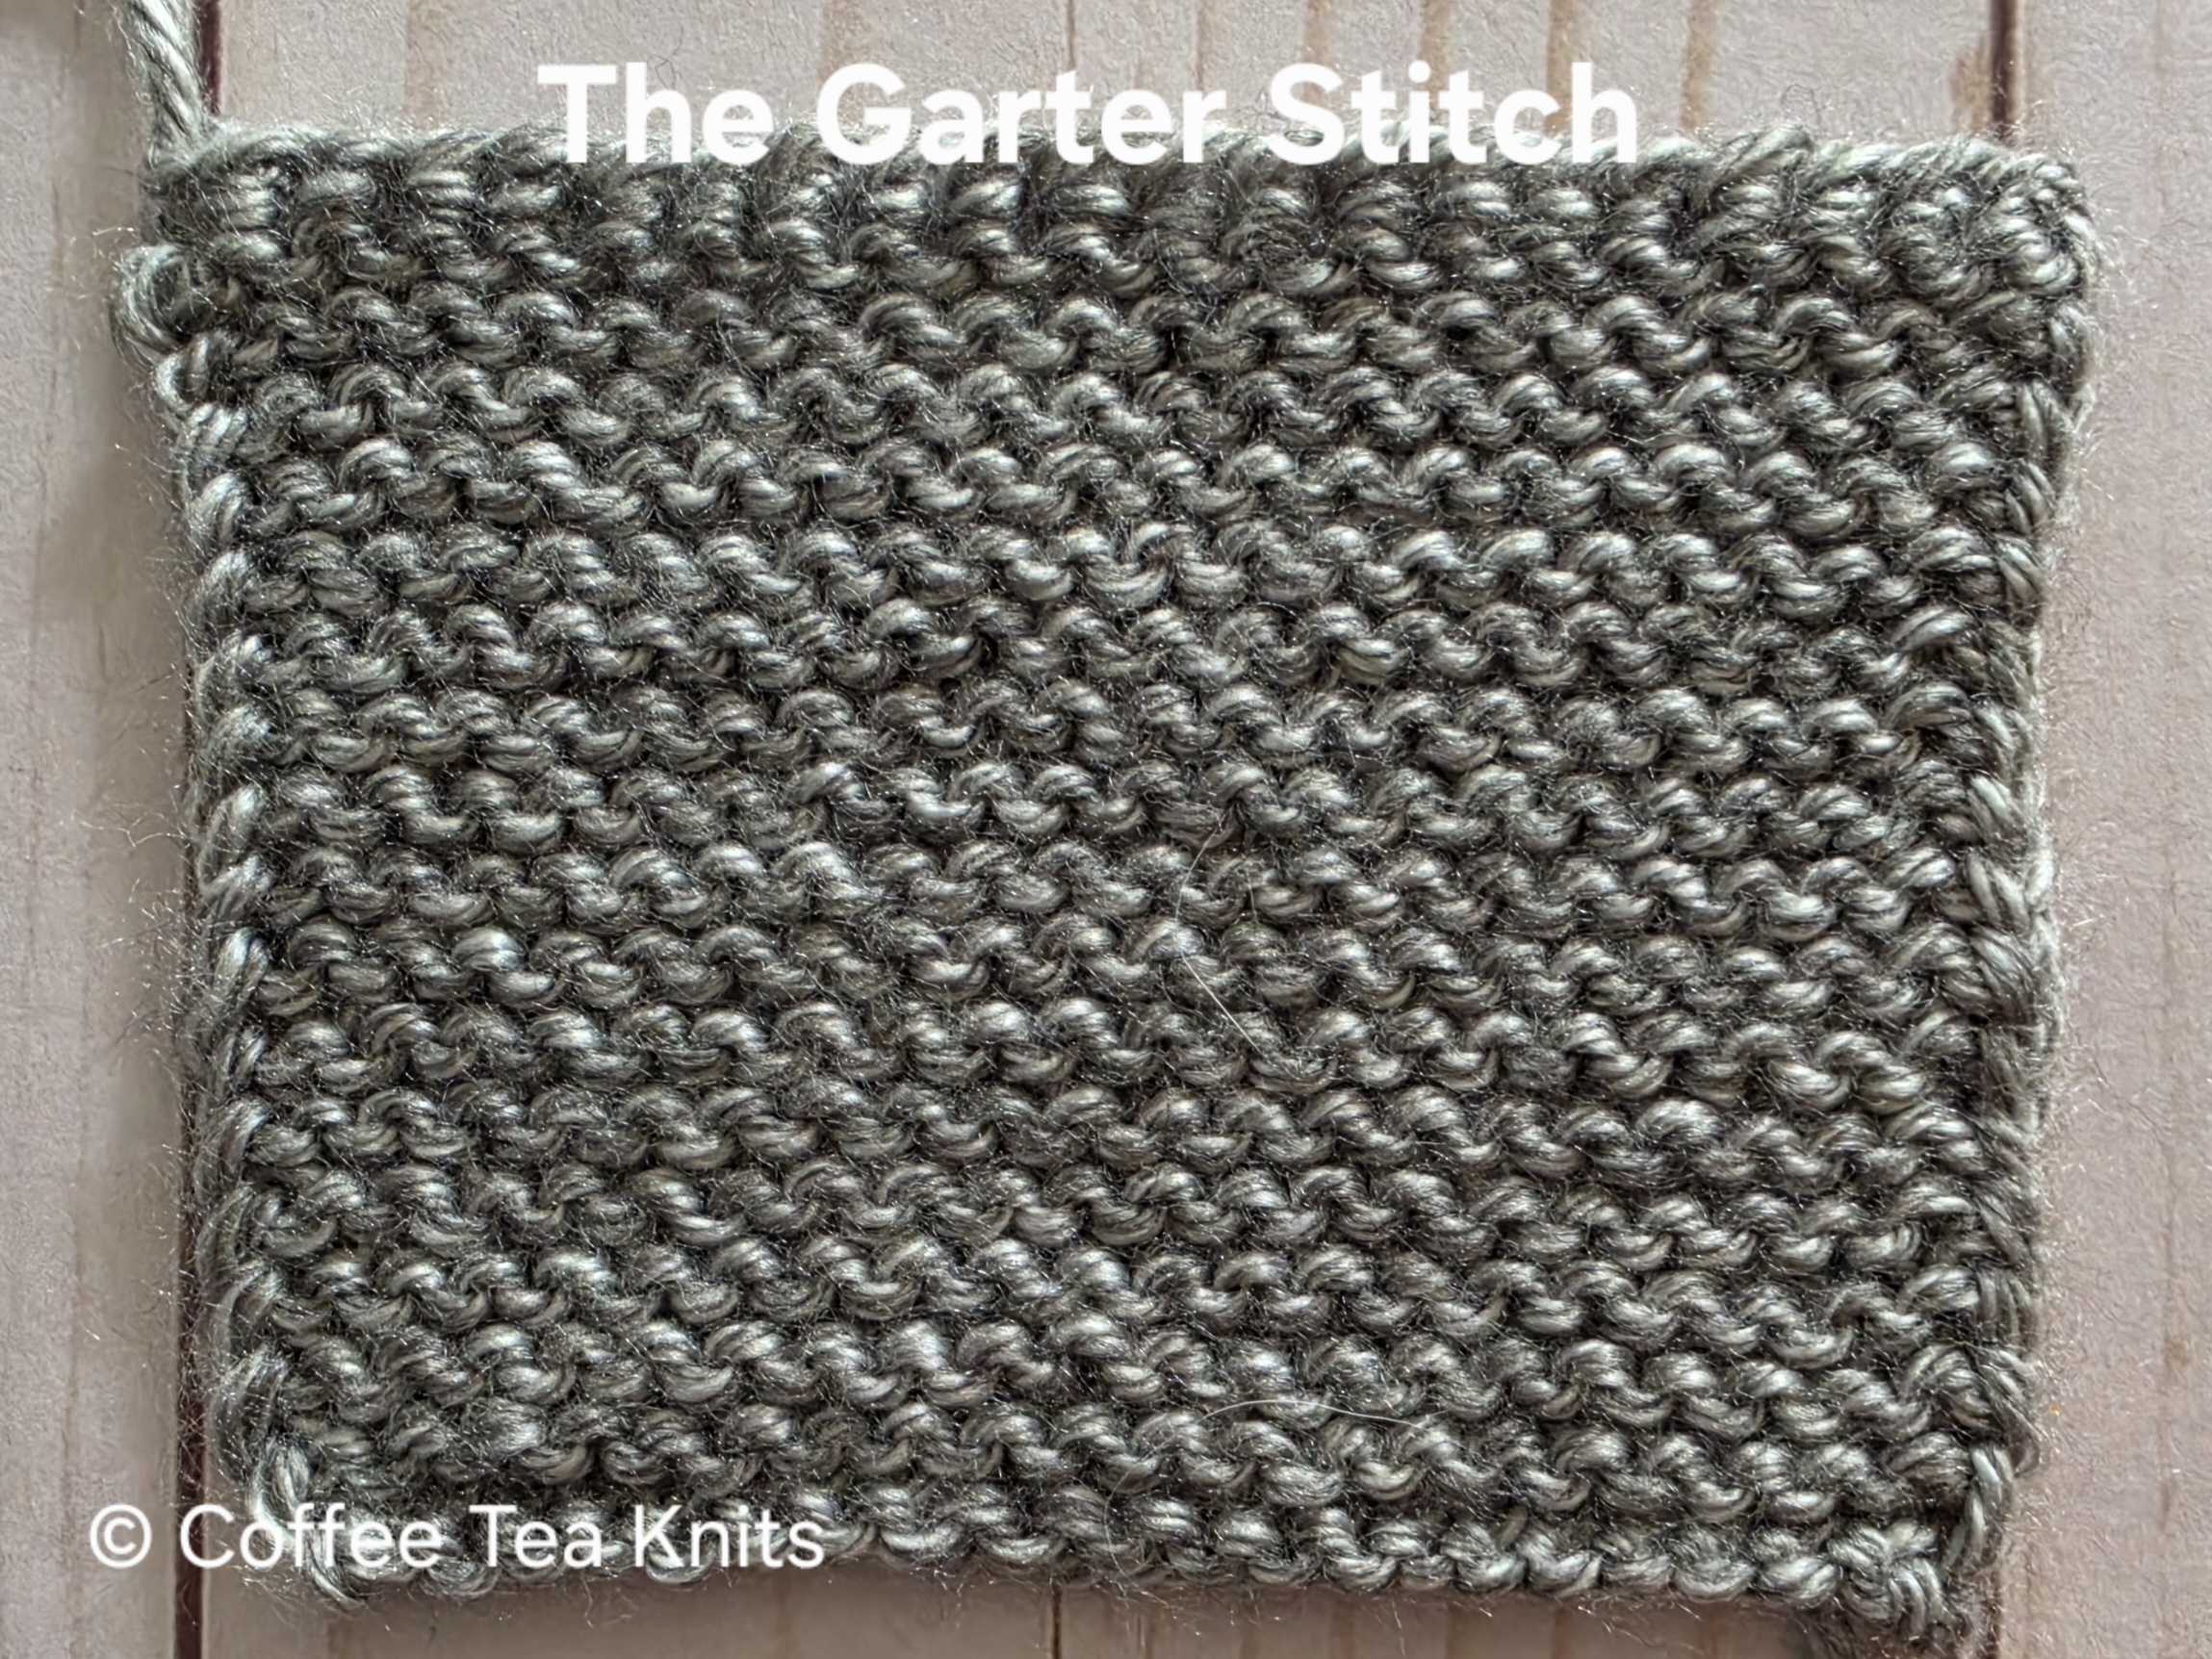
The garter stitch pattern is usually the first pattern that begins a knitter’s knitting journey. It is the first pattern taught to knit a scarf, blanket etc, This stitch pattern is a one-row repeat pattern where all the stitches in a row are knit stitches (Tutorial Series: Knit and Tink). The garter stitch is a reversible, textured and simple stitch pattern that lays flat with no curling. Since it lays flat, the garter stitch is also used for borders and edges of various knit projects, seamlessly integrating with other stitch patterns to create visually appealing contrasts. The garter stitch pattern with a combination of slipped stitches (Tutorial Series: Slipping Stitches – Knitwise versus Purlwise) or yarn over (Tutorial Series: Yarn Over (YO) with Knit Stitches) patterns can create many beautiful and versatile knits.
Advertisements

The video below shows how to knit the garter stitch pattern with slipped edge stitches for right-hand knitting

The Garter Stitch Pattern with Slipped Edge Stitches:

Advertisements


Written Steps for the Garter Stitch with Slipped Edge Stitches:

  • Insert the right knitting needle from back to front of the first stitch on the left knitting needle.
  • Take the working yarn around the top of the right needle and wrap it between the two needles on top of the first stitch
  • Catch and pick up the working yarn loop (the new stitch) with the right needle
  • Slip the first stitch off the left needle and onto the right needle for the new knit stitch
  • Repeat the steps above till one stitch before end of row
  • Bring the working yarn to front (Tutorial Series: WYIF and WYIB), slip the last stitch (Tutorial Series: Slipping Stitches – Knitwise versus Purlwise)
  • Turn to the next row and repeat all the steps above for the one-row garter stitch pattern with slipped edge stitches

Advertisements

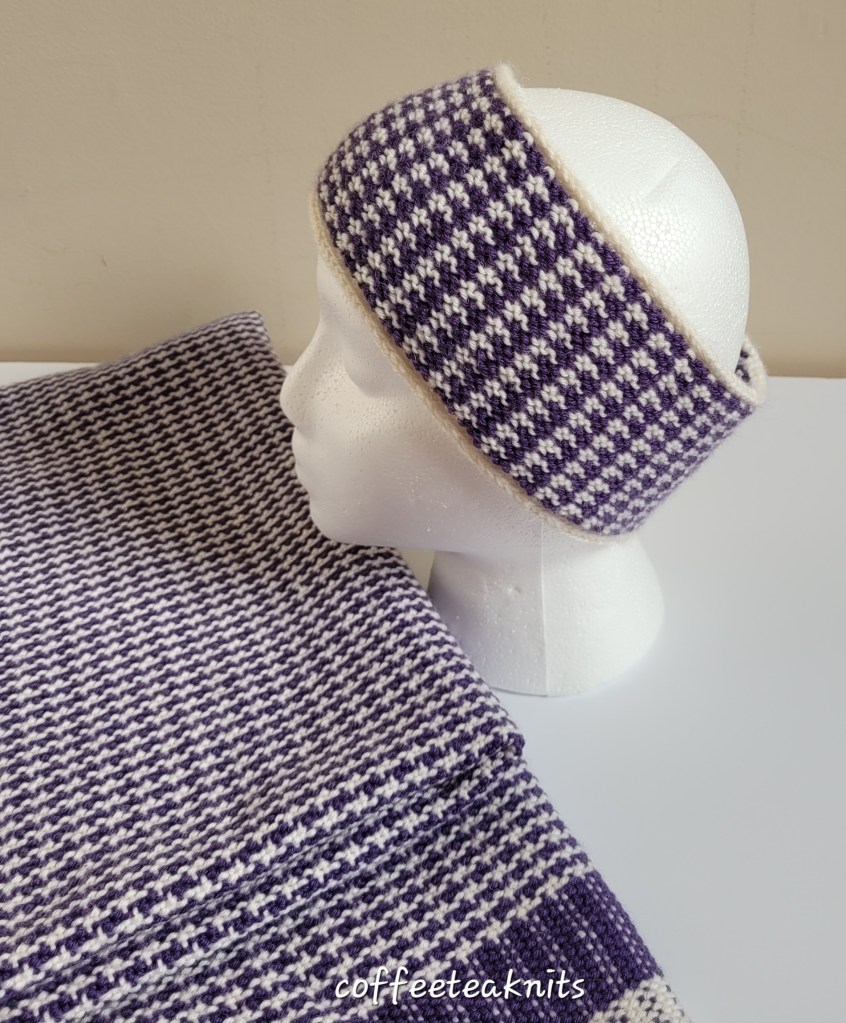
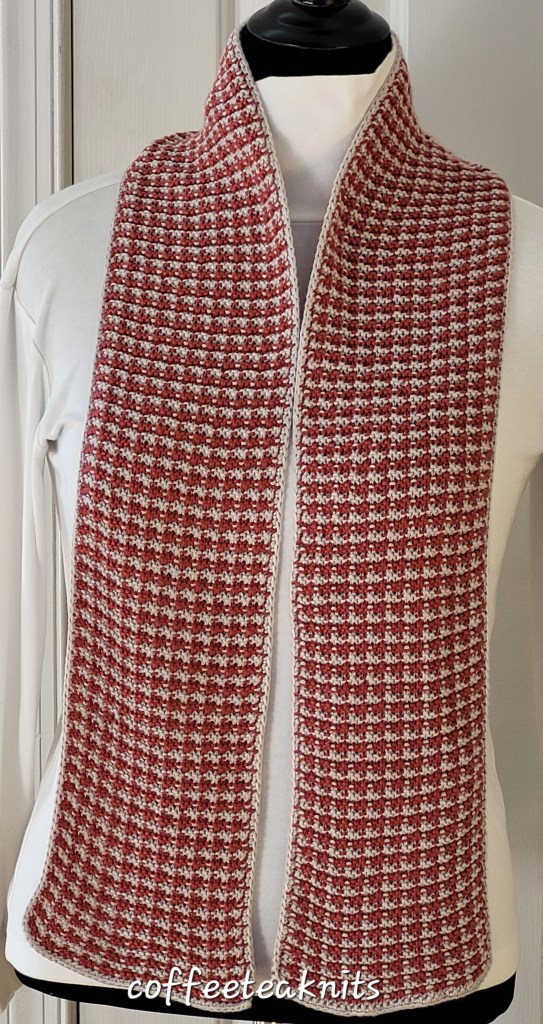
Some of my patterns where I’ve used the garter stitch are shown below:
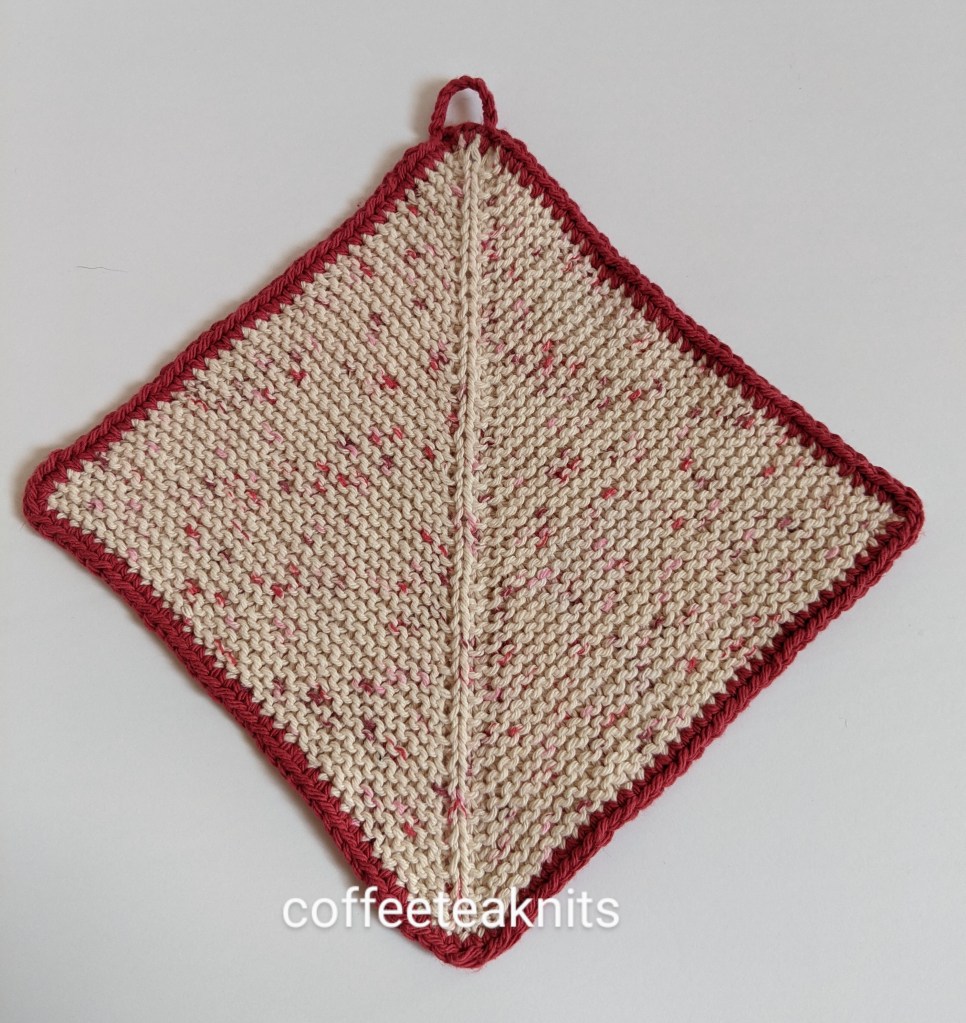
The Upside Down DishclothThe Interwoven Earwarmer

The Layered Bricks ScarfThe Nostalgic Wrap
Advertisements

~coffeeteaknits.com

The Felted Potholder Pattern


Ever since I stumbled upon those felted insoles at the New Jersey Sheep and Wool festival last September, I’ve been wanting to learn how to felt wool. Felting wool is the process of shrinking, condensing the fibers and tightening the yarn that is knit or crocheted. The different methods of felting include wet felting (water and soap), needle felting (uses a barbed needle), and Nuno felting (wool fiber agitated with light weight fibers such as silk). Needle felting is mainly used for ornaments, figurines etc. whereas Nuno felting is more for shawls, scarves etc. Wet felting is used for shoe insoles, hats, purses, slippers etc.


Advertisements

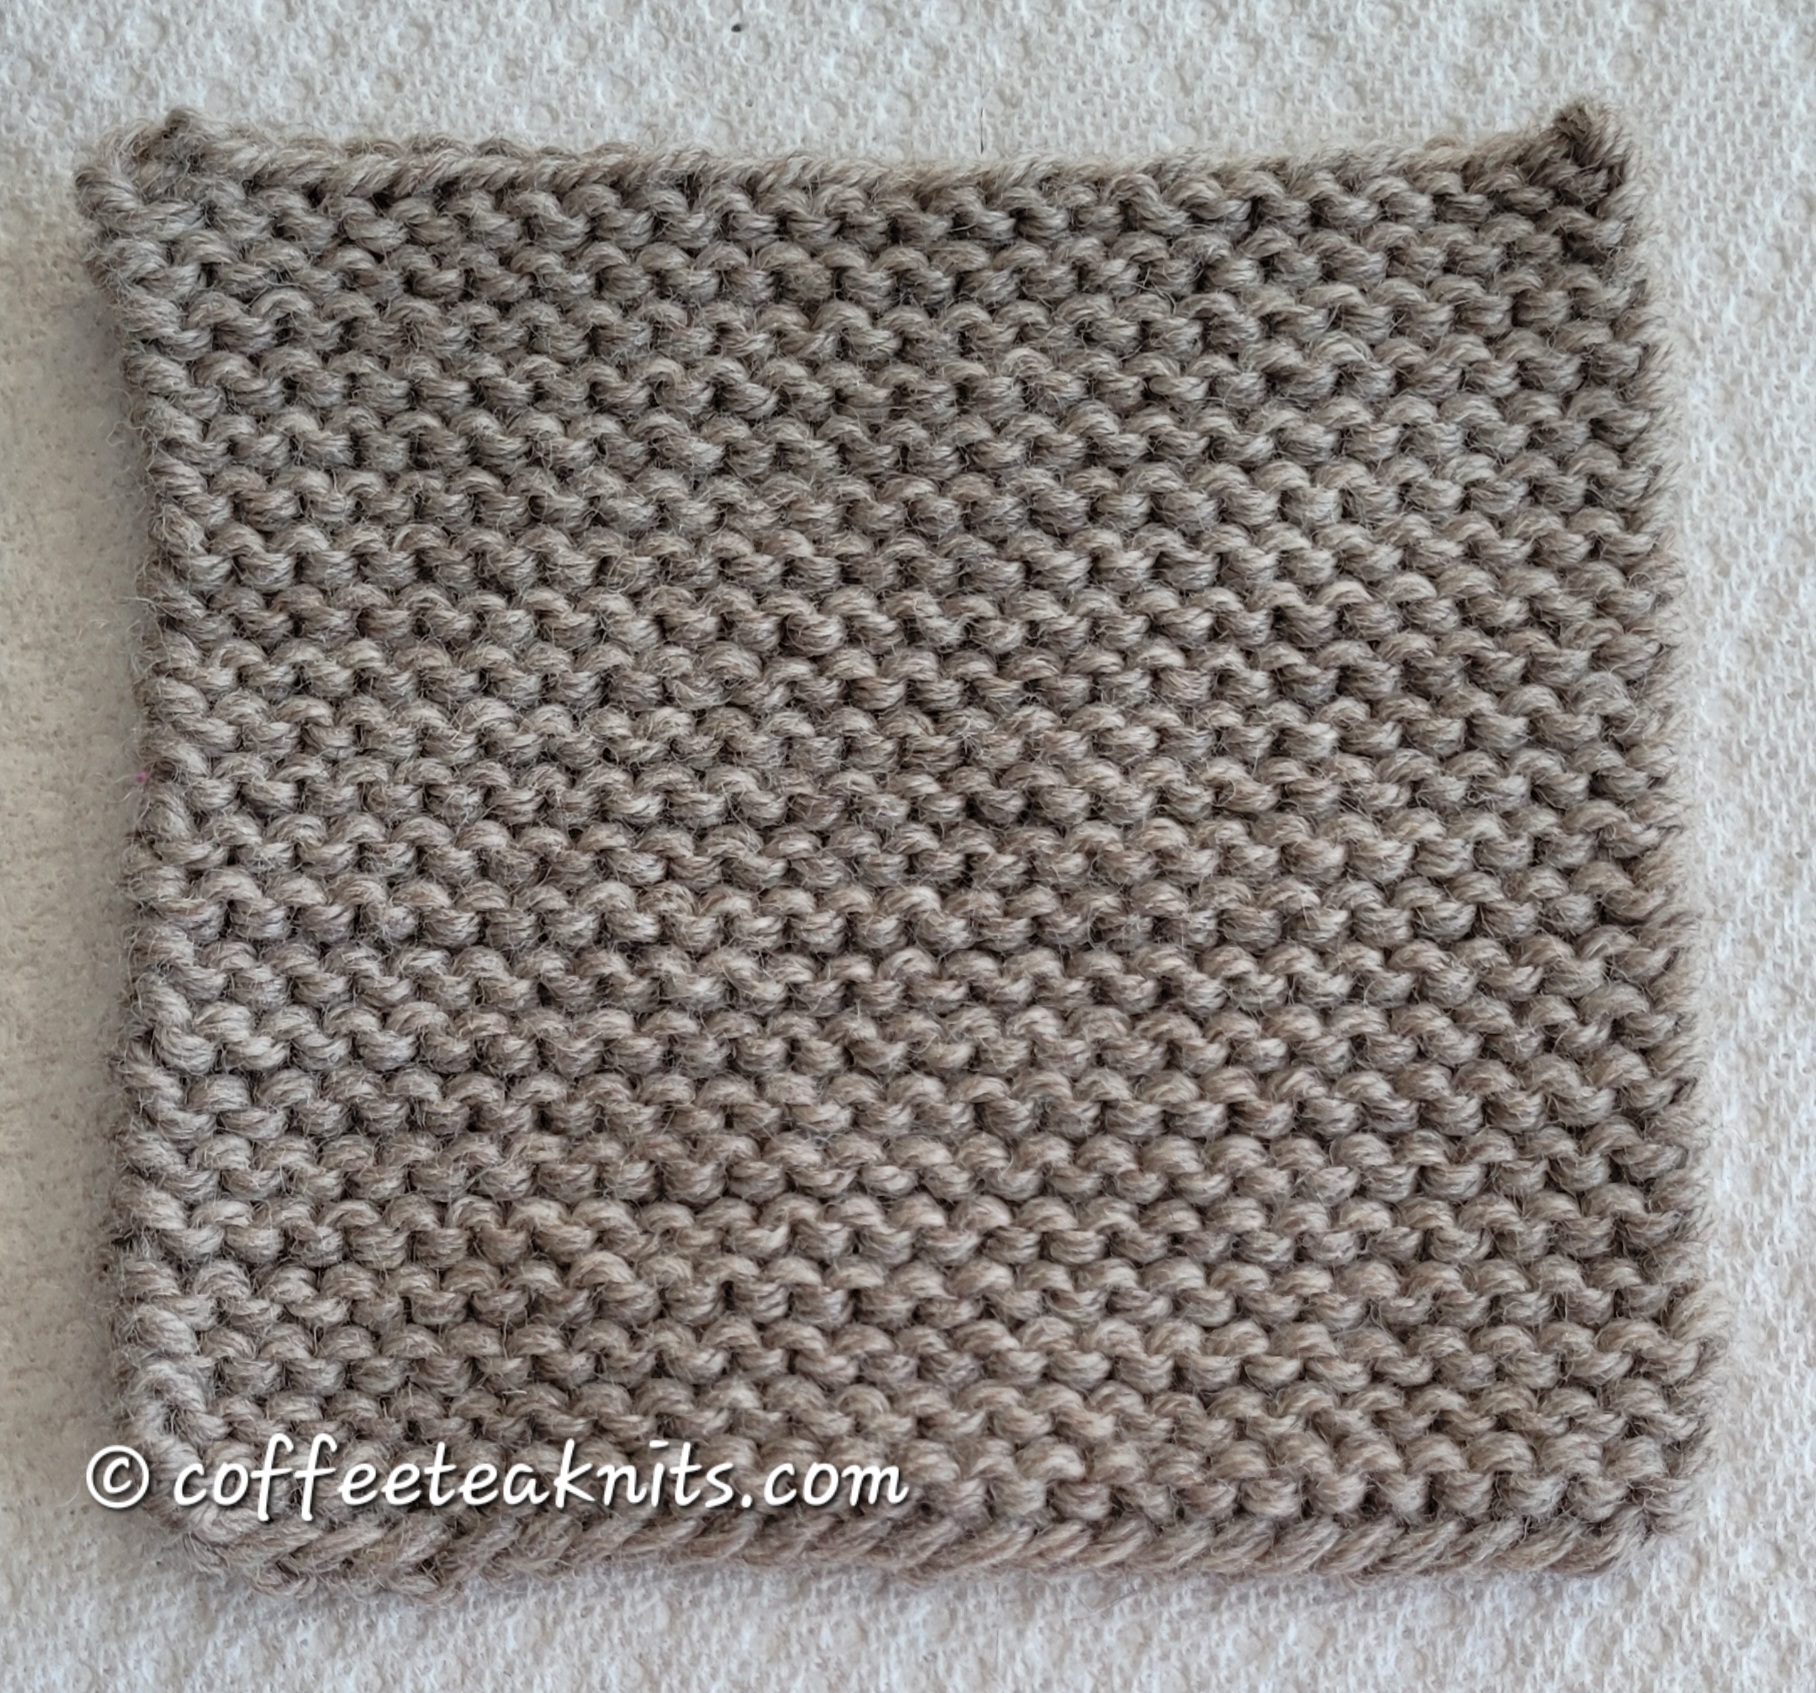
I knit the potholder first and then used the wet felting with hand technique to shrink the knitted piece. The potholder was knit flat in the garter knit stitch pattern with two strands of yarn held together. The knitted piece shown below was measured before wet felting. There is stitch definition, the piece is pliable and can be stretched.

Advertisements

The Felted Potholder Pattern (text and images for personal use only)

Materials Needed for Knitting the Potholder:
Yarn: Patons® Classic Wool Worsted in Natural Mix colorway
Gauge: 4 stitches per inch garter stitch
Knitting Needle: Size Us #8 (5.0 mm) for cast on and bind off and US #7 (4.5 mm) for knitting the potholder
Tapestry needle to weave in ends

Advertisements

Materials Needed for Wet Felting the Potholder:
Bowl
Gloves
Soap
Water
Patience

Abbreviations:
K: Knit (Tutorial Series: Knit and Tink)
RS: Right Side
WS: Wrong Side

Skill Level: Beginner friendly pattern with knit stitch, cast on and bind off

Advertisements

Cast on 25 stitches with US #8 (5.0 mm) size knitting needles using any long tail cast method of choice. I cast on using the thumb cast on method (Tutorial Series: The Thumb Method Cast On)

With US #7 (4.5 mm) size knitting needles begin –

  • Row 1 (RS): Knit all stitches
  • Row 2 (WS): Knit all stitches

Repeat Rows 1 and 2 till the piece measures 5.5 inches

Bind off (Tutorial Series: The Basic Knit Bind Off) using US #8 (5.0 mm) size needles

The dimensions of the knitted potholder is 5.5 x 5.5 inches


Advertisements

The Wet Felting Process*: YouTube has many tutorials on how to do wet felting by hand

  • In a bowl add warm but not not scalding water, soap and the knitted potholder
  • Rinse (wearing gloves) the potholder and soak it in hot water for about an hour or so
  • Add some more warm but not scalding water in the bowl
  • Take the potholder and with a circular motion rub it together between your hands to create friction for the felting
  • Repeat the previous 2 steps till the fabric becomes dense, taut and has no stitch definition left

The process of wet felting this potholder took about half an hour

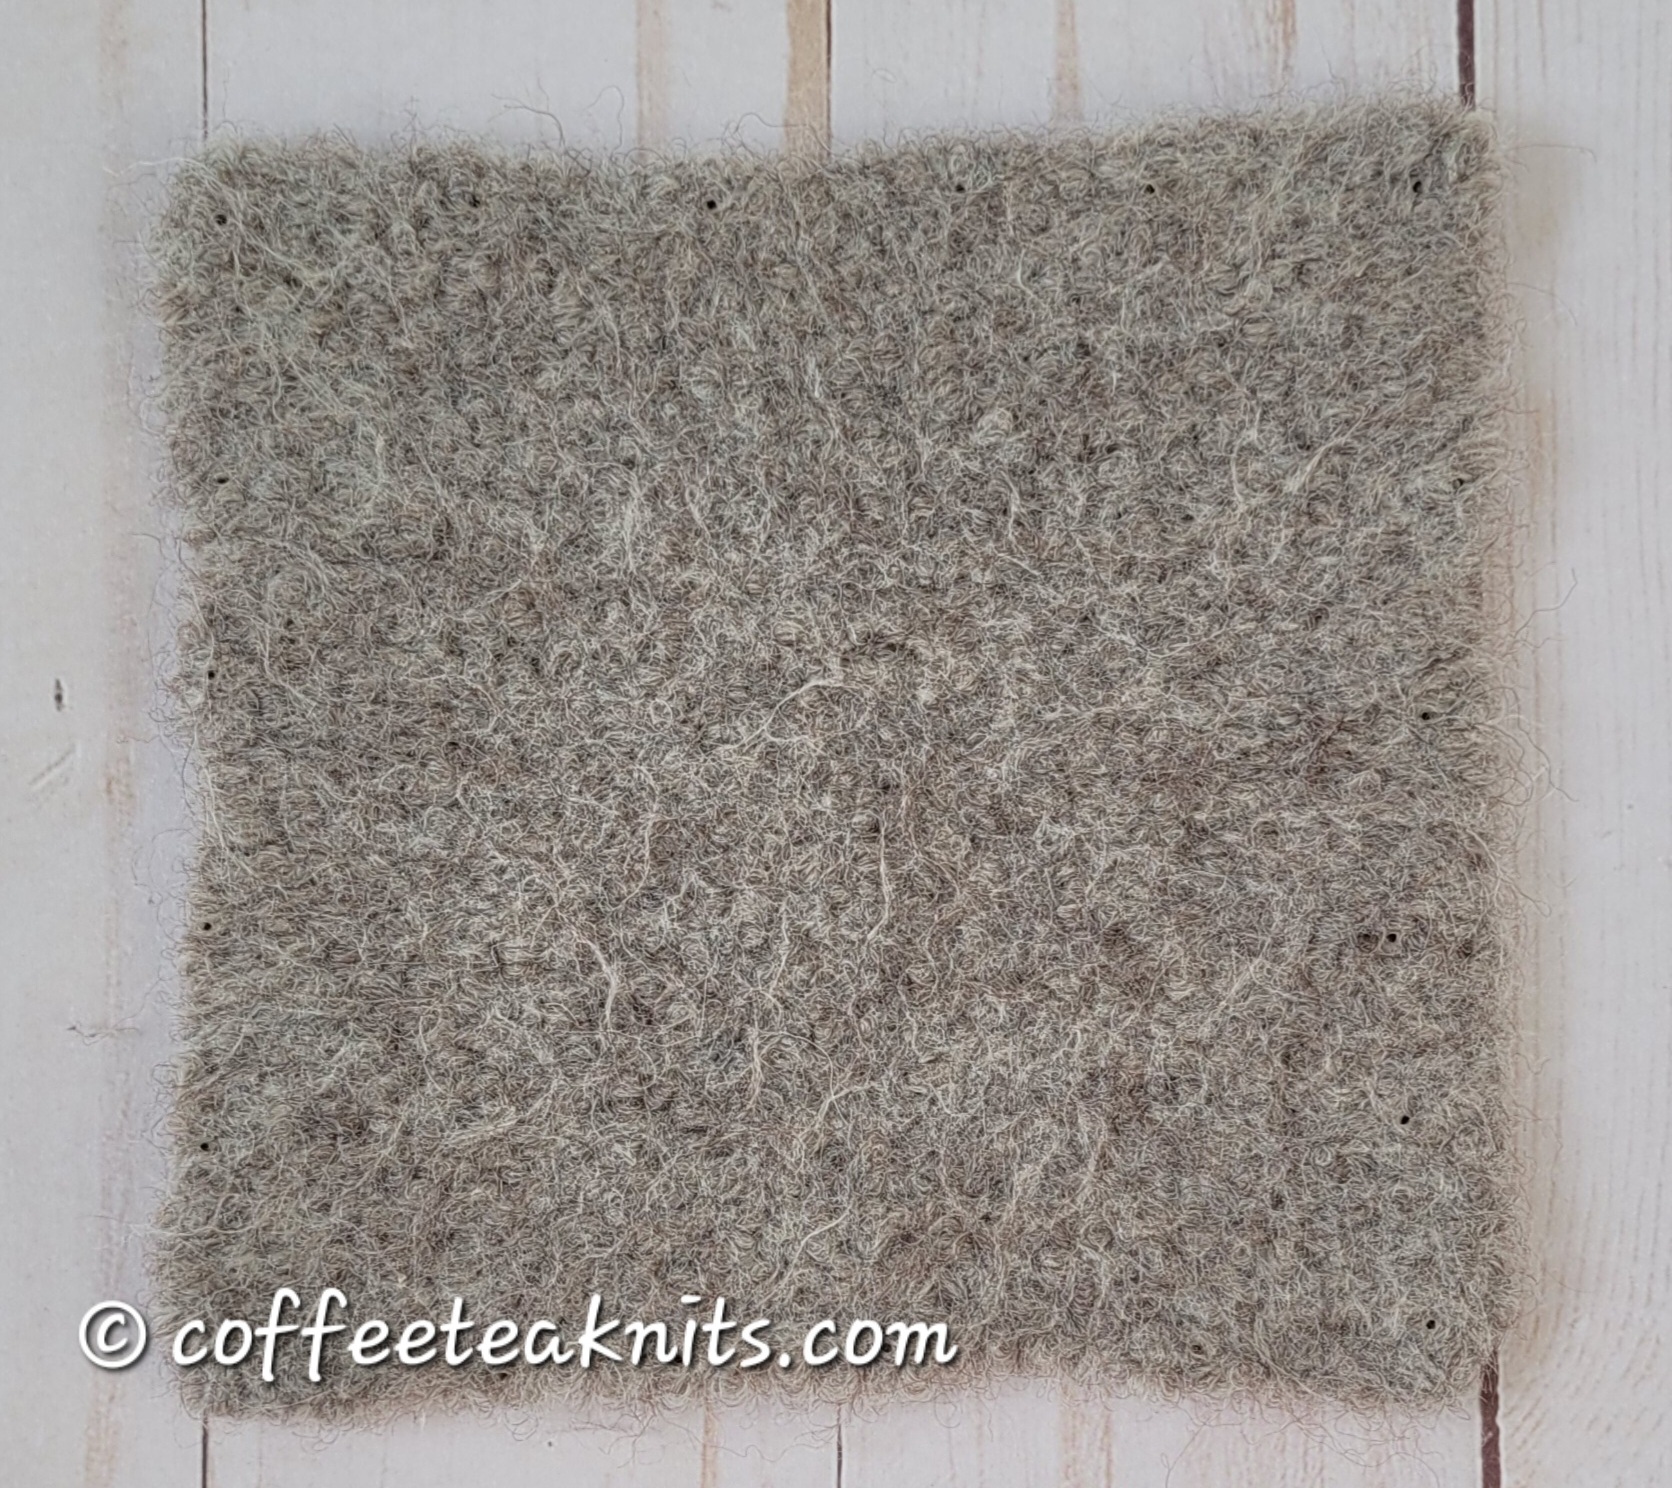
Block and dry the potholder. I now use these felted potholders daily to hold pots and pans while cooking.

The dimensions of the Felted Potholder is 5 x 5 inches. It is dense, rustic with fibers that stick out and has no stitch definition

* I found the process of hand wet felting this potholder a bit labor intensive. Rolling pins, agitating in the washer are some other ways to felt knitted items

Advertisements

Share your experience with wet felting wool in the comment section below


~coffeeteaknits.com