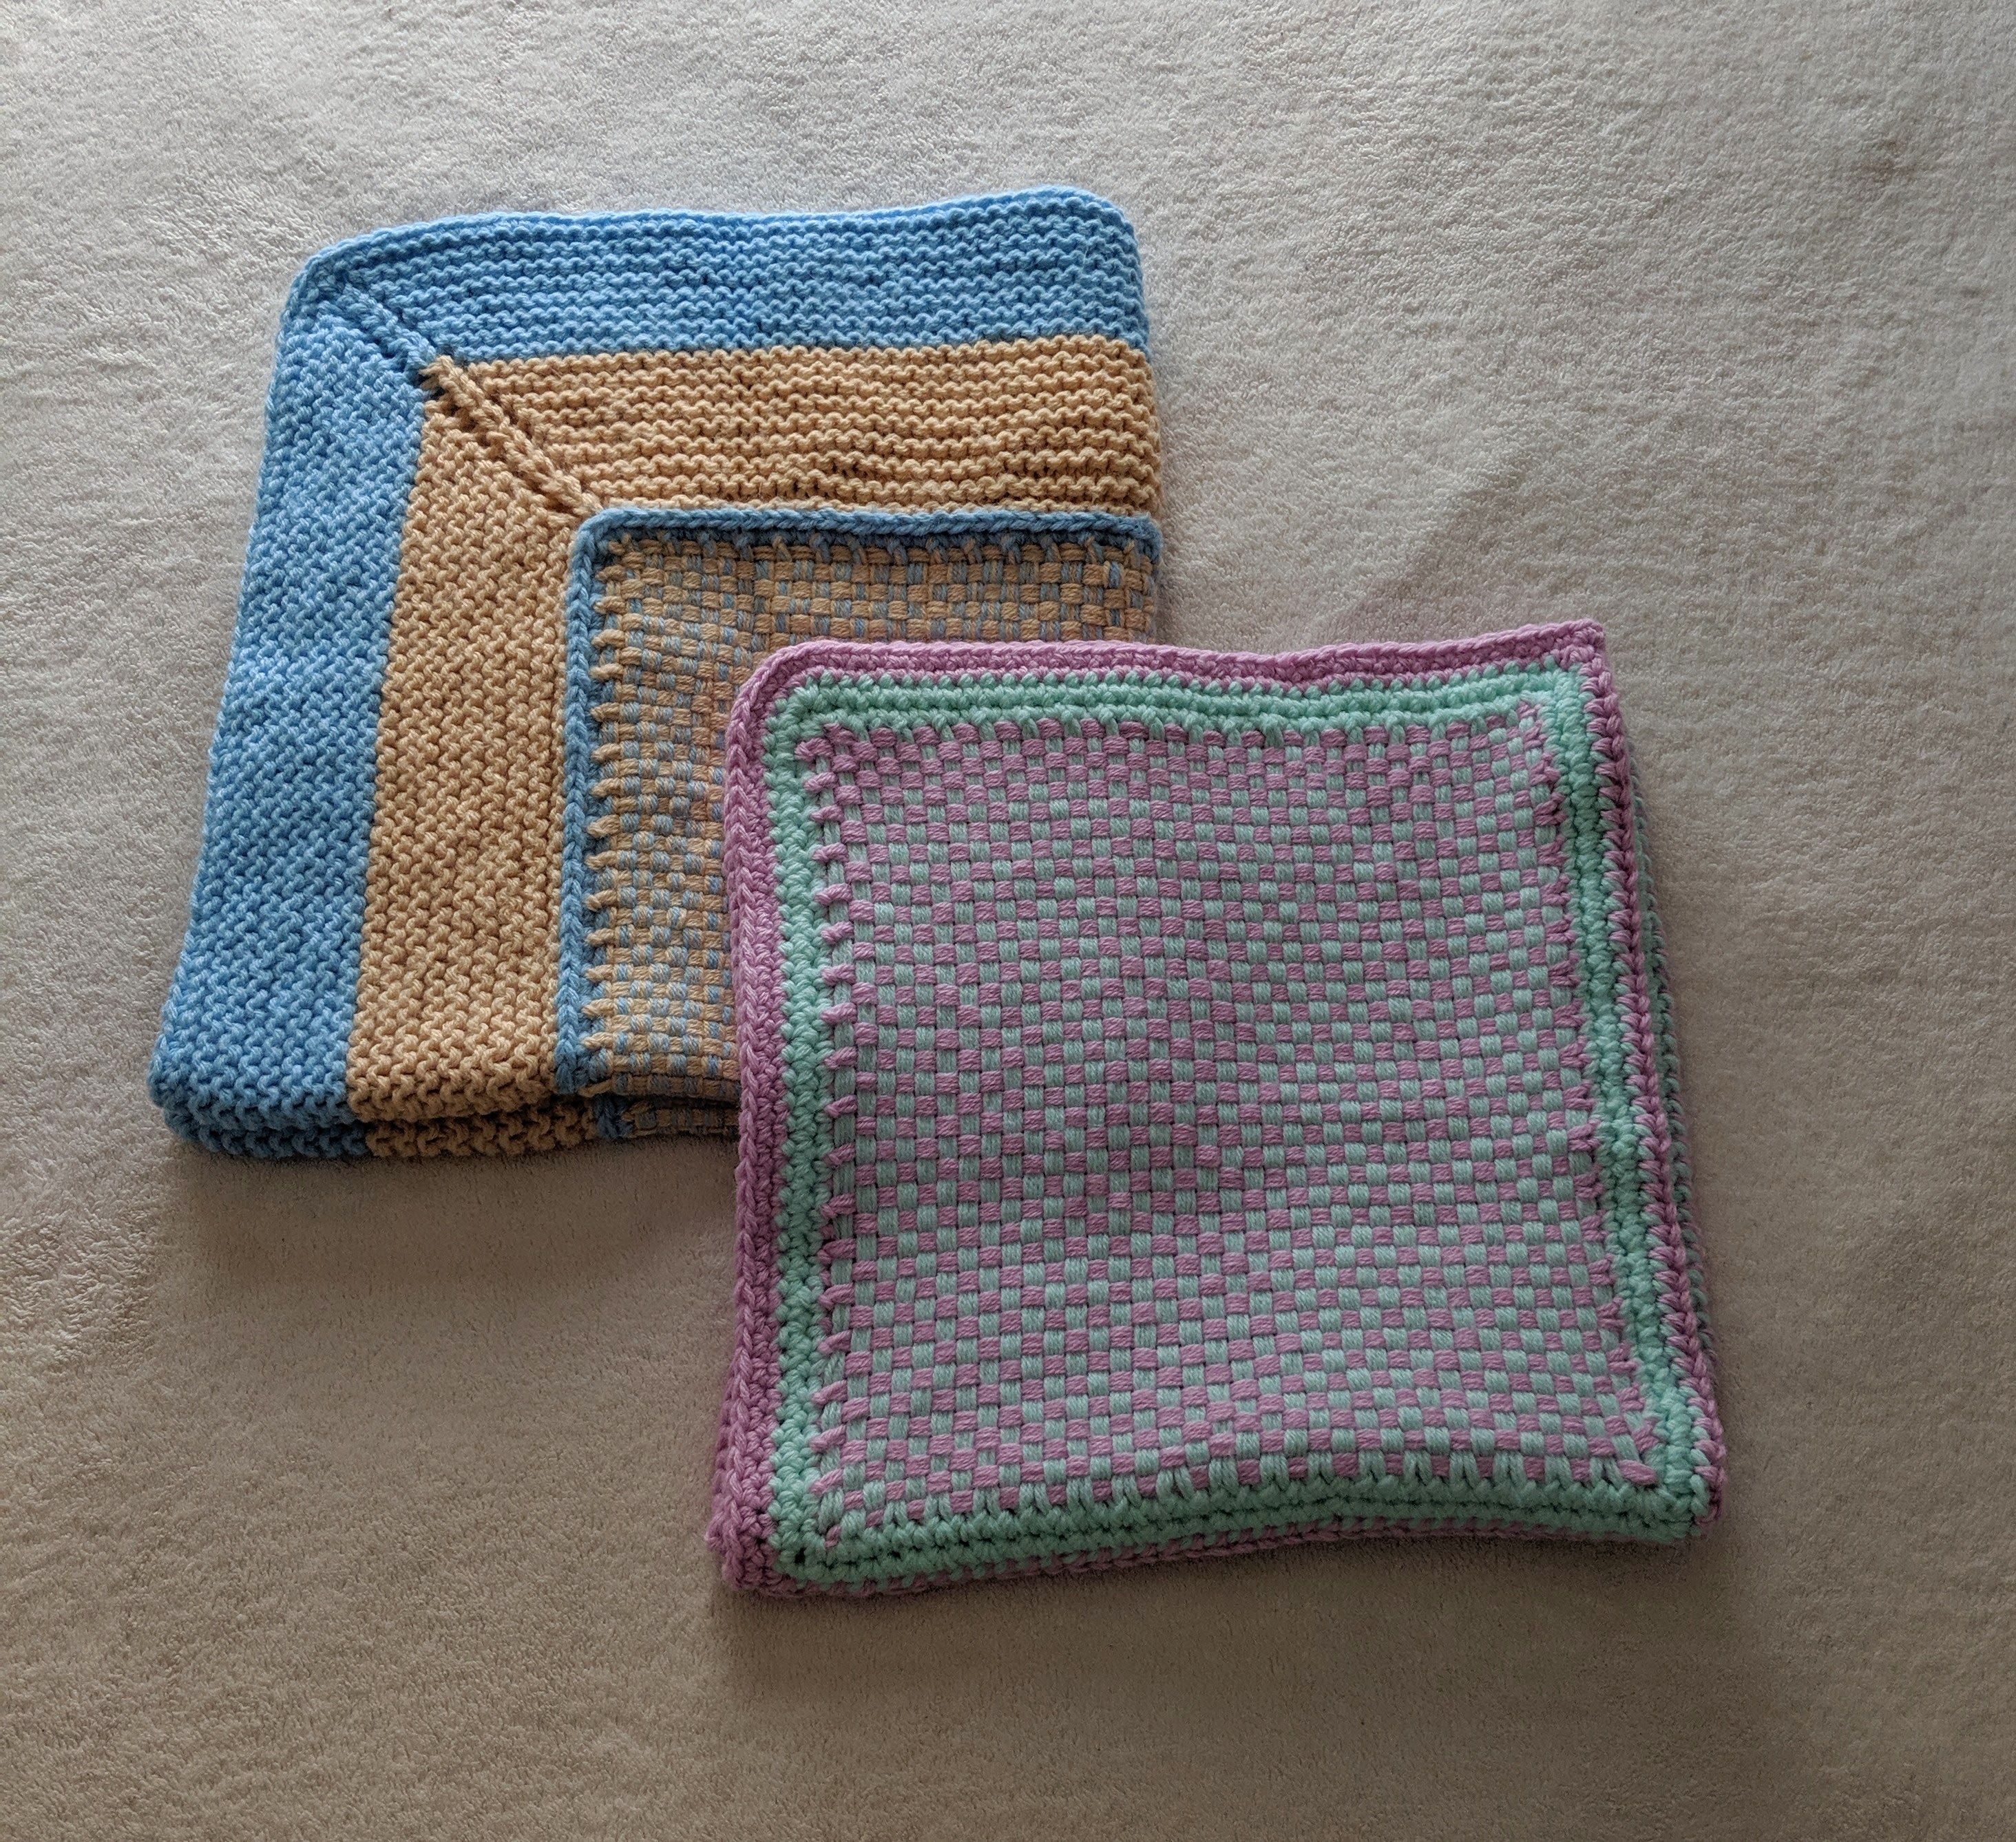
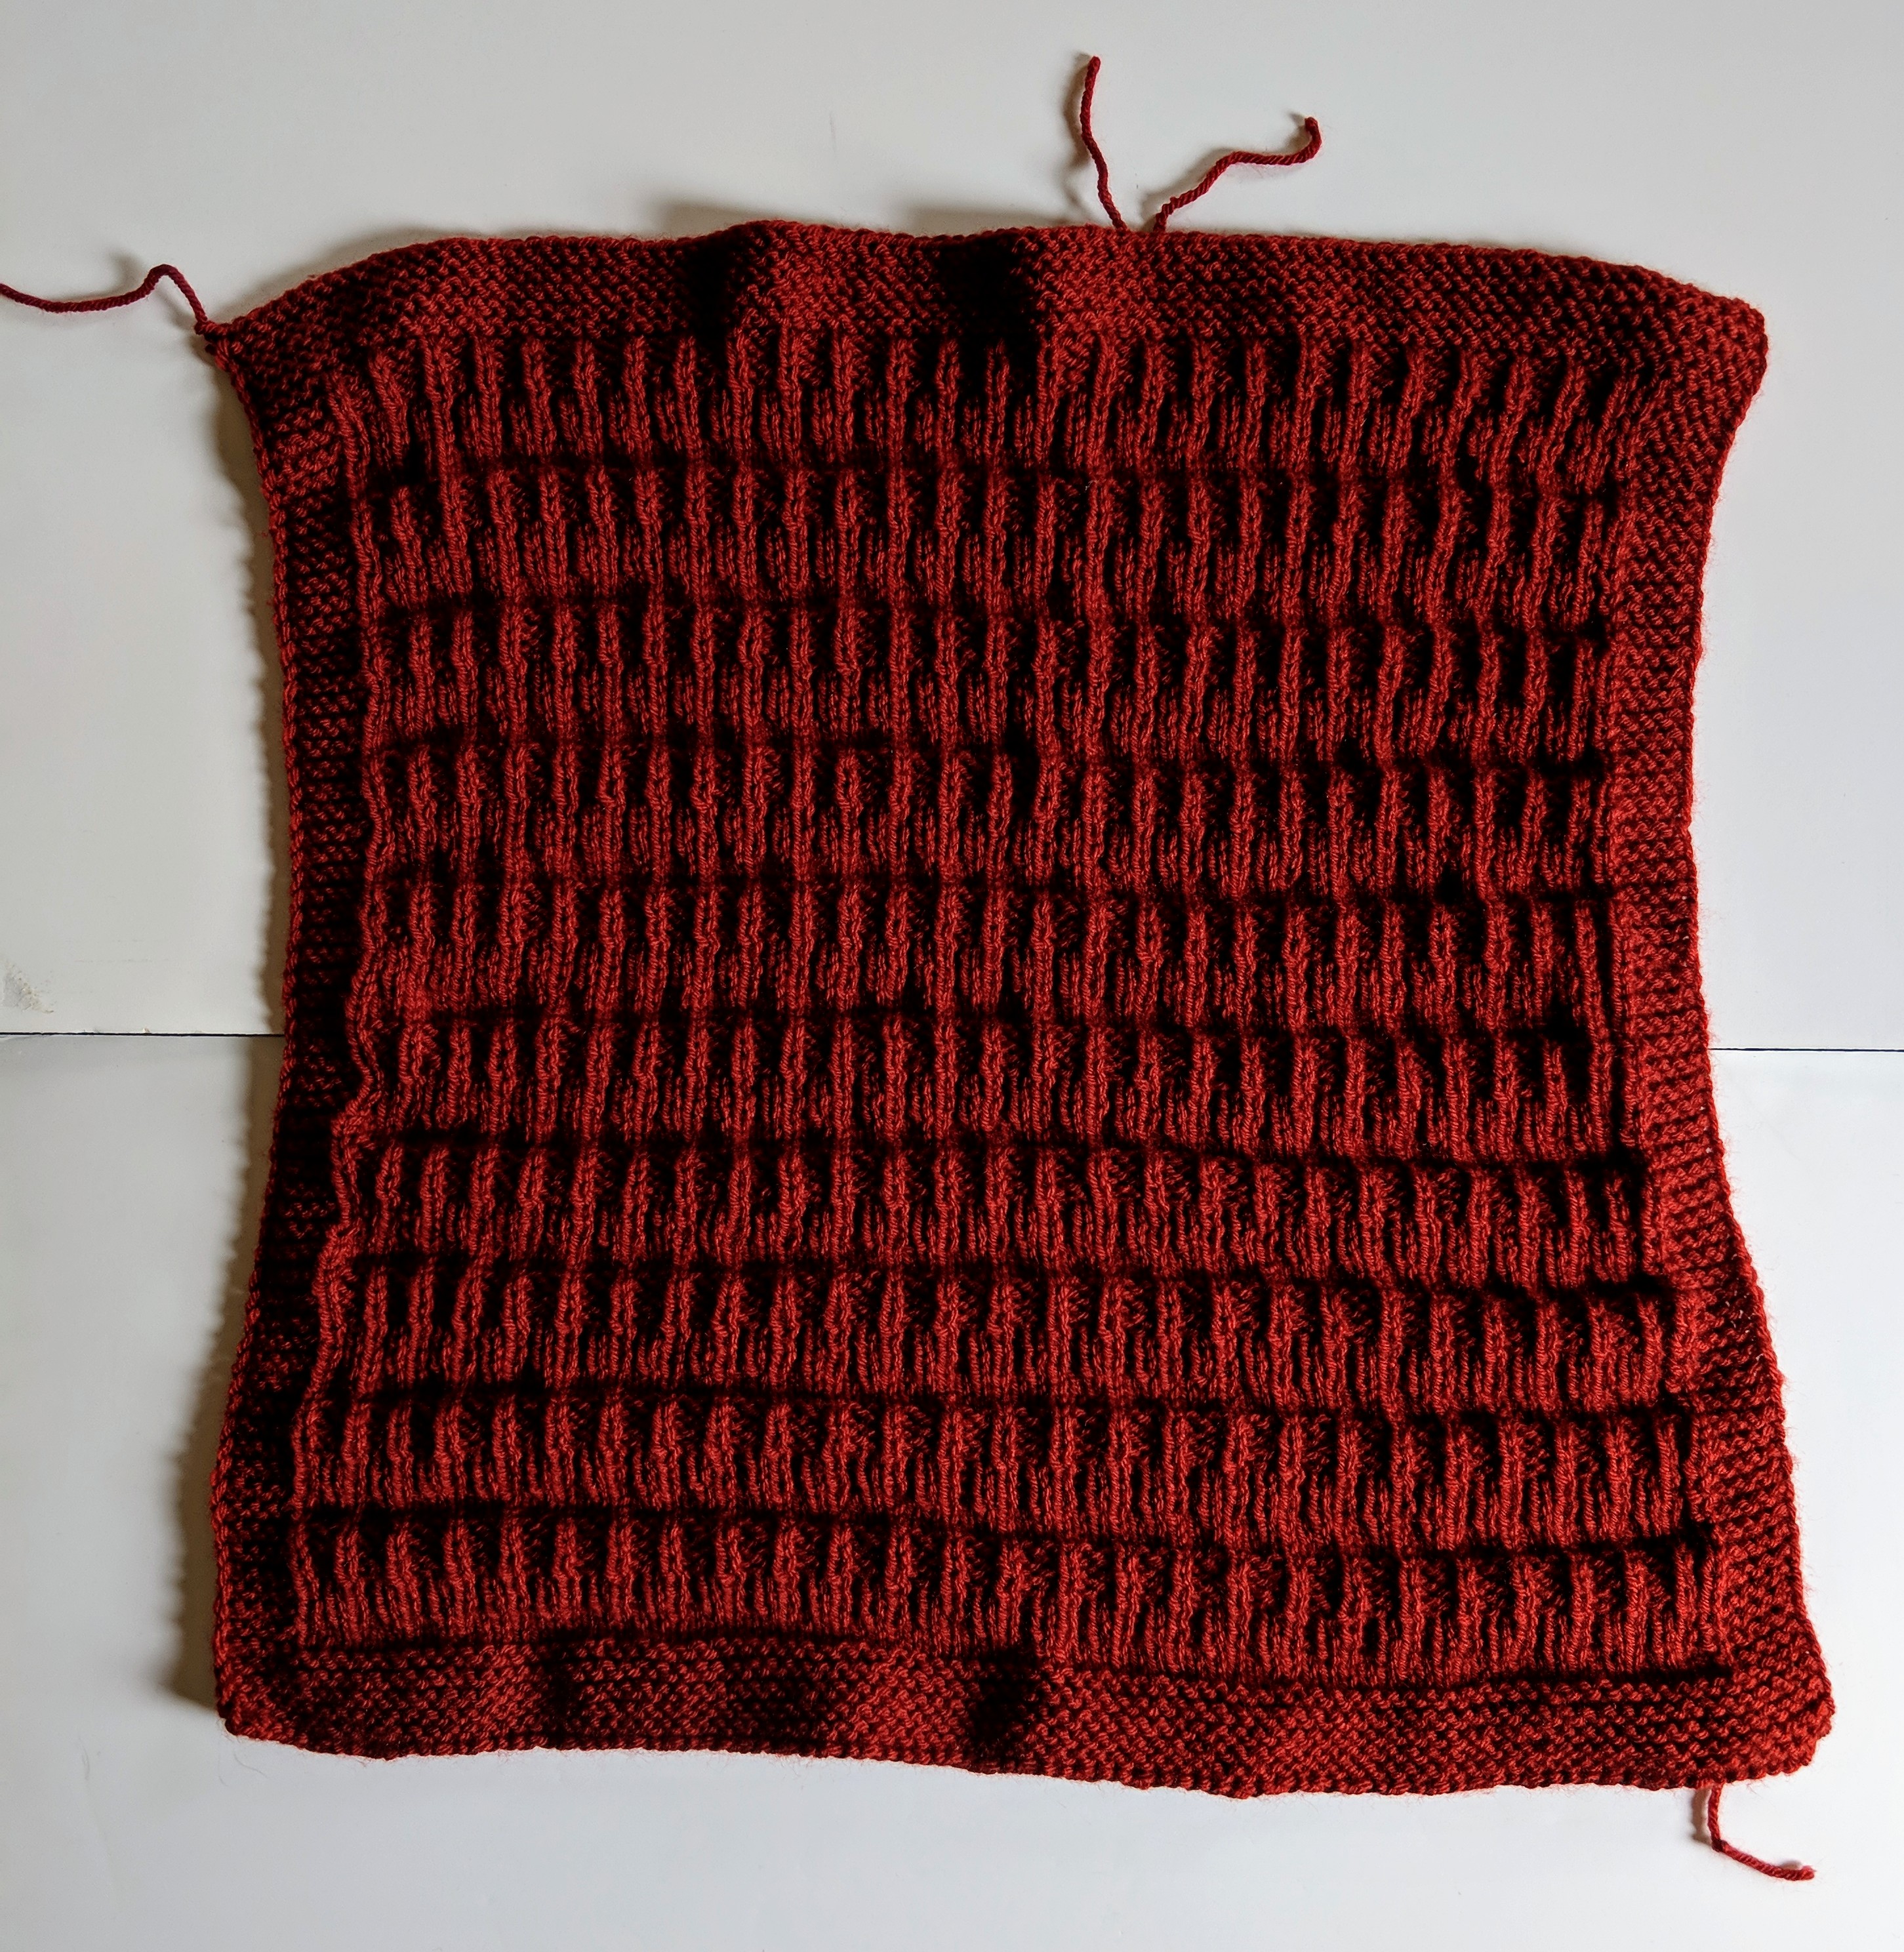
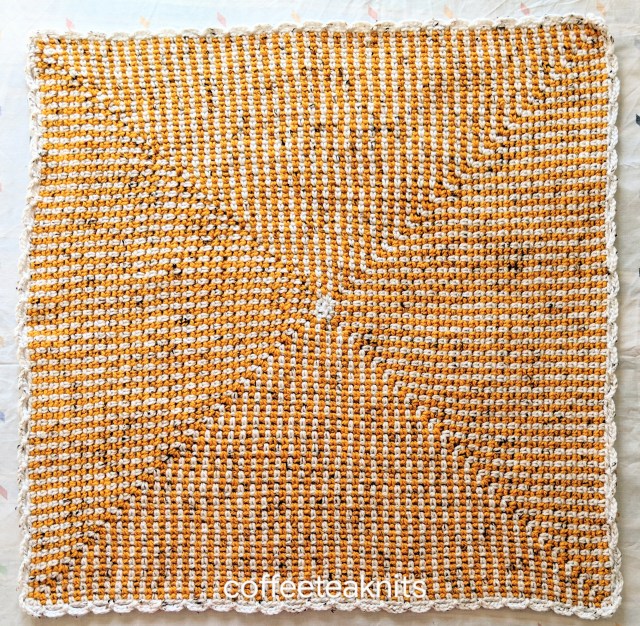
Since my post “To crochet or knit center out” I’ve crocheted several dishcloths and a worsted weight baby blanket using the center out technique. A baby blanket with bulky yarn (yarn weight: 5) and the center out moss stitch pattern can be crocheted in a matter of days.
Crochet Moss Stitch Baby Blanket with bulky yarn
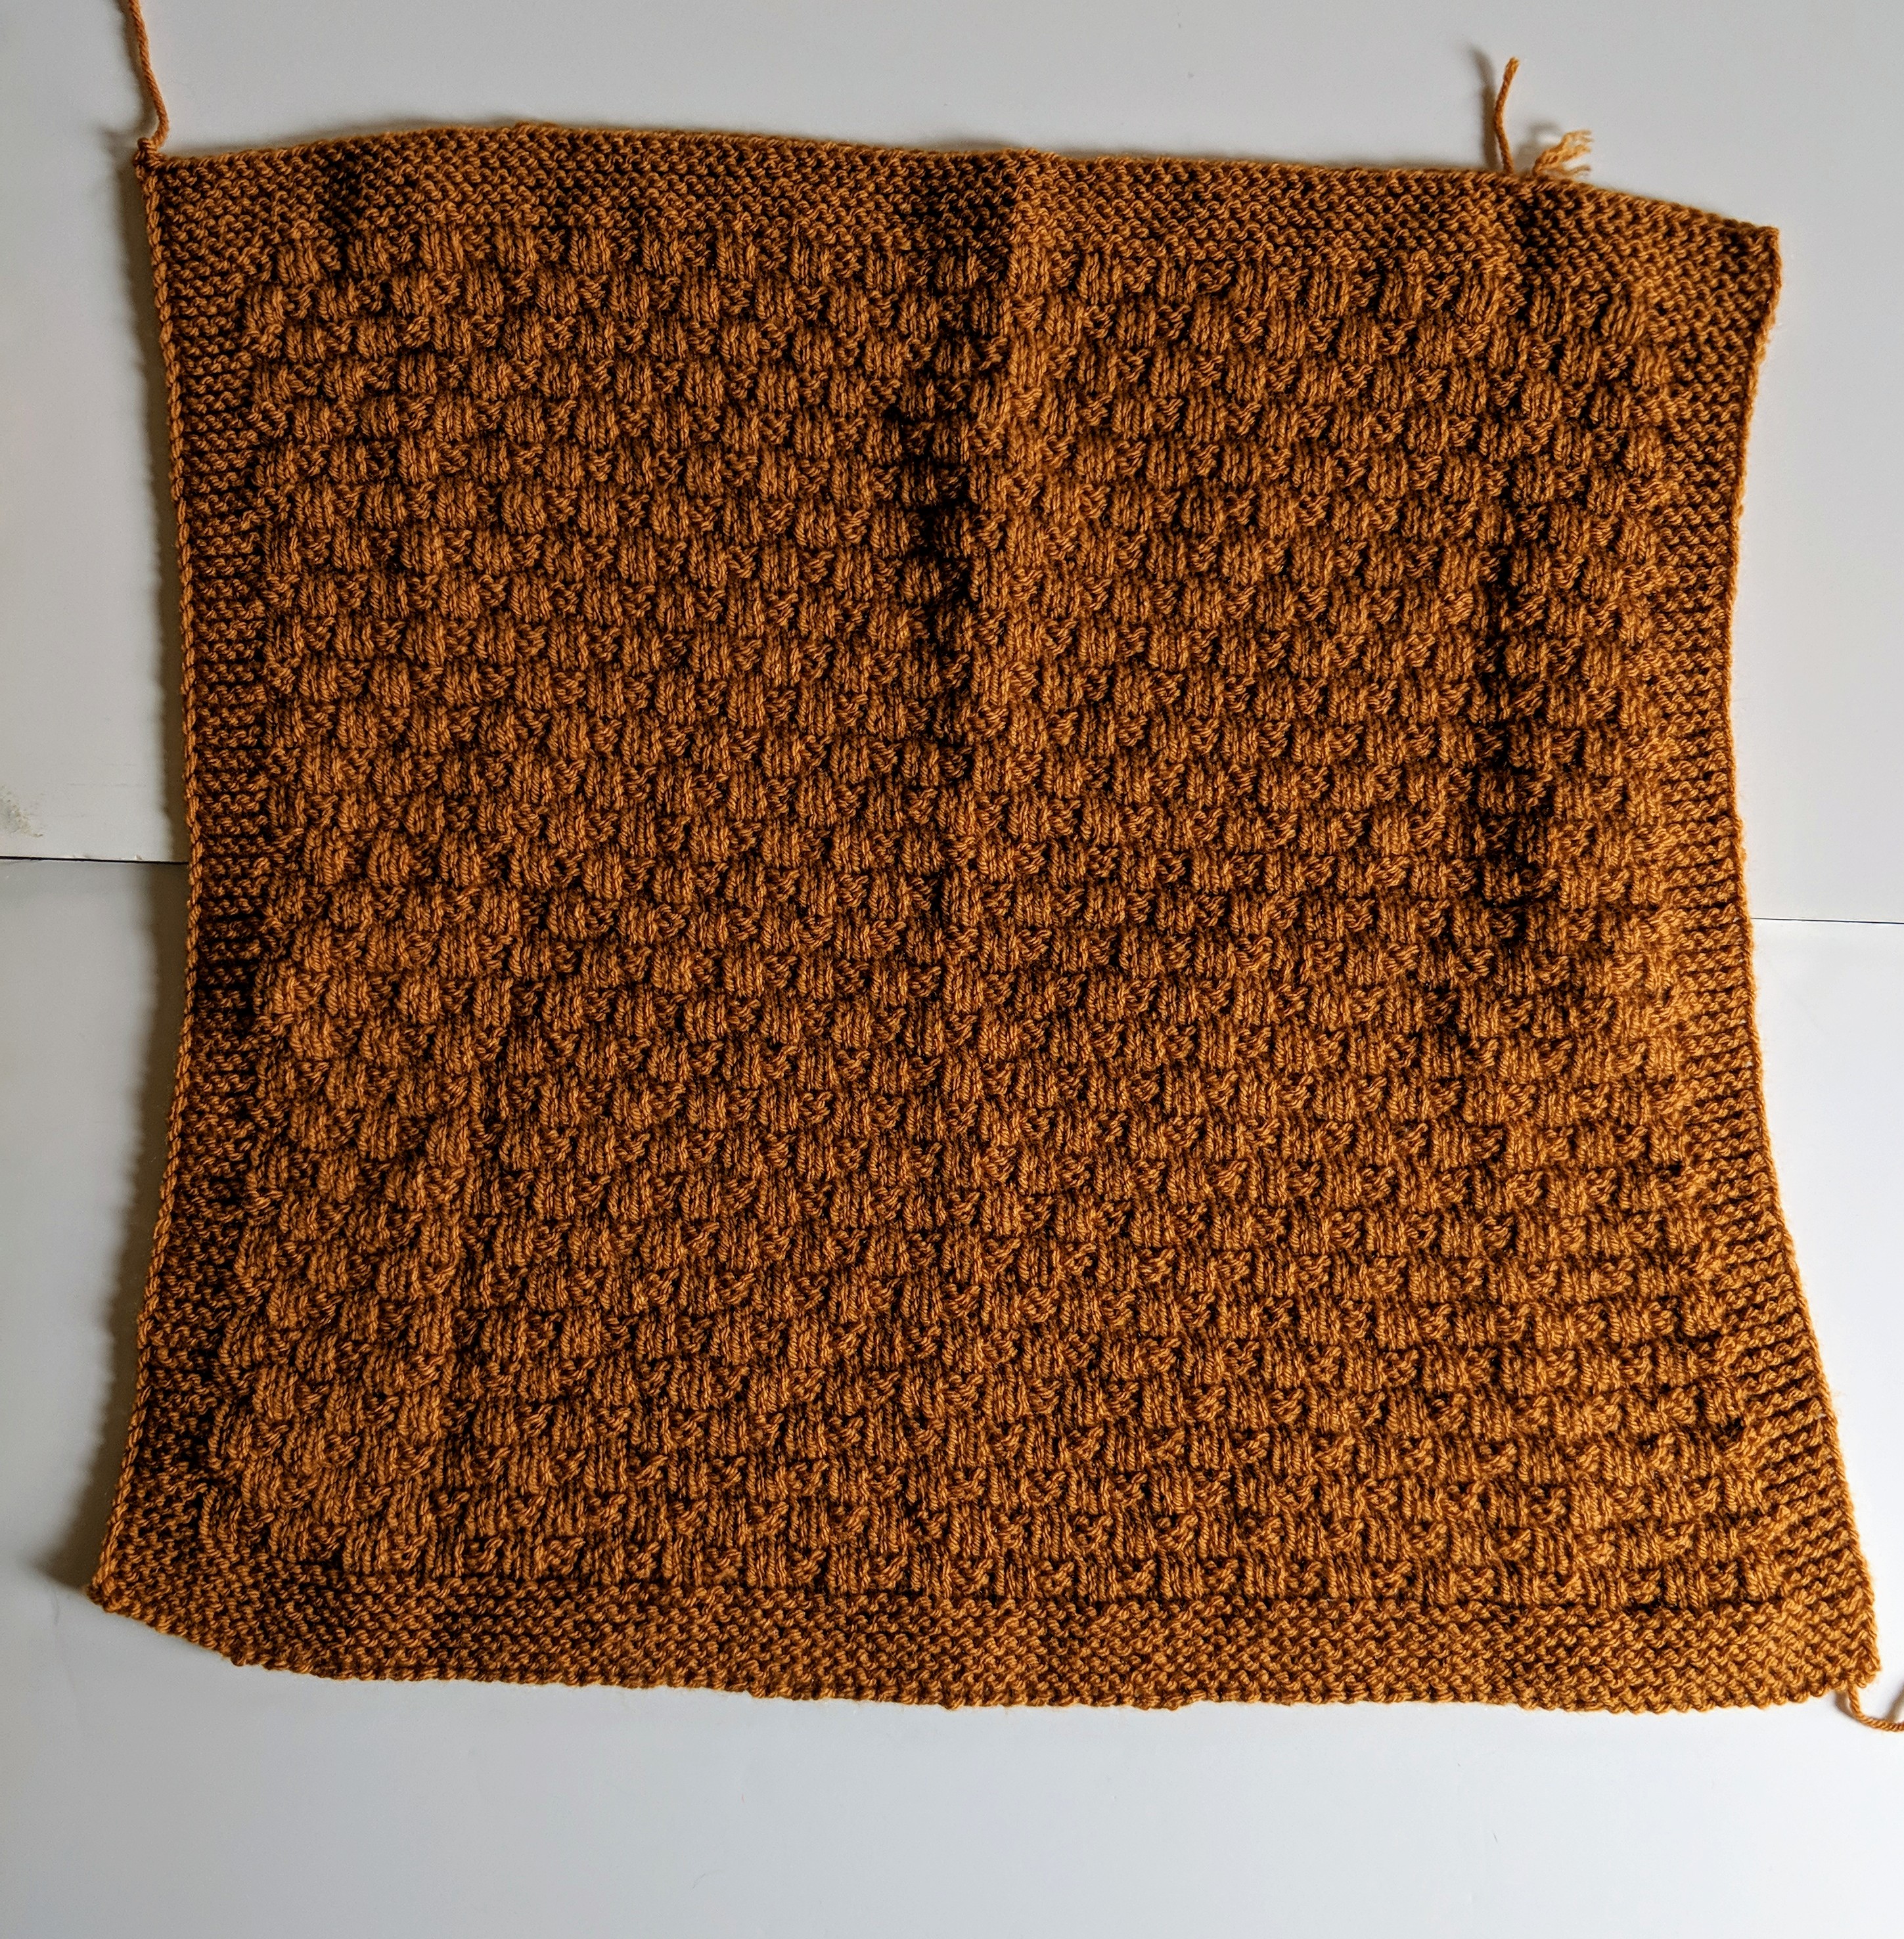
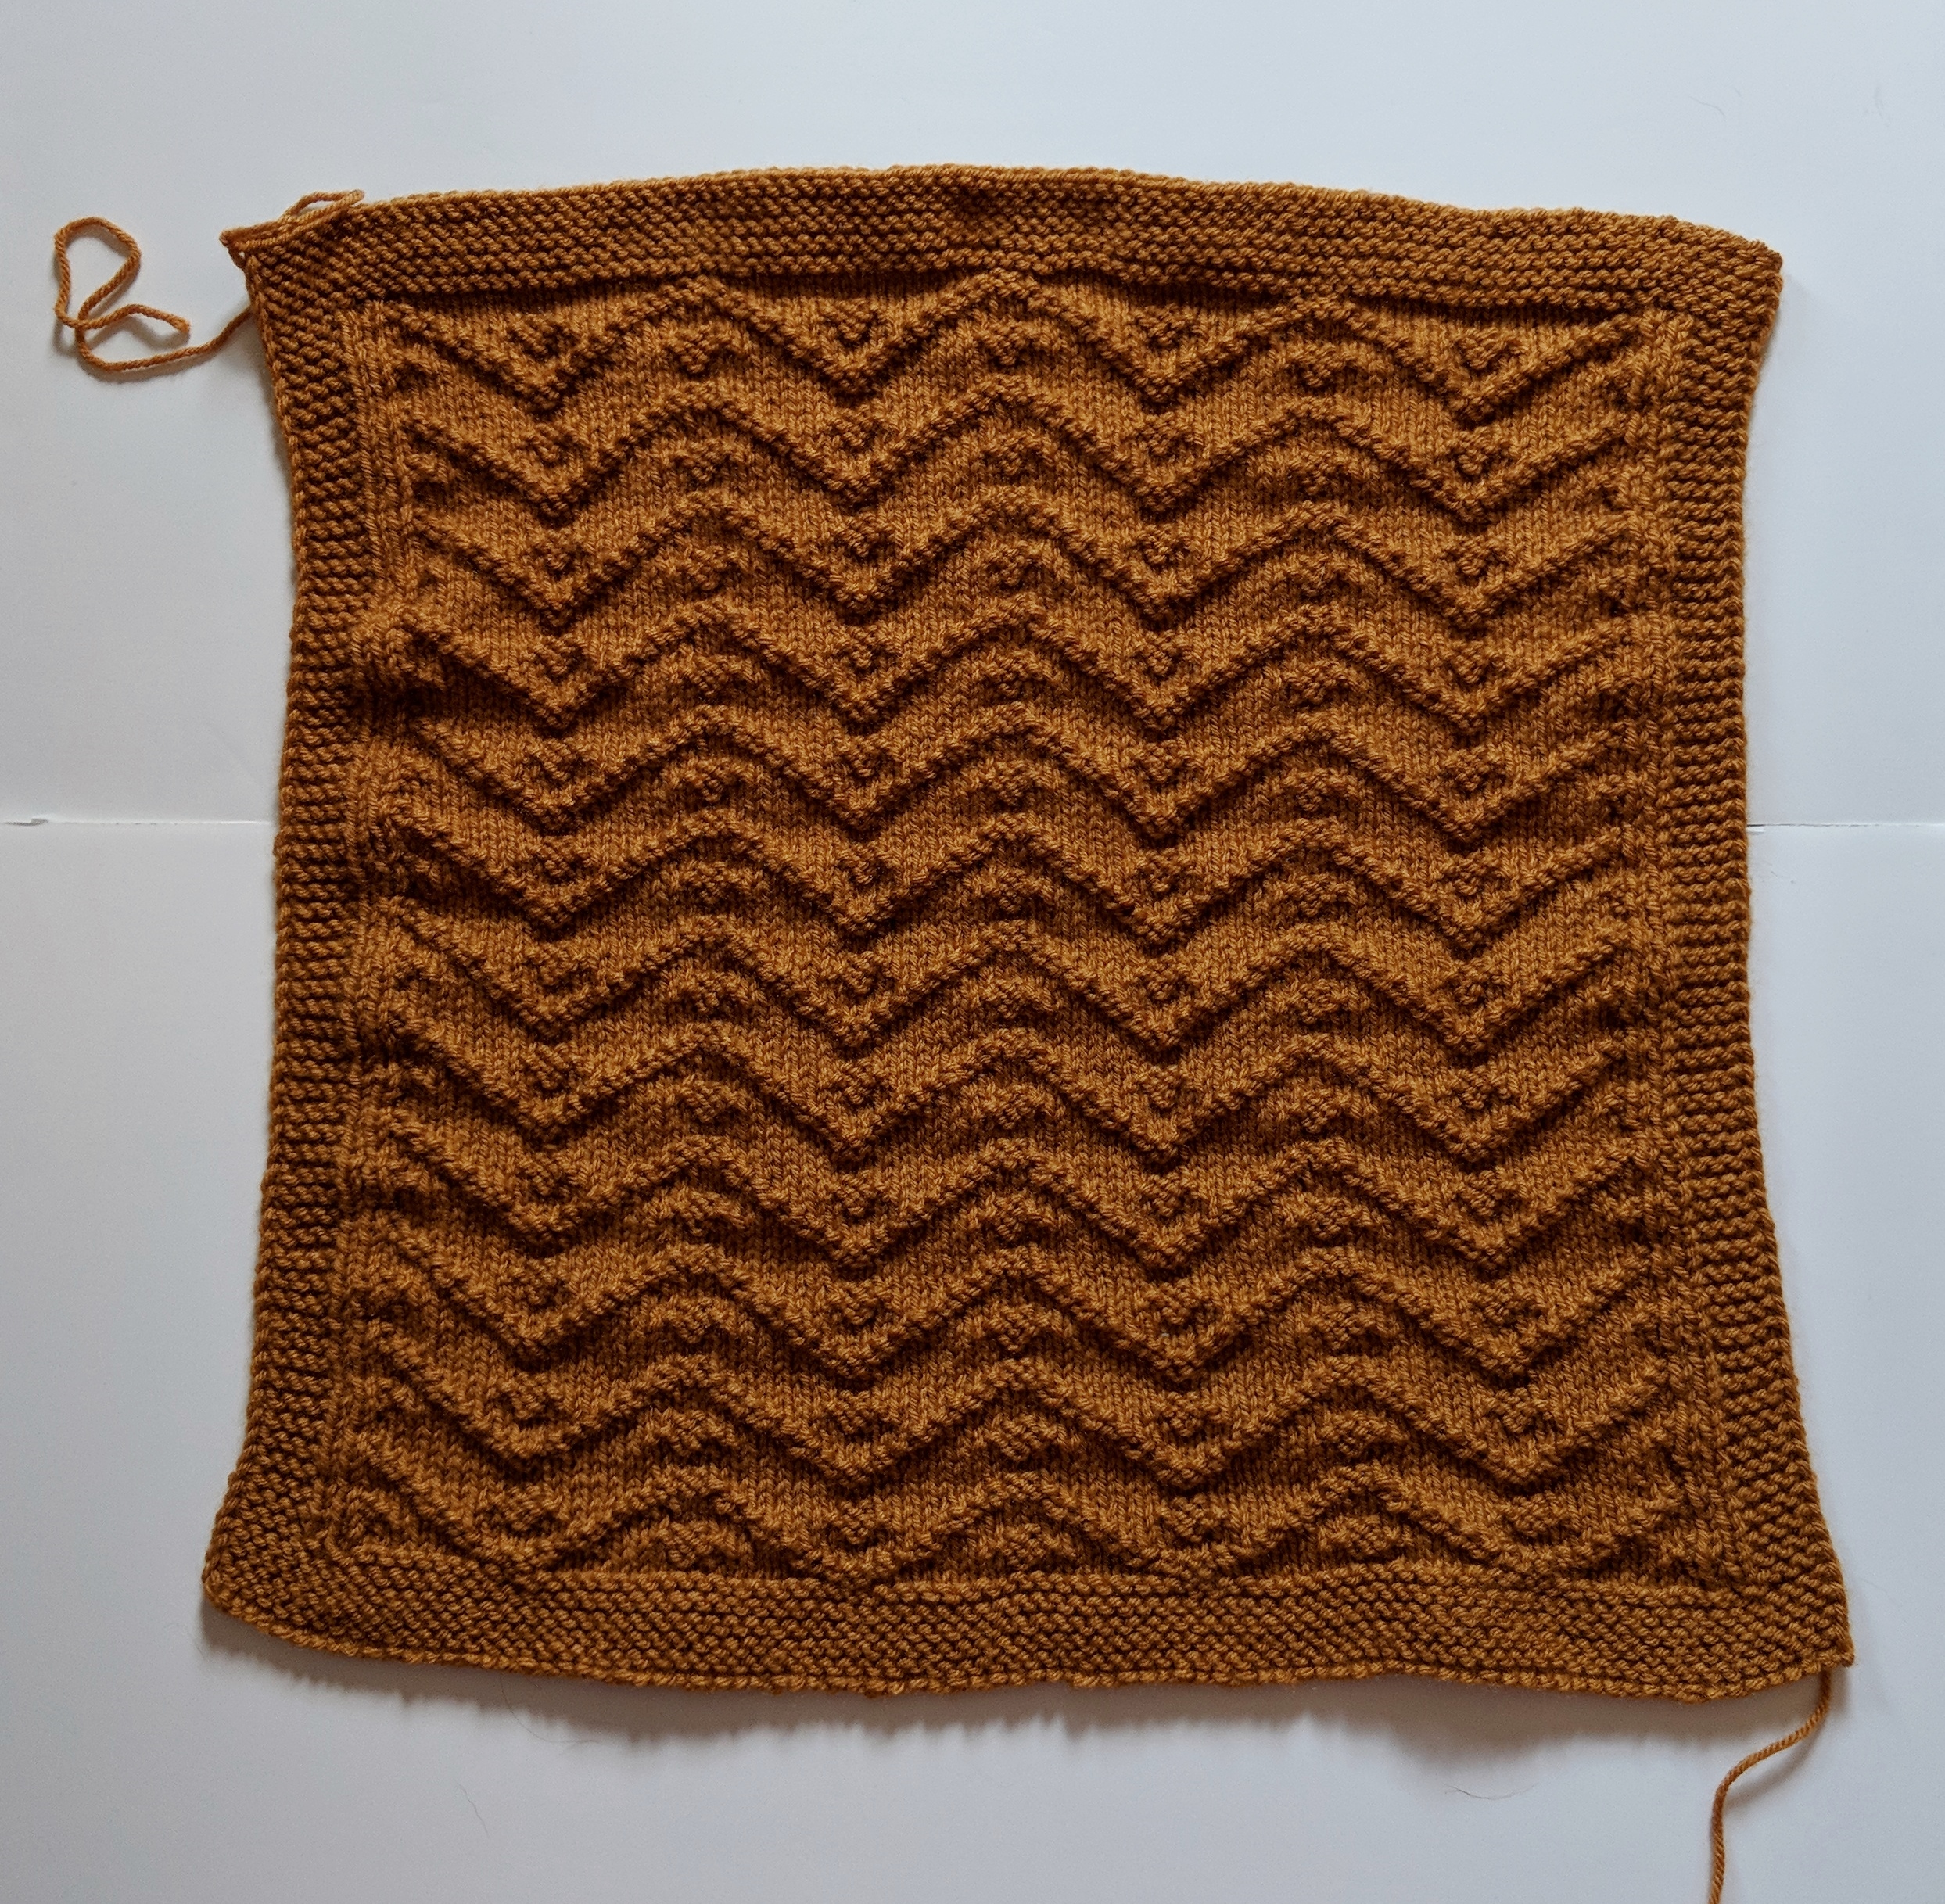
I also started knitting a center out garter stitch baby blanket. Knitting a center out baby blanket in one piece with worsted weight or bulky yarn is a bit more challenging in terms of hand fatigue. This is because the growing blanket with the increasing number of stitches gets heavier since the weight of the whole blanket rests on the circular needle and your hands. Needless to say that the center out knitted baby blanket is still a work in progress.
Not so with a crocheted center out baby blanket. There is only one stitch on the crochet hook and the weight of the growing blanket rests on your lap or sofa/chair etc. By using bulky yarn or holding two strands of lighter weight yarn together a blanket can be crocheted very quickly with varying combinations.
This makes center out crocheting more appealing and versatile to me than center out knitting – at least for large seamless projects made in one piece.
~coffeeteaknits.com
© Coffee Tea Knits. All text and images for personal use only. All Rights Reserved.