The purl stitch in knitting looks quite different from the knit stitch. The videos below show how to make purl stitches and how to undo (un-purl) those stitches for right handed knitting.
The Purl Stitch:
Insert the right needle from front to back of the first stitch on the left knitting needle
Wrap the working yarn around the inserted right needle
Catch the loop made made by the working yarn (the new stitch) with the right needle
Slip the loop (the new stitch) onto the right needle and the first stitch off the left needle
Advertisements
Advertisements
Un-Purl (undo the Purl stitch):
Insert left knitting needle into the purl bump below the new stitch on the right needle
Catch the left side of the purl bump above the working yarn and place the loop made onto the left needle
Slide the new stitch on the right needle off the needle
Pull the working yarn (dropped stitch loop) away from the stitch on the left needle
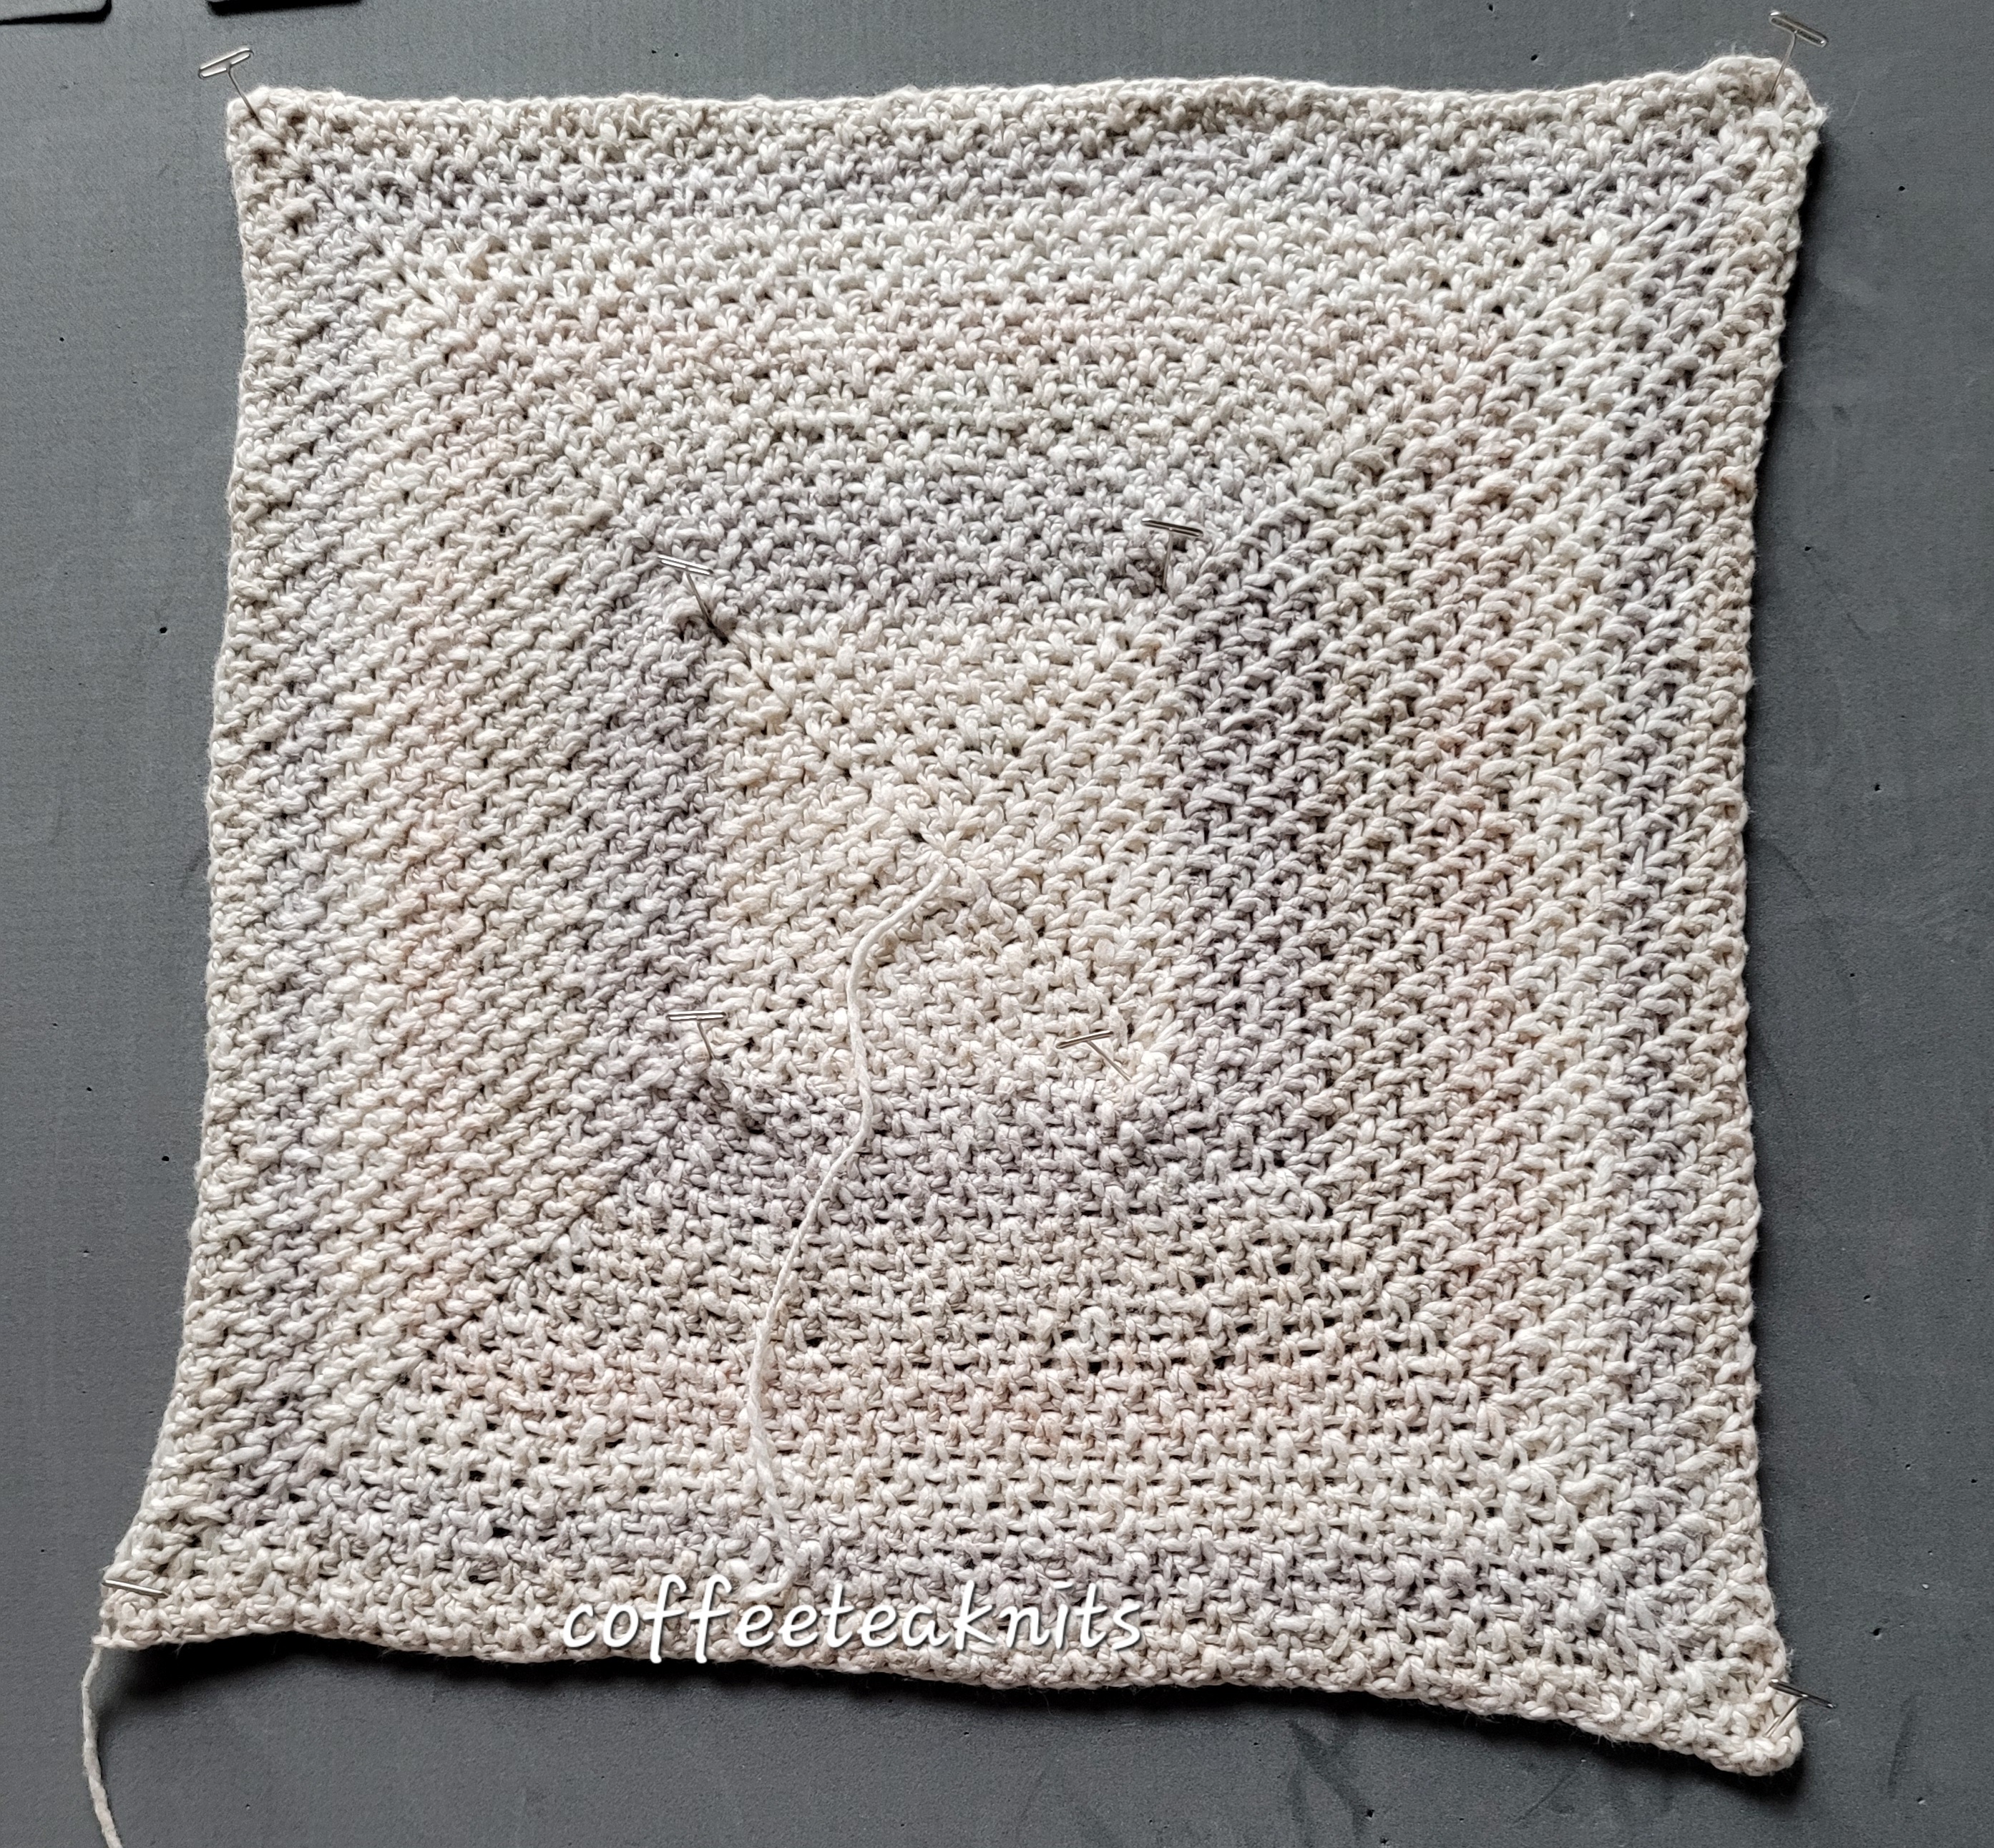
I bought the yarn for the Four Section Blanket almost a decade ago when they opened a new Hobby Lobby store near me. I was still a novice knitter dabbling in knitting a top down sweater and wanted to use this yarn for that. I tried to knit a sweater with this yarn but for some reason it didn’t happen. The yarn languished in my storage bin for years till a couple of months ago when I took it out from storage and crocheted this Four Section Blanket.
Advertisements
Four separate pieces of the same size are crocheted for the Four Section Blanket using a crochet moss stitch pattern for the border and a mix of single crochet, chain 1 stitch pattern for the four pieces. Although both stitch patterns have single crochets and chain ones, the placement of the single crochet results in a distinctive looking pattern. Each section has a round of crochet moss stitch pattern as its border edge. The four pieces are then joined using the zig zag crochet slip stitch method. The border of the blanket is finished with several rounds of the crochet moss stitch pattern. The finished blanket measures about 42 x 44 inches.
The Four Section Blanket Pattern (text and images for personal use only)
Advertisements
Yarn: Hobby Lobby I Love This Yarn! in Terra Cotta Colorway (4 skeins needed for this blanket) Tapestry needle to weave in ends Gauge: 4.5 stitches/inch Crochet hook: US size I-9 or 5.5 mm Abbreviations: sc: single crochet […]: pattern repeat
Advertisements
PLEASE SUBSCRIBE FOR THE FREE PATTERN. THANK YOU
Subscribe to continue reading
Subscribe to get access to the rest of this post and other subscriber-only content.
Welcome to the first video tutorial here on Coffee Tea Knits. The knit stitch and how to tink (knit spelled backwards) or unravel that stitch is shown in the two videos below.
The Knit Stitch:
Insert the right knitting needle from back to front of the first stitch on the left knitting needle.
Take the working yarn around the top of the right needle and wrap it between the two needles on top of the first stitch
Catch and pick up the working yarn loop (the new stitch) with the right needle
Slip the first stitch off the left needle and onto the right needle for the new knit stitch
Advertisements
Advertisements
Tink (to undo or unpick the knit stitch):
Insert the left knitting needle into the v – shaped stitch below the first stitch on the right needle
Catch the left strand of the v – shaped stitch with the left needle and slip it onto the left needle
Pull the first stitch on the right needle off the needle
Pull the working yarn (loop) out of the stitch now on the left needle
I am all for window shopping and retail (yarn) therapy.
You sometimes find the most unexpected things that just have to be purchased.
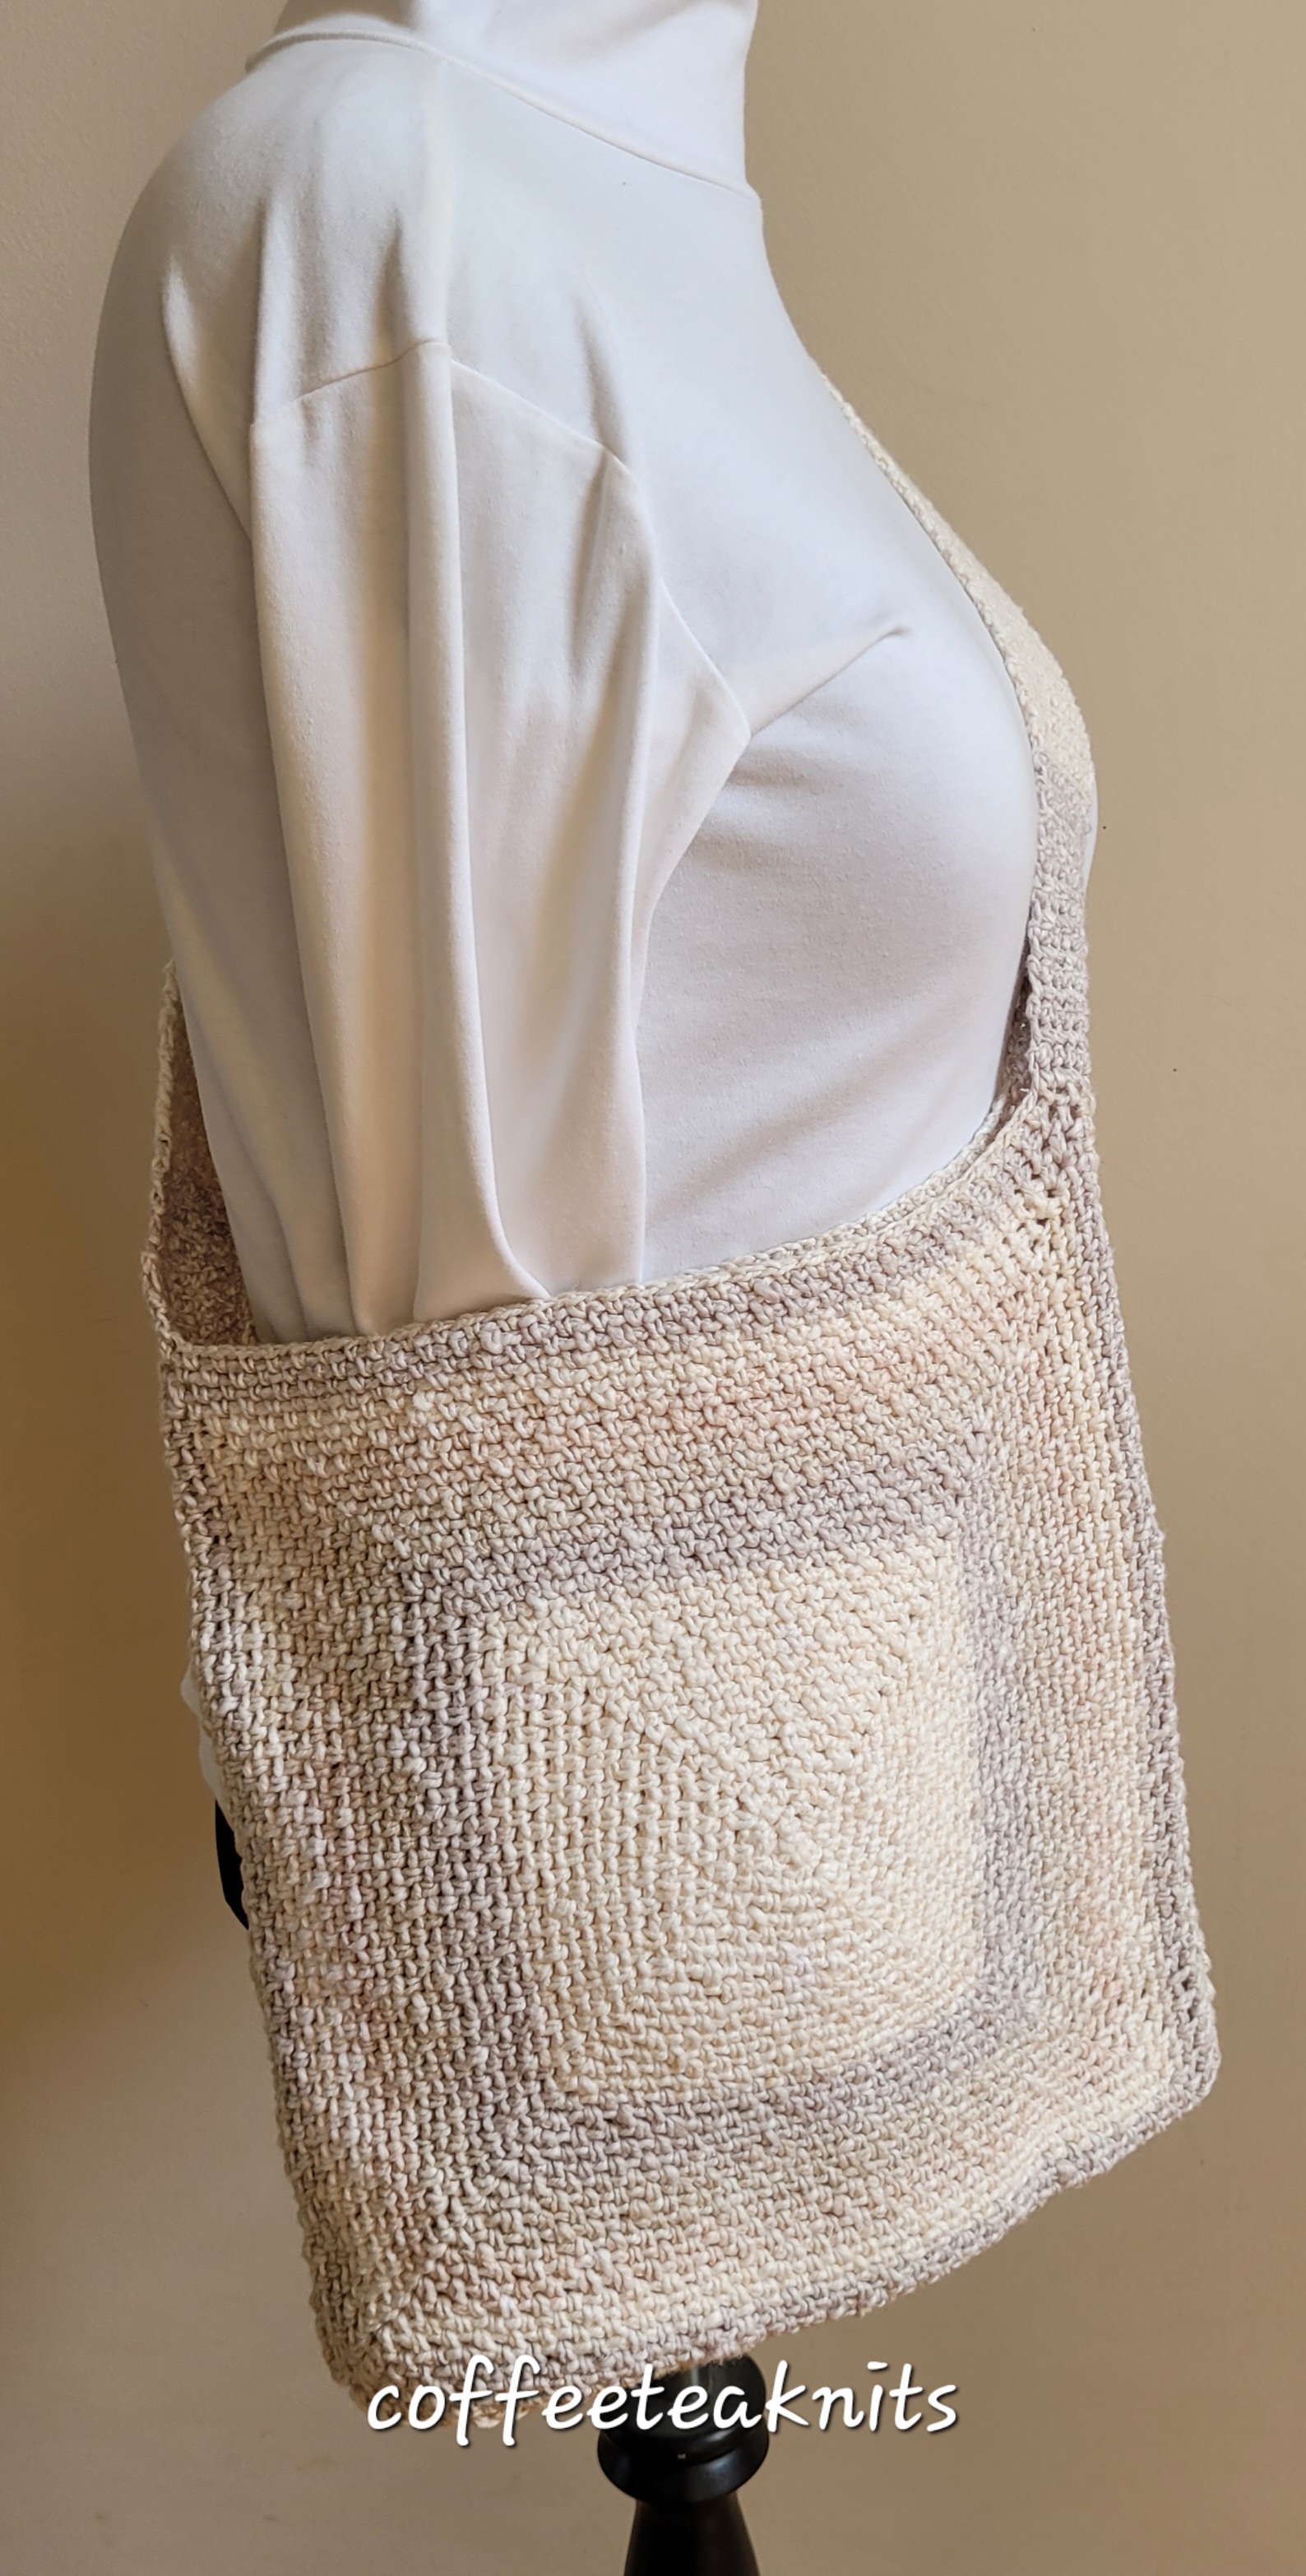
A market bag is a useful thing to take along for these shopping trips especially if you live in a place where plastic bags are not easily available.
These knitted or crocheted market bags can be for personal use as well as for gifting. They are also reusable and eco-friendly.
For me as a knitter and crocheter, making handmade market bags gives me one more reason to continue yarn therapy.
Advertisements
The Summertime Market Bag Pattern (text and images for personal use only)
Yarn: YarnspirationsTM Caron Cotton Ripple Cakes yarn in the French Vanilla colorway. The yarn is discontinued but may still be available at Michaels etc. For the Summertime Market Bag 1 cake (240 g) of this yarn was used. Tapestry needle to weave in ends Gauge: Not really needed since the center out crochet moss stitch squares can be customized to any size. Crochet hook: US size F-5 or 3.75 mm for the crochet moss stitch squares and US E-4 or 3.5 mm for the shoulder strap Abbreviations: sc: single crochet […]: pattern repeat
Advertisements
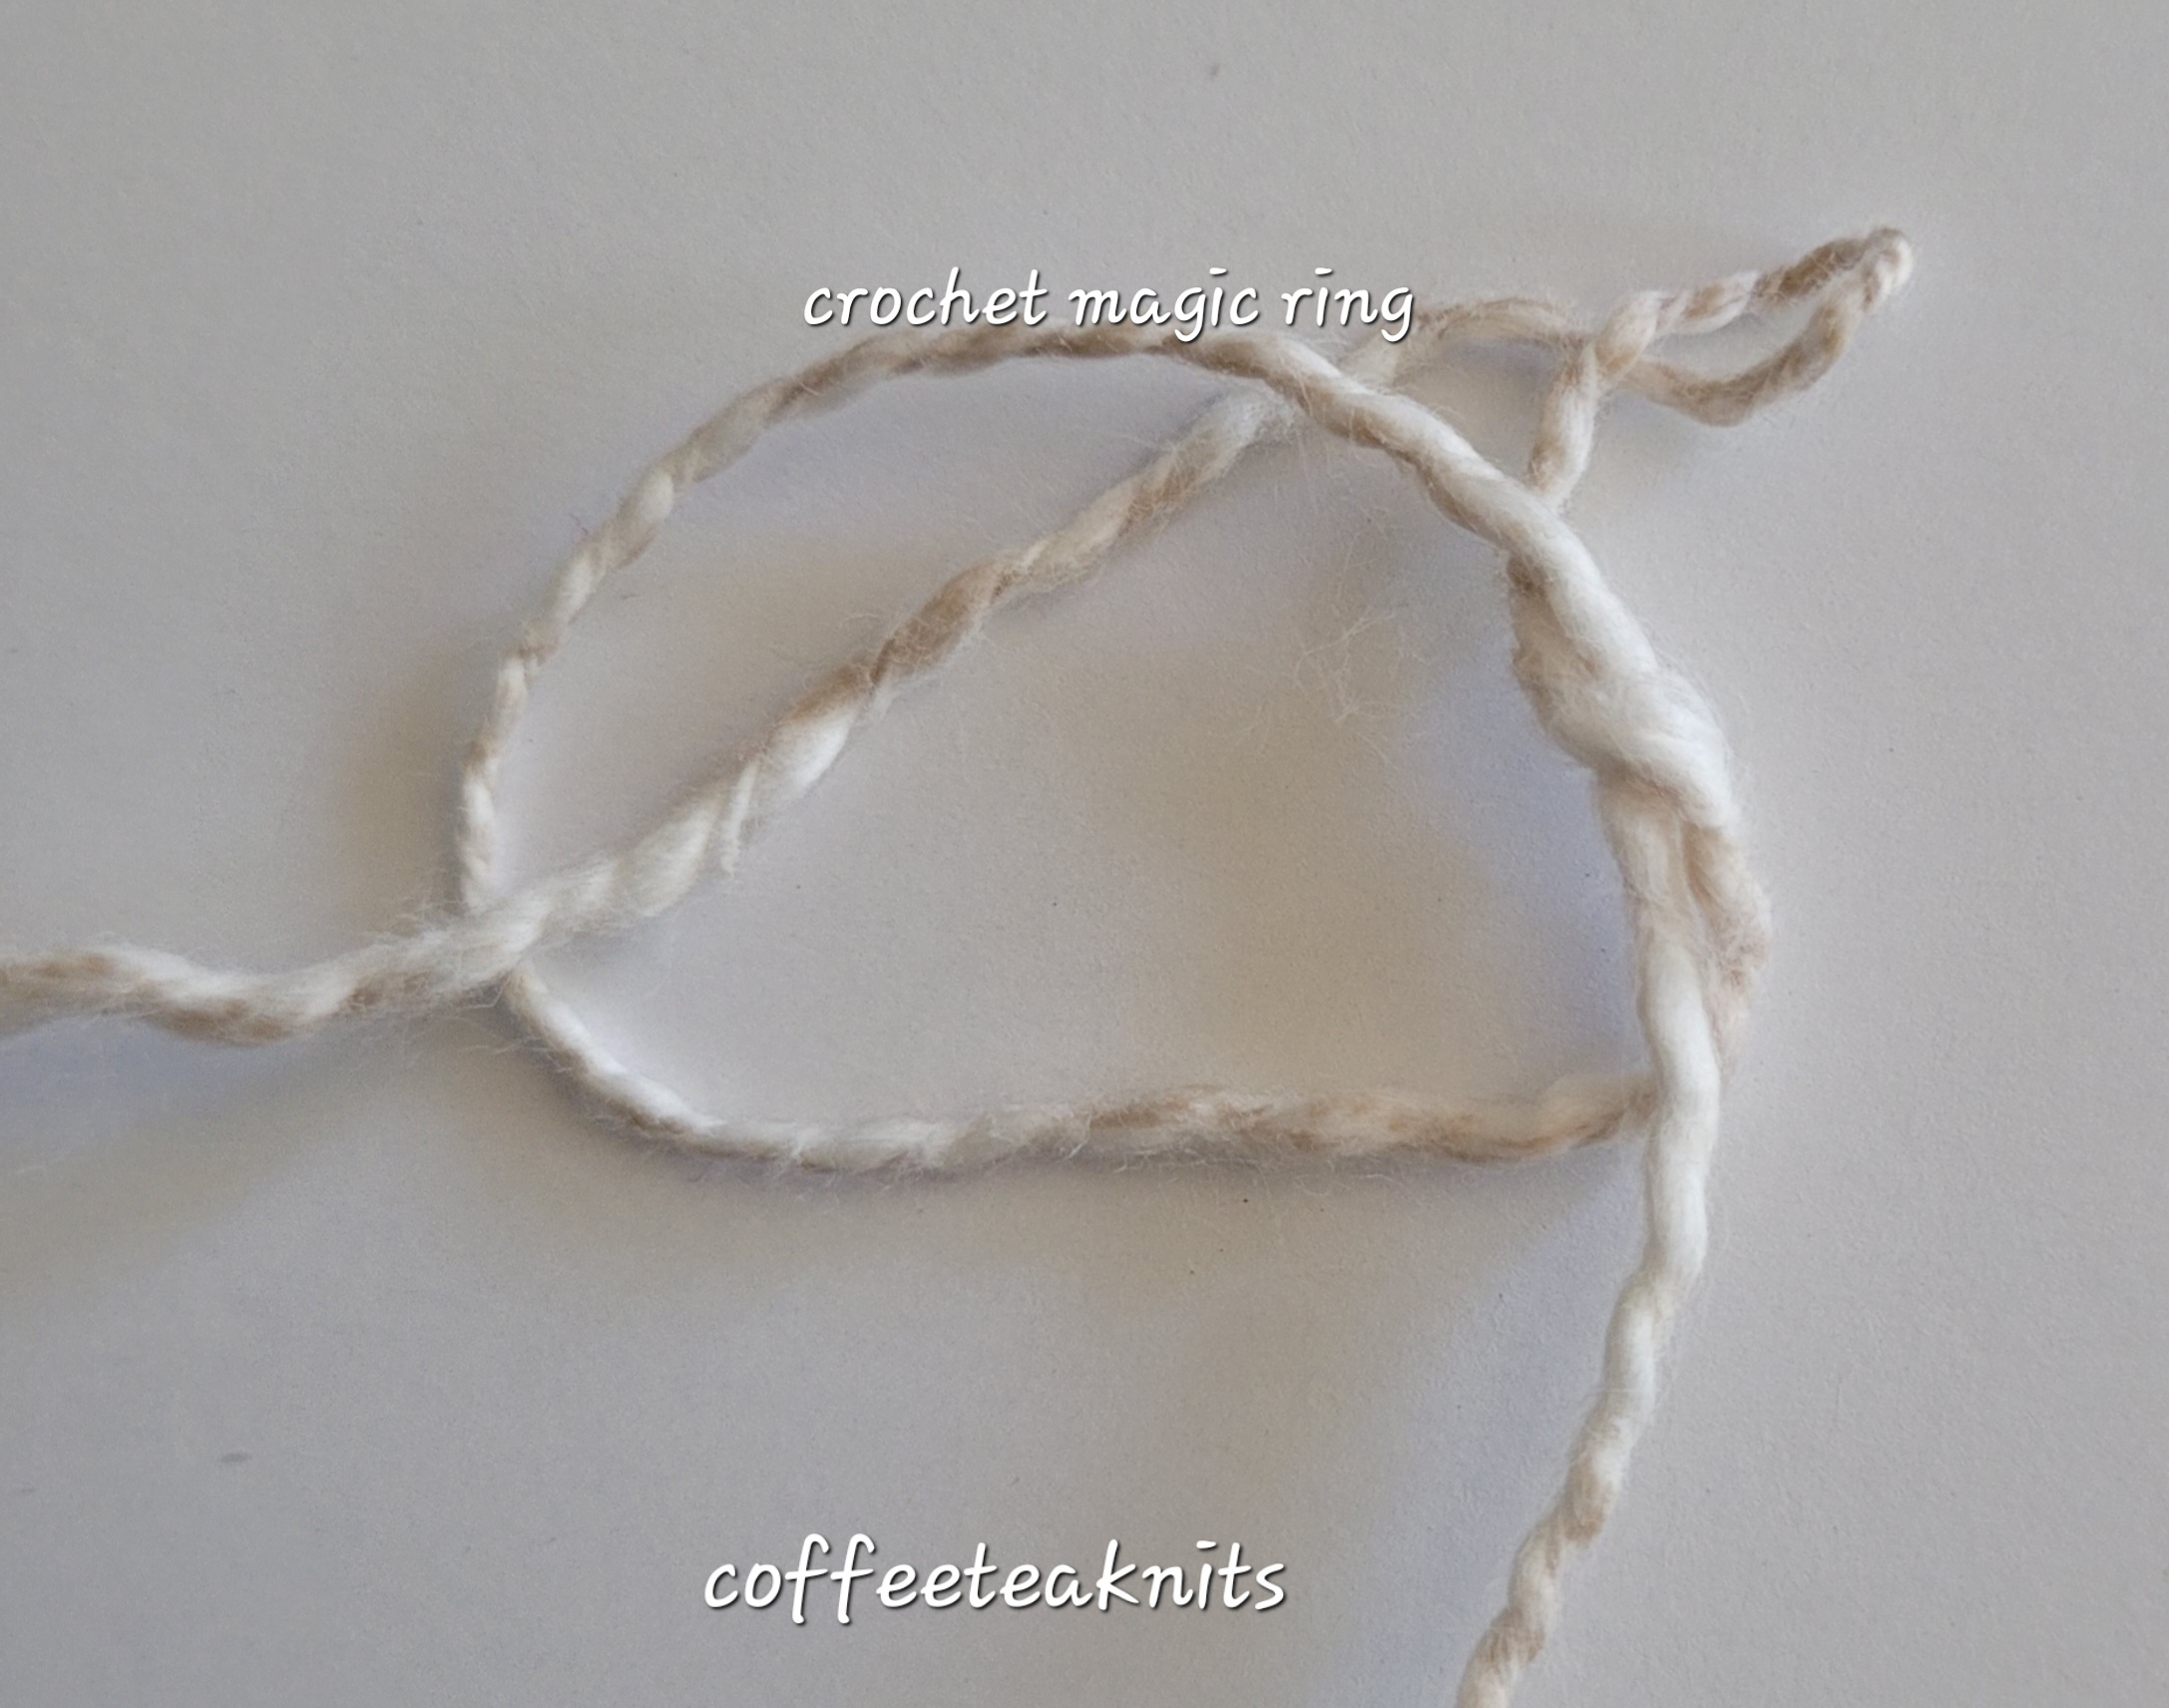
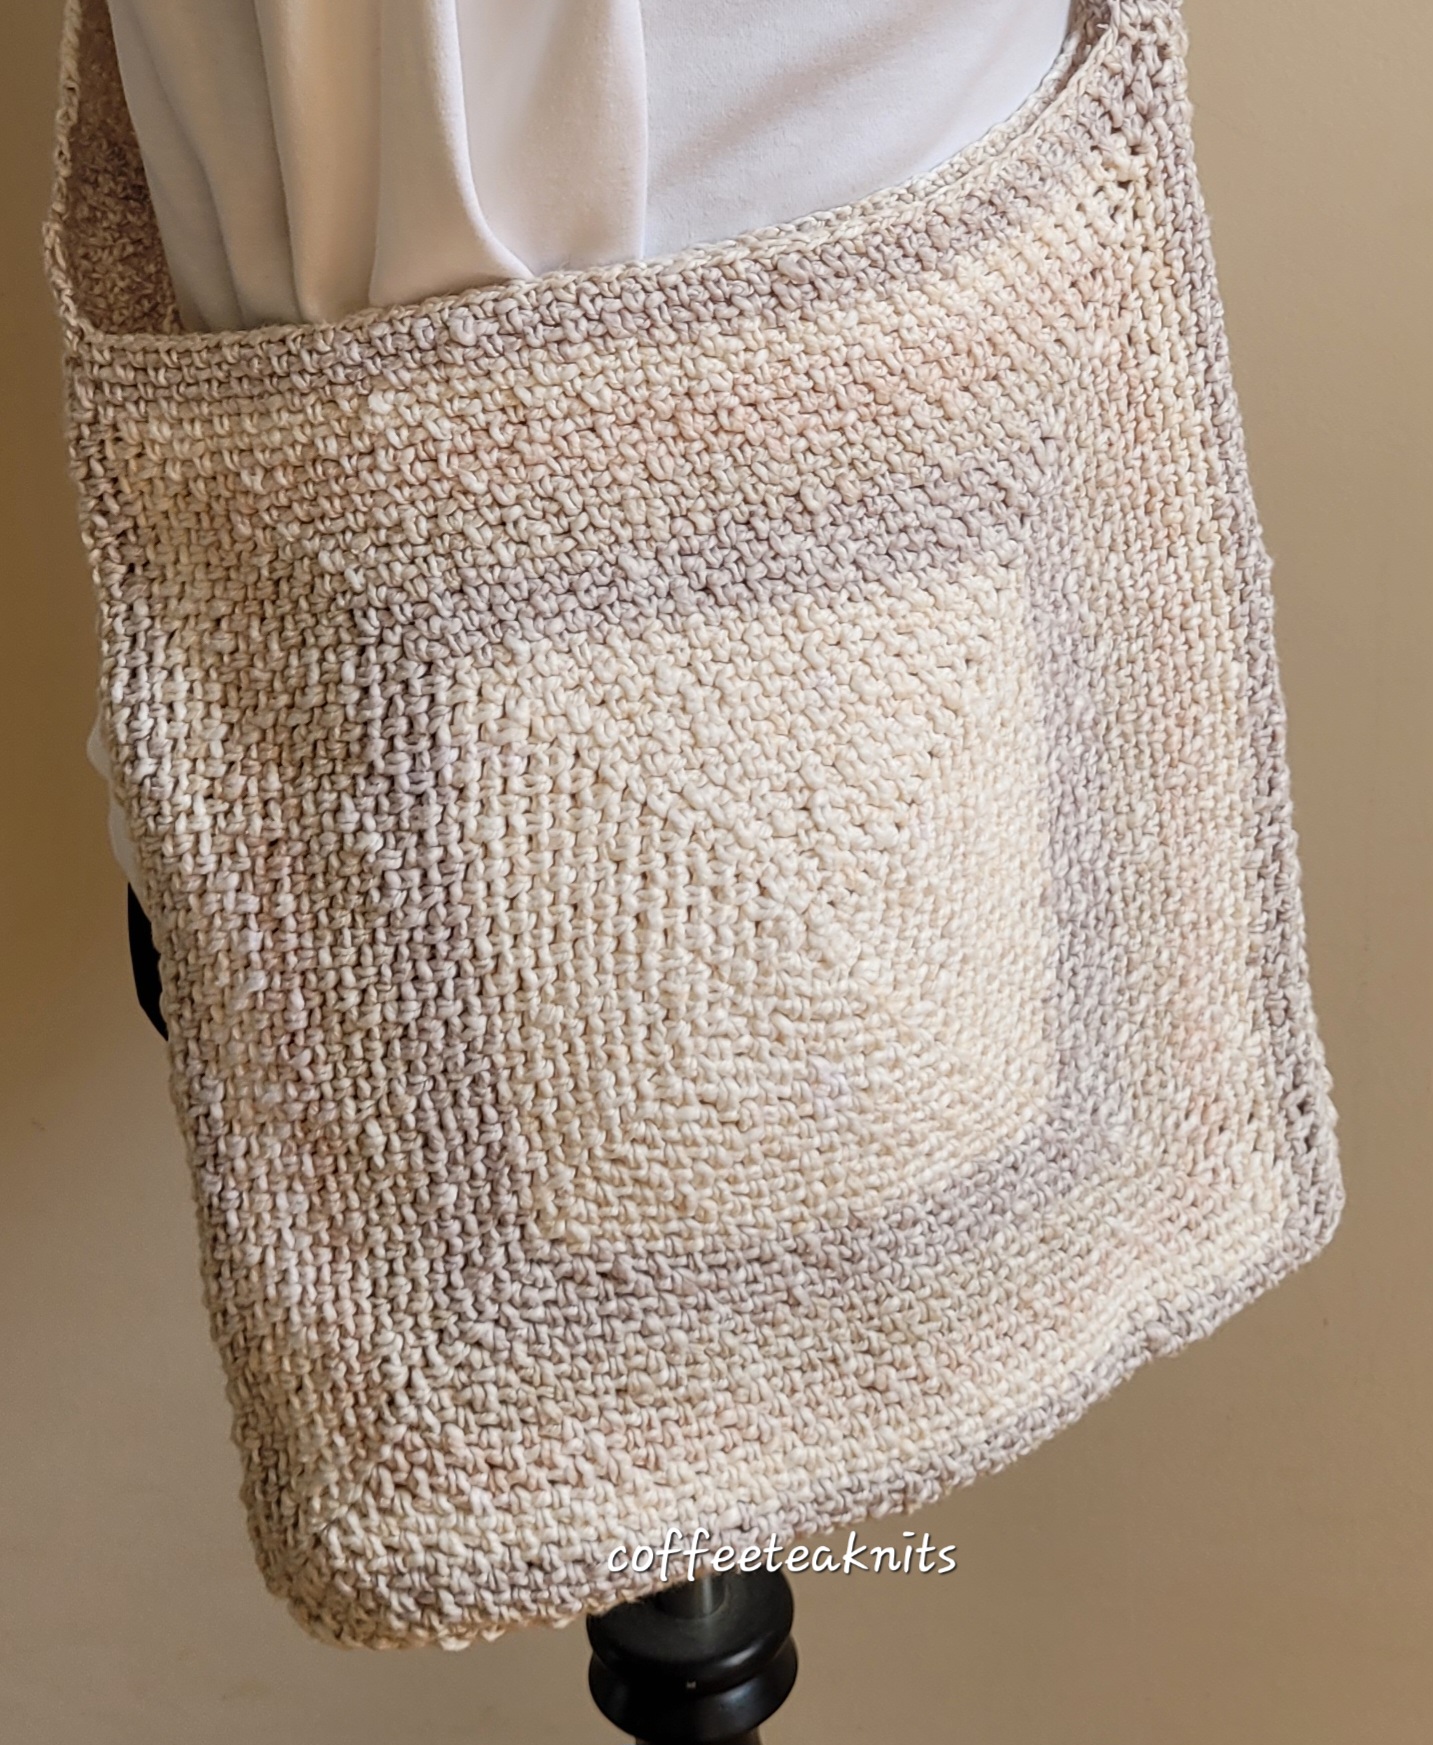
The Summertime Market Bag is crocheted in the round using the center out crochet moss stitch pattern. The crochet moss stitch square starts with a crochet magic ring.
Advertisements
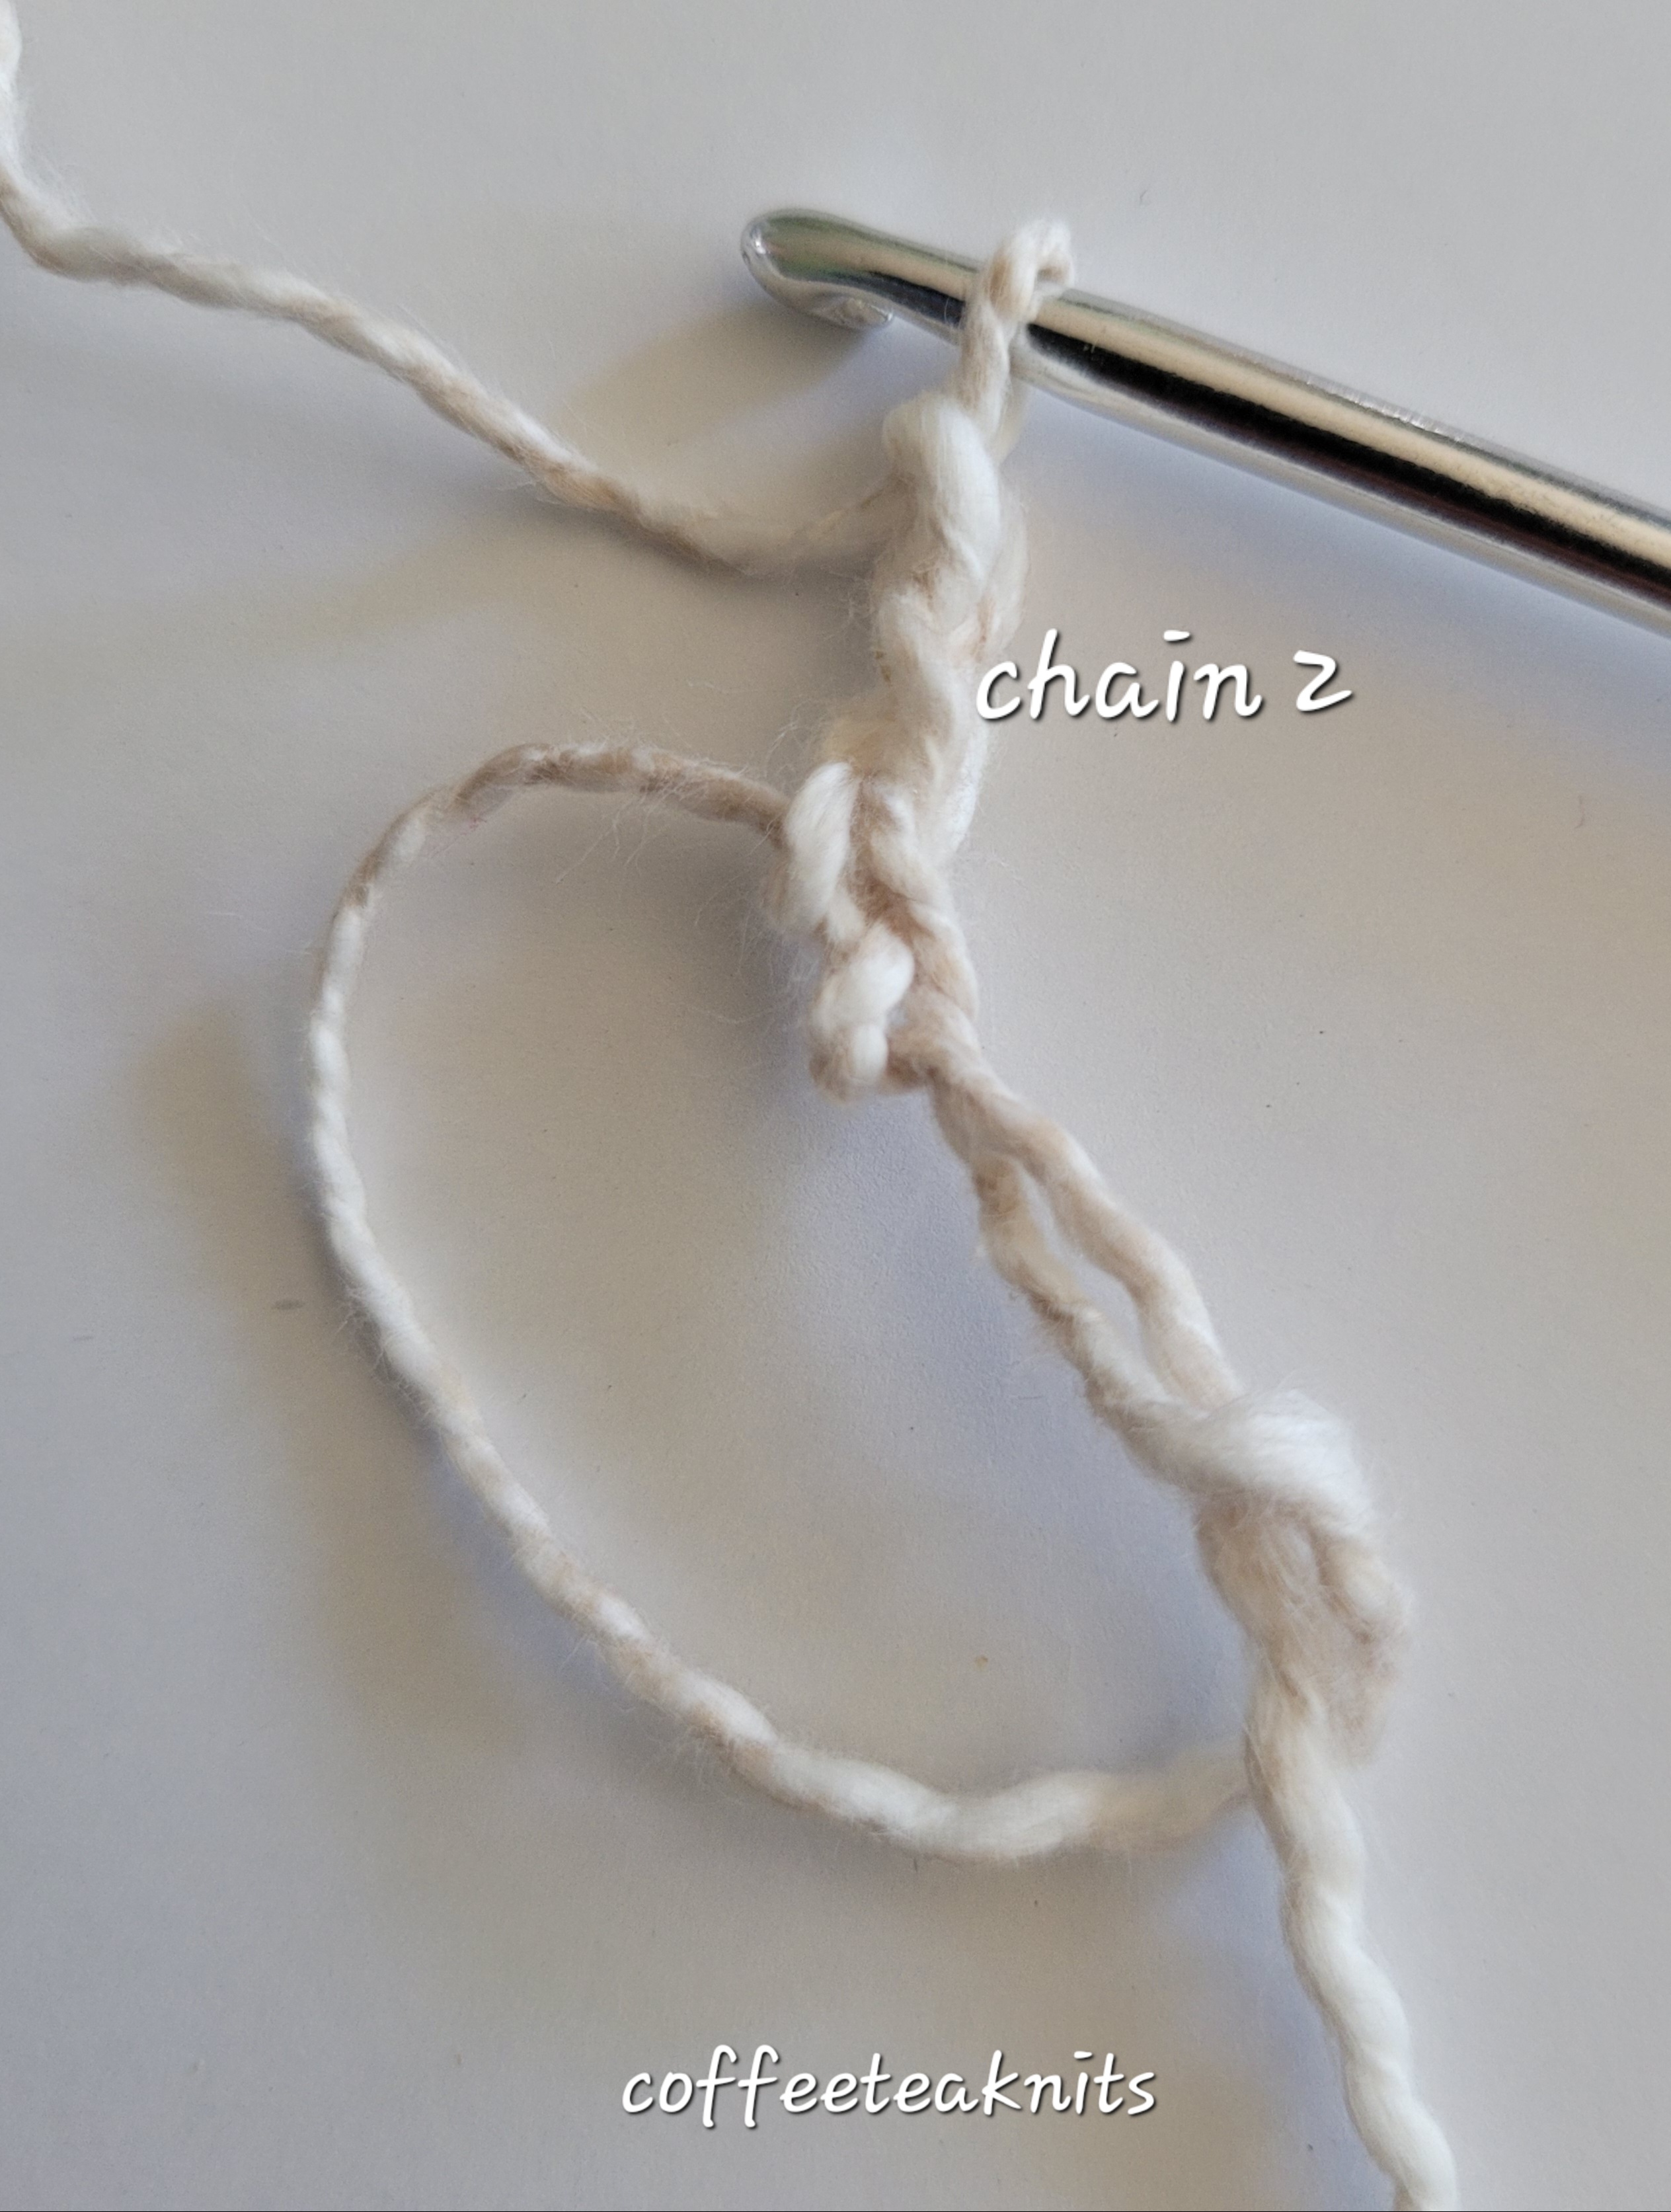
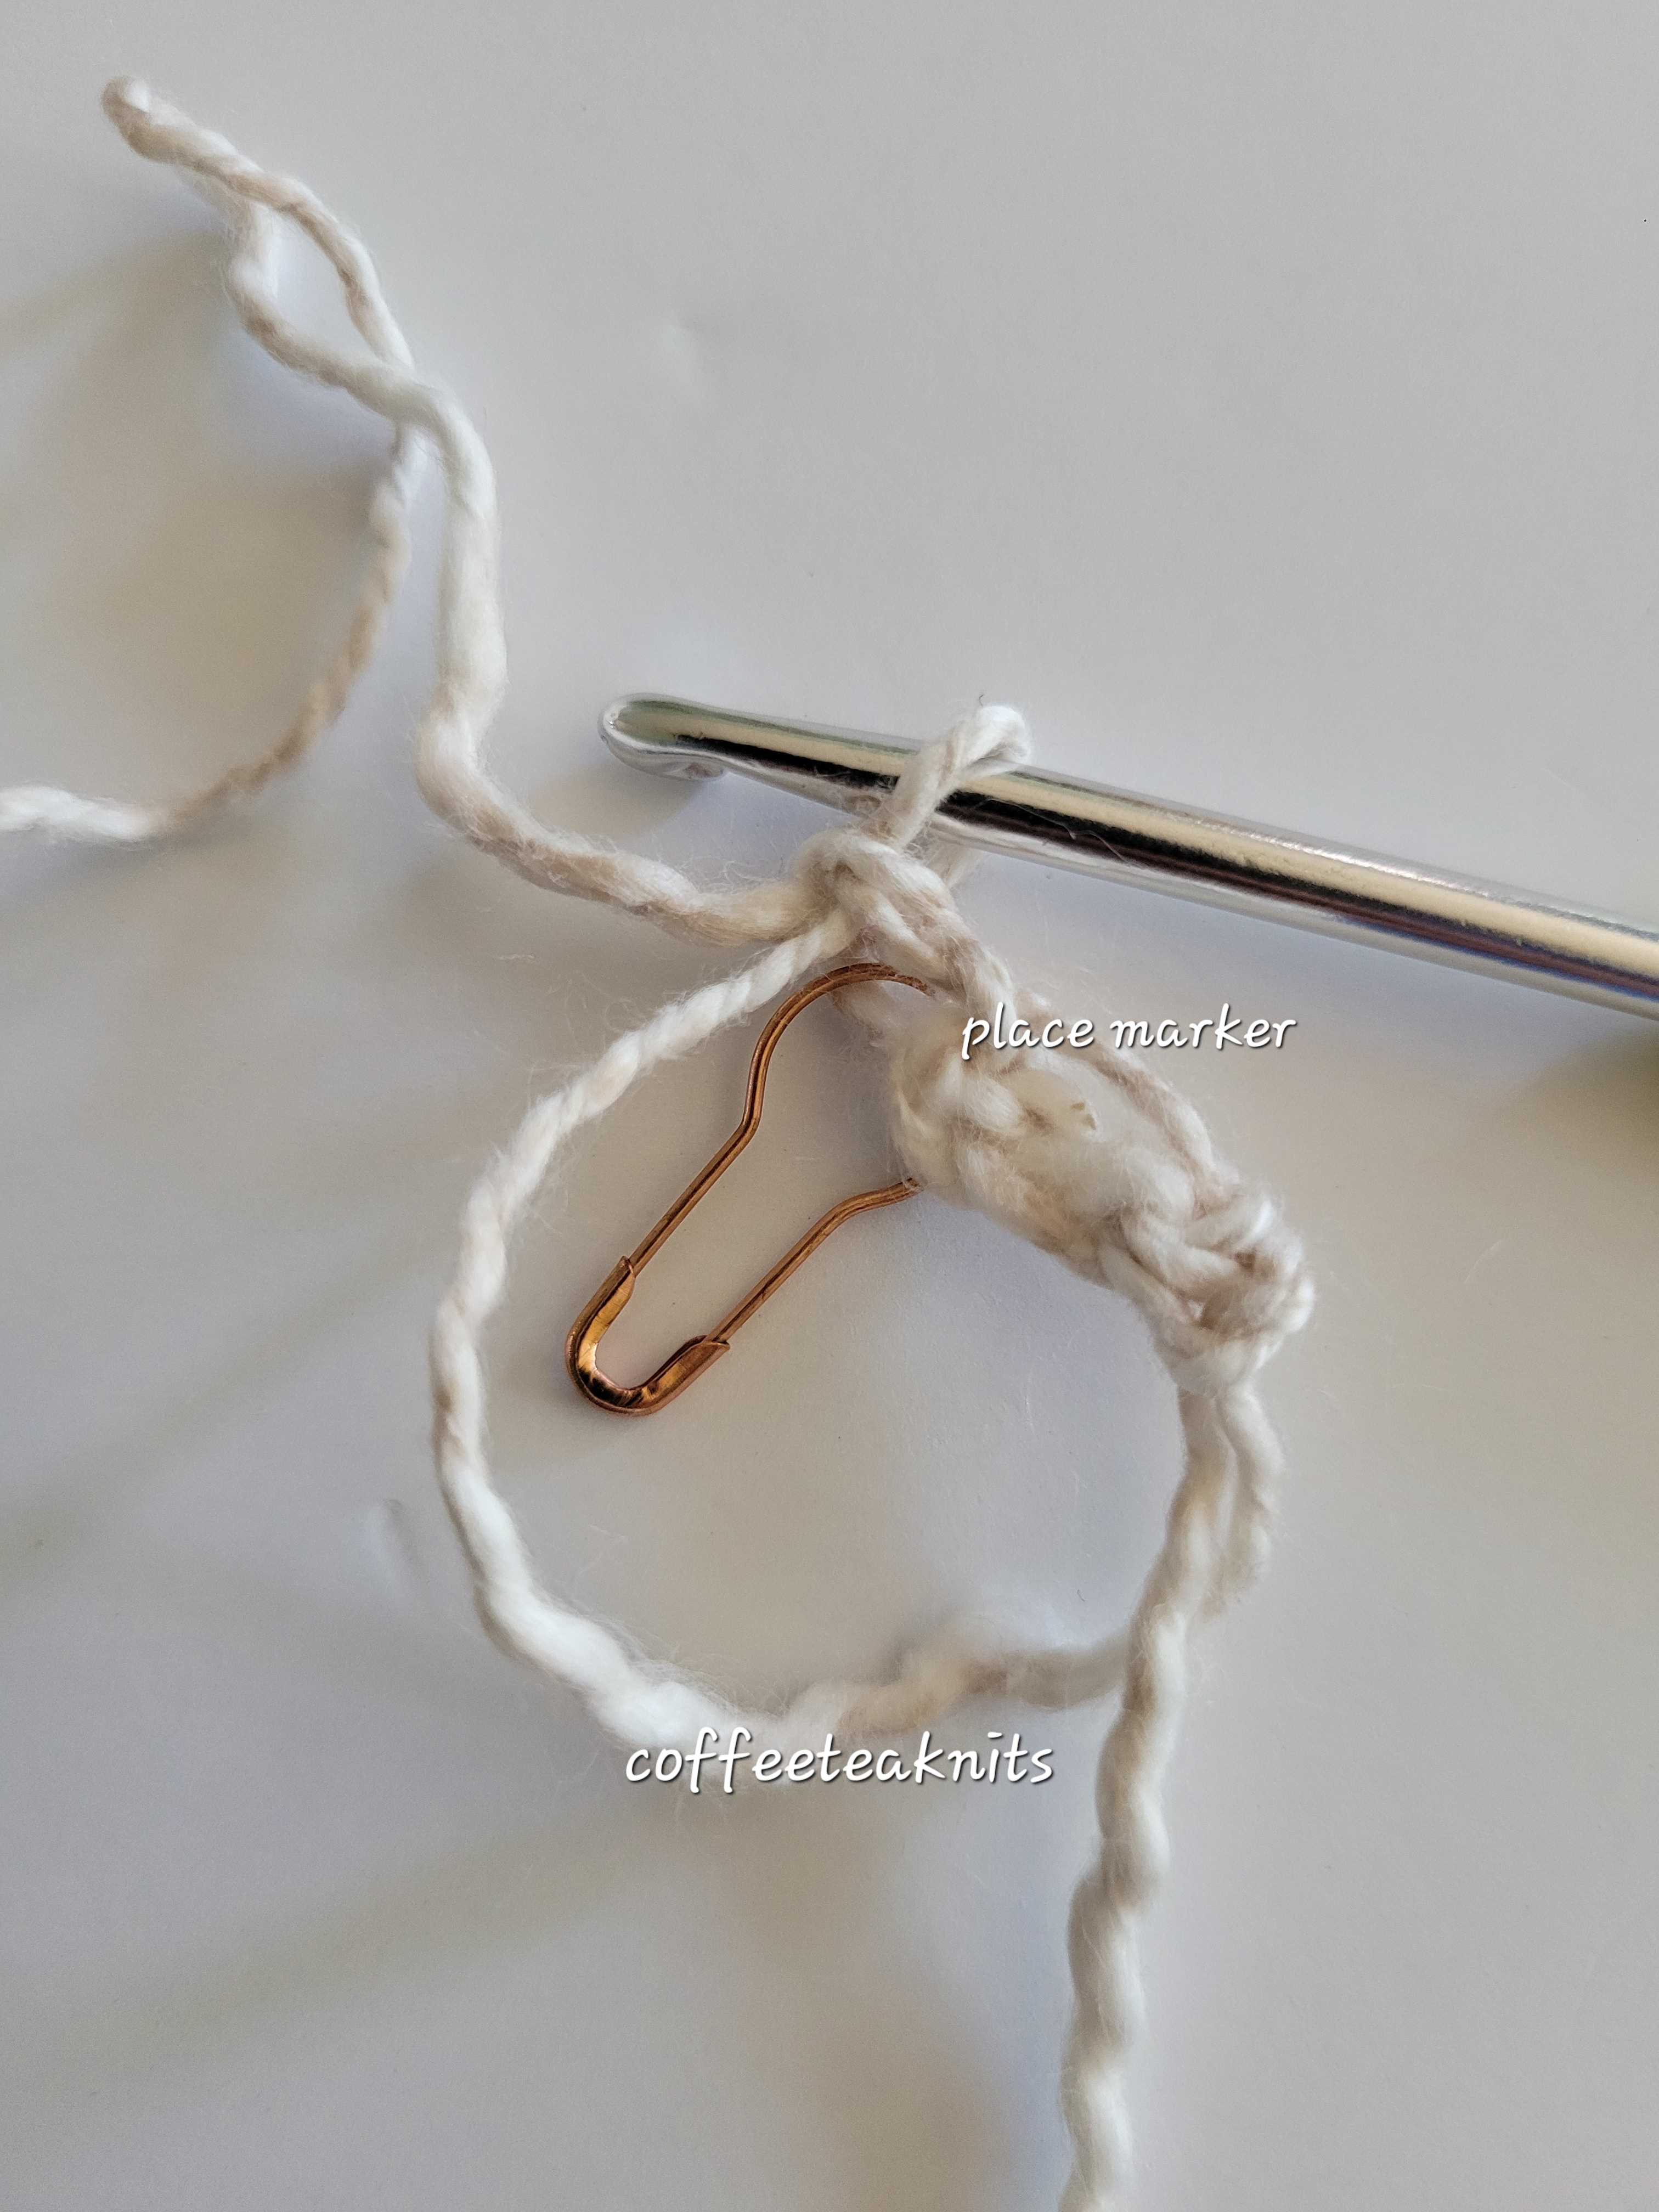
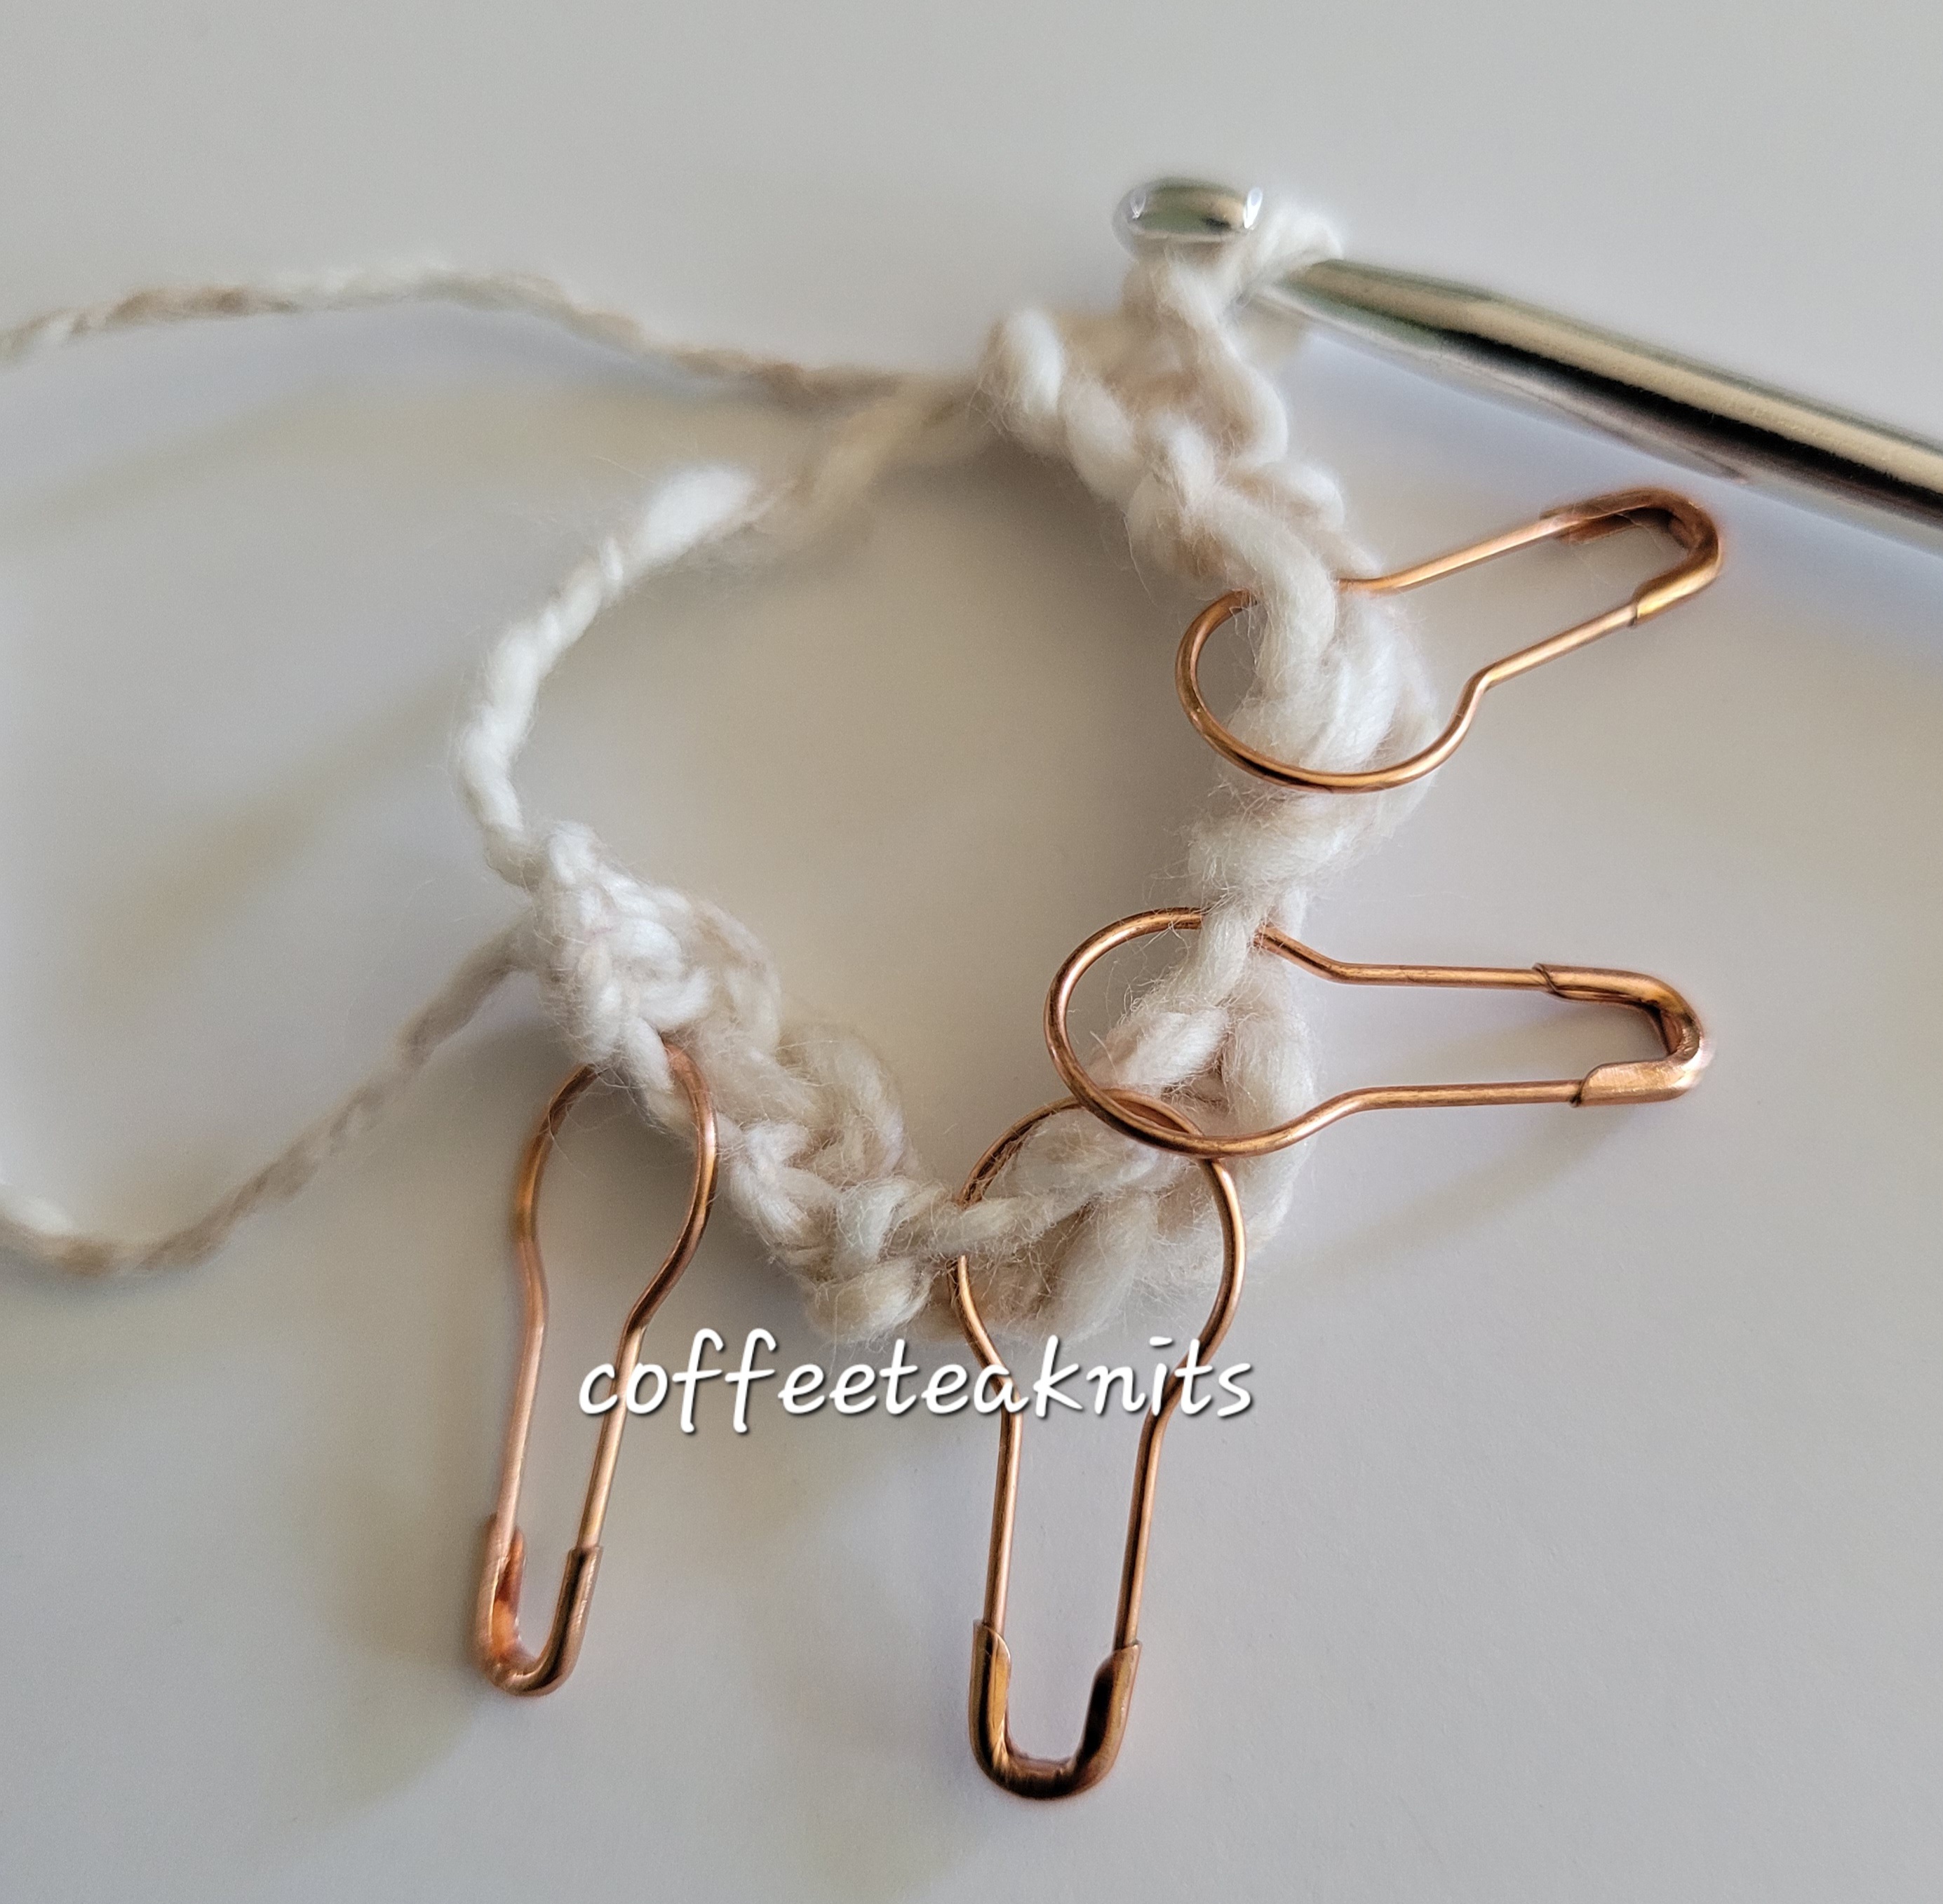
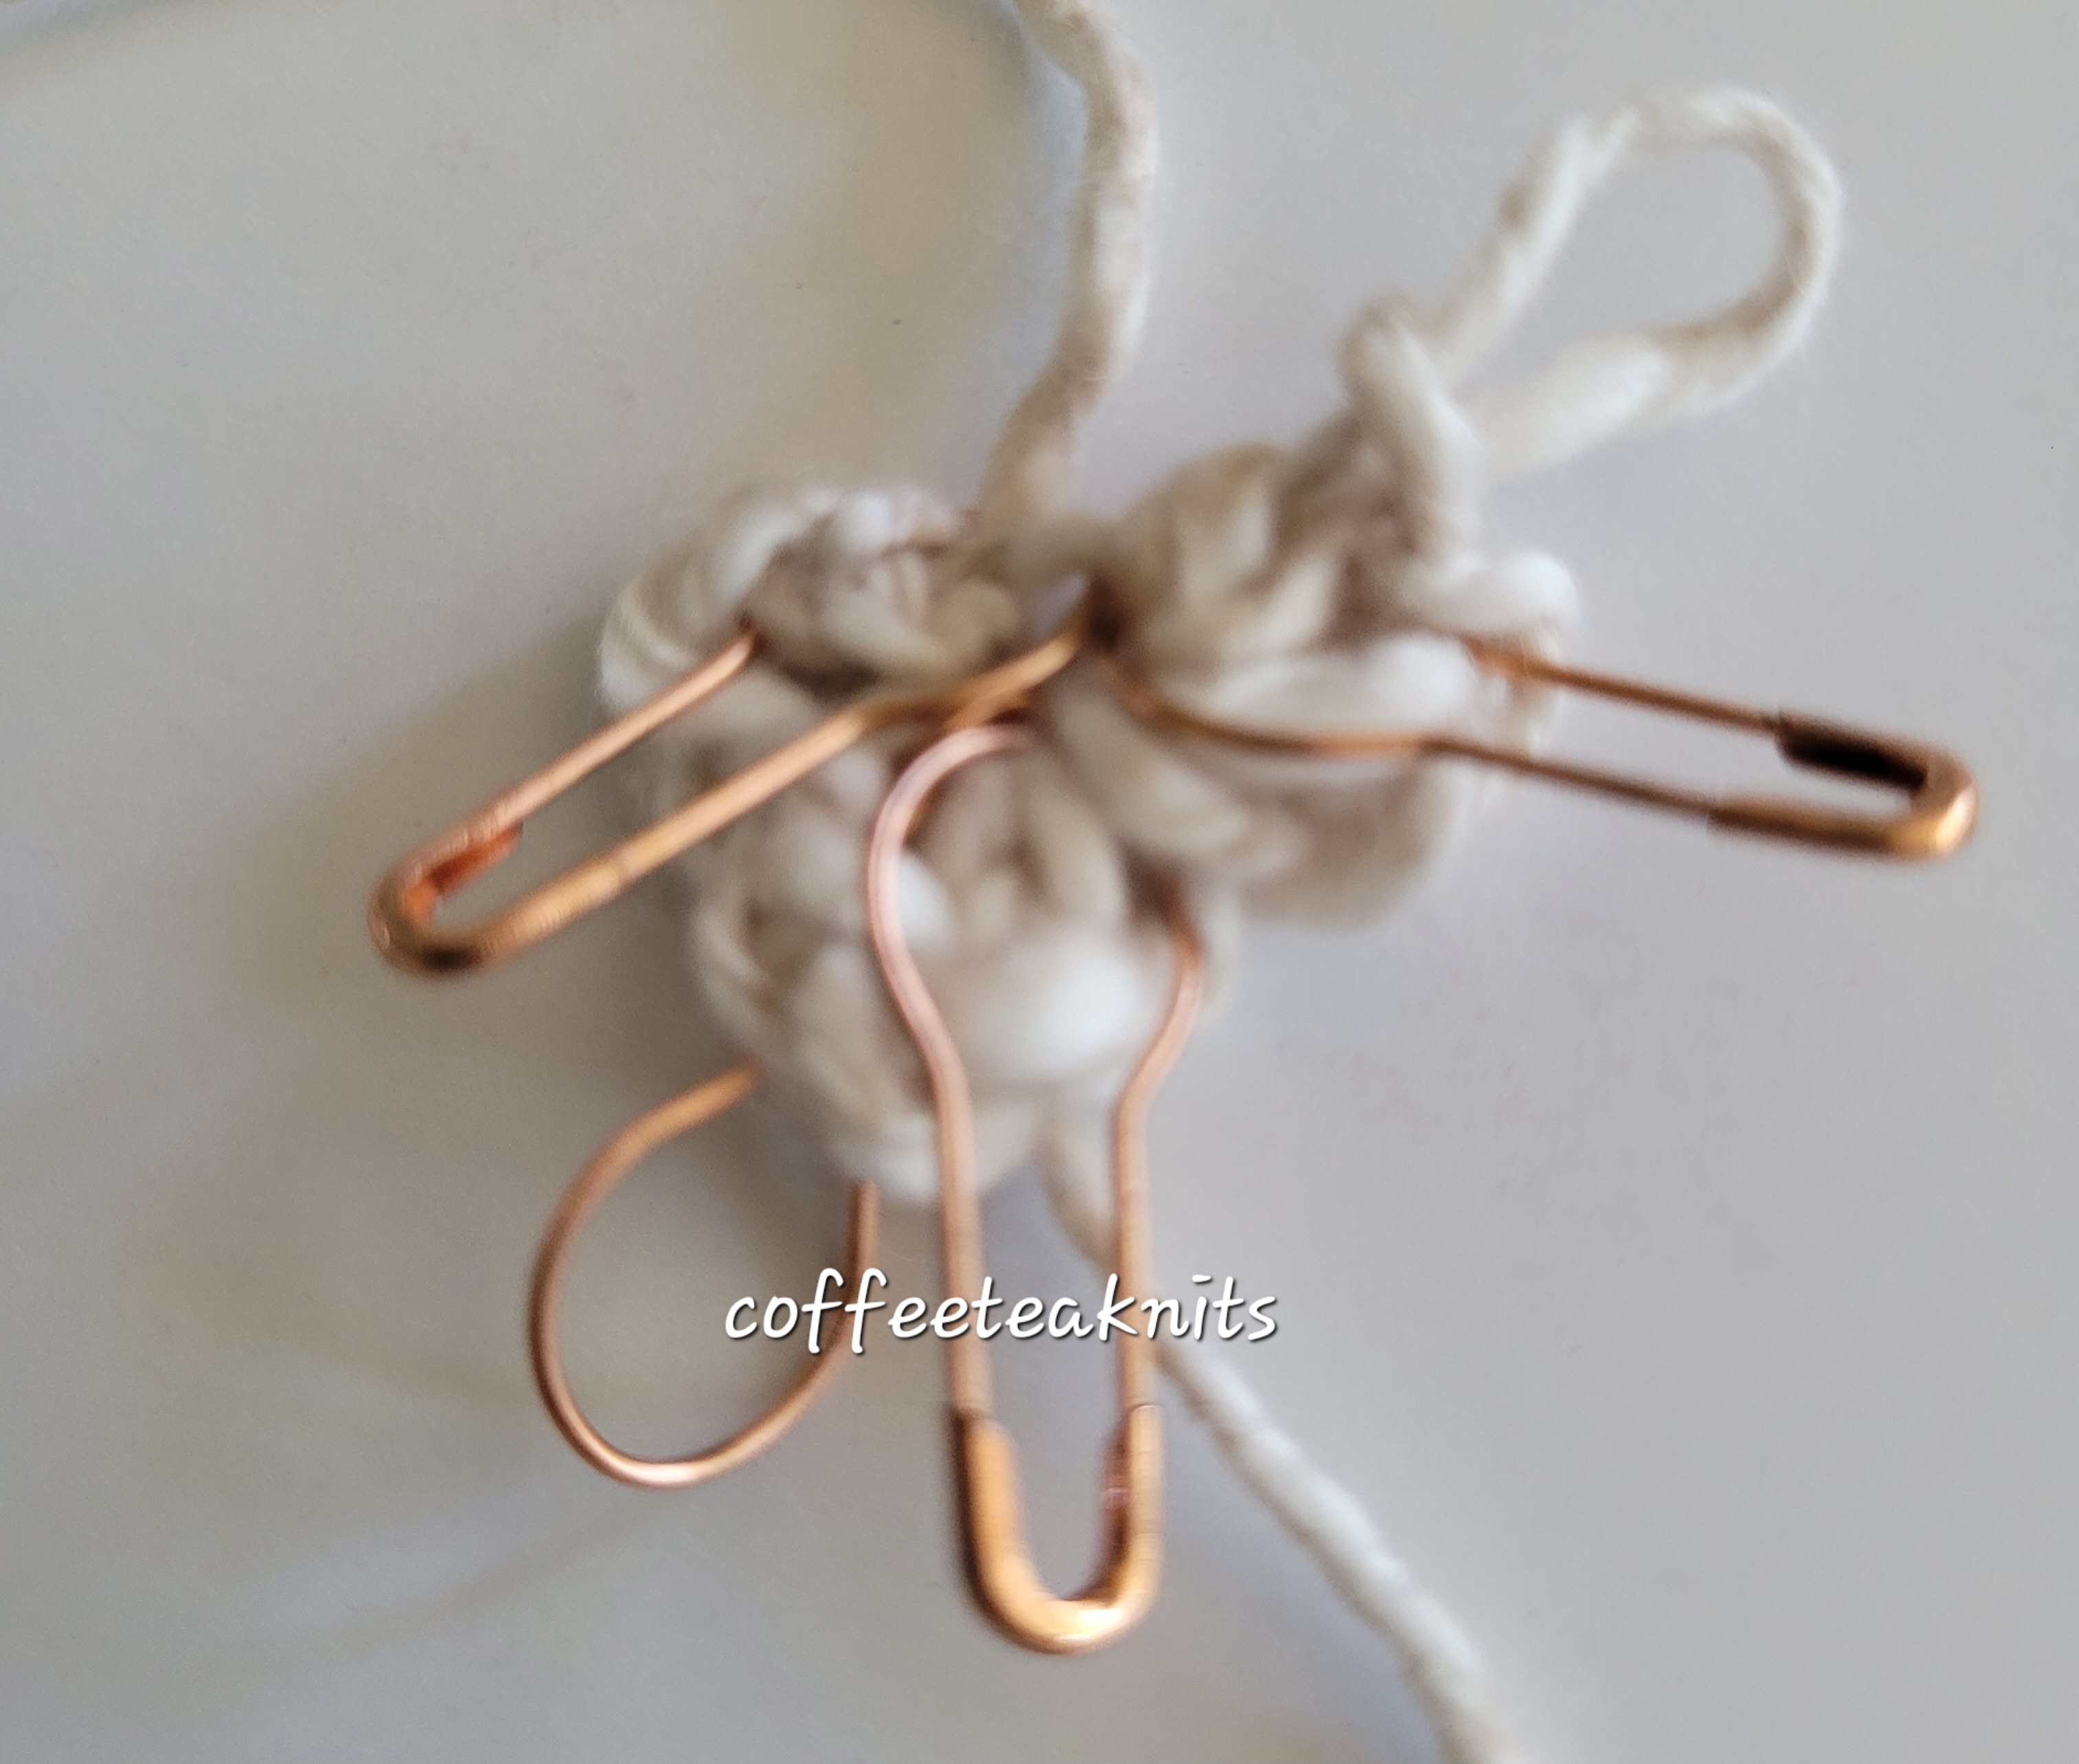
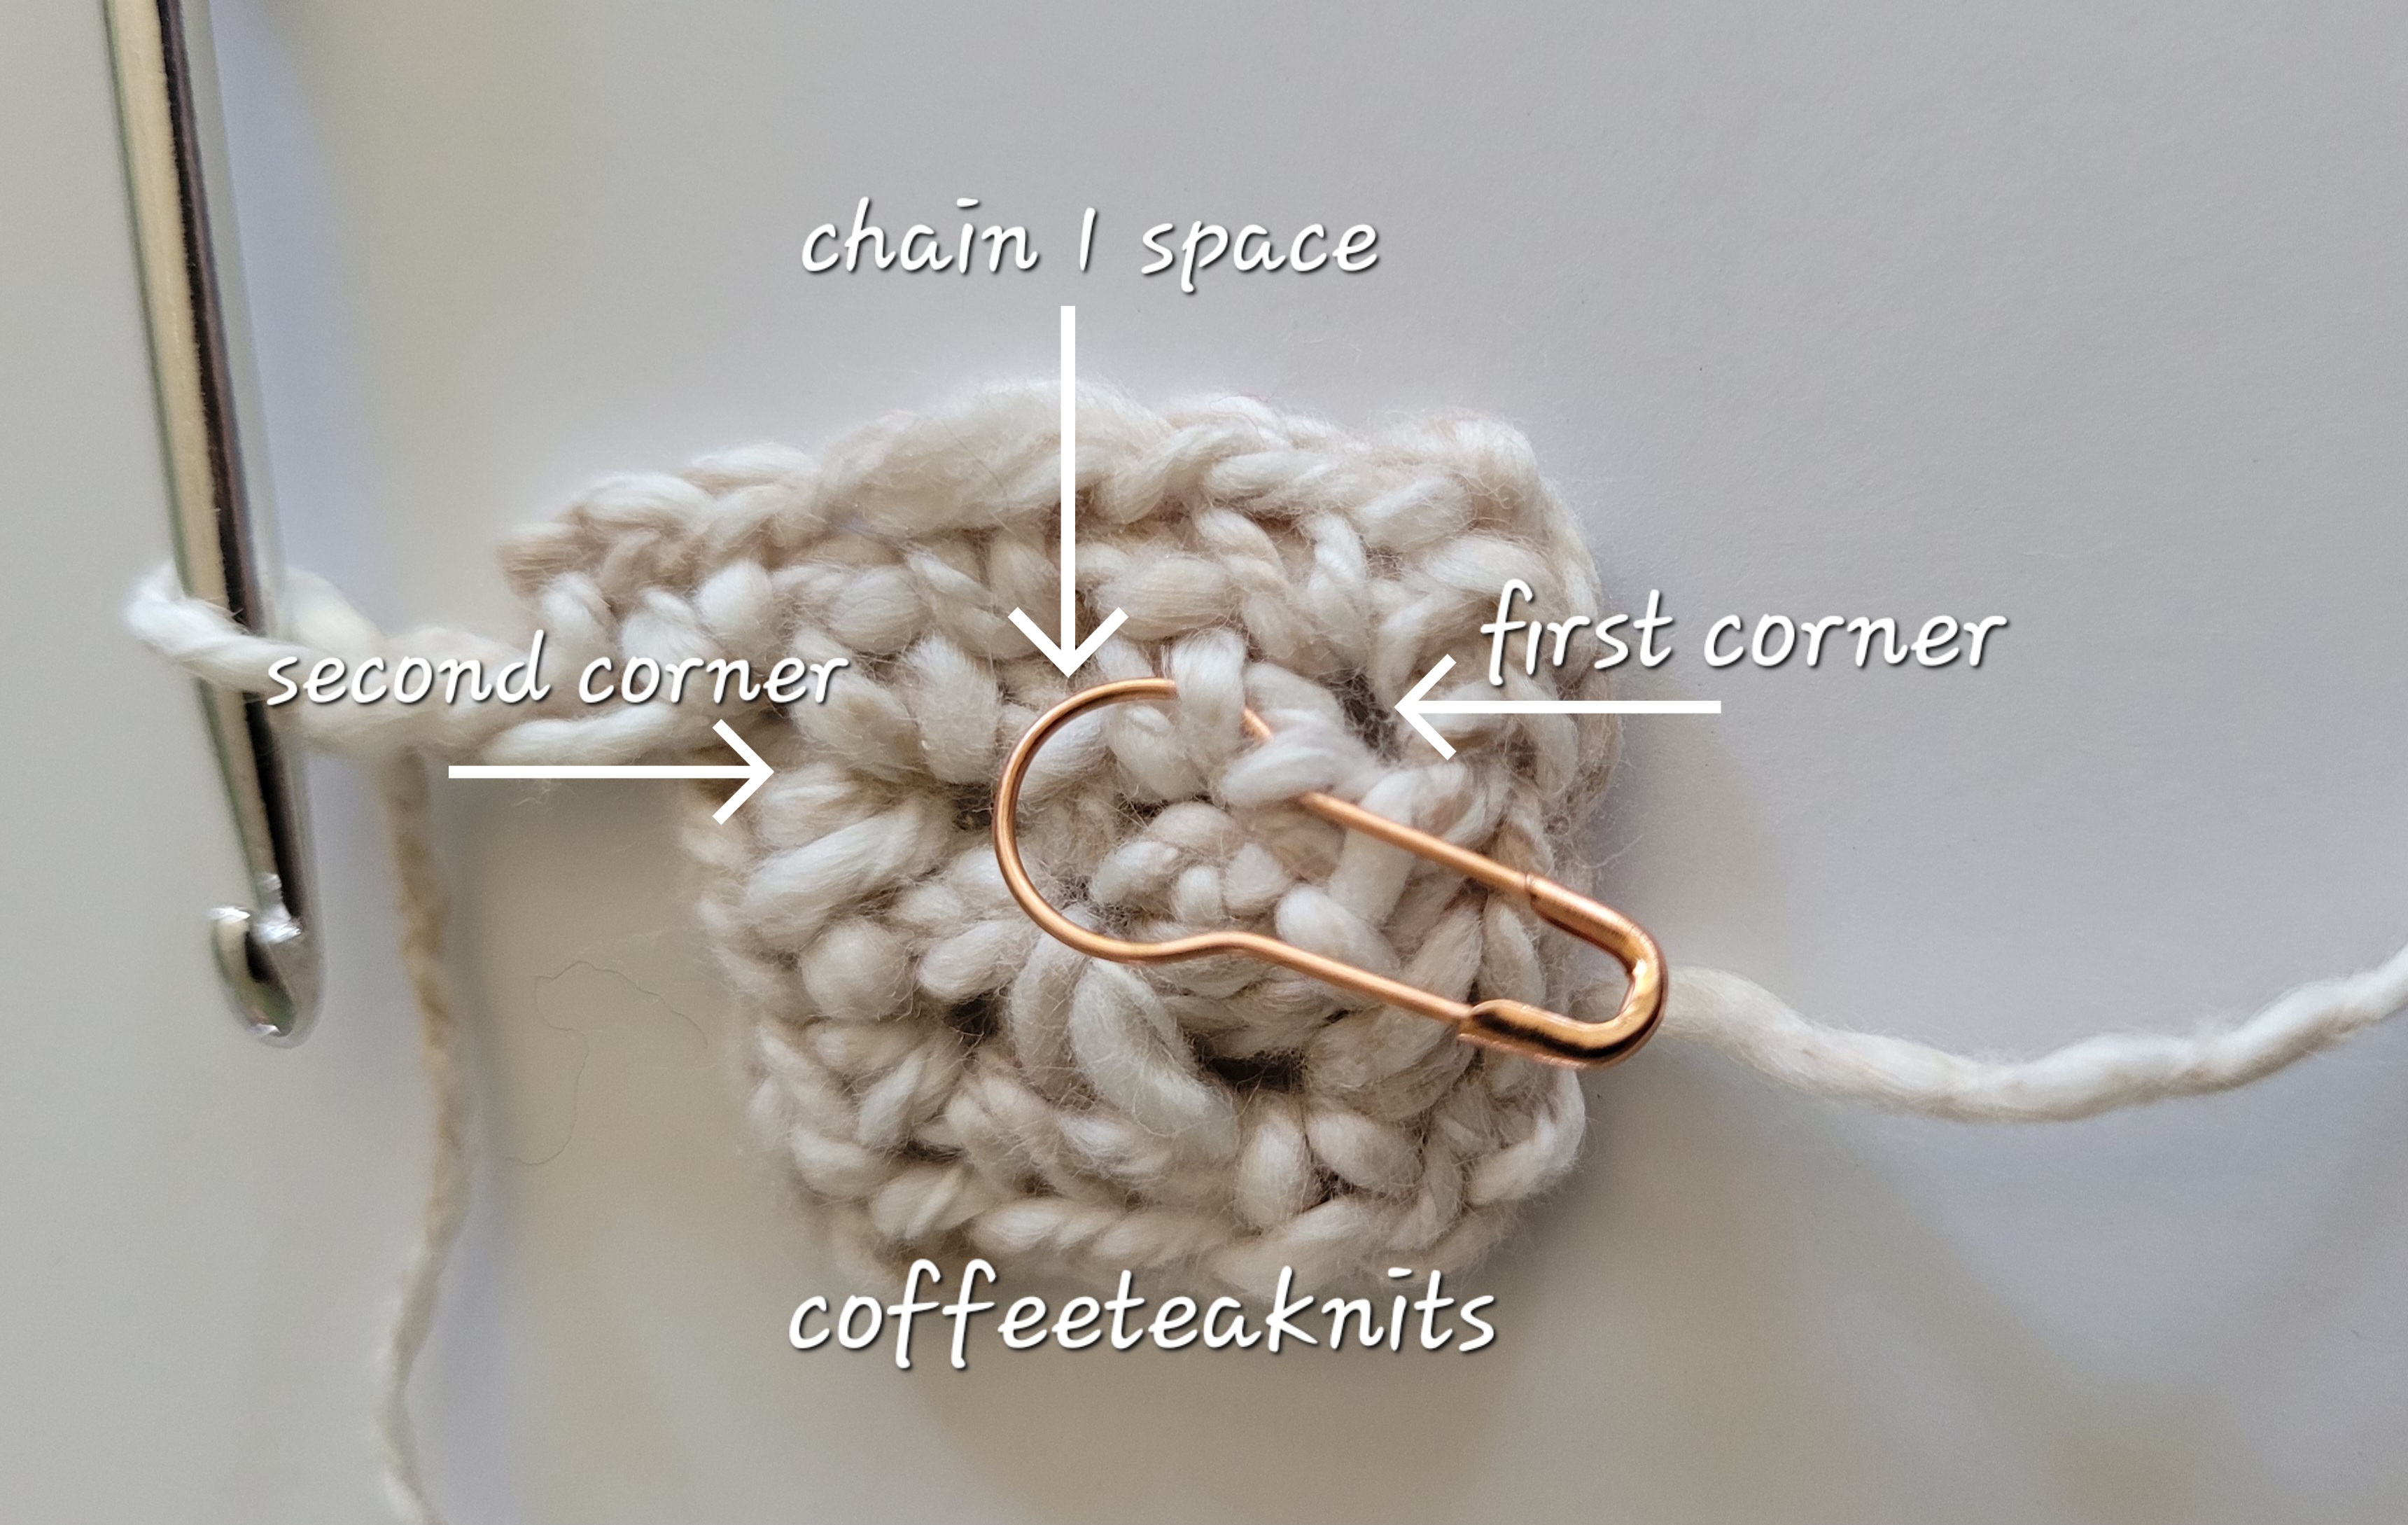
In a crochet magic ring pictured above (there are many tutorials available online on how to make a crochet magic ring) pull up a stitch with the US F-5 crochet hook, sc once into the ring, chain 2, place marker, sc into the ring, chain 2, place marker, sc into the ring, chain 2, place marker, sc into the ring, chain 2, place marker, and sc. Pull on the yarn tail to tighten the gap (pictured below).
Advertisements
Advertisements
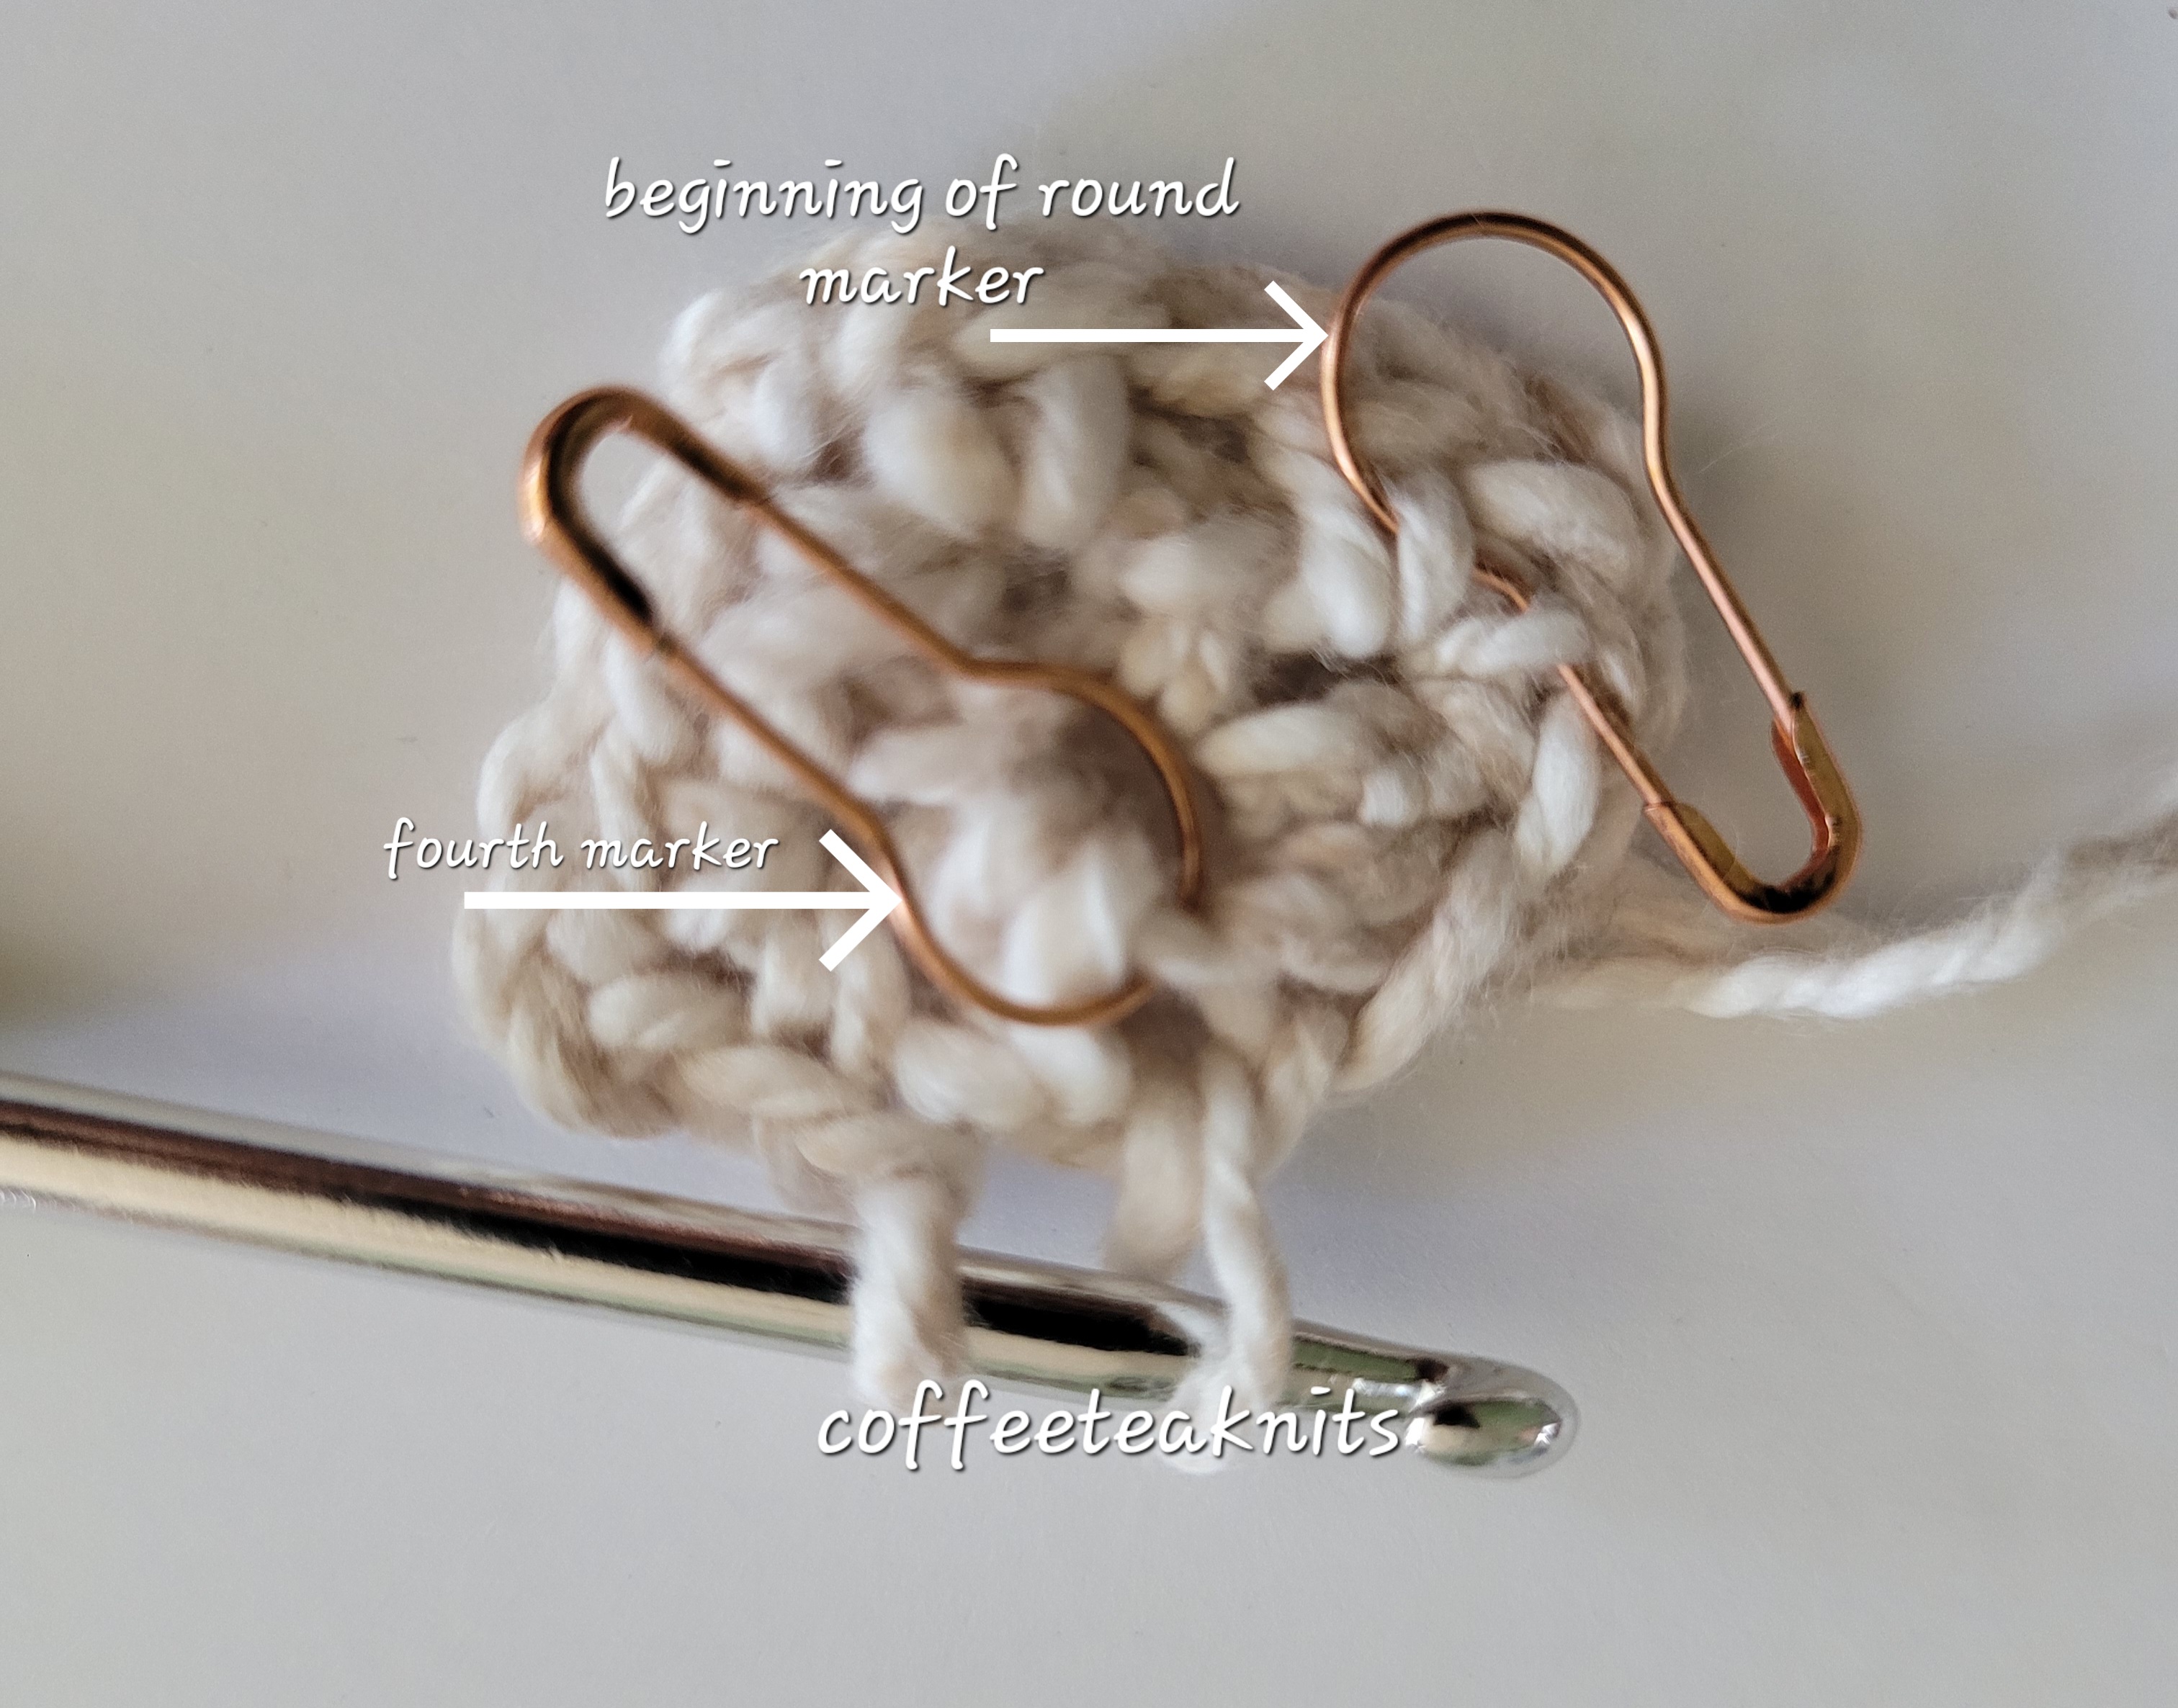
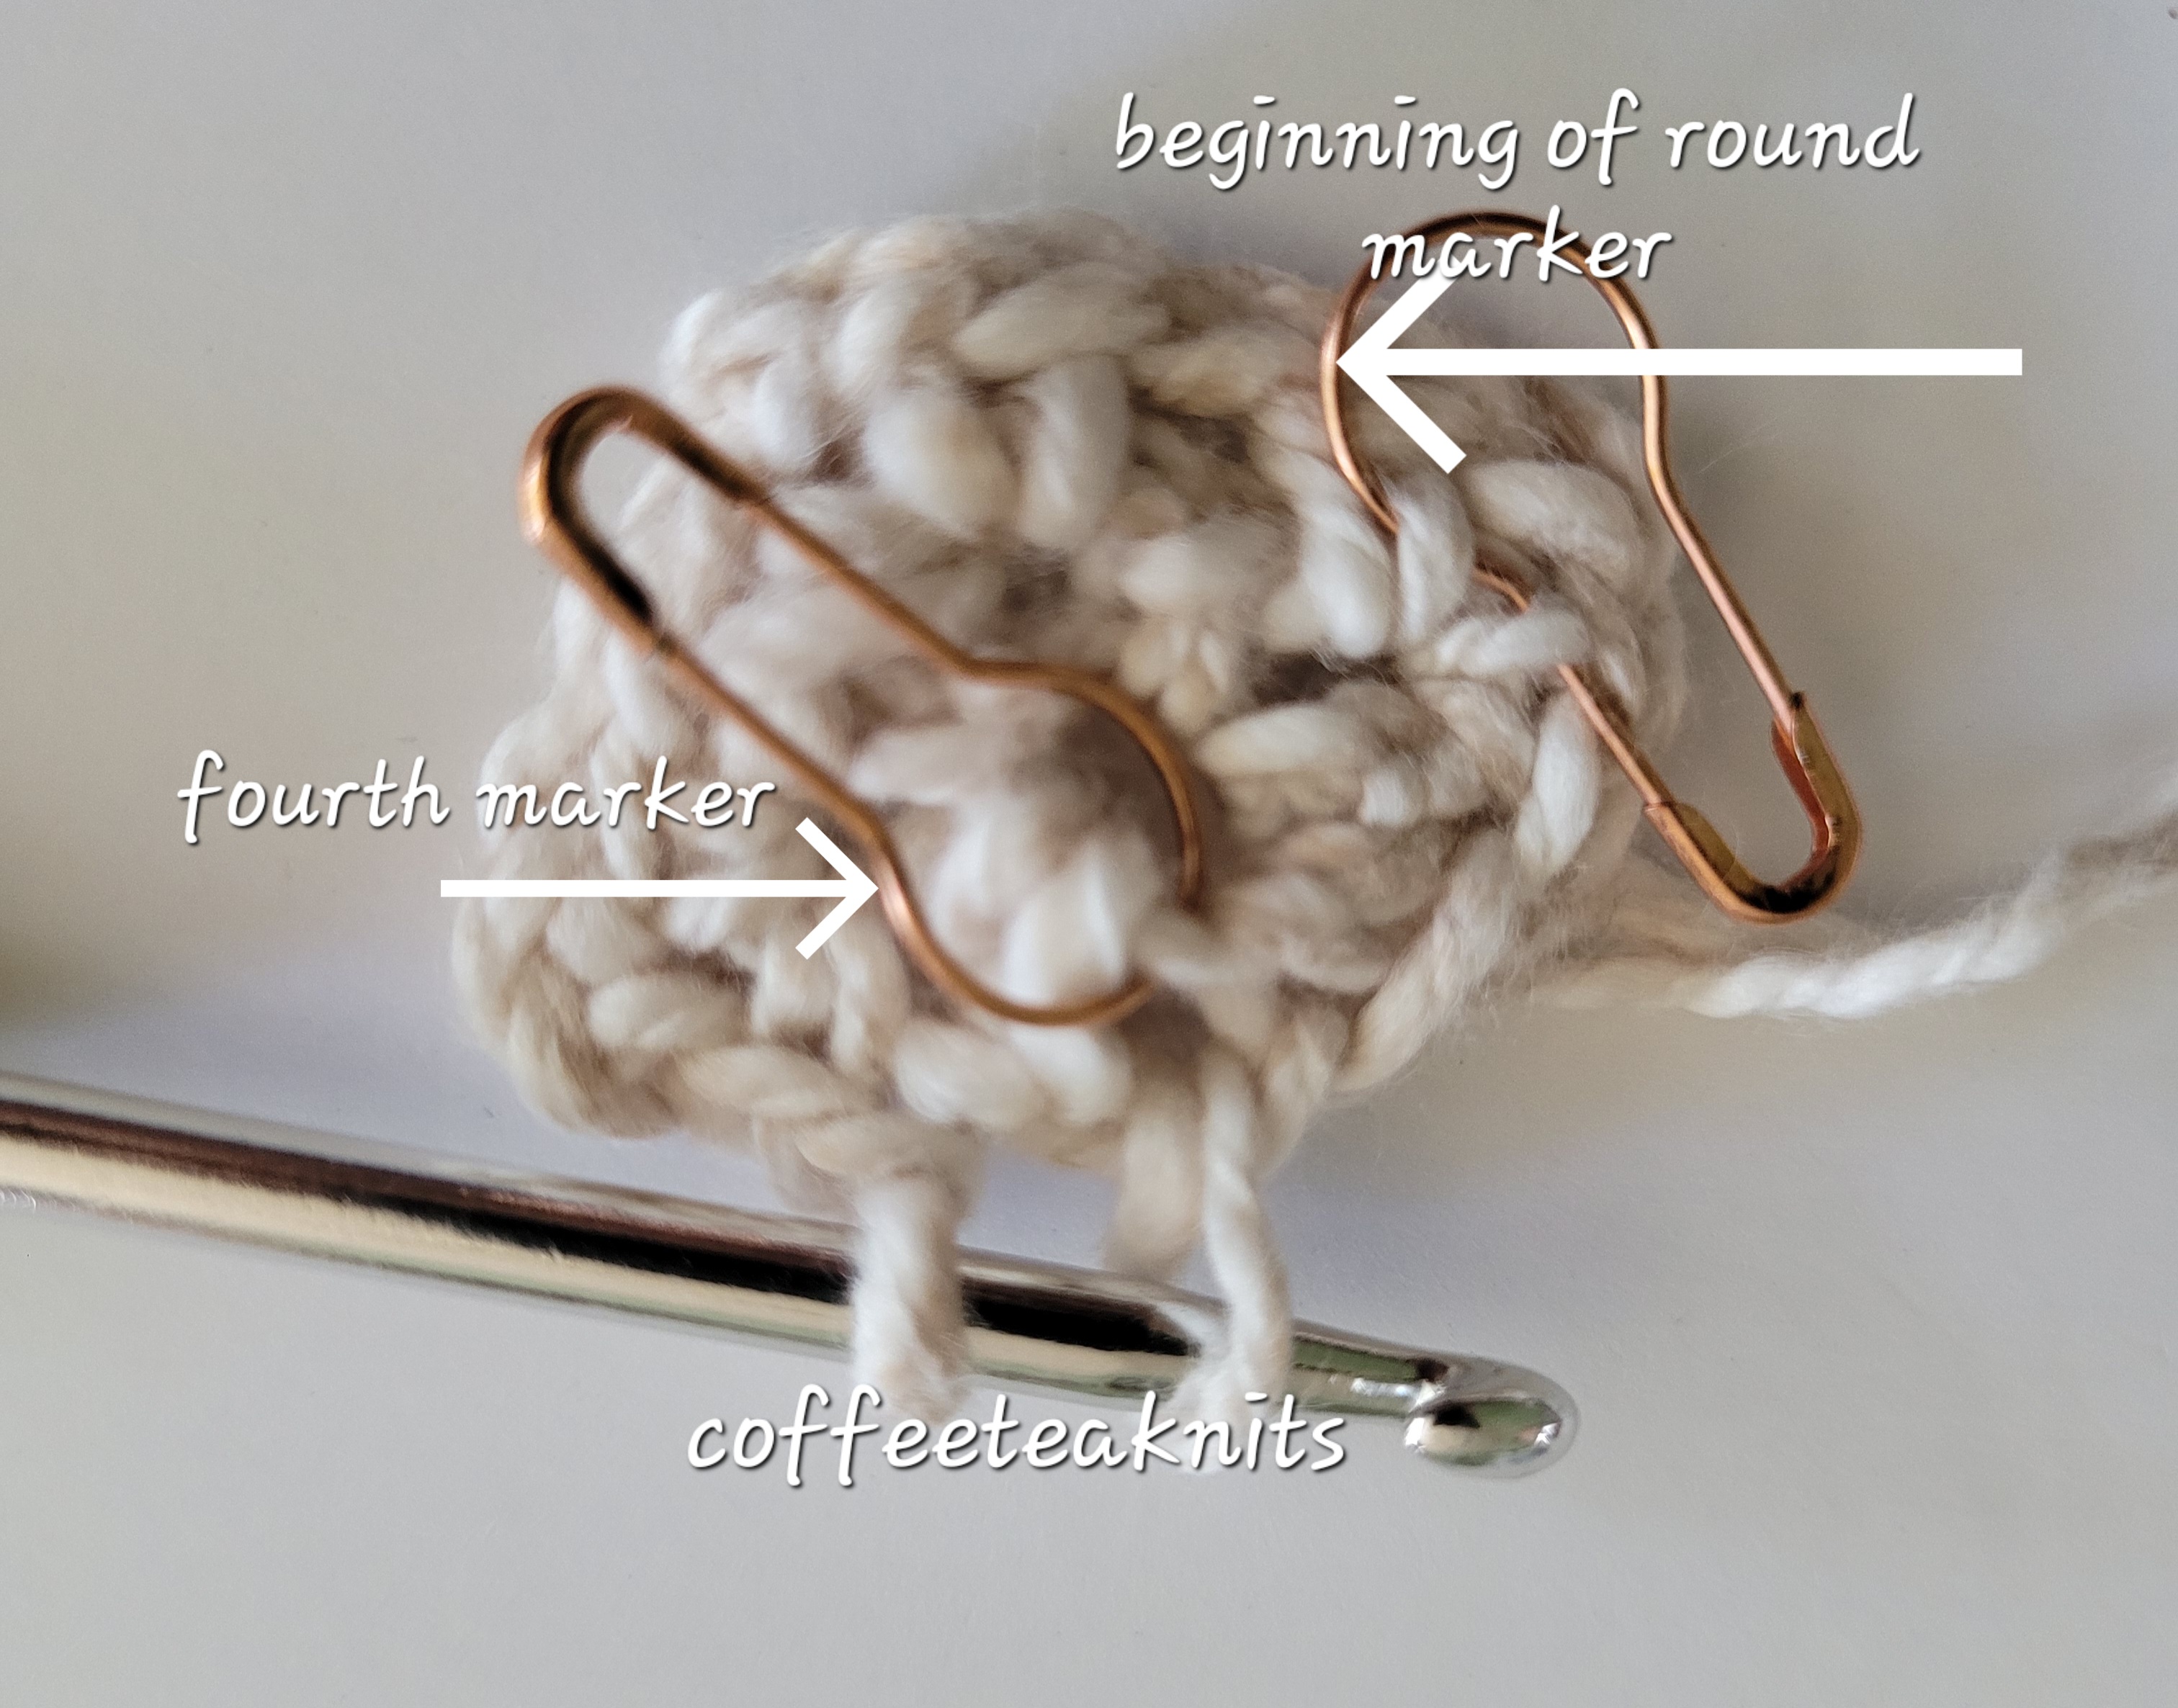
Round 1: Insert the crochet hook into the chain 2 space of the first marker and sc, chain 2, sc, chain 1 all in the same chain 2 space (see below). Remove the first marker and place it as the beginning of the round marker. [Insert hook and sc, chain 2, sc, chain 1 into the chain 2 space of the second marker. Remove second marker]. Repeat […] this for the third and fourth marker in their chain 2 space.
Advertisements
Advertisements
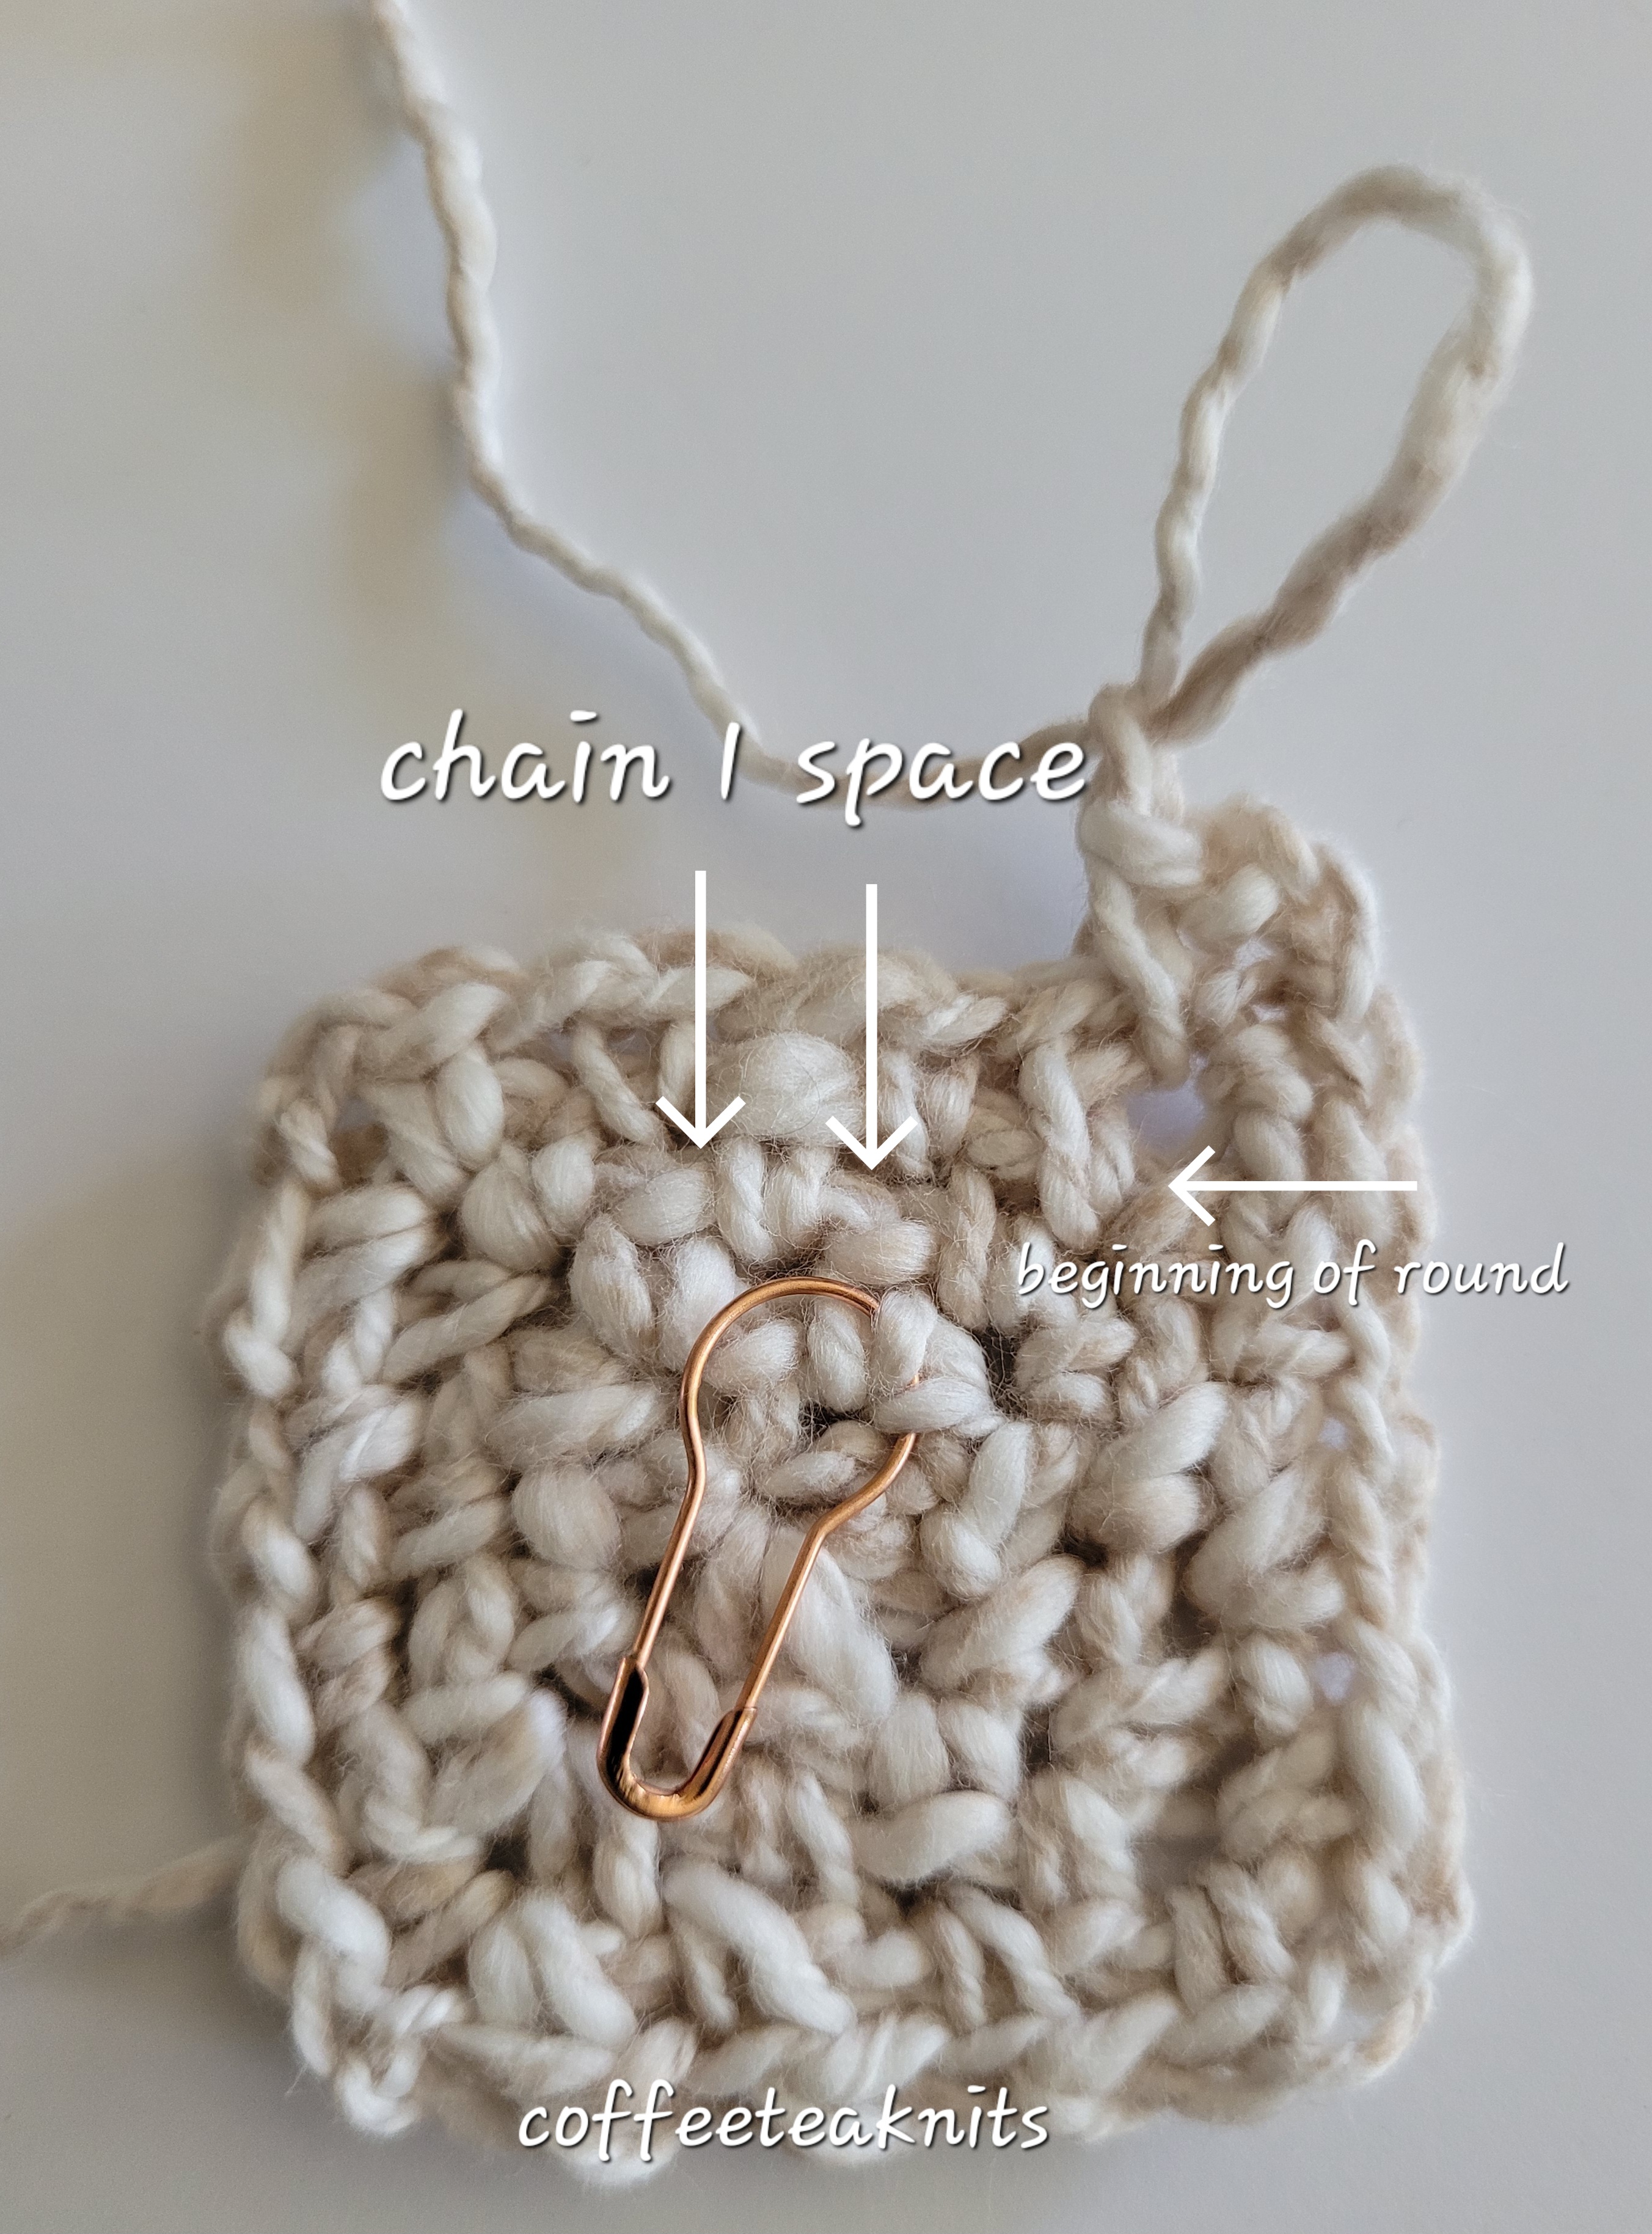
Round 2: [Sc, chain 2, sc, chain 1 all in the same chain 2 space of the first corner with the beginning of the round marker. Sc in the next chain 1 space between the first and second corner (see picture below), chain 1]. Repeat […] for the second, third and fourth corners till the beginning of the first marker.
Advertisements
Repeat the Round 2 till preferred size is reached ending with a sc in the chain 2 space at the beginning of the round. Cut the working yarn and pull through the sc stitch. There was a total of 34 round repeats for the Summertime Market Bag.
Advertisements
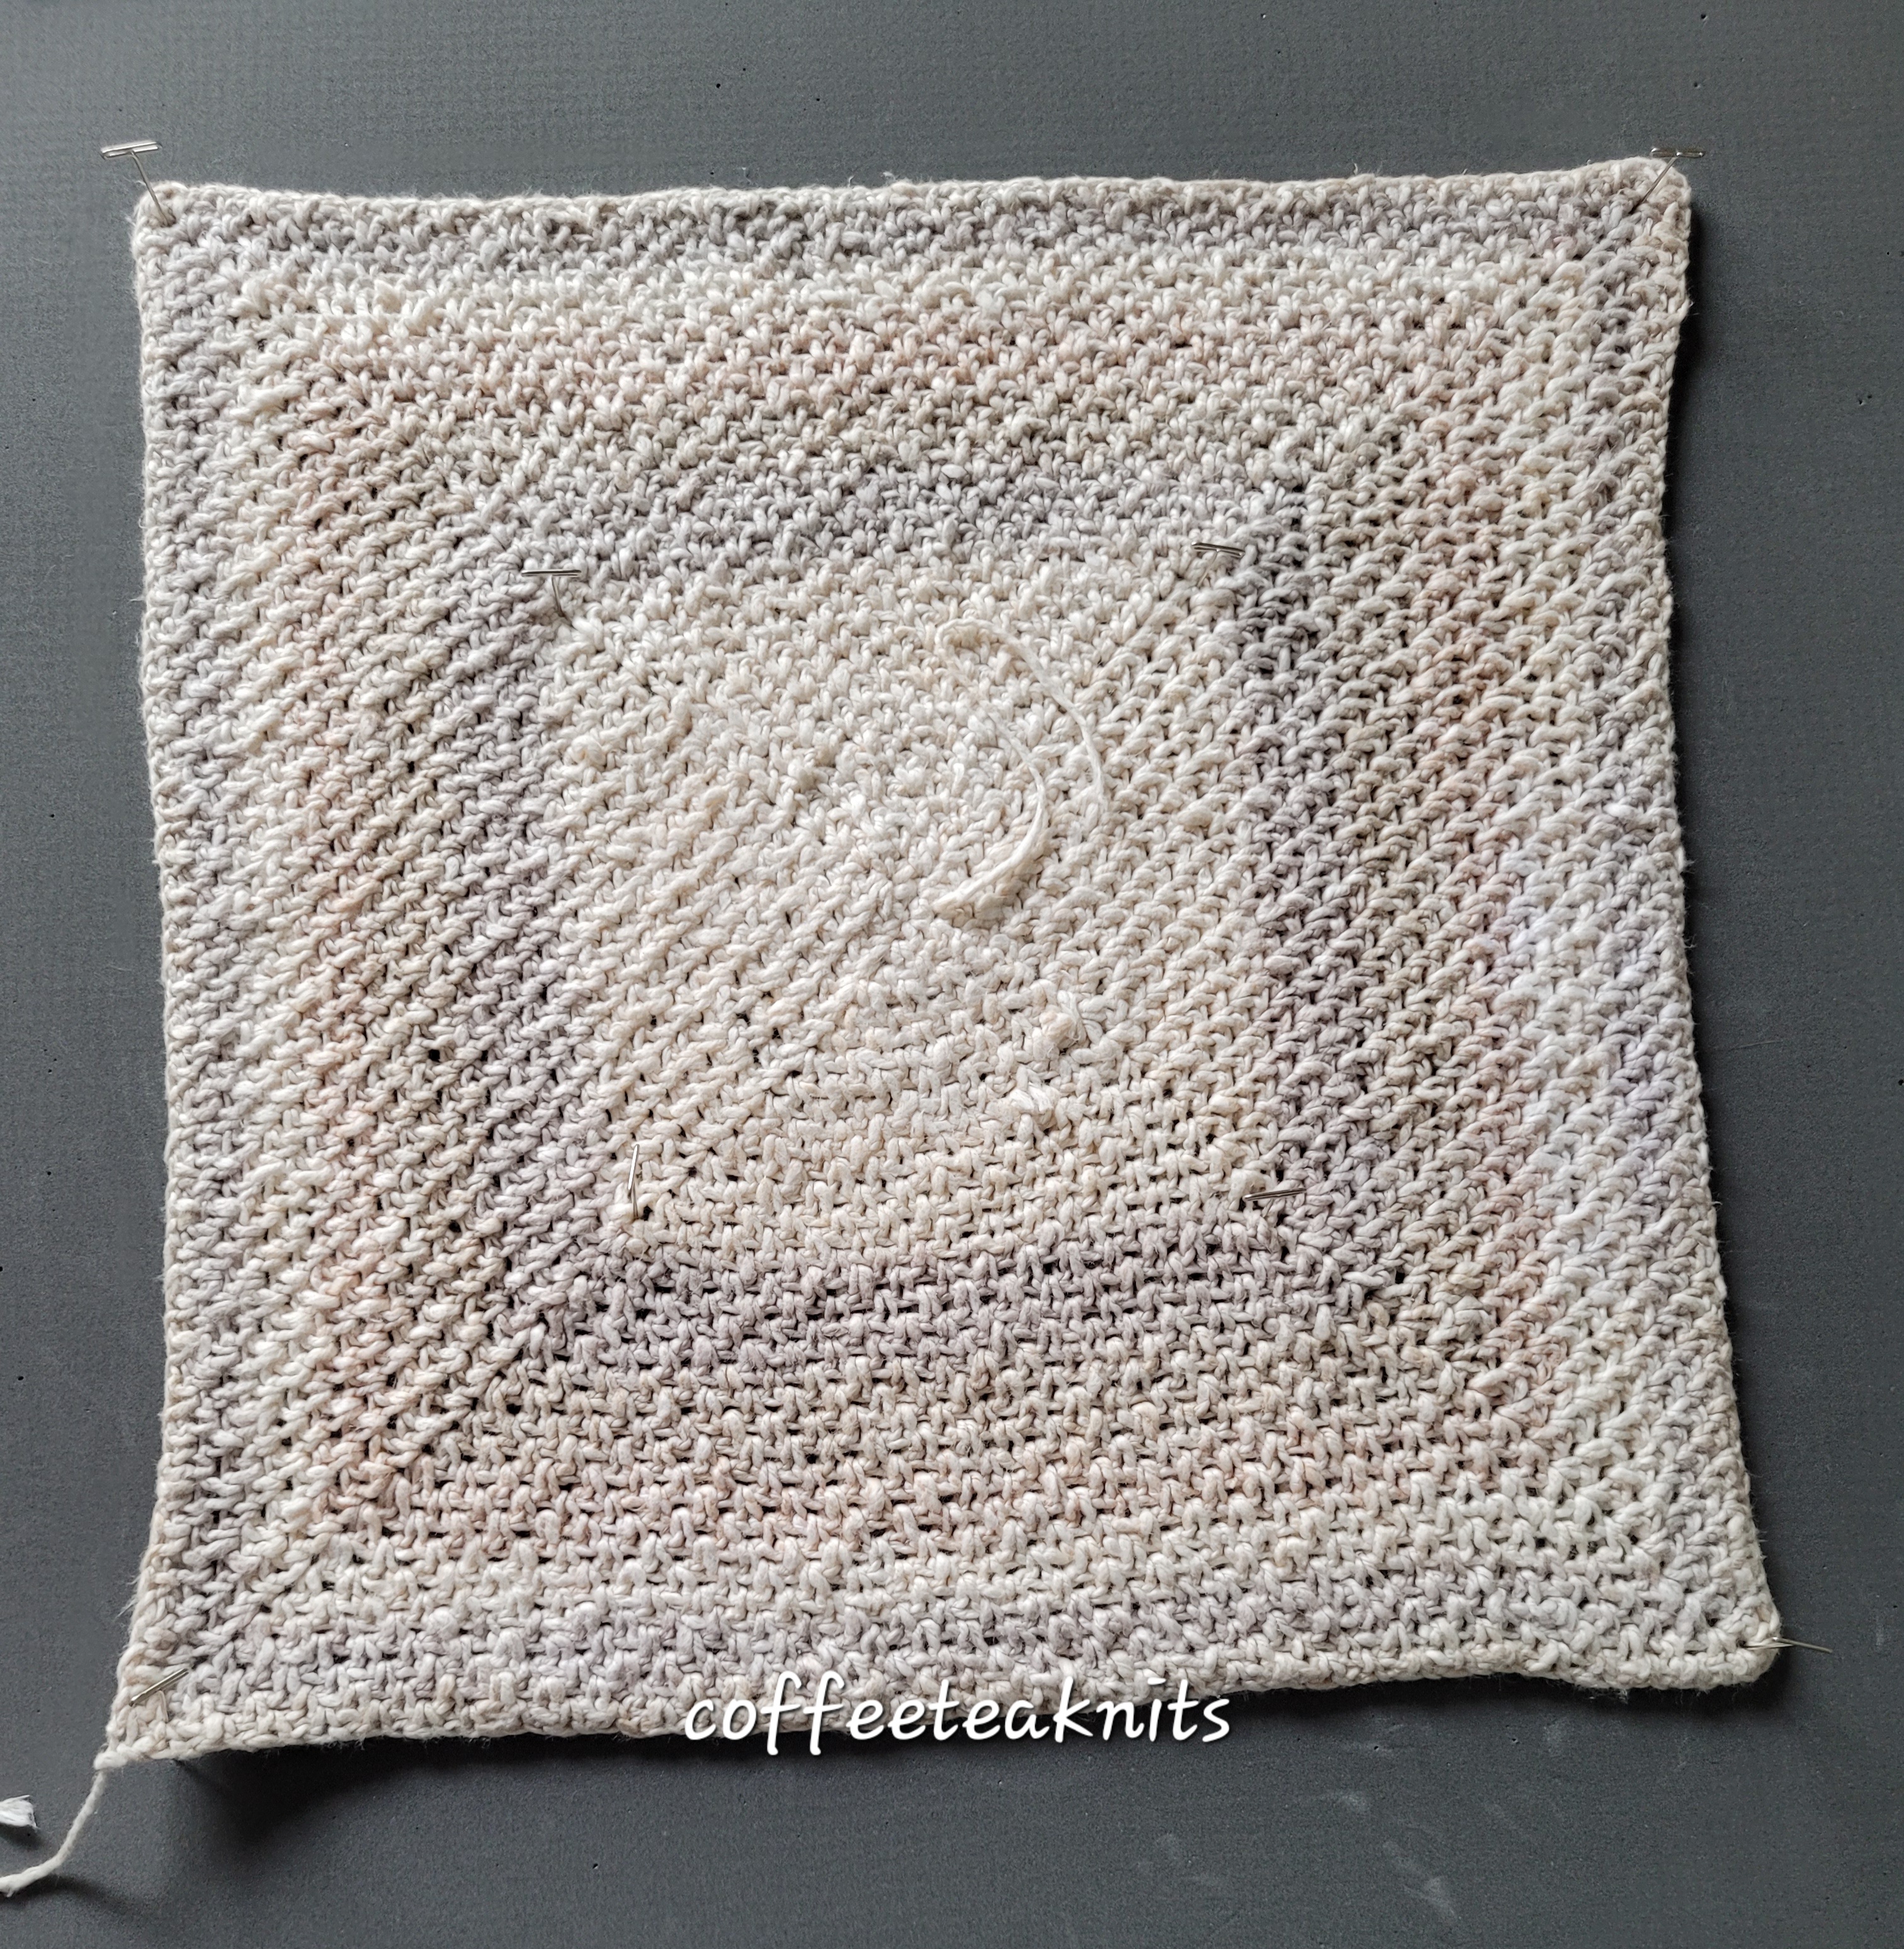
Make another crochet moss stitch square of the same size. Wash and block the two squares (wrong side pictured below)
Advertisements
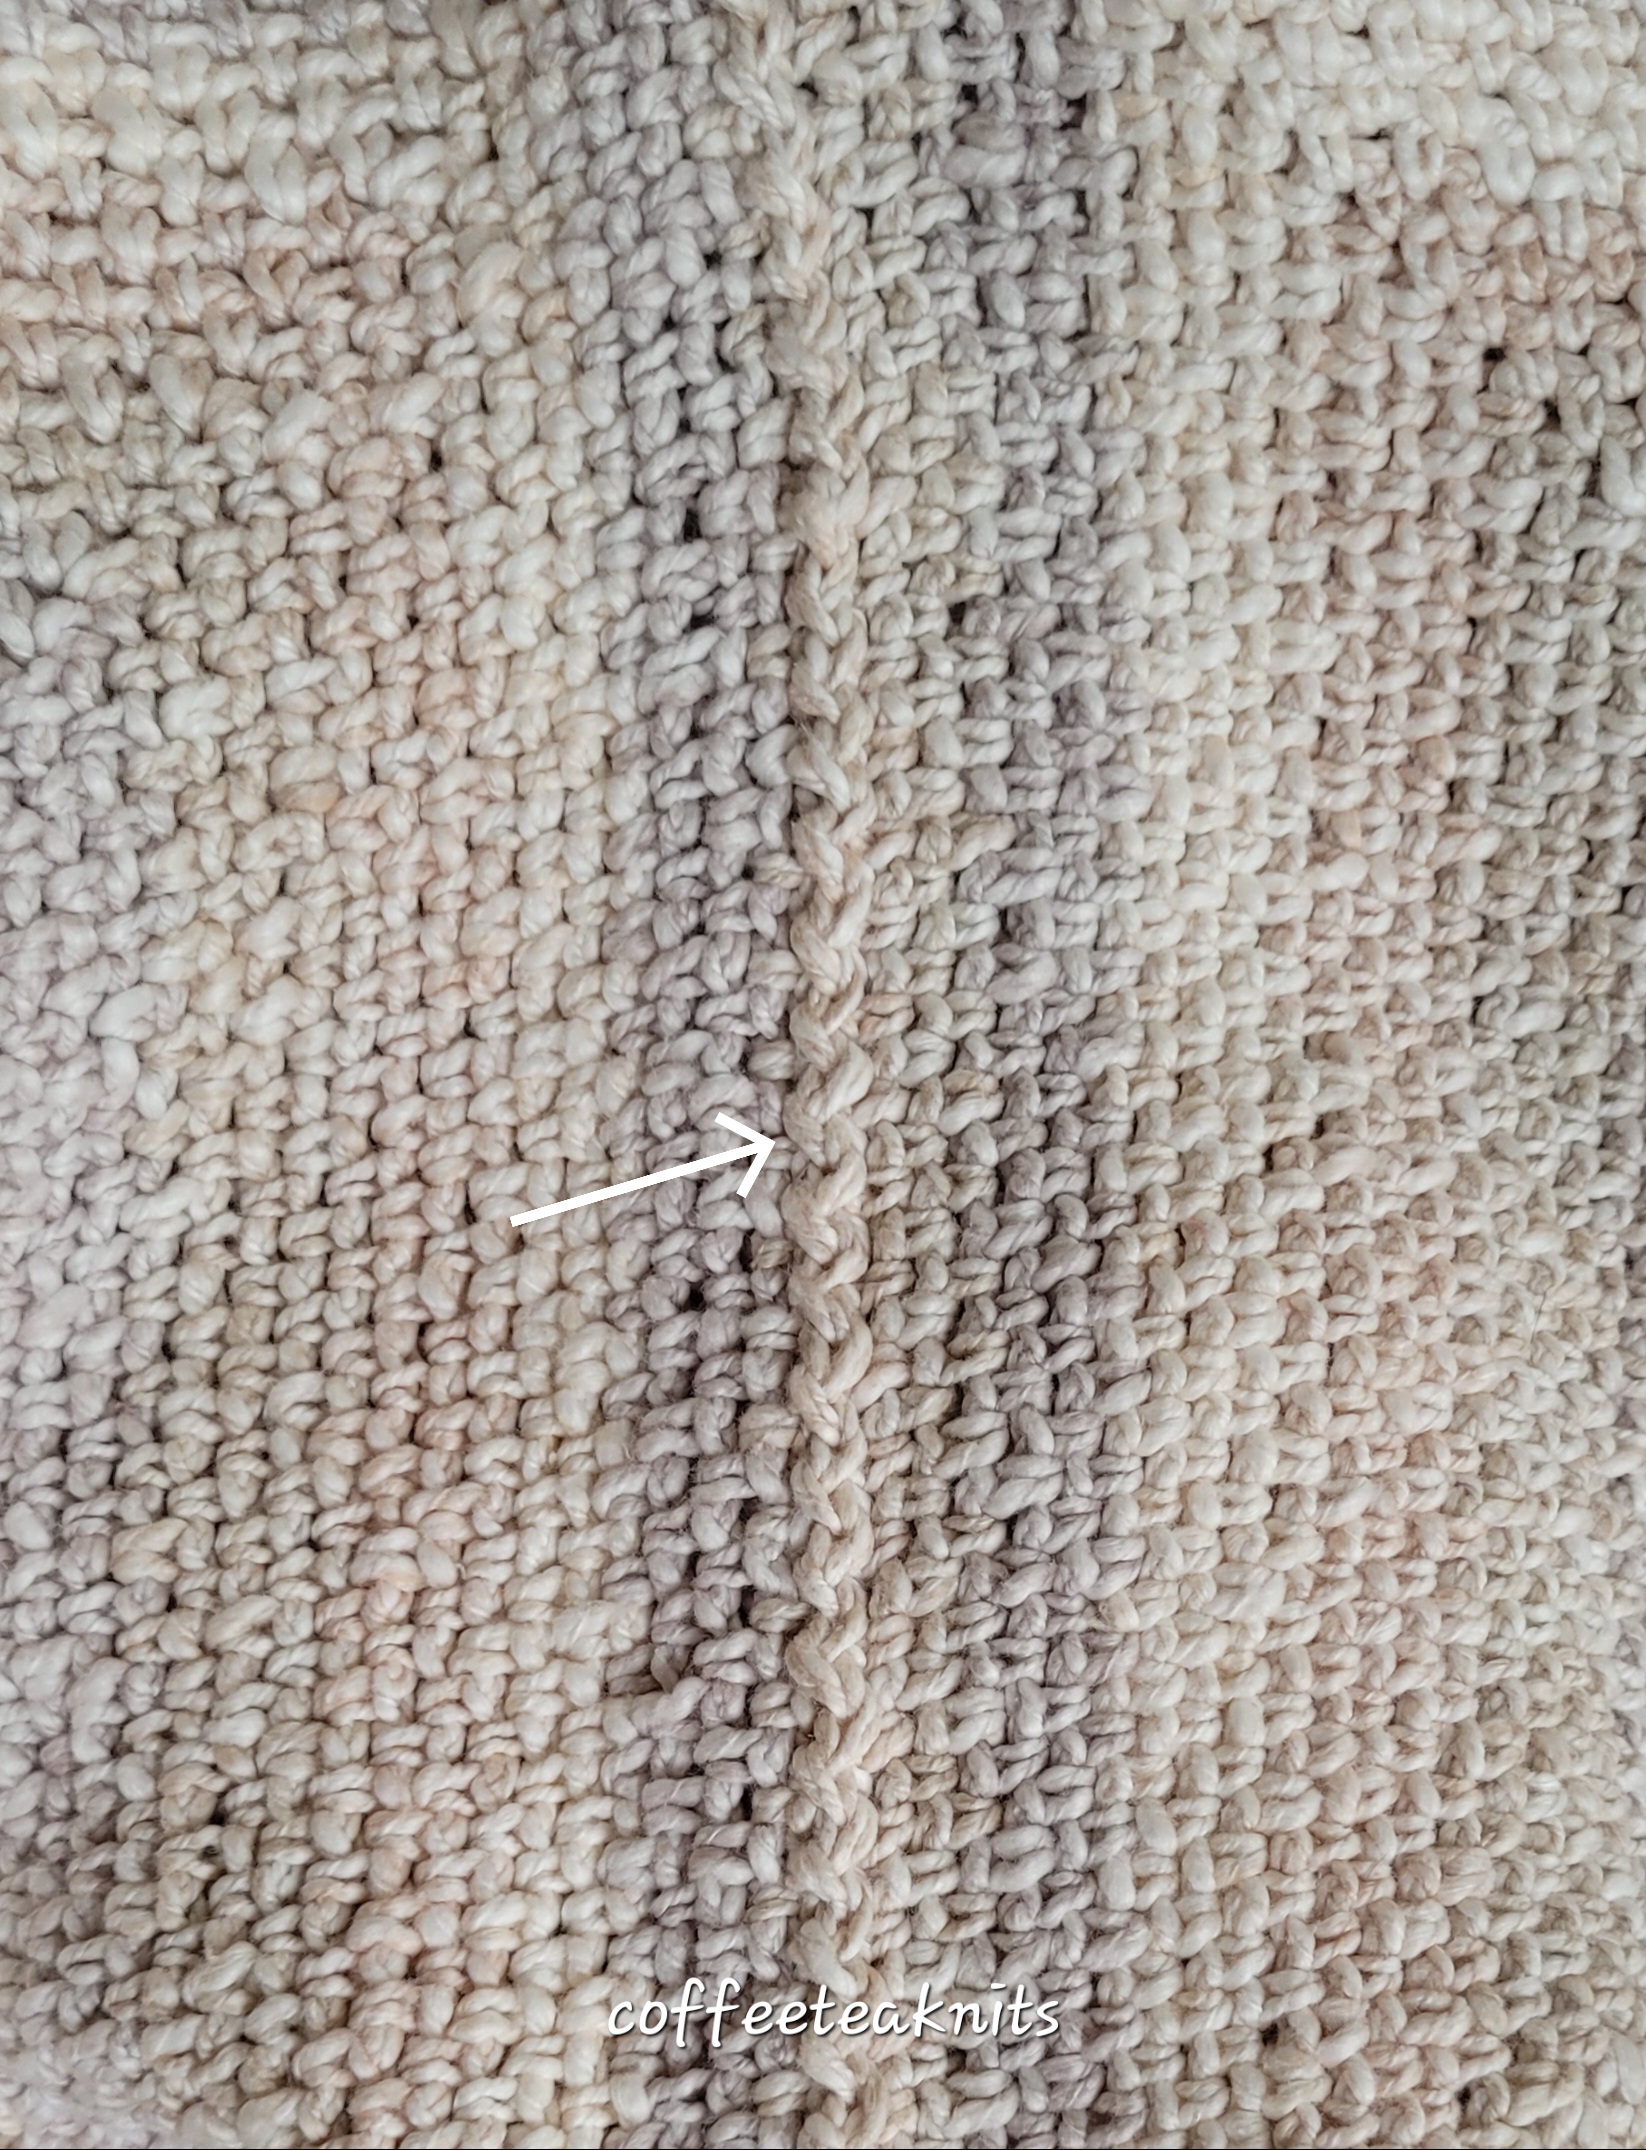
The two sides and the bottom of the two squares are then joined together using two strands of the yarn and the crochet zig zag slip stitch method.
Advertisements
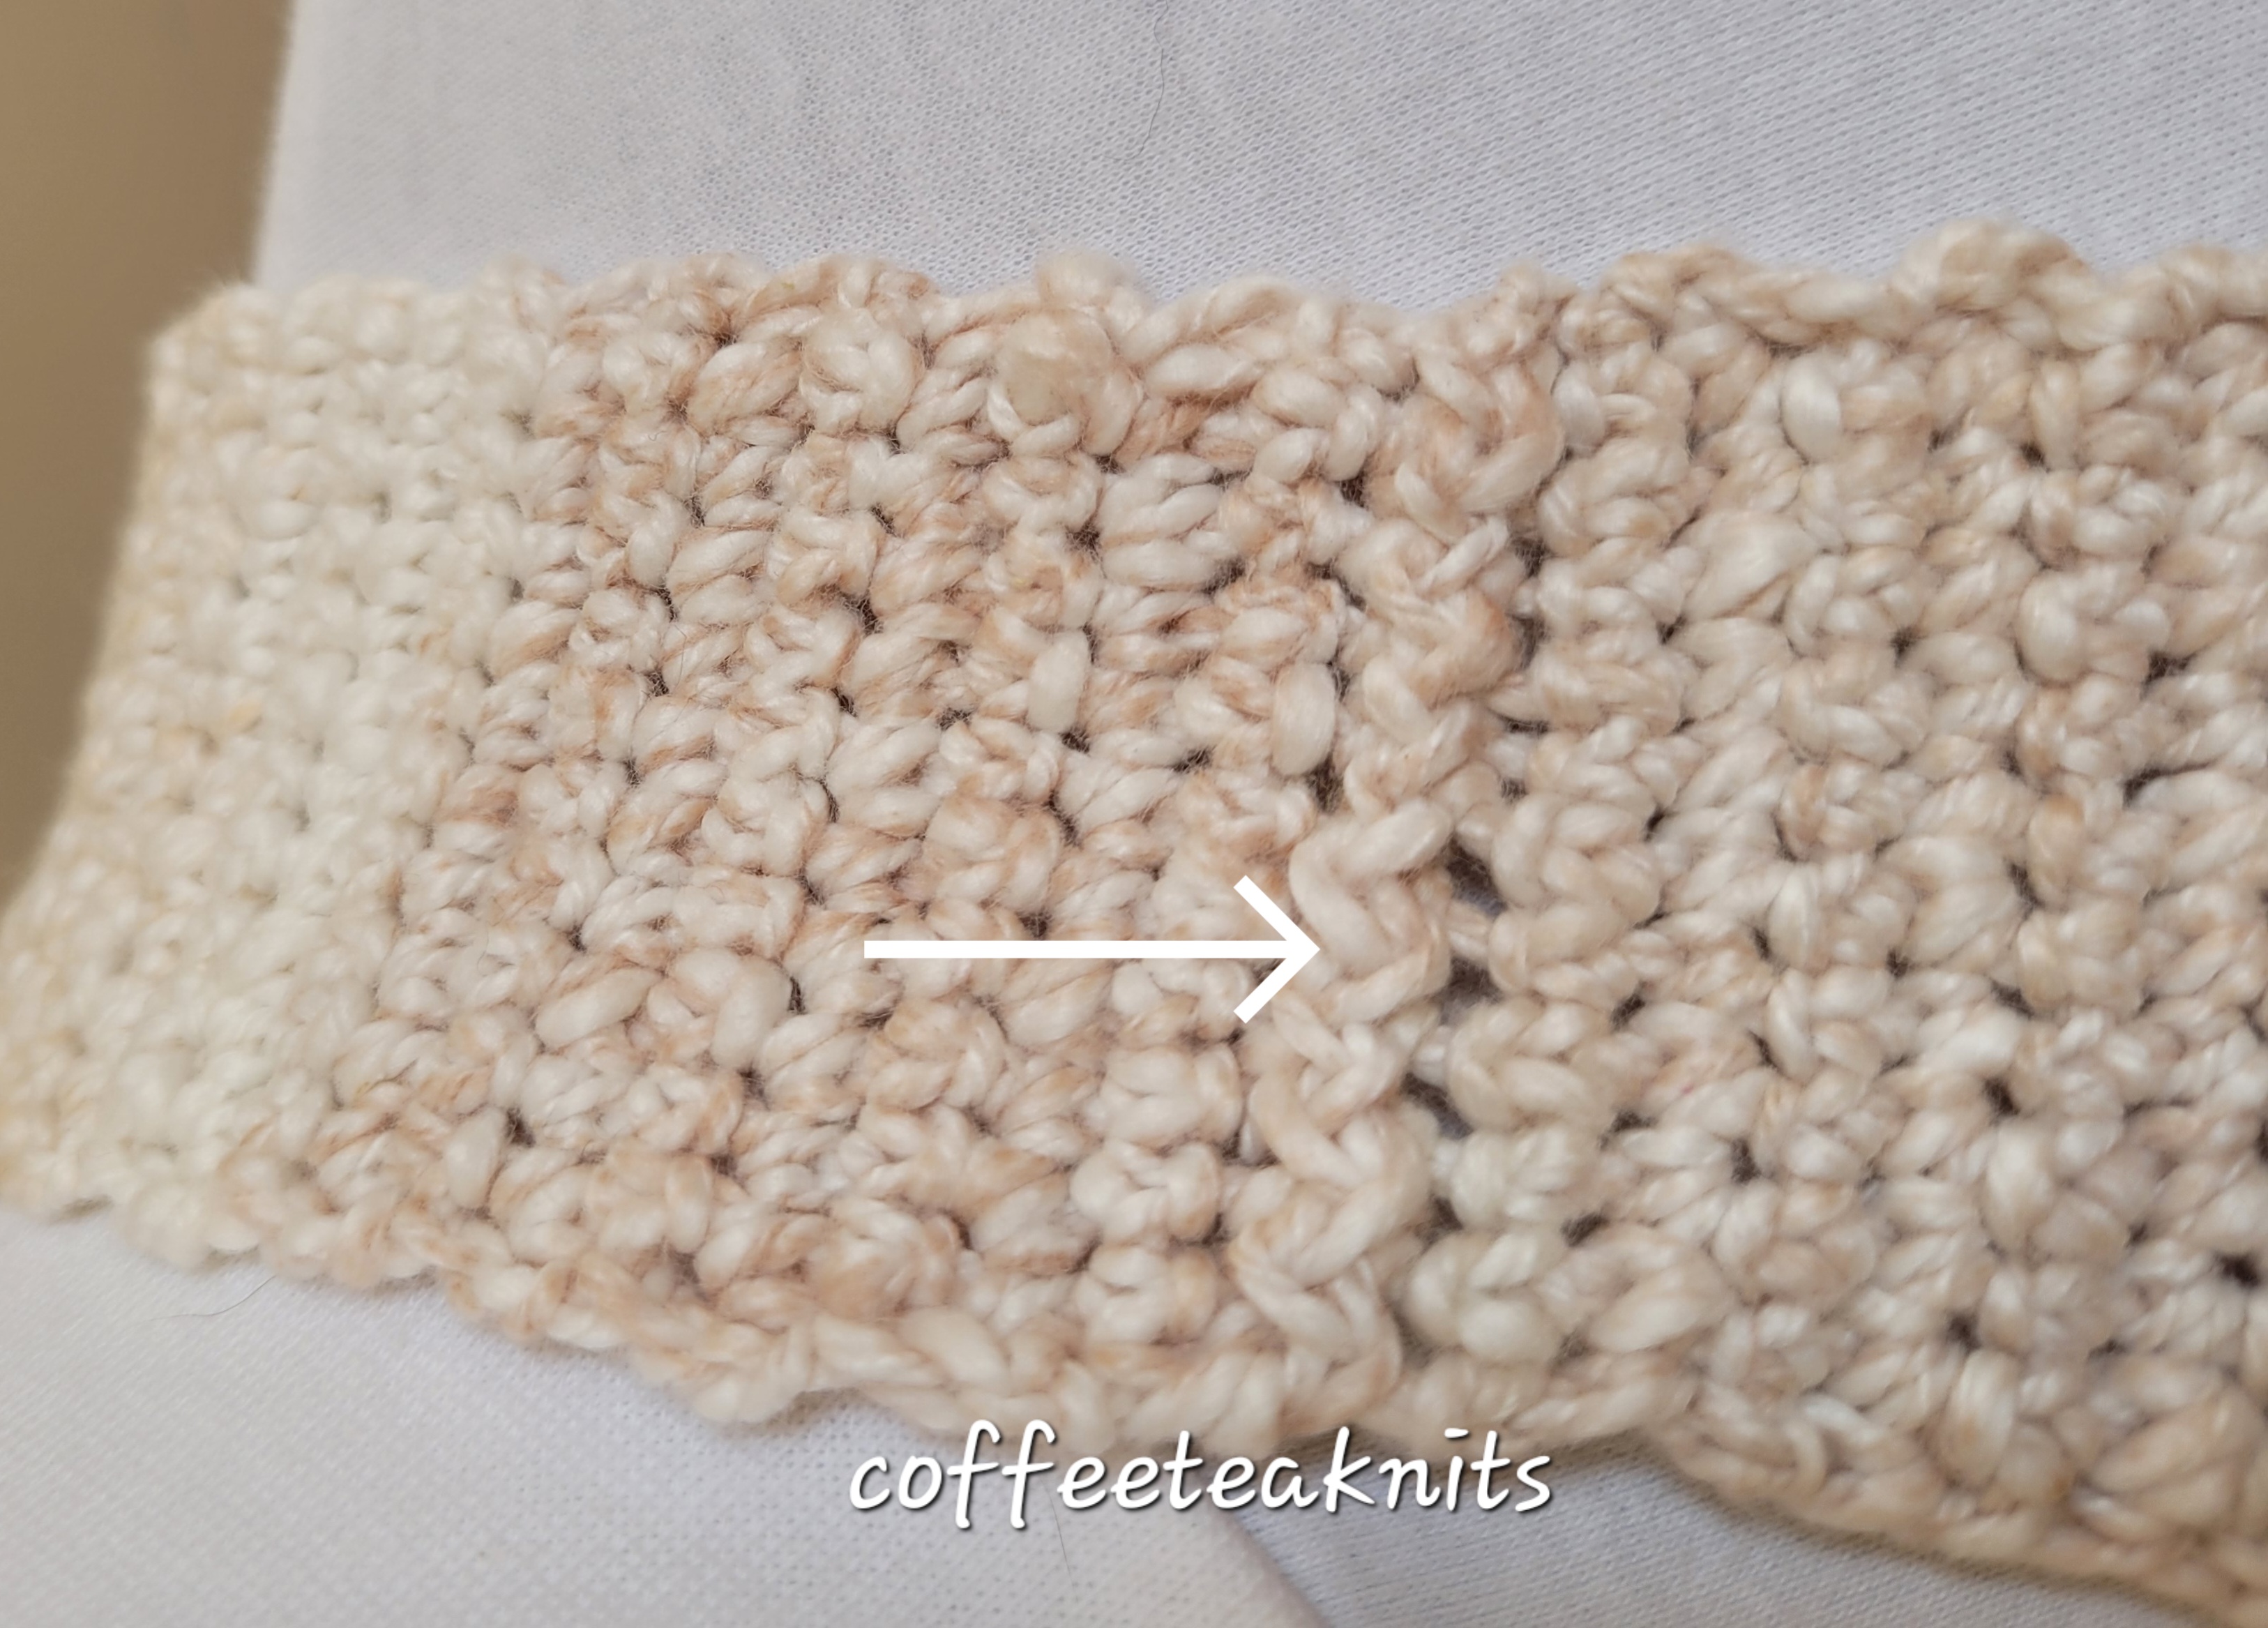
The Shoulder Strap: Insert US E-4 hook from right to left on top of one side of the joined square, pick up and single crochet 11 stitches (pictured below) for the shoulder strap for about fifteen and a half inches ending with the right side row. Cut yarn and pull through the stitch. Repeat the same on the other side of the joined square. Join the two shoulder straps using the crochet slip stitch join method.
Advertisements
Weave in the ends to complete the Summertime Market Bag.
I knit another Sheltering Tree Shawlette with hand dyed super wash merino yarn by Cozy Color Works in the Jersey Peach colorway. I purchased this yarn about 4 or 5 years ago at either a wool walk or the NJ Sheep and Wool Festival. Each hank of hand dyed yarn by Indie Dyers is unique and a work of art. This 550 yards of fingering weight merino yarn is unique in its colorful speckles, its softness, its warmth and lightness.
Advertisements
The yarn also shows the stitch definition of The Sheltering Tree Shawlette Pattern well. There were some modifications made to the pattern. I knit this shawlette with US Size #5 circular needles, added a few more garter stitch rows for the border and omitted the eyelet row. This Sheltering Tree Shawlette is wider and longer than the previous one. The speckles in the yarn added pops of color and made knitting this shawlette fun.
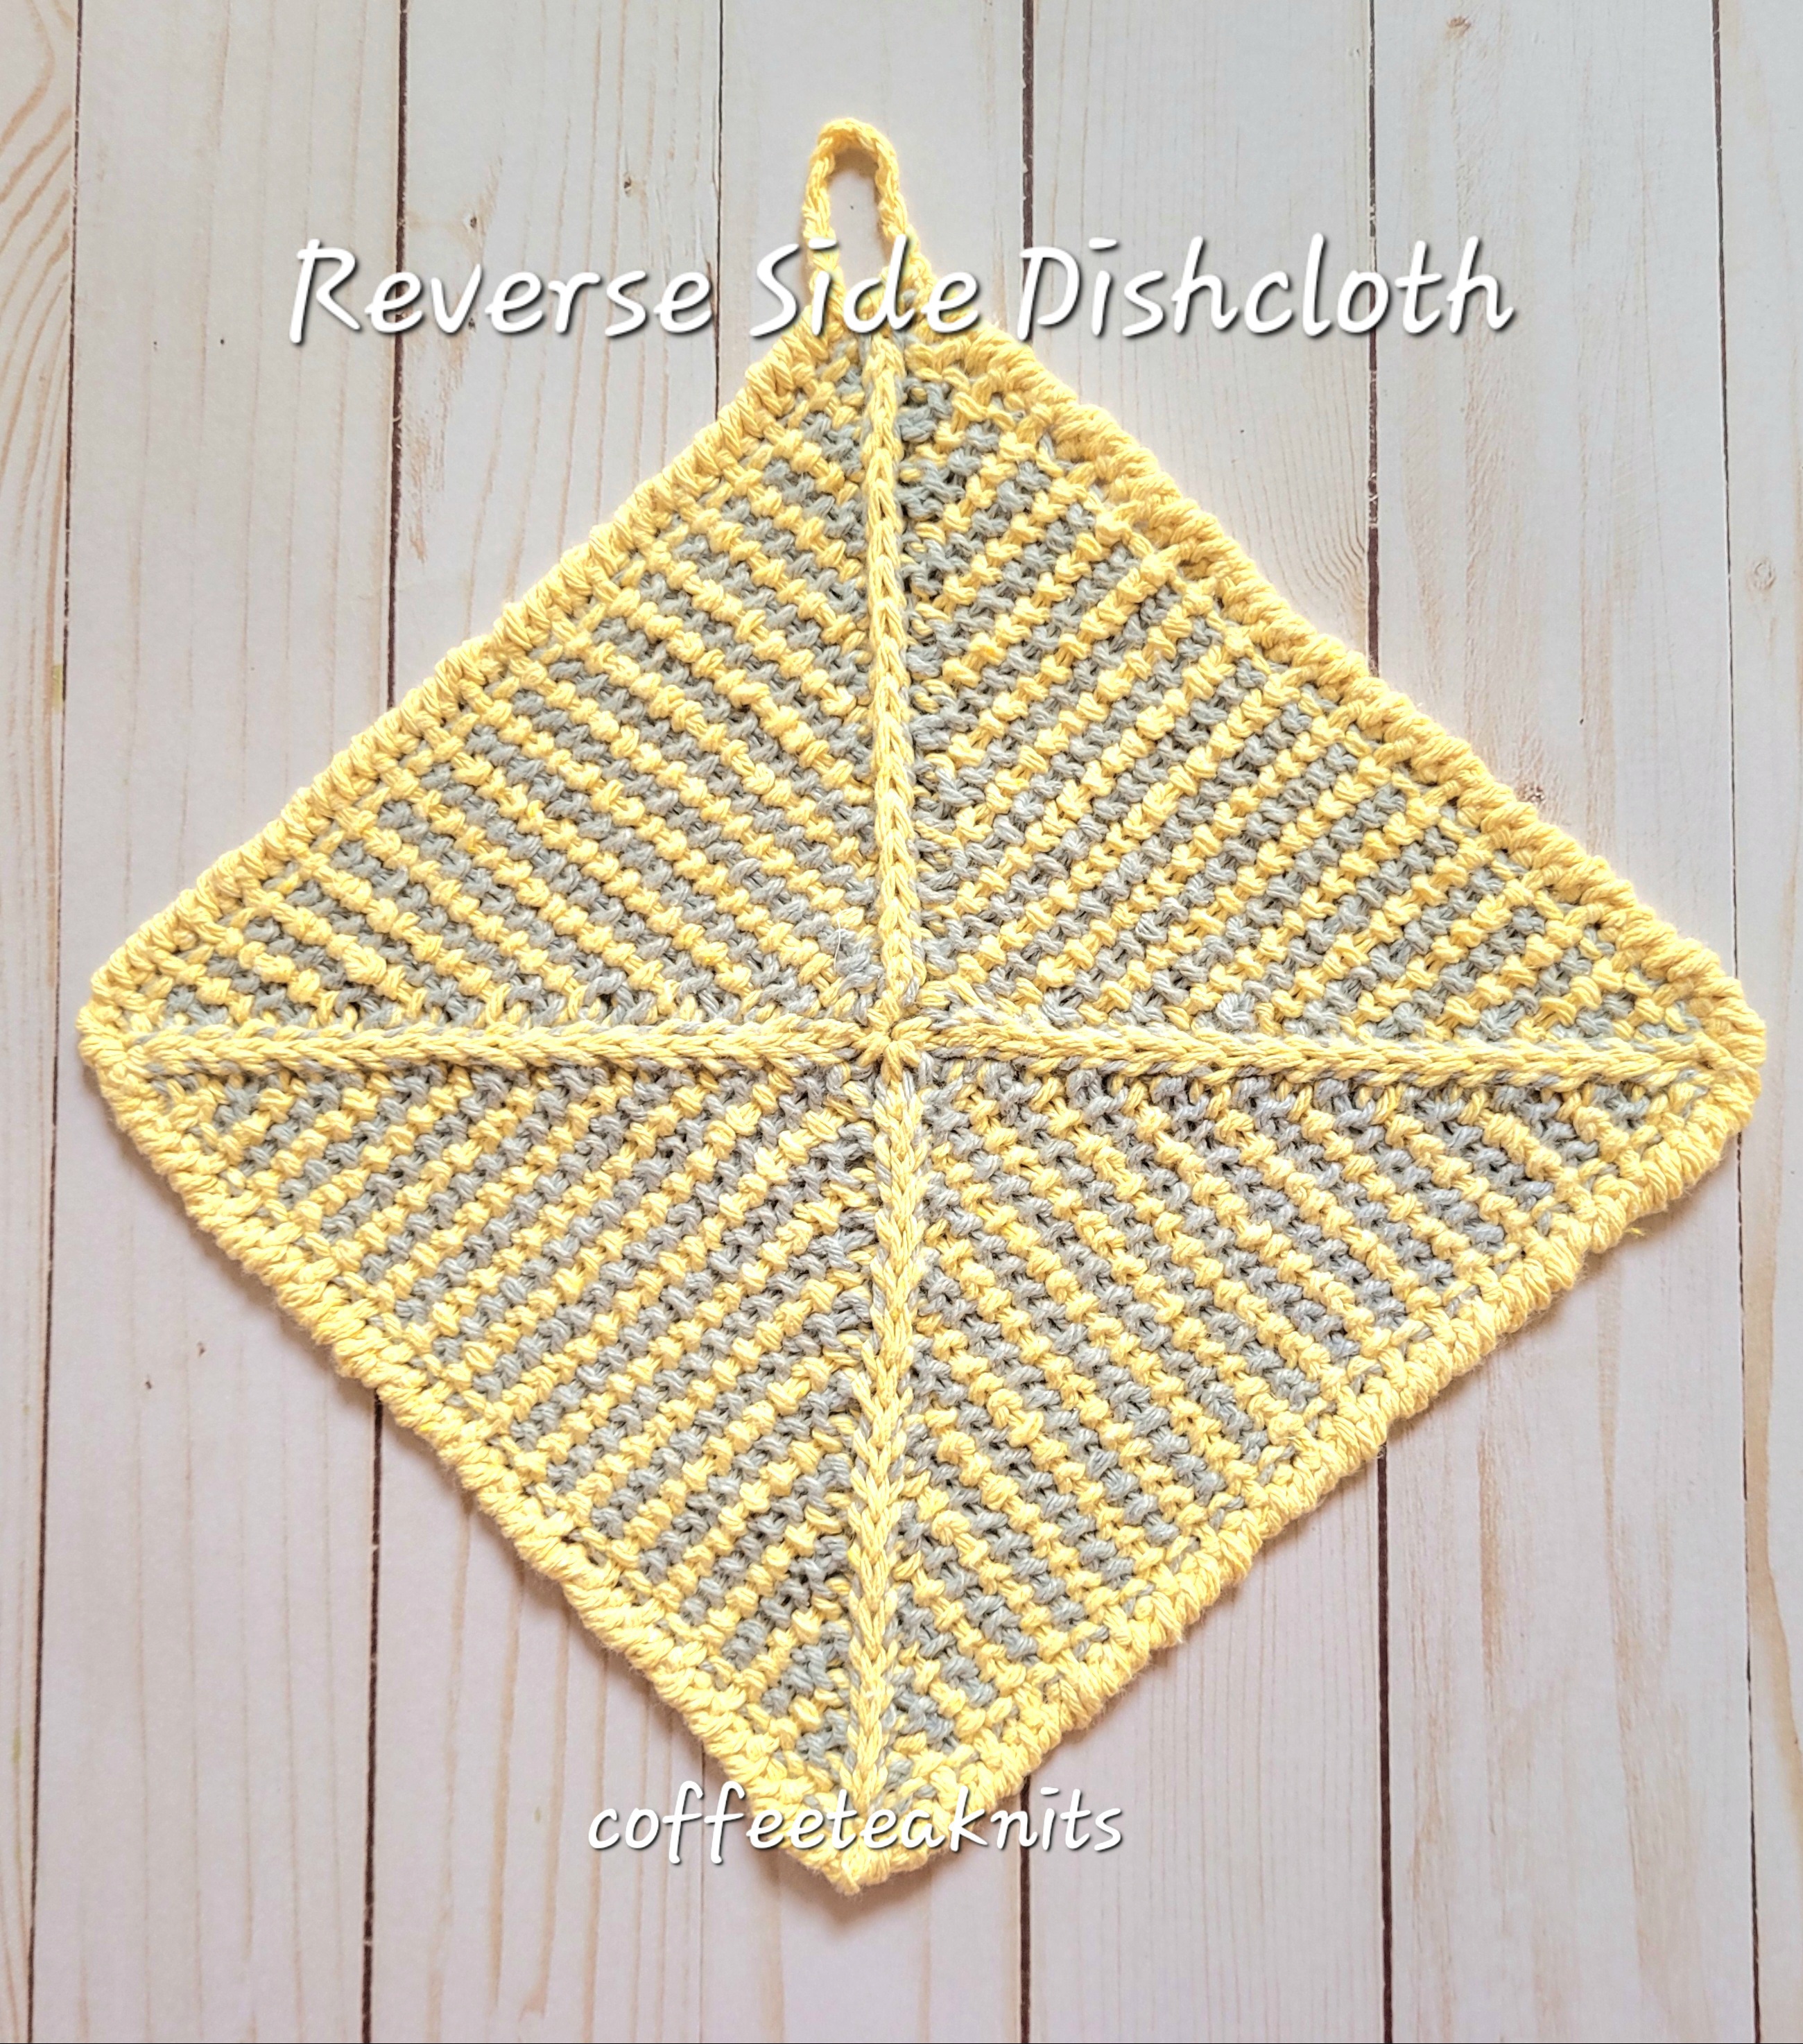
In knitting patterns there is a right side and a wrong side for a row or a round. It does not mean that the wrong side (the inner side) pattern can’t be reversed and be on the right side (the outer side). I sometimes like the reverse side of the pattern just as much as the right or outer side. The Comfy Hat Patterns are an example of patterns with both the right side and wrong side as the outer side of the hats. When I completed knitting the Spring is in the Air Dishcloth last month, I liked how the two different colors of yarn gave a striped textured pattern on the reverse (wrong) side of the dishcloth (pictured below). The striped textured pattern on the wrong side led to the Reverse Side Dishcloth pattern.
Advertisements
The Reverse Side Dishcloth pattern is the reverse side of the linen stitch pattern in two different yarn colorways. In this pattern I used Capri Eco Cotton™ by Loops and Threads® yarn made from recycled cotton in two different colorways. Stitches are cast on, the round joined and the dishcloth is worked by knitting towards the center with decreases every other round till 8 stitches remain. It is then finished with the duplicate crochet stitch running diagonally beginning at each corner and moving towards the center. Reverse single crochet stitch pattern is used as an edging for the border.
Advertisements
The Reverse Side Dishcloth Pattern (text and images for personal use only)
Yarn: Capri Eco Cotton™ by Loops and Threads® yarn in Yellow (Colorway 1) and Pewter (Colorway 2) Knitting Needles: US #10 for cast on and US #8 circular needles to knit the dishcloth Crochet hook: US size 7 or 4.5 mm crochet hook Tapestry Needle to weave in ends Gauge: 5 stitches/inch Abbreviations:
Advertisements
PLEASE SUBSCRIBE FOR THE FREE PATTERN. THANK YOU
Subscribe to continue reading
Subscribe to get access to the rest of this post and other subscriber-only content.
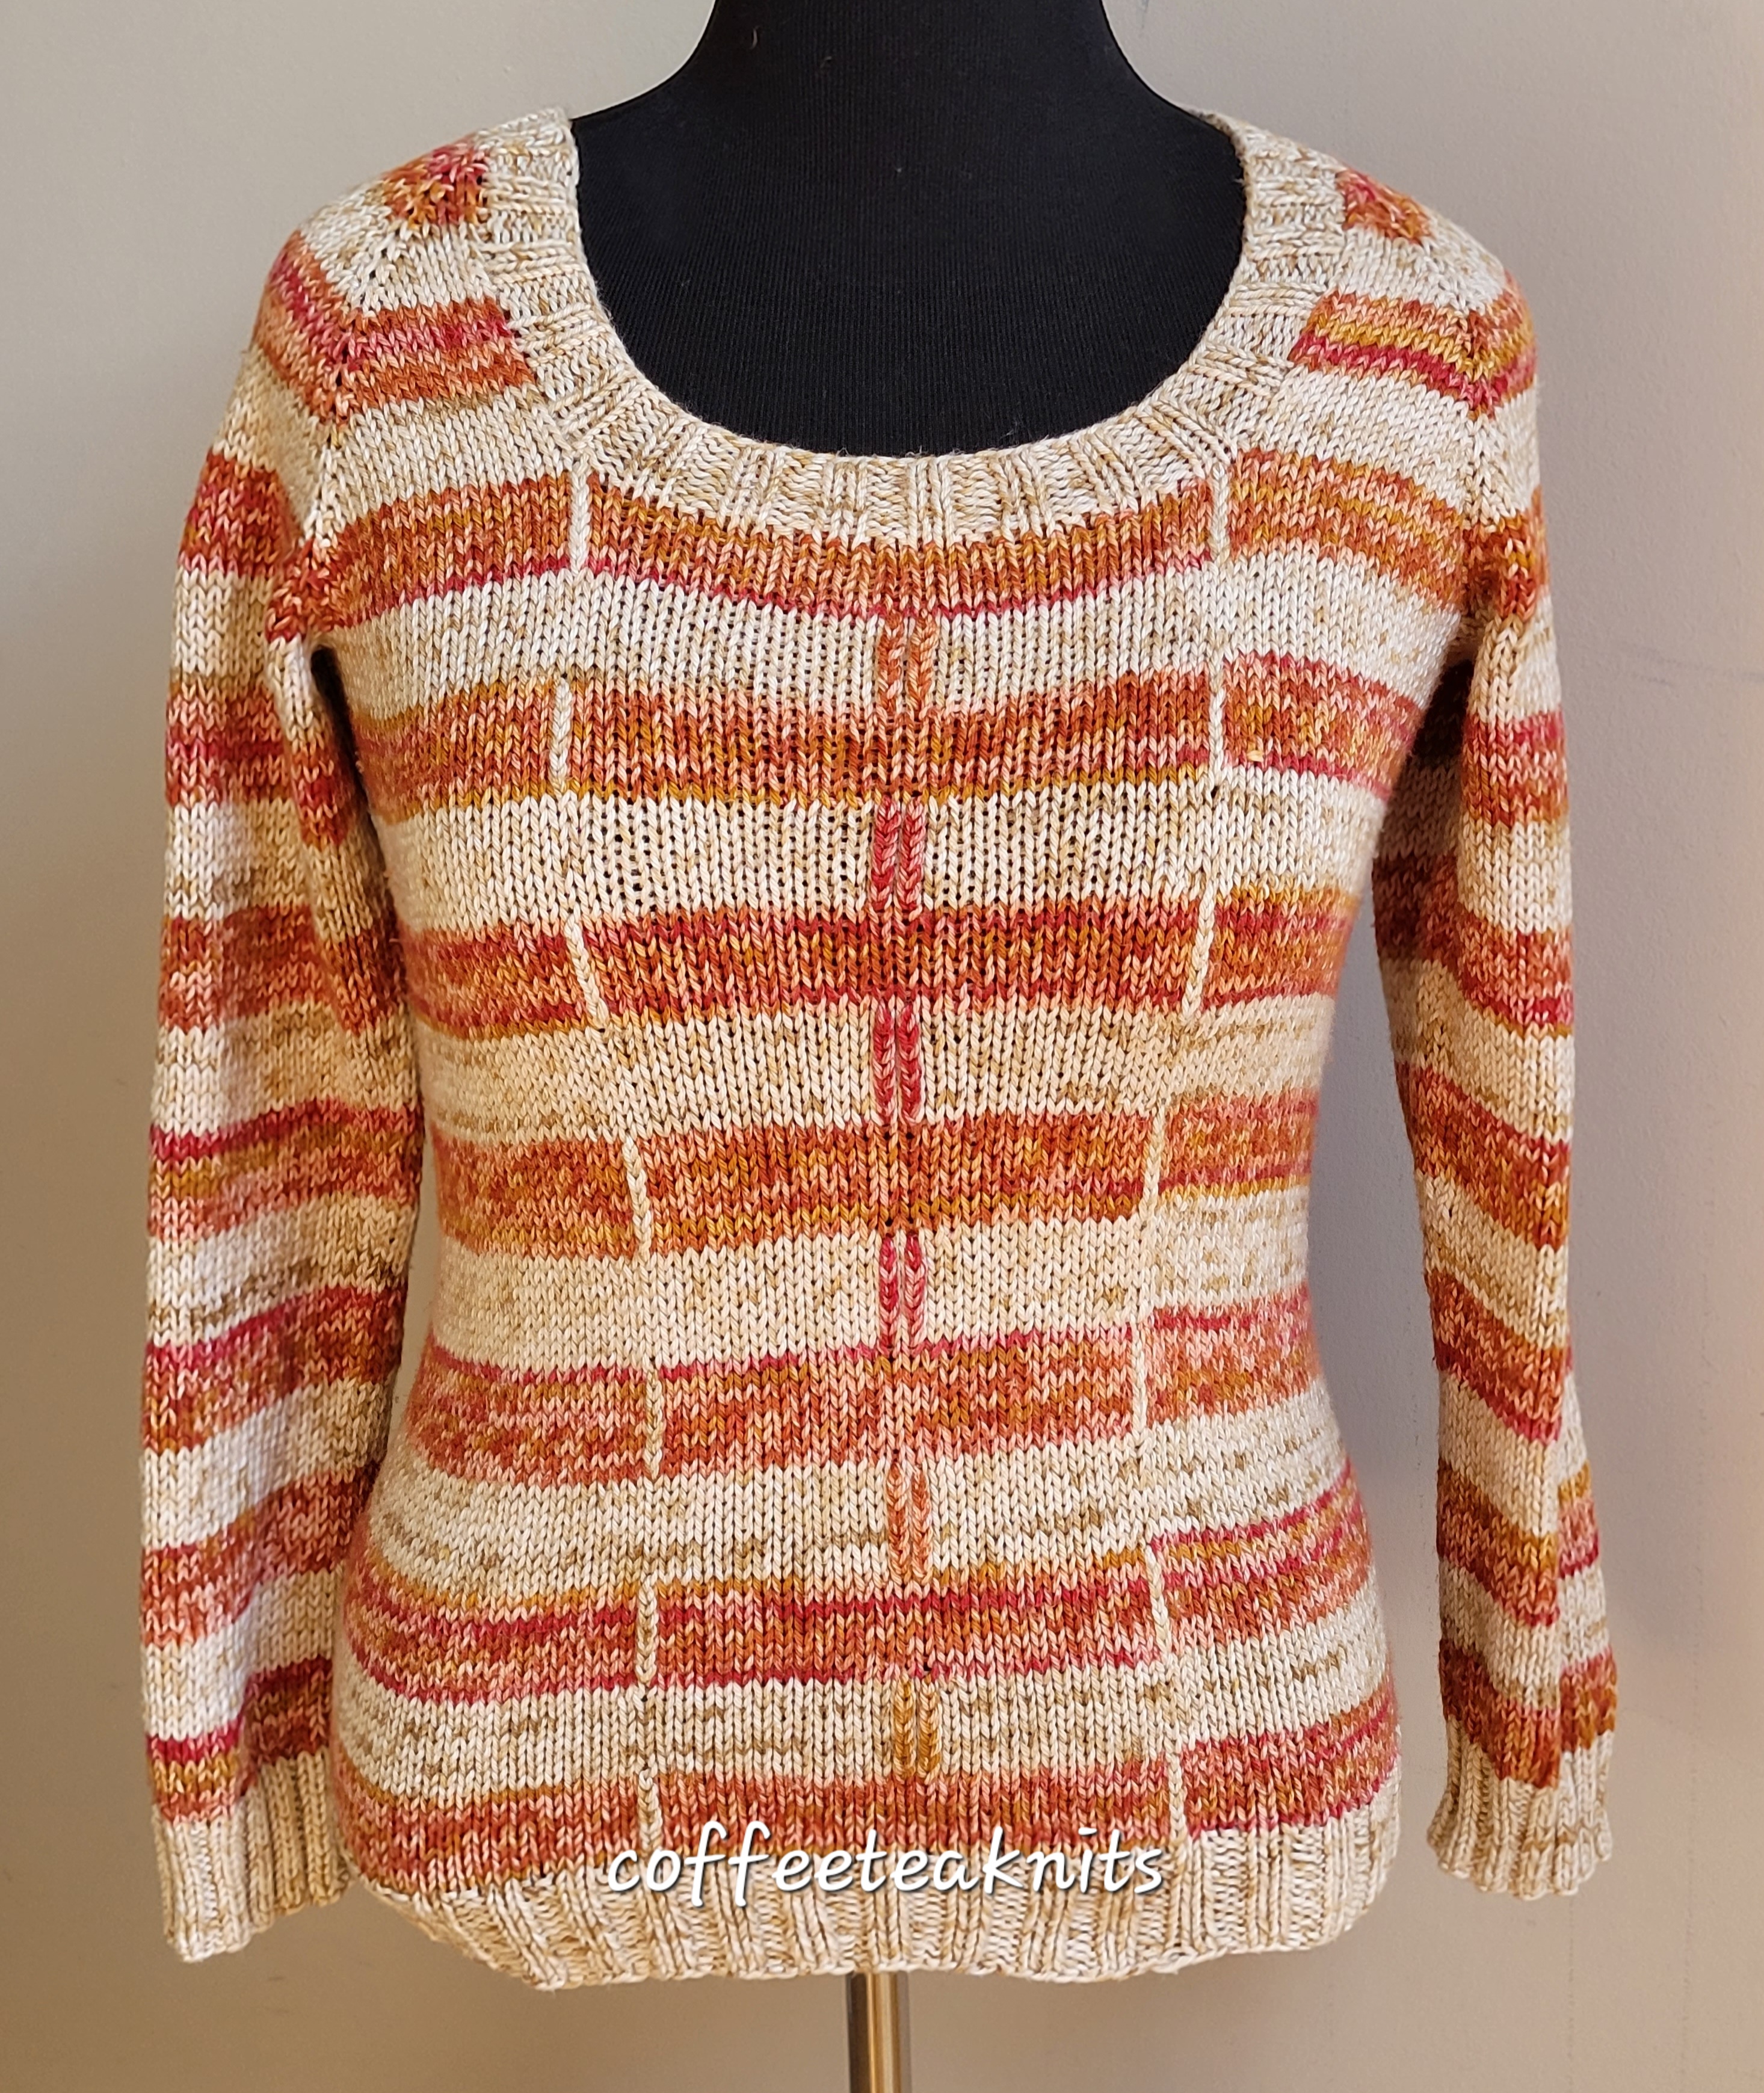
Knitting an impromptu custom top down sweater is much like an unplanned journey to me. The final destination is known but the path taken and the process to get there is not clear.
The cotton yarn for this project was meant for a weaving project that didn’t happen.
Advertisements
I quickly cast on enough stitches to begin a custom top down raglan sleeved cardigan. Since both the yarn were variegated alternating them in stripes to prevent too much color pooling seemed like the way to go.
Several rows in I changed direction and decided to knit a pullover instead of a cardigan. So some more stitches were cast on, the round joined and the journey towards a top down pullover began.
Advertisements
The journey to a completed sweater body and sleeves went pretty smoothly. I washed, blocked and photographed the sweater.
The finished pullover:
Advertisements
Those uneven horizontal stripes (arrows) at the beginning of round where the yarn for the stripe pattern changed were pretty noticeable to me. I had to get some help from the crochet duplicate stitch pattern. The crochet duplicate stitch placed vertically fortunately made the uneven horizontal stripes less noticeable.
The finished impromptu custom sweater was not at all how I visualized it to be when I first cast on some stitches for a top down raglan sleeved sweater.
Advertisements
Reaching my destination of a finished sweater took much longer than I had anticipated. I had expected a journey of simple stockinette and 2 x 2 rib stitch patterns but then had to add a more complicated crochet duplicate stitch pattern in the opposite direction.
Advertisements
Knitting this impromptu sweater was quite a journey for me. I am pleasantly surprised and satisfied with how this unplanned sweater turned out.
Now having reached my destination I look forward to a chance to wear this impromptu pullover.
Somehow the birds chirping, the bright blue sky, the showers, warmer days, new leaves on trees and the vibrant Spring flowers refresh and lighten my mood. I get motivated to declutter, clean and of course start new knitting projects appropriate for Spring and Summer. As the weather gets warmer, I start knitting more with cotton yarn. Spring is in the Air Dishcloth reflects this cheerfulness that comes with warm weather. The dishcloth was knit in the linen stitch pattern with two different colors of cotton worsted yarn. It was knit in the round moving towards the center through a series of decreases every other round. The knitting technique for this dishcloth is similar to The Toward Center Mitered Dishcloth but was knit alternating two different colors of the cotton worsted yarn in each round.
Advertisements
Spring Is In The Air Dishcloth Pattern (text and images for personal use only)
PLEASE SUBSCRIBE FOR THE FREE PATTERN. THANK YOU
Subscribe to continue reading
Subscribe to get access to the rest of this post and other subscriber-only content.
One of the things I find interesting as a knitter is how some knit stitch patterns look so similar to certain crochet or woven stitch patterns. To me a plain weave is much like a garter knit stitch pattern. So when I wove this wrap in houndstooth weave pattern (pictured above) using 2 different colors of yarn, I wanted to see how the same weave pattern and yarn would translate into a knitted houndstooth stitch pattern.
Advertisements
The Interwoven Earwarmer is knit bottom up and in the round. It is knit with two different colors of yarn in the houndstooth stitch pattern that uses garter stitch pattern along with slip stitches. A crochet slip stitch is then used for the cast on and bind off edges. Lastly, a duplicate stitch is used to reinforce the stockinette stitch in the back of the Interwoven Earwarmer
Advertisements
Materials needed to knit the Interwoven Earwarmer:
Yarn: Loops and Threads Cozy Wool Merino DK weight yarn in Colorway A: Cream and Colorway B: Purple (The yarn has been discontinued but substitute yarns are listed here on Yarn Sub website) Knitting Needles: US #6 16-inch circular needles; US #8 knitting needles for the cable cast on and bind off Crochet Hooks: US F-5 and US G-6 Tapestry needle to weave in ends and for the duplicate stitch Gauge: 5.5 stitches per inch in garter houndstooth stitch pattern with US #6 knitting needles Size: M – about 20 inches in circumference and about 3.75 inches in length without stretching
Advertisements
Abbreviations: K: Knit P: Purl pm: place marker sm: slip marker BOR: beginning of round s1 purlwise: with working yarn in back slip 1 stitch purlwise from the left needle […]: stitch pattern repeats
Advertisements
The Interwoven Earwarmer Pattern (text and images for personal use only)
Cast on 112 stitches with Yarn Colorway A (cream) and US #8 knitting needles using the cable cast on method. Transfer all the stitches to US #6 16-inch circular needles. Place a BOR marker, join the round by knitting as follows:
Advertisements
Round 1: With Colorway A (cream), knit to the BOR marker, slip BOR marker
Round 2: With Colorway A (cream) knit the first stitch, switch to Colorway B (purple) yarn and [K2, s1 purlwise] repeat […] till BOR marker, slip BOR marker
Round 3: With Colorway A (cream) knit the first stitch, switch to Colorway B (purple) yarn and purl all stitches till the BOR marker, slip BOR marker
Round 4: With Colorway A (cream) knit the first stitch, and with the same Colorway A [s1 purlwise, K2] repeat […] till BOR marker, slip BOR marker
Round 5:With Colorway A (cream) knit the first stitch, and with the same Colorway A purl all stitches till the BOR marker, slip BOR marker
Advertisements
Repeat Rounds 2 to 5, nine more times. Repeat Rounds 2 and 3, one more time. Repeat Round 1, one more time Bind off stitches with US #8 and Colorway A yarn. Insert the US F-5 hook in the last stitch for a slip stitch crochet edge.
Advertisements
With the last stitch on US F-5 hook and Colorway A (cream) yarn, chain 1 and then insert hook under the first bind off stitch, yarn over and pull the yarn over under the bind off stitch and slip stitch it with the first stitch on the hook. Repeat this with the next bid off stitches till one stitch left on the hook. Bring the working yarn through the last stitch.
Repeat the same with slip stitch crochet method as above for the cast on stitches with Colorway A yarn and US G-6 hook
Advertisements
Duplicate Stitch or Swiss Darning (optional): Using a tapestry needle and Colorway A yarn reinforce the first knit stitch of each round with the duplicate stitch (to learn how to do this watch a video tutorial on duplicate stitch by Staci of verypink.com)
Advertisements
Weave in the ends, wash and block the Interwoven Earwarmer
Hello folks, it’s 2023 now and time to either plan or start working on our goals for this year. This year my goals are to write and learn more about rigid heddle loom weaving as well as complete my lingering knitting/crochet projects from the previous years.
The Winterland Neckwarmer is knit bottom up and in the round. The cable stitch pattern and the yarn used for this pattern are the same as the ones used for the Winterland Hat. These two knitted items can be worn together. The bulky yarn makes it a quick project to knit. The Winterland Neckwarmer is light and warm making it quite suitable to wear for the freezing temperatures of this month.
Advertisements
The Winterland Neckwarmer Pattern (text and images for personal use only)
PLEASE SUBSCRIBE FOR THE FREE PATTERN. THANK YOU
Subscribe to continue reading
Subscribe to get access to the rest of this post and other subscriber-only content.