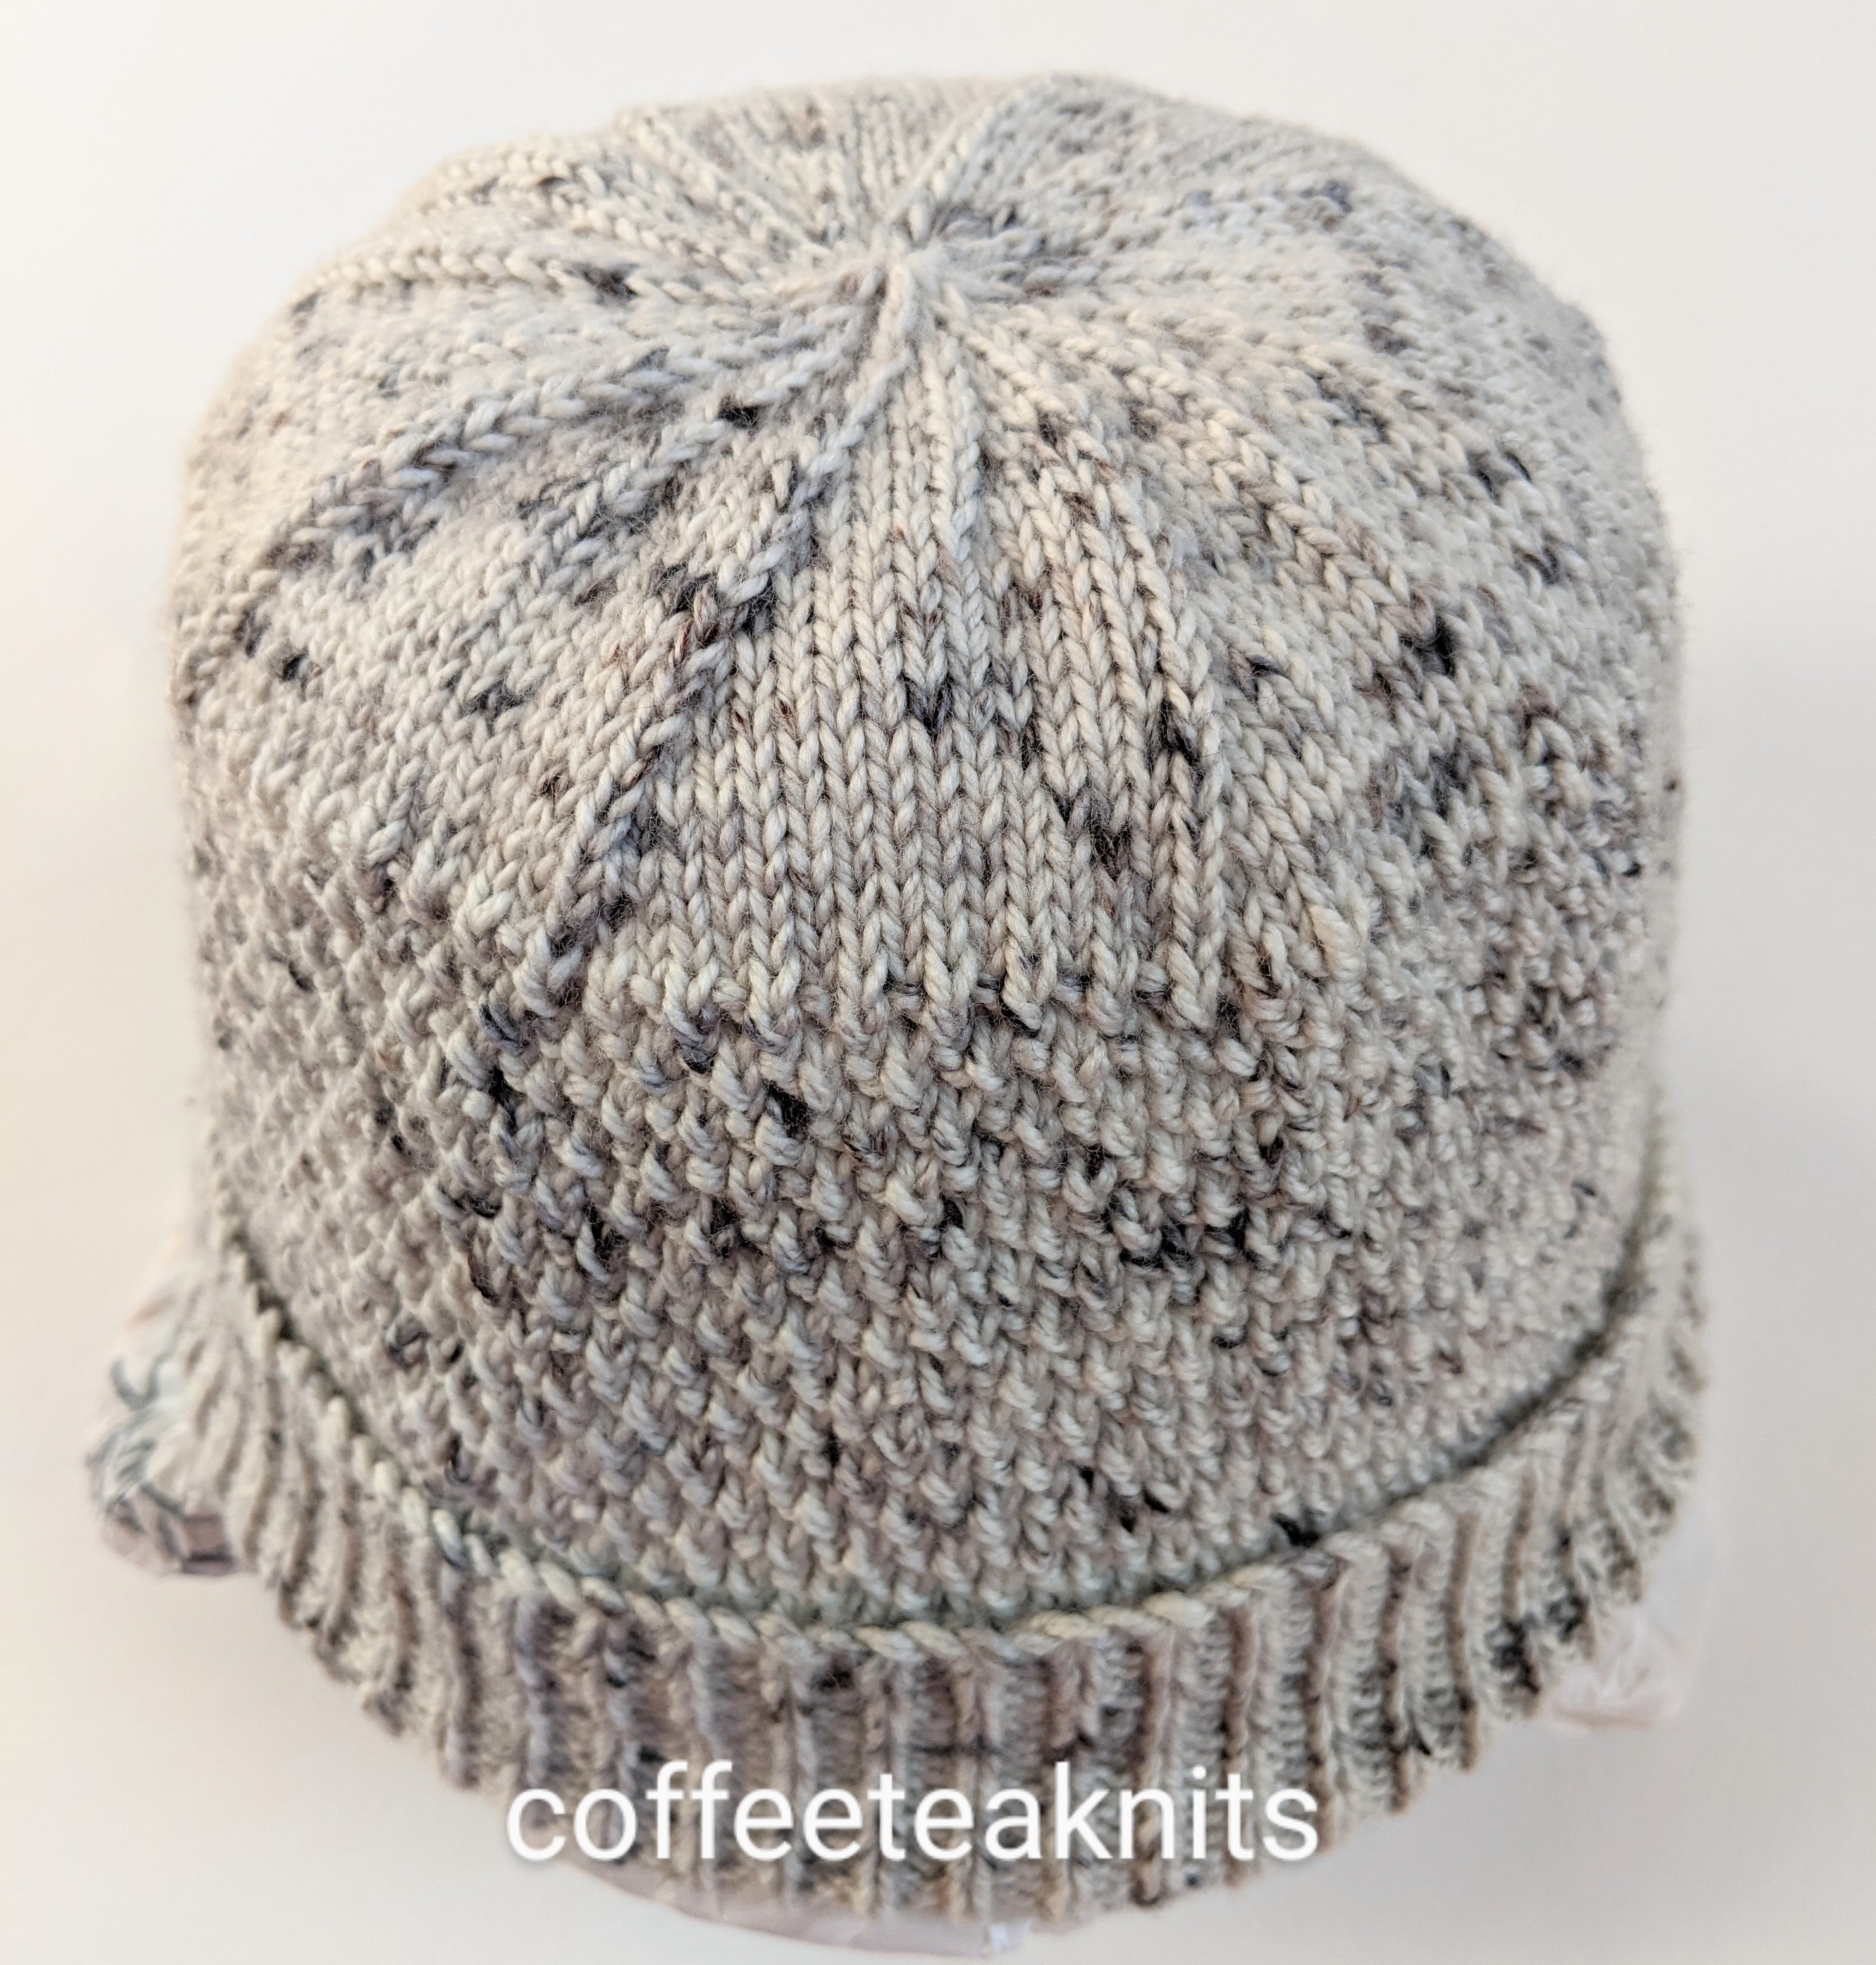
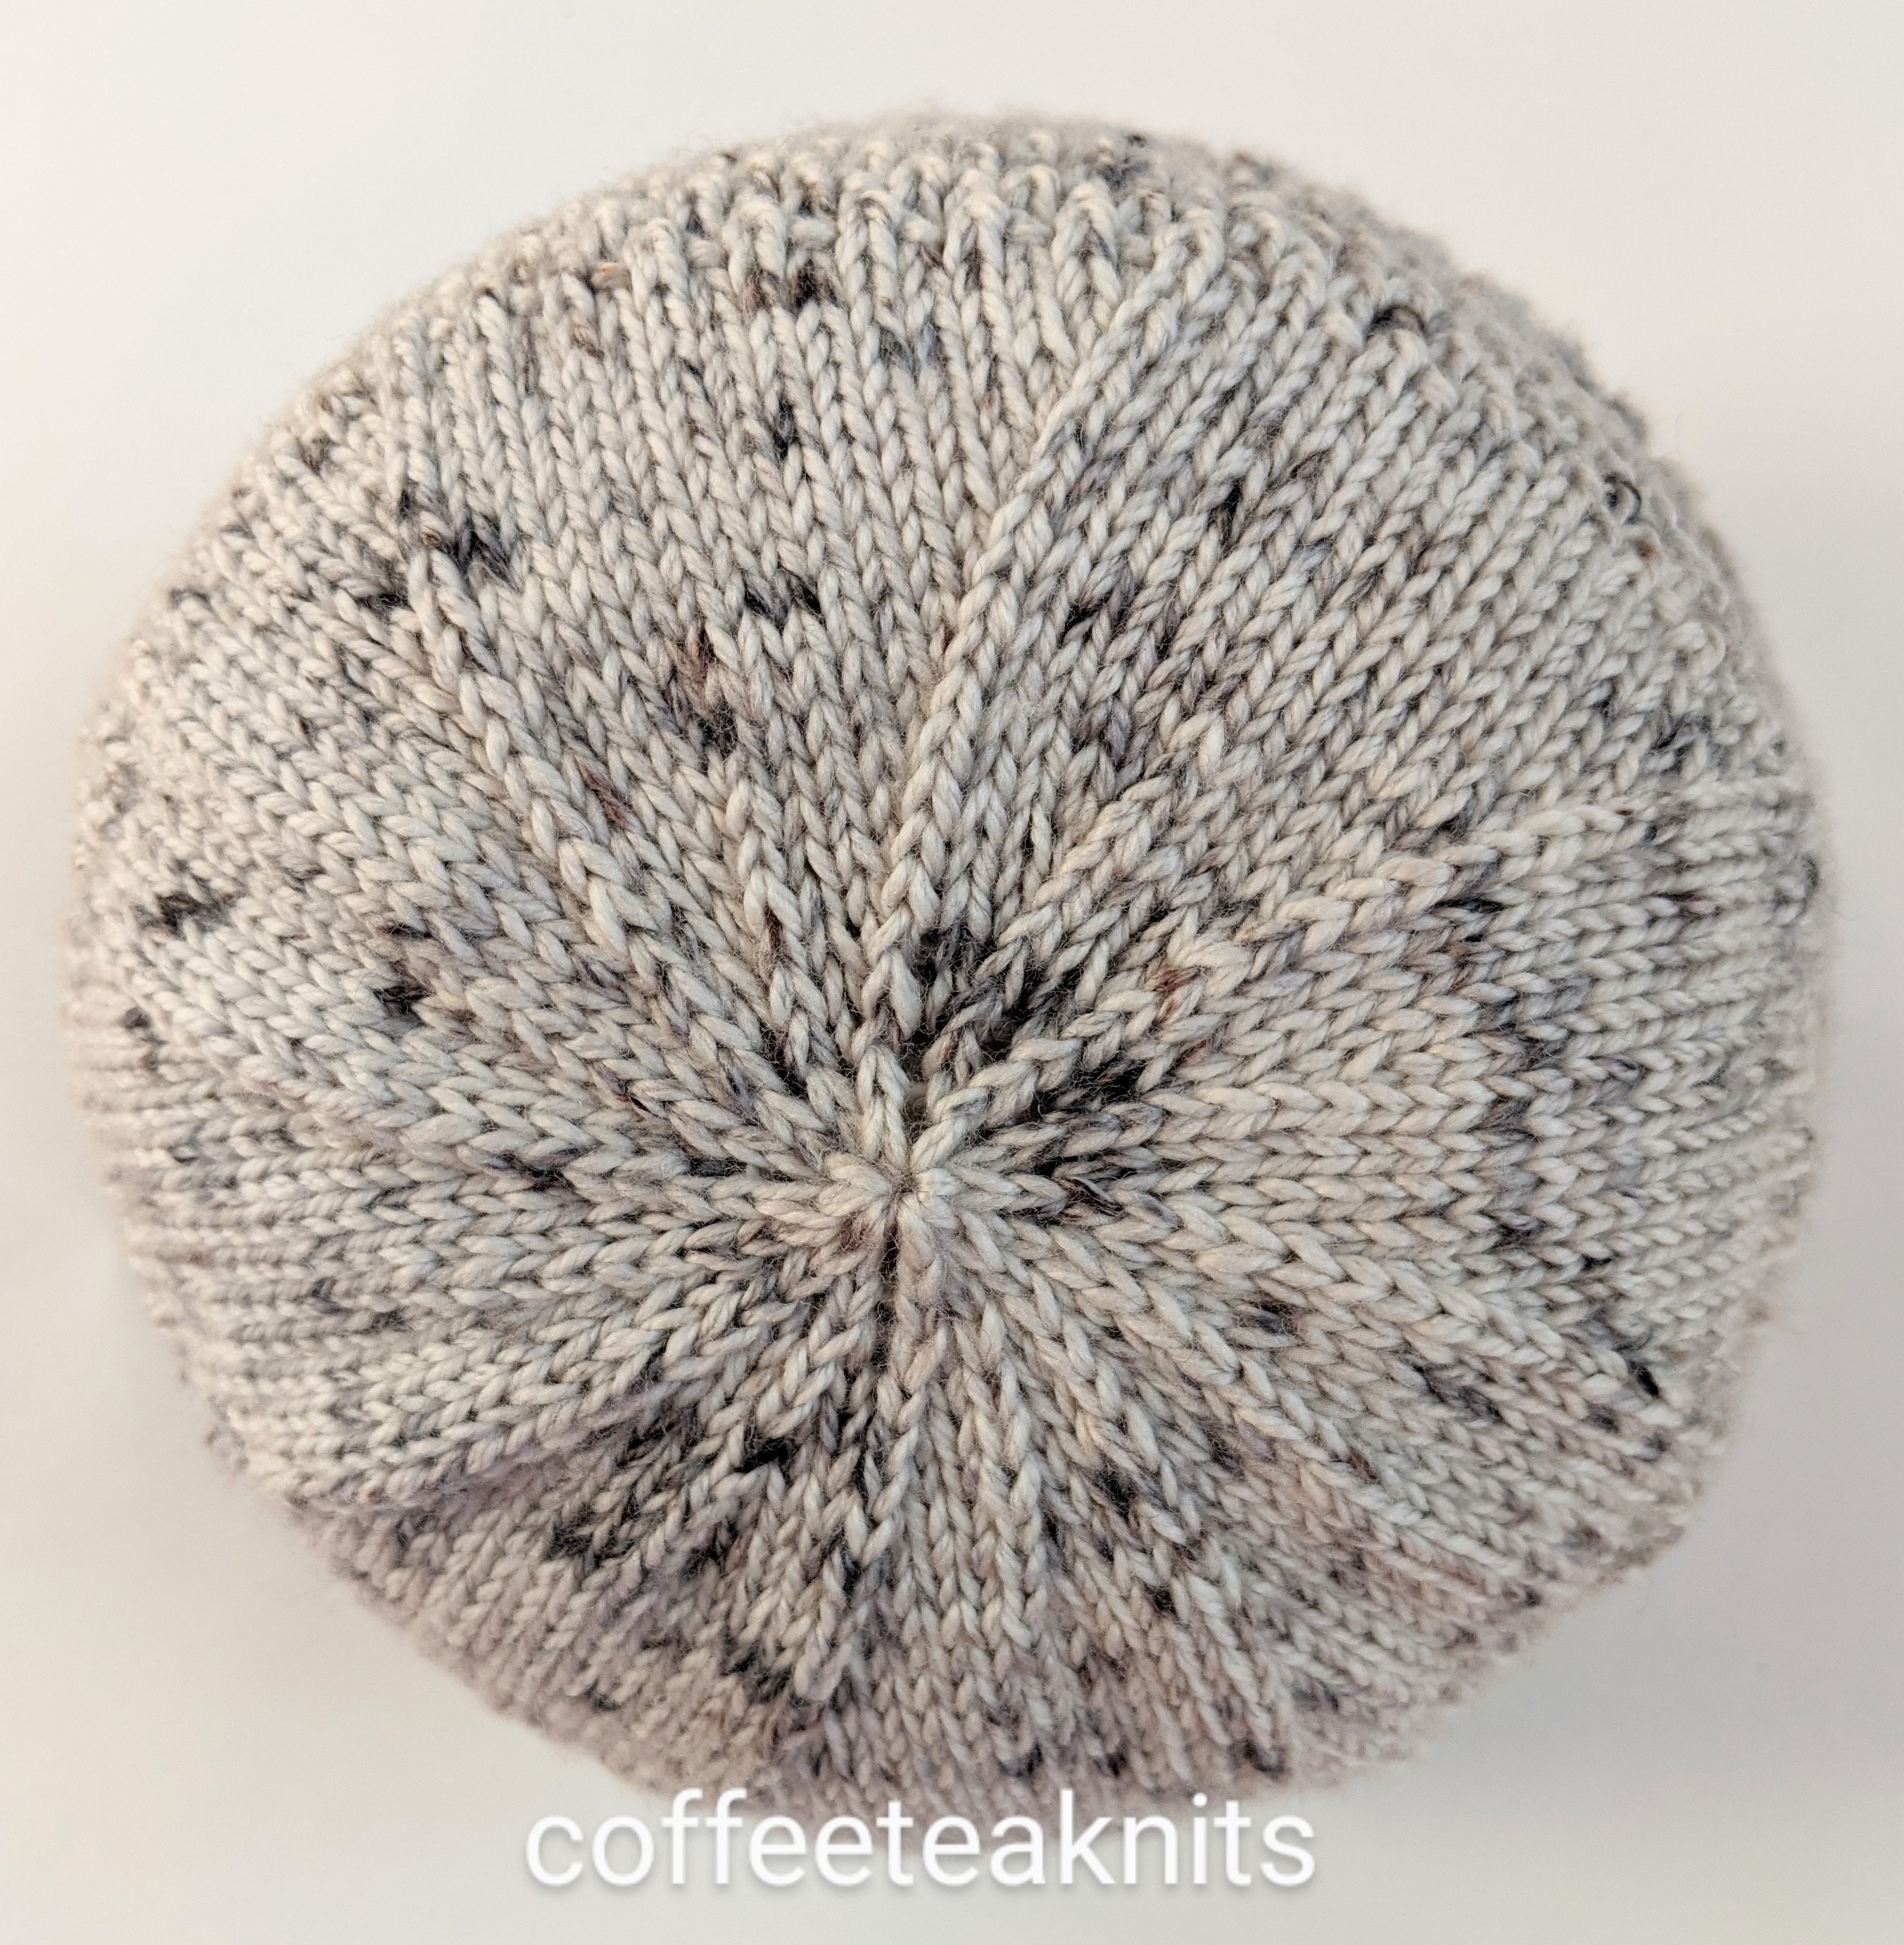
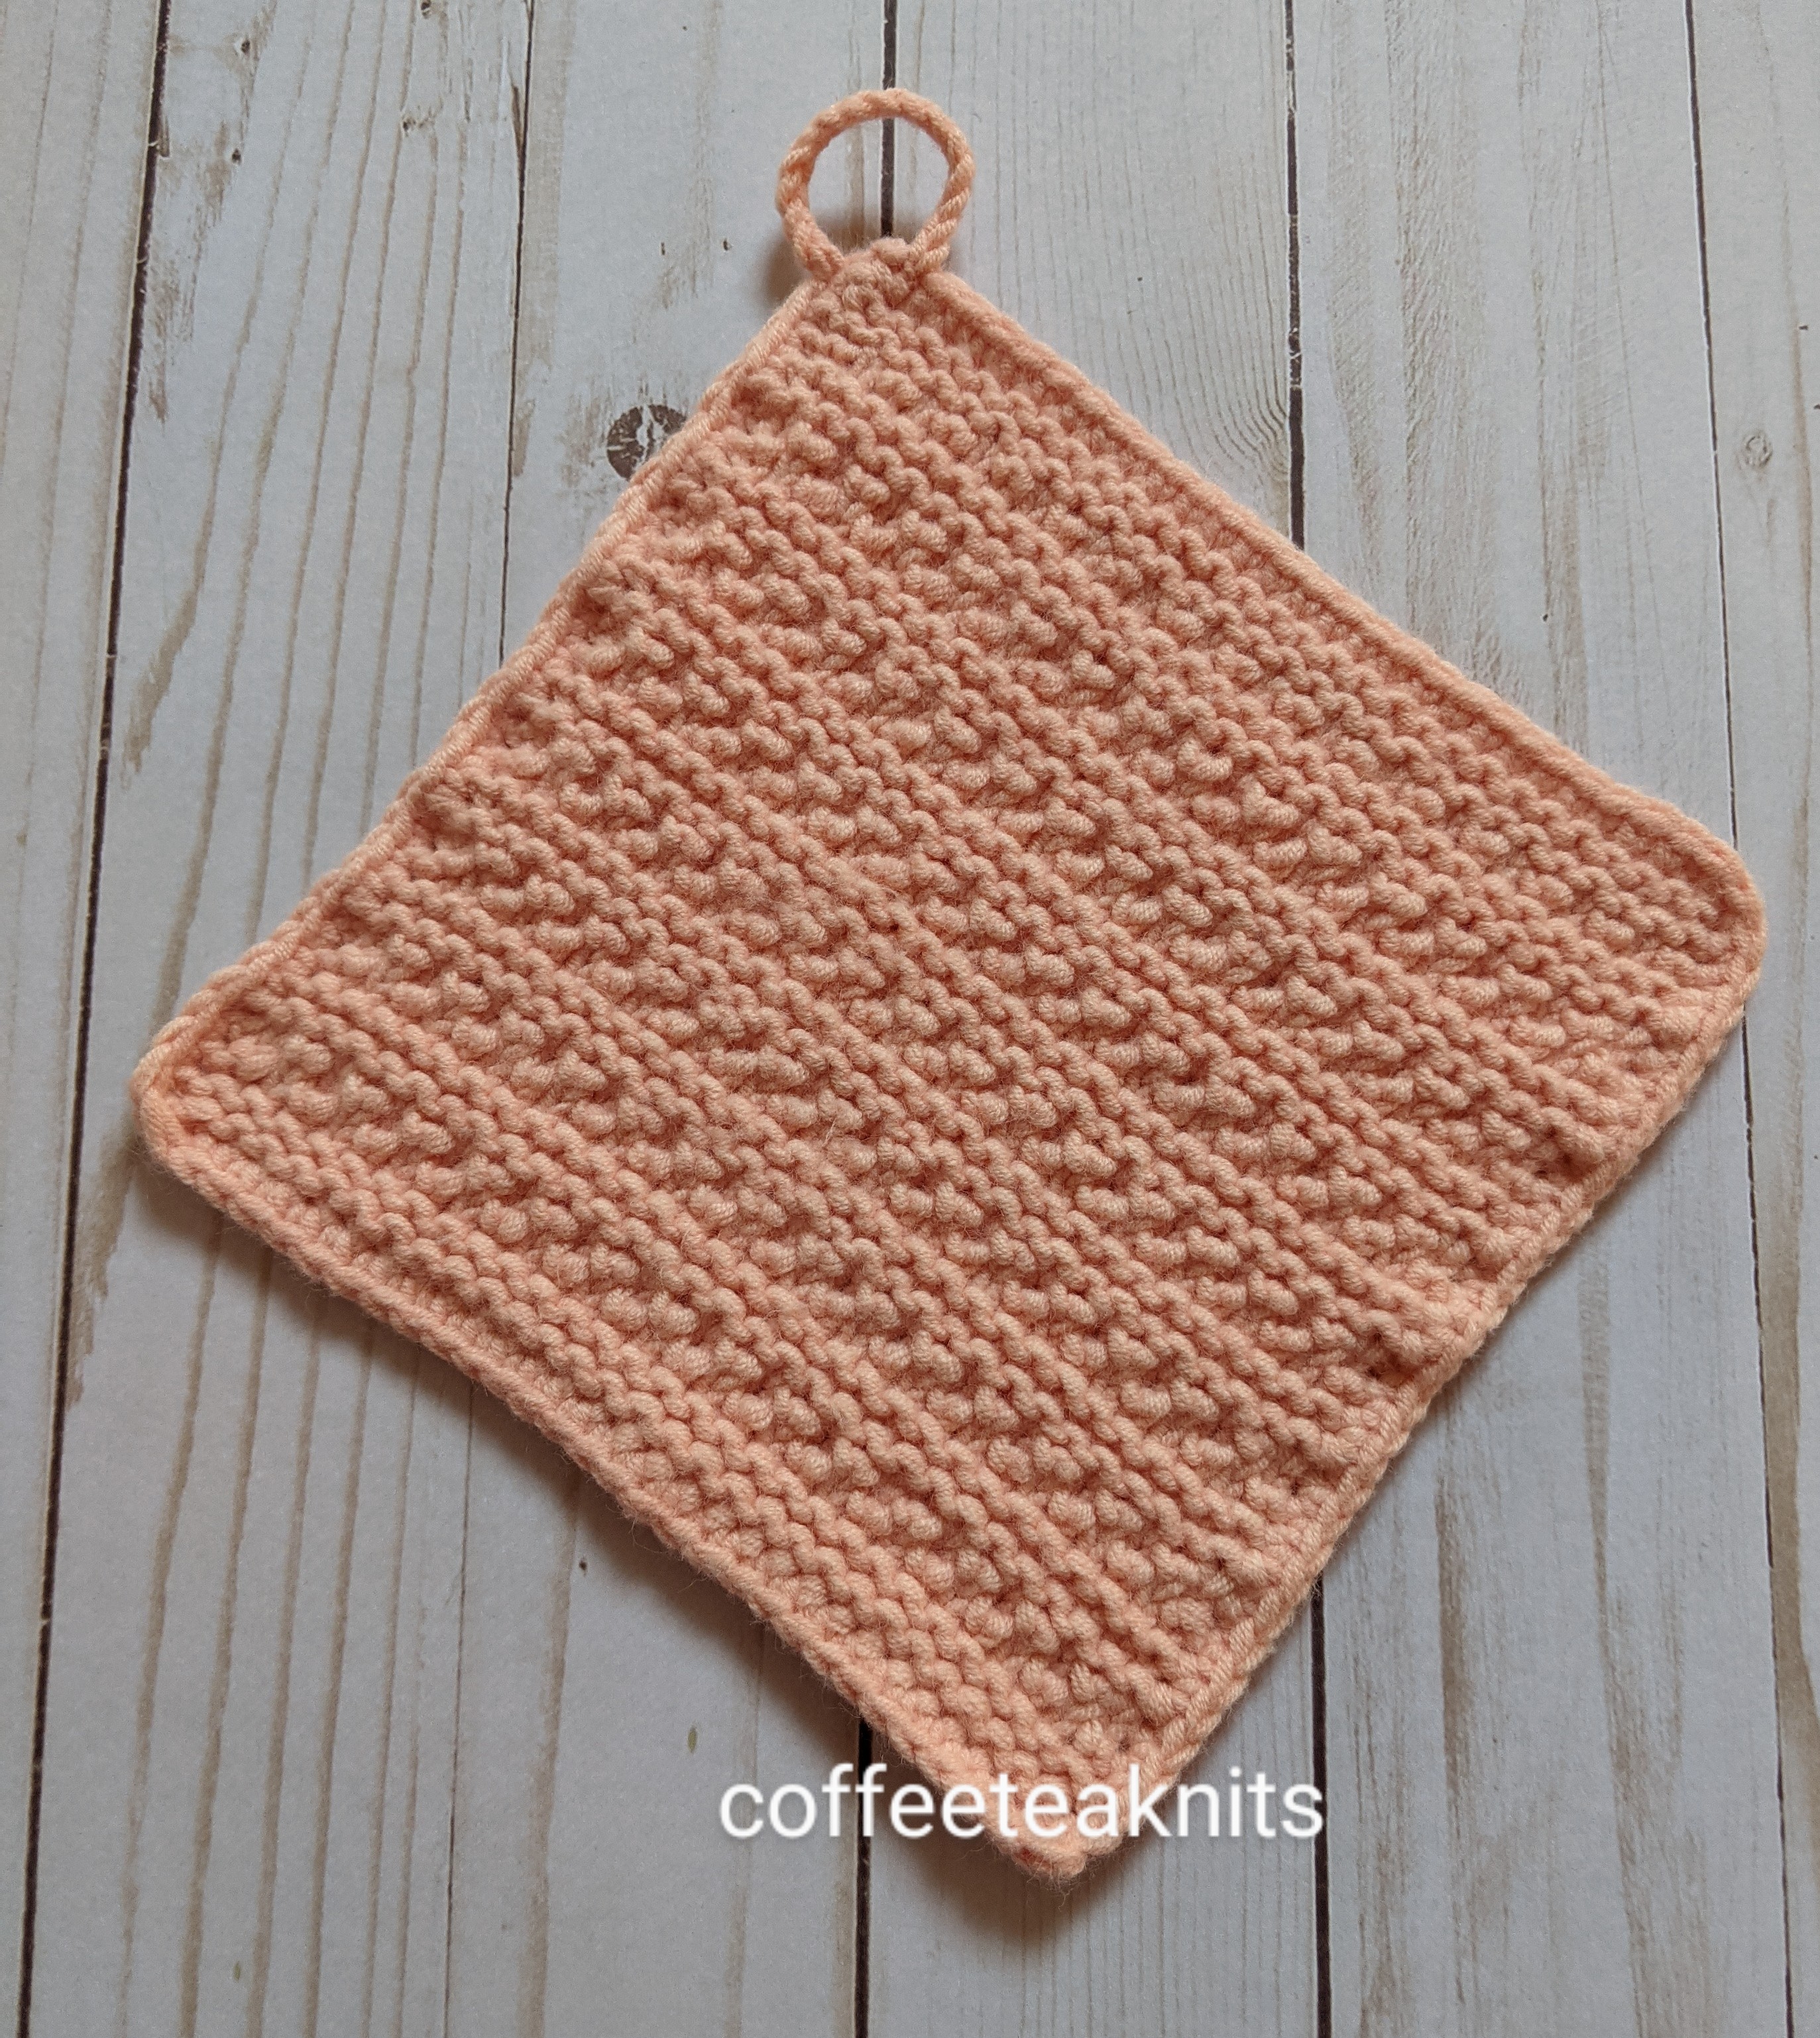
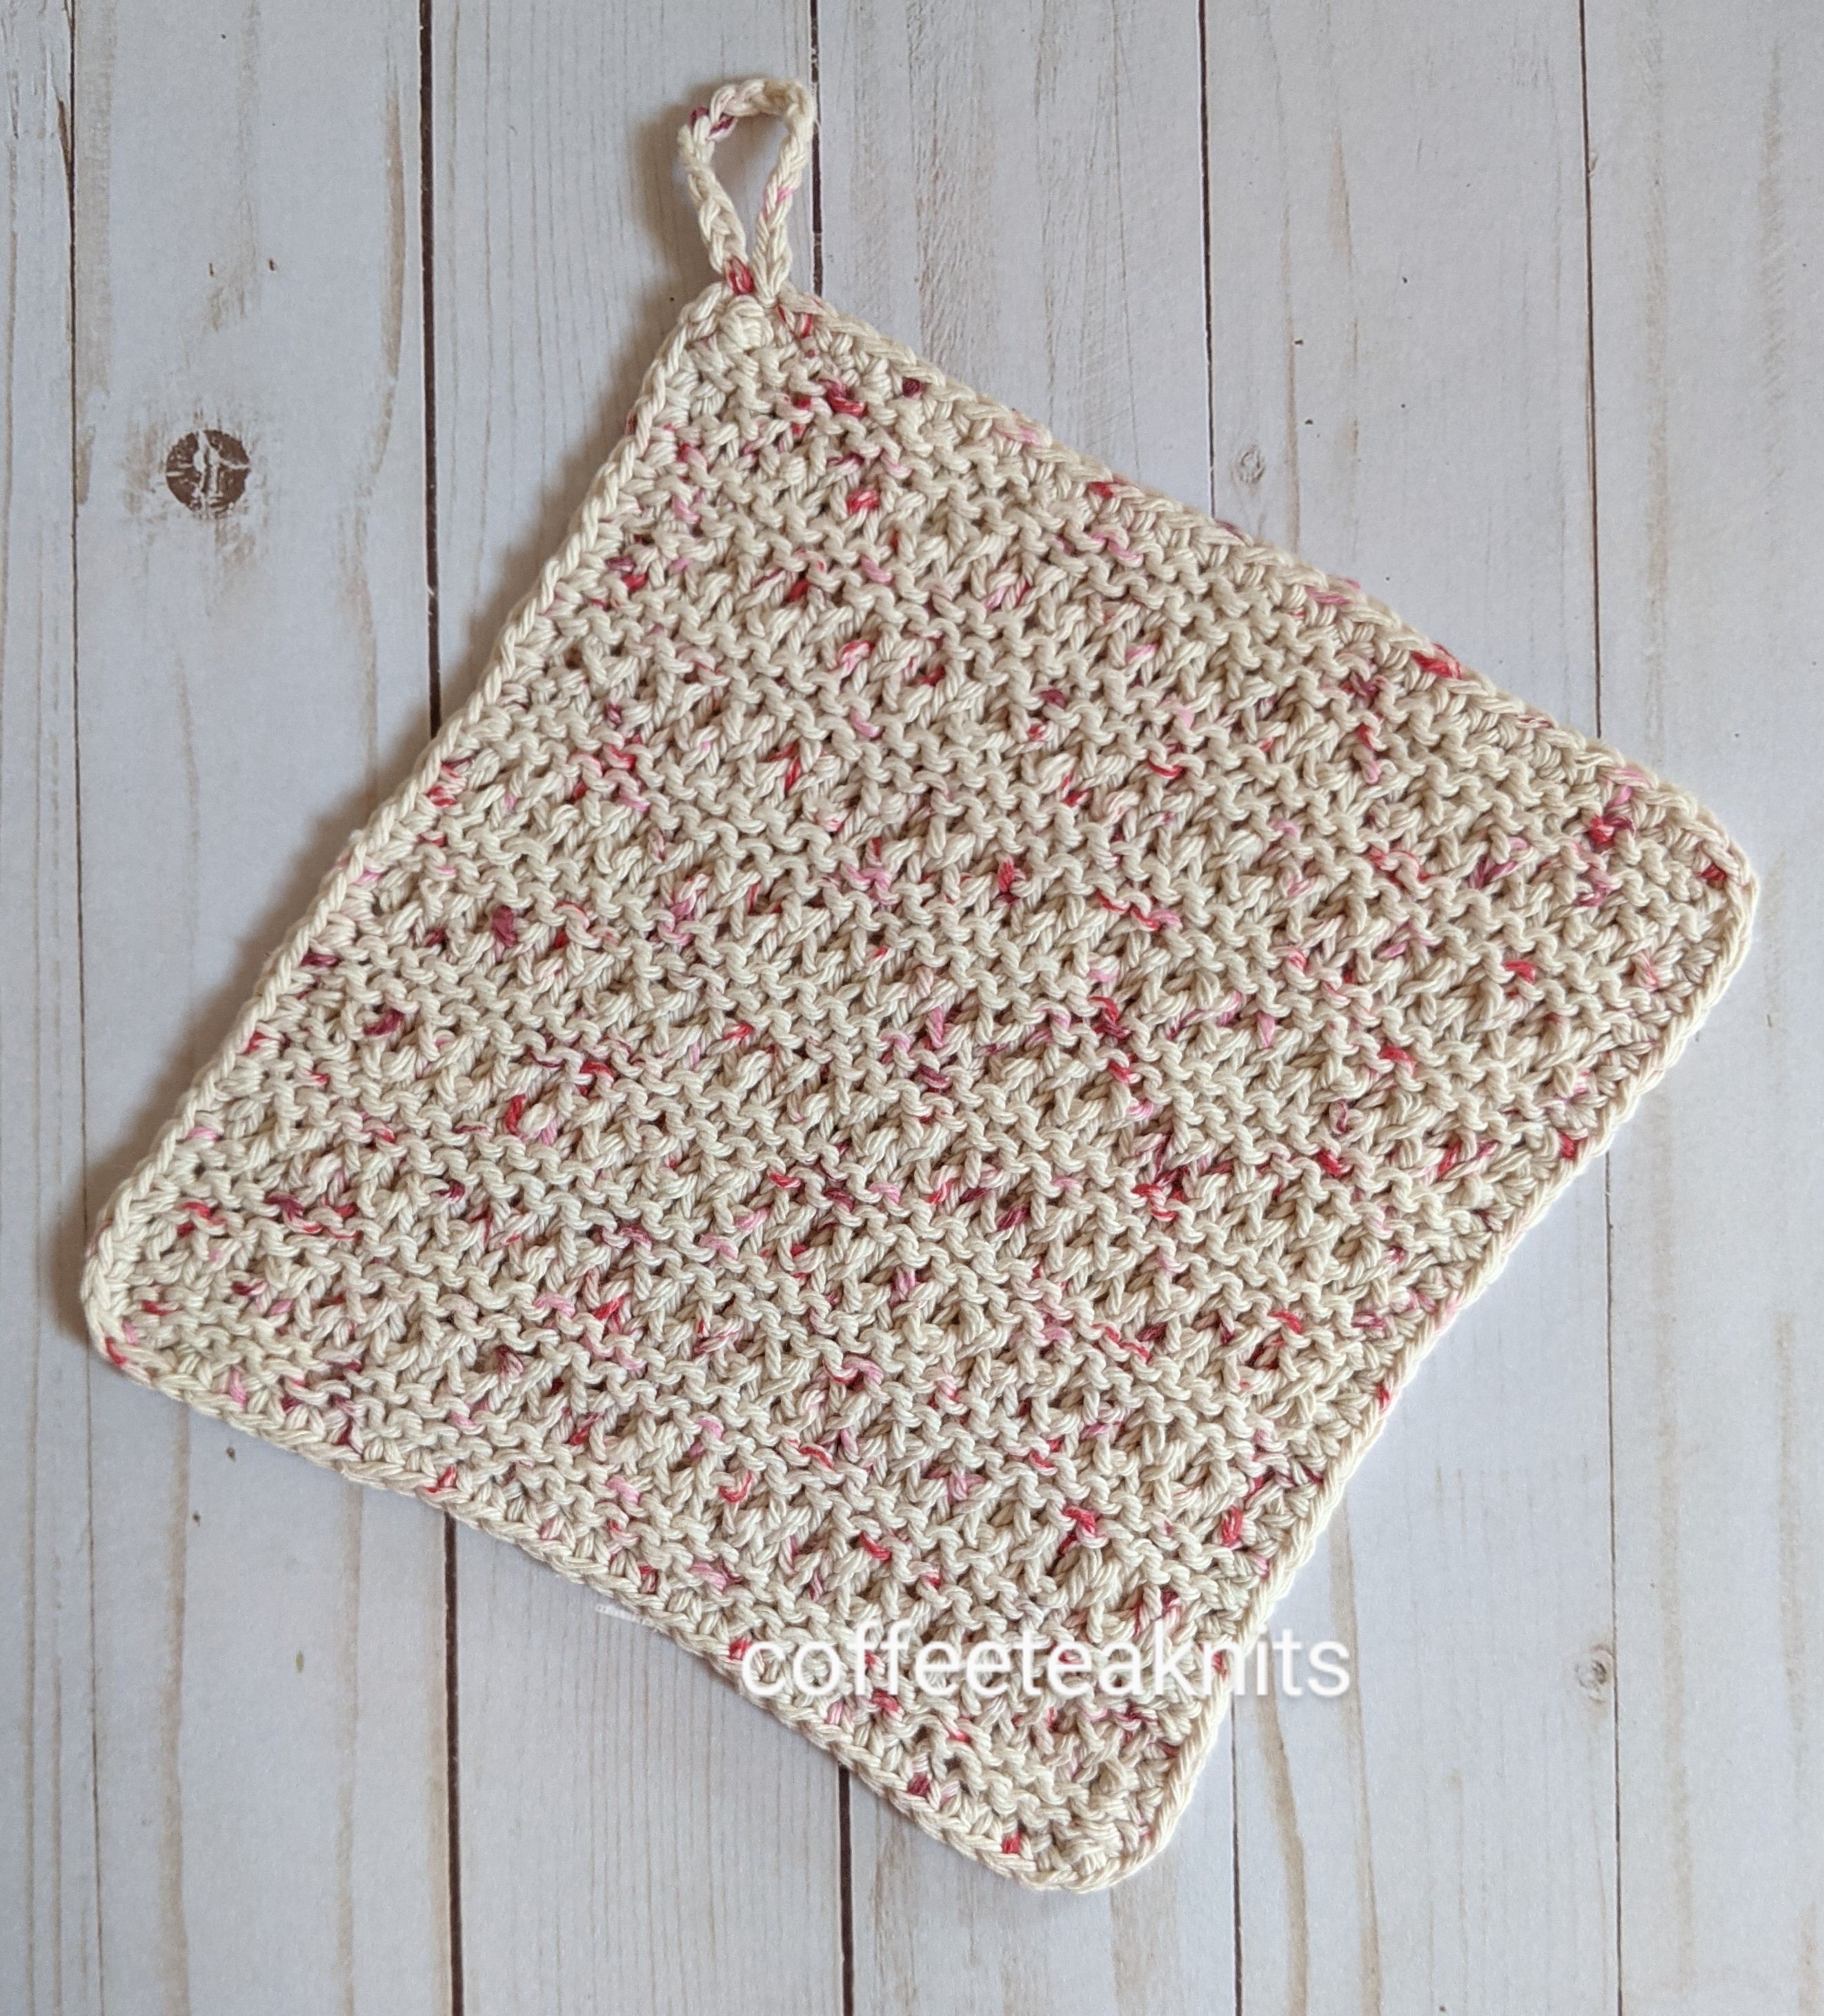
The Center Out Mitered Dishcloth is knit in the round from the center using the magic loop cast on and knitting method. I’ve used magic loop cast on and knitting method to knit top-down hat (posted here), blanket (posted here), etc. Although a bit fiddly the first few rounds, magic loop cast on and knitting method makes customizing to preferred size more straightforward.
In the Center Out Mitered Dishcloth pattern, eight stitches are cast on using the magic loop cast on method (several tutorials available on YouTube), and then 8 stitches are increased every other round to the preferred size. A 2 stitch I-cord bind off border including a hanging loop is added to finishing the dishcloth.
Advertisements
The Center Out Mitered Dishcloth Pattern (text and images for personal use only):
Materials Needed: Yarn: Premier Home Cotton® Cone in Jelly dots colorway Yarn: Lily Sugar’n Cream in Country Red colorway (for the 2 stitch I-cord border and loop) Knitting Needles: Circular US #7 knitting needles (16 and 32 inches cable length), and US #6 knitting needle Gauge: Not needed
PLEASE SUBSCRIBE FOR THE FREE PATTERN. THANK YOU
Subscribe to continue reading
Subscribe to get access to the rest of this post and other subscriber-only content.
I have wanted to knit the knot stitch pattern ever since I came across it and also because the first post in my previous blogsite was titled “To knit or to knot”. Although this knot stitch pattern is not nålbinding/nålebinding, it is a lovely pattern that I’ve wanted to knit. Being more of a product knitter, a dishcloth with this stitch pattern seemed a perfect project for me to learn more about this knot stitch pattern.
Advertisements
The Knotted Dishcloth Pattern is knit flat with a two row pillared knot stitch pattern. The knots are made by purling, knitting, and then purling the same three stitches together. The edge stitches around the Knotted Dishcloth are picked up with another yarn colorway and bound off using a two stitch I-cord bind off in the round method (several tutorials available on YouTube). I like the crochet look of this stitch pattern and the dense or open lacelike fabric it creates depending on the knitting needle size. Making these knots may cause some hand fatigue if the yarn is held too tightly. By pulling out more yarn while making these knots seemed to reduce some hand fatigue for me.
Advertisements
The Knotted Dishcloth Pattern (text and images for personal use only):
Yarn: Any cotton worsted yarn. I used Premier Home® Cotton Cone Yarn Colorway: Jelly Dots and a solid color for the I-cord edging Knitting Needles: US #7 and US #9 (for cast on and bind off only) Gauge: Not needed for this project
Advertisements
Abbreviations:
K: Knit
P: Purl
*makeknot: Purl three stitches together, then knit the same three stitches together and then purl the three stitches together again
ssk: slip slip knit (slip 2 stitches to right hand needle then insert the left needle in front of the two slipped stitches and knit them together – Tutorial Series: Slip Slip Knit (SSK)
I find knitting hats a great way to use up those single hanks of fingering weight sock yarn purchased at a yarn shop or at a craft festival. Although I could use these single hanks of sock yarn for knitting socks, I much prefer to knit hats, shawlettes or cowls with them. Hats are useful in keeping our heads warm, make wonderful gifts, are small enough projects to be knit quickly, and a great way to learn and explore the different knit stitch patterns and techniques.
Advertisements
I named this hat “The Wistful Hat” because I purchased the yarn a few years back from a yarn shop I had newly found but regrettably it is no longer there now. The Wistful Hat is knit bottom up and in the round. It’s knit holding two strands of the same yarn together with a simple textured knit stitch pattern for the body and crown shaping in stockinette stitch. The brim of the hat can be folded for extra warmth.
Advertisements
The Wistful Hat Pattern (text and images for personal use only)
PLEASE SUBSCRIBE FOR THE FREE PATTERN. THANK YOU
Subscribe to continue reading
Subscribe to get access to the rest of this post and other subscriber-only content.
Hello folks hope your new year has begun smoothly. My family and I had a rough start to the new year. The first couple weeks were spent with illness and the rest of the month trying to get better. During those weeks, knitting the Winterland Cowl gave me a sense of calm and rest. The soothing colors, the warmth and soft fuzziness of the yarn reminded me of the coziness of the winter season, the beauty of the snow covered trees, and the quietness of nature. It’s a time when nature slows down and rests. I am grateful knitting, crocheting and weaving helped me slow down and heal this month.
Advertisements
The yarn is a blend of acrylic and alpaca that I purchased several years ago. Unfortunately, it has been discontinued but recommendations for other yarns that can be substituted for it can be found on Yarn Sub. Winterland Cowl is knit flat and in a rectangle with 2 different strands of yarn held together. It’s knit mainly in the stockinette knit stitch pattern and can be knit longer or shorter to preferred length or width. The bind off edge is then joined to the left border of the cast on edge with a zig-zag crochet join method. The Winterland Cowl is then finished with a few rounds of single crochet border at the neck and bottom edge.
Advertisements
Yarn: Premier Yarn Alpaca Dance in the Soft White and Silver Fog colorways Knitting Needles: US #8 and US #10 (for cast on and bind off) Gauge: 4.5 stitches / 6.5 rows per inch in stockinette stitch with US #8 knitting needles Crochet hook: US size 7 or 4.5 mm crochet hook Abbreviations: K: Knit P: Purl RS: right side WS: wrong side pm: place marker rm: remove marker sm: slip marker wyif S1: bring working yarn to the front before slipping the next stitch purlwise
Advertisements
The Winterland Cowl Pattern (text and images for personal use only)
With 2 strands of yarn held together (one in each colorway) cast on 32 stitches with US #10 knitting needles
With US #8 knitting needles knit:
Advertisements
Row 1 (RS): K2, pm, knit to 2 stitches before marker, pm, K1, wyif S1
Repeat Rows 3 and 4 till length of the knitted piece is about 32 inches (or preferred length) ending with the WS row.
Bind off (RS row): Bind off using US #10 knitting needles
Advertisements
With 2 strands of the Silver Fog colorway held together join the bind off edge with a zig zag crochet join method (several tutorials available for this method on Youtube) to the left side of the cast on edge as shown in the image above.
With 2 strands of the Silver Fog colorway held together, add 5 rounds of single crochet border to the neck and bottom edge of the cowl with a US size 7 crochet hook.
Advertisements
Hand wash and dry flat. Weave in the ends to finish the Winterland Cowl.
2021 has been a year of the covid vaccine, celebration of events that couldn’t take place in 2020, health issues, covid infection and symptoms in spite of the vaccine etc…. Thankful this year is over and looking forward to the new year.
The Cozy Neckwarmer is knit flat in the garter knit stitch and in sections. Stitches are picked up and knit for the different sections. The Cozy Neckwarmer also has a short rows section with wrap and turns. Since the neckwarmer is knit in the garter stitch pattern, the wraps don’t need to be picked up and knit. A single crochet border is added once all the sections are completed and the piece that goes around the neck is joined with the zigzag crochet method. The picture below shows how the Cozy Neckwarmer was knit:
Advertisements
The Cozy Neckwarmer Pattern(patterntext and images for personal use only)
Yarn: Lion Brand® Comfy Cotton Blend Yarn in Chai Latte and Whipped Cream Colorways Knitting Needles: circular or straight US #9 and US #7 Crochet hook: US size 7 or 4.5 mm crochet hook Gauge: 20 stitches / 38 rows (or 19 garter ridges) = 4 inches in garter stitch with US #7 knitting needles Abbreviations:
Advertisements
K: Knit
P: Purl
Kfb: Knit front and back (knit one stitch first in the front and then knit the same stitch in the back before slipping it off the left needle – 1 stitch increase)
K2tog: Knit the first two stitches together on the left needle (1 stitch decrease)
pm: place marker
rm: remove marker
sm: slip marker
wyif S1: with yarn in front slip the stitch purlwise from the left needle to the right needle
RS: right side
WS: wrong side
w&t: wrap and turn – with yarn in back slip the next stitch purlwise, bring the yarn to front and place the slipped stitch back on the left needle and turn to the next row.
With the yarn colorway Chai Latte , cast on 5 stitches with US #9 knitting needles With US #7 knitting needles knit as follows:
Advertisements
One stitch increase section:
Row 1(RS): K1, pm, K2, Kfb, pm, wyif S1
Row 2(WS): K1, sm, K4, sm, wyif S1
Row 3 (RS): K1, sm, knit till 1 stitch before marker, Kfb, sm, wyif S1
Row 4 (WS): K1, sm, knit till marker, sm, wyif S1
Repeat rows 3 and 4 till 32 stitches (or more if preferred) ending with Row 4
Advertisements
Additional stitch cast on section:
Row 1(RS): K1, sm, knit to marker, sm, wyif S1, cast on 18 stitches using the knitted cast on method with US #9 knitting needles. There is a total of 50 stitches for the Cozy Neckwarmer now (more stitches can be cast on if preferred).
Row 2(WS): (With US #7 knitting needles) K1, pm, K19, rm, knit to marker, sm, wyif S1
Row 3(RS): K1, sm, knit to marker, sm, wyif S1
Row 4(WS): K1, sm, knit to marker, sm, wyif S1
Repeat Rows 3 and 4 till the additional section is wide enough to slip over the head and around the neck (I knit the Cozy Neckwarmer about 14.5 inches)
Advertisements
Additional stitch bind off section:
Row RS: K1, sm, knit to marker, sm, wyif S1
Row WS: Bind off 18 stitches with US #9 knitting needles (removing the marker and switch back to US #7 knitting needles) K1, pm, knit to marker, wyif S1
Advertisements
One stitch decrease section:
Row 1(RS): K1, sm, knit to 2 stitches before marker, K2tog, sm, wyif S1
Row 2(WS): K1, knit to marker, sm, wyif S1
Repeat these two rows till 5 stitches are left on the needle ending with Row 2
Row RS: With US #9, bind off all stitches and remove markers
Advertisements
Short rows section:
Row 1(RS): With US #7 and starting from the cast on edge, pick up stitches all along the bottom of the knitted piece ending at the bind off edge. For the Cozy Neckwarmer, 122 stitches were picked up.
Row 2(WS): K1, pm, knit to 1 stitch before last, pm, wyif slip the last stitch
Row 3(RS): K1, sm, knit to marker, sm, wyif S1
Row 4(WS): K1, sm, knit to marker, sm, wyif S1
Row 5(RS): K1, sm, knit to marker, sm, wyif S1
Row 6(WS): K1, sm, knit to marker, sm, wyif S1
Row 7(RS): K1, sm, knit to marker, sm, wyif S1
Row 8 (WS): (Set up row for short row shaping) K1, sm, [K5, pm] repeat […] 7 more times, K20, pm, K20, [pm, K5] repeat […] 7 more times, sm, wyif S1
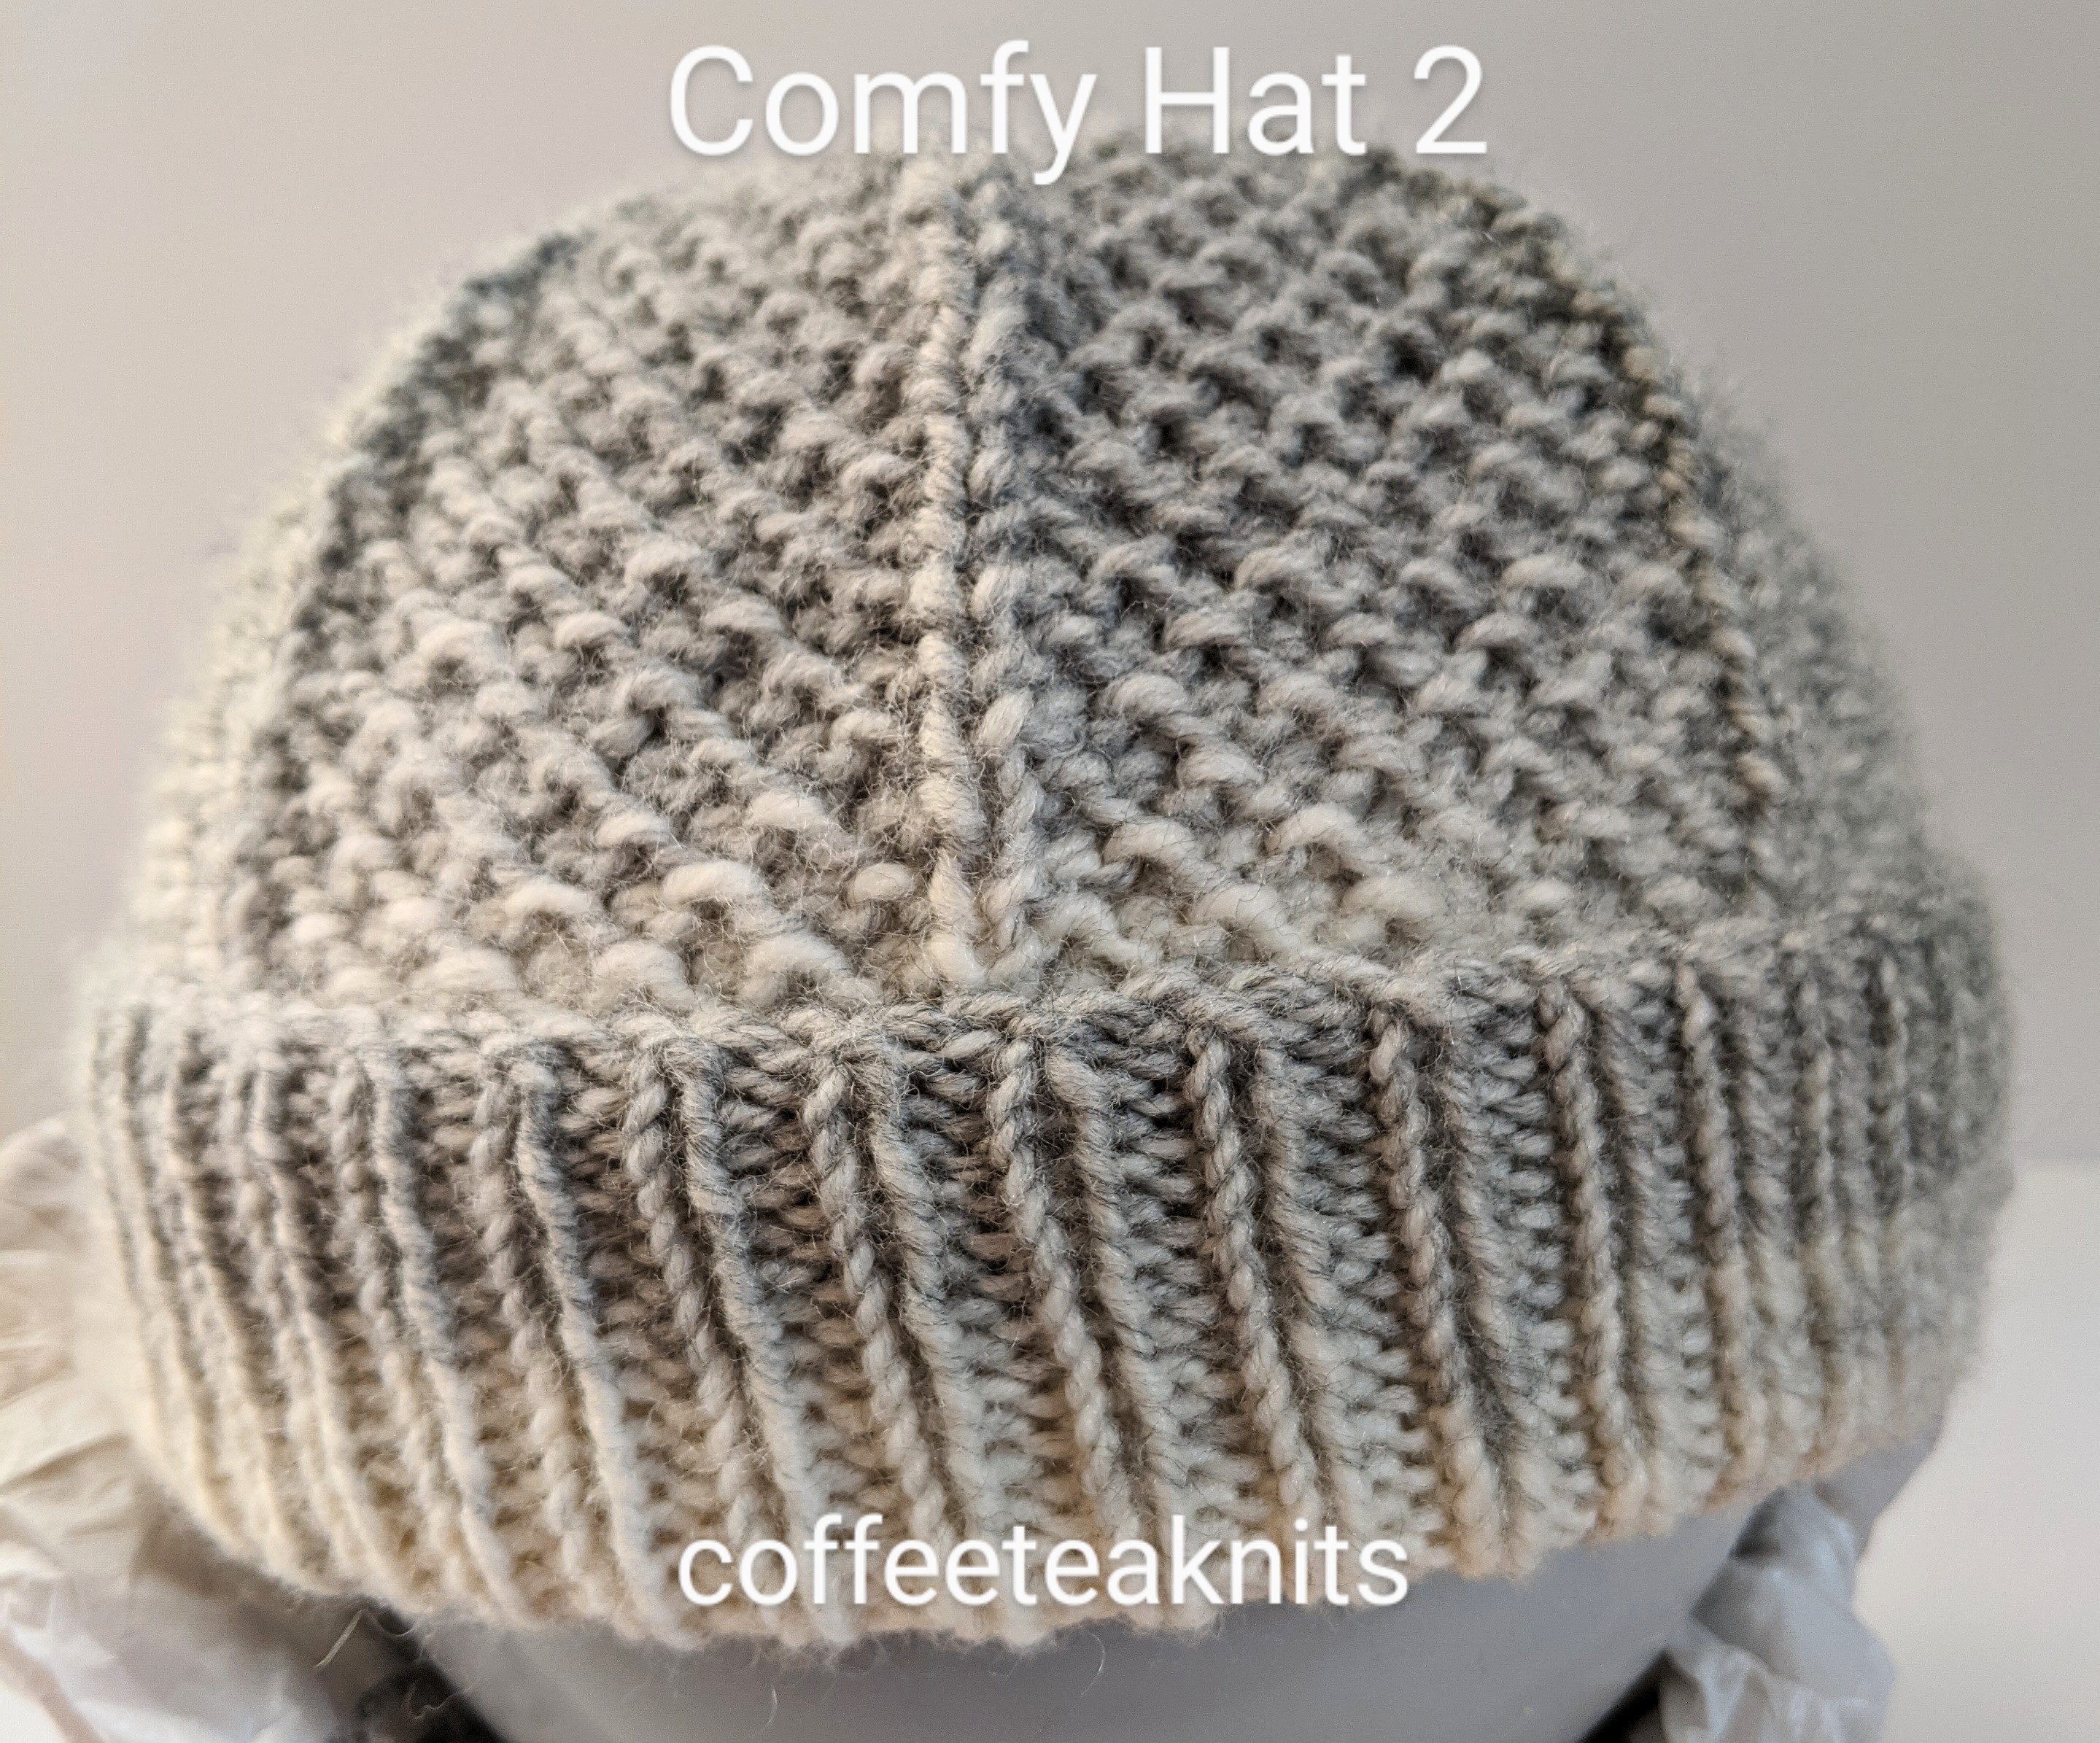
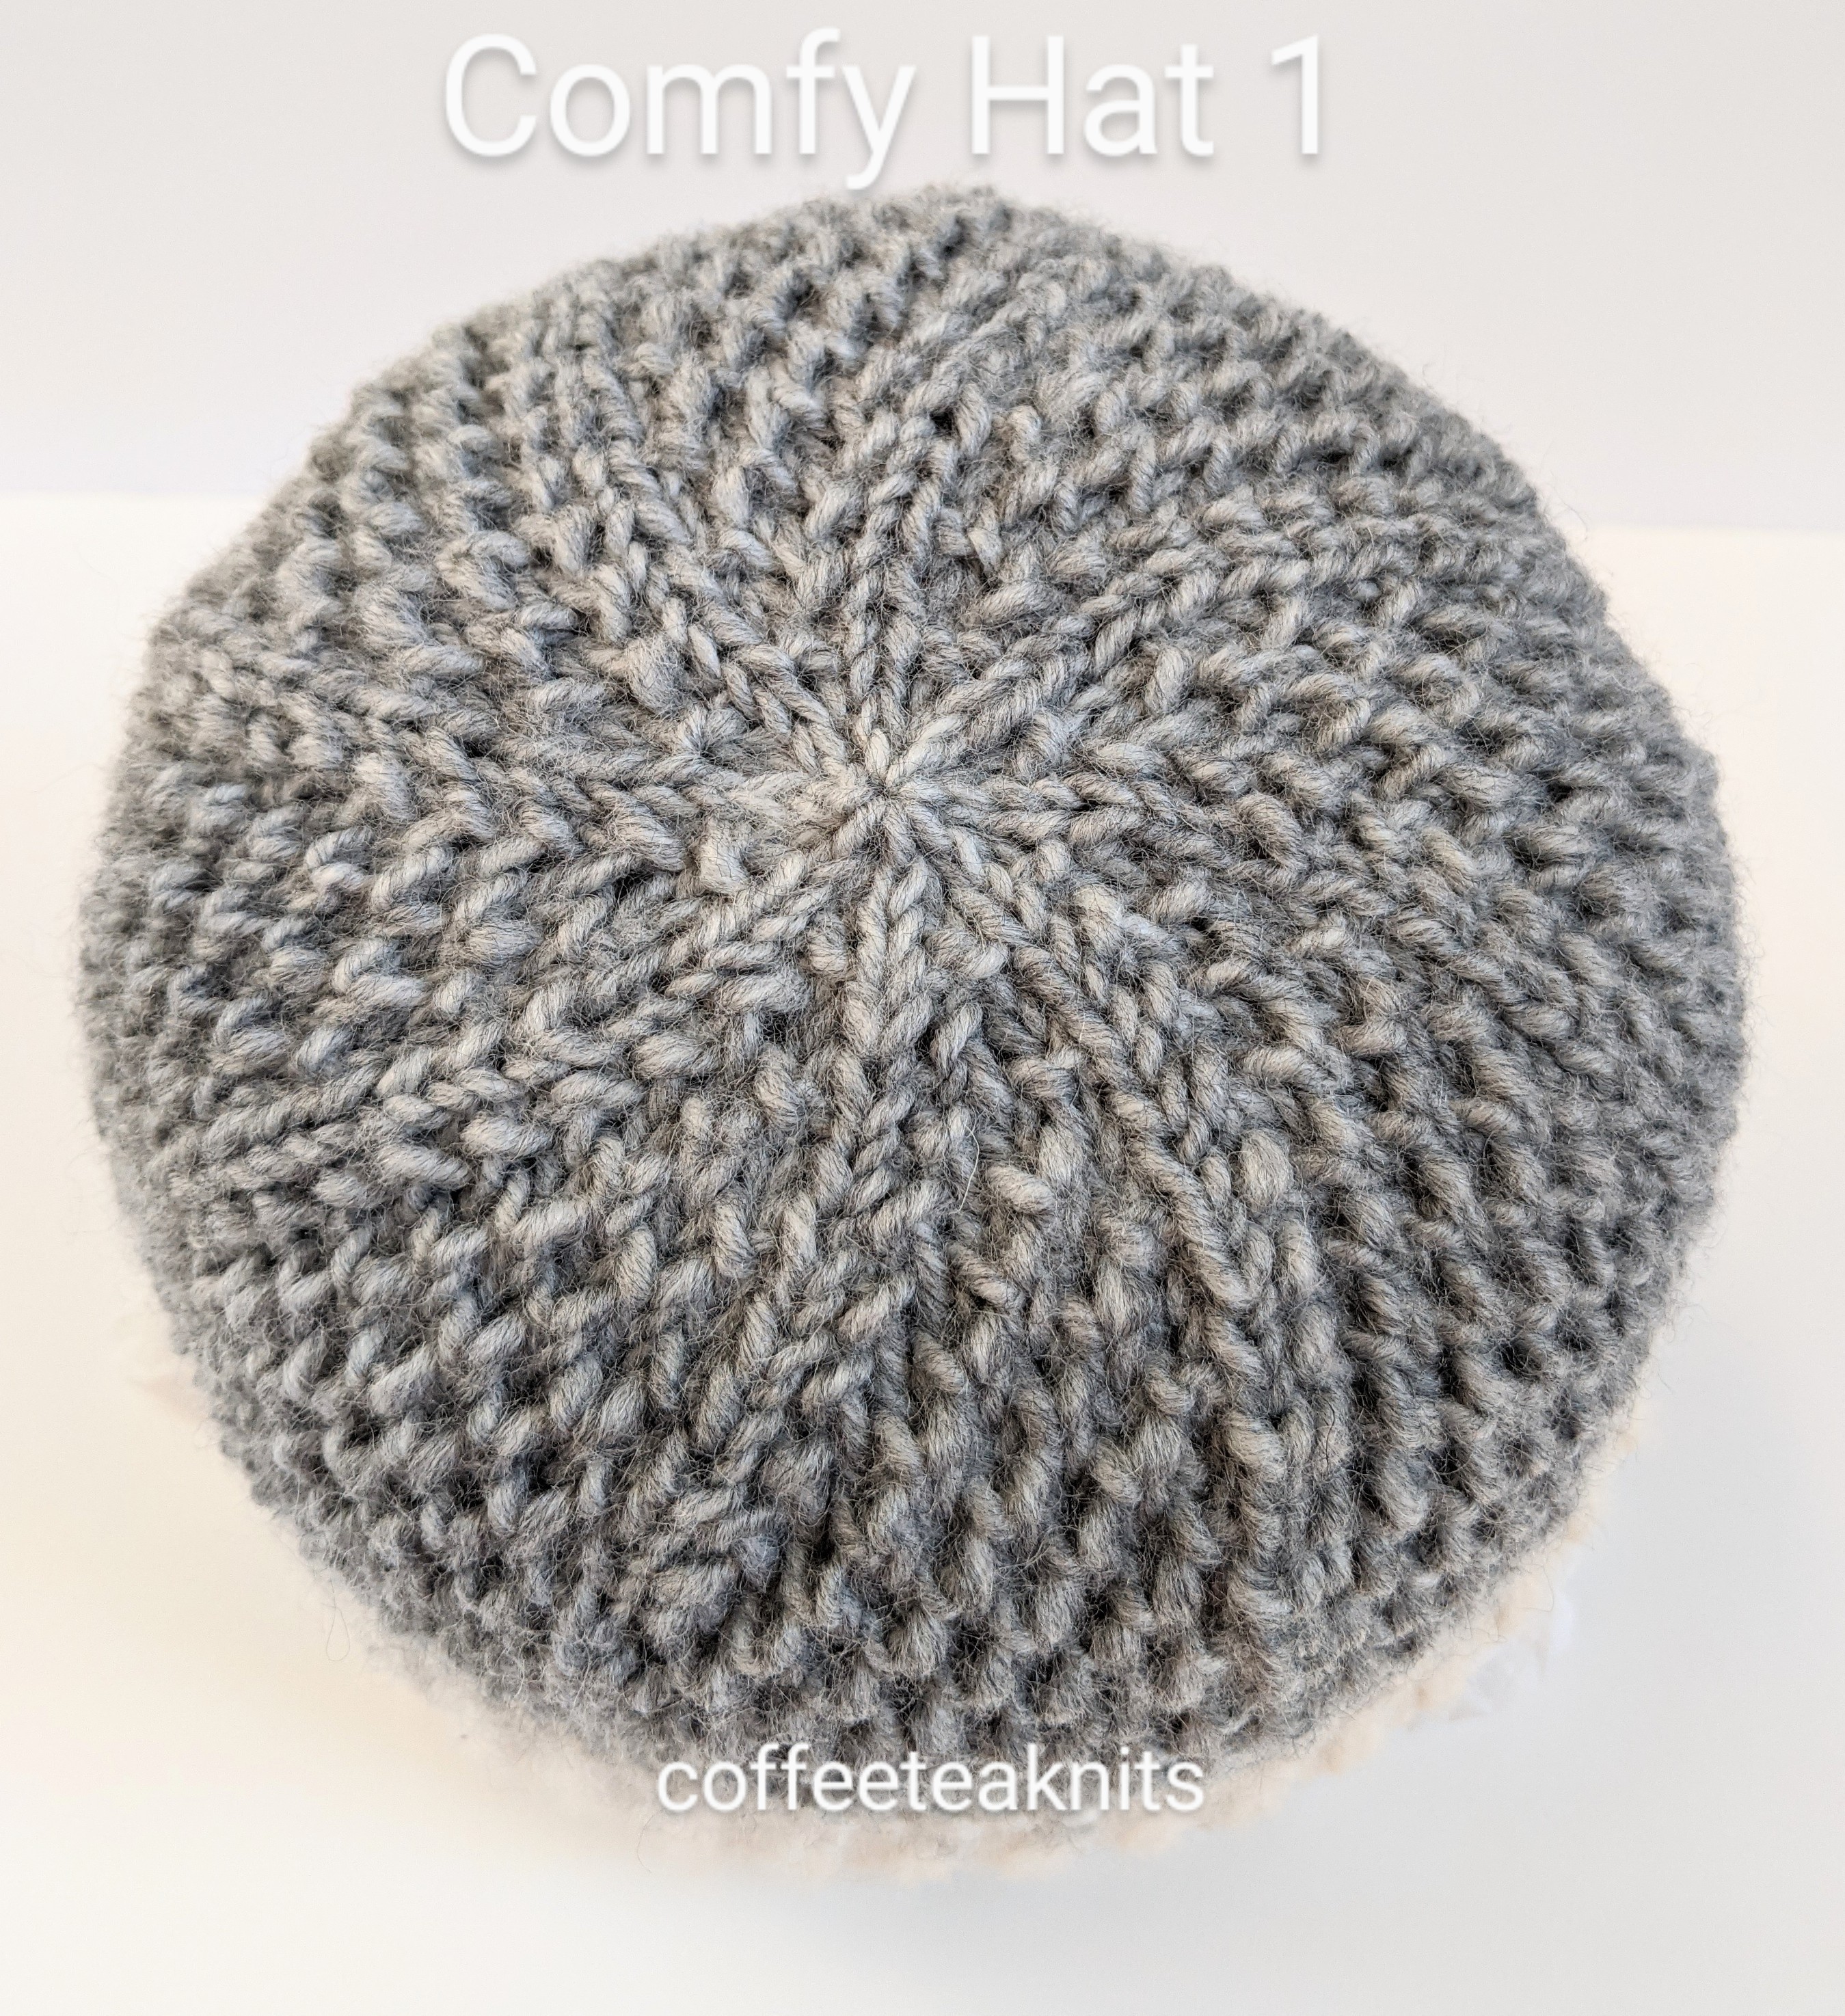
There are some knit stitch patterns that look just as good on the right side as they do on the wrong side. It is so with the twisted seed stitch knit pattern. So I knitted the Comfy Hats with this twisted seed stitch pattern, one with the right side on the outside and the other with the wrong side on the outside. The Lion Brand® Scarfie yarn is warm and comfortable making it the right hat to wear this time of the year. Both hats were knitted bottom up and in the round with a 1 x 1 rib knit stitch pattern folded cuff, a body with the twisted seed stitch pattern, and crown shaping.
Advertisements
There are two patterns down below for the two hats. The patterns are mostly similar but with a few modifications. These patterns are only for an adult medium hat size. These hats have not been graded for different sizes but the pattern can be easily adapted to different sizes by increasing or decreasing the number of cast on stitches or by increasing or decreasing the number of the pattern repeats.
Advertisements
The Comfy Hat Patterns (text and images for personal use only)
Yarn: Lion Brand® Scarfie Yarn in the Cream/Silver colorway Knitting Needles: US #7 and US #9 circular knitting needles Gauge: 17 stitches and 26 rows = 4 inches in stockinette stitch before blocking and with US #7 knitting needles Abbreviations:
Advertisements
K: Knit
P: Purl
RS: right side
WS: wrong side
P2tog: Purl two stitches together
K2tog: Knit two stitches together
K1B: knit below the stitch on the left hand needle
pm: place marker
rm: remove marker
sm: slip marker
BOR marker: beginning of round marker
Advertisements
Comfy Hat Pattern 1
Comfy Hat Pattern 2
With US #9 cast on 88 stitches using the cable cast on method, slip stitches on to US #7 circular knitting needles, place a BOR marker and join the round
Folded Cuff (1 x 1 rib stitch): Round 1: [K1, P1] till the BOR marker, slip marker
Repeat Round 1 twenty-four more times (about 4 inches in length)
Folded Cuff (1 x 1 rib stitch): Round 1: [K1, P1] till the BOR marker, slip marker
Repeat Round 1 twenty-four more times (about 4 inches in length)
Body (Twisted Seed Stitch Pattern): Setup Round: [purl 10, K1, pm] repeat this 7 more times till the BOR marker, slip the BOR marker
Round 1: [purl till 1 stitch before marker, K1, sm] repeat this 7 more times till the BOR marker, slip the BOR marker
Round 2: [K1, K1B till 1 stitch before marker, K1, sm] repeat this 7 more times till the BOR marker
Round 3: [purl till 1 stitch before marker, K1, sm] repeat this 7 more times till the BOR marker, slip the BOR marker
Round 4: [K1B, K1 till 1 stitch before marker, K1, sm] repeat this 7 more times till the BOR marker
Repeat Rounds 1 – 4 seven more times
Body (Twisted Seed Stitch Pattern): Setup Round: [purl 11, pm] repeat this 7 more times till the BOR marker, slip the BOR marker
Round 1: [purl to marker, sm] repeat this 7 more times till the BOR marker, slip the BOR marker
Round 2: [K1, K1B till 1 stitch before marker, P1, sm] repeat this 7 more times till the BOR marker
Round 3: [purl to marker, sm] repeat this 7 more times till the BOR marker, slip the BOR marker
Round 4: [K1B, K1 till 1 stitch before marker, P1, sm] repeat this 7 more times till the BOR marker
Repeat Rounds 1 – 4 seven more times
Crown Shaping: Round 1: [purl till 3 stitches before marker, P2tog, K1, sm] repeat this 7 more times, slip BOR marker
Round 2: [K1, K1B till 2 stitches before marker, K2, sm] repeat this 7 more times, slip BOR marker
Round 3: [purl till 3 stitches before marker, P2tog, K1, sm] repeat this 7 more times, slip BOR marker
Round 4: [K1B, K1 till 1 stitch before marker, K1, sm] repeat this 7 more times, slip BOR marker
Repeat Rounds 1 – 4 three more times
Round 17: [P2tog, K1, sm] repeat this seven more till BOR marker, slip BOR marker
Round 18: Knit all the stitches removing all markers till the BOR marker, slip the BOR marker
Round 19: K2tog till the BOR marker, remove BOR marker, break about 6 inches of the working yarn and thread it through a tapestry needle. Insert the tapestry needle with the working yarn into the remaining stitches, pull tight and secure yarn
Weave in the ends and wash hat.
Crown Shaping: Round 1: [purl till 3 stitches before marker, P2tog, P1, sm] repeat this 7 more times, slip BOR marker
Round 2: [K1, K1B till 2 stitches before marker, K1, P1, sm] repeat this 7 more times, slip BOR marker
Round 3: [purl till 3 stitches before marker, P2tog, P1, sm] repeat this 7 more times, slip BOR marker
Round 4: [K1B, K1 till 1 stitch before marker, P1, sm] repeat this 7 more times, slip BOR marker
Repeat Rounds 1 – 4 three more times
Round 17: [P2tog, P1, sm] repeat this seven more till BOR marker, slip BOR marker
Round 18: [K1, P1 till marker, rm] repeat till the BOR marker, slip the BOR marker
Round 19: P2tog till the BOR marker, remove BOR marker, break about 6 inches of the working yarn and thread it through a tapestry needle. Insert the tapestry needle with the working yarn into the remaining stitches, pull tight and secure yarn
Turn the hat inside out, weave in the ends and wash hat.
My interest in weaving started more as a way to reduce the amount of yarn I had but now it has grown into a genuine interest in this craft. Weaving dates back to the paleolithic era and is much older than knitting or other fiber related crafts. In 2019 when I got a rigid heddle loom, I found myself learning about warp and weft** and trying out various combinations of plain weaving first with whatever yarn I had on hand and then with yarn bought specifically for weaving.
Advertisements
Since weaving has been around for so long, there are many different types of weaving patterns other than plain weaving. Other weaving patterns with a rigid heddle loom include soumak, leno, tapestry, and many more. The loom with two heddles and pick up sticks makes double width weaving as well as various twill weave patterns possible. I’ve just begun to discover all these various weaving patterns and combinations.
Advertisements
I find weaving to be much faster than knitting or crocheting. Large projects such as blankets or wraps can be woven in a matter of days rather than months. Weaving has also reduced my yarn stash. Although I still prefer knitting sweaters, hats etc., it is a relief to be able to weave the larger projects quickly. Since I have only one rigid heddle loom I can only weave one project at a time.
Advertisements
Weaving, however, requires more finishing afterwards than knitting or crocheting. For someone who likes seamless knits with minimal finishing, finding the motivation to finish the woven pieces can be quite a task. Also, unlike knitting or crocheting where most of the leftover yarn is left intact, discarding some of the warp yarn still bothers me. Even with these minor drawbacks, I find the craft of weaving very interesting and look forward to learning more about it.
Advertisements
** warp yarn runs lengthwise and is held under tension whereas the weft yarn runs side to side and is inserted by the weaver.
Most summers my sweater knitting with wool or other yarn slows down. I usually weave more or try to knit with cotton yarns during this season. Although this season is more a time for yarn and a loom for me (more details in the next post), I have knitted a few dishcloths including these Summertime Dishcloths. Summertime dishcloths are knit flat from bottom up in a combination of garter stitch and twisted seed stitch pattern.
The Summertime Dishcloths Pattern (text and images for personal use only)
Yarn: Loops & Threads Capri in Apricot colorway for the dishcloth 1 Yarn: Premier Home Cotton in Jelly dots colorway for the dishcloth 2 Knitting Needles: US #8, and US #10 circular needle for the dishcloth 1 Knitting Needles: US #7, and US #9 circular needle for the dishcloth 2 Crochet hook: 4.5 mm for the dishcloth 1; 4.0 mm for the dishcloth 2 Gauge: garter stitch pattern – 18 stitches/ 4 inches for the dishcloth 1; 17 stitches/ 4 inches for the dishcloth 2
Abbreviations:
K: Knit
RS: right side
WS: wrong side
wyif S1: bring working yarn to the front before slipping the next stitch (in this pattern slip the last stitch)
K1B: Knit one stitch below the stitch that is on the left needle
[….]: repeat of stitch pattern within a row
Cast on 31 stitches with US #10 needles for the dishcloth 1 or US #9 for the dishcloth 2. Then with US#8 knitting needles for the dishcloth 1 or with US#7 knitting needles for the dishcloth 2 knit as follows:
Row 1 (WS): Knit all stitches to 1 stitch before last, wyif S1
Row 2 (RS): Knit all stitches to 1 stitch before last, wyif S1
Row 3 (WS): Knit all stitches to 1 stitch before last, wyif S1
Row 4 (RS): Knit all stitches to 1 stitch before last, wyif S1
Row 5 (WS): Knit all stitches to 1 stitch before last, wyif S1
Row 6 (RS): K2, [K1B, K1] till 1 stitch before last, wyif S1
Row 7 (WS): Knit all stitches to 1 stitch before last, wyif S1
Row 8 (RS): K1, K1B, [K1, K1B] till 1 stitch before last, wyif S1
Repeat Rows 1 to 8, 7 more times ending with Row 8
Row (WS): Knit all stitches to 1 stitch before last, wyif S1
Row (RS): Knit all stitches to 1 stitch before last, wyif S1
Row (WS): Knit all stitches to 1 stitch before last, wyif S1
Row (RS): Bind off loosely in knit stitch pattern with a US #10 knitting needle for the dishcloth 1 or US #9 knitting needles for the dishcloth 2
Insert a 4.5 mm crochet hook for the dishcloth 1 (or 4.0 mm crochet hook for the dishcloth 2) in the last remaining stitch and single crochet all around the dishcloth.
(Optional) – For the hanging loop, chain 15 and slip stitch into the next single crocheted stitch on the crocheted border. Finish the dishcloths by washing, blocking and weaving in the ends.
The many different shapes in which shawls or wraps are knitted can be a lesson in geometry. Shawls can be rectangular, squares, circular, triangular or several combinations and variations of these shapes. So, it was inevitable that after knitting several rectangle wraps, square blankets and dishcloths I would dabble in triangular shaped shawl design. Triangular shawls, similar to other shaped shawls, can be knit in several different ways. They can be knit sideways, top down (like the The Sheltering Tree Shawlette), or bottom up like this Unexpected Find Wrap.
Advertisements
The Unexpected Find Wrap pattern is a simple triangular shaped shawl knit bottom up with a two row repeat brioche honeycomb stitch pattern. I happened upon the yarn for this wrap at Joann Fabric and Craft Store. I wasn’t looking for this yarn but once I saw it, I just couldn’t walk away without purchasing it. After casting on a few stitches, the wrap is increased two stitches every other row till the preferred length is reached. This cotton blend wrap is great for those cool summer evenings and also for those overly air conditioned places.
Advertisements
Materials Needed: Yarn: K + C Element Yarn (50 grams each) in Colorway: Pink (Any other worsted weight cotton or cotton blend yarn can be substituted for this yarn) Knitting Needles: US #8 circular needle Gauge: 14 stitches/ 4 inches after blocking
Advertisements
The Unexpected Find Wrap Pattern (text and image for personal use only)
PLEASE SUBSCRIBE FOR THE FREE PATTERN. THANK YOU
Subscribe to continue reading
Subscribe to get access to the rest of this post and other subscriber-only content.